15: molding & casting
Individual Assignment
The individual assignment for this week was to design a mold around the stock and tooling that I’ll be using, mill it (rough cut + (at least) three-axis finish cut), and use it to cast parts.
Creating the Design
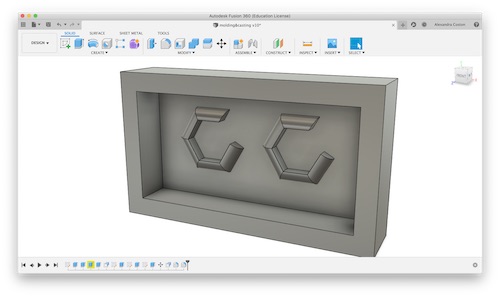
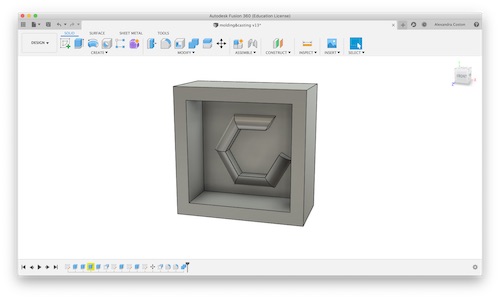
Instead of designing something for my final project like I probably should’ve, I decided to create a mold & cast for a pair of earrings. I like fashion and this was something I’d always wanted to try, so now was the time to learn I suppose. I created my design in Fusion360, making a rectangle and the shape of the earrings, and putting a frame around it so the cast could be made.
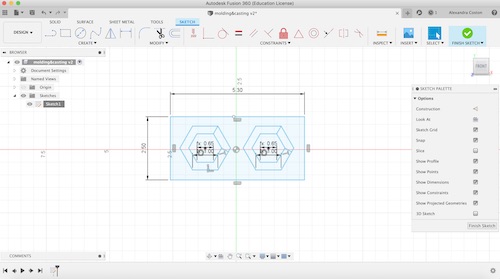
The plan was to make the earrings out of resin and attach 6mm earring backs to the ends to make the earrings. Once the design was made, it was time to create the toolpaths. I have never done toolpaths on Fusion before, so this was new.
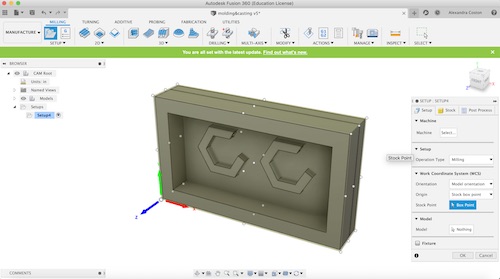
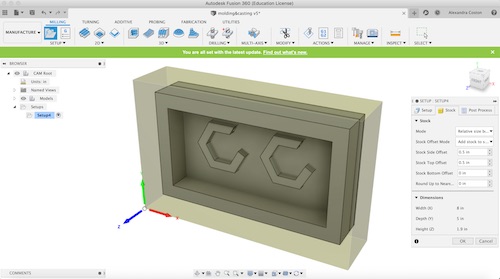
First, I switched from Design mode to Manufacture so that I could create the toolpaths. I then made a new Setup. I put the Stock Setup in the bottom left corner, as that is where the origin is the the Othermills. I made sure the X, Y, and Z axes were correctly oriented as well. When creating my stock size, as I was not in the lab, I added 0.5in to the side and 0.5 in to the top and planned to change these dimensions in the future.
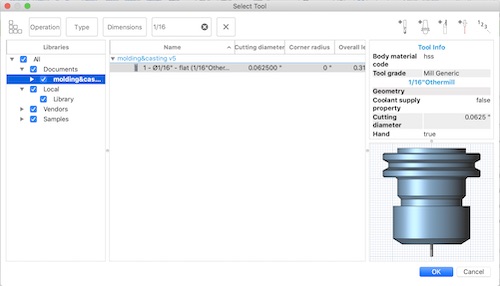
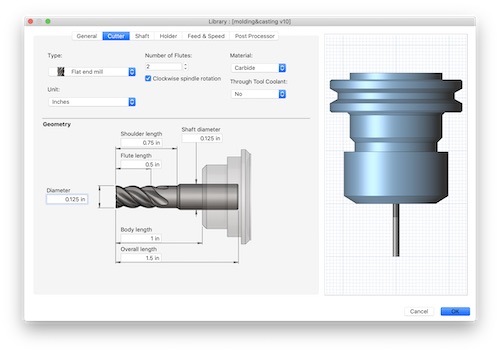
I then created a Face cut. I selected the top of my design to be milled. I then needed to create the tool that would mill the face. I was not quite sure yet what bit would be best to mill my design, so I started with the 1/16” bit, which I named 1/16”Othermill.

I filled in what I could of the dimensions of the bit as I was not in the lab and was unable to measure it. I chose a flat end mill.

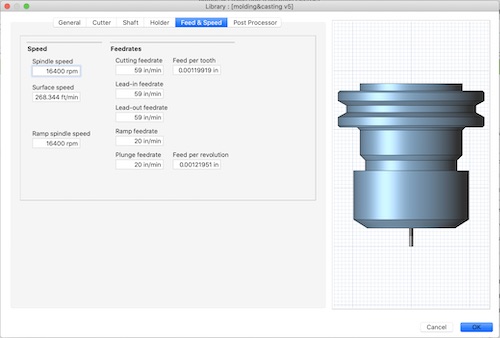
When it came to the Feed & Speed tab, I referred to Bantam Tools’s Feeds and Speeds sheet that we had also used in week 4. I used the settings for Wax under the Advanced Section.
This created the bit in my library:
Here is what toolpath for the face cut looked like. The lines were very small as the bit was small, so I later decided to switch to a 1/8” bit instead.
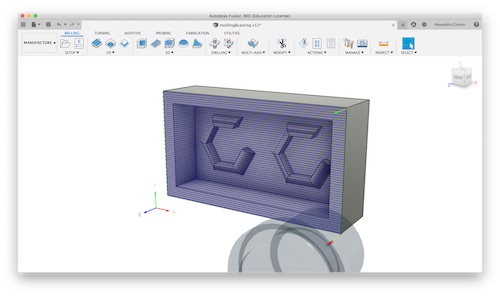
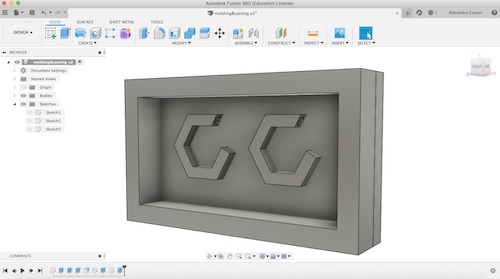
As you can see, I also filleted the edges of my earrings upon the advice of past FabAcademy graduate Will Knight, who advised this so I could show I knew how to use the 3D settings instead of just 2D. One of my instructors, Mr. Rudolph, later told me that I did not necessarily need a face cut depending on the dimensions of my material. Additionally, I realized that if I wanted to mill my design in the Othermills, I needed to make it smaller. The dimensions of the bed in the Othermill was about 7in x 4.5in. Before filleting my edges and trying to create the 2D adaptive cut for the first time, I ran into issues of the simulation milling the entire back wall instead of milling around the shape of the earrings. Whenever I got back into the lab, Mr. Rudolph pointed out that it was because my design consisted of multiple Bodies. I grouped all the bodies using Modify -> Combine to fix this issue.
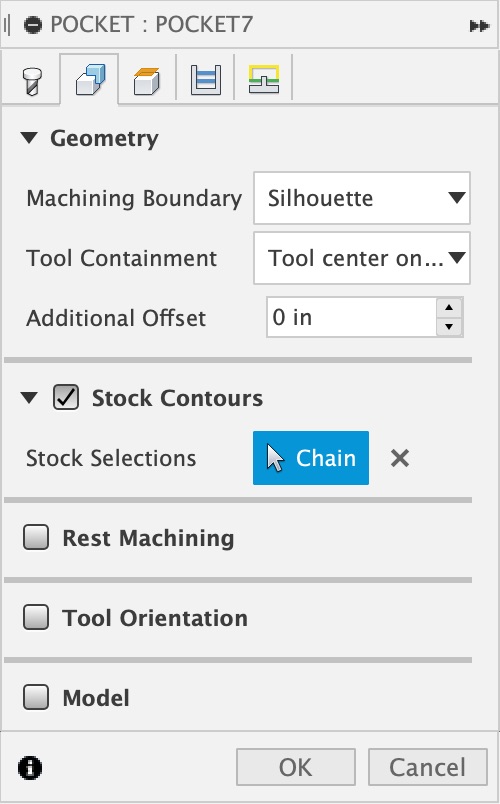
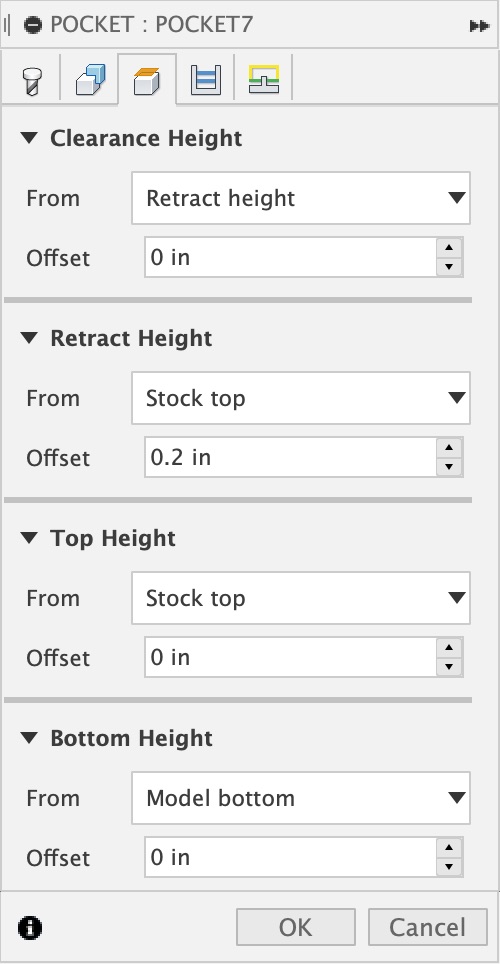
The next step was creating the 3D toolpath. I was advised to do a 3D pocket clearing. I first created a new tool, named 1/8”Othermill. My peer Elaine Liu was kind enough to provide me with the dimensions of the bit, as she was also using it.
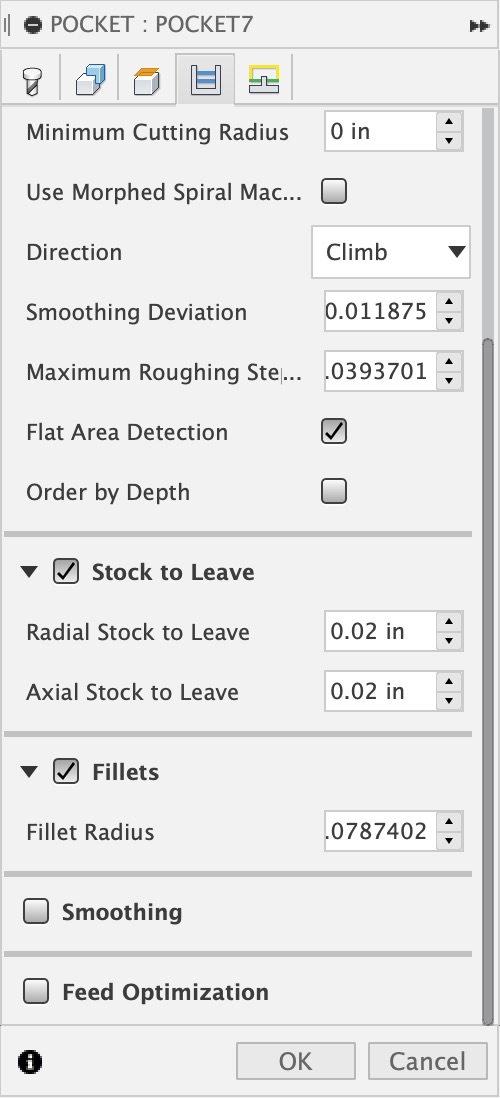
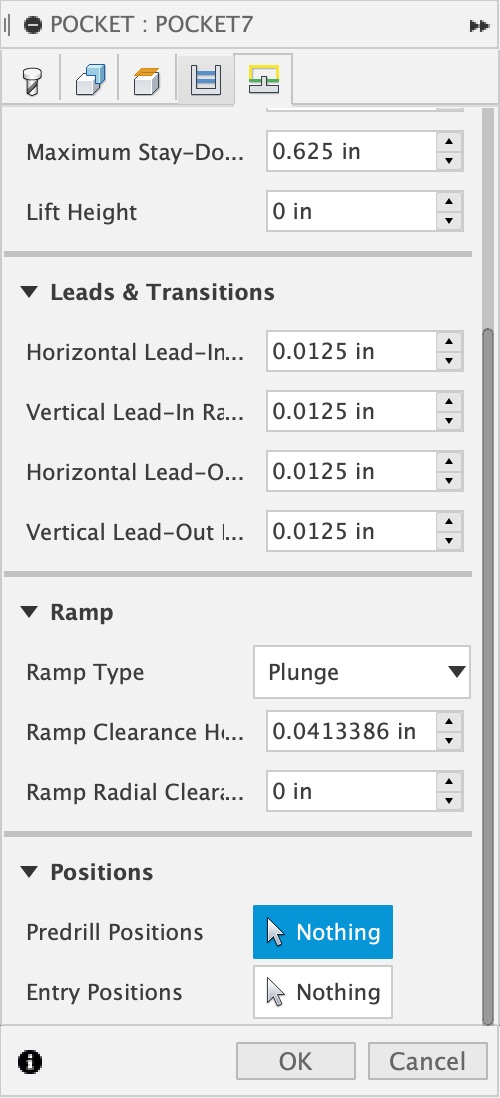
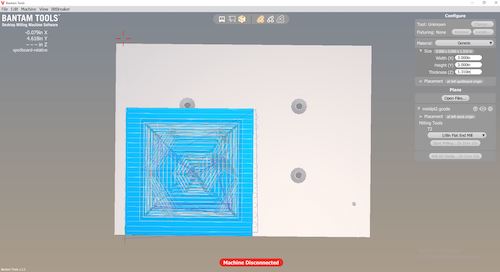
Here are the settings I used for the 3D pocket clearing.
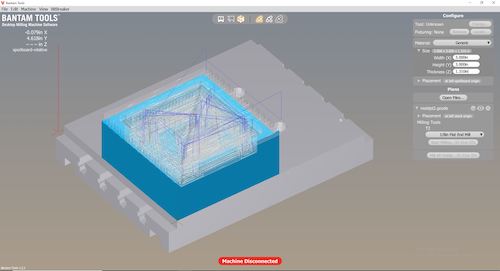
Here is the simulation of my toolpath:
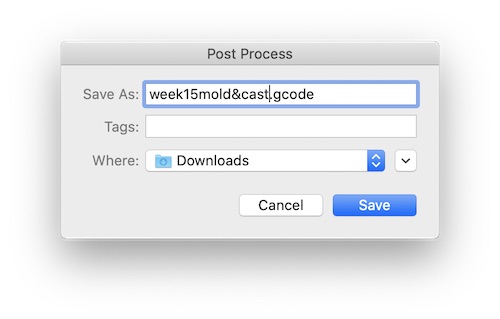
I then went to Post Process to save my toolpath. I changed the Post Processor to Othermill.

This allowed me to save the gcode.
You can download the regular file of this design here.
The next step was milling. I decided I wanted to mill my mold out of wax. The only thing was, our lab only had 3x3 in blocks of wax. This forced me to scale down my design and delete one of the earrings. I would just cast it twice, which was fine. After editing my design and redoing the toolpaths in accordance with my material (3x3x1.31 in), I downloaded the new gcode and opened it in Bantam Tools. I then created the size of my generic material and imported my toolpaths. I selected the 1/8in Flat End Mill as the tool.
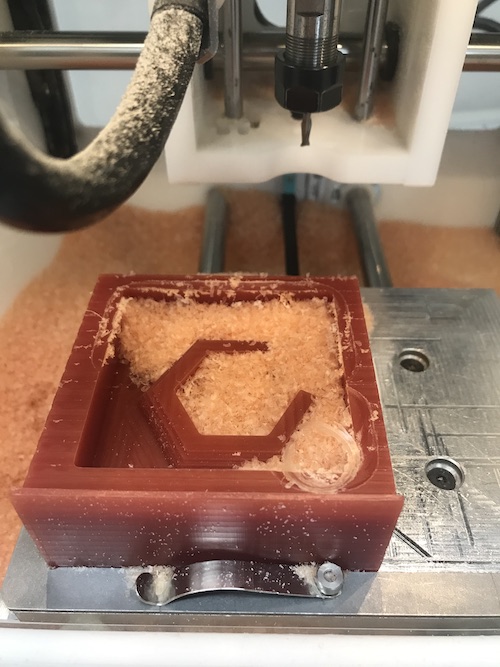
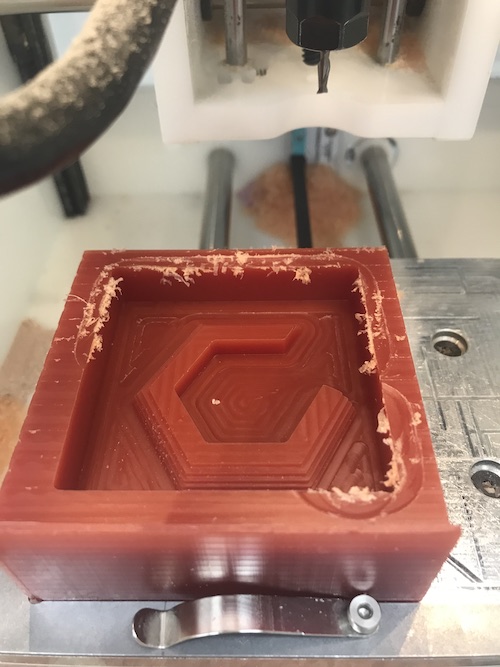
I used the Nitto tape to tape my wax in the bottom left corner as usual. Near the end of the milling job, the bit collet ran into the wax and the job had to be stopped. Luckily, enough of the mold had been milled that it looked to be usable. I had to vaccuum out the milling machine, but here is the final mold:
Creating the Mold
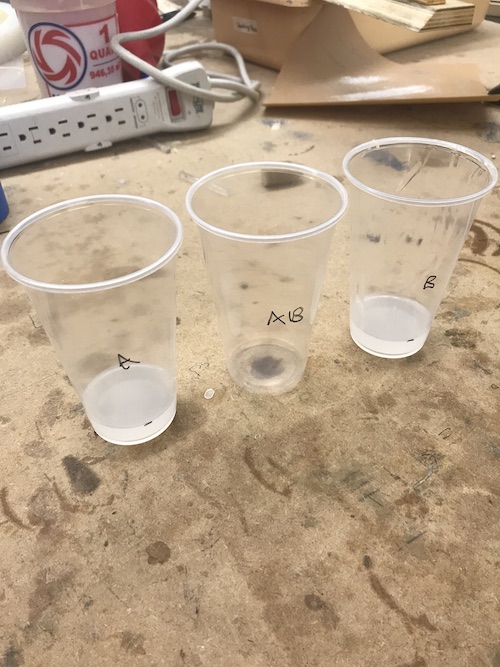
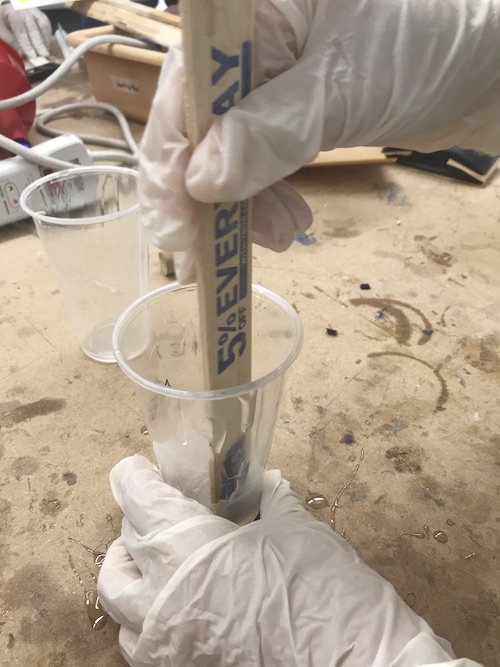
The next step was creating the mold from the wax. I used Smooth-On EcoFlexto do this. I first put equal parts of A and B into their own cups. I then mixed them at the same time into a different cup and mixed them together. After thoroughly stirring the mixture, I poured it into my milled wax.

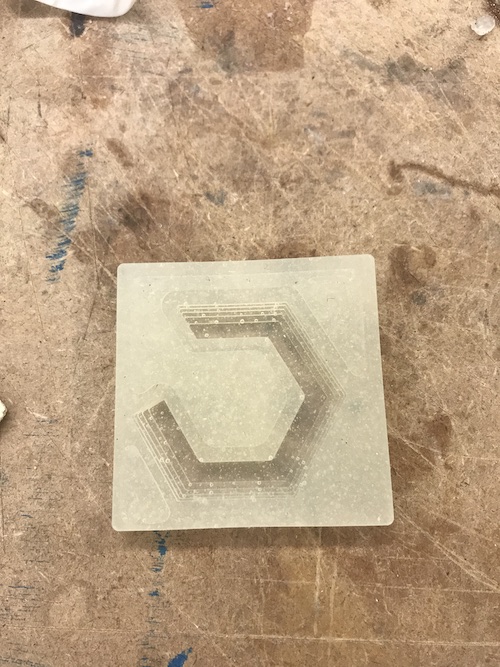
It only took about 10-15 minutes to dry. I then carefully peeled it off the wax, and voila, my mold!
Creating the Cast
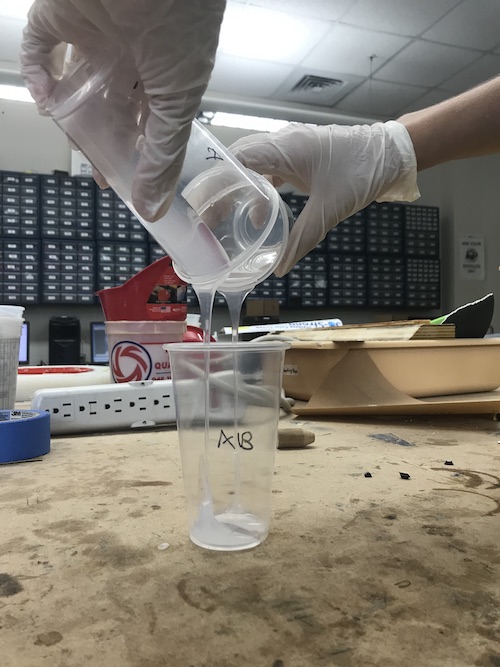
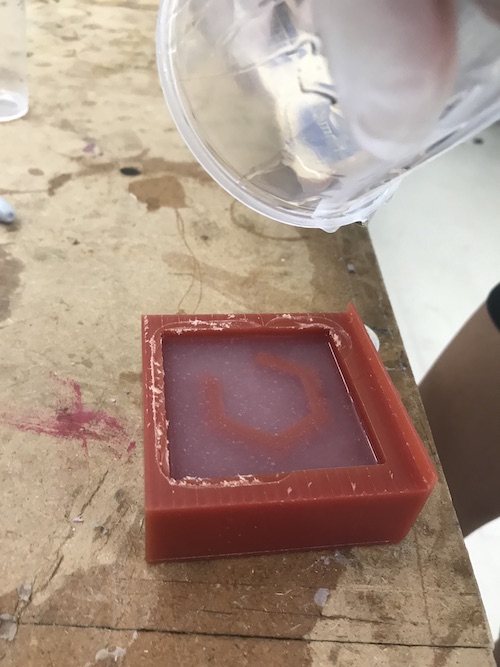
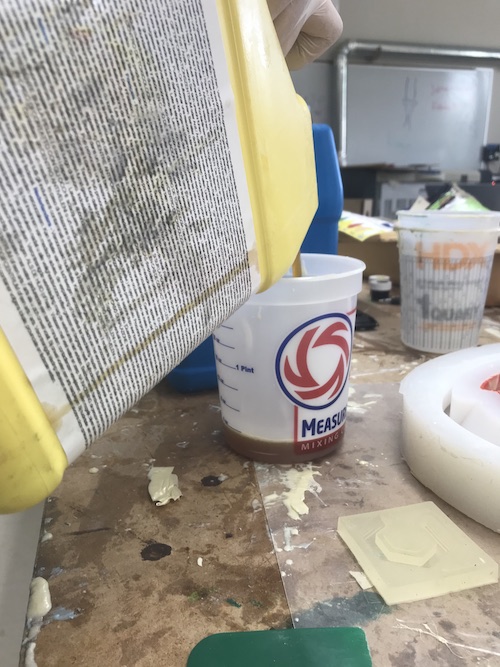
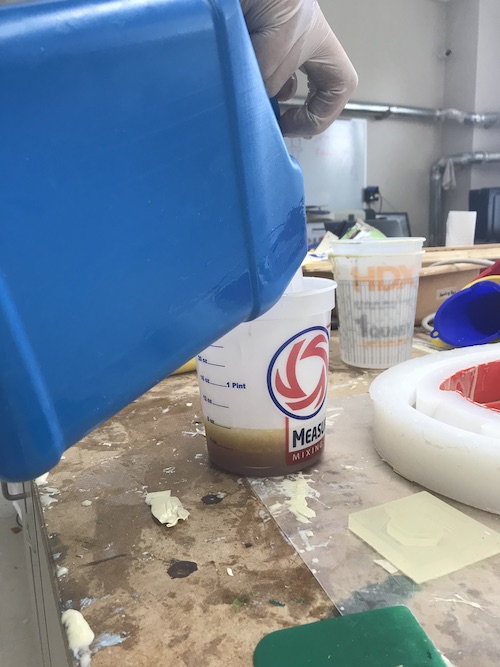
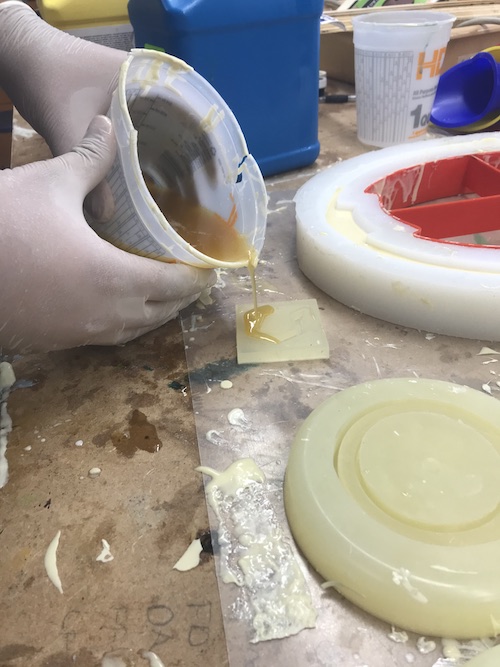
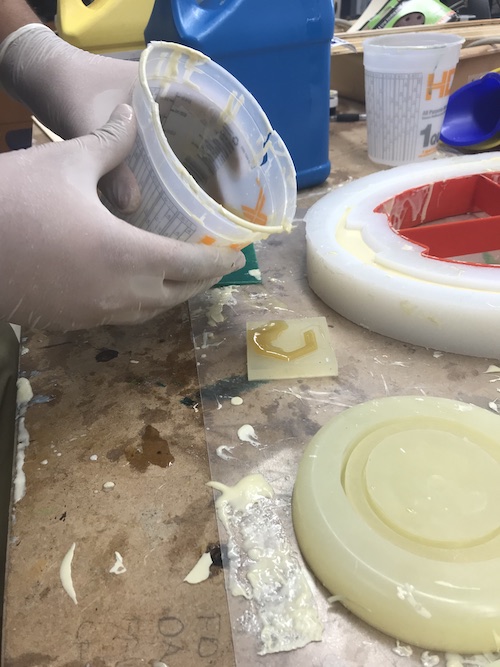
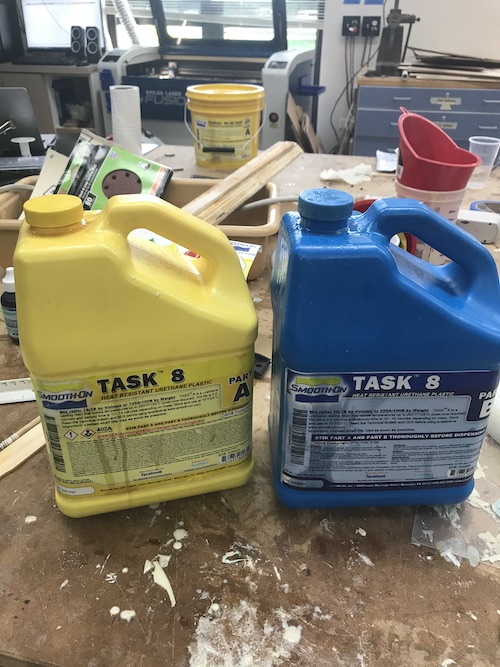
The last step was casting my design. I used Smooth-On Task 8 for this. To create the mixture, part A was poured into a bucket, then an equal amount of part B was added into the bucket. After being quickly but thoroughly stirred, the mixture was poured into my mold. It had to be stirred quickly because Task 8 sets quickly.
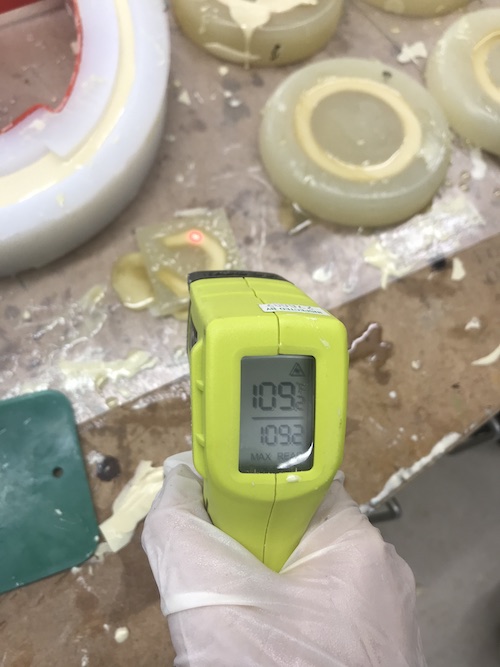
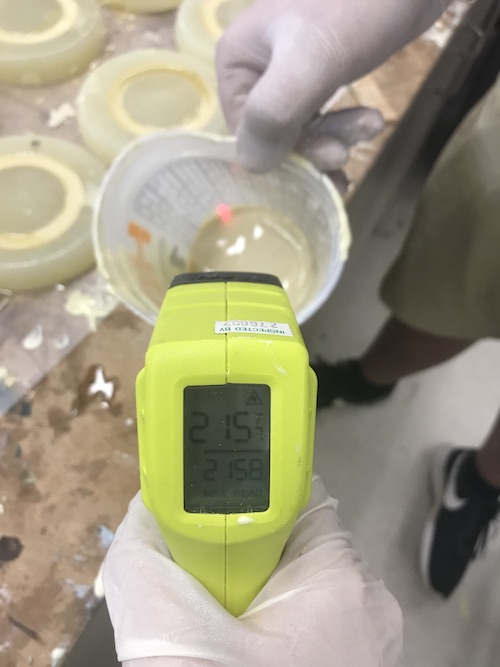
I took the temperatures of my cast and the bucket with the Task 8 mixture, and you can see that it heated up quite a bit. I had to wait until the cast was well below 80˚ to take it out of the mold.
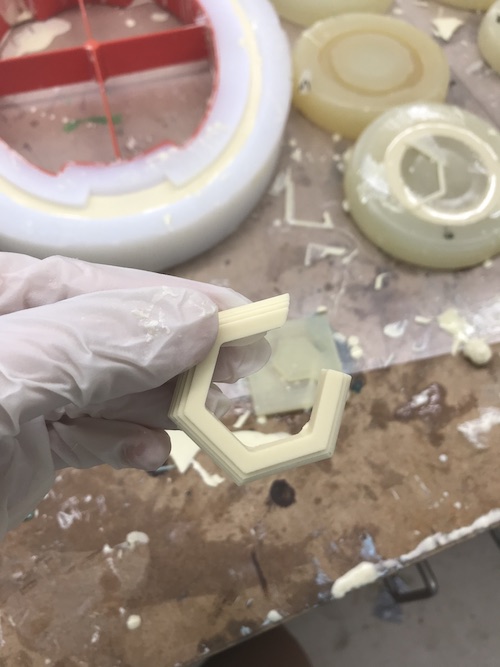
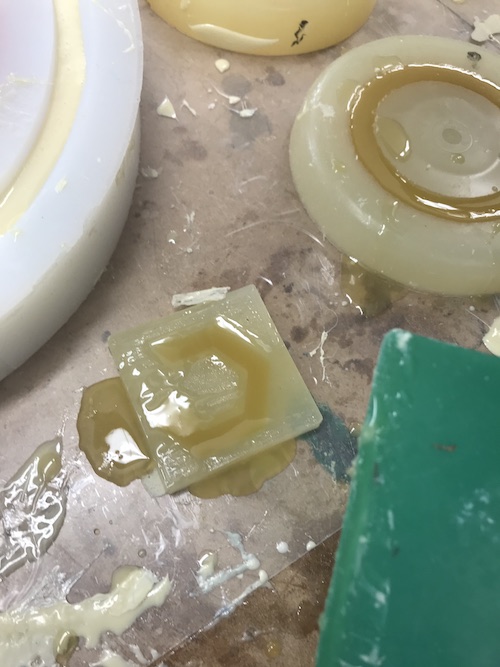
Here is my final cast and all three of the components together:
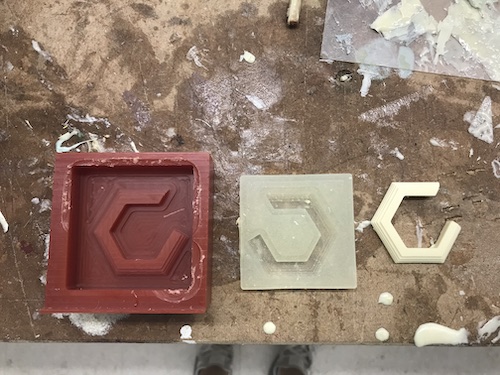
Though I do not have the earring backs yet, you can see how the earring would look!
I really liked learning how to mold and cast this week. I had never used the Othermills for something other than milling PCB boards,so using the wax was interesting. In addition, I liked using the EcoFlex and Task 8 and learning about what makes them different in the group project. My biggest take away for this week was that when you need numerous amounts of something, molding and casting is an efficient way to create those objects. 3D printing is good, but can take lots of time and is prone to errors. I will keep this into account whenever I look towards creating components for my final project.
To download my files for this week, click here.
Group Assignment
The group assignment for this week was to review the safety data sheets for each of our molding and casting materials, then make and compare test casts with each of them. You can view the whole process on our group page here.