16: wildcard week
The assignment for this week was to design and produce something with a digital fabrication process (incorporating computer-aided design and manufacturing) not covered in another assignment, documenting the requirements that my assignment meets, and including everything necessary to reproduce it.
Our FabLab has an embroidery machine, the Brother 6-Needle Home Embroidery Machine, so I decided I wanted to learn how to use it for this week. Because we were not back in the lab yet, I learned how to use to software and created my design during this week. I will embroider the design later on and return to update my documentation.
Throughout this process, Katie Chai‘s documentation was very helpful in guiding me.
Ink/Stitch
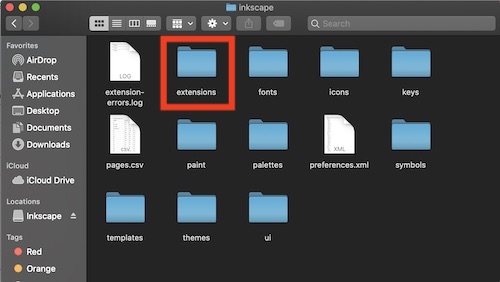
The first software was Ink/Stitch, “an open source machine embroidery design platform based on Inkscape.” I downloaded the software on my Mac by following these steps. I put the download into the ‘extensions’ folder in my Inkscape folder.
Because I had a Mac, I had to use my Terminal to download Ink/Stitch. The commands given to do so were:
$ cd ~/.config/inkscape/extensions
$ curl -LJO https://github.com/inkstitch/inkstitch/releases/latest/download/inkstitch-refs-tags-v1.28.0-osx-en_US.zip
$ unzip inkstitch-refs-tags-v1.28.0-osx-en_US.zip
My Mac did not like the change in directory or the $ and thus did not accept just copying and pasting the commands. I located where my extensions folder was and attempted to change the directory to it, but for some reason the Terminal was saying that it did not recognize Applications. Thus, I did cd Downloads to change the directory to my Downloads folder. I used the curl command to download Ink/Stitch by taking out the $ and just using curl -LJO https://github.com/inkstitch/inkstitch/releases/latest/download/inkstitch-refs-tags-v1.28.0-osx-en_US.zip. From there, I decided not to unzip it yet because it was in the wrong folder. I copied and pasted the zip file into my extensions folder, and manually unzipped it from there. It was tedious, but it worked. This then added ‘Ink/Stitch’ as an extension in Inkscape.
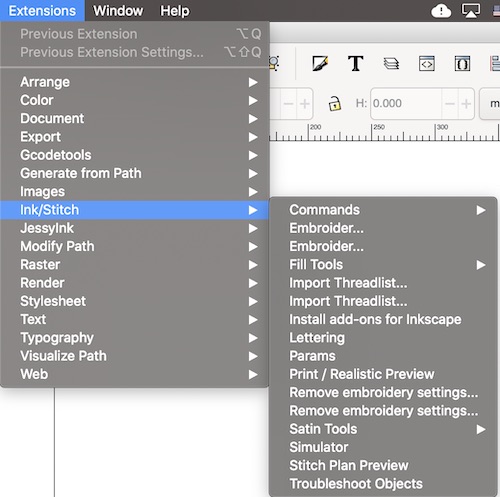
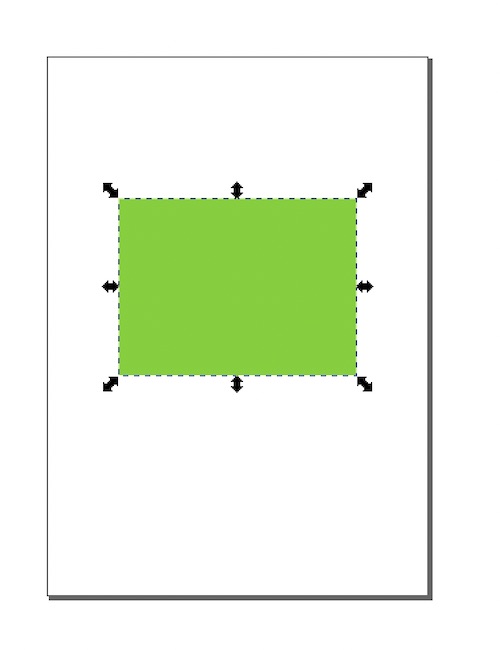
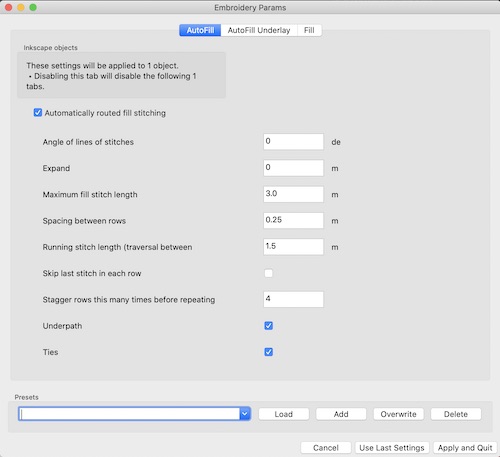
To begin using the Ink/Stitch plug-in, I followed the Basic Usage tutorial. I first drew a shape and changed the fill to this sick green. I selected the rectangle I drew and clicked Object -> Object to Path. I then clicked Extensions -> Ink/Stitch -> Params. This popped up this menu of parameters. I decided not to change anything to see how the default ran and selected Apply and Quit.
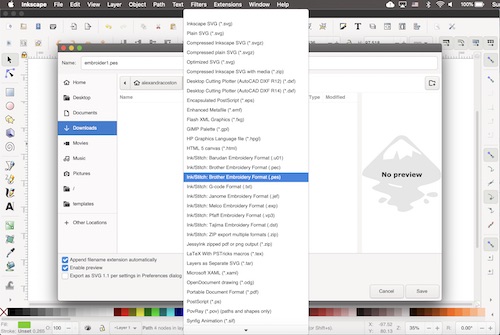
This brought up a simulation of the embroidery. I played around with the slider to view the simulation and also watched it play all the way through. From there, I closed both of those windows and clicked File -> Save As to save it. I renamed the file and put it in my Downloads folder. I changed the file type to .pes from the guidance of one of my instructor’s, Dr. Taylor, on Katie Chai’s site.
Once I had completed this basic tutorial, I went on to the Workflow to create my own design. It provided this simple graphic to describe the process:

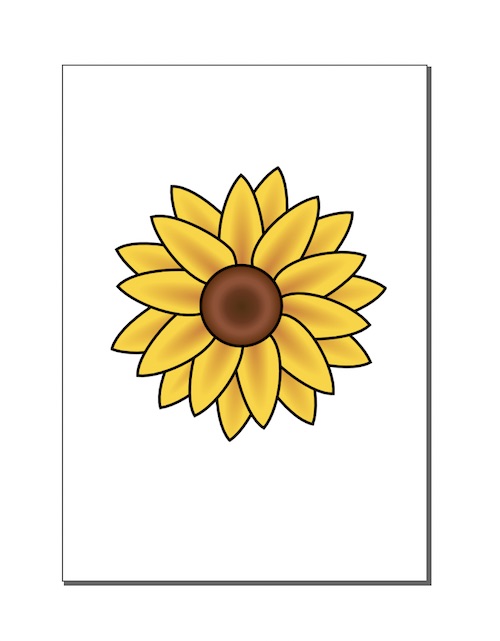
I chose a simple image of a sunflower from Google to use because I like plants and COVID-19 has sparked my recent passion for gardening. I put the image in Inkscape.
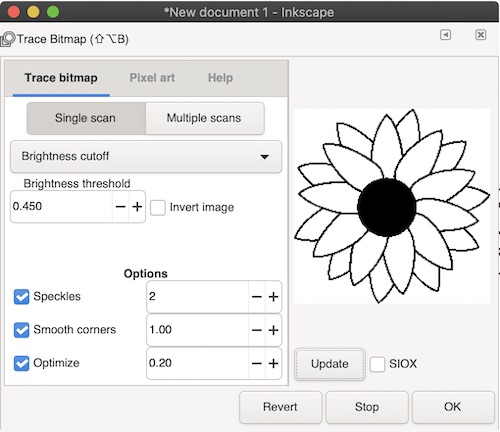
From there, I selected the image and clicked Path -> Trace Bitmap. I did a single scan with Brightness cutoff and clicked OK. This created a simple outline of my image.
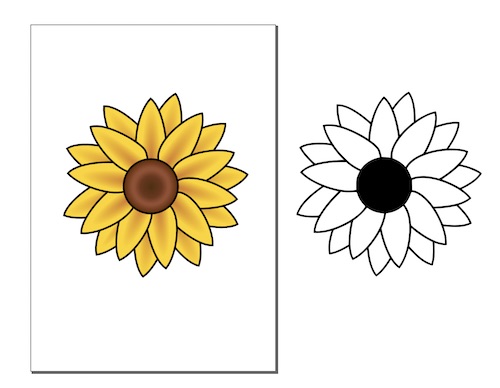
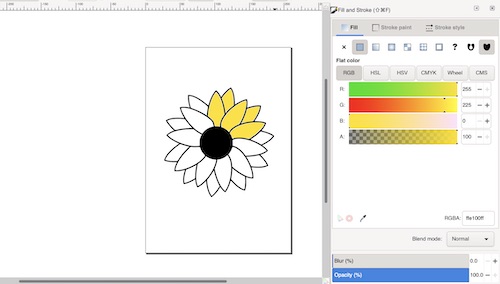
From there, I deleted the original image and decided to use the paint bucket to add fill to the petals so that I could embroider two colors.
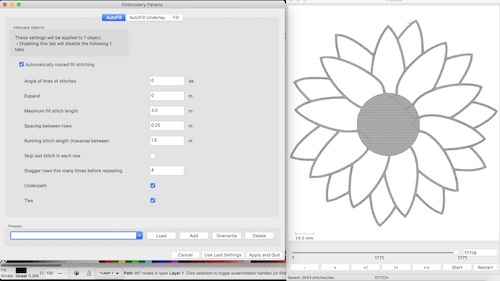
Once the flower was done, I needed to create the embroidery file. I selected the whole thing and grouped it by clicking Object -> Group. I then made the Object to Path and clicked Params to run the simulation. I left the default settings and clicked Apply and Quit. You can see the simulation here:
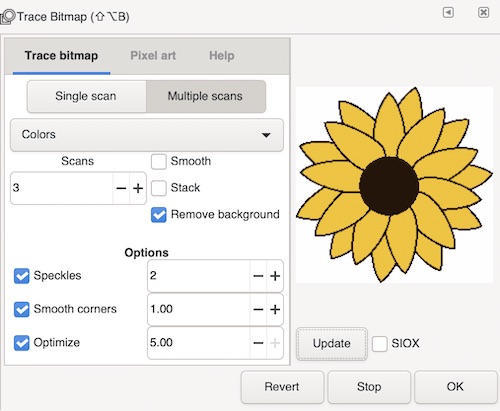
I then attempted to save the file in the correct format as I had done for the tutorial. Whenever I tried to do so, however, I was met by the error path875: error: Object path875 has an empty 'd' attribute. Please delete this object from your document. I decided to try to use the Trace Bitmap command again, but this time include the color instead of adding it myself. I did this by loading in the original image, clicking Path -> Trace Bitmap and using these settings:
Whenever I tried to create the embroidery path, however, I was met with the error path1228: error: Fill: Shape is not valid. This can happen if the border crosses over itself. After Googling the error, I found that other people had the issue of the Trace Bitmap creating invalid shapes. I went back to my original outline of the sunflower with just the black tracing of it and was able to save it correctly.
SewArt
I followed the advice of Dr. Taylor on Katie Chai’s site and learned how to use another software called SewArt. SewArt describes itself as “an embroidery digitizer for converting raster image files (.jpg/.png, etc), vector images (.svg, .emf), and clipart into embroidery file formats.” The program is paid, but they offer a 30 day free trial. I downloaded the trial here. Because I was downloading the software on my Mac, I first had to download and install emulation software. If I wanted to use one of the free utilities they suggested–WineBottler, WineSkin, or PlayOnMac–I also needed to first install XQuartz. I installed XQuartz here. I then attempted to download WineBottler, but learned that it was not compatible with the Catalina 10.15, which was the model of my Mac. I decided to try WineSkin, which I downloaded here. I attempted to follow the instructions for how to download SewArt and open it, but again ran into trouble. I tried the last option, PlayOnMac, but my Mac would not even allow me to open the program after installation. I decided I would wait to try SewArt until I got back to the lab and could use a PC.
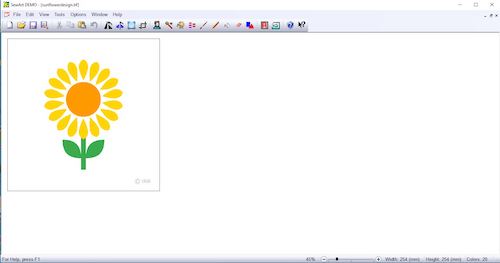
Once I got back into the lab, I downloaded SewArt on the Windows. I followed to instructions to install it. Because it was the 30 day trial, I was allowed to use only up to 6 colors for my design. This was fine with me, so I chose to embroider a different sunflower with 3 colors that I found on Google. First, I put the image into SewArt.
I then went to Tools -> Convert to Stitches to change the image into a stitches for the embroidery file. I then clicked Auto-Sew Image to automatically generate the stitches. After a couple minutes, it created the stitches for each part of the design. It picked up some lighter shades of colors that weren’t there or were not necessary, so I deleted all the colors that were not the same shades of my three colors: yellow, orange, and green.

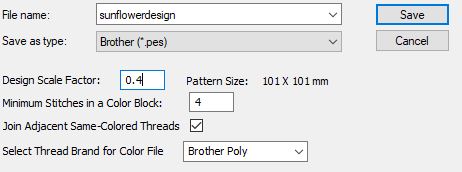
I then saved the file. It originally saved it as a .tif file, but I was immediately prompted to save it as a different file type afterwards. I saved it as a .pes for our embroidery machine. I also scaled it down so that it would be the size I wanted. It automatically saved it as four different files: .tif, .pes, .saf, and .txt.

The next step was to get the design to the embroidery machine. I did this by uploading the file to a USB drive, which was then plugged into the machine. One of my peers, Sydney Gee, had used the embroidery machine before and kindly shared a workflow she had previously created. I used this in guiding me through the process of using the machine.
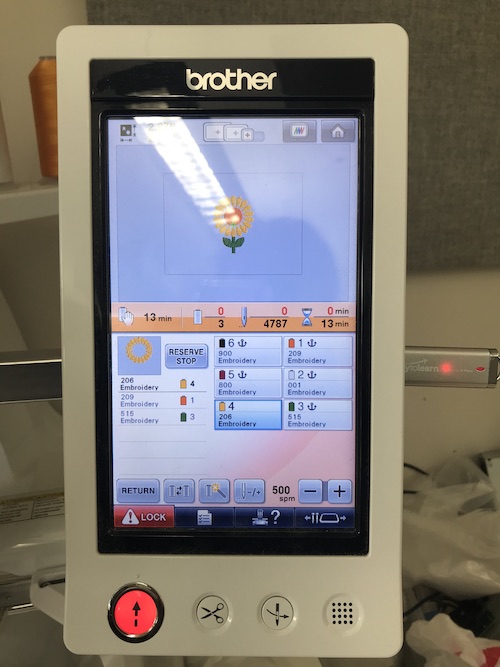
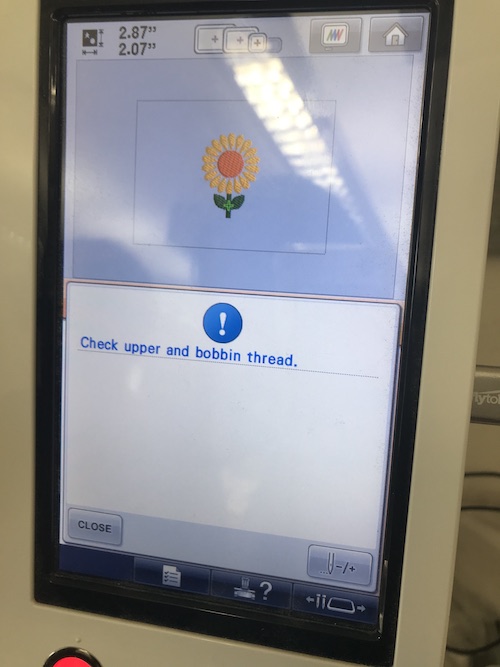
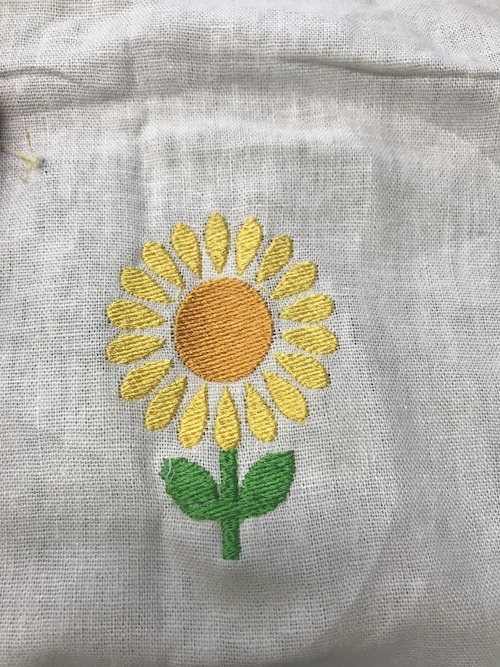
Firstly, I got a piece of scrap fabric from the lab and selected an embroidery hoop. I placed the fabric inside the hoop and screwed it together tightly, then inserted the hoop into the machine. I plugged the USB into the machine and downloaded my design. I put the three colors of my design into the machine and assigned the colors to their number. The most difficult part of using the machine was maintaining the tension of the strings and getting the bobbin to work. Below you can see my design uploaded on the embroidery machine with the colors assigned, in addition to the error screen I received when the machine sensed that something was not right. Here is a video of the embroidery machine working and my final result!
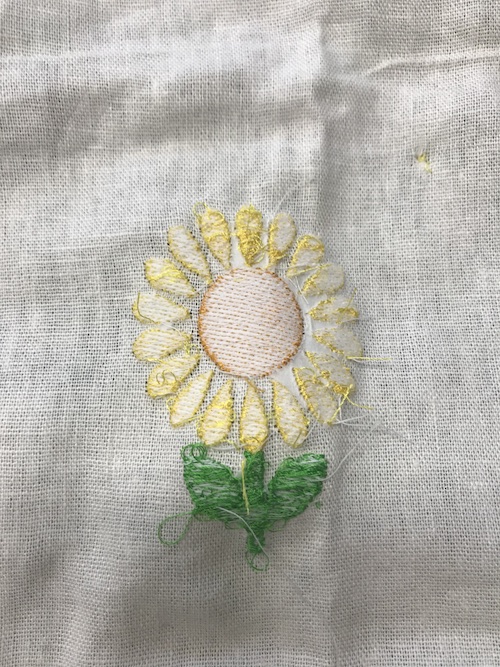
Here is a video of the embroidery machine working and my final result! I peeled off the paper backing, leaving the patch.
My biggest take away from this week was learning new CAD and a new machine in the lab that was rather different than the other machines I was use to using. The Ink/Stitch software was faulty and prone to errors, but I learned how to navigate the interface. SewArt, though normally a paid software, was a lot easier to use. Using two softwares allowed me to compare what I did and didn’t like about each, and which I felt more confrotable using. Additionally, I became familiar with the embroidery machine. I learned how to create a design, set up the machine, and implement my design on the machine.
To download my files for this week, click here.