Week's Assignments
Design and produce something with a digital fabrication process
(incorporating computer-aided design and manufacturing) not covered in another assignment,
documenting the requirements that your assignment meets,
and including everything necessary to reproduce it.
I chose embroidery as the wildcard assignment.
Marta (Fab academy 2018 graduate)
started working with digital embroidery in Fablab Oulu last year.
I benefited a lot from her wisdom and experience during this week’s assignment.
Preparing the Design
I found a JPG image from the internet,
and I made sure that I have the right to use the image
by filtering the image results in Google’s advanced image search options,
as shown in Fig. 1.
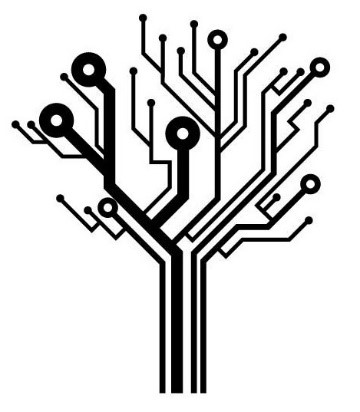
My chosen image is shown in Fig. 2.
 Figure 1.
 Usage right filter.
 Figure 2.
 The JPG image chosen as the design.
The first step of the preparing process is the same as what I did in ‘Computer-aided Design’ and ‘Computer-controlled Cutting’ weeks’ assignments:
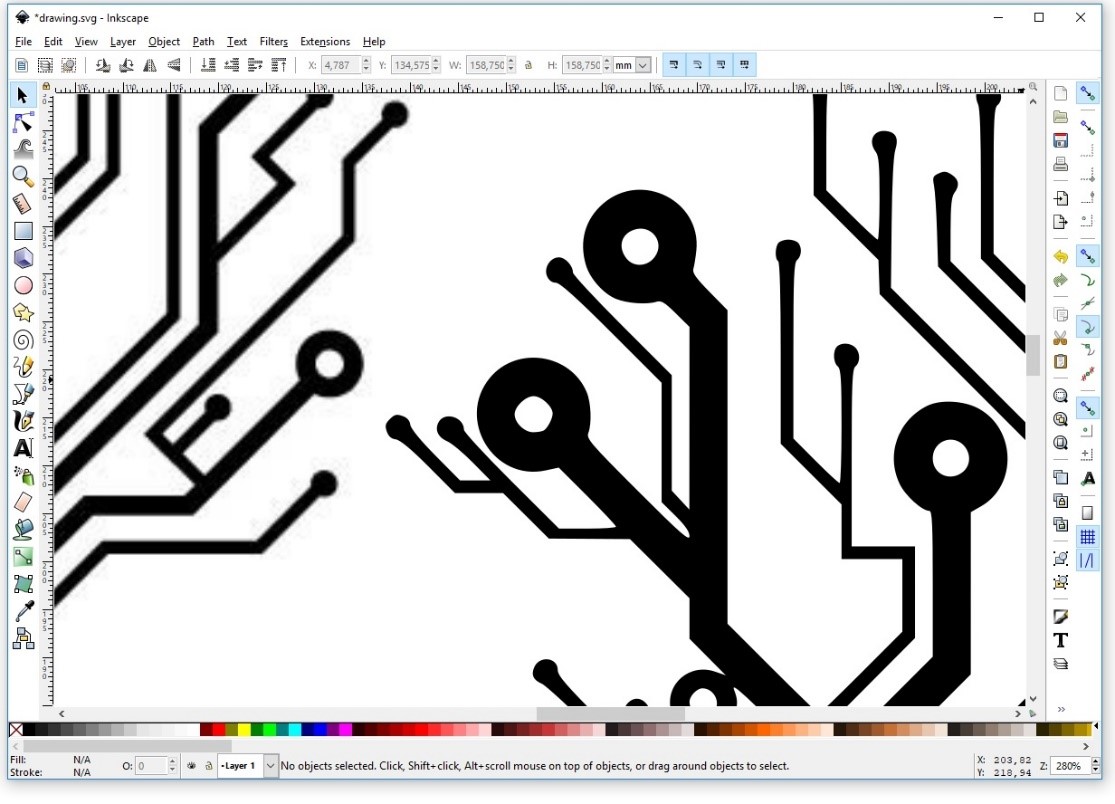
I made a vectorized image using ‘Inkscape’. Here are the steps again:
1. Dragging and dropping the image into the Inkscape.
2. Opening Trace Bitmap from Path menu.
3. Checking the Live Preview to see the image.
4. Playing around with Brightness cutoff to see which setting is better for the image. It is actually a threshold that determine whether the pixel should be considered black or white.
5. Setting the Edge detection. This setting adjust the darkness or thickness of the edge in the output.
6. Setting the Color Quantization. It tries to find edges where colors change.
The setting here determine how many colors output will have.
7. Setting the Brightness steps, this let you to set the number of scan you want to have in output.
8. The output vectorize image will show exactly on top of graphical image. I dragged it to somewhere else.
9. Different layers are stacked in the output image. In order separate the layers, I did right click on the vectorized image and selected Ungroup.
 Figure 3.
 The vectorized image.
In the next step, the vectorized image should be converted to stitches for the embroidery
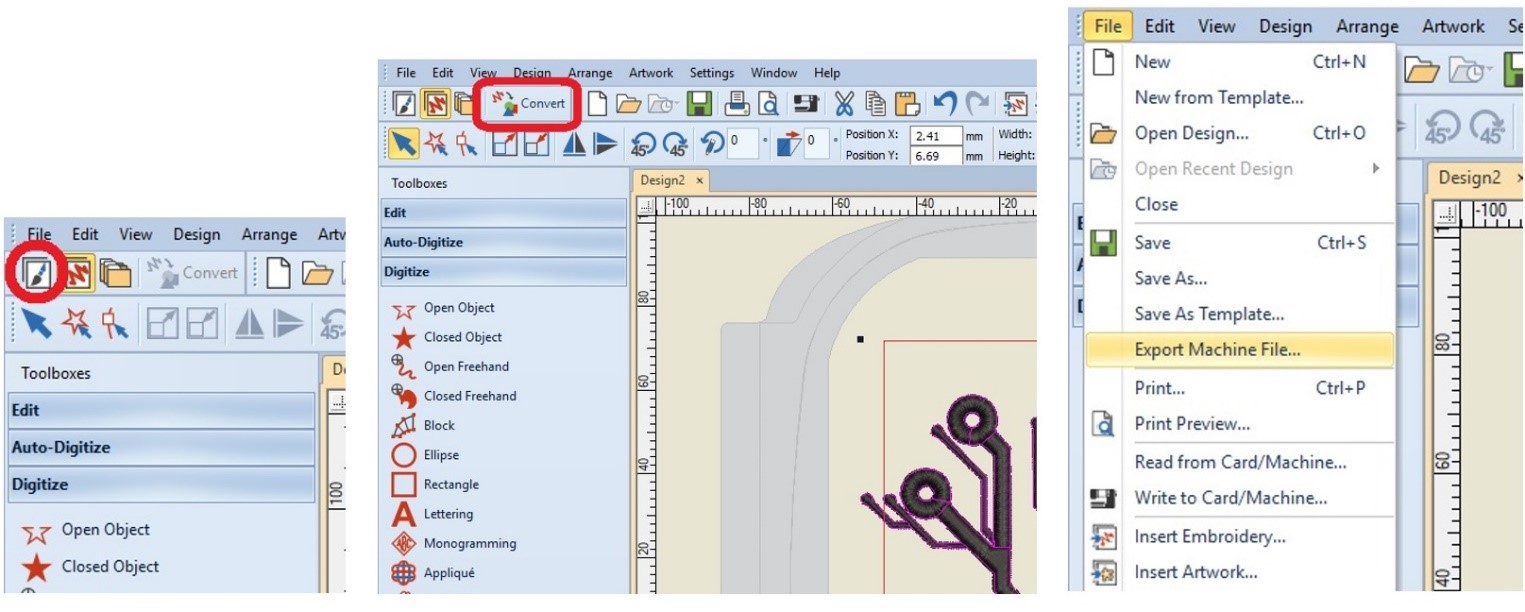
machine. For converting pictures into stitches, I used ‘Convert artwork to embroidery’
in ‘Master BERNINA Embroidery Software 8’. The icon can be found from the artwork canvas.
Click on the artwork canvas icon to switch to the corel side of the embroidery software.
To add the image, click on the ‘Select artwork’ icon,
navigate to the location of the vector image, click on ‘import’ and then press Enter.
It is then possible to resize the image, if needed.
The software will determine the stitch type and the stitch border.
These images will not go through a color reduction process,
but the colors can be edited later. Select the image and click on the ‘Convert’ icon.
The image is then automatically converted.
Now, colors, stitches, angles and object shapes can be edited.
 Figure 4.
 The stitches.
Preparing the Fabric
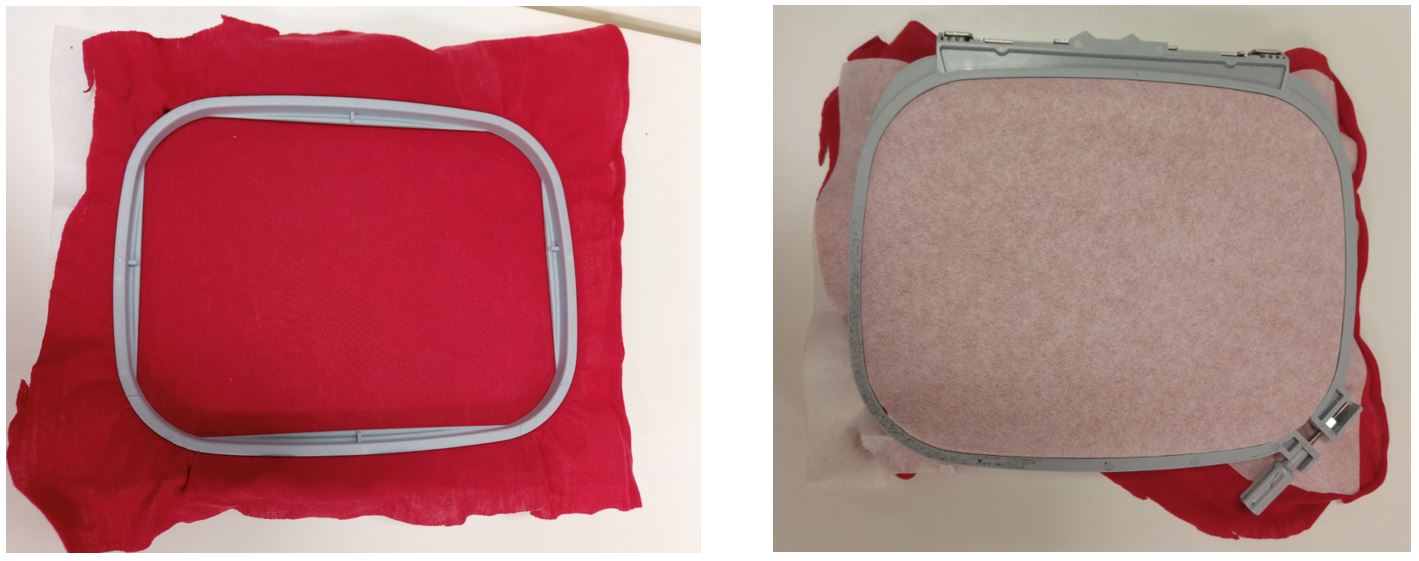
1. Place the stabilizer on the backside of the fabric.
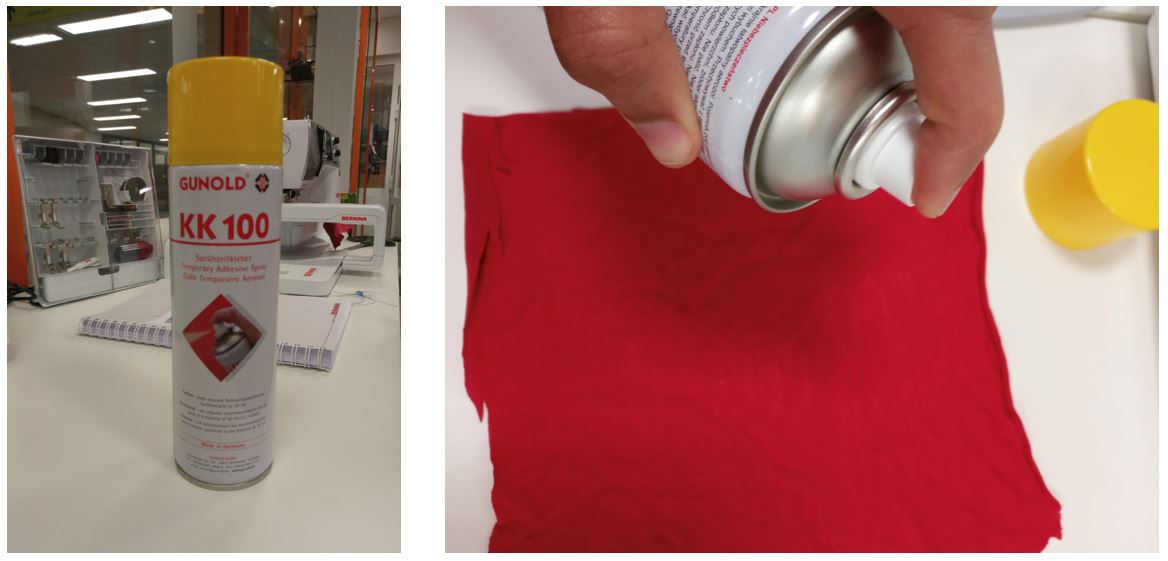
2. Use a temporary adhesive spray KK 100 to make sure that the stabilizer stays in its proper placement (Fig. 5).
3. Place the outer hoop on fabric’s backside (the side with the stabilizer), and the inner hoop on the front side.
4. Tighten the hoops together by tightening the screws.
5. Check if the fabric is completely stretched, if not back to step three!
 Figure 5.
 Fixing the stabilizer on the fabric.
 Figure 6.
 Front and backside of the prepared fabric.
Preparing the Machine
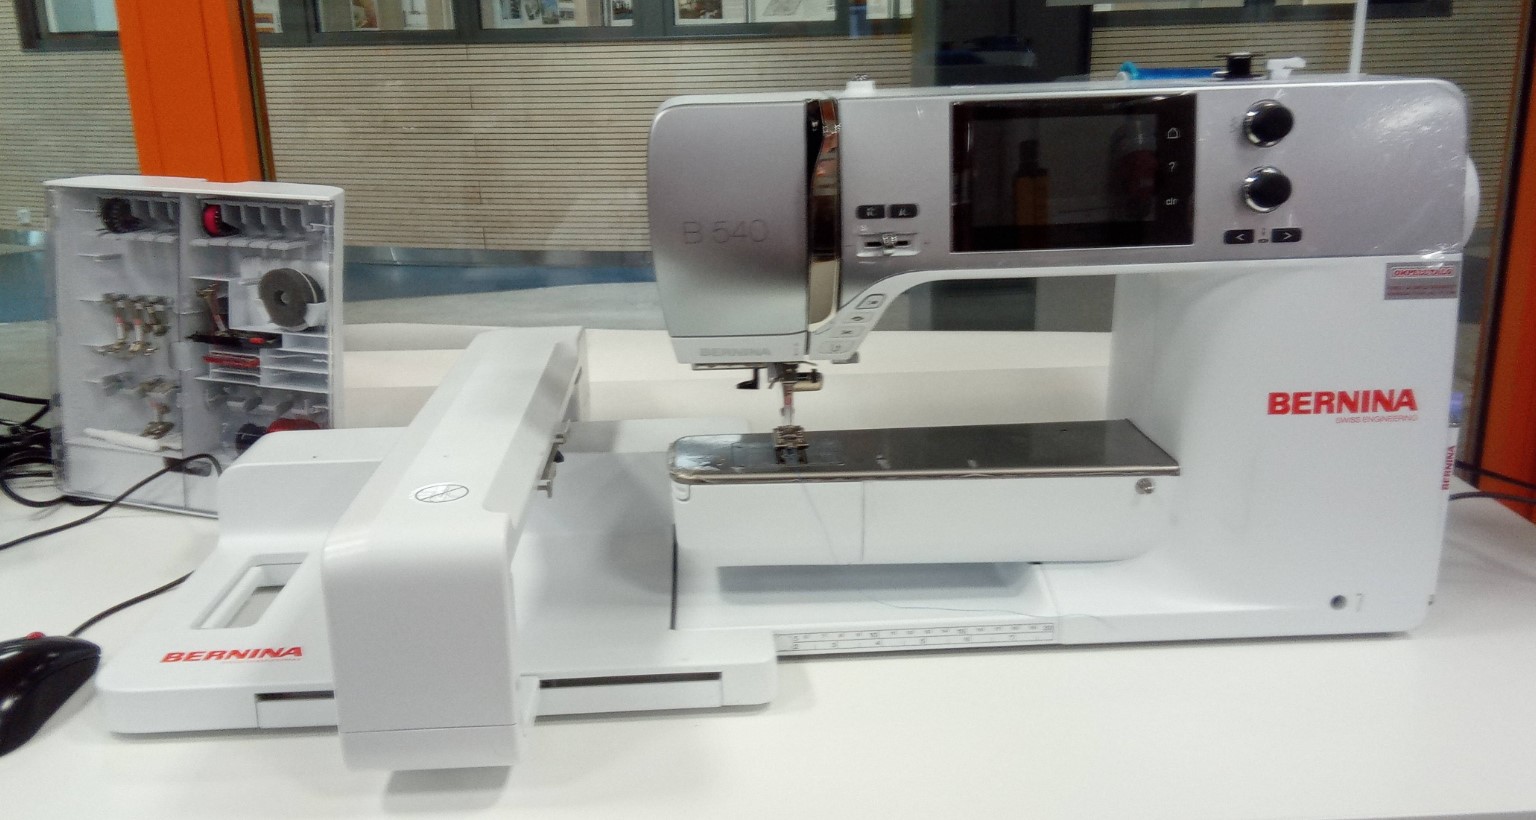
The machine that I used was a Bernina B540 (Fig. 7).
This was a different model form the one Marta had used (Bernina B580),
but both machines were from the same company; so, many similarities and some differences!
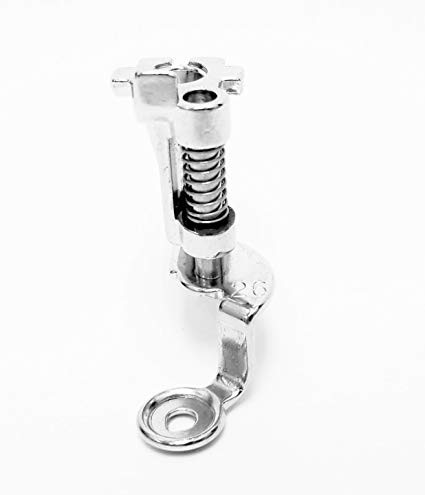
Presser foot for embroidery (nr 26) should be attached to the machine.
 Figure 7.
 Bernina B540.
Instructions for threading the upper thread is shown with numbers and arrows on the machine.
I followed the steps, as shown in Fig. 8, and at the end, threaded the needle.
 Figure 8.
 Threading the machine.
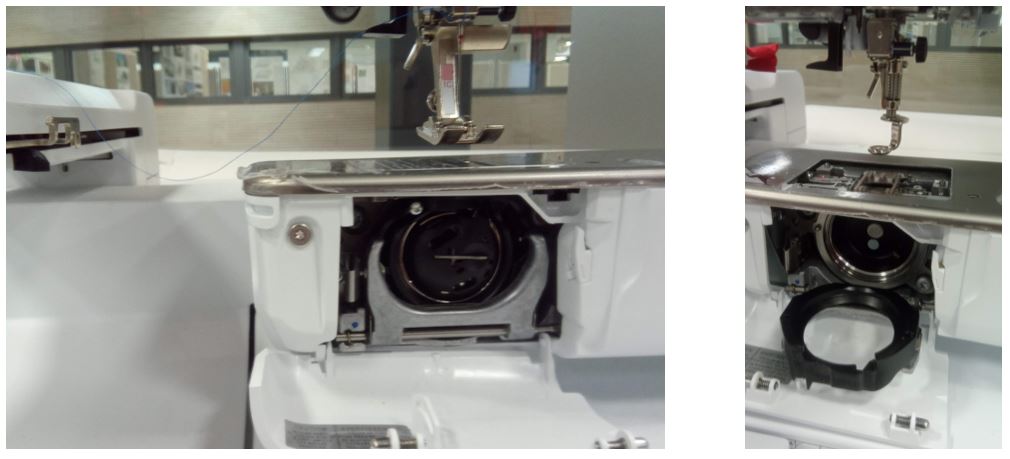
Then I inserted the bobbin in the embroidery bobbin case and thread the pigtail,
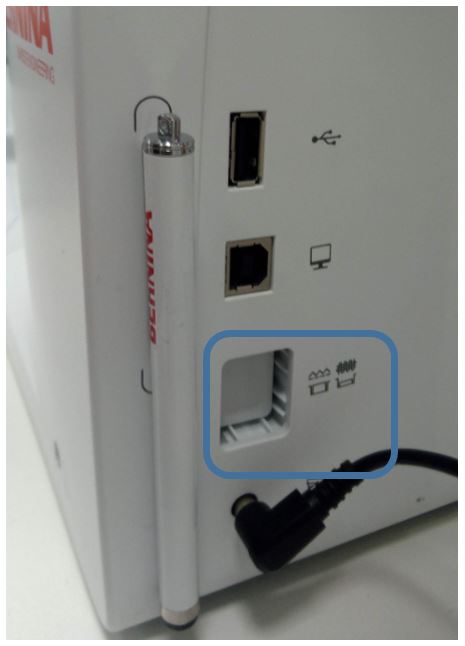
insert the bobbin case into the machine (Fig. 9), and dropped the feed dog.
 Figure 9.
 Preparing the bobbin.
I put the machine in embroidery mode (Fig. 10).
Also check that embroidery foot no.26 is attached to the machine (Fig. 11).
 Figure 10.
 The embroidery mode button.
 Figure 11.
 Embroidery foot no.26.
Setting Up the Machine
Since our design was going to be loaded from pen drive,
click on the pen drive icon and selected the design file.
 Figure 12.
 Loading the design.
On the left side of the machine’s screen,
a menu walks the user through the steps for setting it up before starting the work:
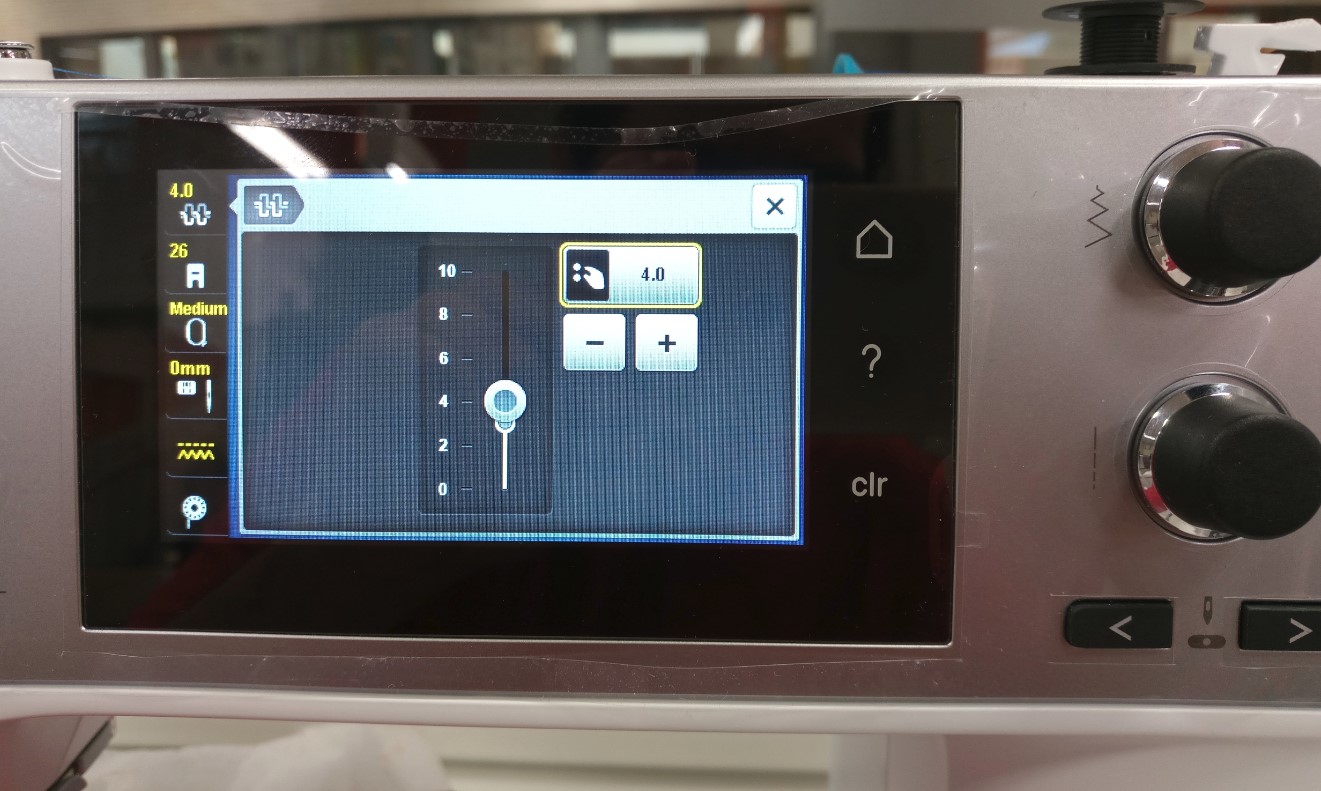
- Set the thread tension.
 Figure 13.
 Setting the thread tension.
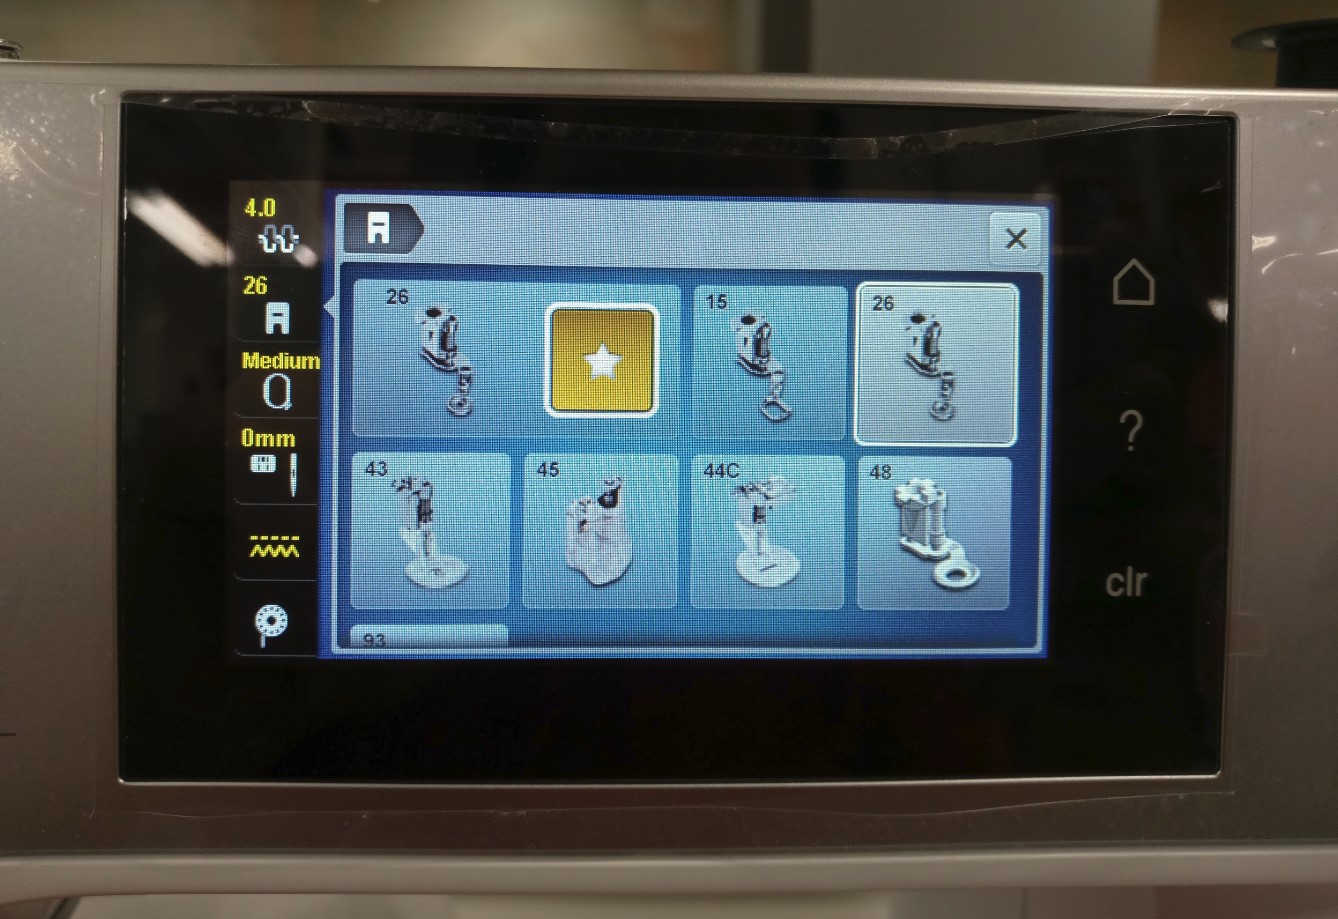
- Set the embroidery foot type to no.26.
 Figure 14.
 Setting the embroidery foot type.
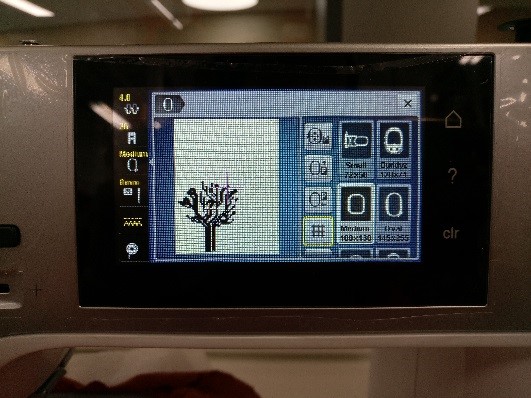
- Choose the correct hoop (Medium in my case).
 Figure 15.
 Choosing the hoop.
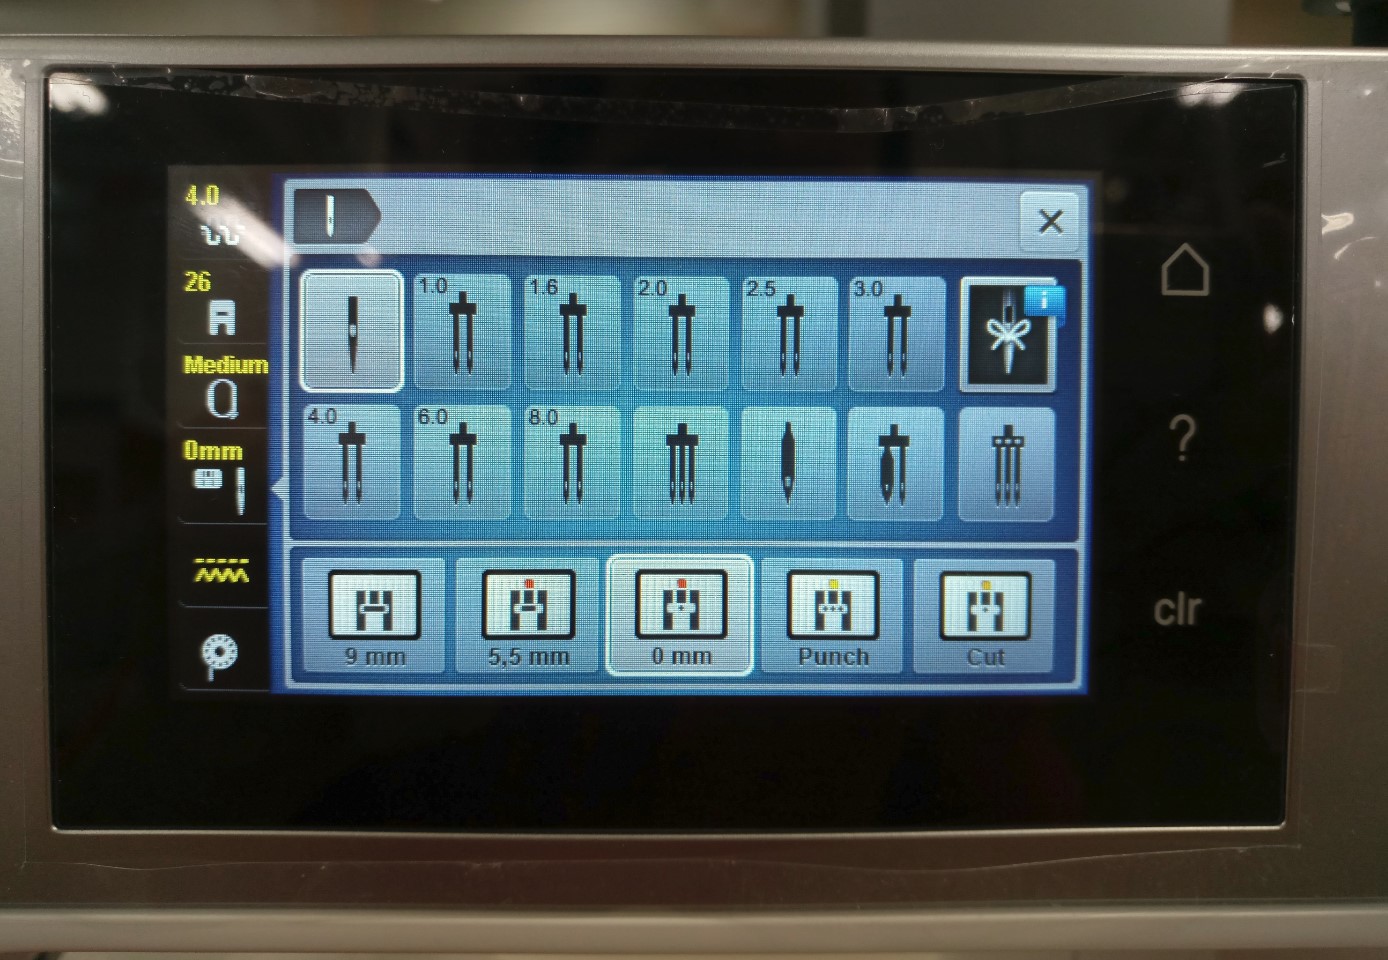
- Select the needle type.
 Figure 16.
 Selecting the needle.
When it is confirmed that everything is ready, the hoop moves to the starting point.
Then I lowered the press fit and started the embroidery (Fig. 17).
 Figure 17.
 The embroidery process.
Difficulties and Results
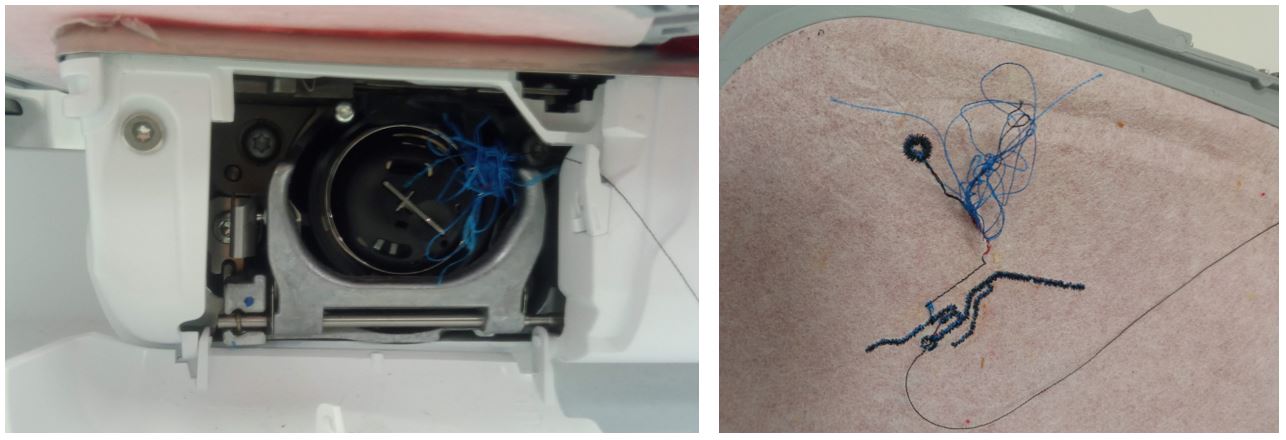
During the first trials, the machine would create a mess.
The thread would become tangled in the bobbin and on the backside of the fabric (Fig. 18).
 Figure 18.
 Thread being tangled during the embroidery process.
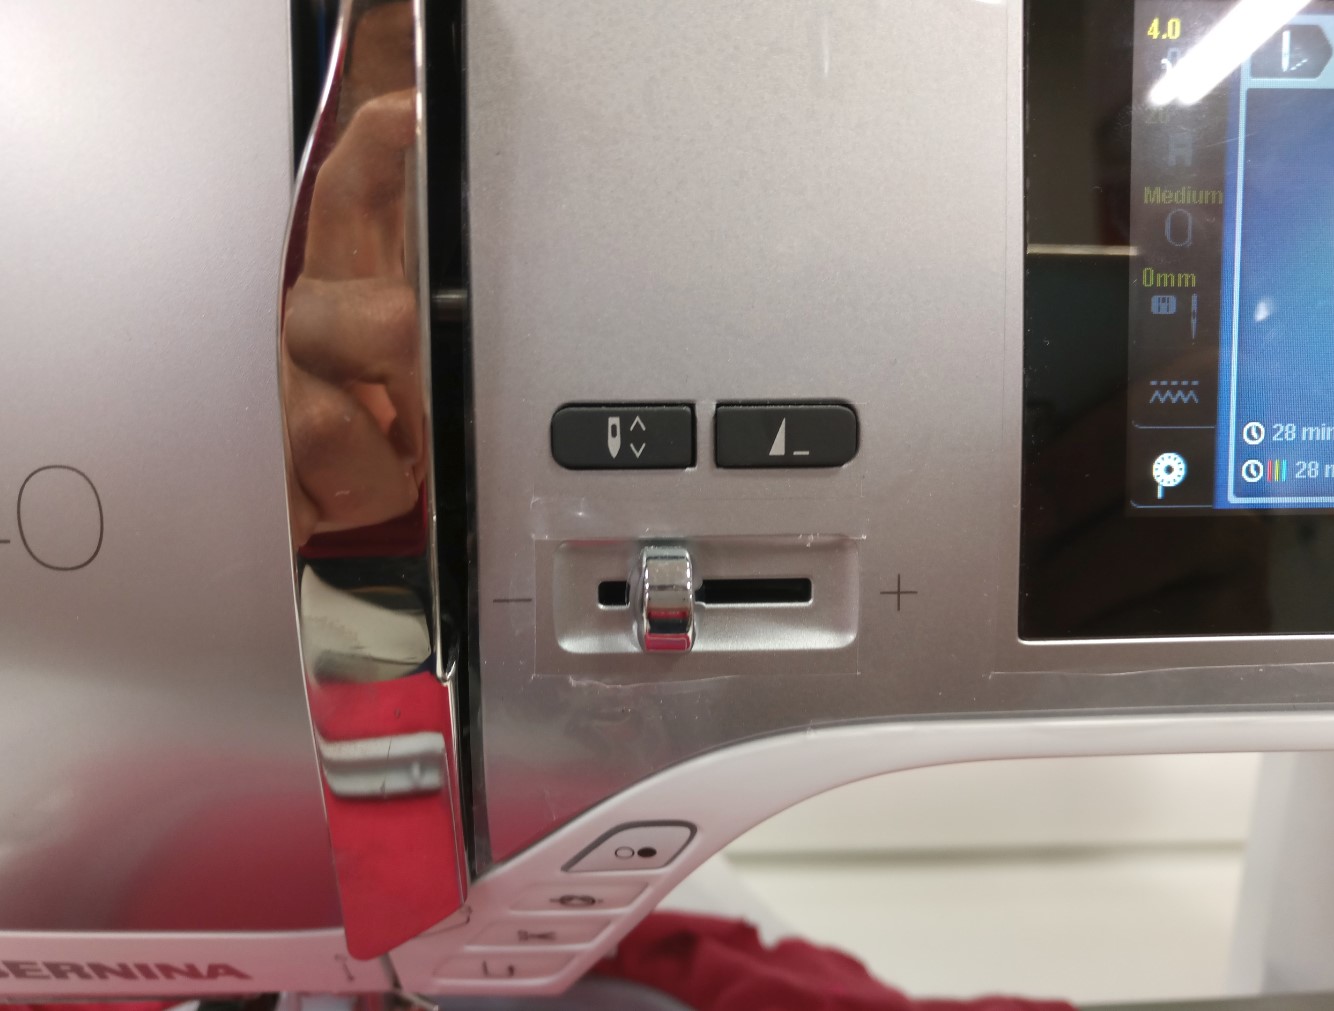
With Marta's help, this was fixed by changing the fabric, reducing the embroidery speed (Fig. 19)
and changing the thread tension from 4.0 to 3.0 (Fig. 13).
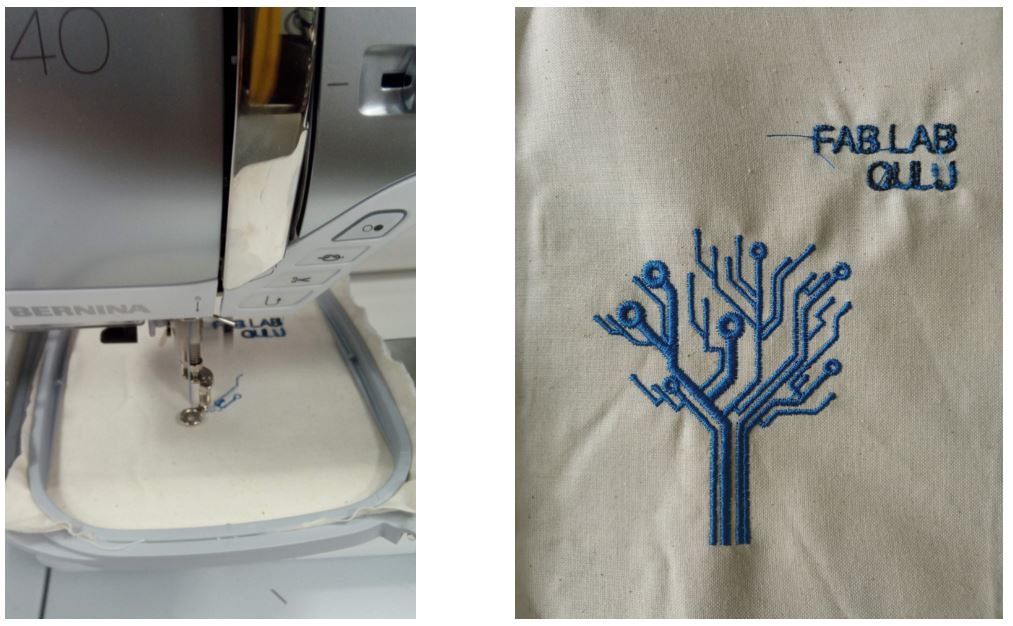
Fig. 20 shows images of the final successful process and result.
 Figure 19.
 Reducing the embroidery speed.
 Figure 20.
 Embroidery result.
Reflection
This week, I learned a skill, in which I did not have any experience.
So, naturally I faced some difficulties along the way.
Fortunately, I was able to solve them with getting good direction.

