8. Computer controlled machining
This week I made something big, designing and milling a three legs stool without adding screws or glue assembling all the pices.
The Stool is 450mm height and 400x400mm LxD, I’ve made it in plywood sheets with a thickness of 18mm and using a flat endmill of 6mm diam.
Design
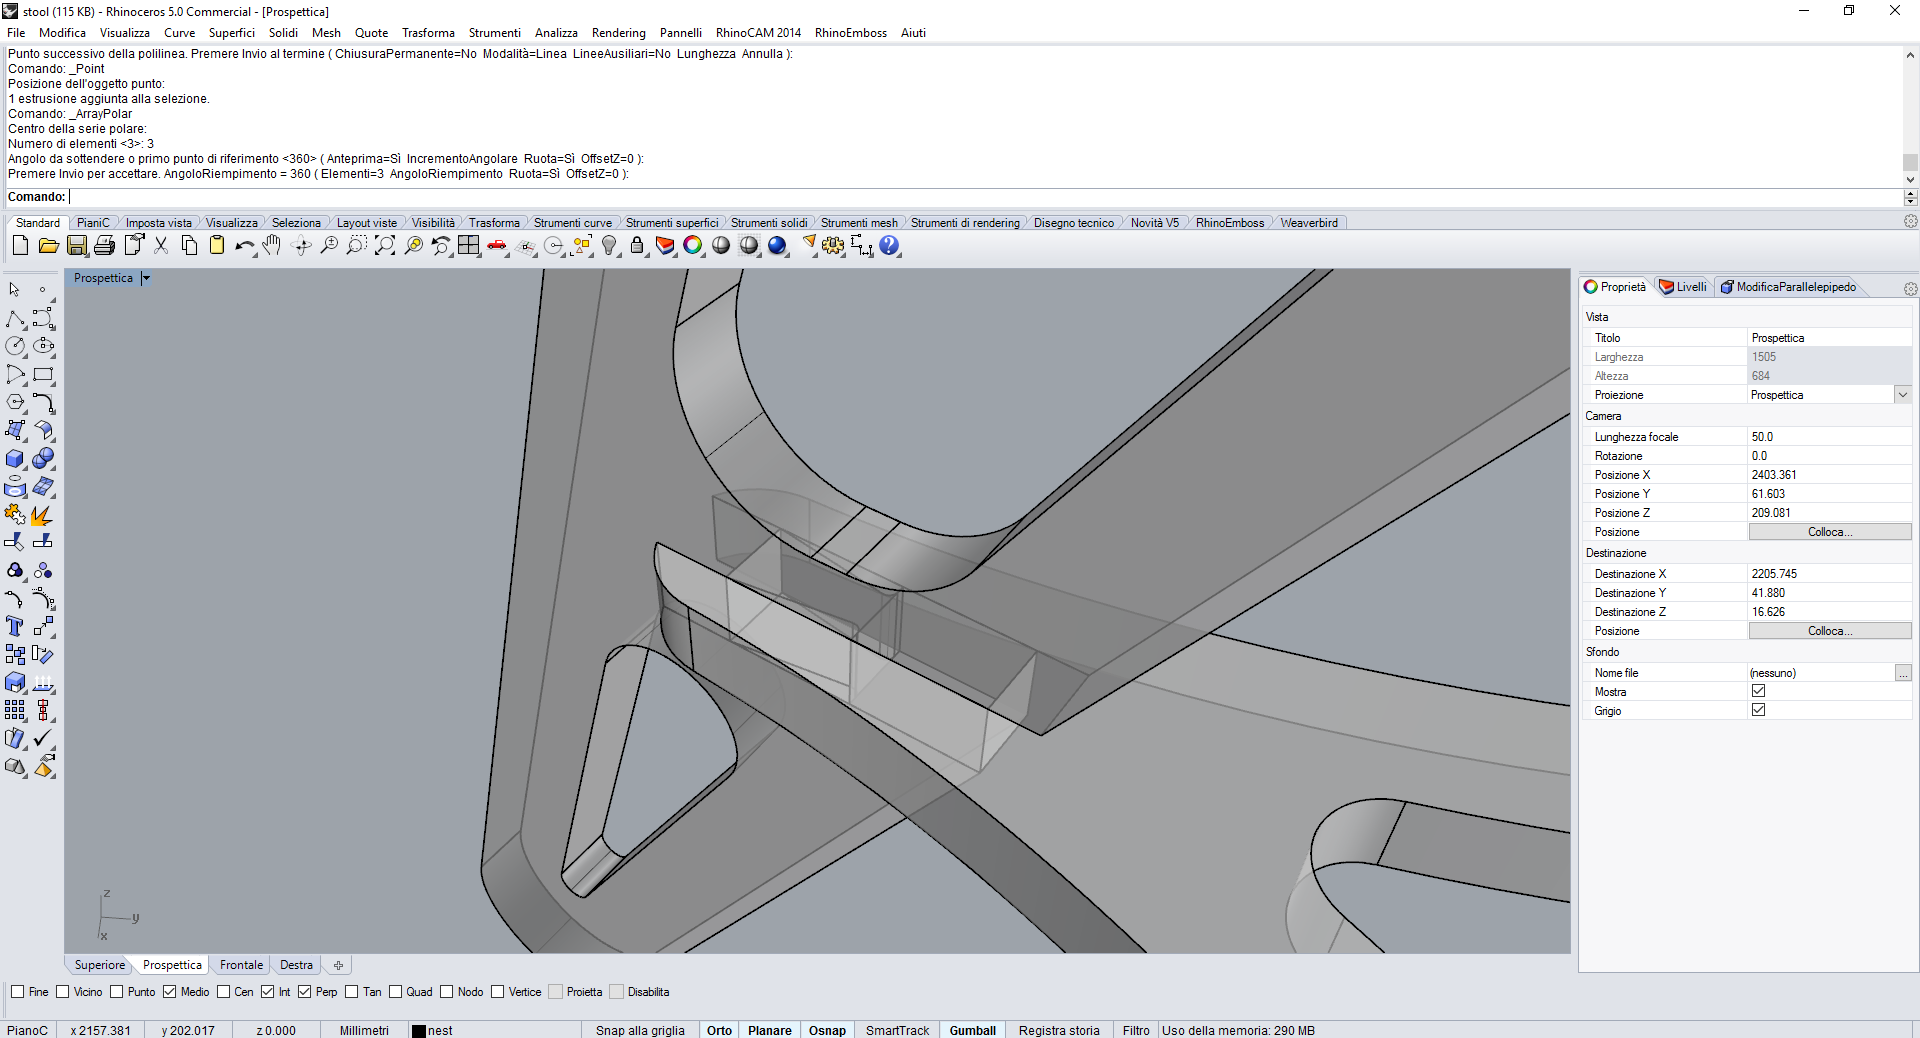
I’ve designed it using Rhinoceros v5 CAD.
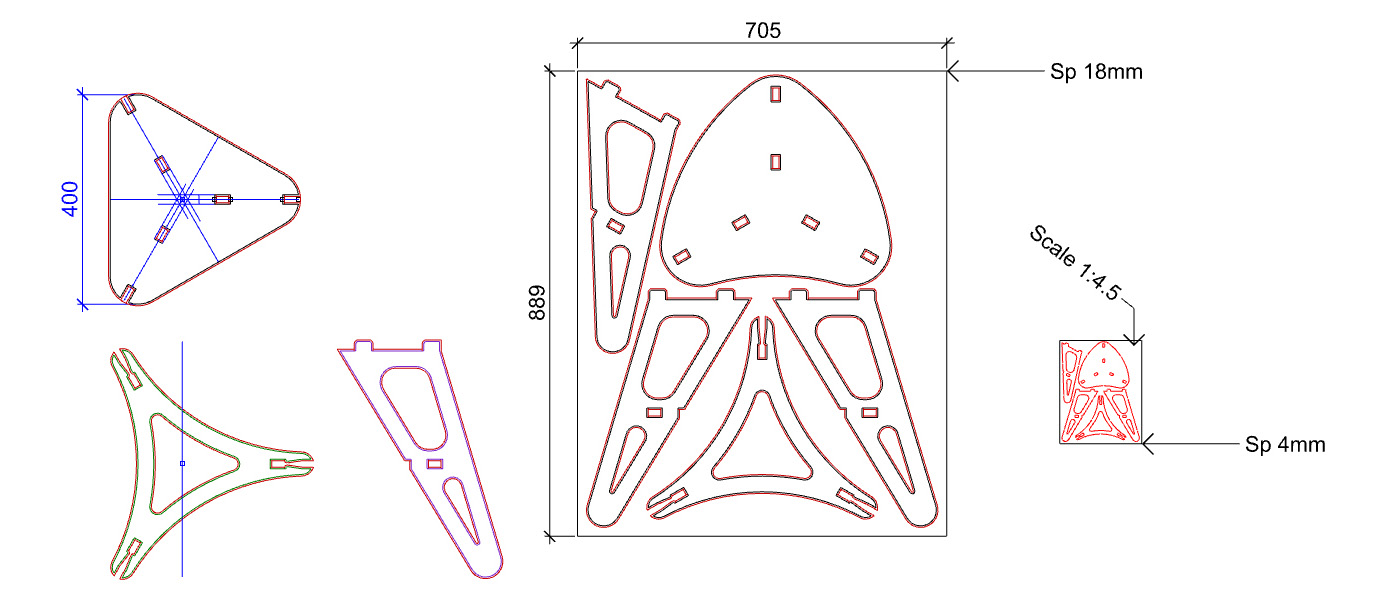
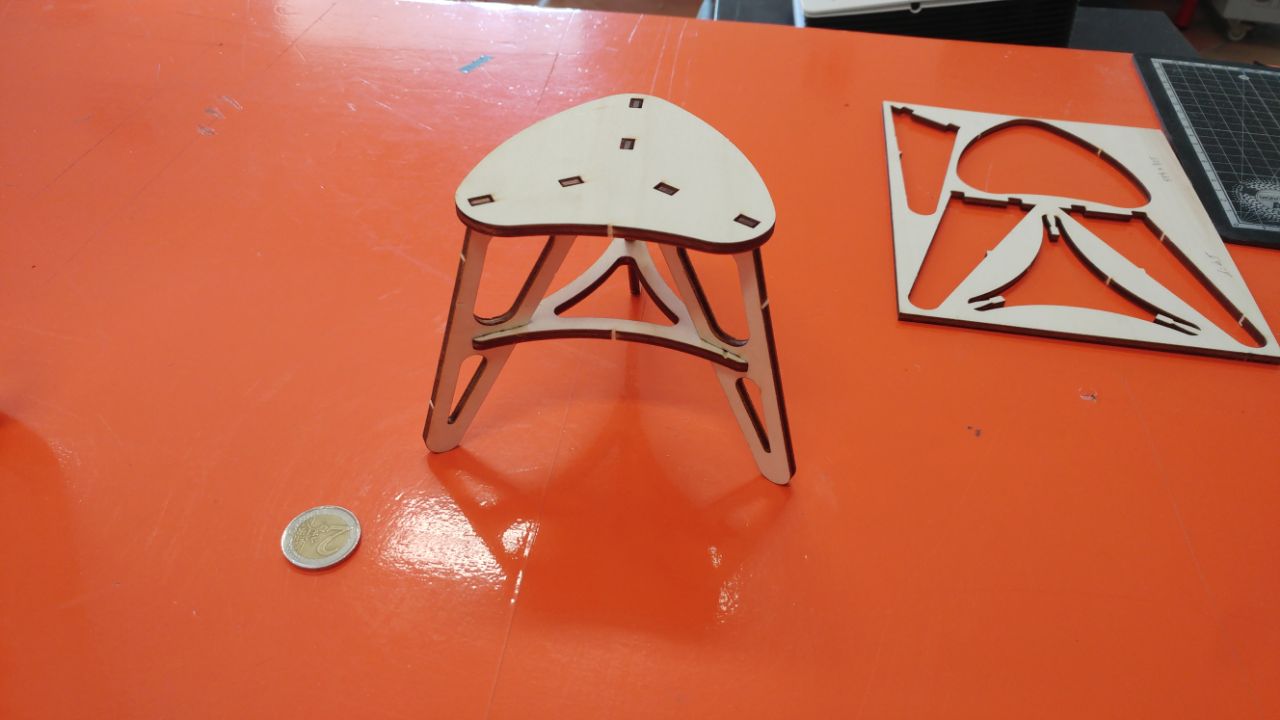
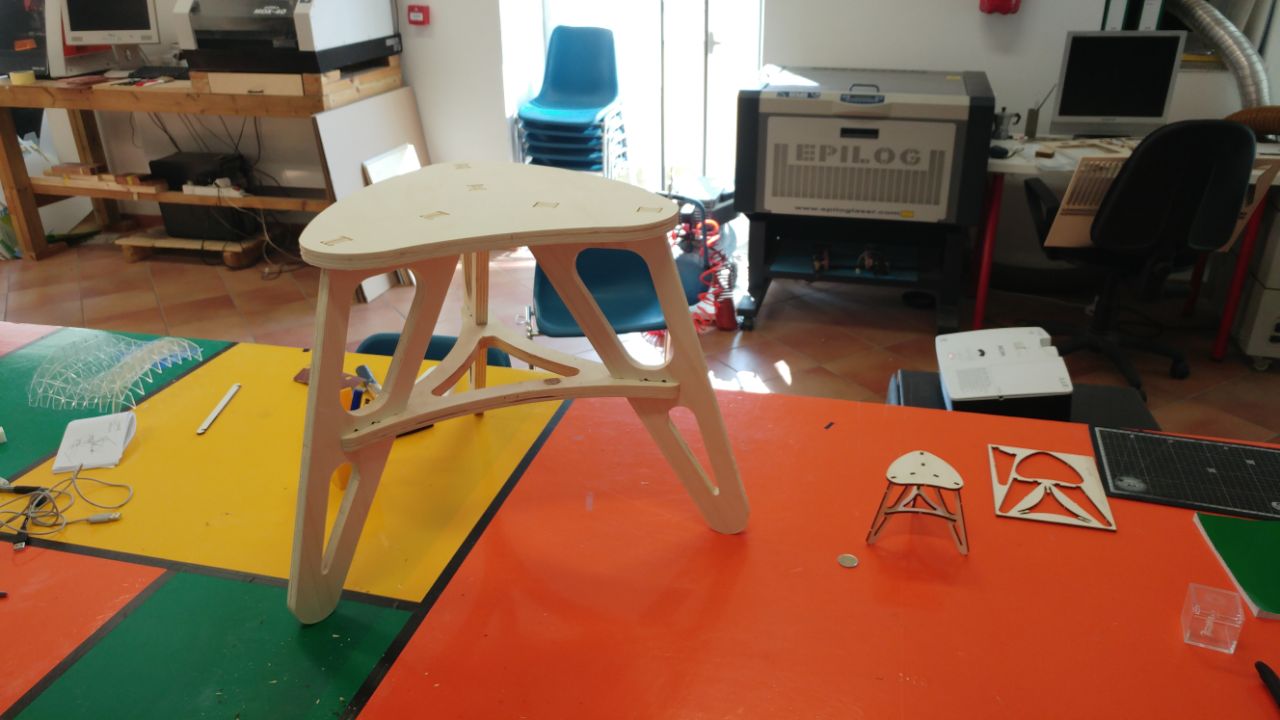
After first design was ready, I’ve made some little lasercutted scaled model with 4mm plywood,
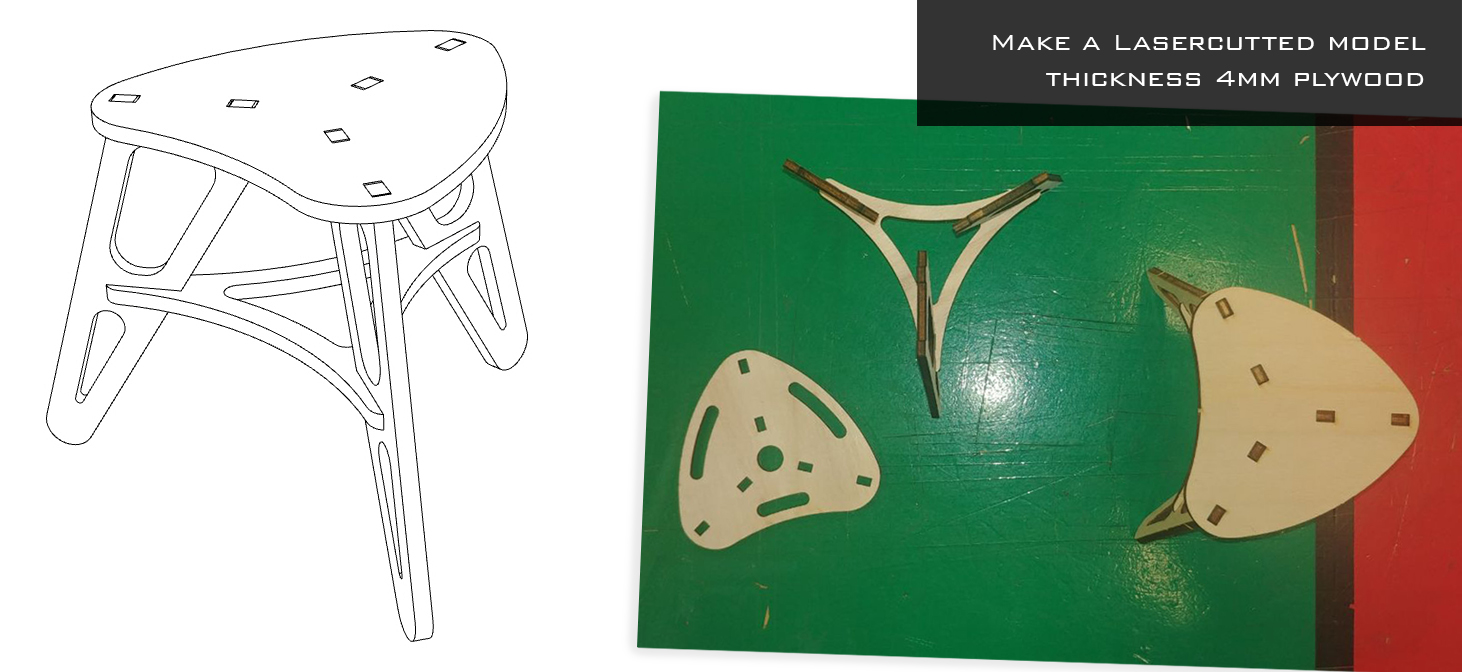
to test the joints and the stability.
Final Model
You can and preview the assembled final model here …
and download the original files.
Production
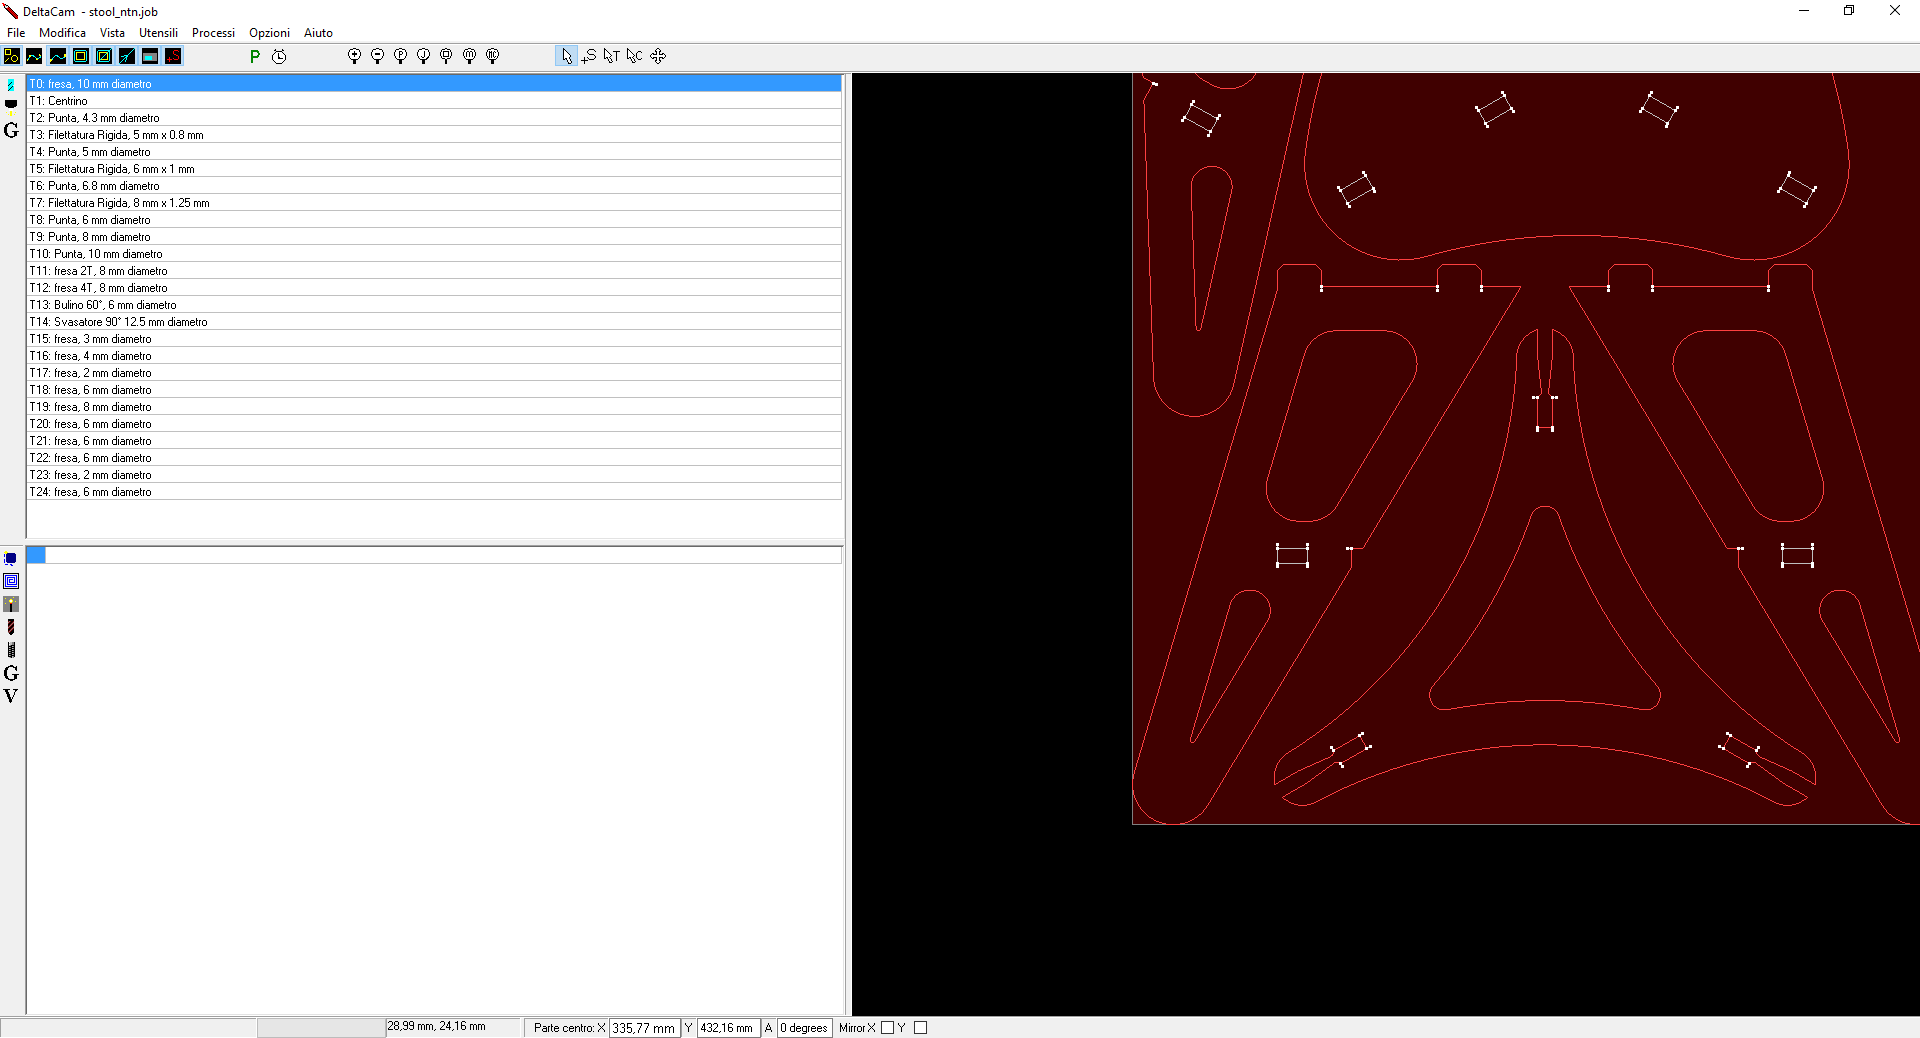
To mill all the parts I need to assemble the stool, I’ve produced the GCode through Delta CAM software.
First of all I’ve make an 3mm offset of the real curves in Rhino to make directly the path for the 6mm flat endmill.
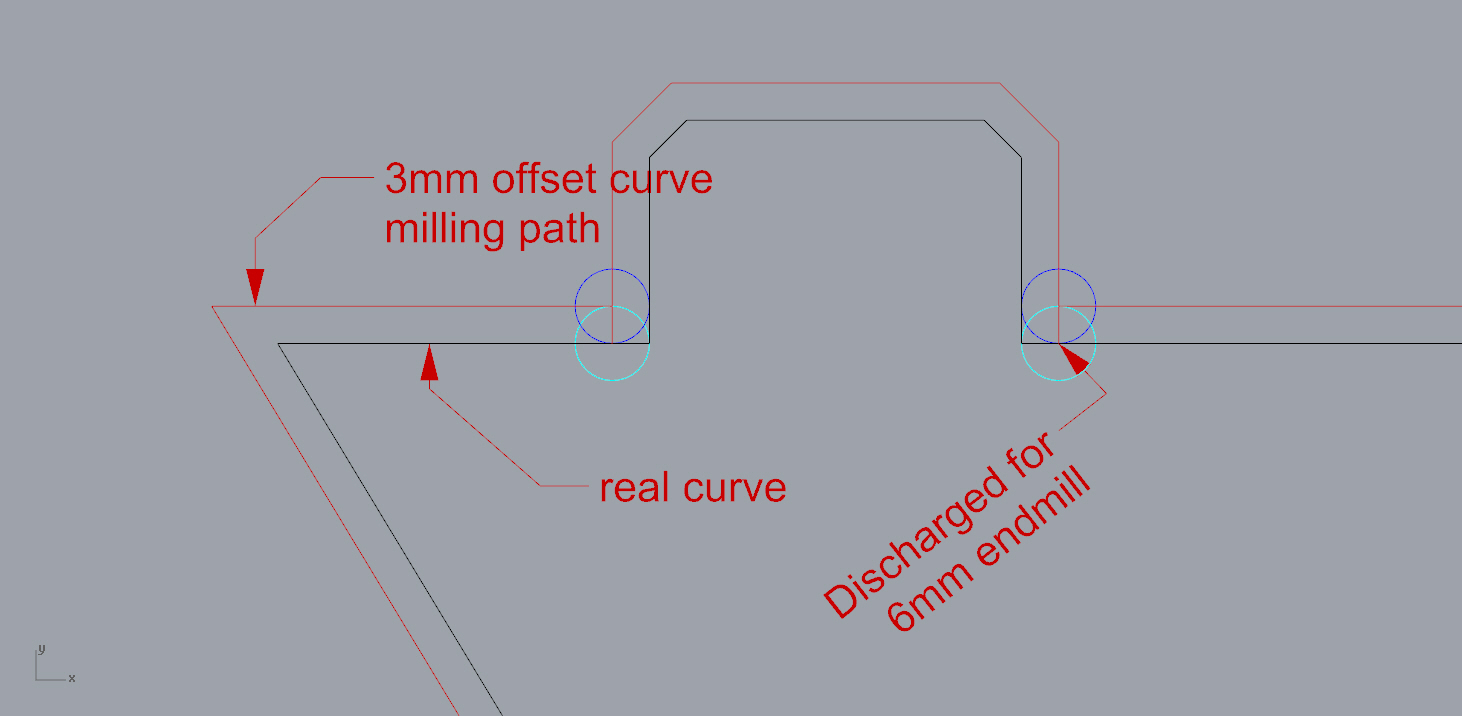 Than I’ve add the discharge for that endmill to make joints possible and I’ve exported the final path in DXF format.
At this point I’ve choosen the cutting parameters for cutting the stool following the real path I’ve made through offset:
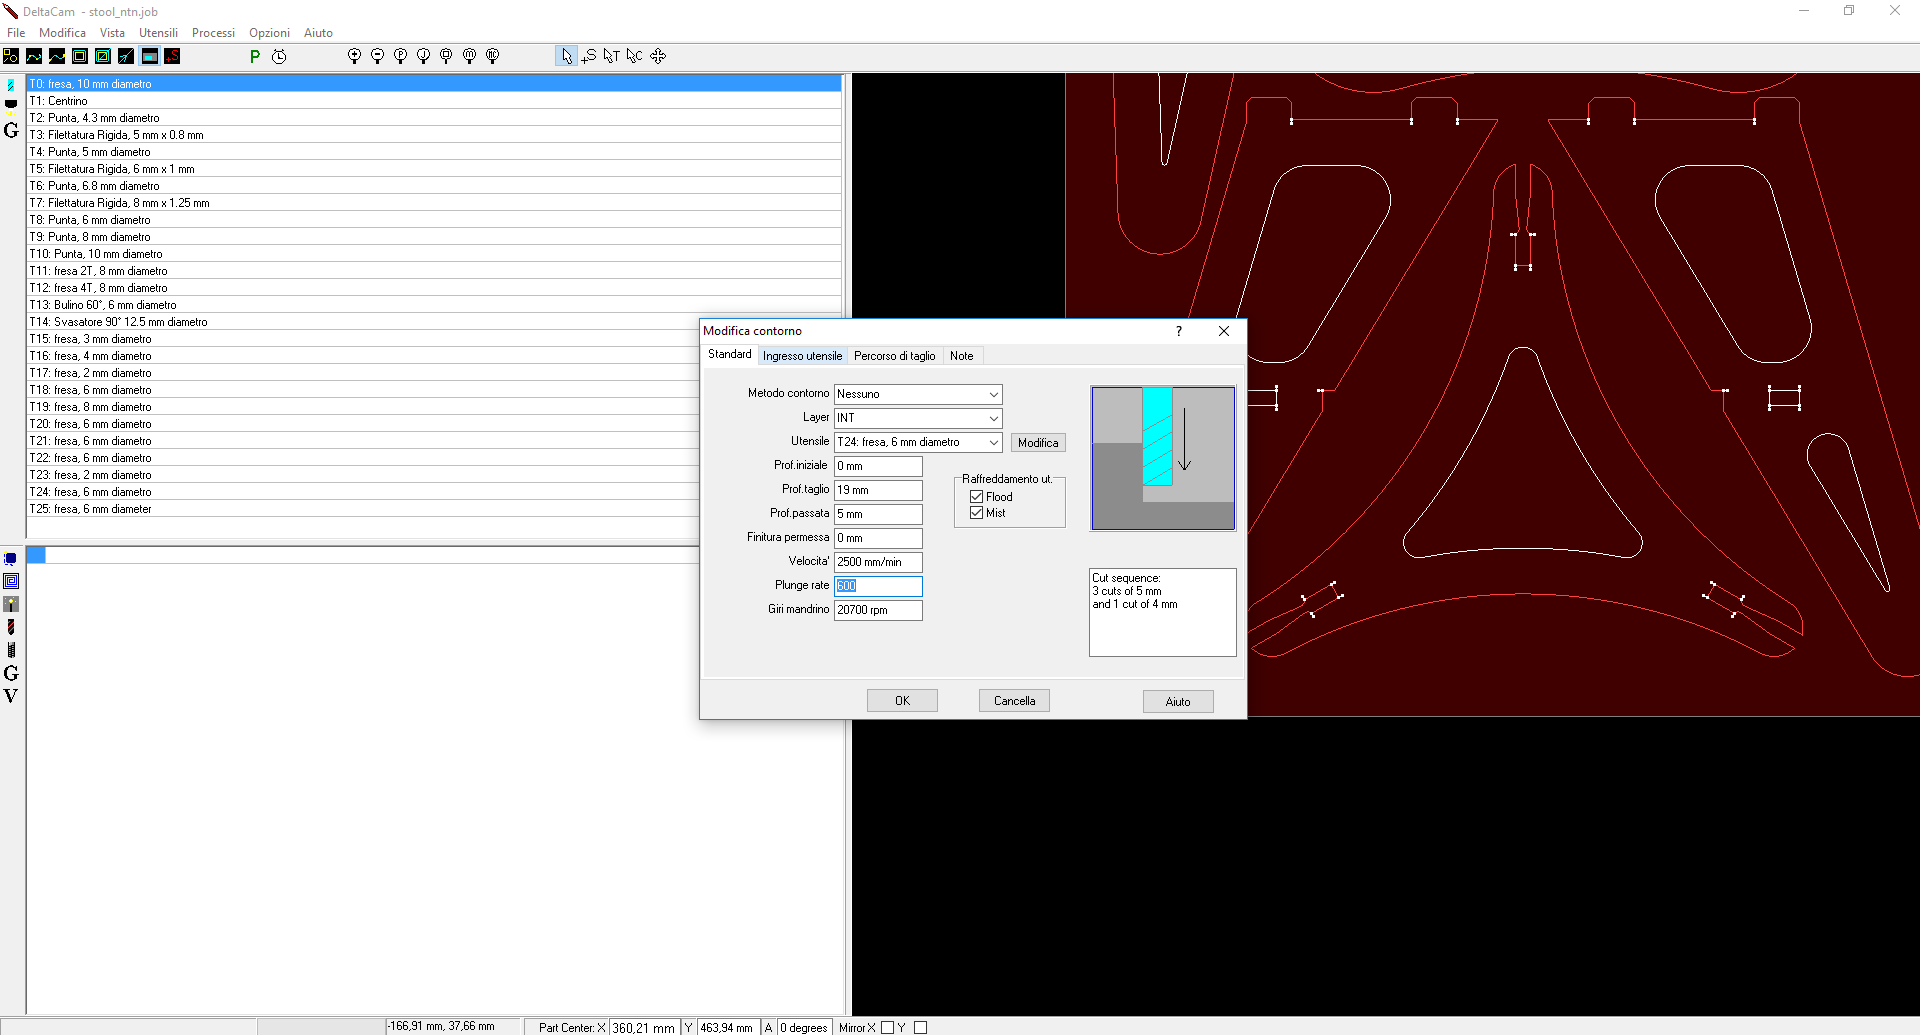
- select 6mm flat endmill;
- select contour path;
- cutting depth to 19mm;
- cutting speed to 2500mm/min;
- plunge rate to 600;
- spindle to 20700 rpm;

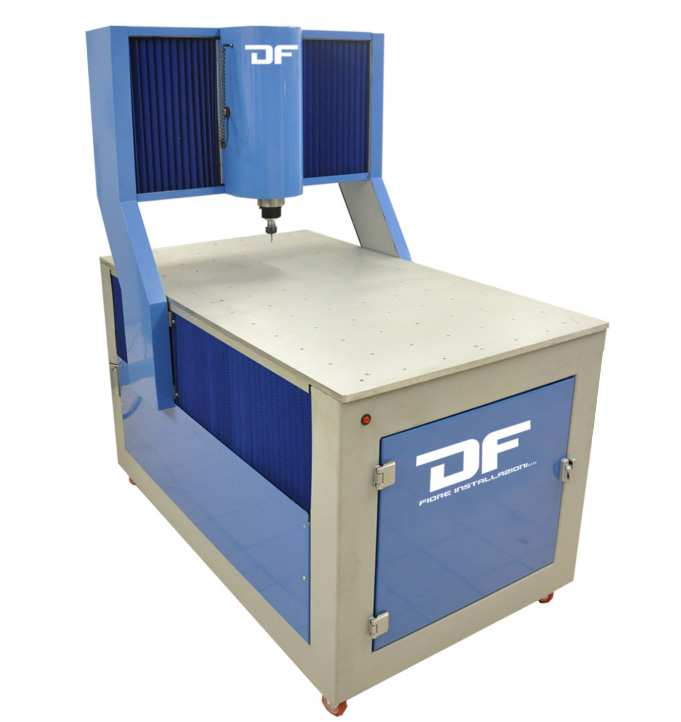
CNC Machine
For this assignment I’ve used a DF6090-PRO, an italian CNC machine made by DF Fiore Installazioni S.r.l., that I don’t have in my lab.
Technical Sheet:
| MODEL | DF PRO 6090 |
| WORKING AREA | 600X900 mm H220 mm |
| ELETTROMANDRINO | HF CON INVERTER 400HZ |
| POTENZA MANDRINO | 2,2KW |
| SPINDLE SPEED | 0/24000 RPM |
| COOLING | AIR |
| TRAVEL SPEED | 8000 mm/min |
| CUTTING SPEED | 4000 mm/min |
| PRECISION | 0,0012 mm |
| DRIVER | 6 AP res. 1/256000 |
| INTERFACE | USB |
| FILE SUPPORTATI | U00/TAP/MMG/EPS/DXF/DWG/BMP/PLT |
| POWER SUPPLY | 220V |
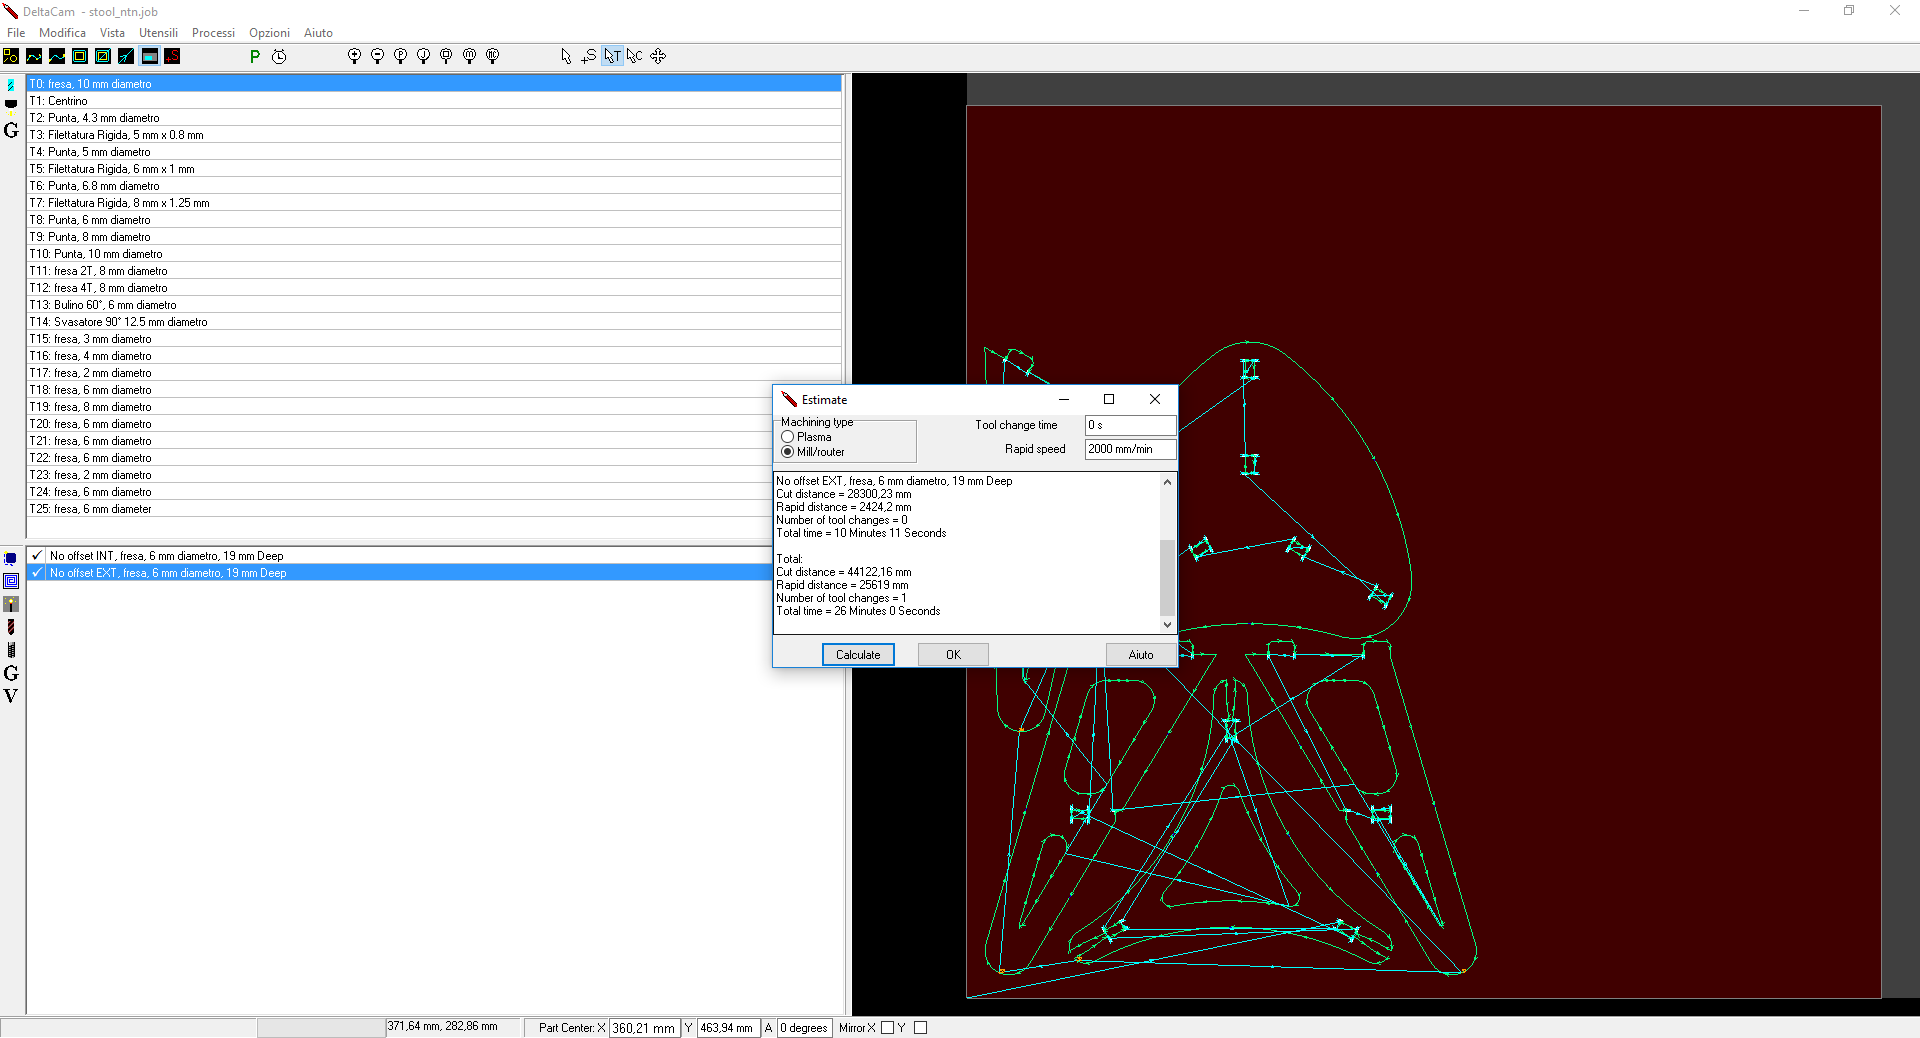
GCode
Once calculated, I’ve obtained the GCode as follows:
(Nome file: stool_ntn.tap)
(Post processore: Blu8Rel21_G64.post)
(Data: 13/03/2017)
(Dim.X Materiale: 0)
(Dim.Y Materiale: 1250)
(Spessore Materiale: 19)
($SetPartSize(1250,1220,19,1) )
($FullScreen("BLOCK") )
G64
(Parte: stool_ntn)
(Processo: No offset INT, fresa, 6 mm diametro, 19 mm Deep)
F2500
M08 (Raffr.On)
M03
S20700
F2500
G00 Z20.000
G00 X511.269 Y104.206
G00 Z0.500
G00 X511.269 Y104.206
F600
G01 X511.269 Y104.206 Z0.000
G01 X511.269 Y104.206 Z-5.000
F2500
G01 X508.671 Y105.706 Z-5.000
G00 Z20.000
G00 X508.671 Y105.706
G00 Z20.000
G00 X511.269 Y104.206
G00 Z-4.500
G00 X511.269 Y104.206
F600
G01 X511.269 Y104.206 Z-5.000
G01 X511.269 Y104.206 Z-10.000
F2500
G01 X508.671 Y105.706 Z-10.000
G00 Z20.000
G00 X508.671 Y105.706
G00 Z20.000
G00 X511.269 Y104.206
G00 Z-9.500
G00 X511.269 Y104.206
F600
G01 X511.269 Y104.206 Z-10.000
G01 X511.269 Y104.206 Z-15.000
F2500
[...]
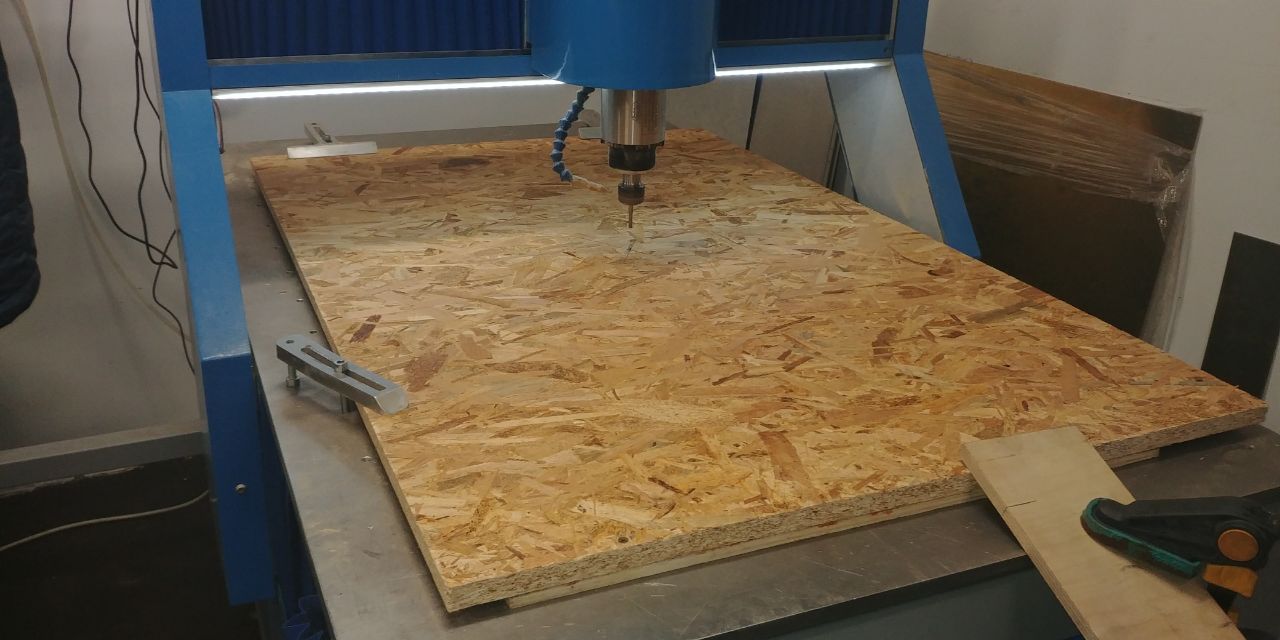
Properly, I placed the OSB sheets, and than in the second time the Plywood sheets, on the size of the default cutting plane of the machine and I took the zero Z.
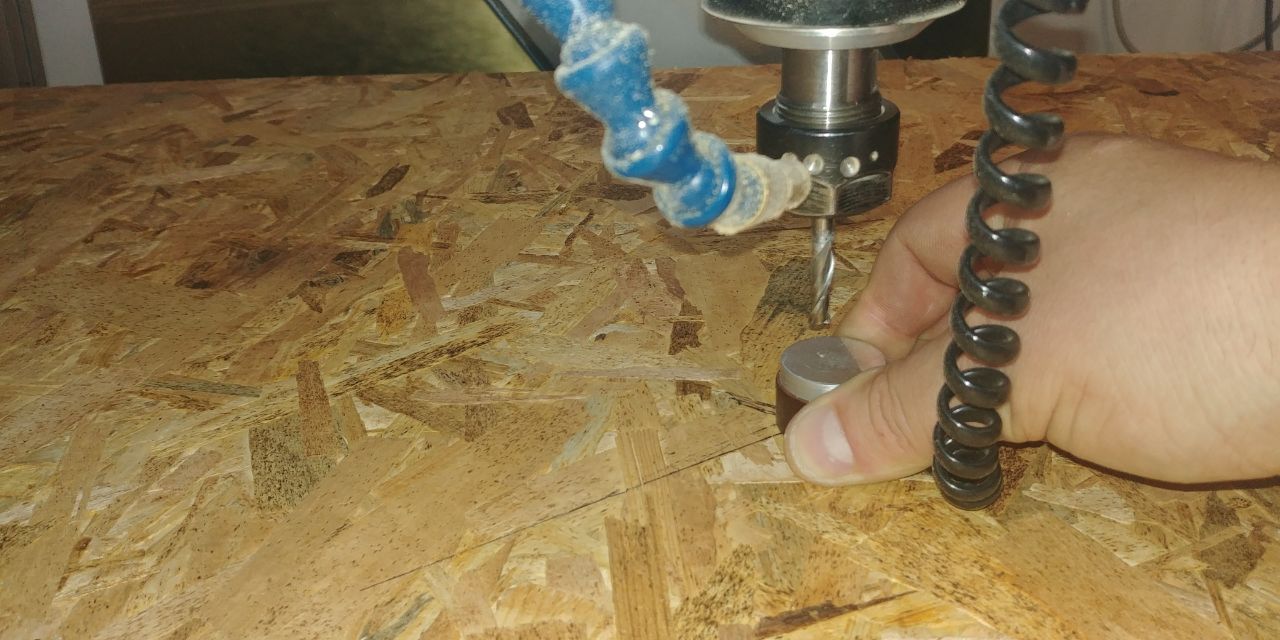
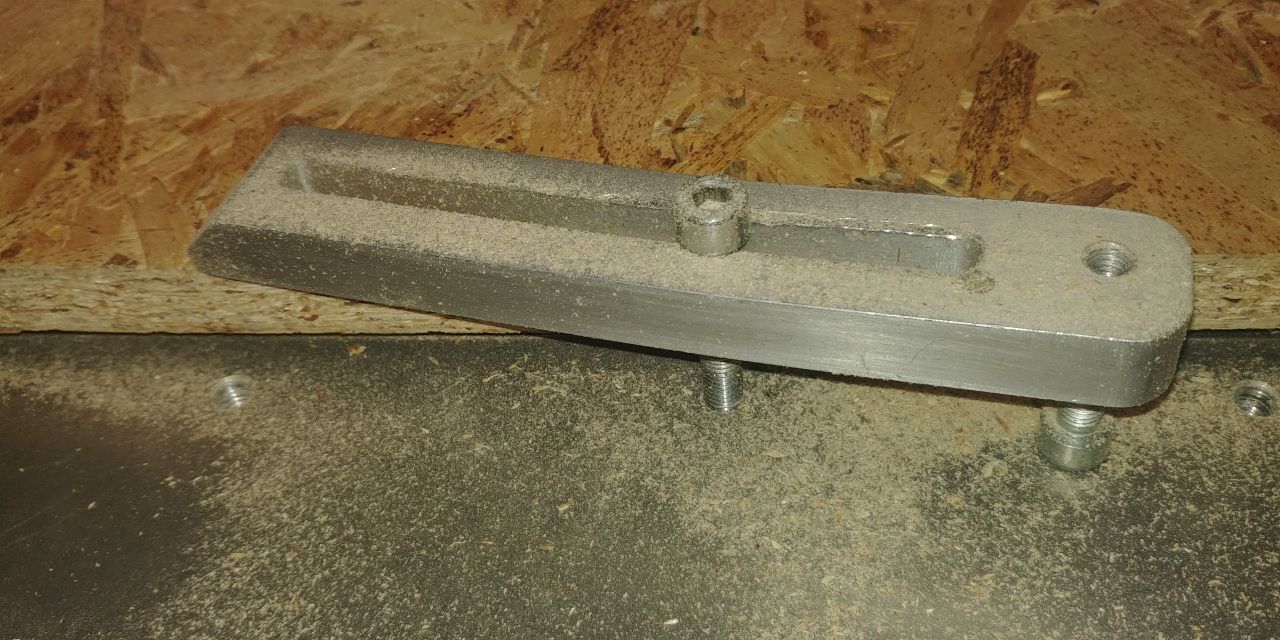
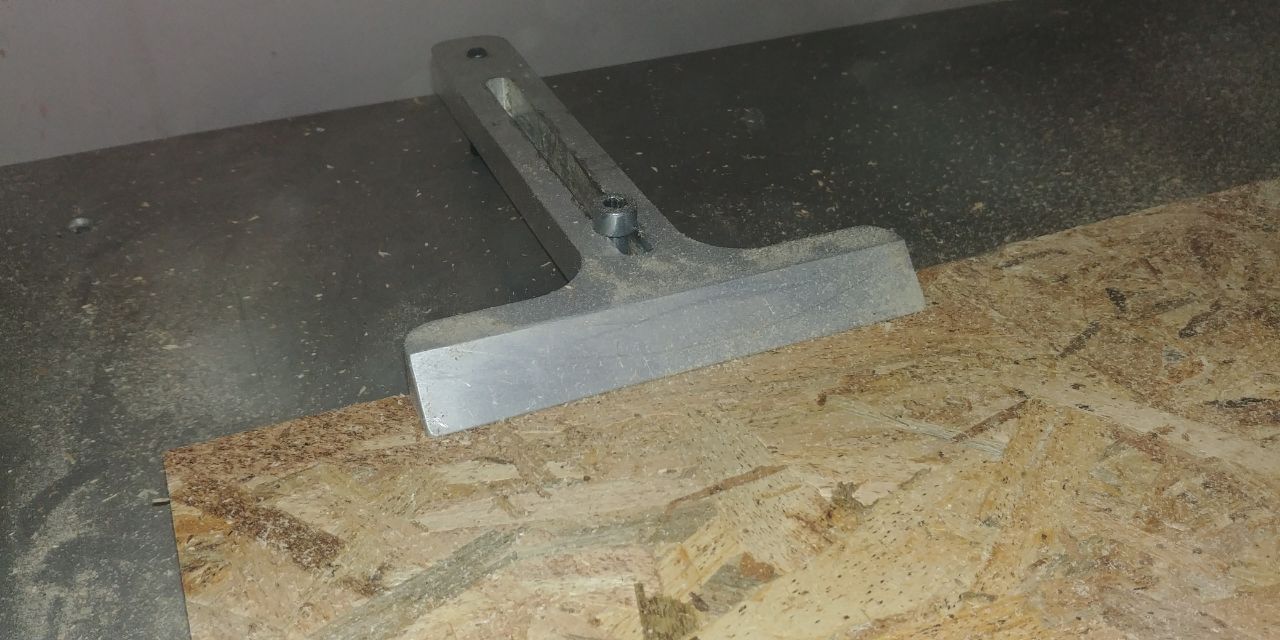
I’ve put the sheets on the cutting bed using the alluminum taps.
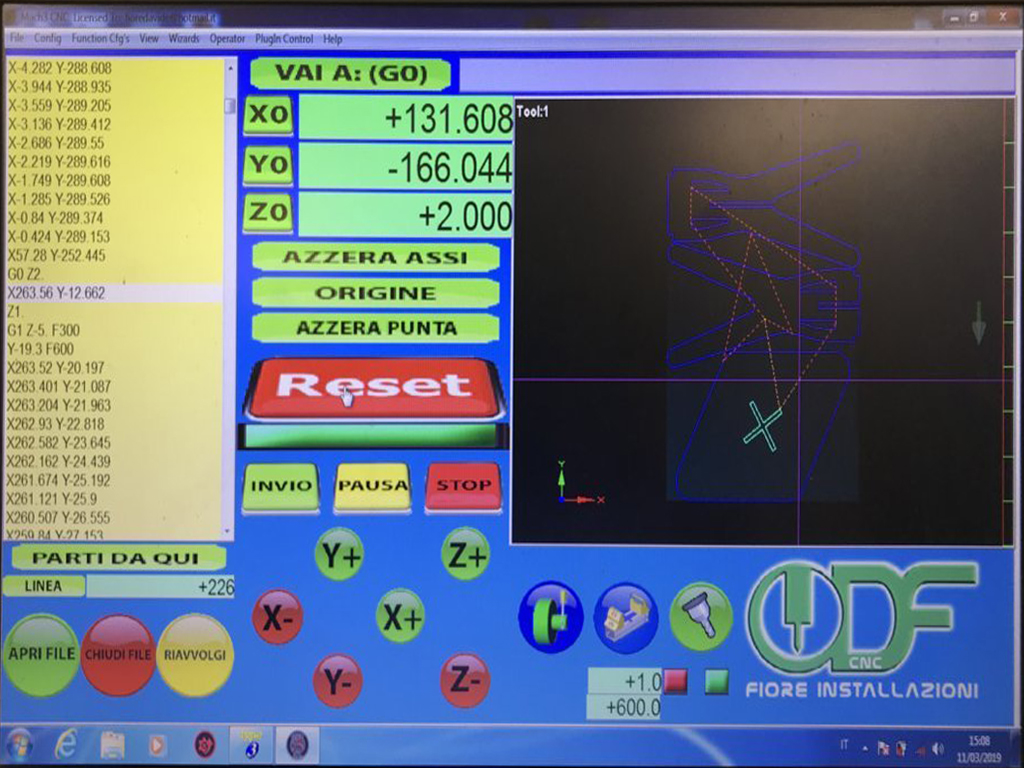
And finally I’ve started the job through by MACH3 user interface.
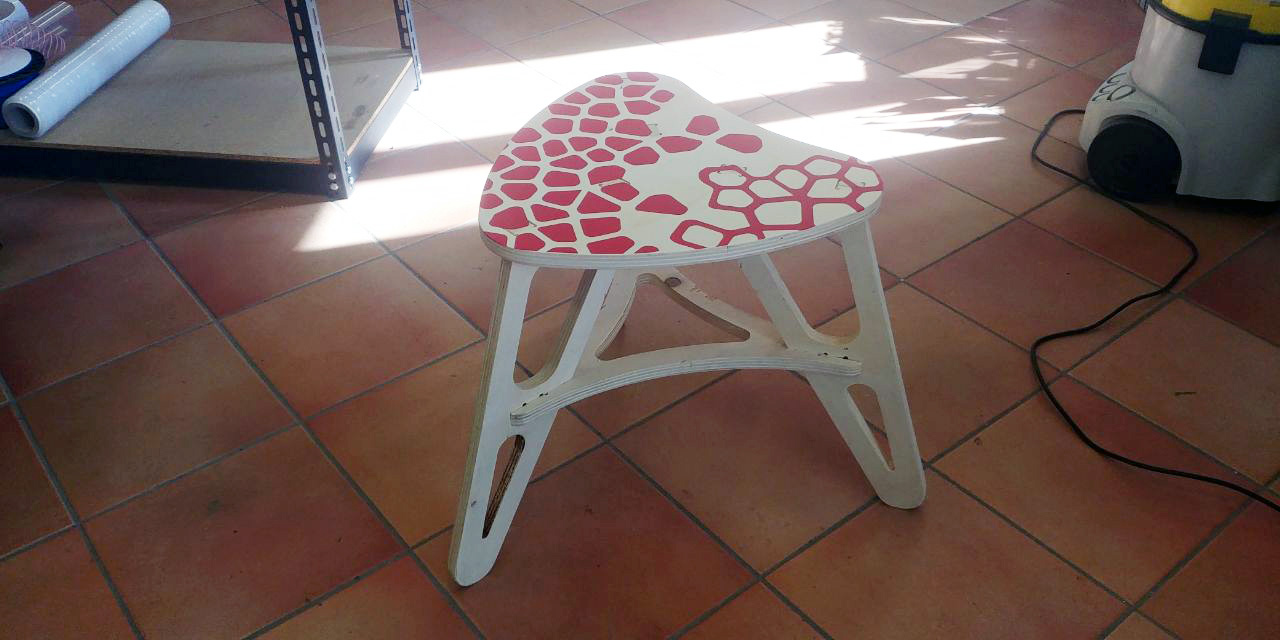
After 26 minutes I’ve pick the pieces from the bed and I’ve assembled whole as in my final image.
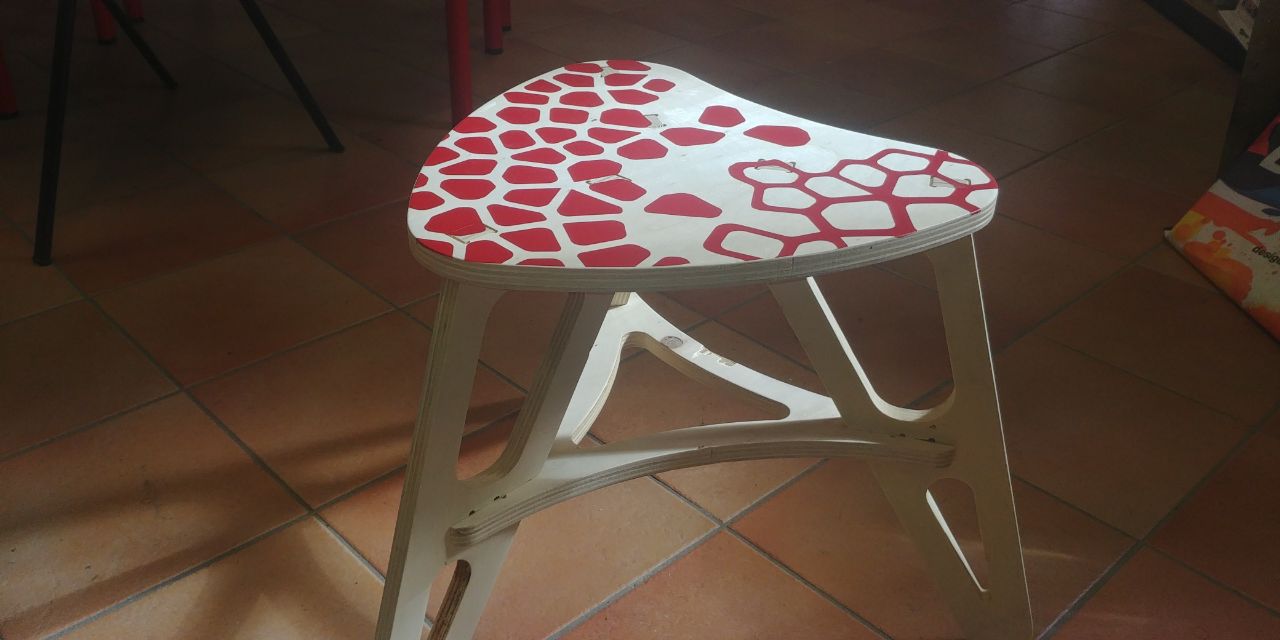
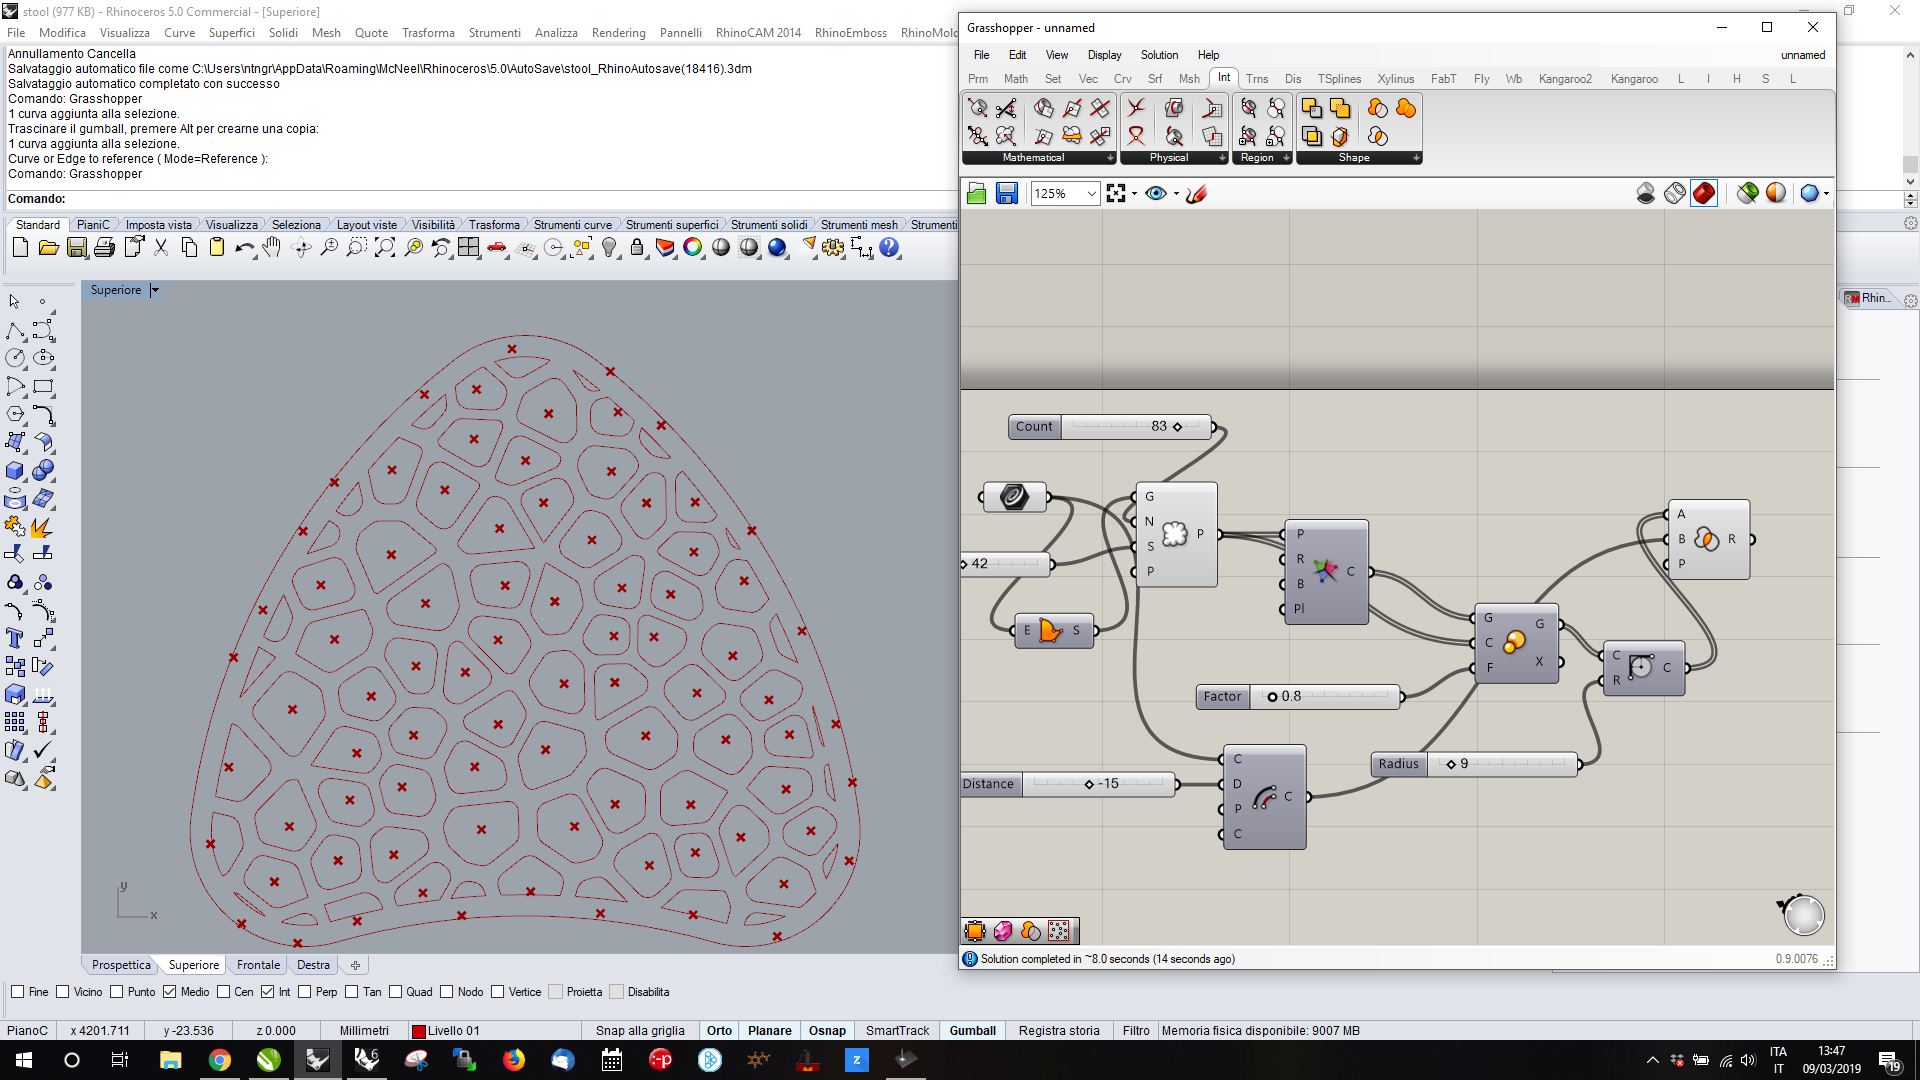
But before I present the final work to you, I’ve make a little finishing part on the stool’s top:
- I’ve produced a vector file of a Voronoj subdivision of the top area through Grasshopper.
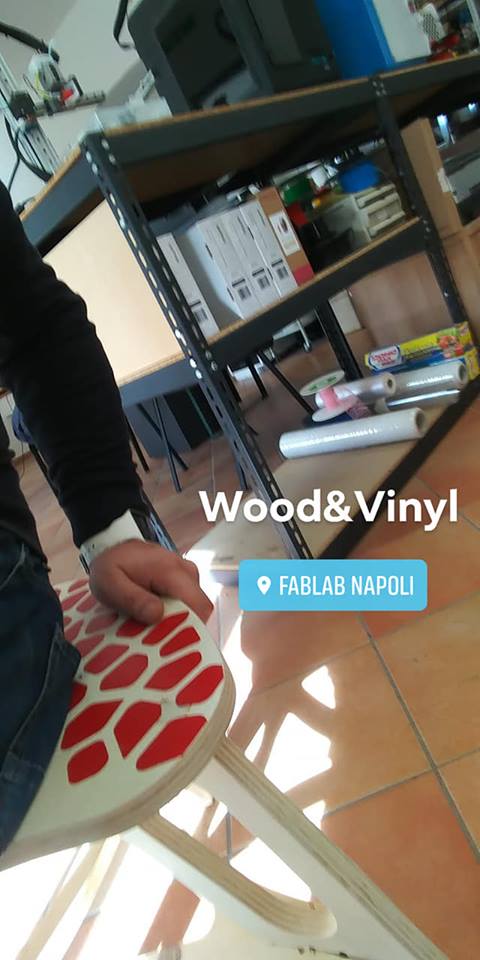
- Imported the vectors in Roland CutStudio
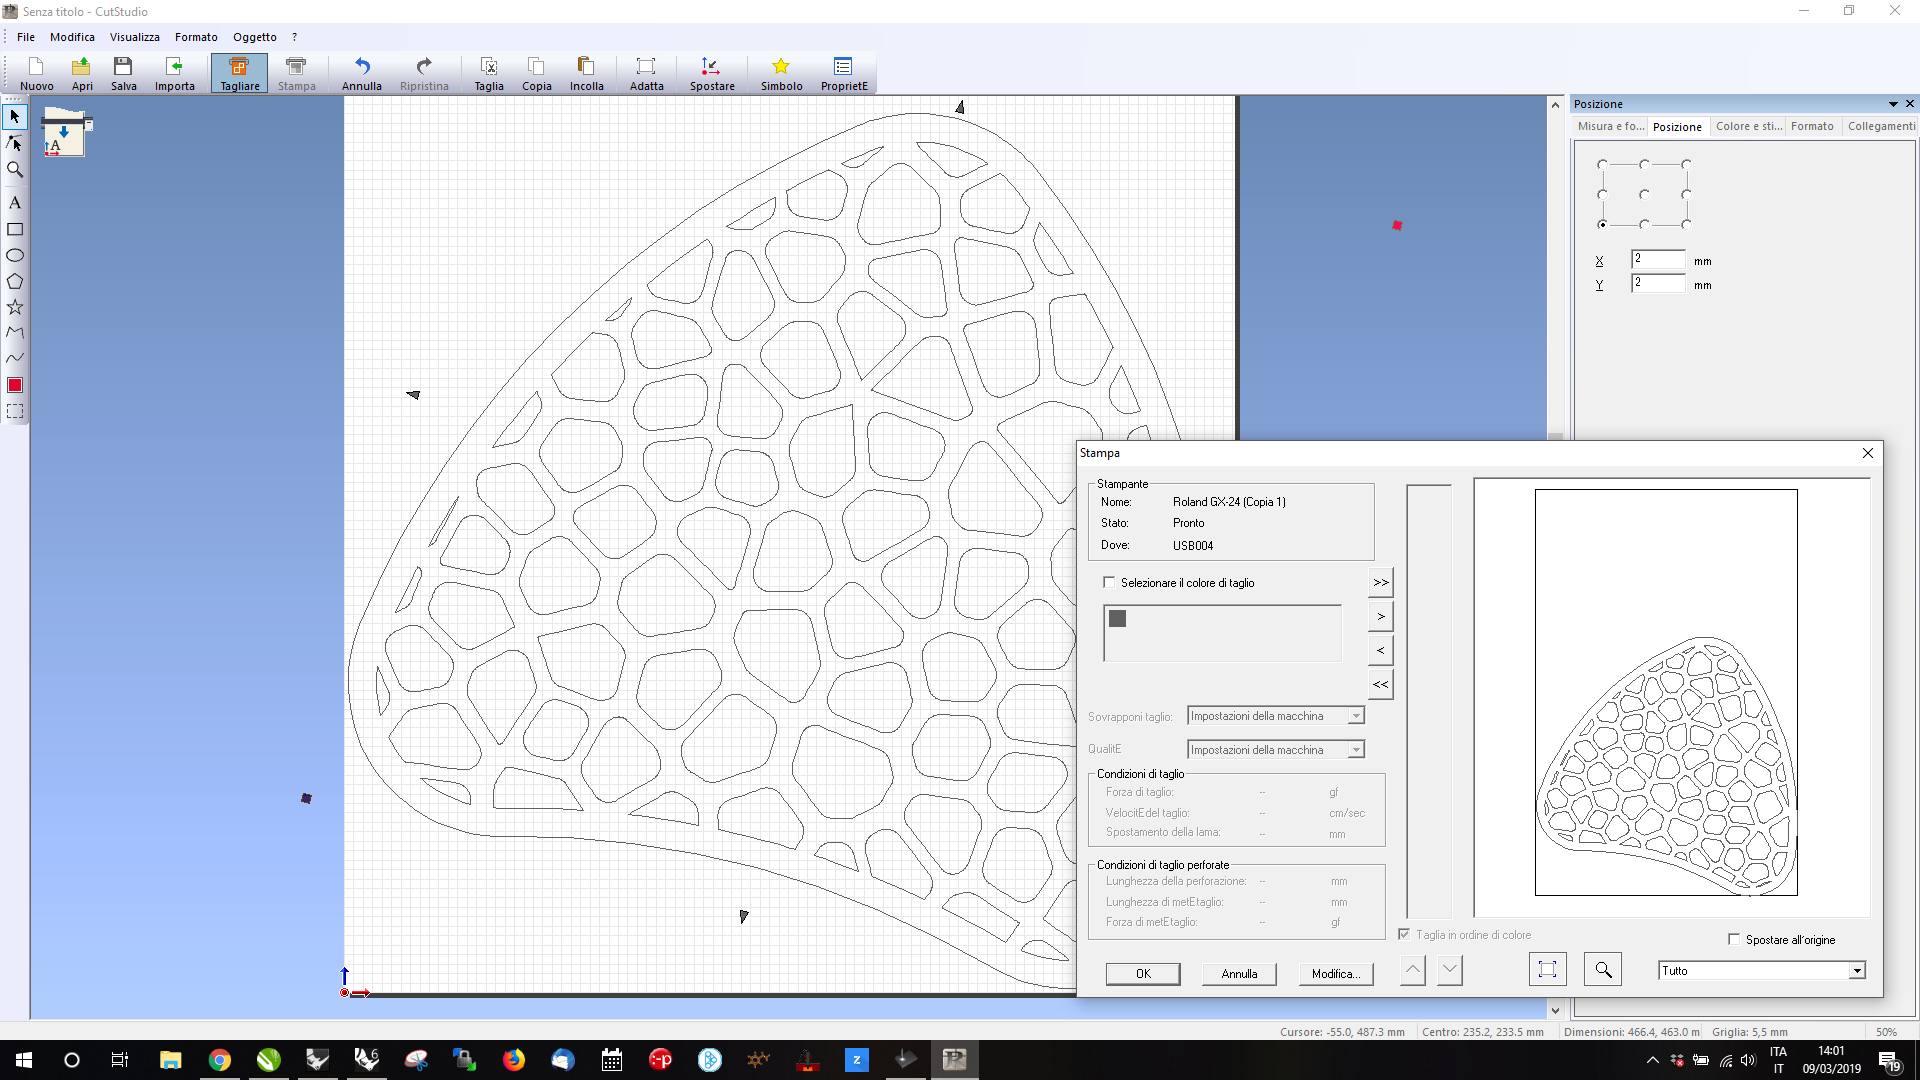
- Cutting thermoadhesive vinyl
- hotpressed the vinyl on the top surface
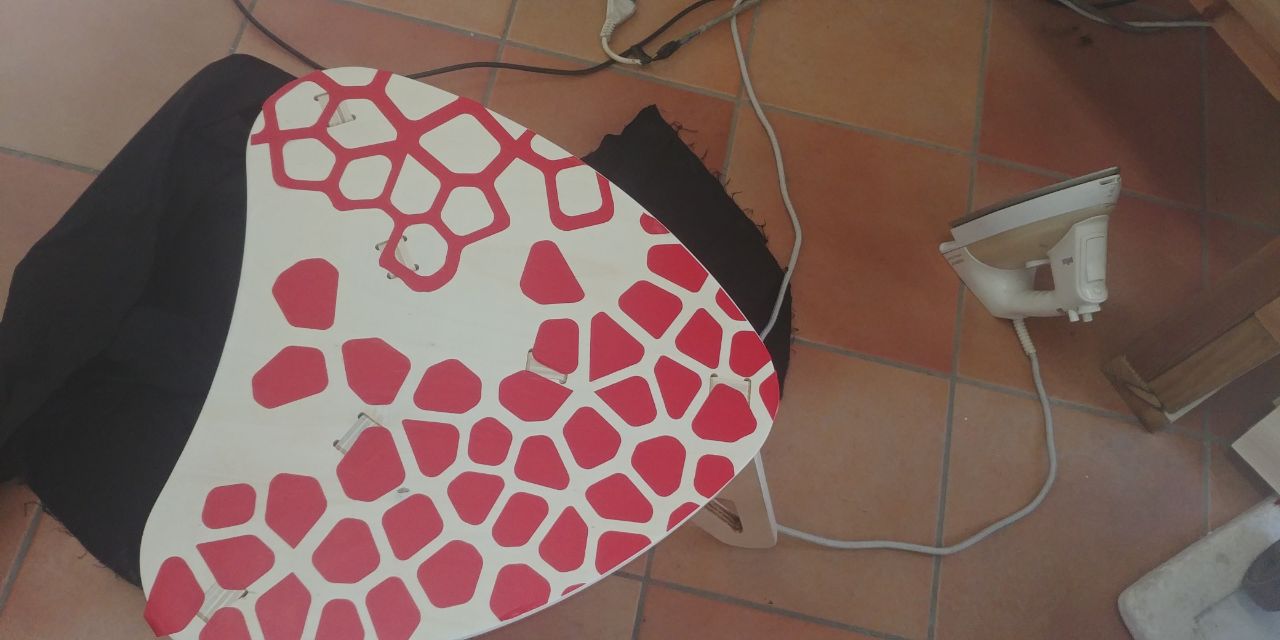
And this is the final result.