As my instructor Dina said if it wasnt decomented it was not happened so this site will contain the documentation and notes from my journey on MIT's Fab Academy 2018 Diploma program so I will make my web site and decoment every thing in it.
1.HTML AND CSS
I started learning html and then the css for the first time, I have made my web site from zero so I faced many problems, I felt I was lost, then I start understanding the programing. In the begining I started learning html from youtube videos and later from w3school , I admit that it is a good web site to start learnig how to bulding your web site.
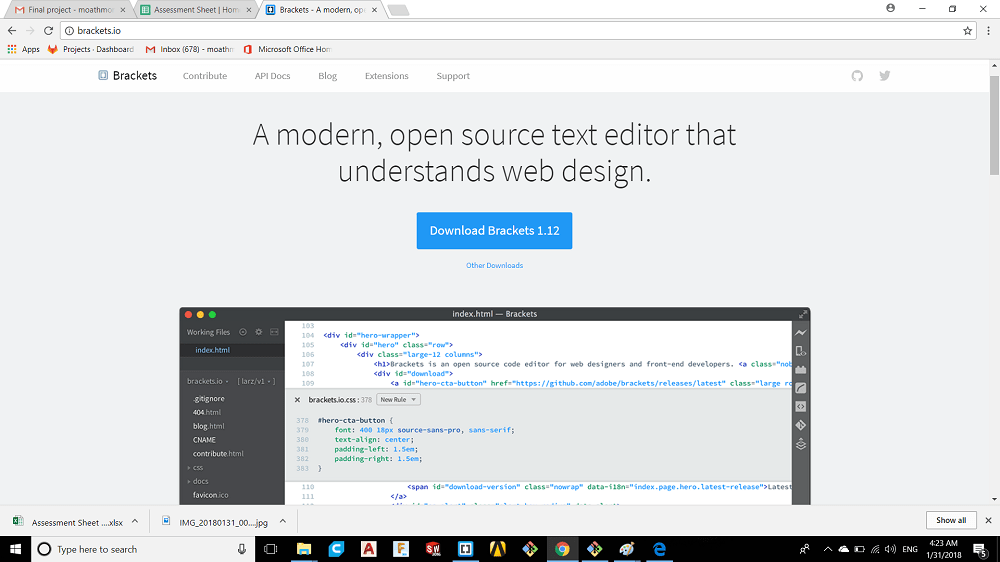
after I had acquired a good background for each of html and css I installed software called Brackets to write my web site.
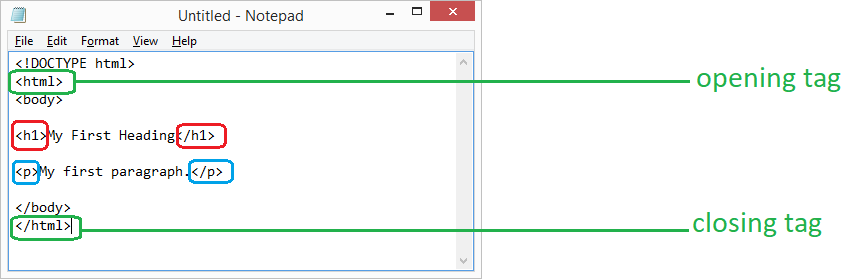
To creat HTML file I have to make this form
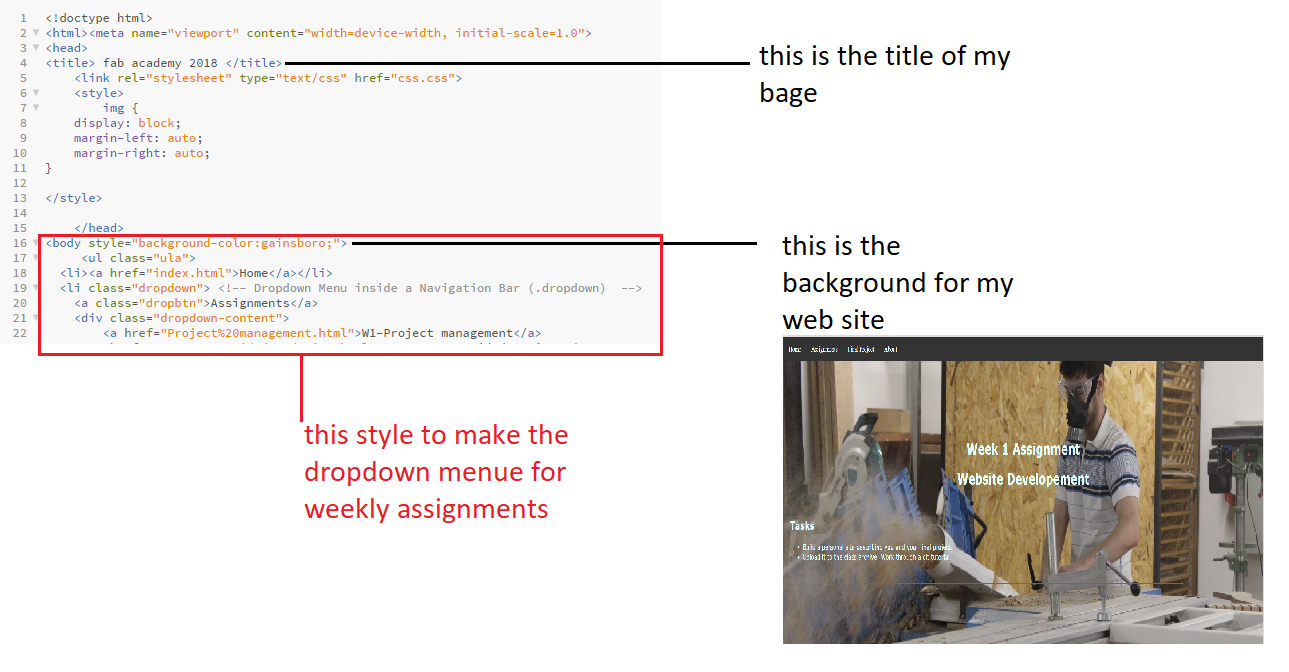
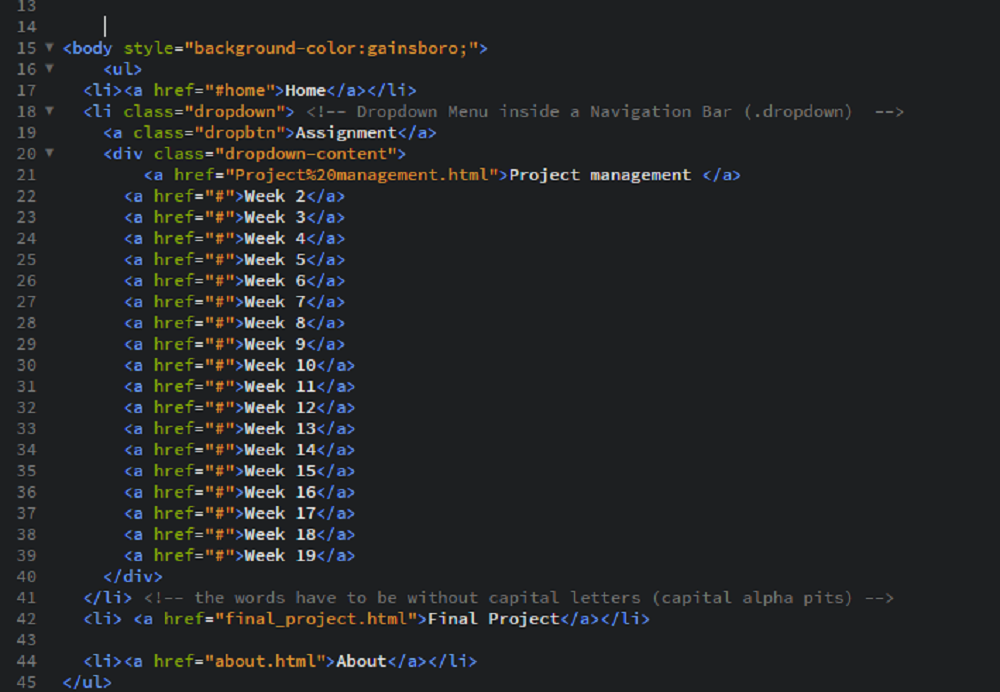
After that I started with the navigation bar, I created the Home, About, Assingments and final project menues
then I used the dropdown menue in assingments to divide it by weeks assingments as shown in the next picture.
After the HTML I learned and used the CSS, as we see in the next picture the css.css section.
CSS is a language let you add additional effects in your web site such as colors, background, sizing,..... etc.
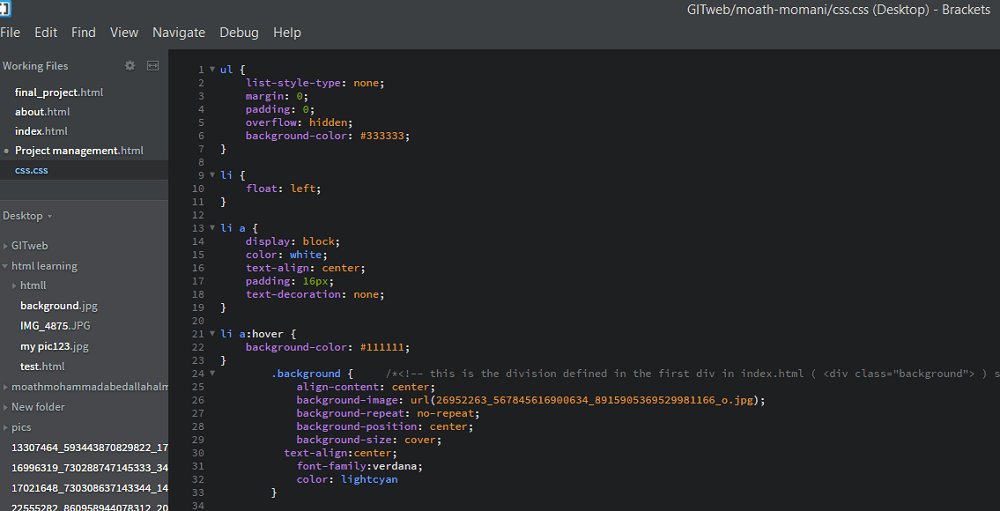
As we see in the above photo I added some codes related to the navigation bar like the floating which mean the menue is on the left as the same as my web site
and then I detirmined the color,size, and distance between menues.
2.INDEX FILE AND YML FILE
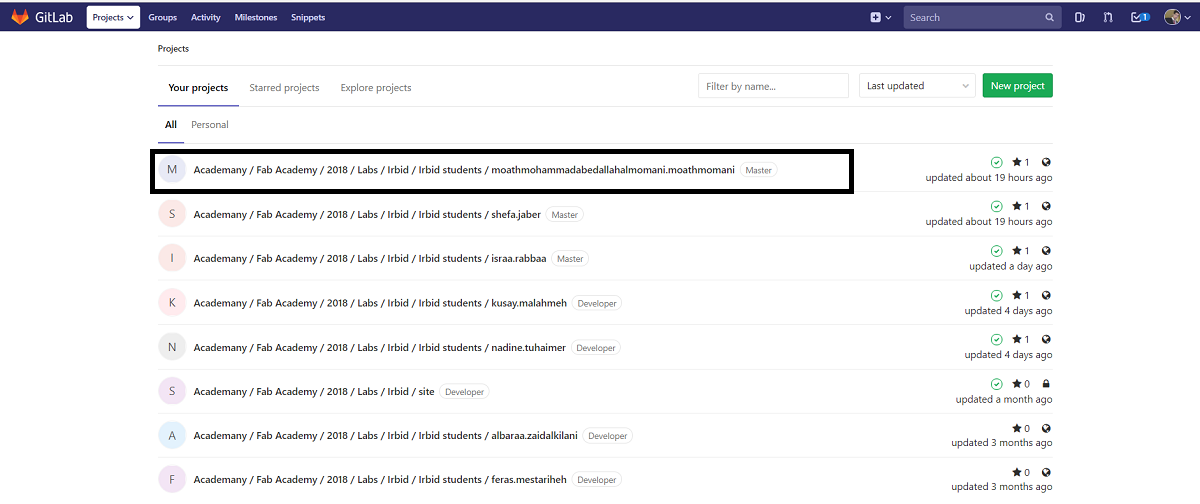
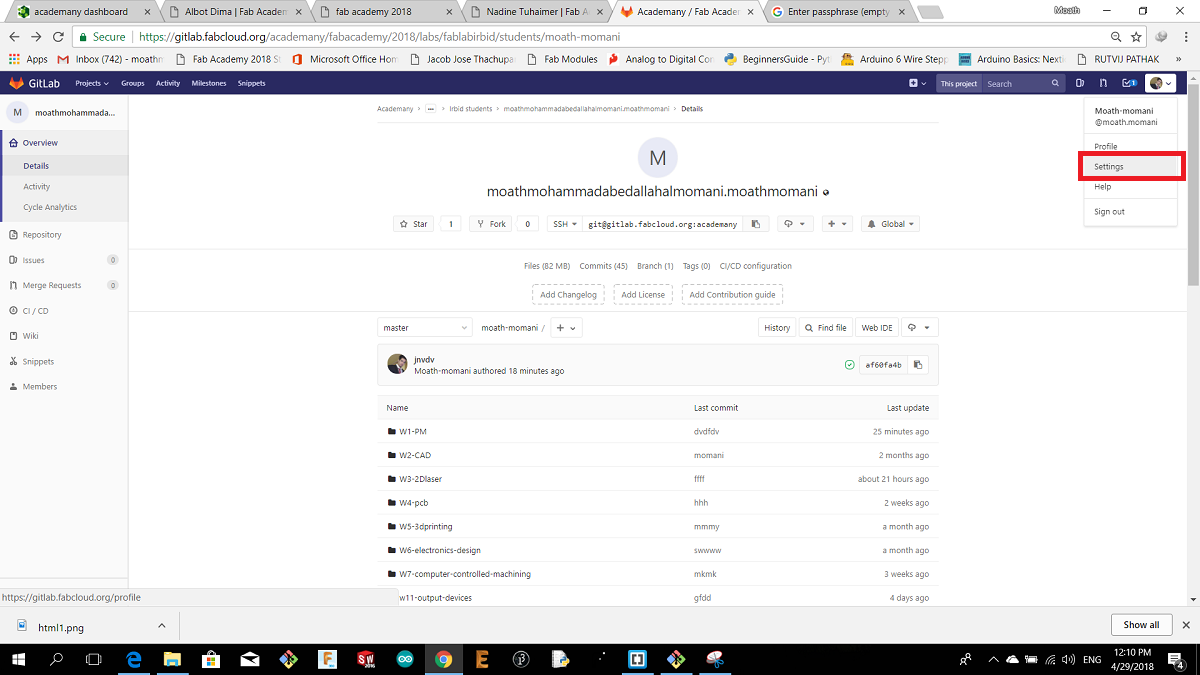
Then I installed GIT lab software to upload my web site on it, after that the first thing that I did is to make index file in the gitlab website by following these steps:
I opened gitlab and I chose my name
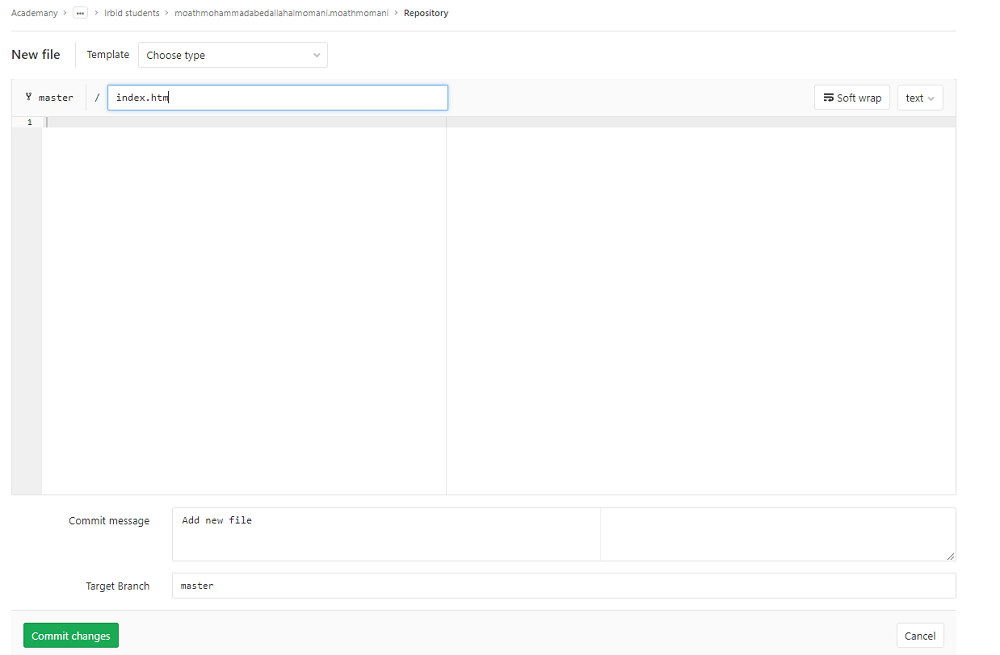
then as shown I select new file
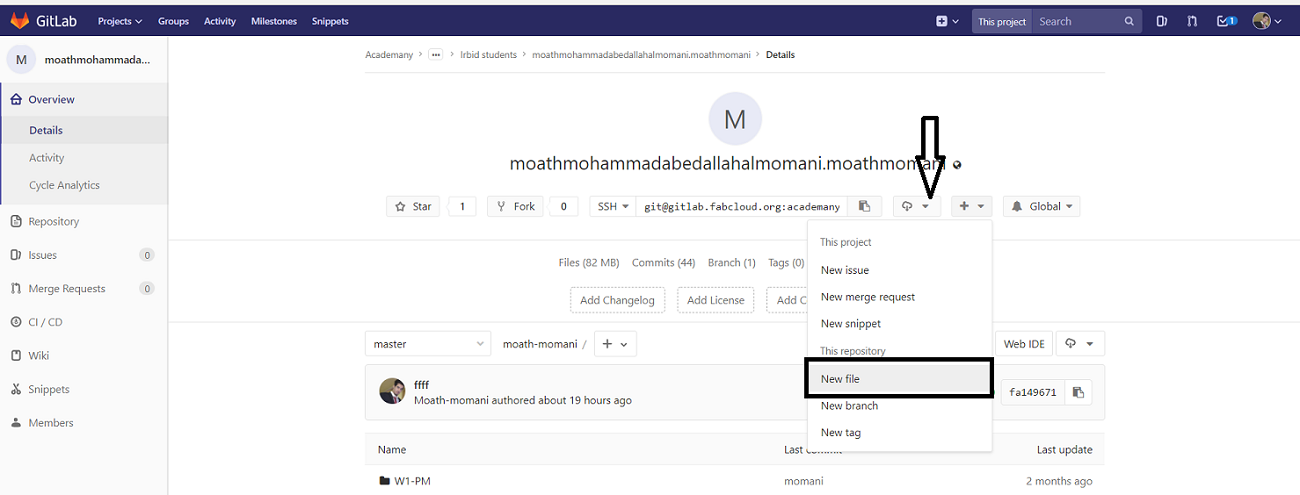
then this window will opened so I typed the index.html and then commit changes as shown
now its time to make somthing called yml file extension, The YML file type is primarily associated with 'Javascript' by YAML. YAML stand for "YAML Ain't Markup Language;". It uses a text file and organizes it into a format which is Human-readable. YAML may be used with multiple platforms of programming languages such as Html, PHP, Python, Ruby, Perl, Javascript amongst others. so if we want the index page to be uploaded, we need to adda.yml file.
To make the yml file we follow these steps:
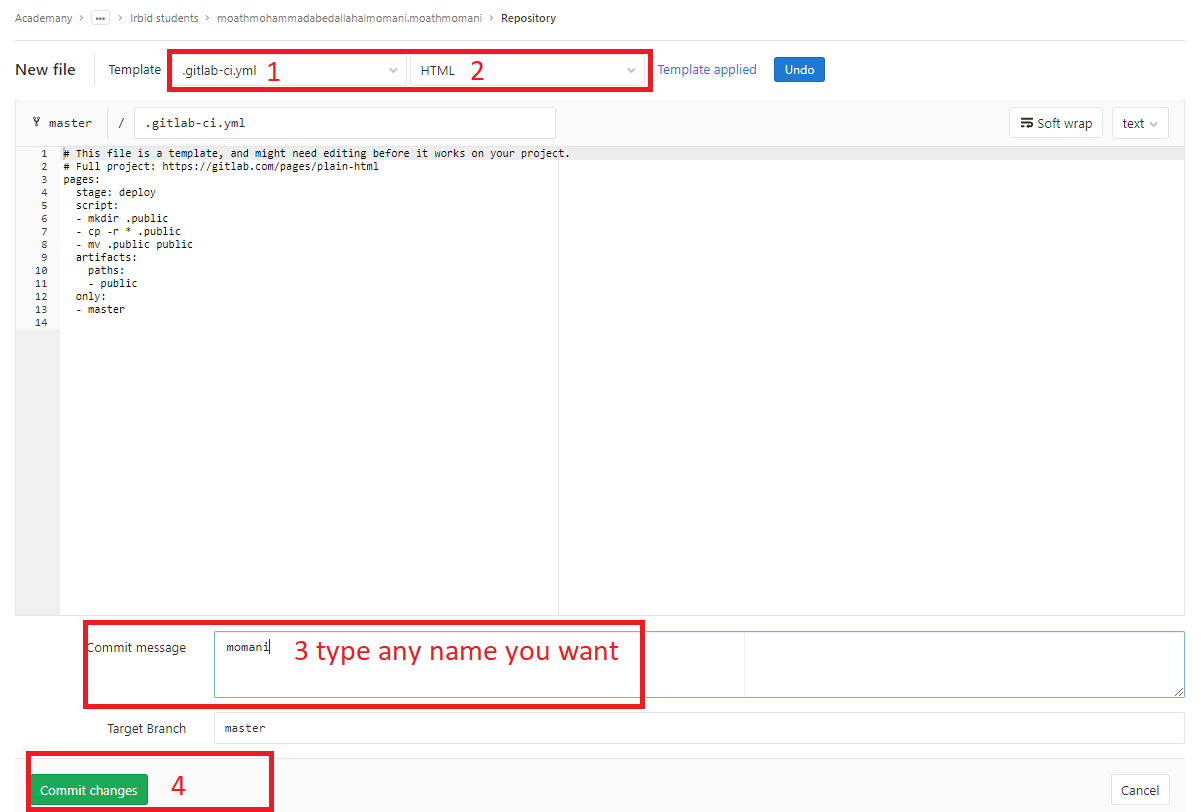
Select a new file again
On template we choose .gitlab-ci.yml and then HTML as shown in the next picture
3.GIT BASH
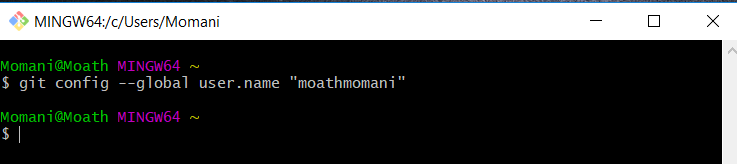
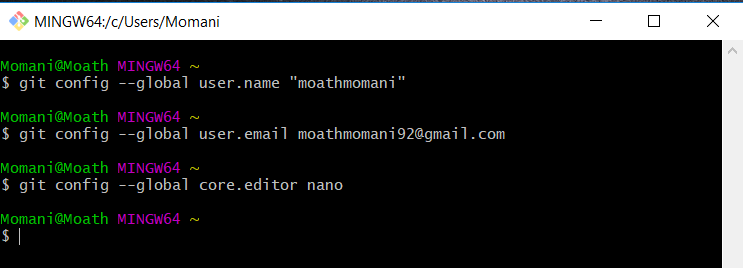
Now its time to use git pash so to set it up we type this comands:
1. git config --global user.name "YourUsername"
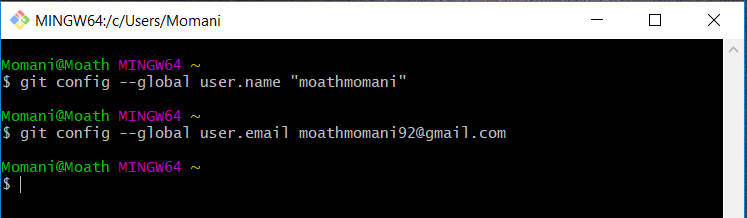
2.git config --global user.email Your git lab Email.
3.git config --global core.editor nano
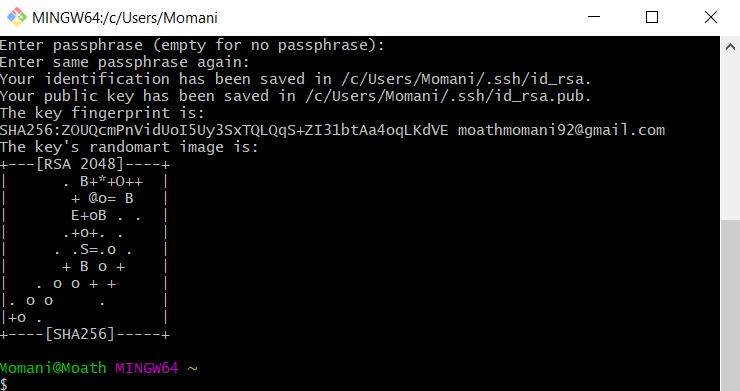
4.ssh-keygen -t rsa -C "Youremail" and press enter untill you see this
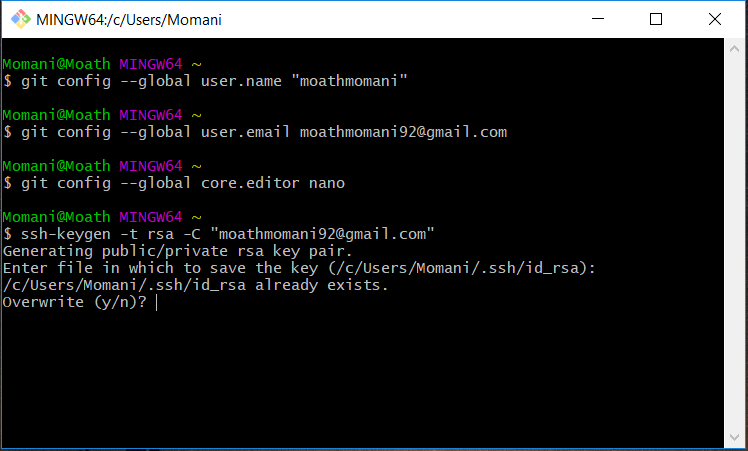
press y and enter untill you see this
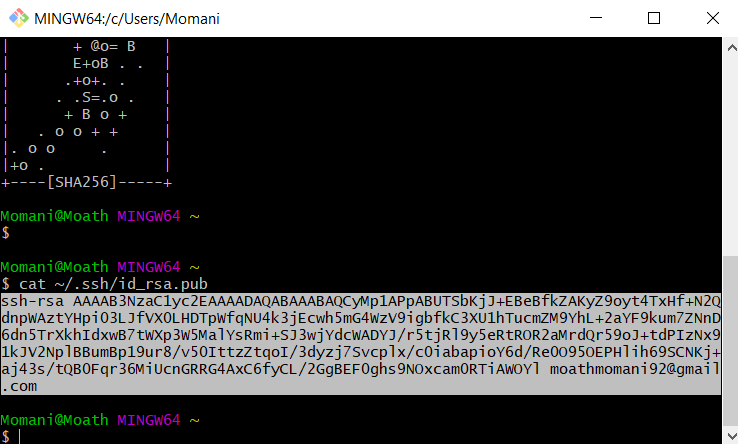
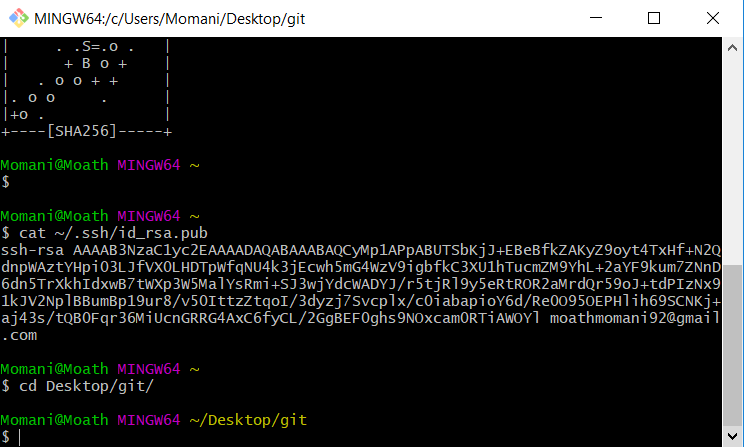
5.cat ~/.ssh/id_rsa.pub
now copy this generated key
go to git lab and do the following
choose setting
Choose SSH keys
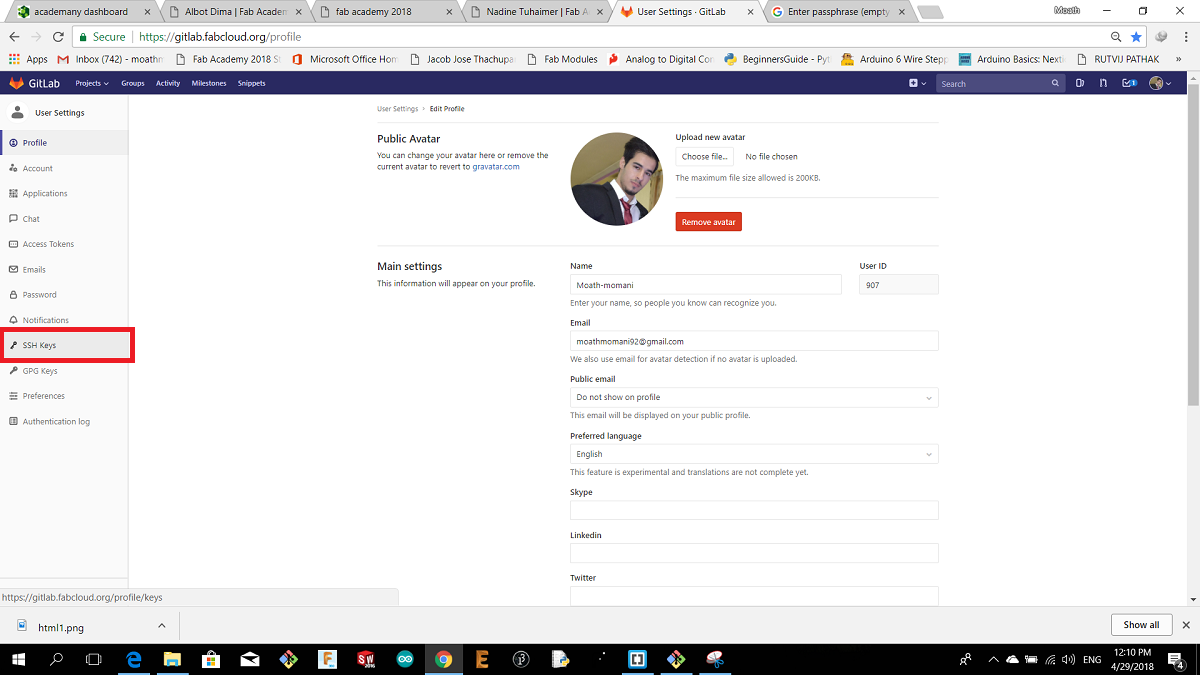
Past the code and press add key

Create a New Folder on the Desktop. This will be the local WORKING DIRECTORY, in my case I named the folder git
I opened the folder that I made by cd command
From the GIT Repository, inside our name’s branch, we copy this link
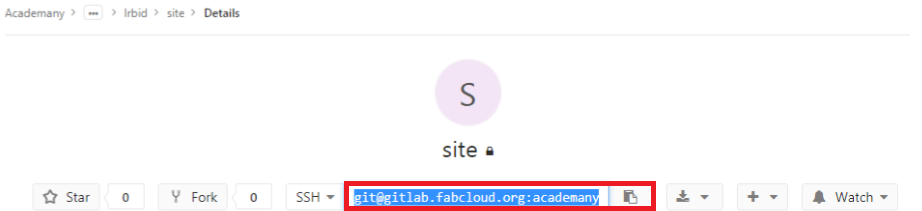
6.git clone TheLinkThatYouCopied

we see "already exists and is not an empty" because I already did it before.
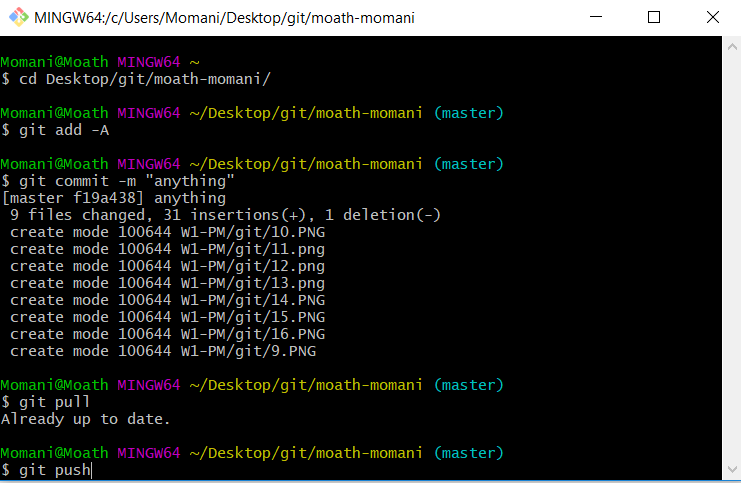
now to upload your files follow this commands
1. cd yourfilelocation
2.git add -A : This command adds everything to an index, preparing it for a commit. This step records all the changes made.
3.git commit -m "write anything" : Applies the changes but only to the local directory.
4.git pull : Incorporates changes from a remote repository into the current branch.
5.git push : saves all changes to the remote repository.