Week 13 | Molding and casting
Overview
This week focuses on understanding the fundamentals of molding and casting as a digital fabrication process. The goal is to explore how to transform a designed geometry into a physical object by creating molds and producing casts using different materials.
Molding and casting is a process where a liquid material is poured into a shaped cavity and allowed to solidify, resulting in a final part that replicates the mold geometry. This week combines material knowledge, machining, and design considerations to achieve accurate and clean results.
Group Assignment
In the group assignment, we first reviewed the safety data sheets for each molding and casting material, then made and compared test casts with each of them, and compared different mold-making processes.
Individual Assignment
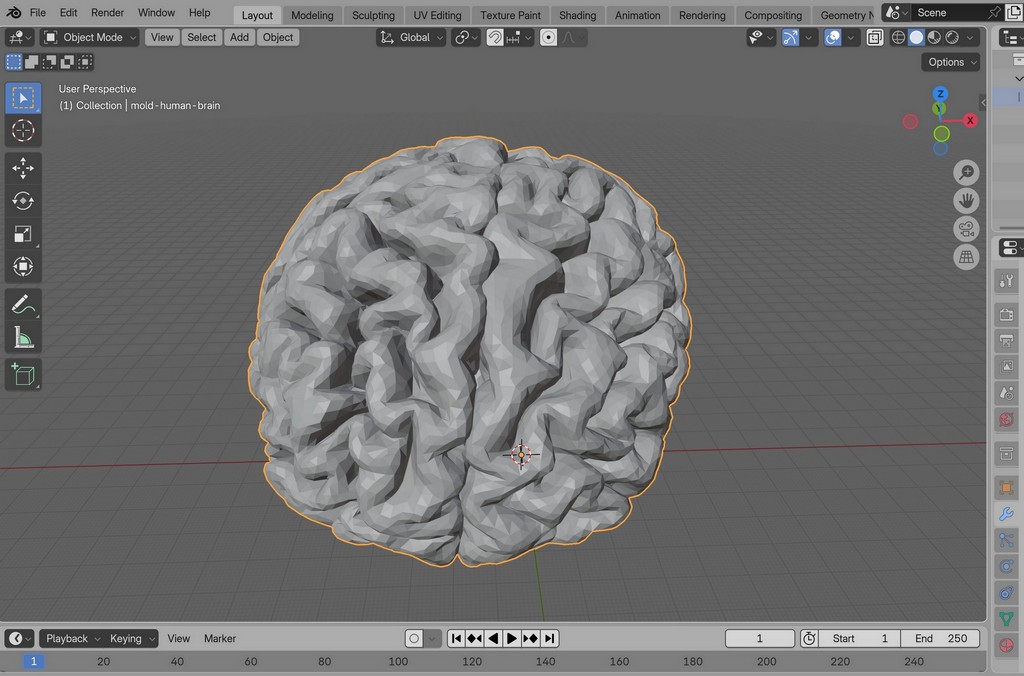
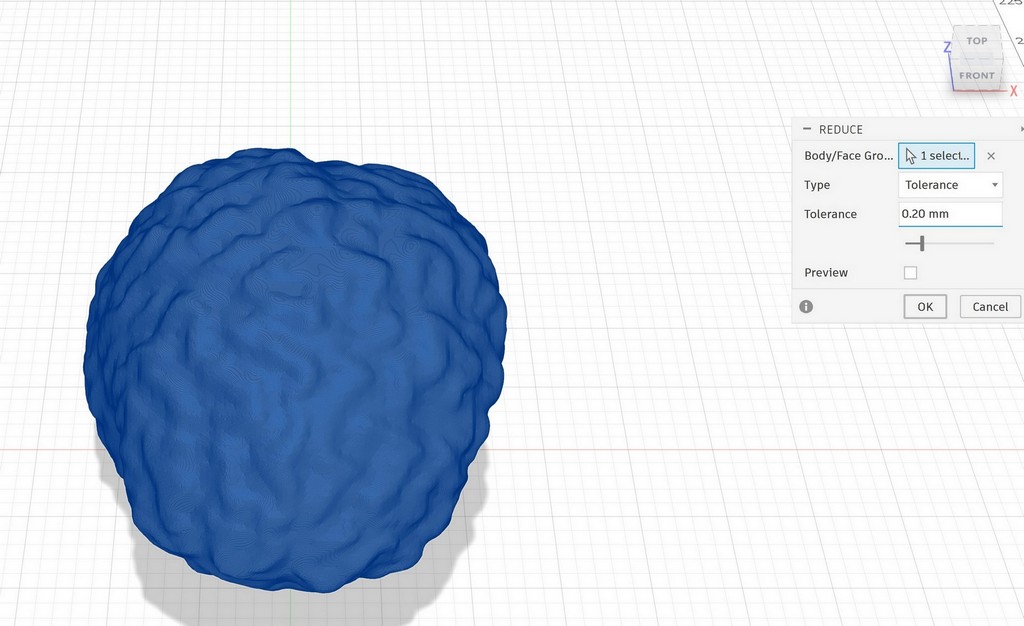
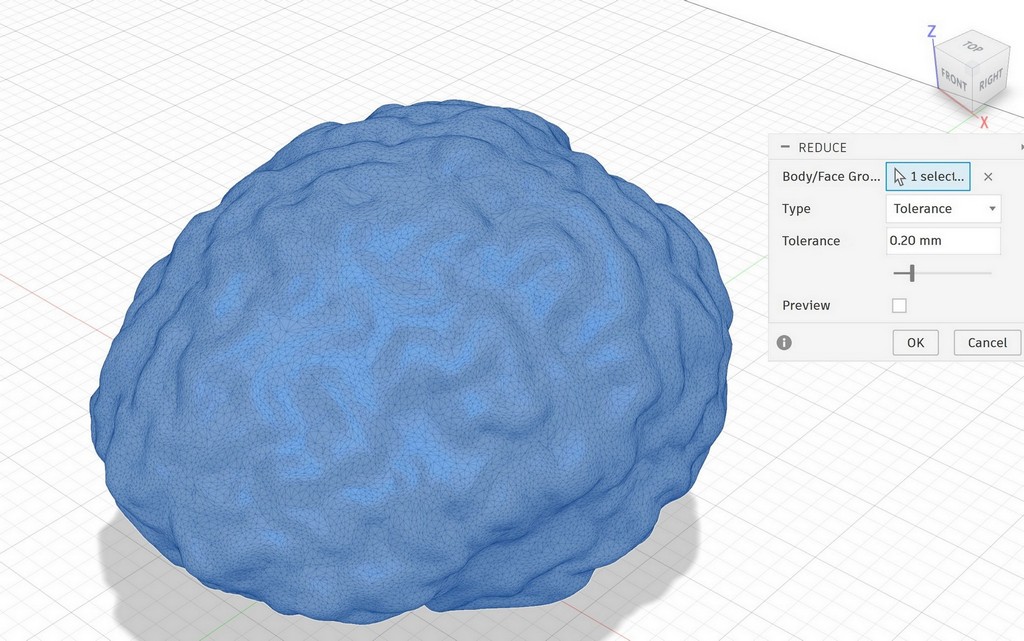
For the individual assignment, I created a mold that can be used later in our research group. My plan was to design a mold of a human brain and test it using casting.
Design Brain Mold
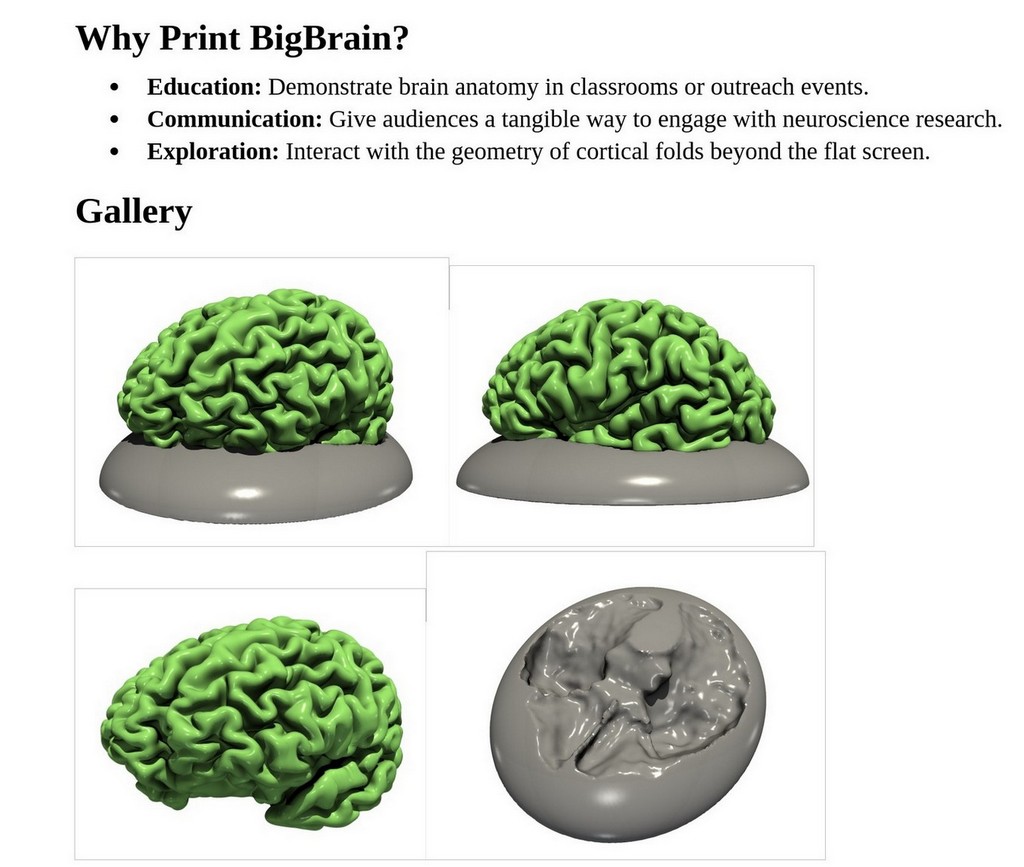
I obtained the 3D model from the BigBrain Project, which provides a very detailed 3D model of the human brain. Scientists scanned a real brain in very thin slices and reconstructed it digitally (image reference).
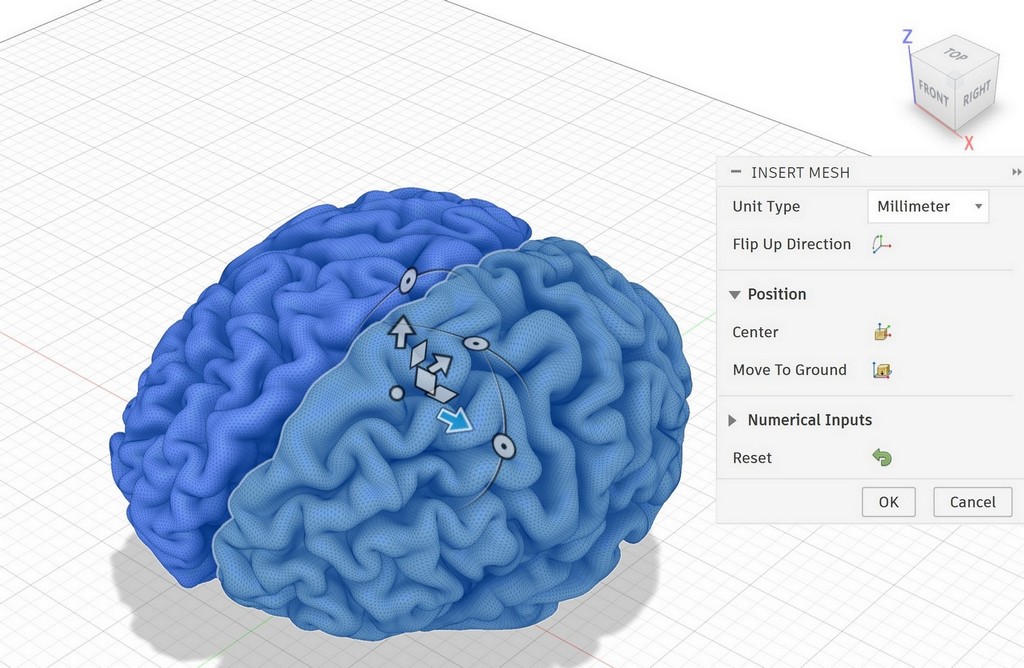
I downloaded the brain STL 3D model and inserted both the left and right hemispheres into Fusion 360 as mesh models:
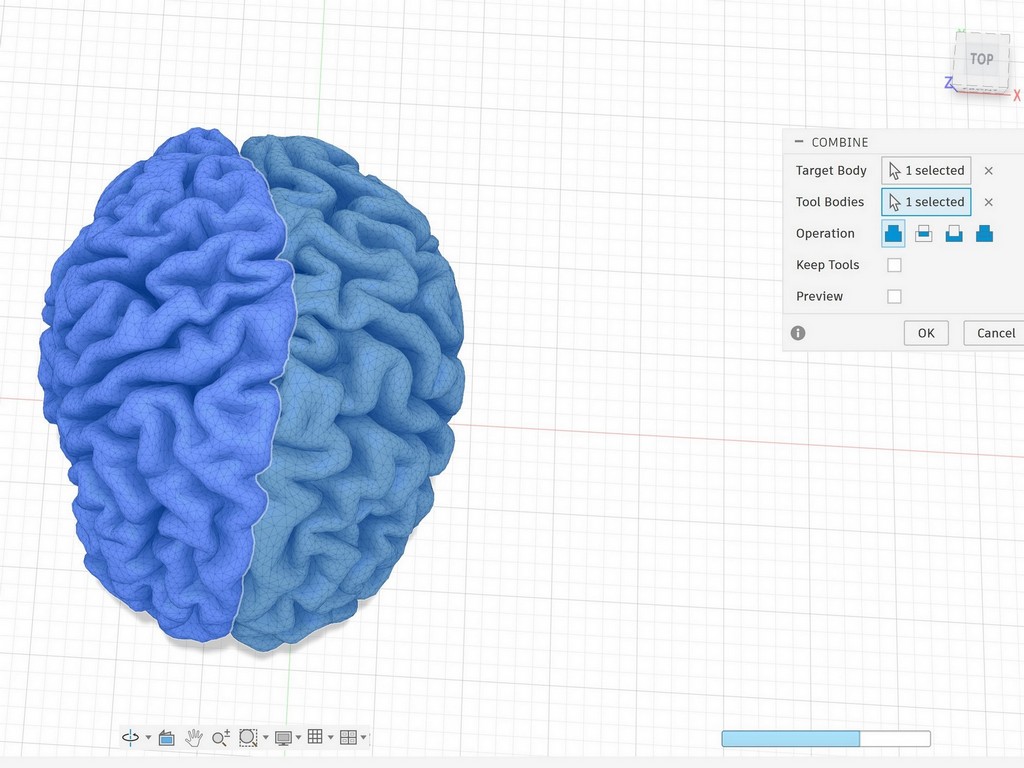
I combined both hemispheres:
After preparing the brain model and before designing the mold, I consulted Toni. He mentioned that the many cavities and fine details could make it difficult to remove the cast cleanly.
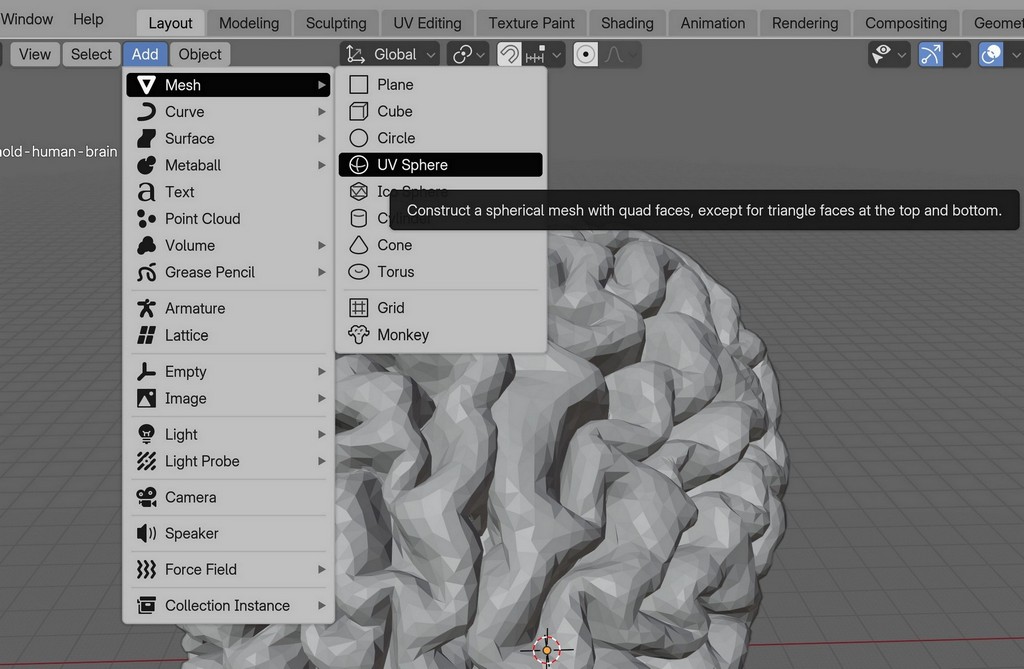
I therefore decided to slightly modify the model and make it smoother by filling the cavities. Since I have experience working with mesh models in Blender, I exported the model from Fusion 360 and imported it into Blender.
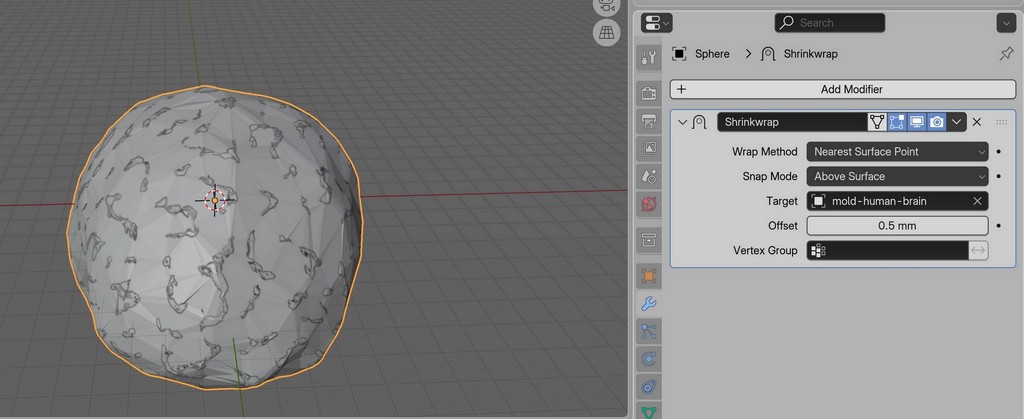
It is easier to work with mesh models in Blender. I used the Shrinkwrap tool to create a kind of “skin” around the original model.
I applied Shrinkwrap several times until I reached the desired result.
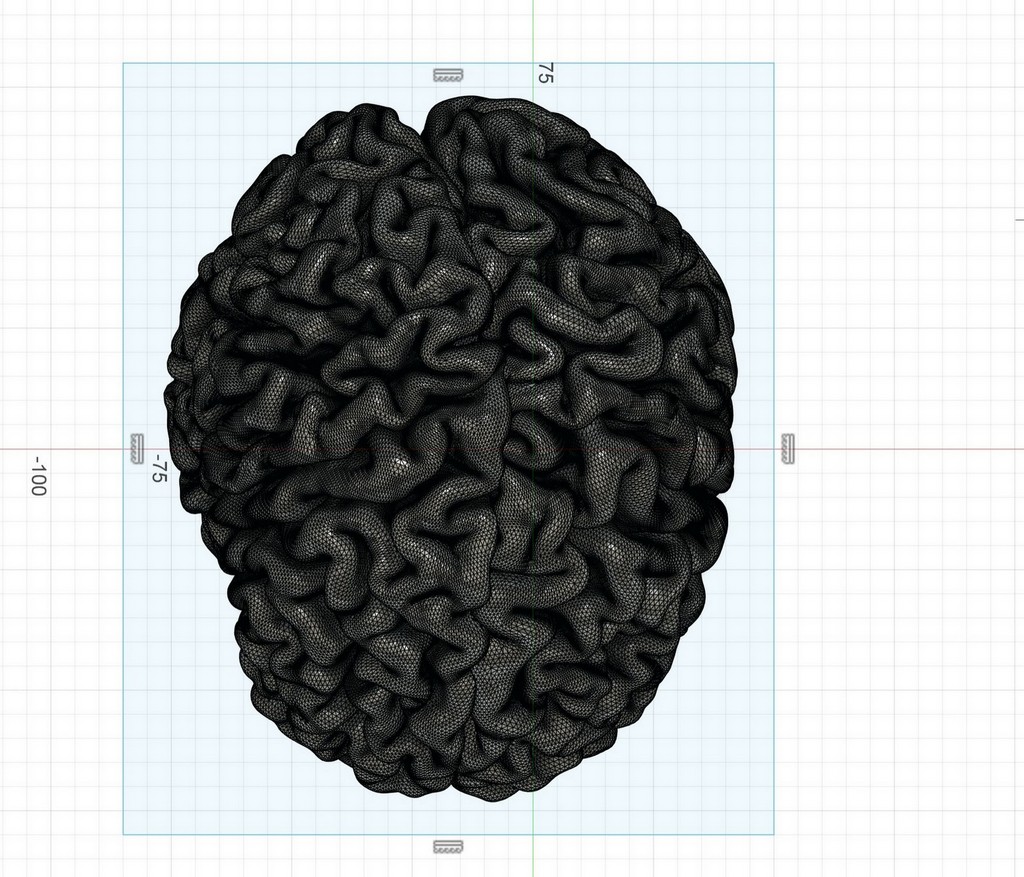
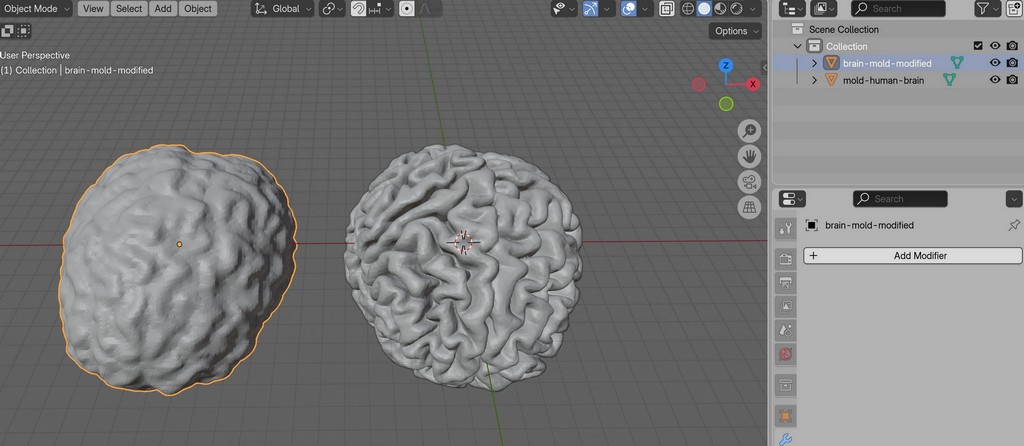
This is the modified brain model:
I then exported the new design from Blender and imported it back into Fusion 360 using Insert Mesh. Since Fusion 360 recommends using mesh models with fewer than 10k triangles, I reduced the mesh complexity as much as possible without losing too much detail.
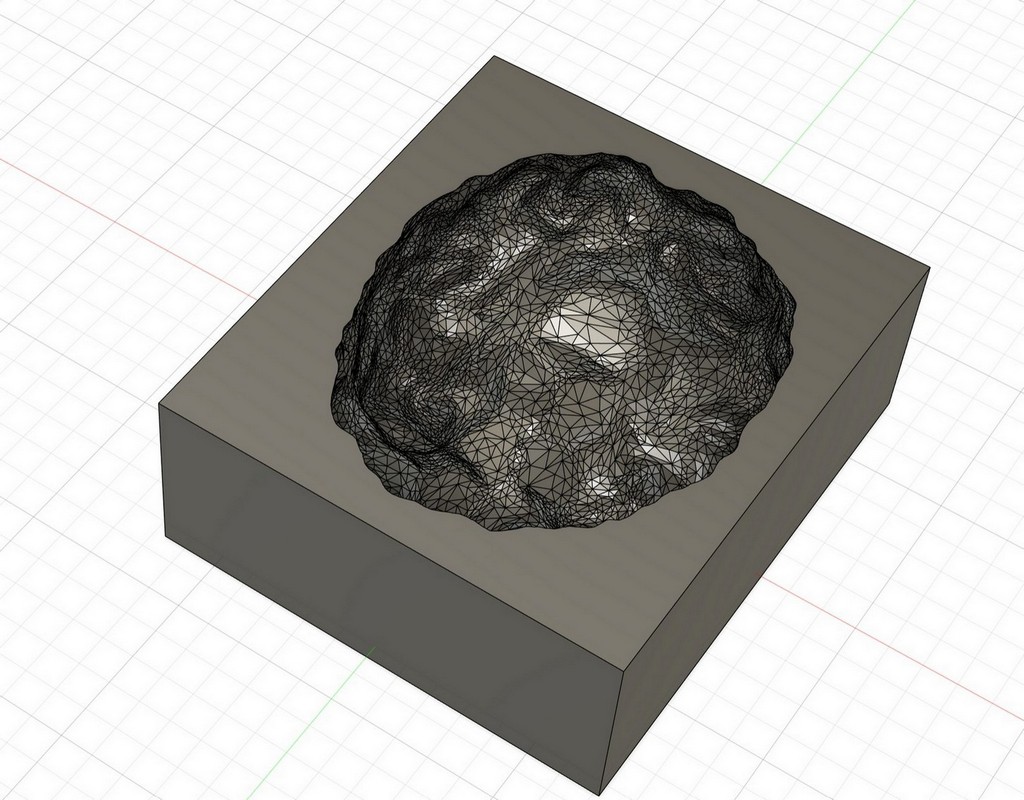
Next, I converted the mesh into a solid:

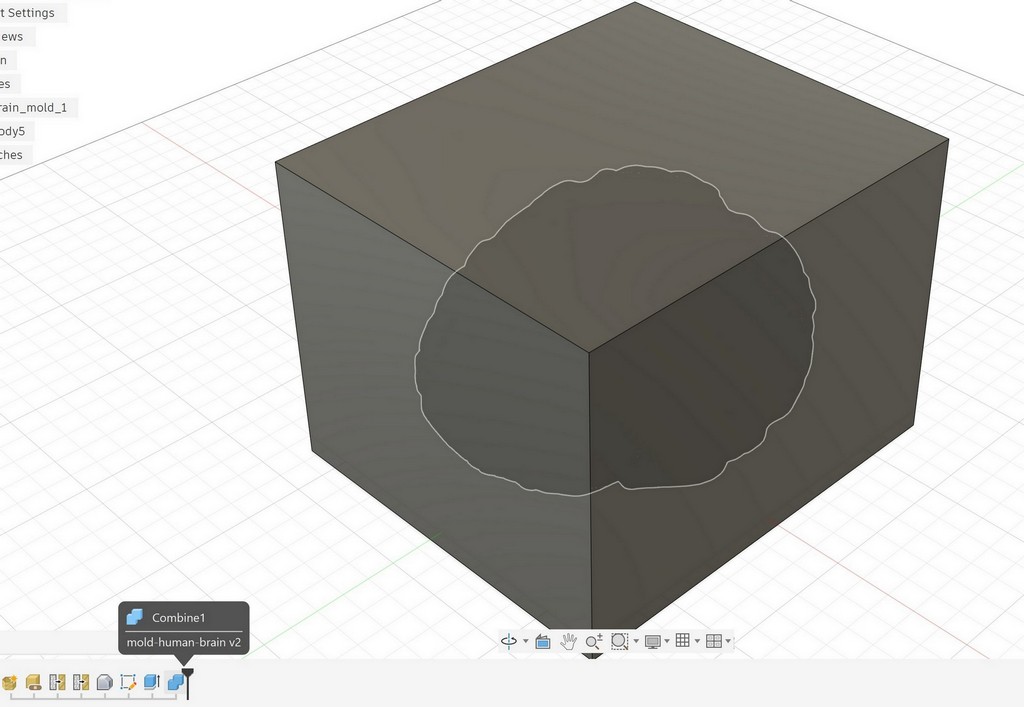
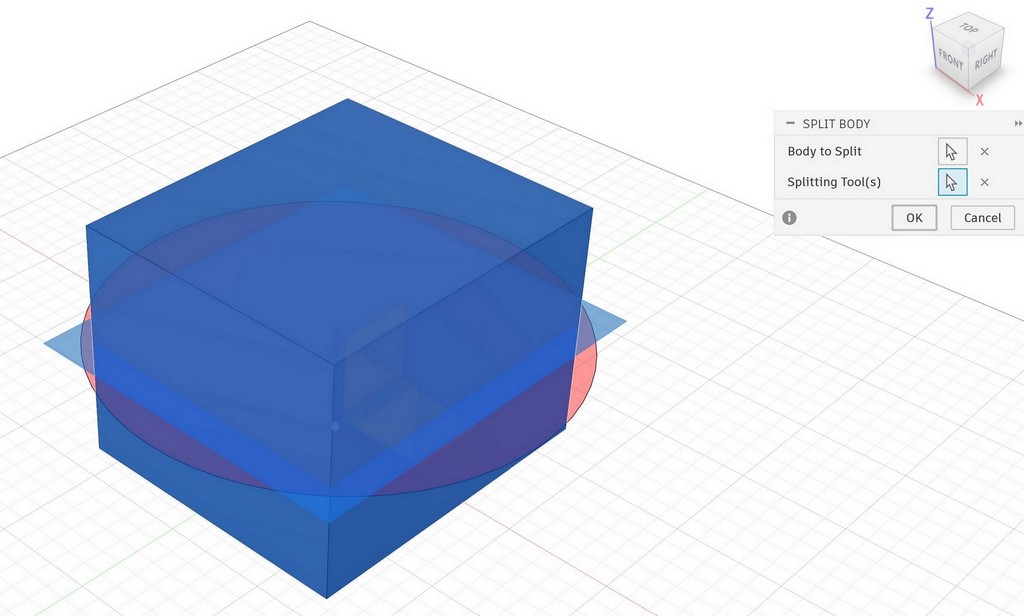
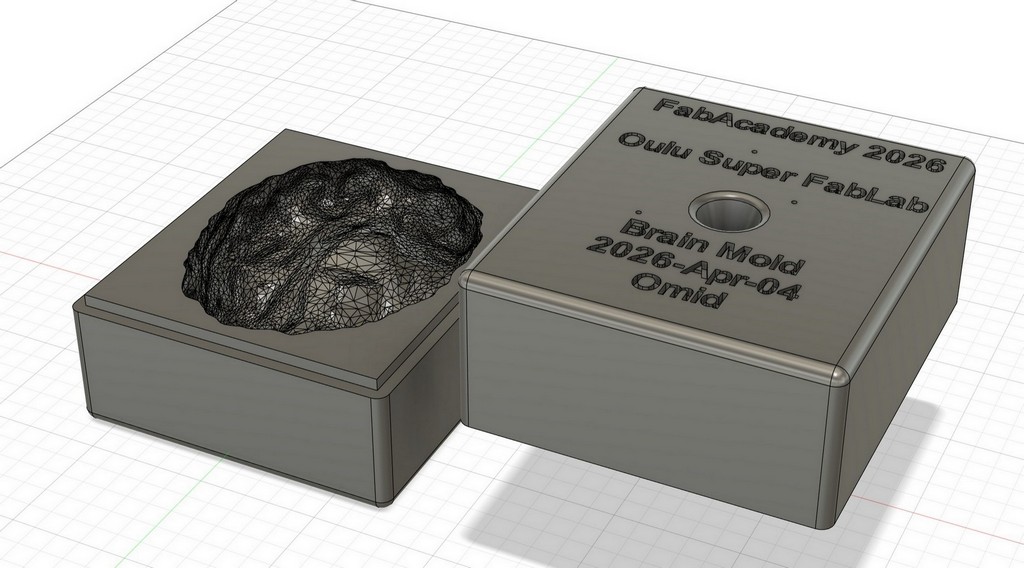
I created a rectangular box that fully covers the model, leaving at least 5 mm of extra space on each side. Using the Combine feature, I subtracted the brain from the box:
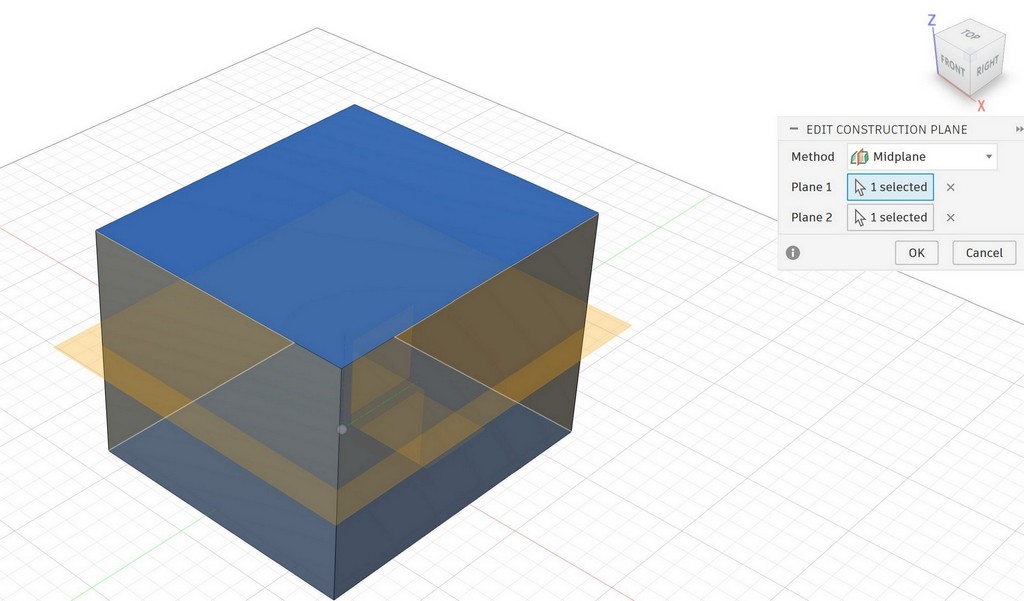
I created a midplane and split the mold into top and bottom parts:
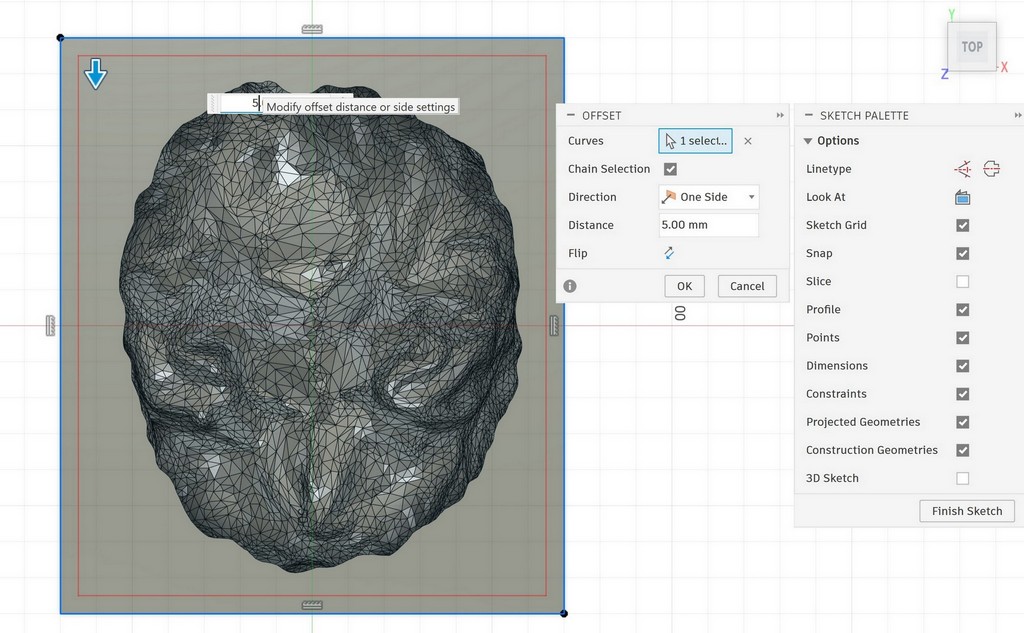
This is the bottom part. I added alignment features (keys) between the top and bottom parts by sketching them on the surface:
For the bottom part, I used the Offset tool and extruded the keys to -5 mm:

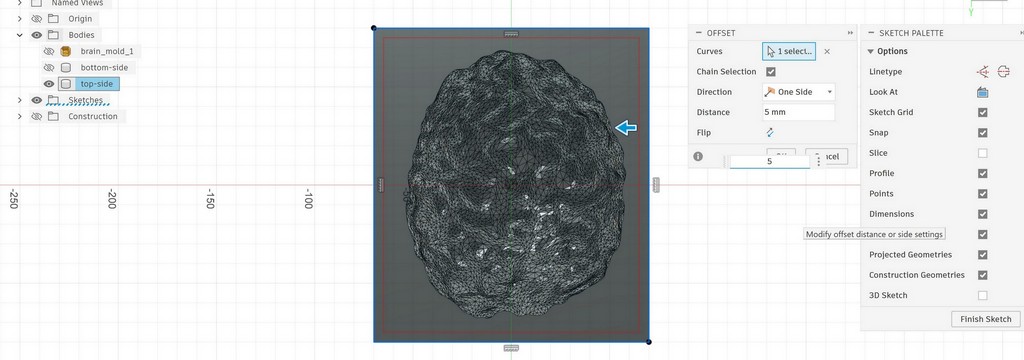
For the top part, I created matching keys with +5 mm extrusion:
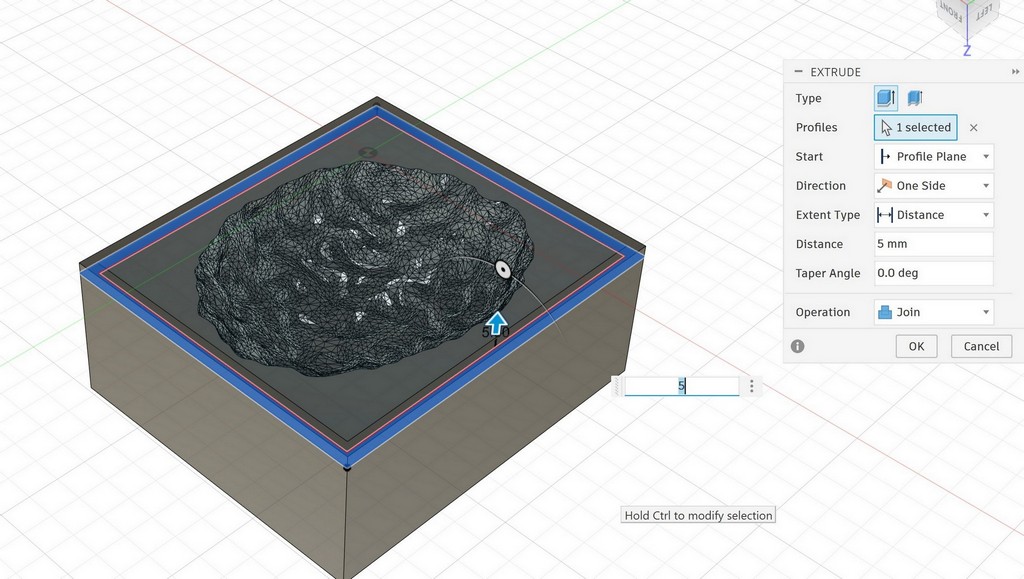
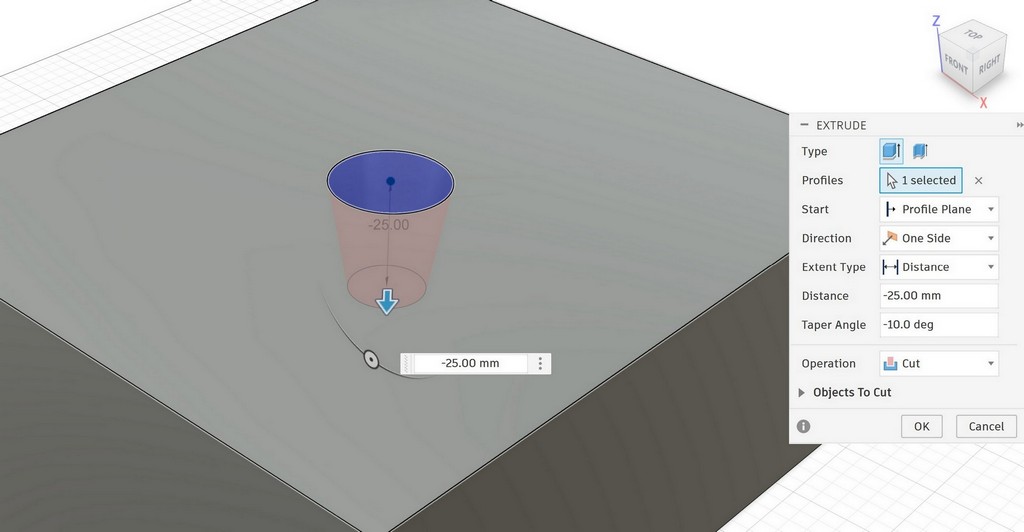
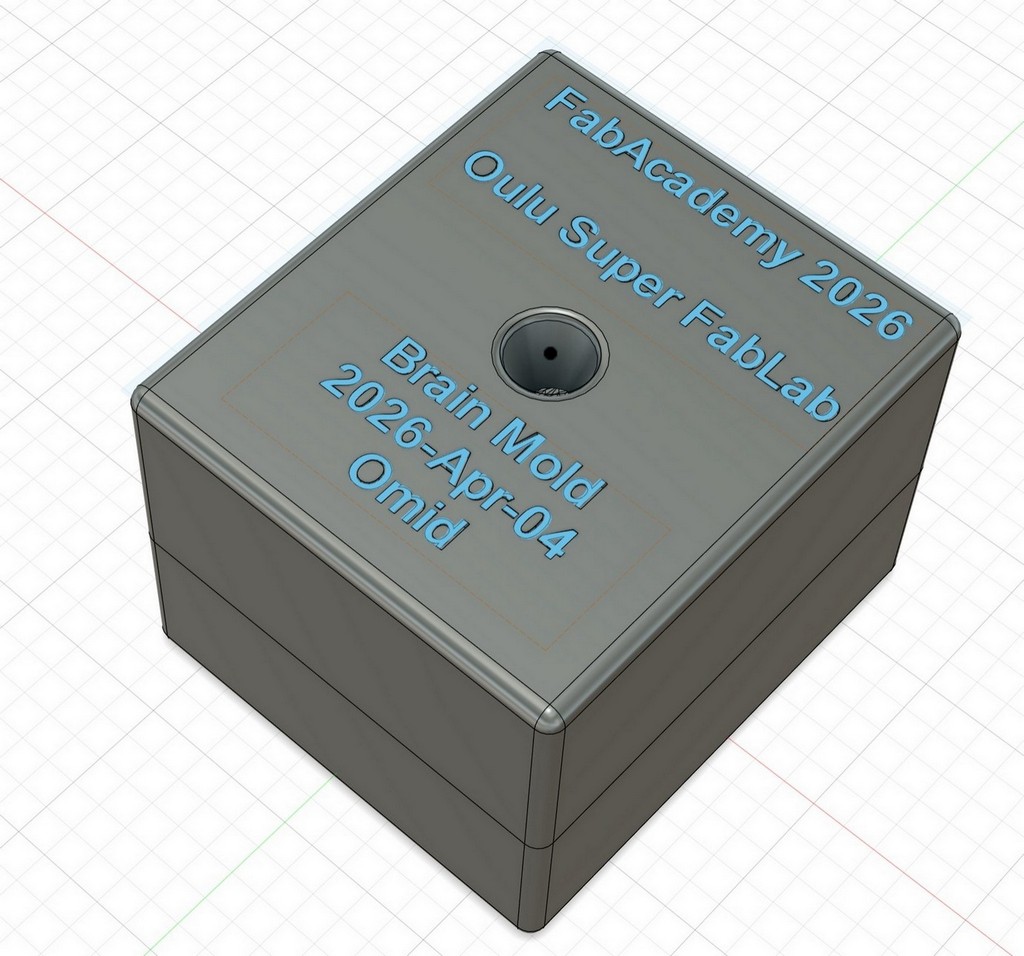
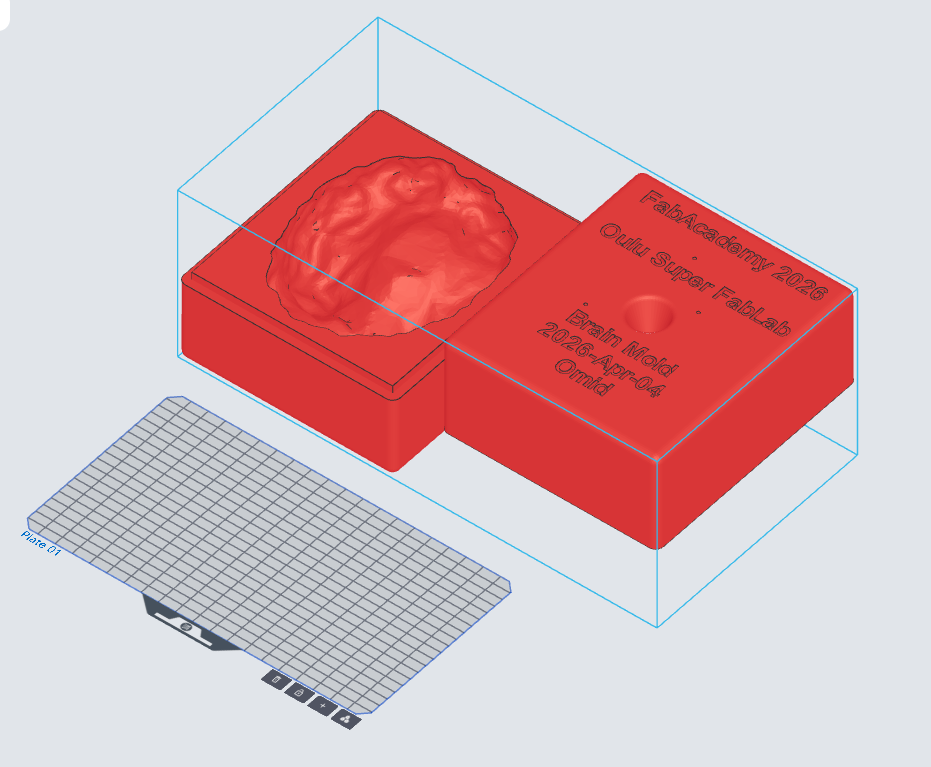
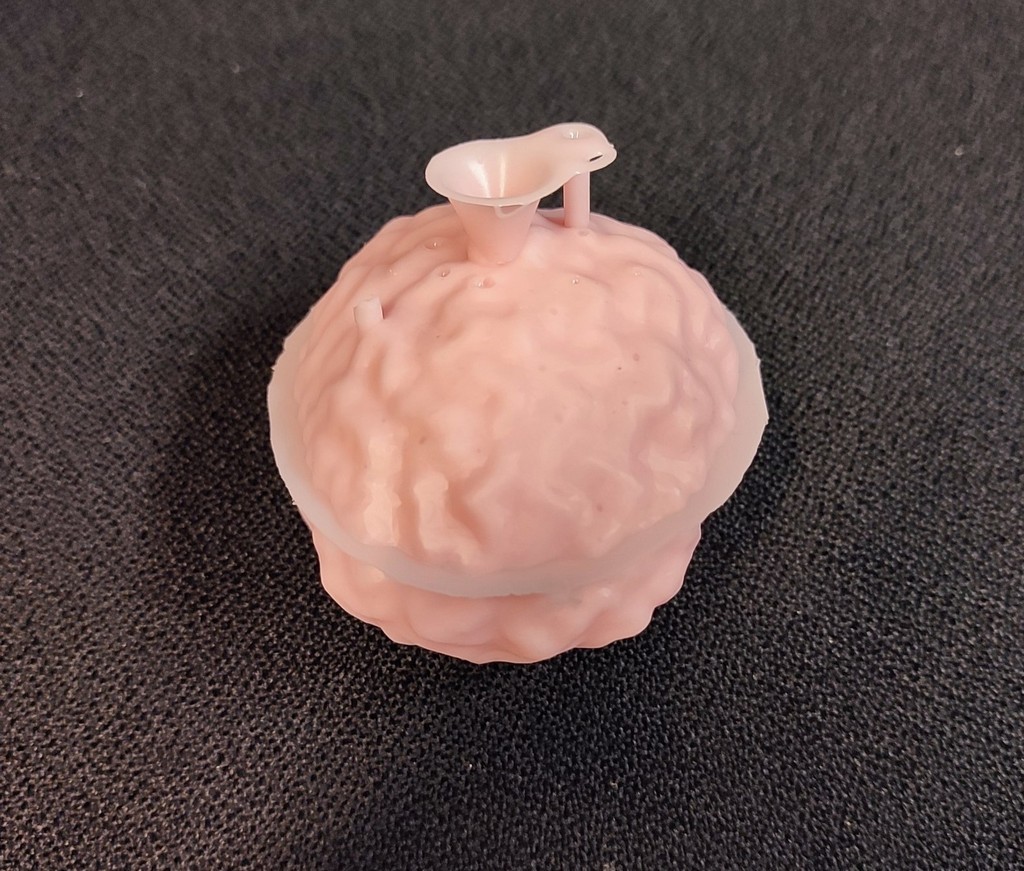
Finally, I designed a sprue on the top part for casting:
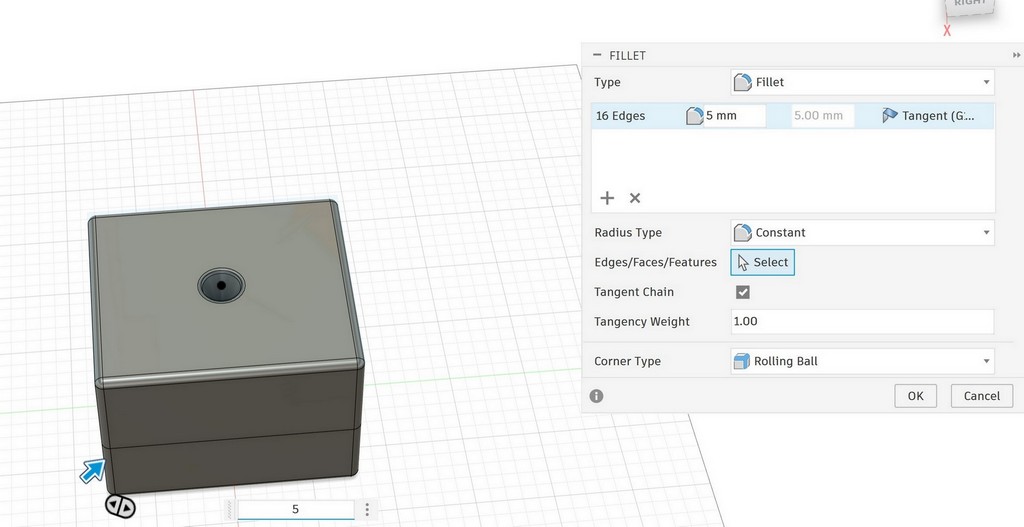
I also rounded all the sharp corners of the mold:
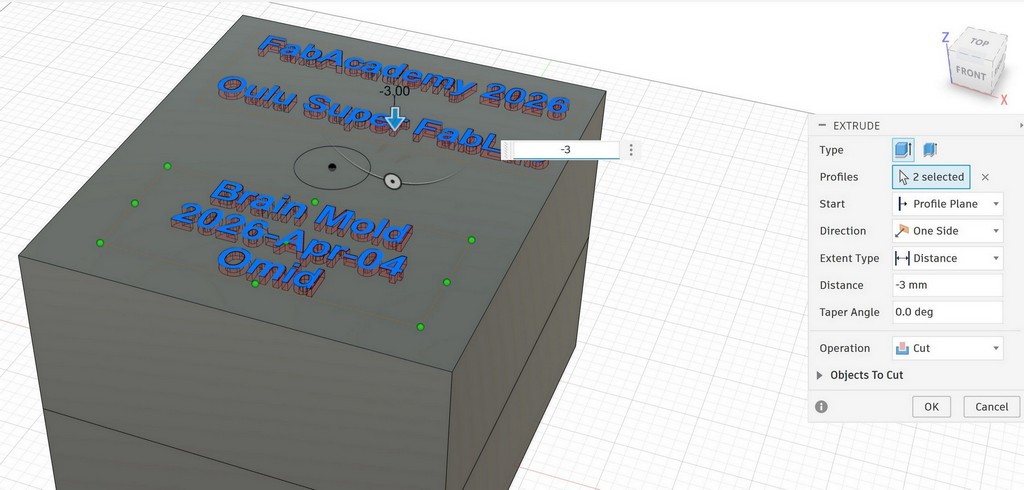
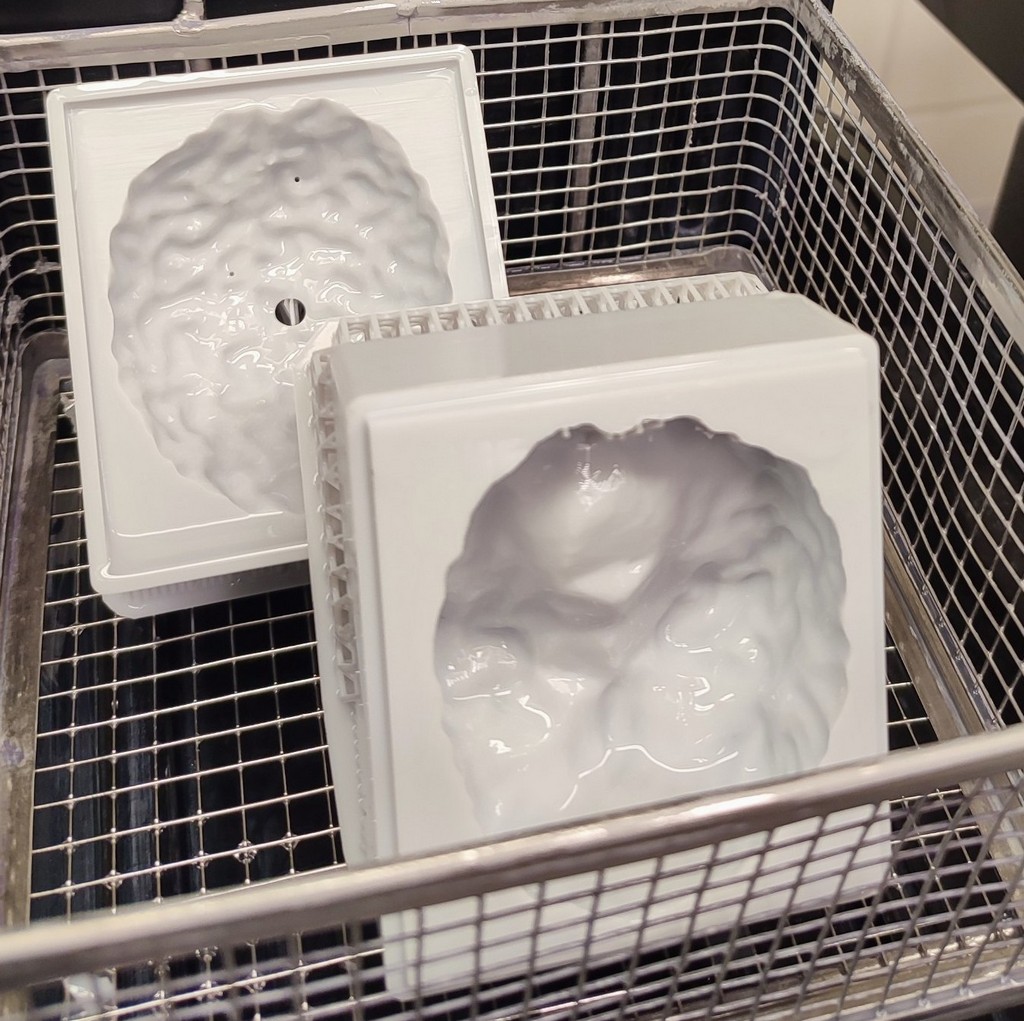
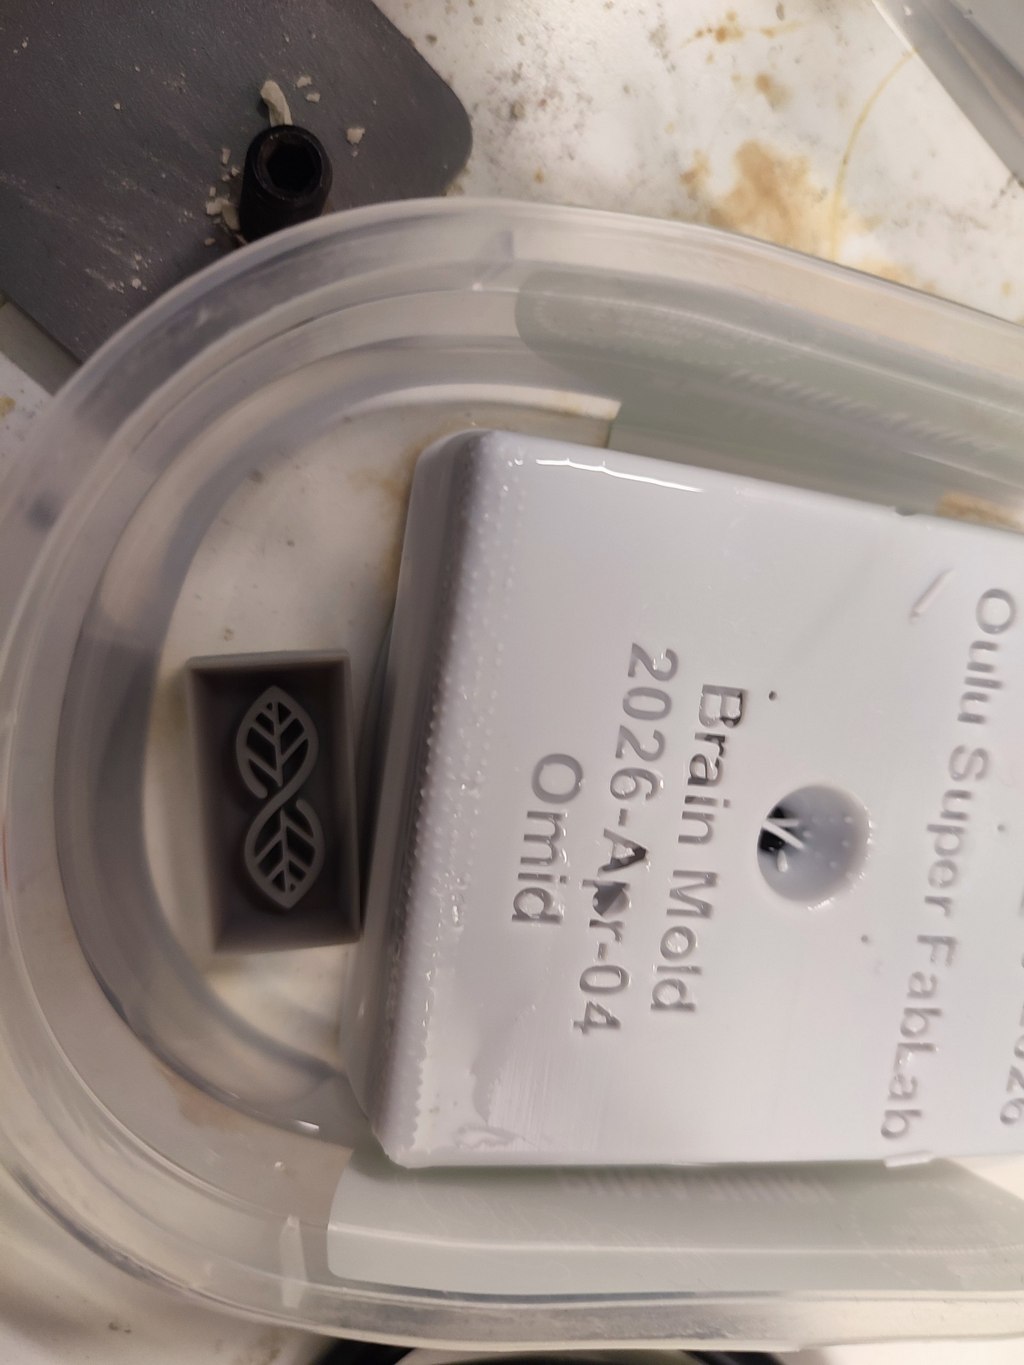
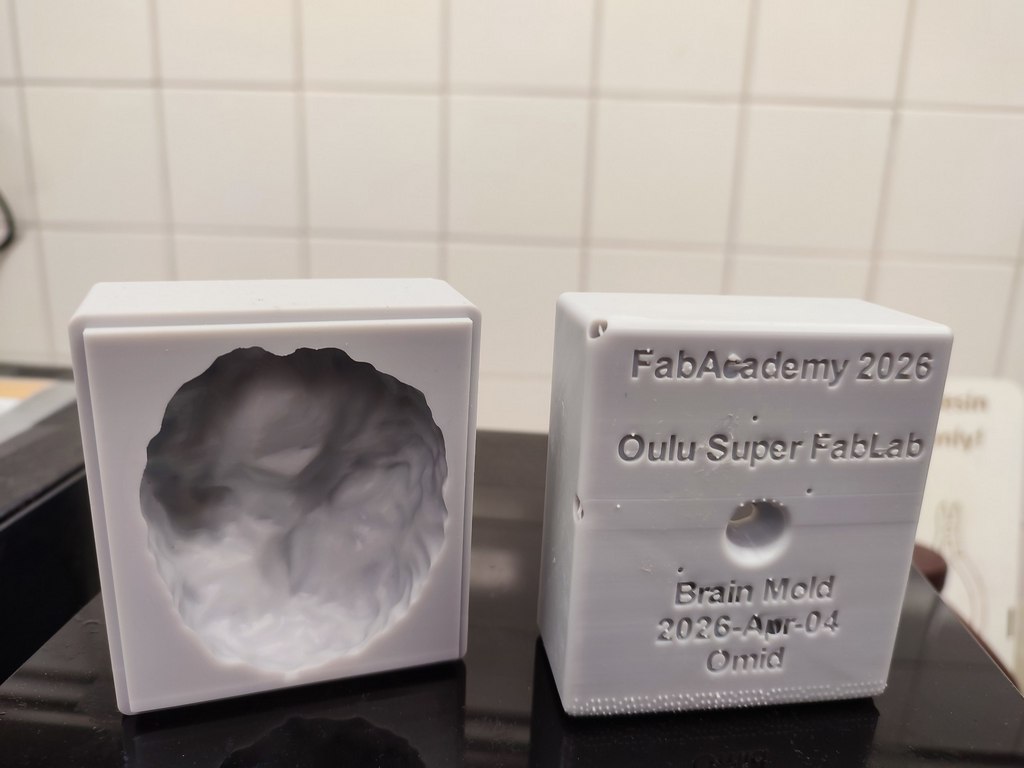
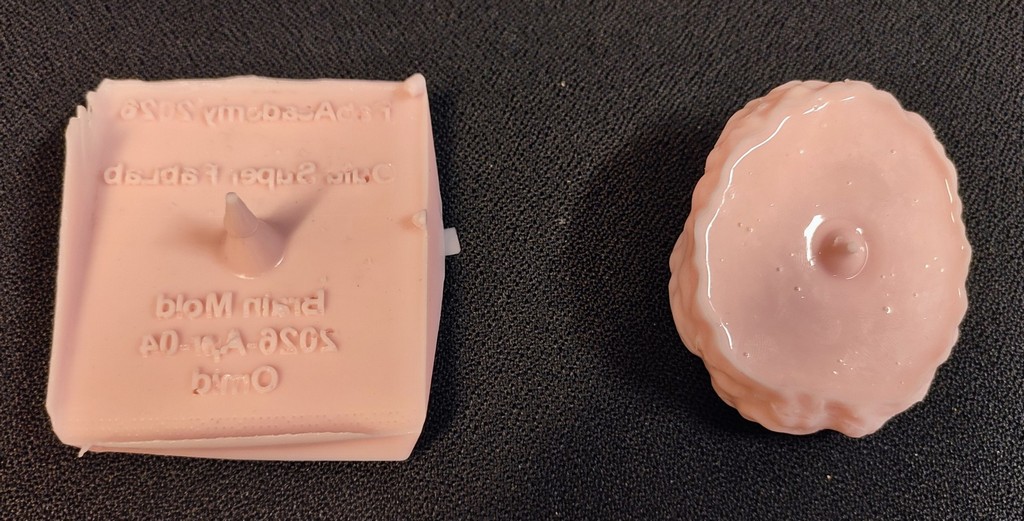
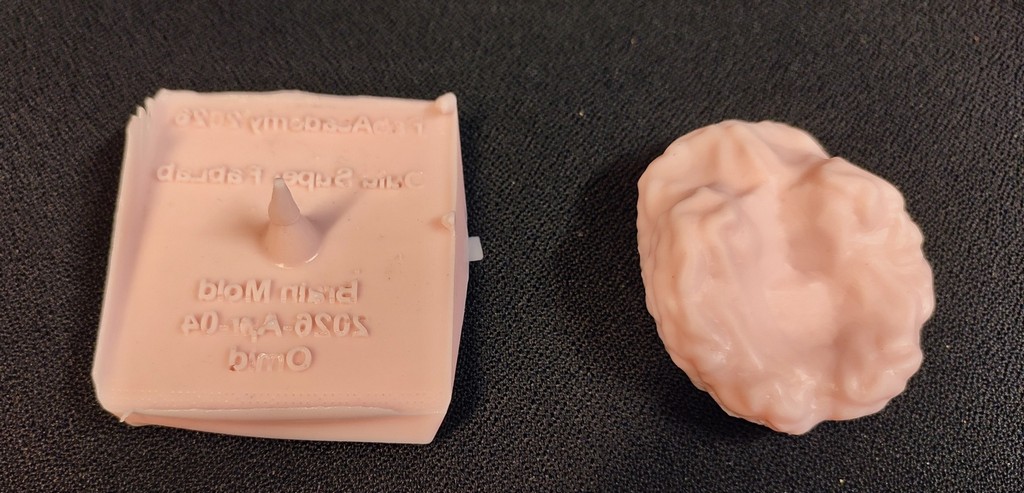
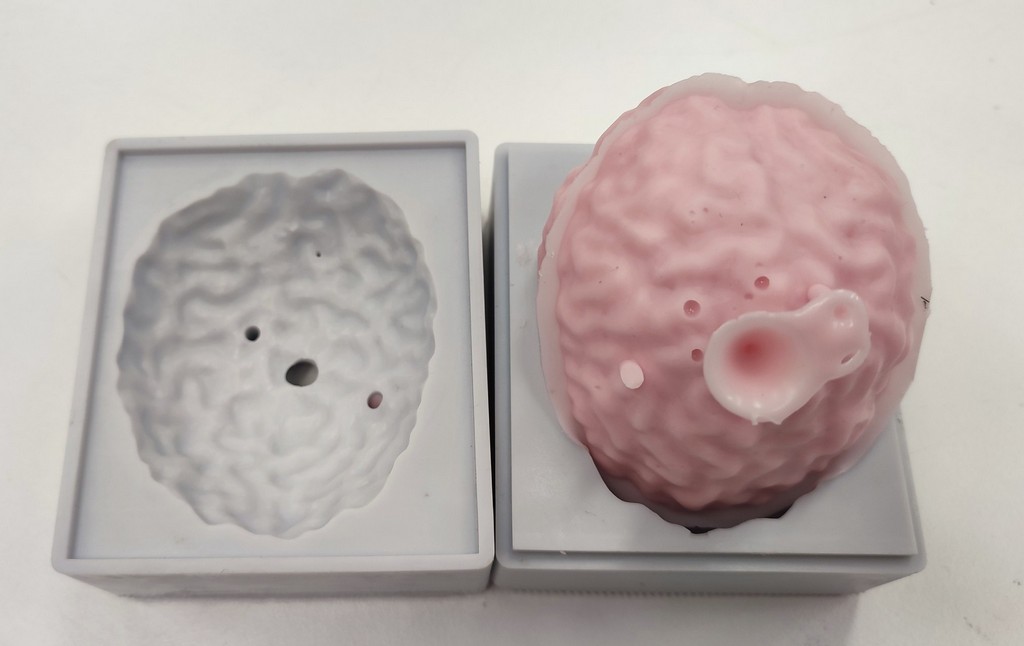
This is the final brain mold, ready for printing:
Slicing the 3D Mold Design
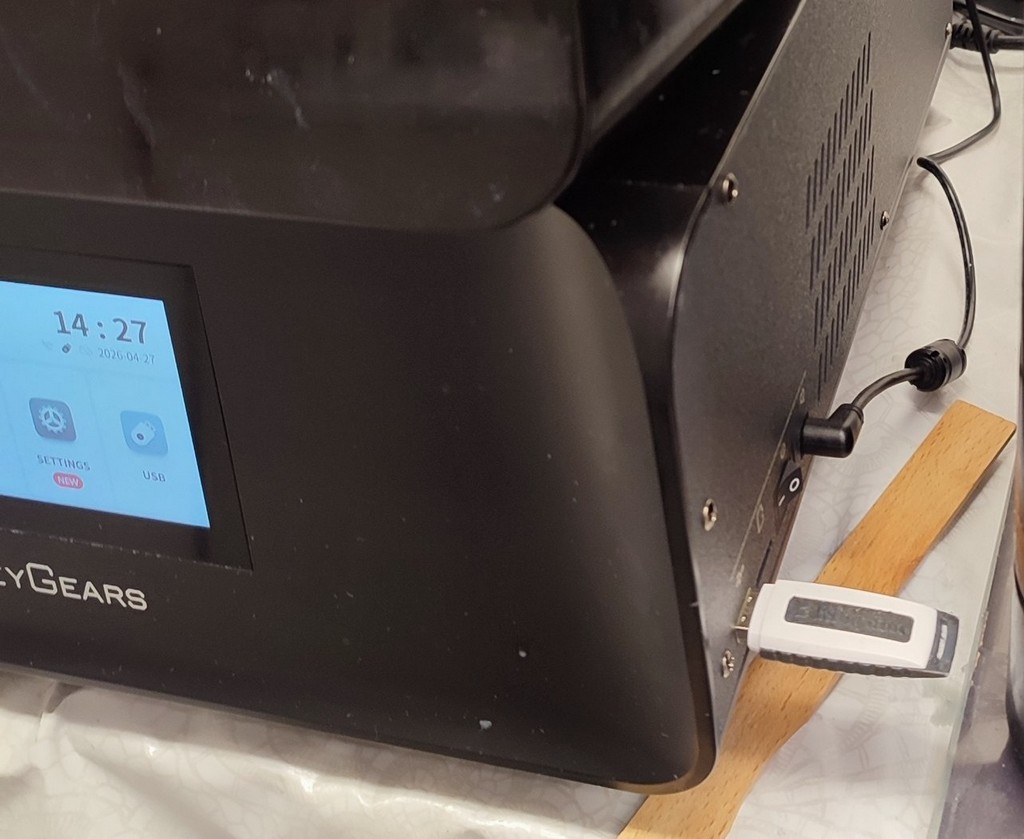
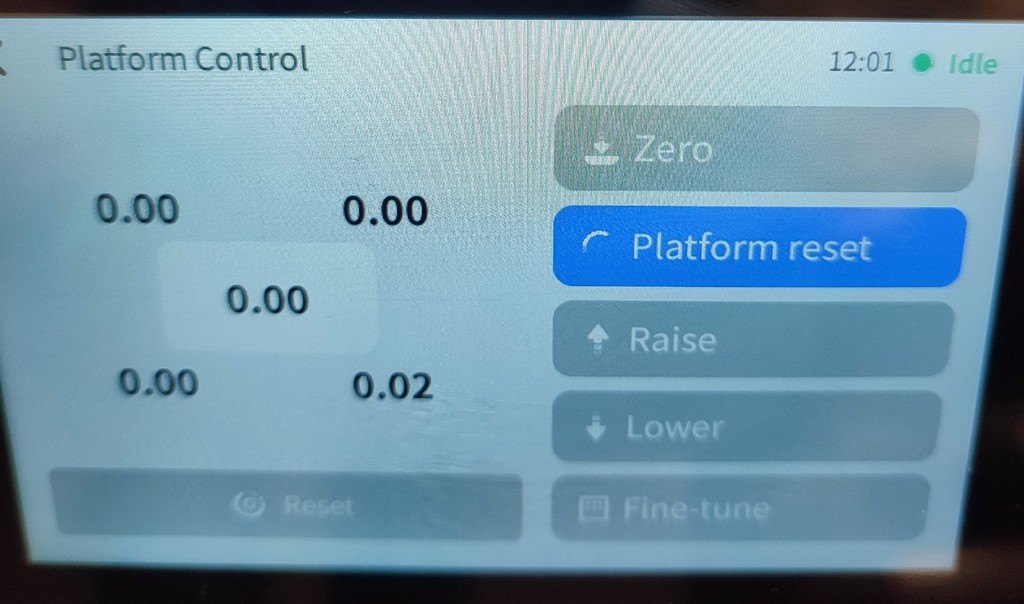
To fabricate the mold, we used a resin 3D printer. This was my first time using a resin printer, so Toni helped me understand the process. I also documented the slicing steps for this mold. I used Blueprint Studio for slicing.
I selected the printer available in the Oulu Super FabLab and opened the application.
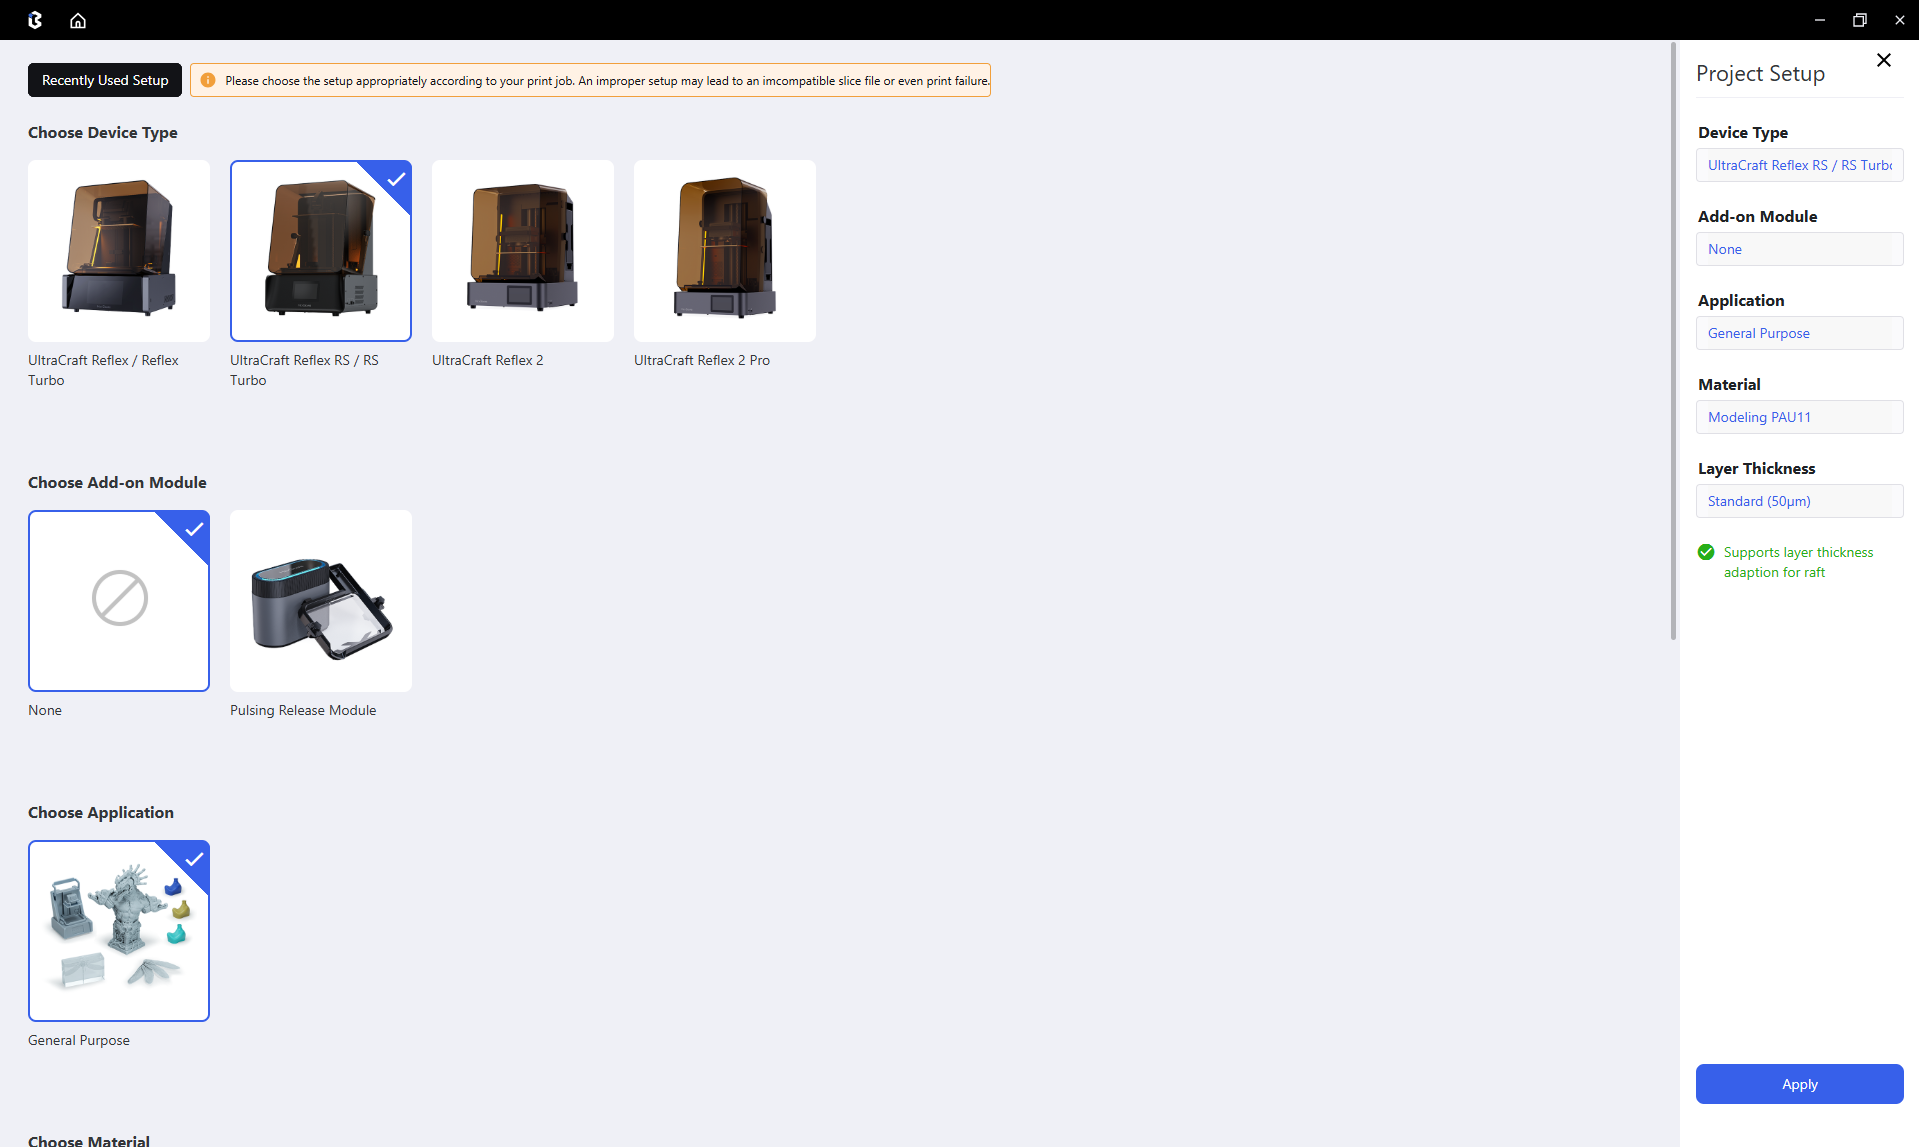
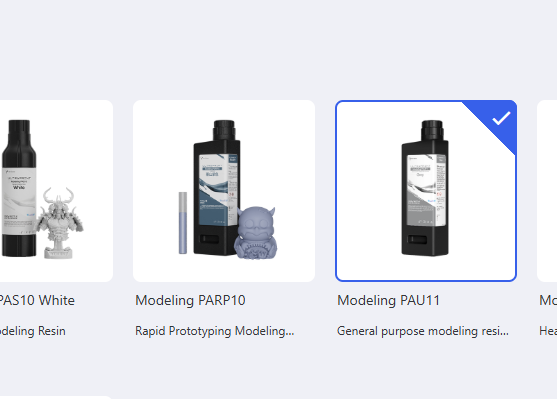
Then I selected the resin material.
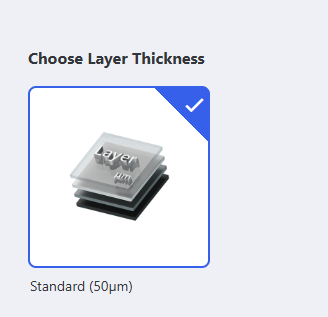
Since I needed a watertight mold, I chose a 50 µm layer thickness.
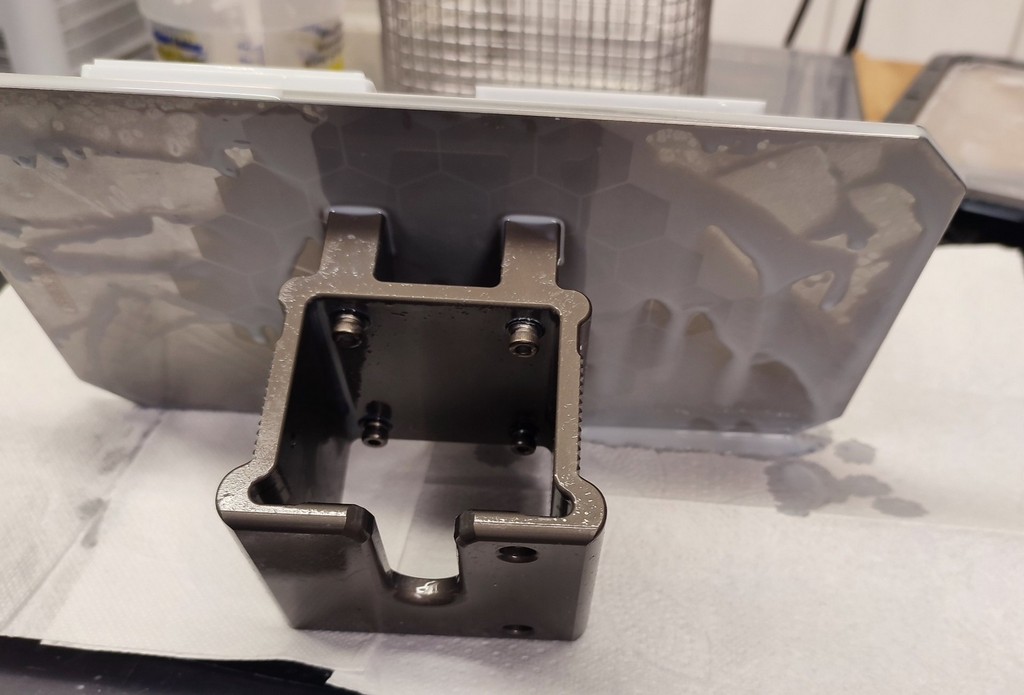
Next, I imported the mold into the slicer. As shown below, the mold was unfortunately larger than the printer’s build plate.
With Toni’s help, we scaled the model down to 50%.
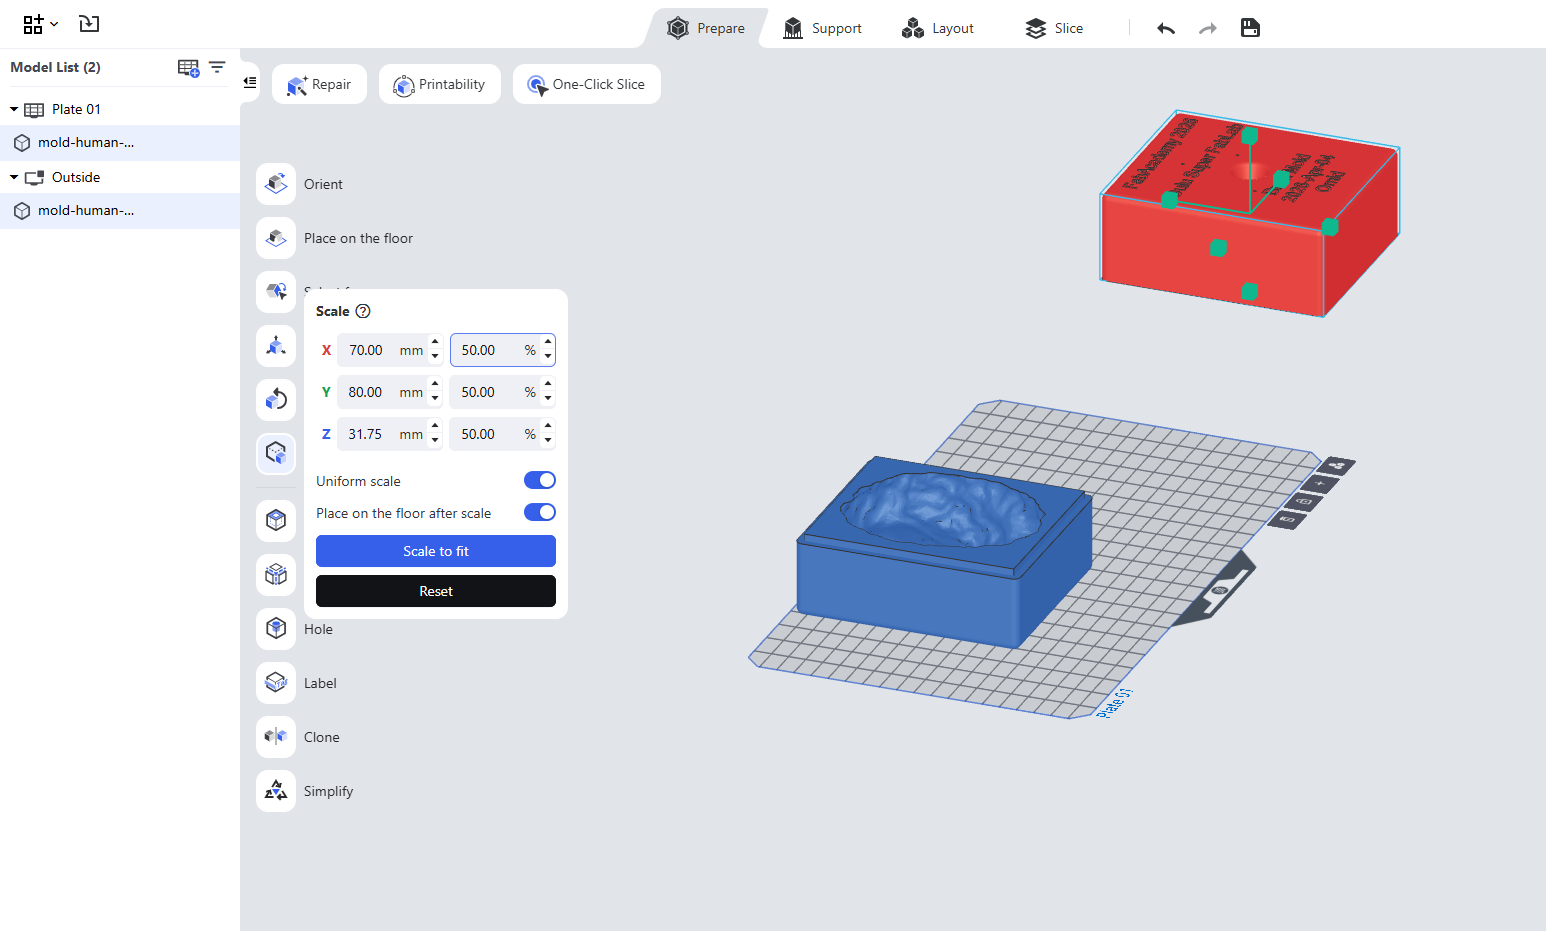
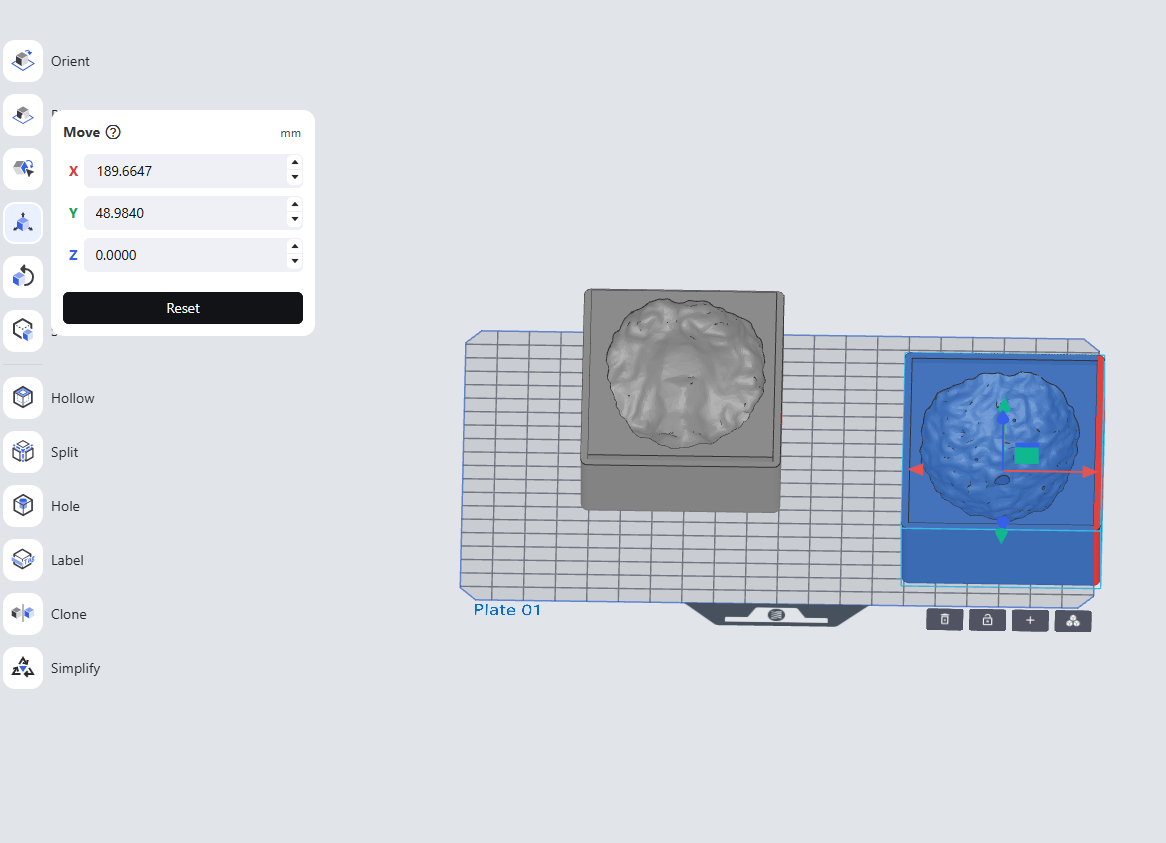
After scaling, I positioned the model, and it fit well within the build plate.
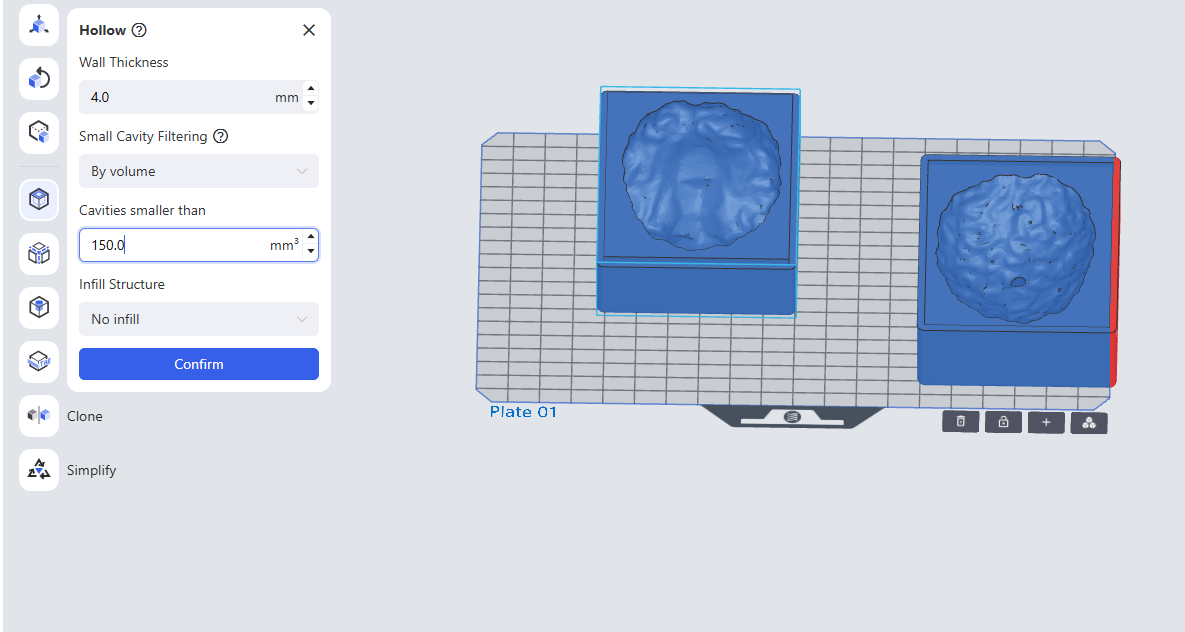
To reduce resin usage, I made the mold hollow. This decreased resin consumption to about 75%.
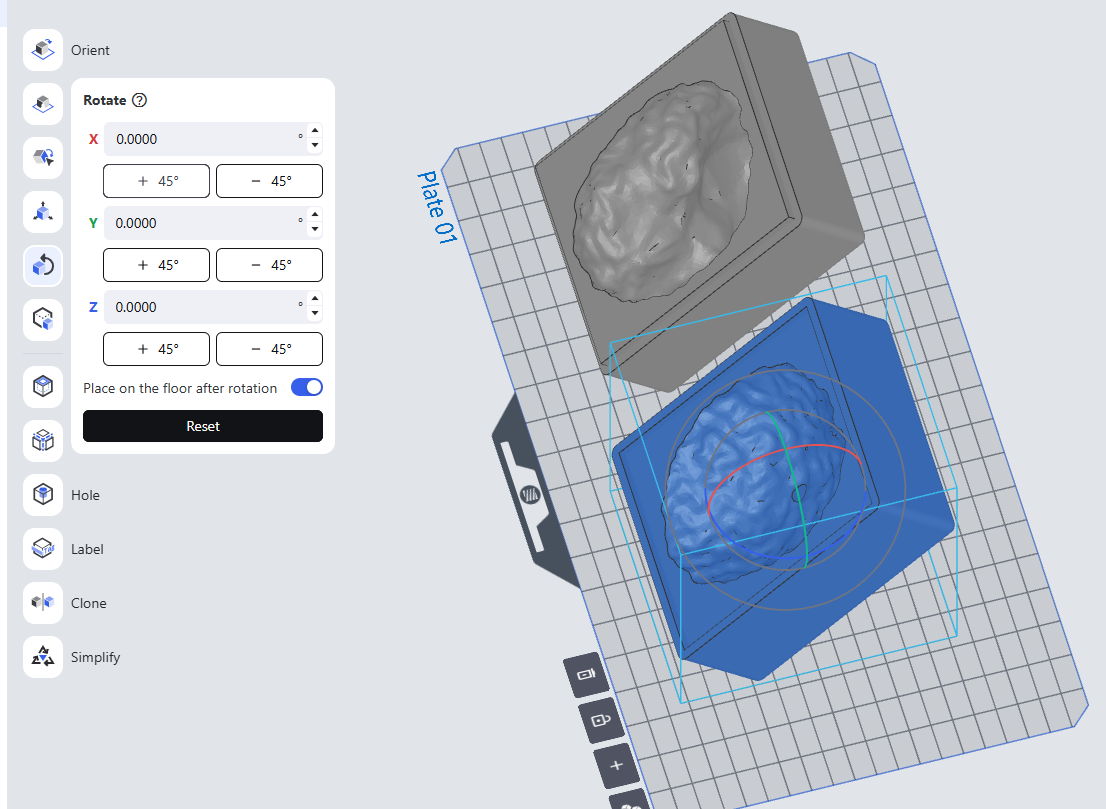
I then added a slight angle to the model to improve printing quality.
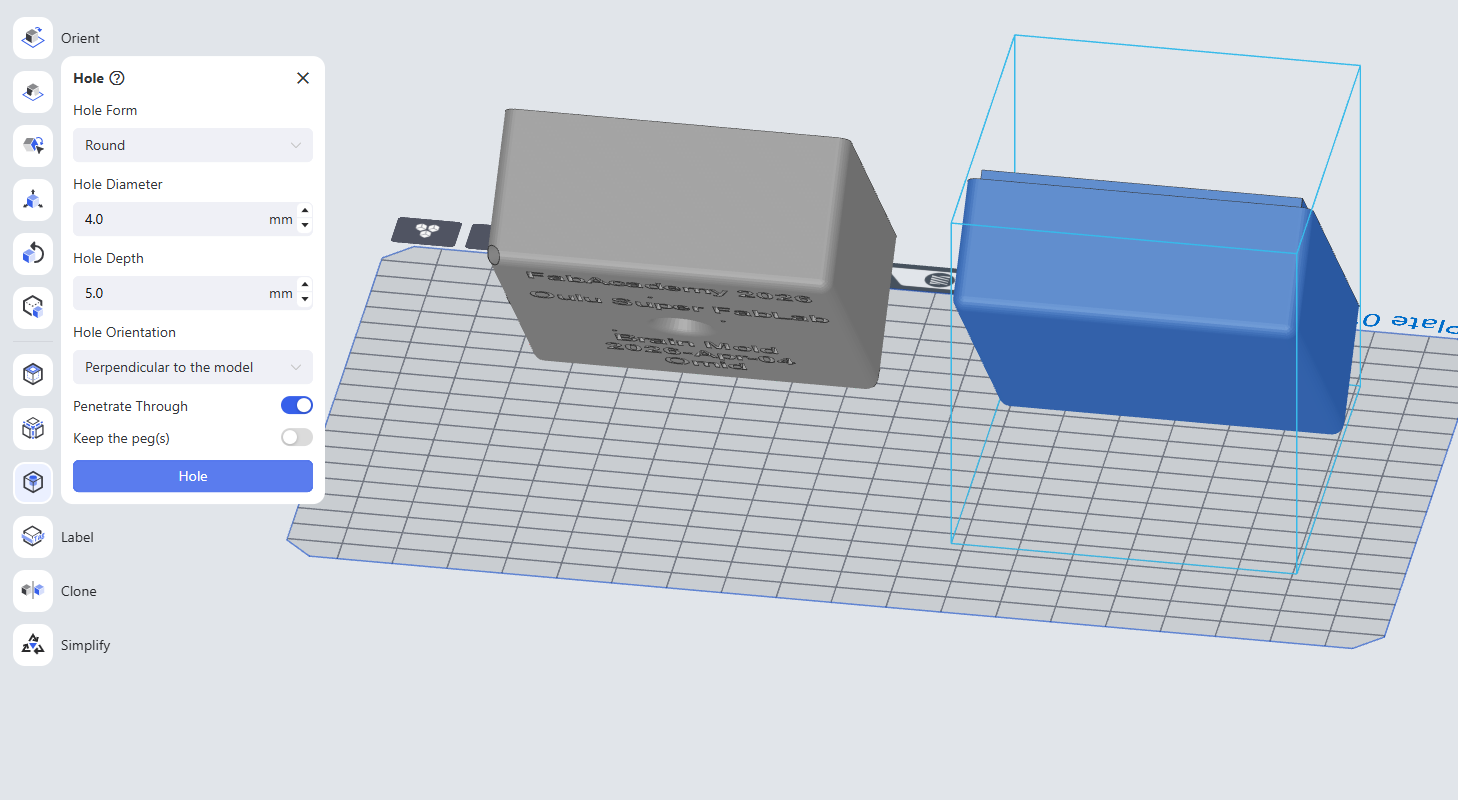
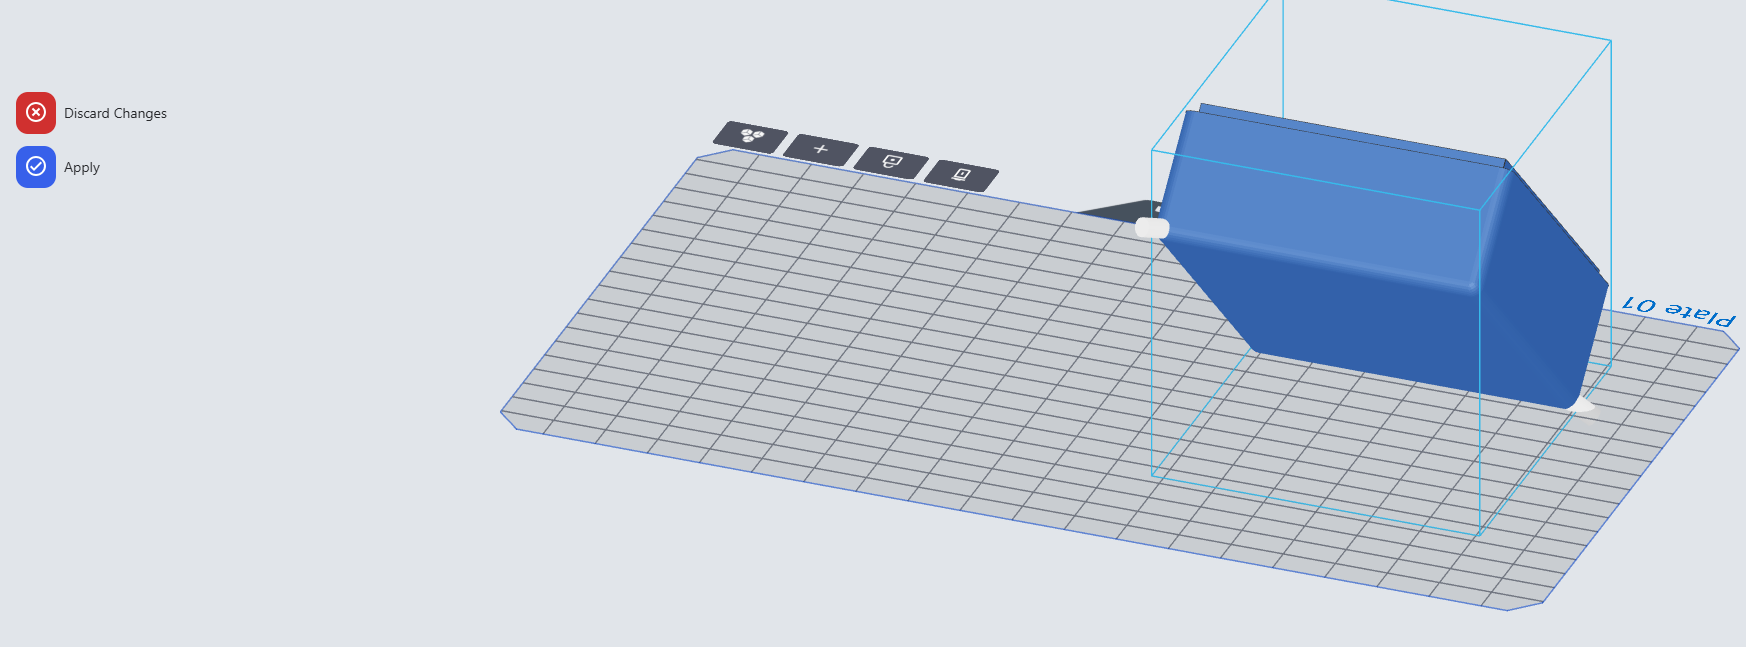
Next, I created two holes at the corners to allow excess resin to drain after printing.
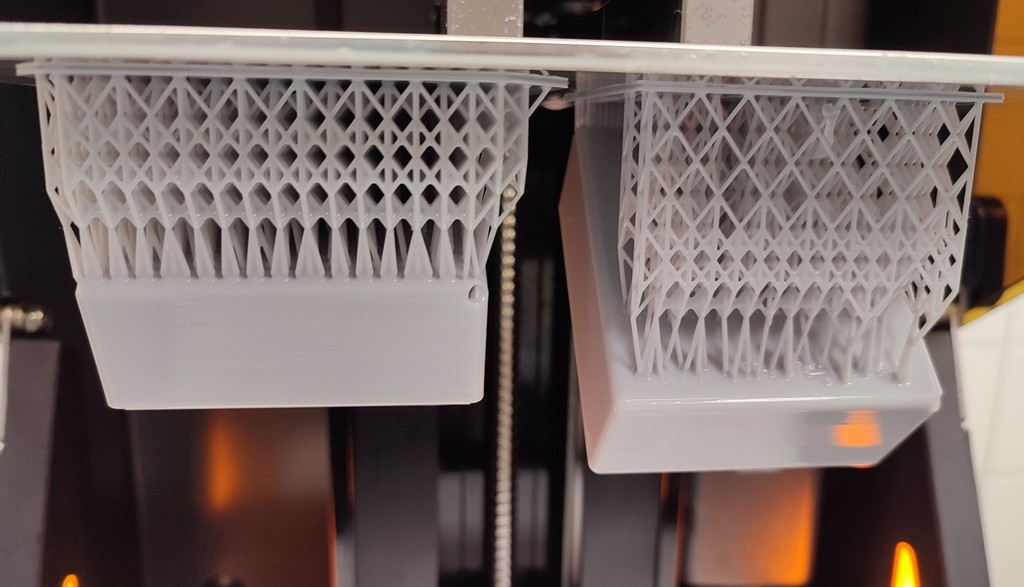
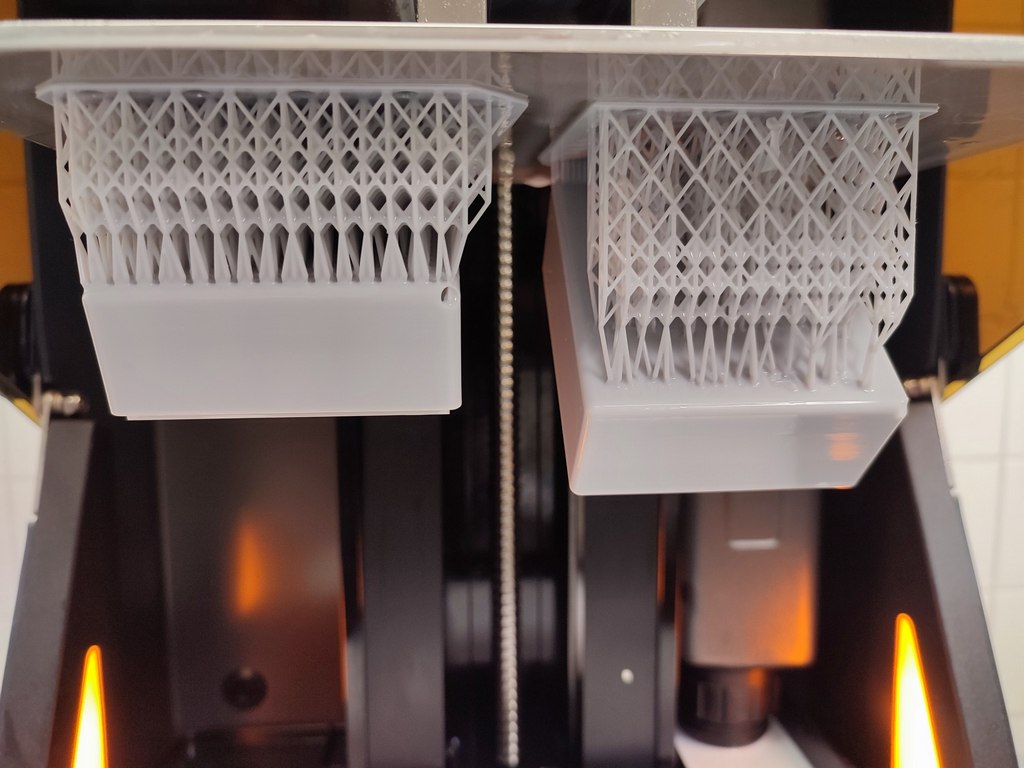
I added supports to hold the model during printing:
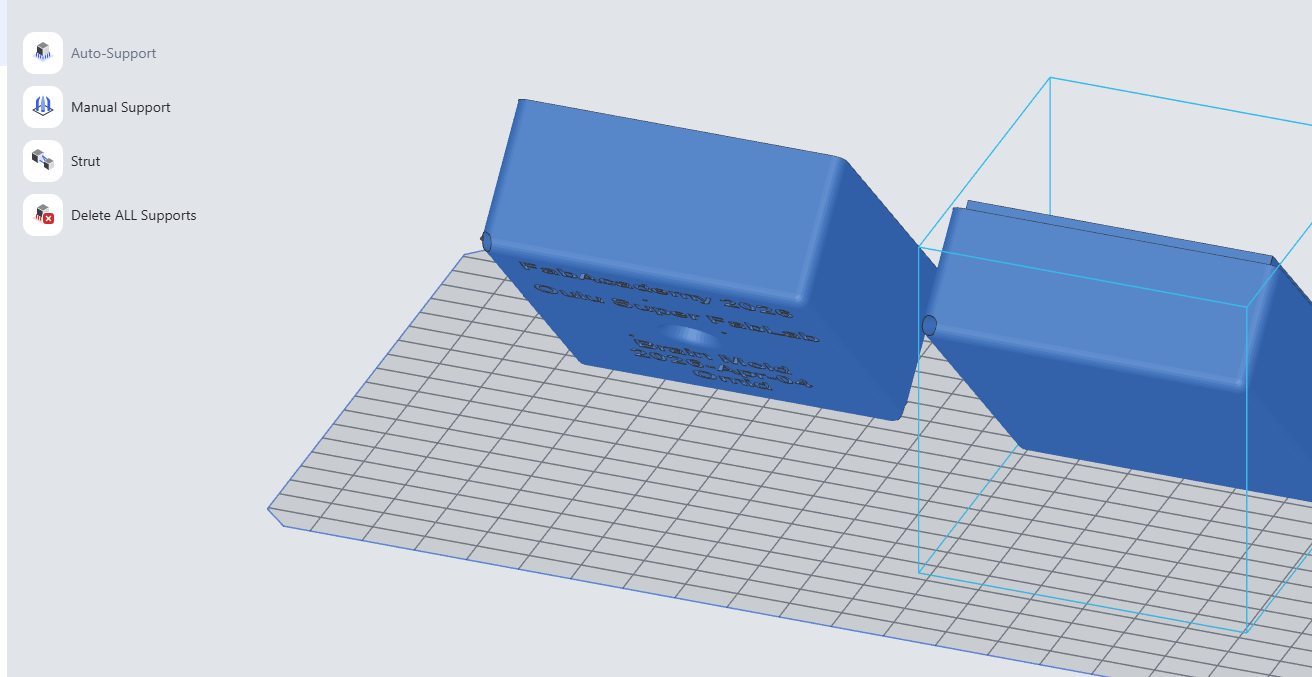
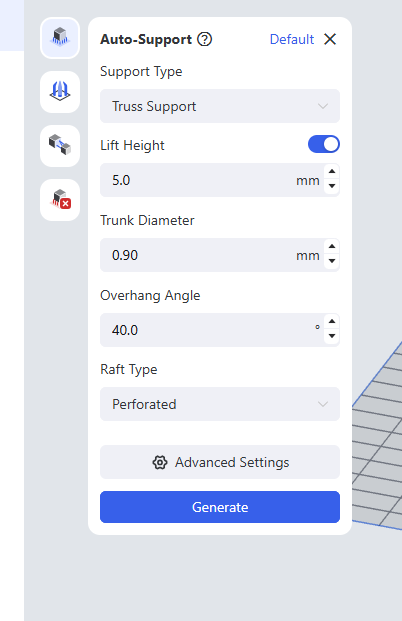
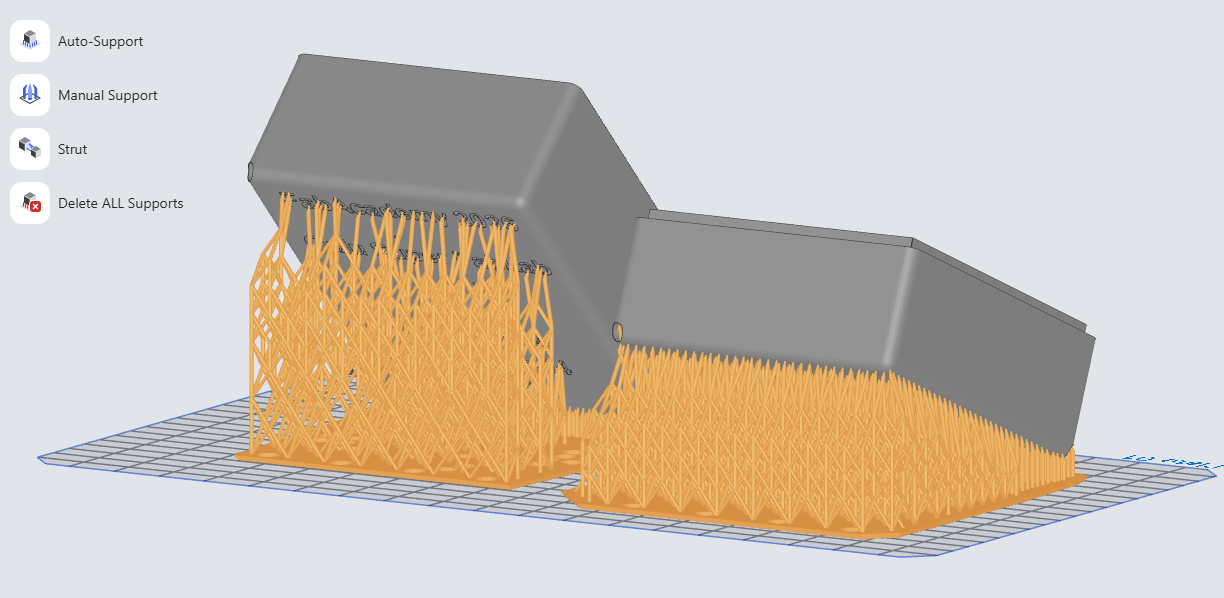
Supports from other viewing angles:
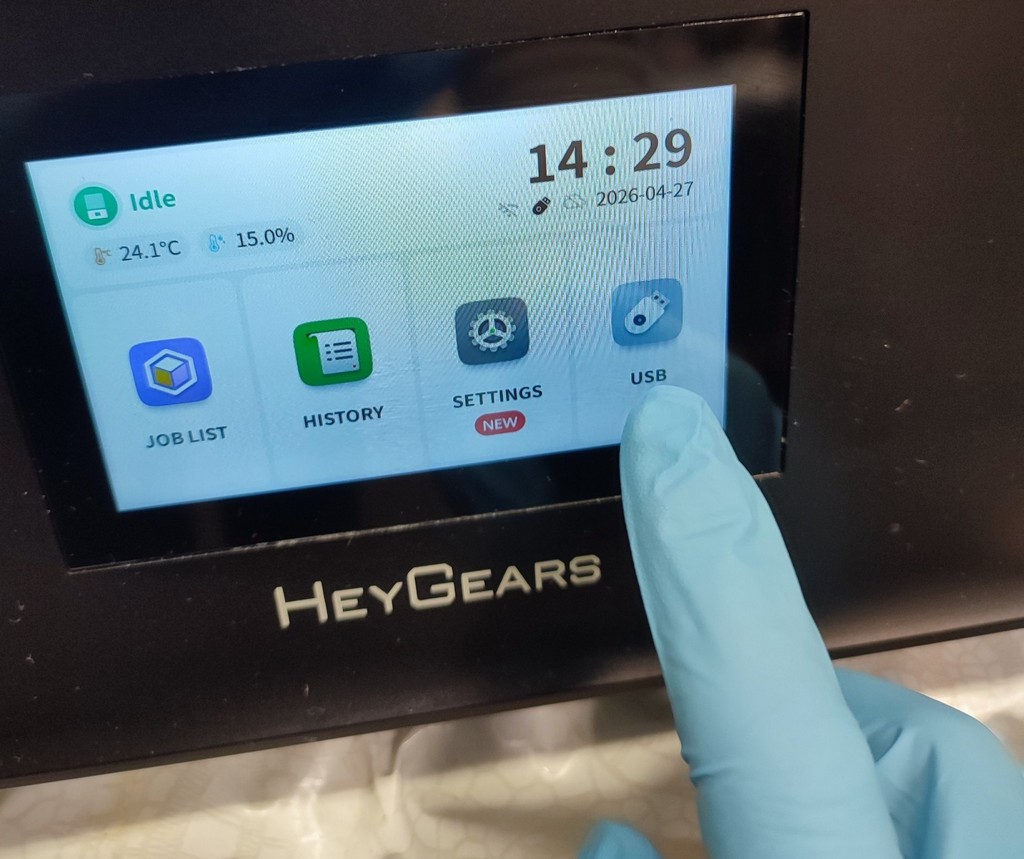
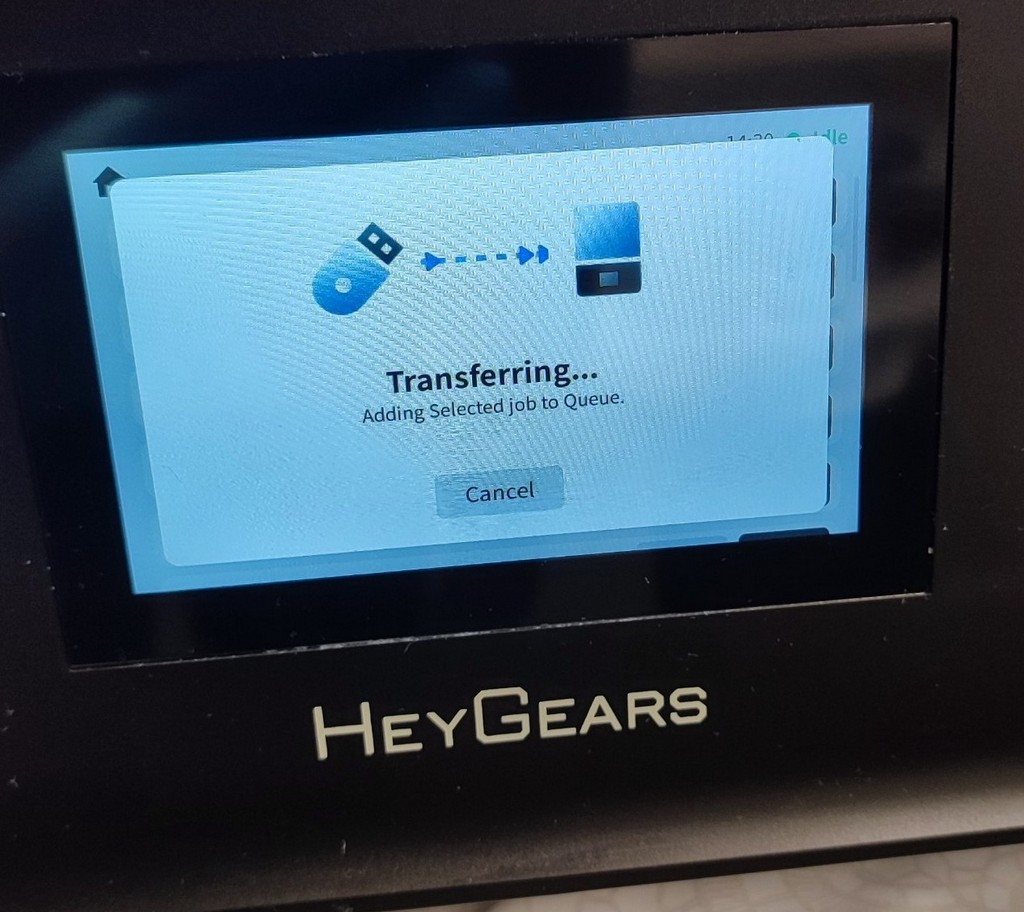
I saved the sliced model onto a USB stick.

I connected the USB stick to the printer.
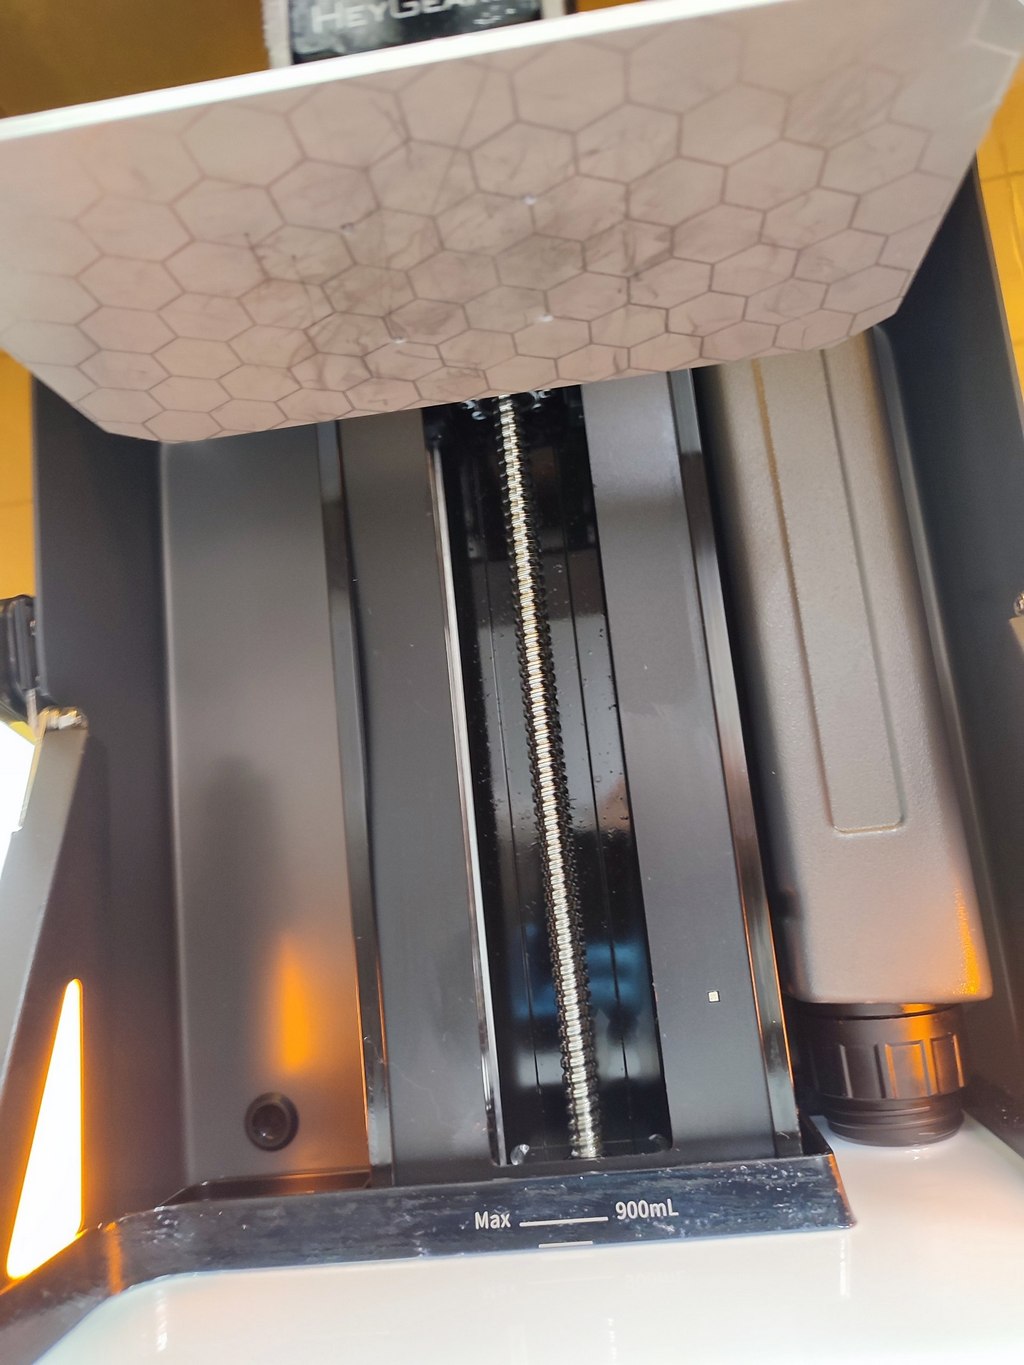
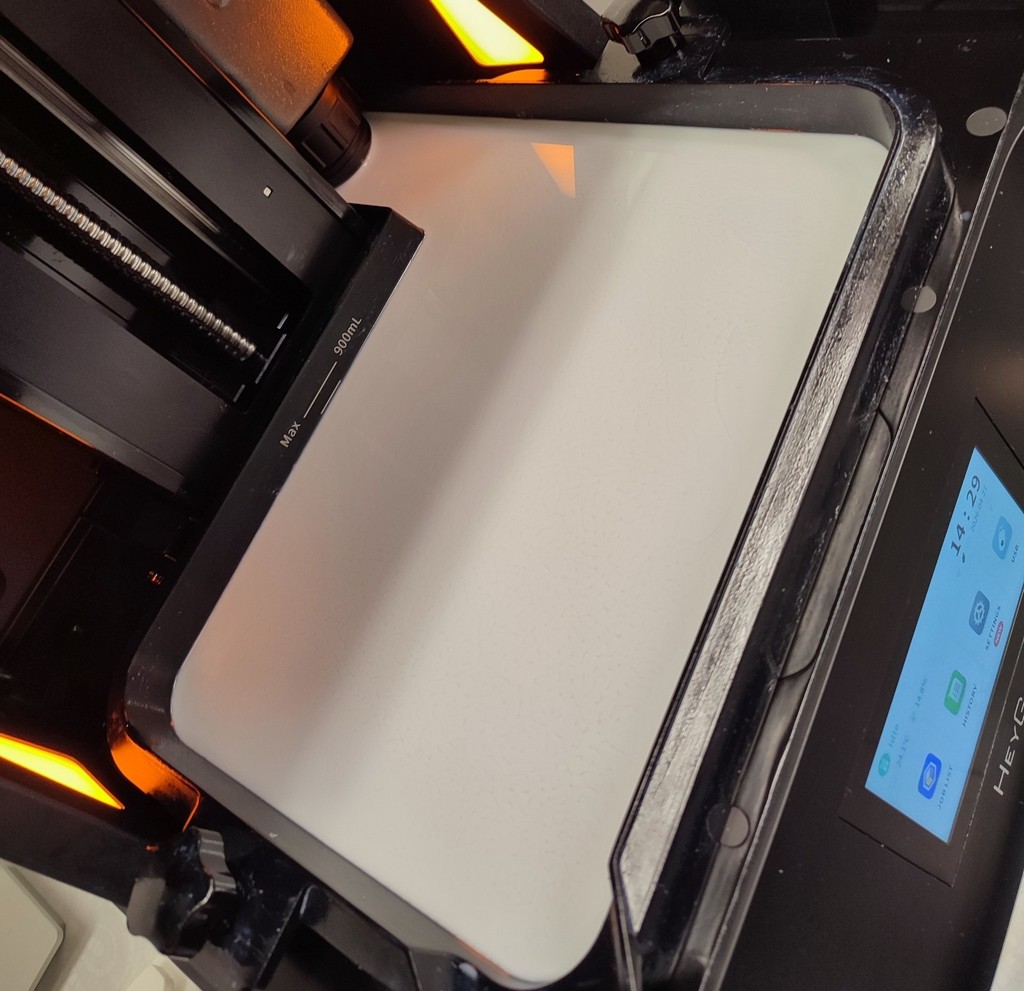
I checked the material inside the printer (Toni had already filled it with resin).
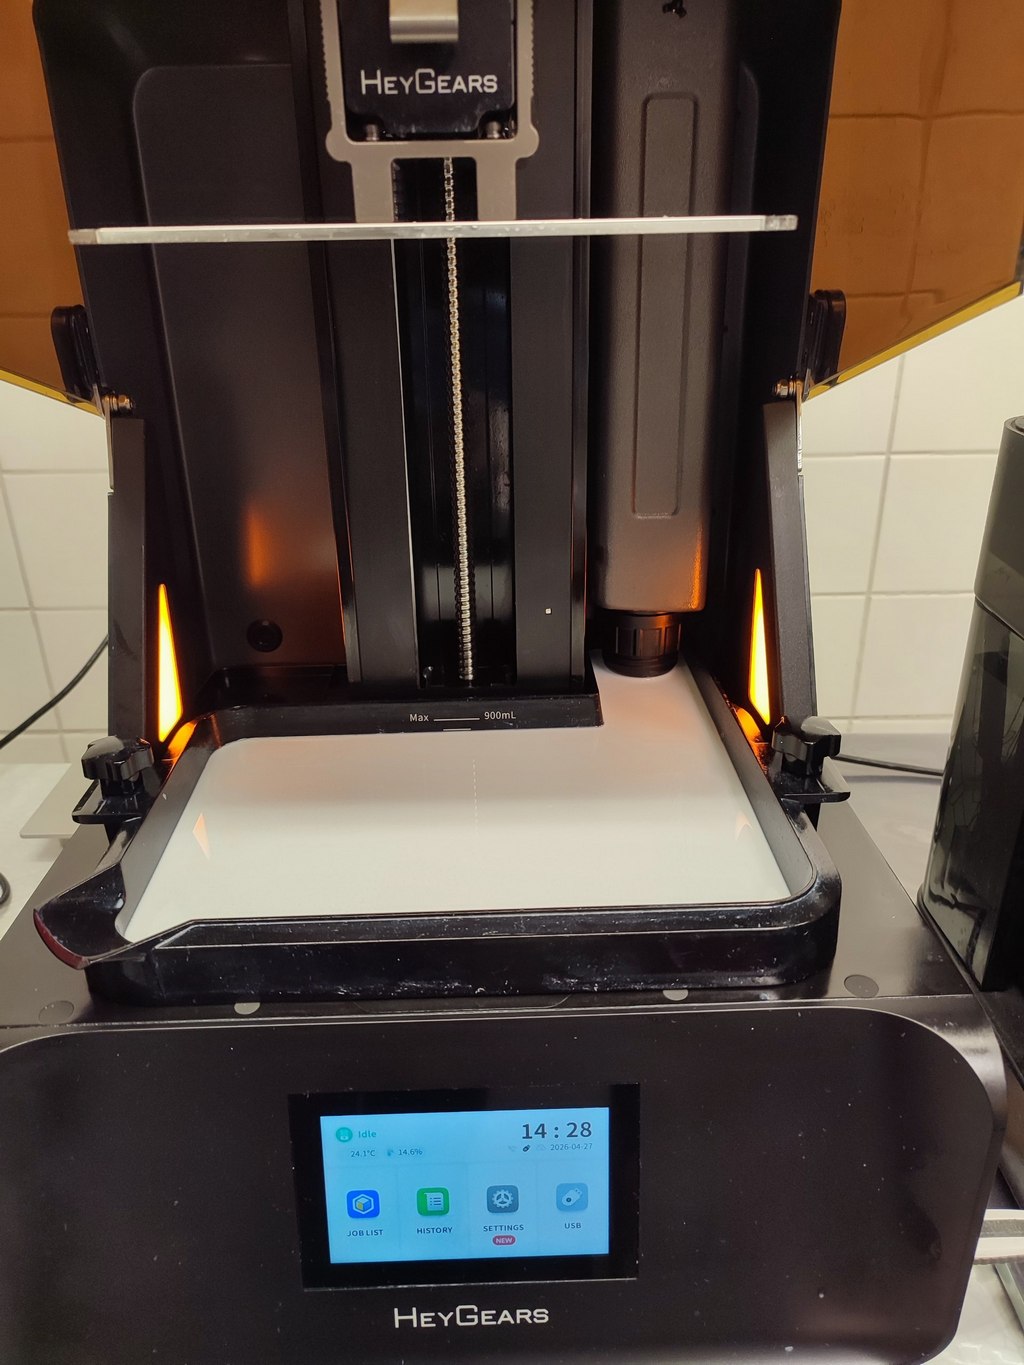
I also verified that the build plate surface was clean.
There was a small issue with some cured material already stuck inside the printer. This had happened with the previous user, not by me, and Toni mentioned that the cause was some loose parts in the liquid resin, which punctured the film when the print bed was lowered against it.
I transferred the model from the USB stick to the printer.
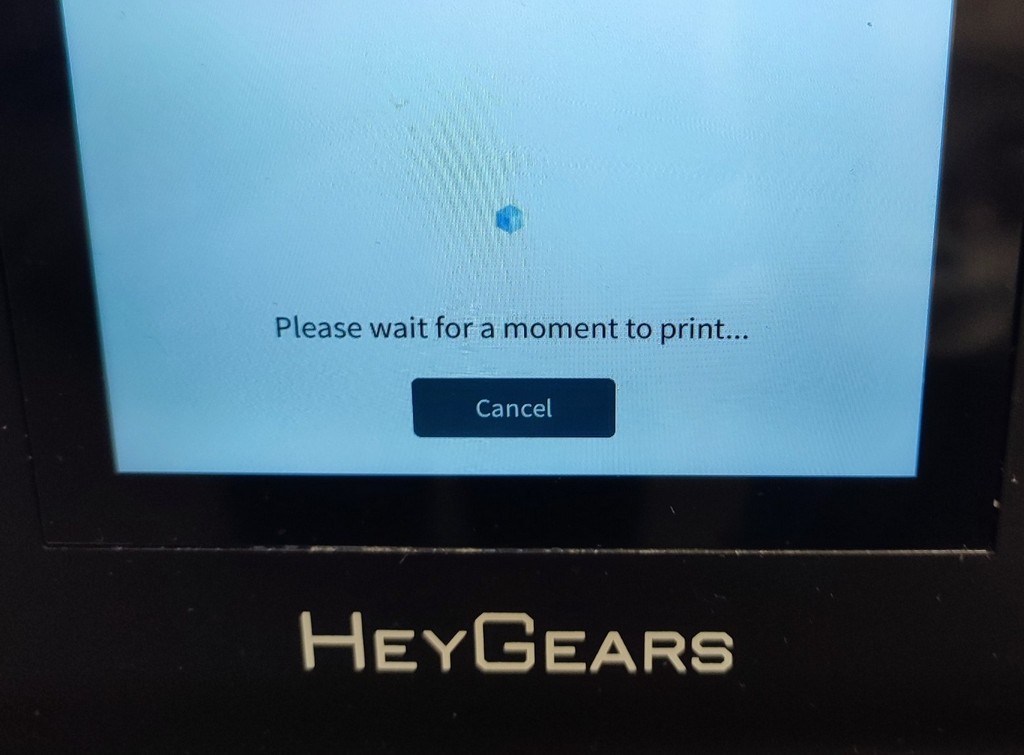
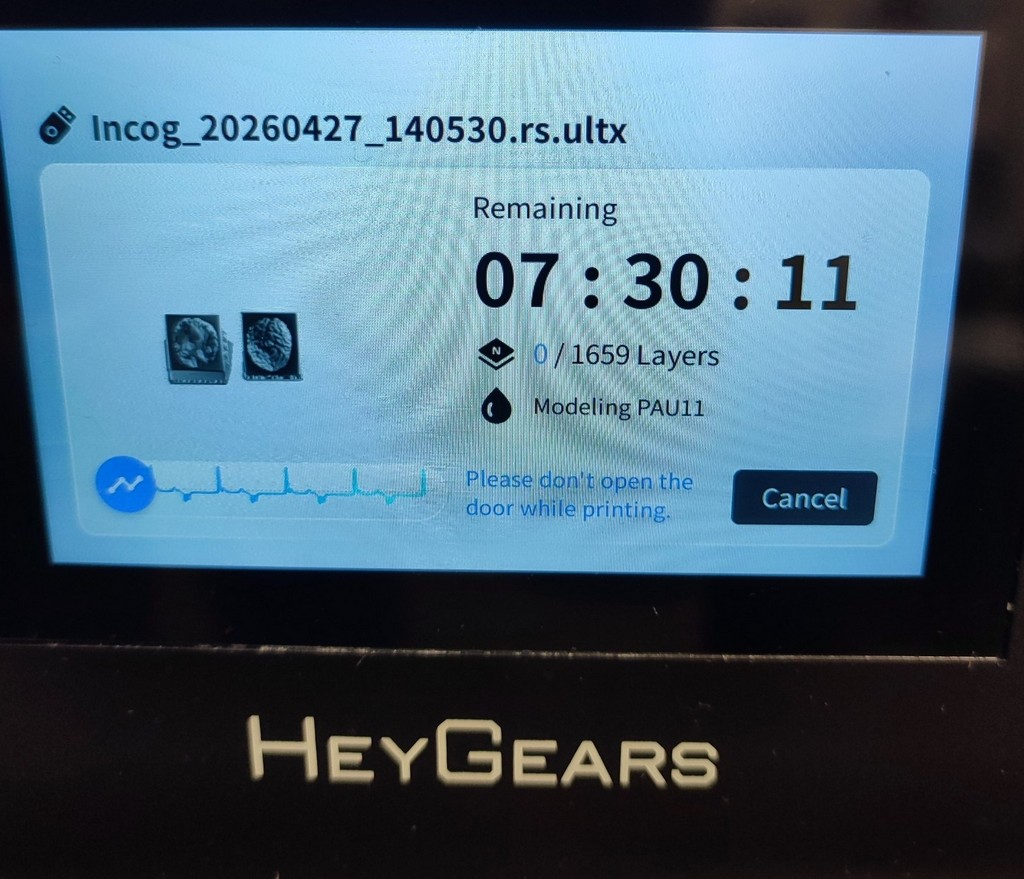
I pressed the print button to start the process.

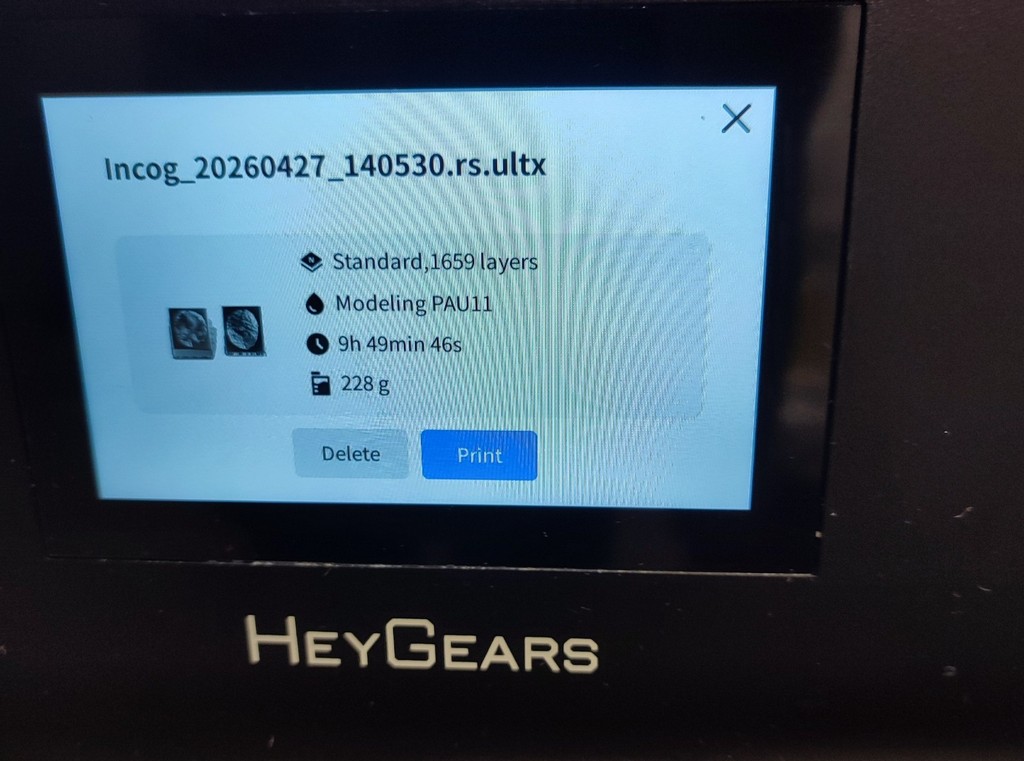
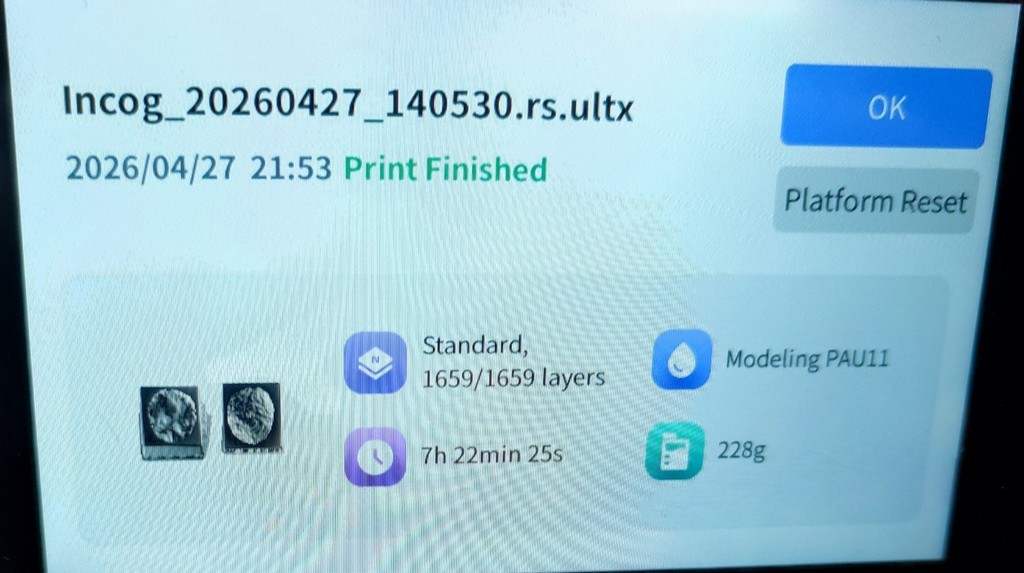
The printing process took about 7 hours and 30 minutes.
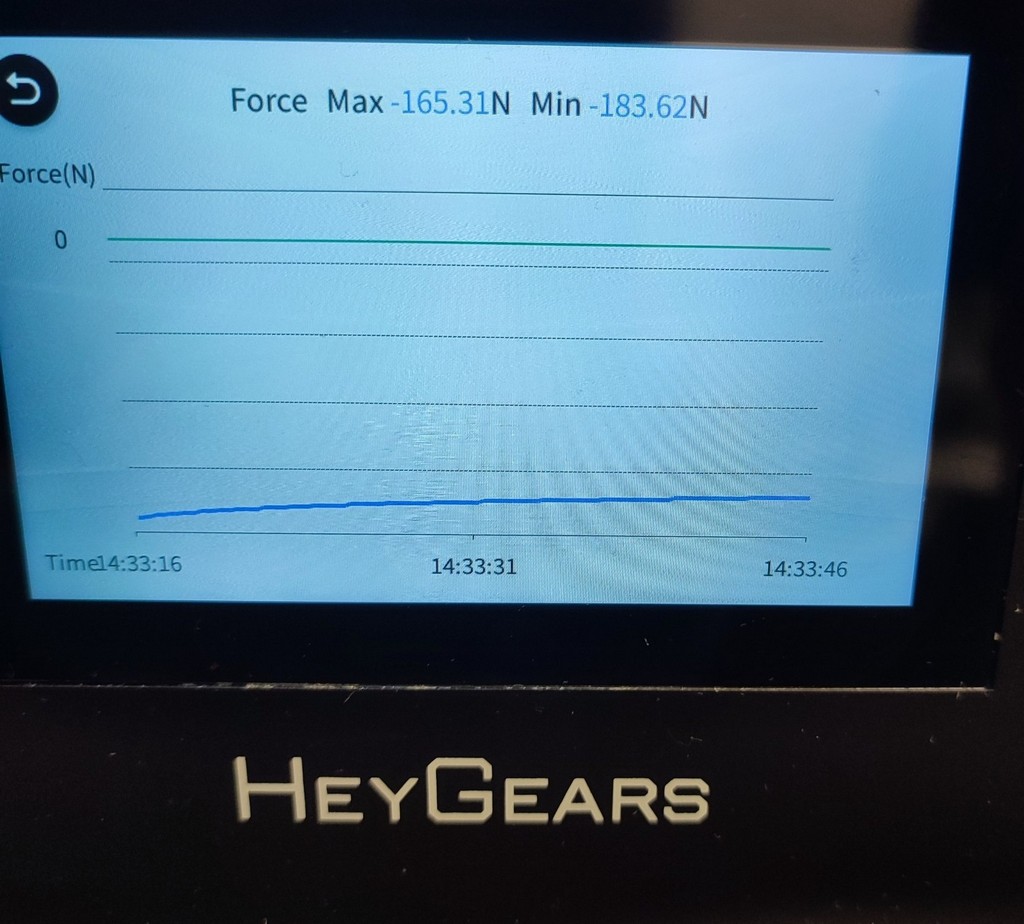
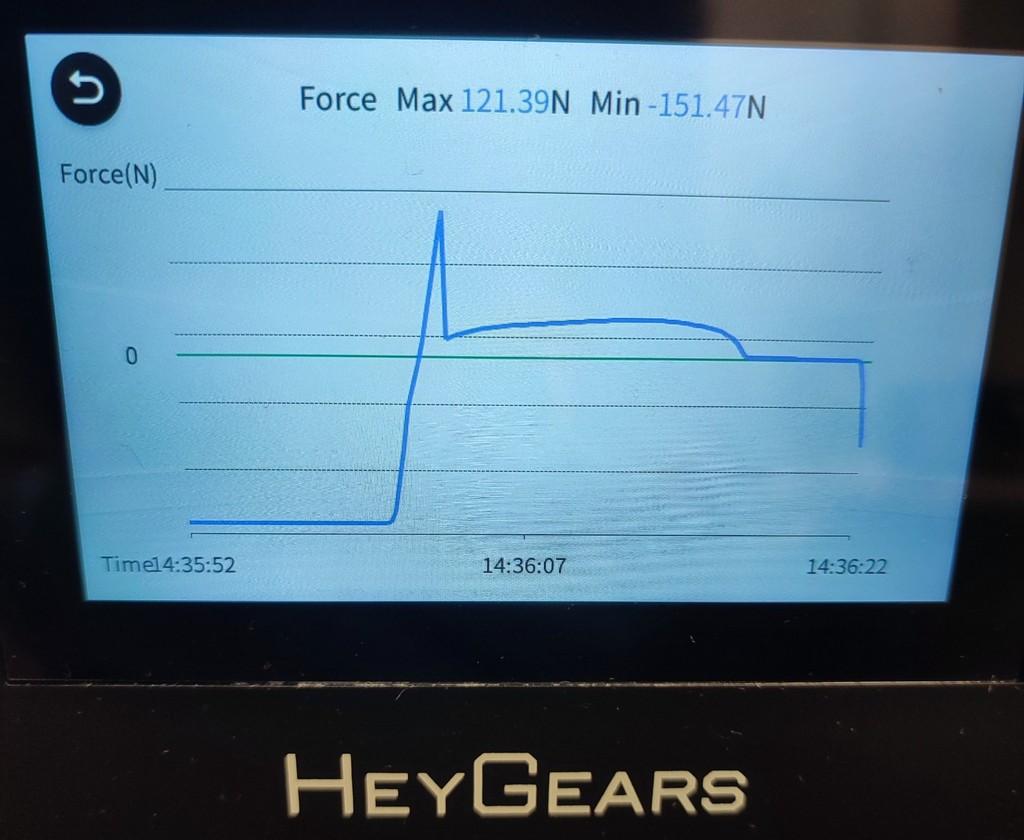
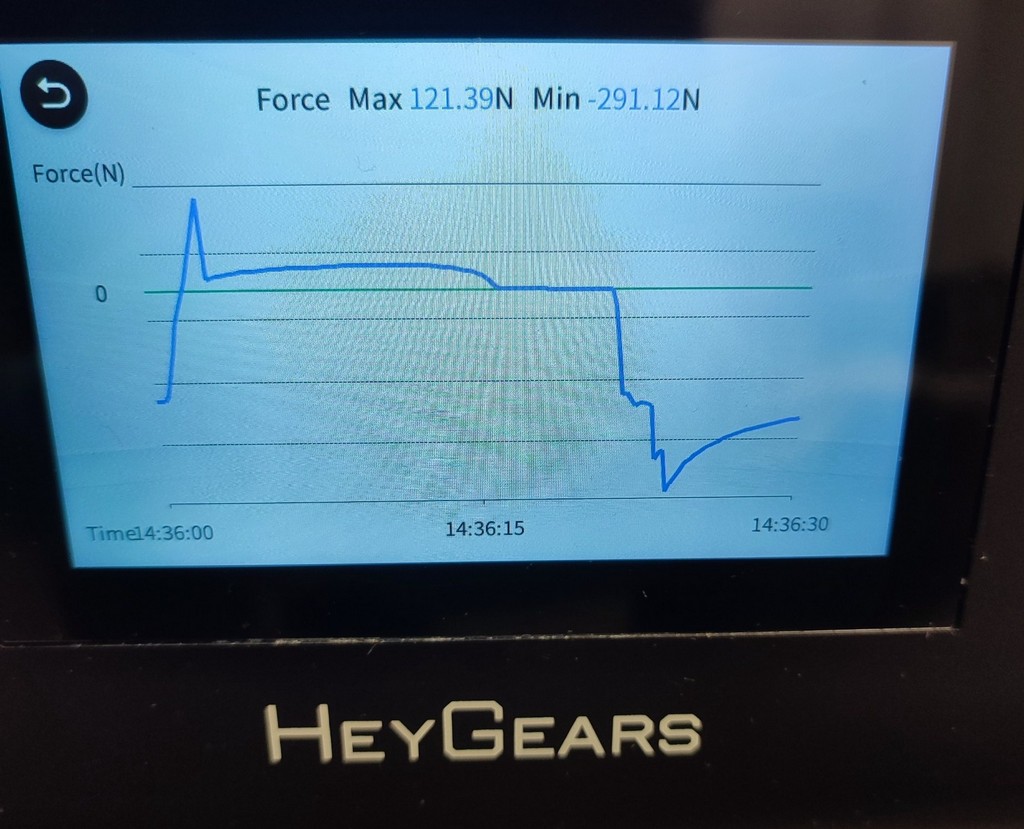
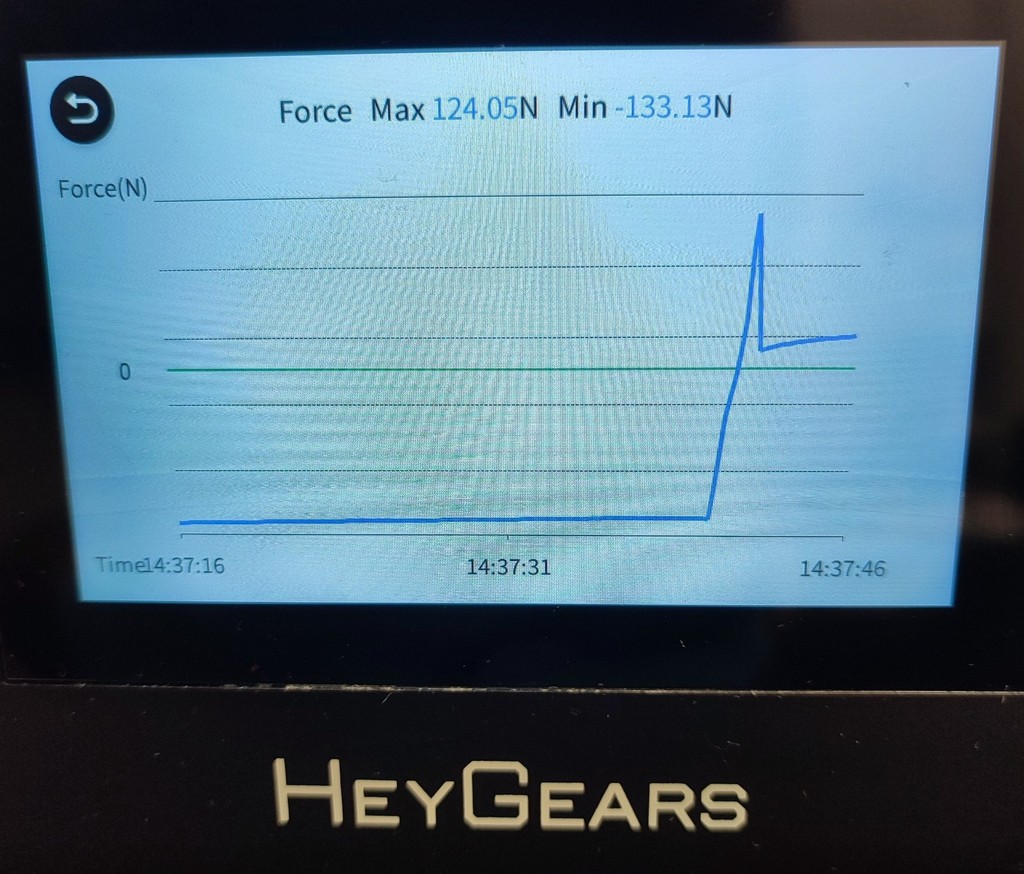
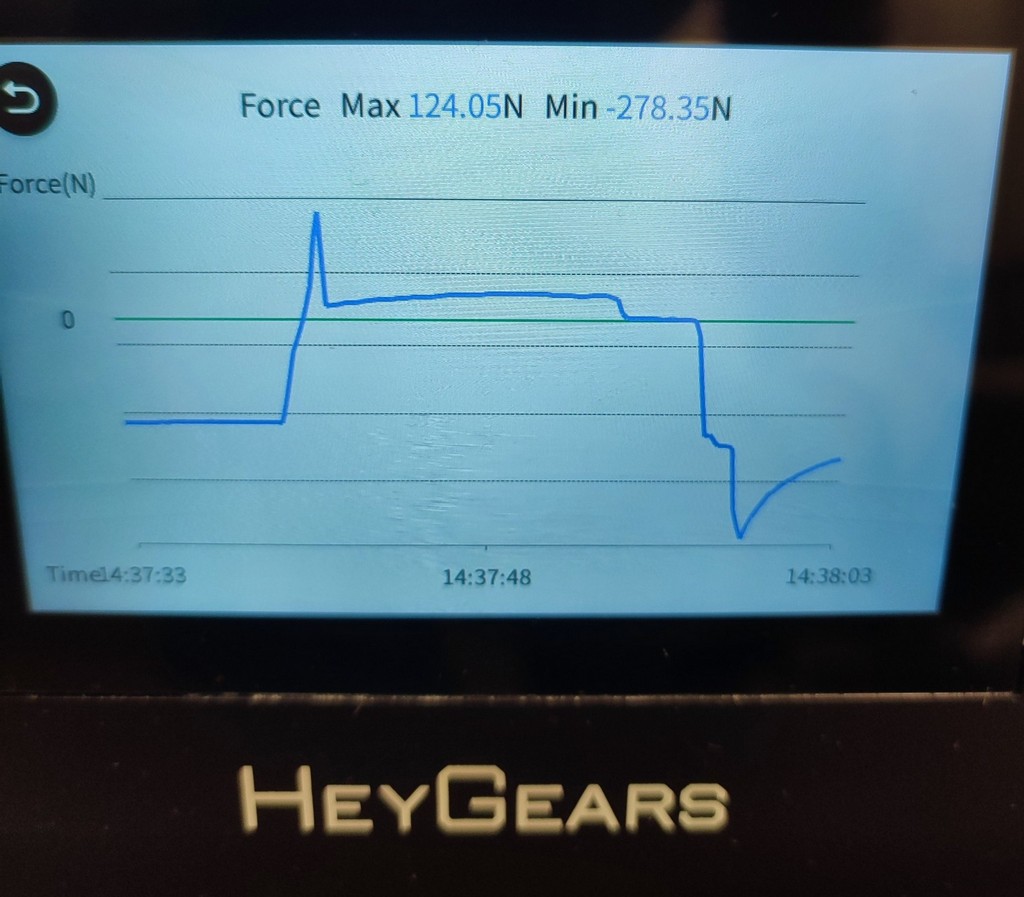
I monitored the graph on the printer panel to ensure the machine was operating correctly.
Post-Processing of the Printed Mold
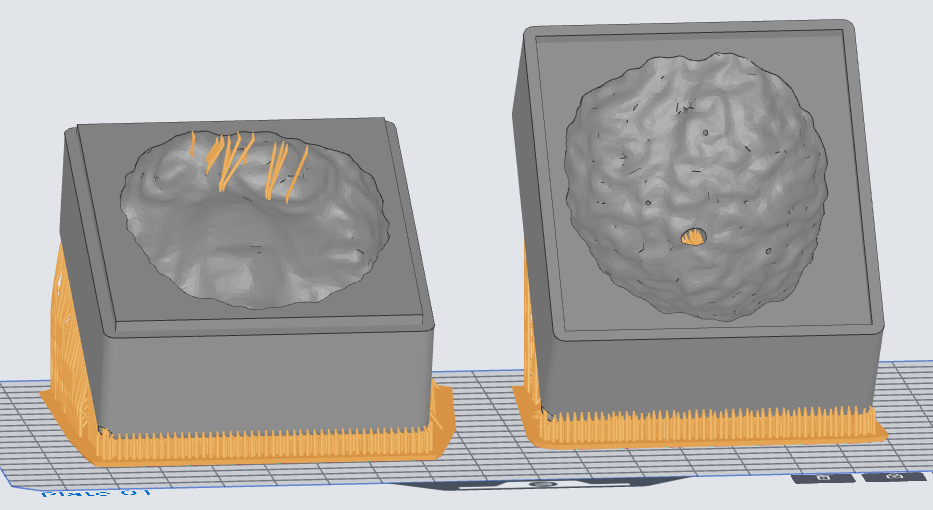
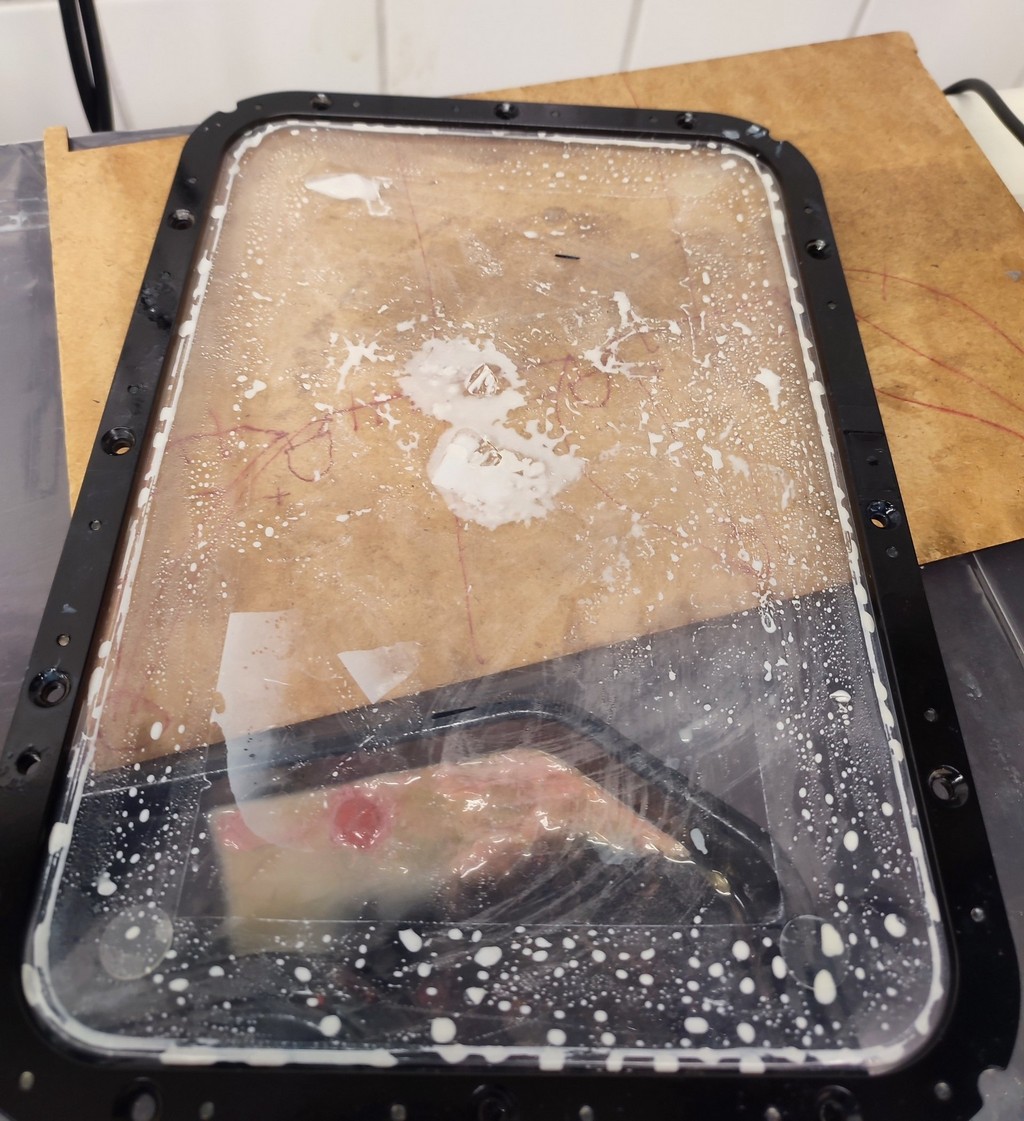
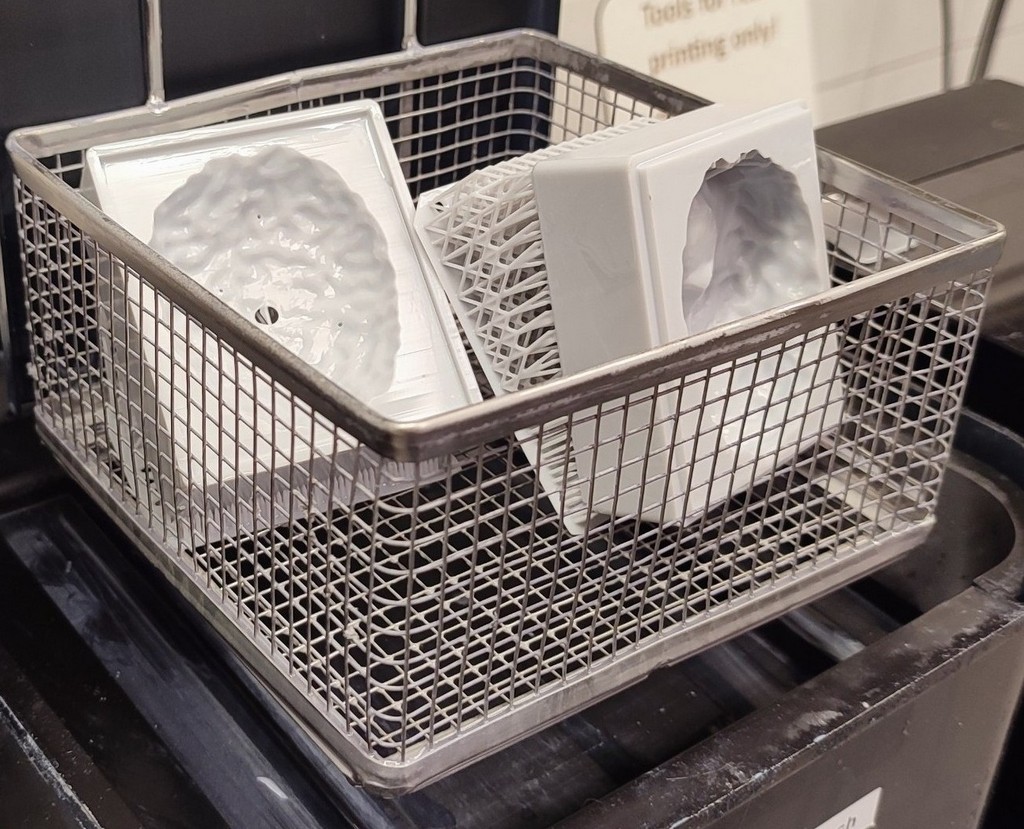
The mold printed successfully. I performed post-processing to clean it and make it safe for use.
First, I cleaned the build plate from excess resin as much as possible.
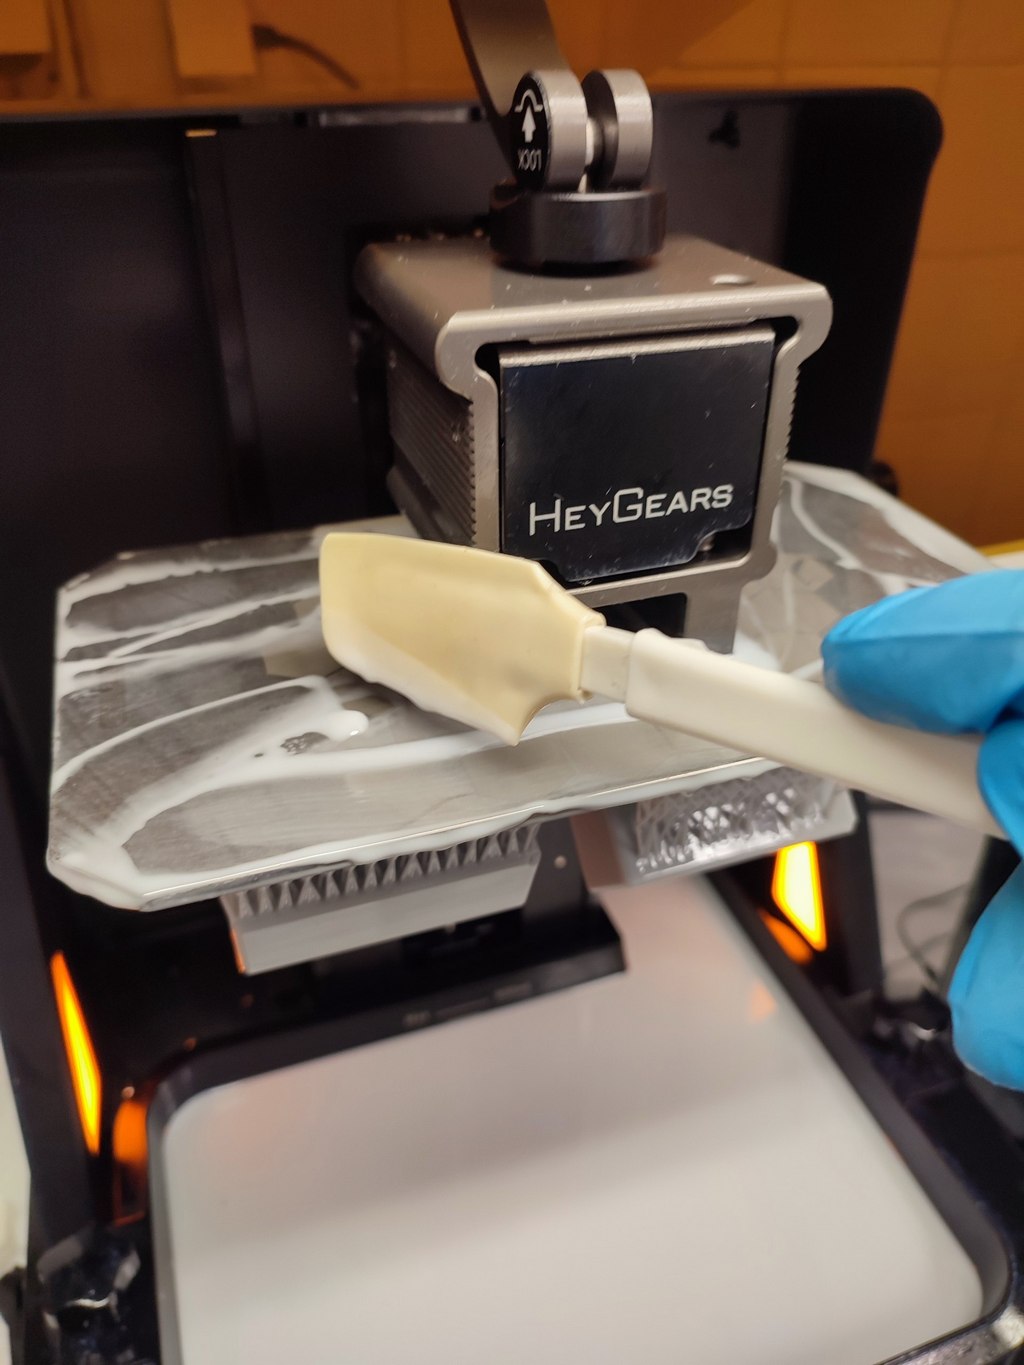
I left the printed mold on the plate for some time to let excess resin drain off.
Then I removed the mold from the build plate.
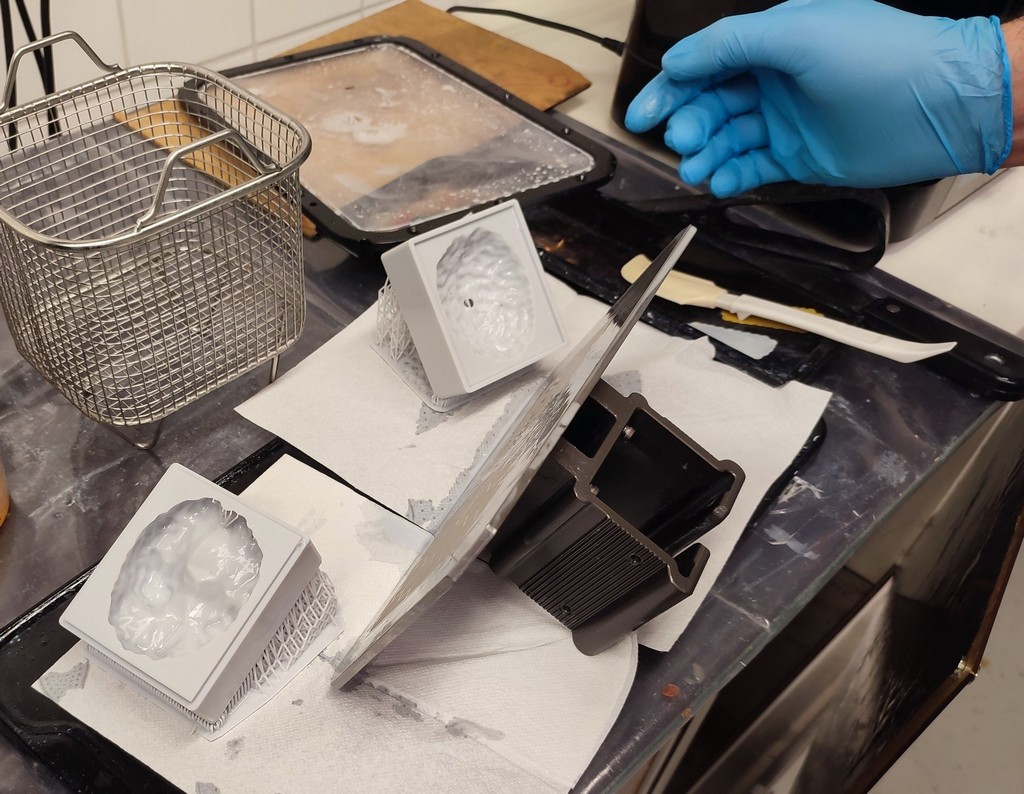
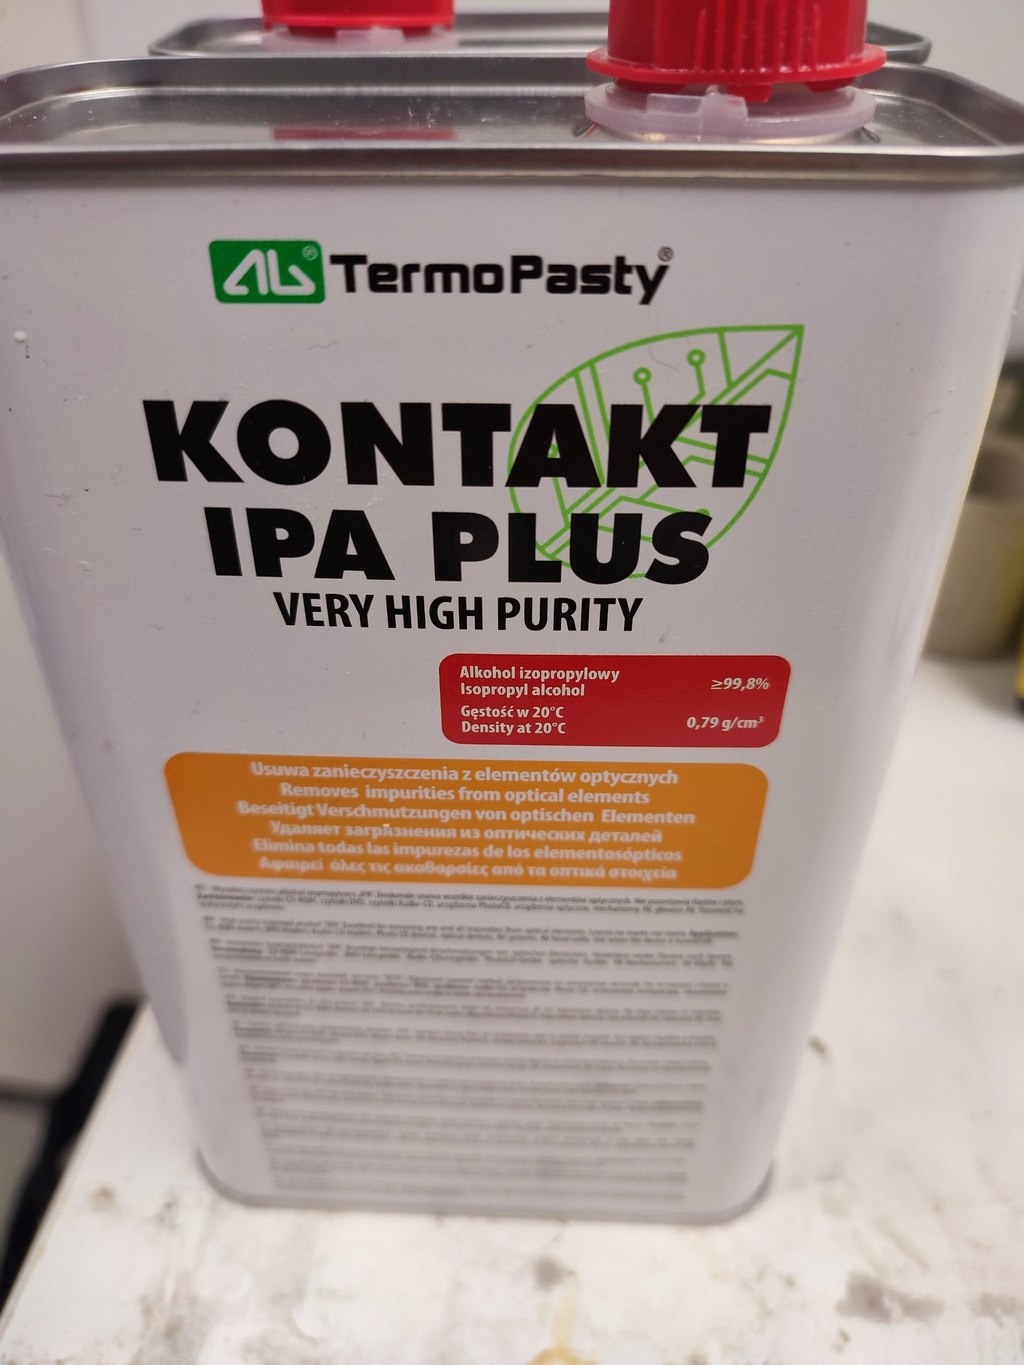
First cleaning step: I placed the mold in Isopropyl alcohol for about 30 minutes.
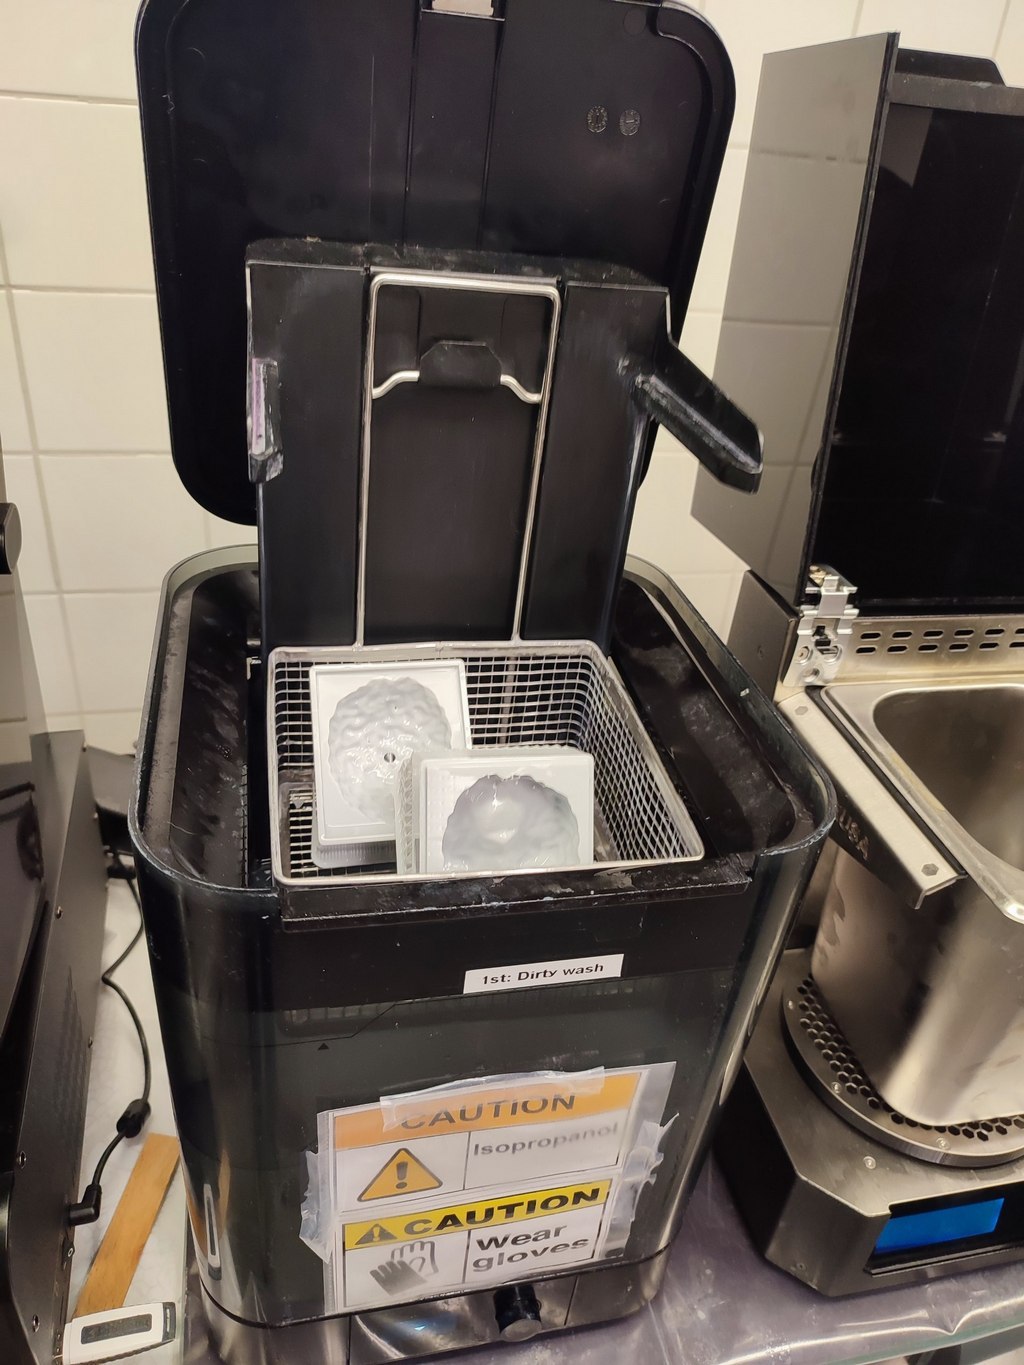
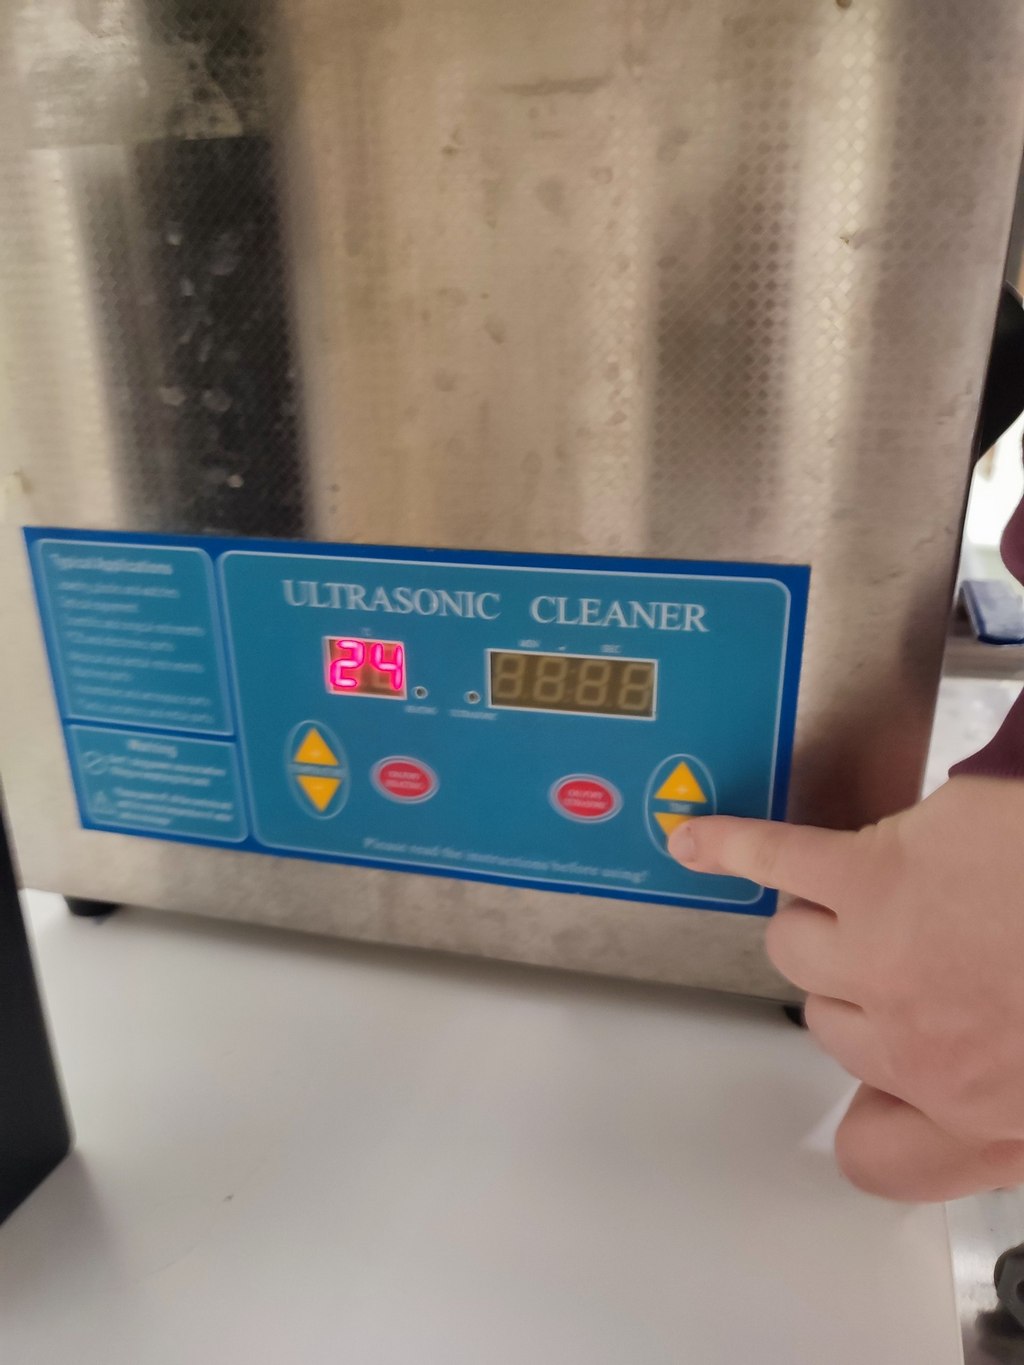
Second step: I used the ultrasound cleaner.

Final curing step: I used preheating.
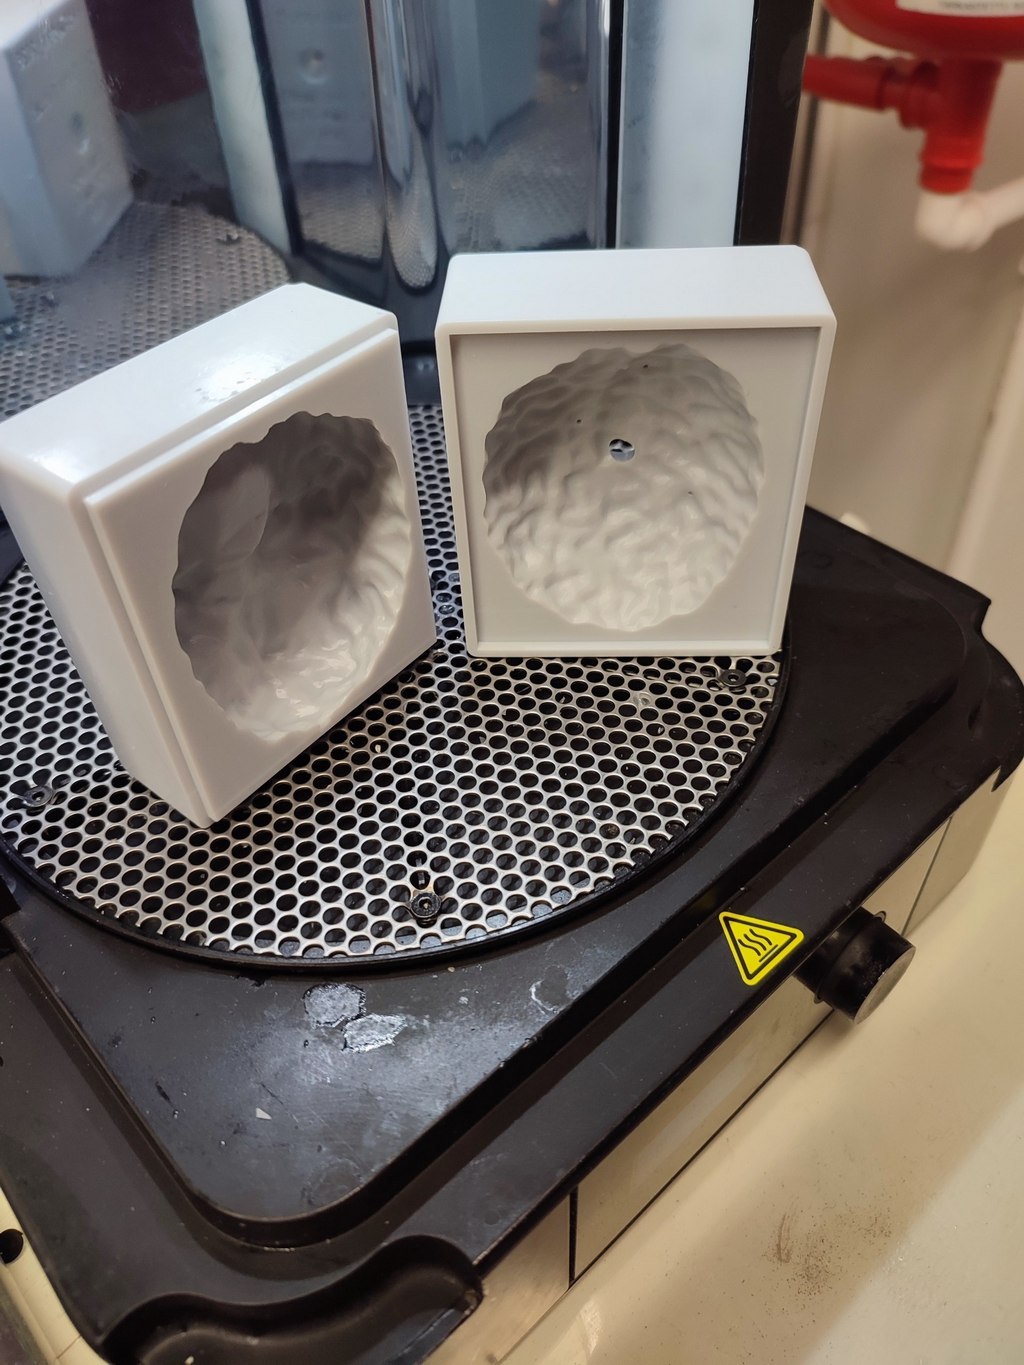
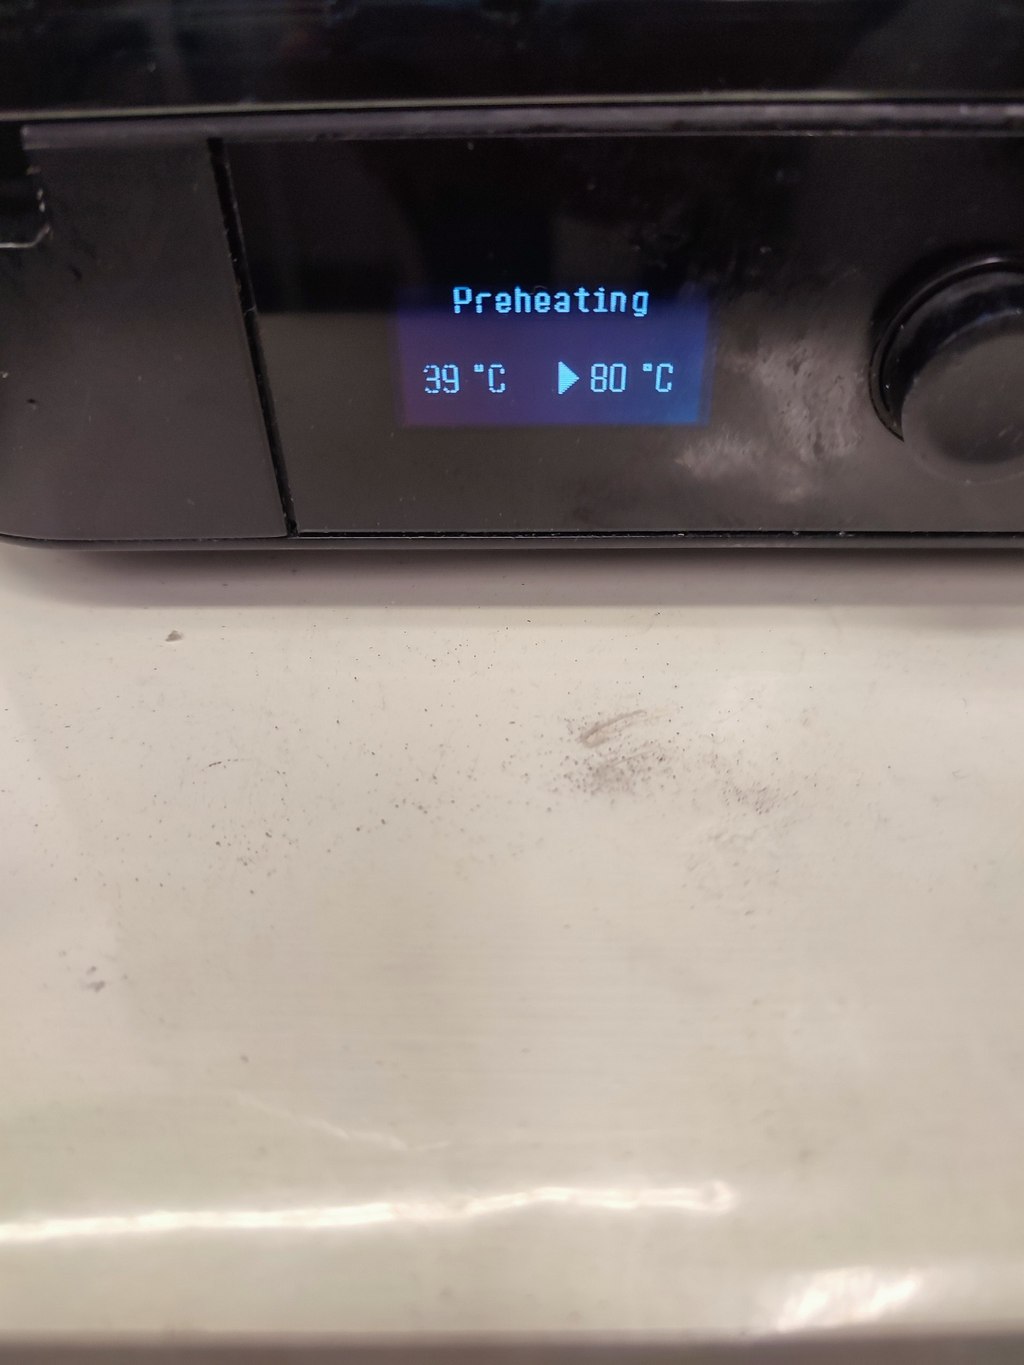
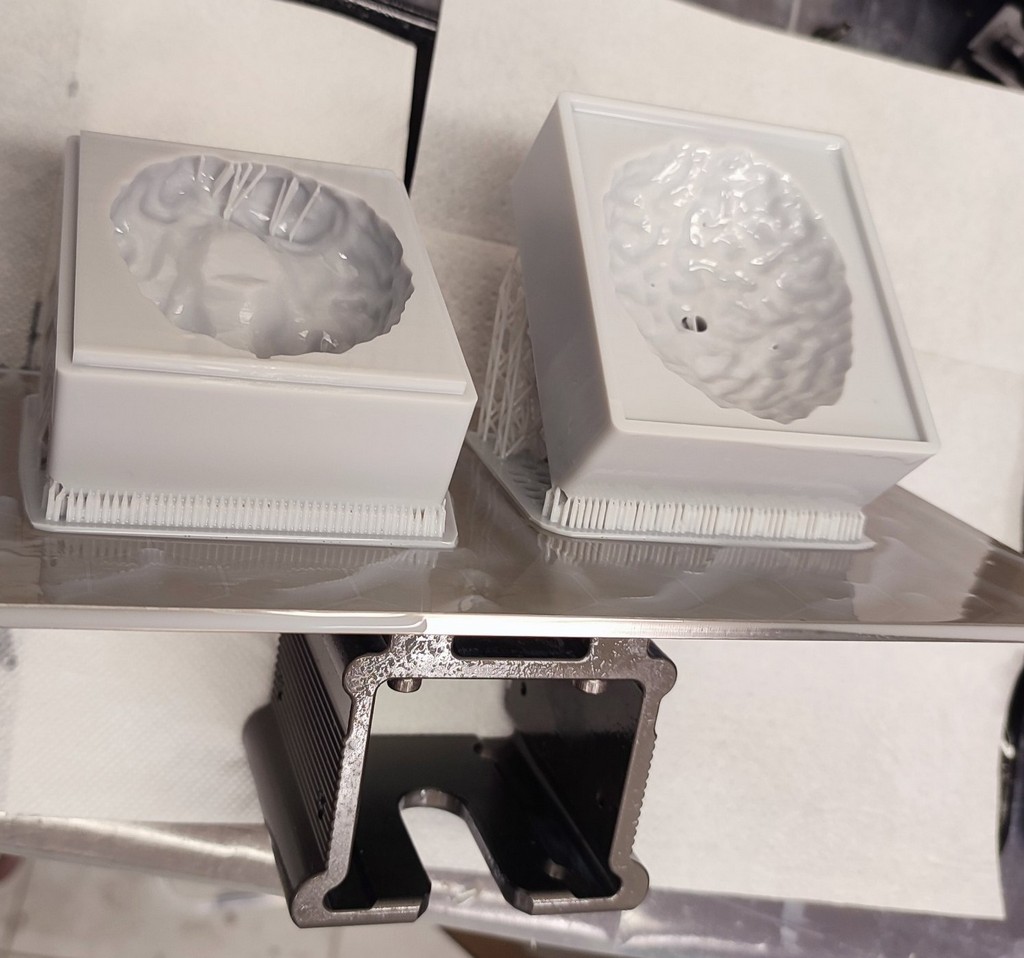
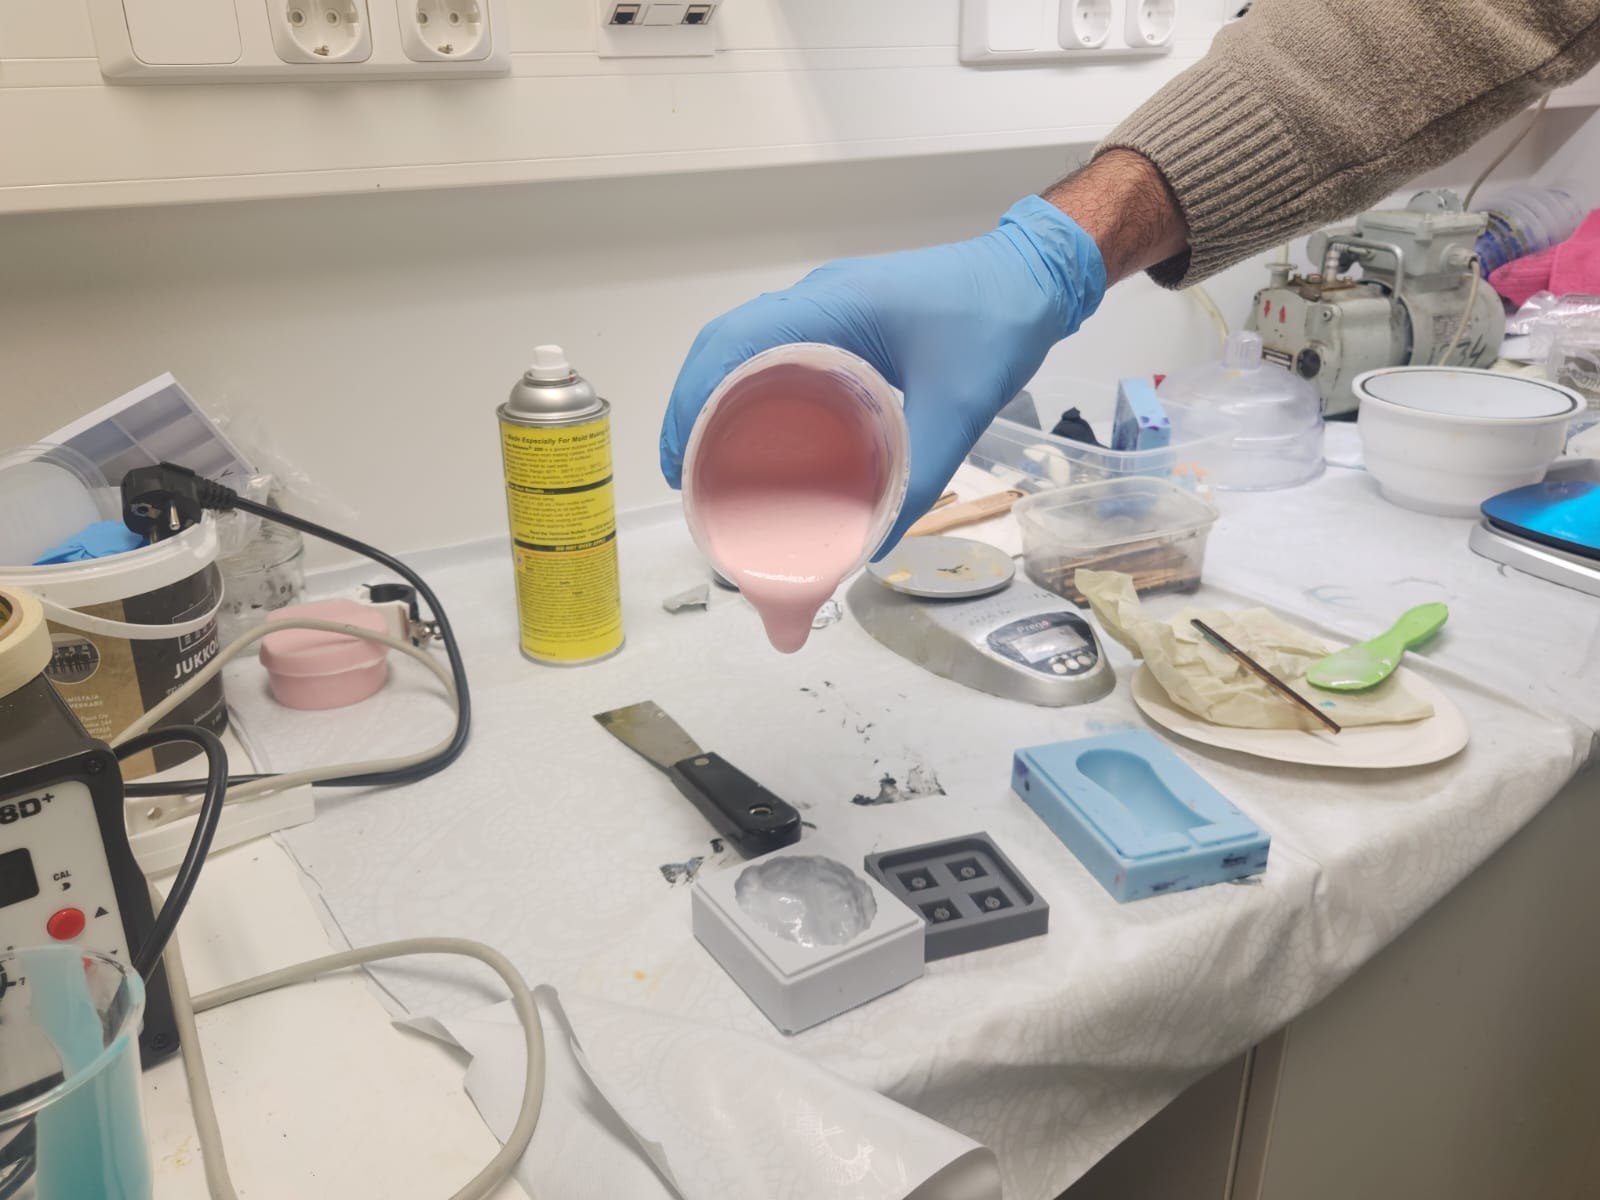
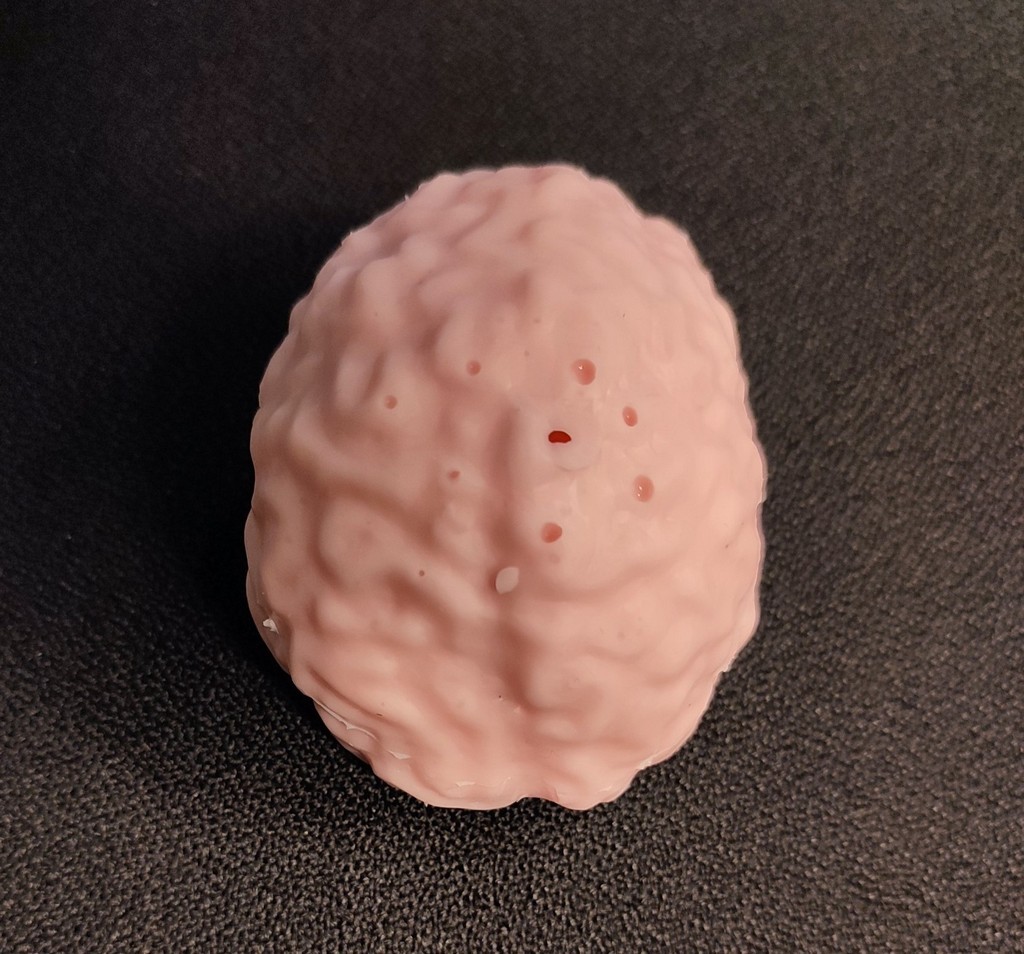
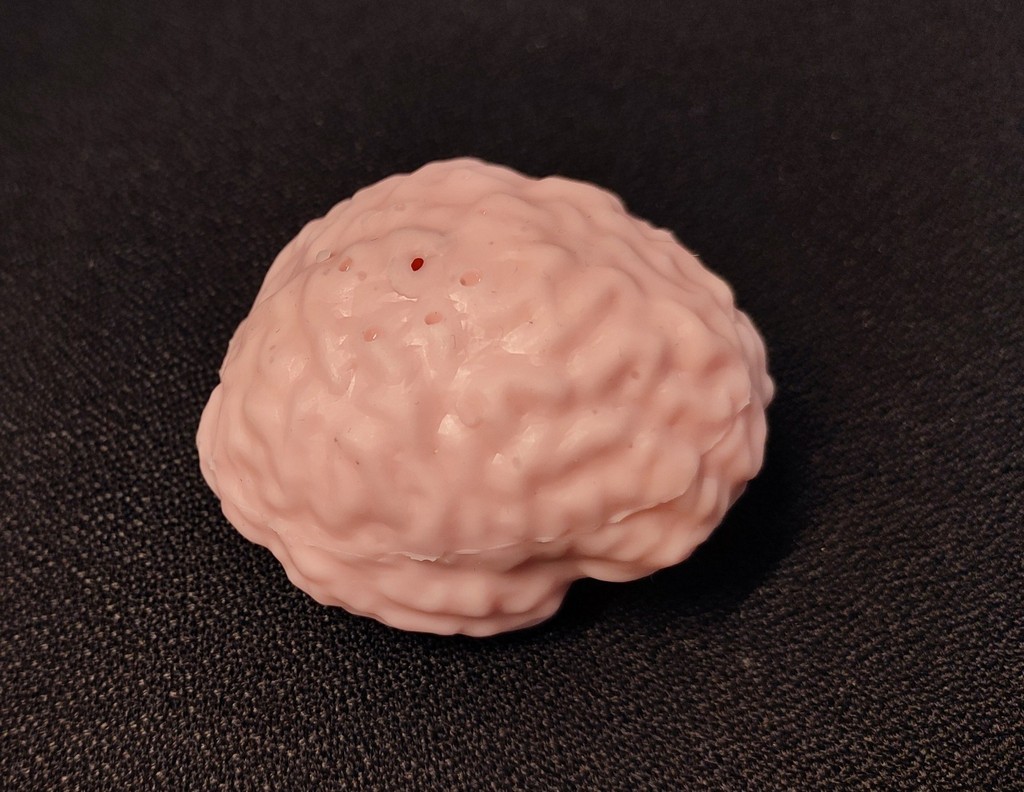
Casting
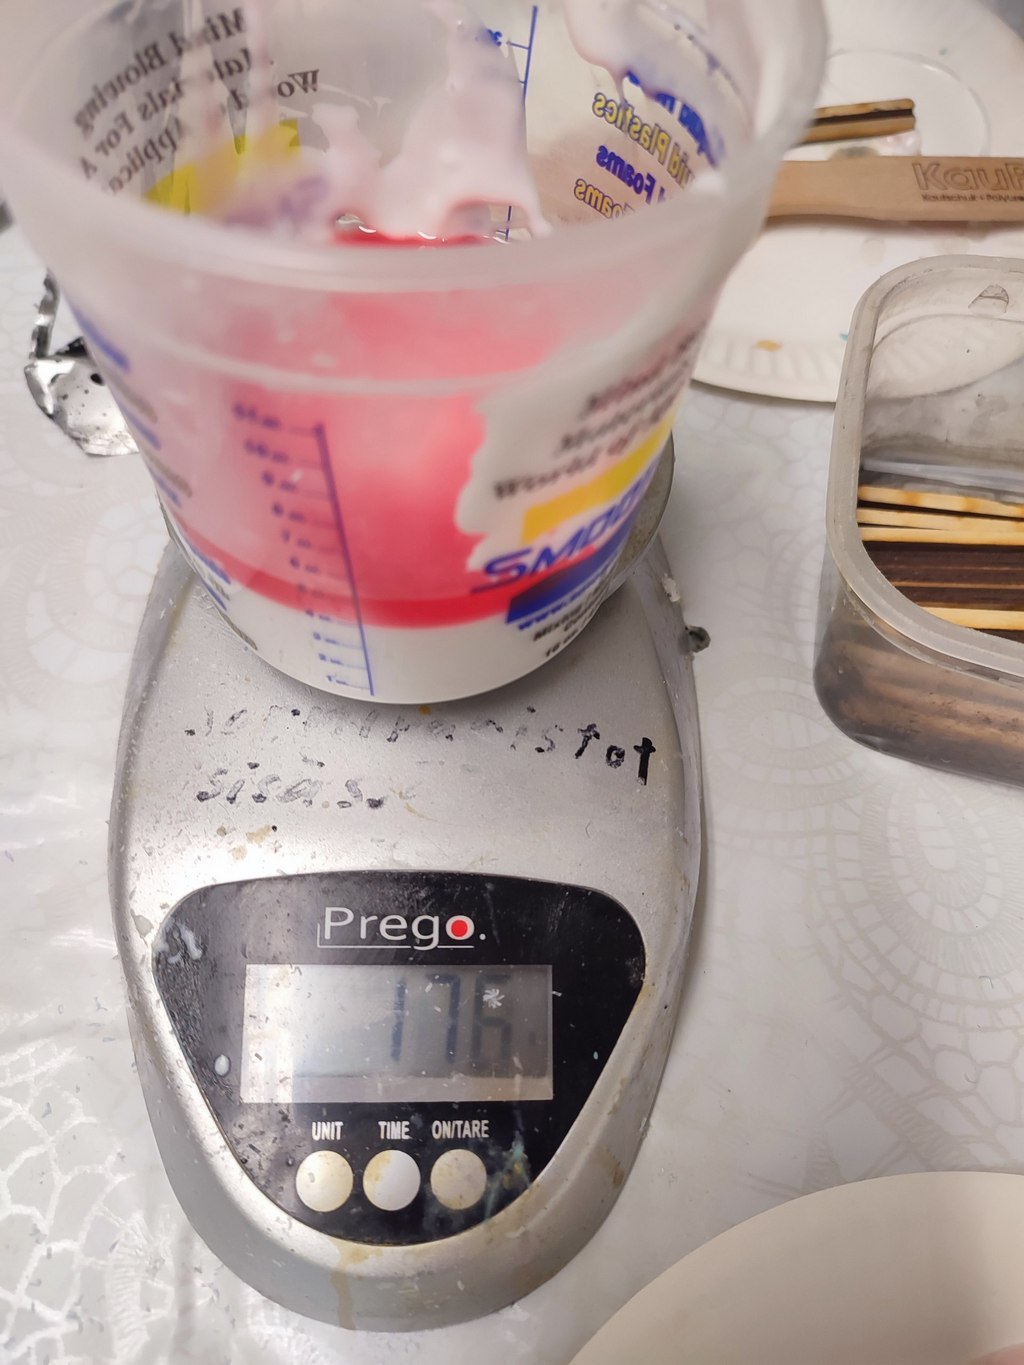
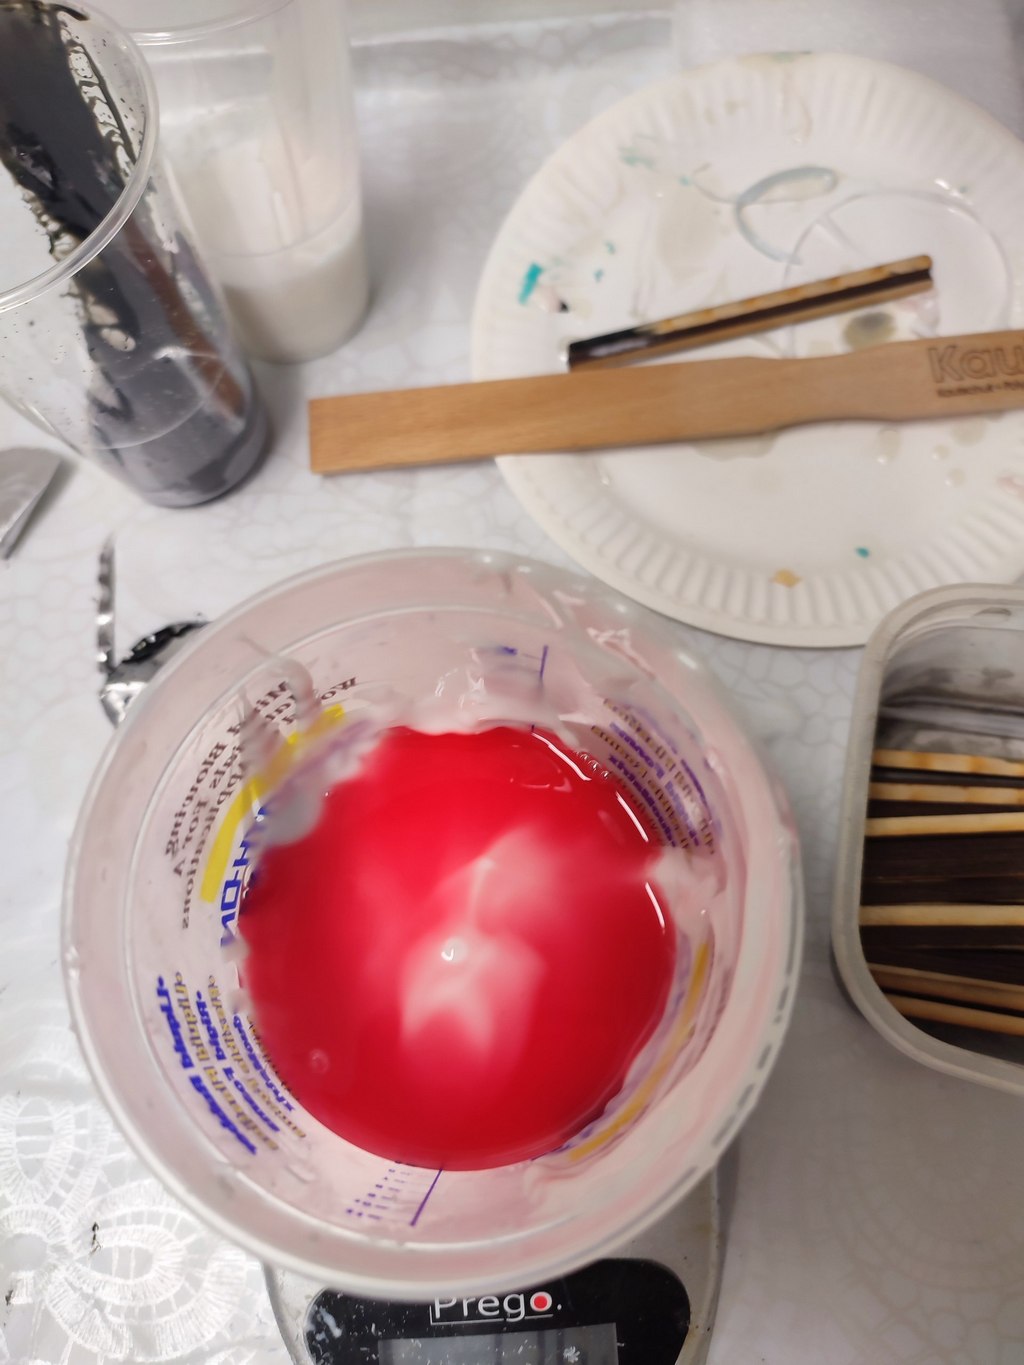
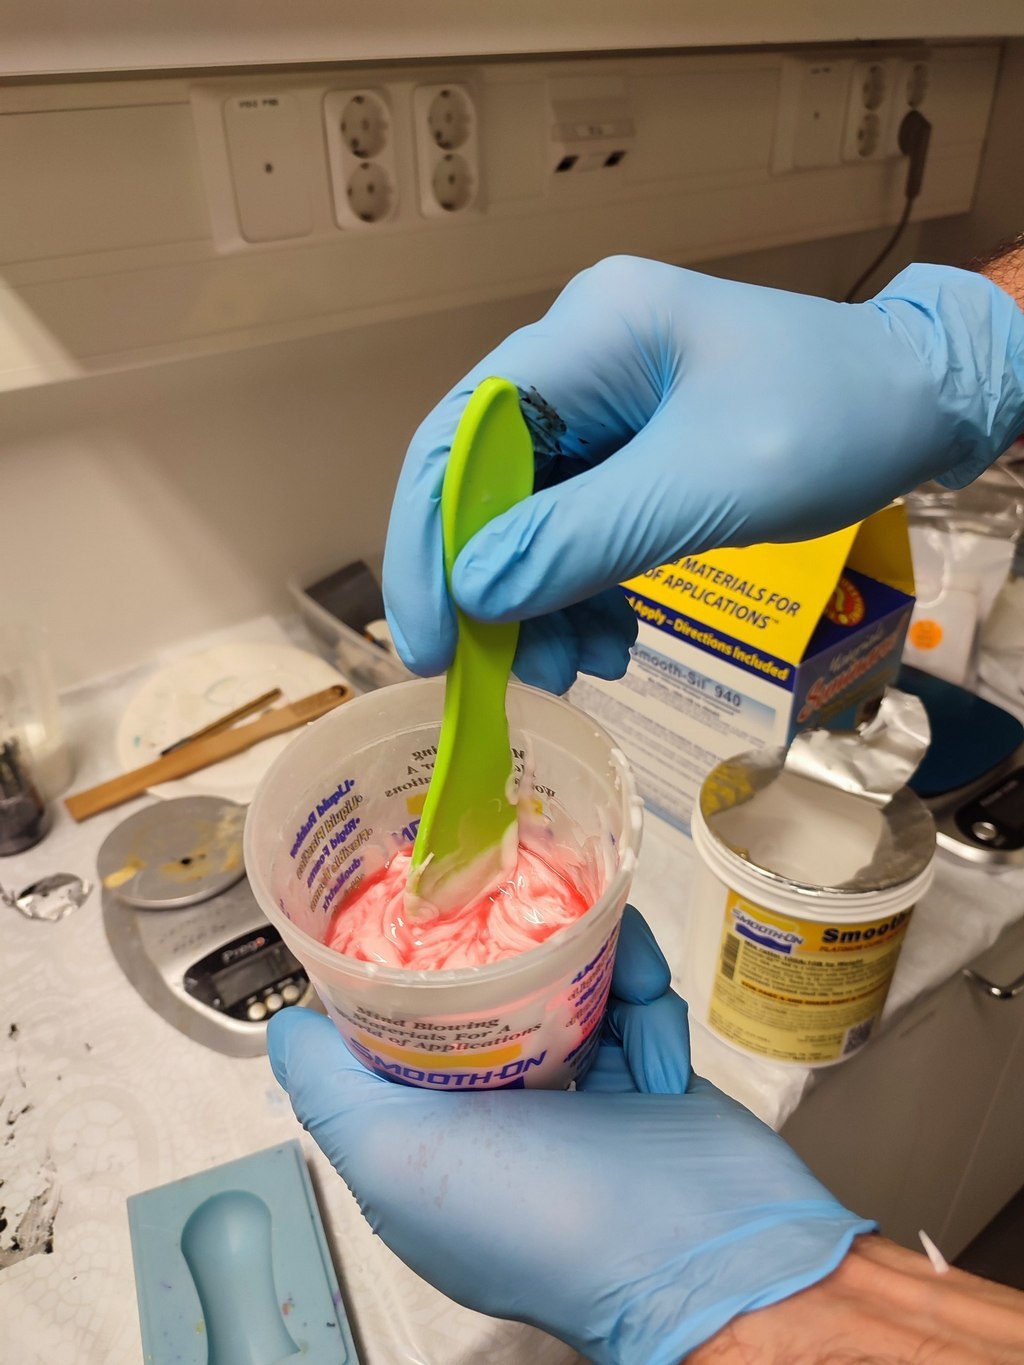
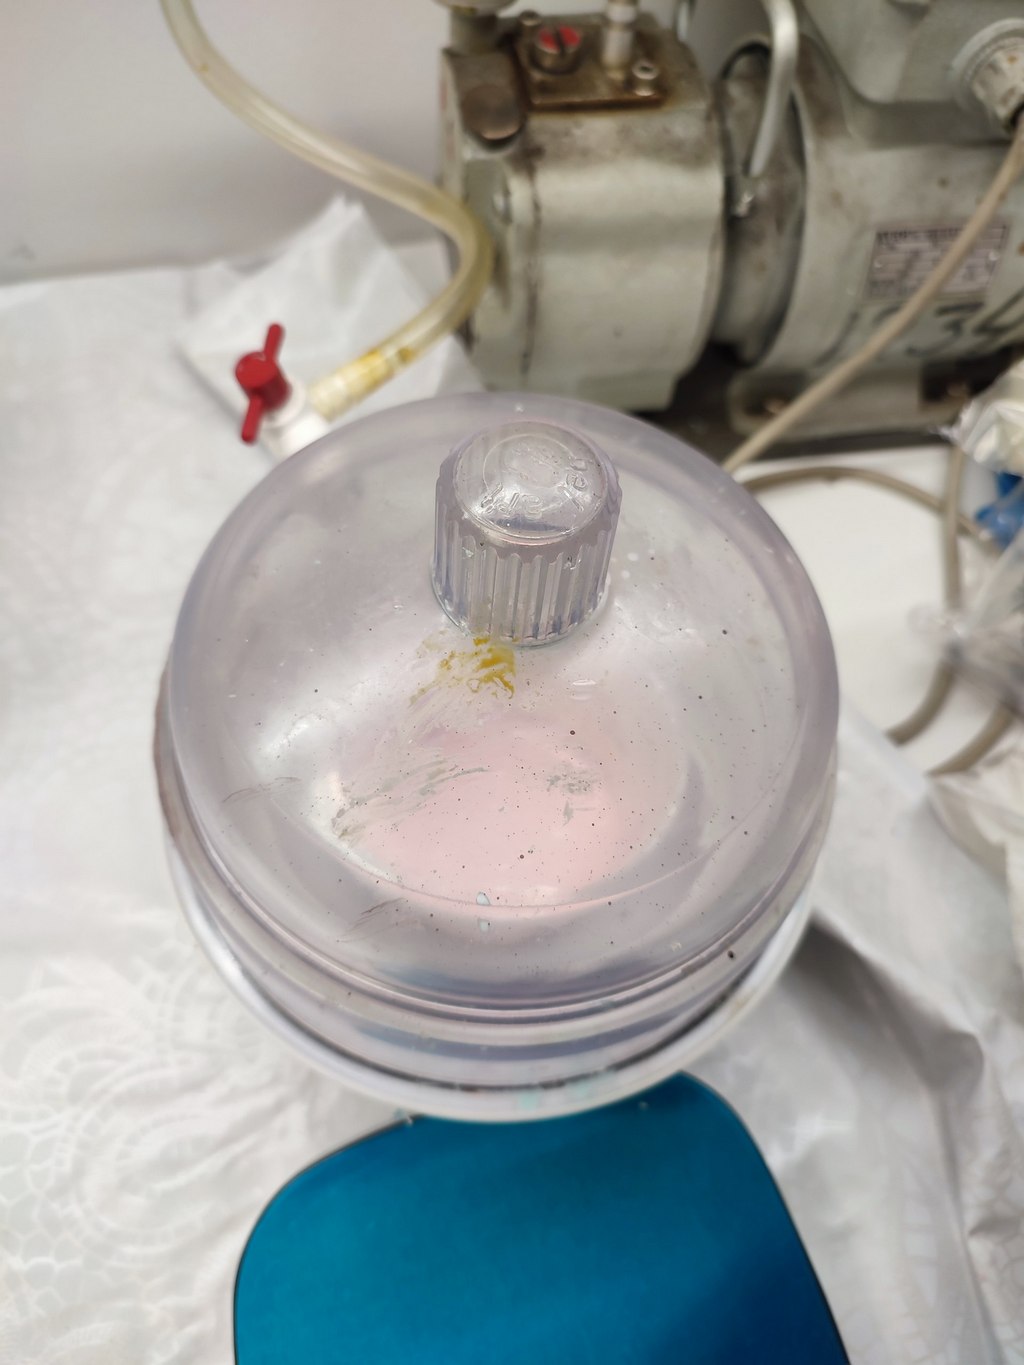
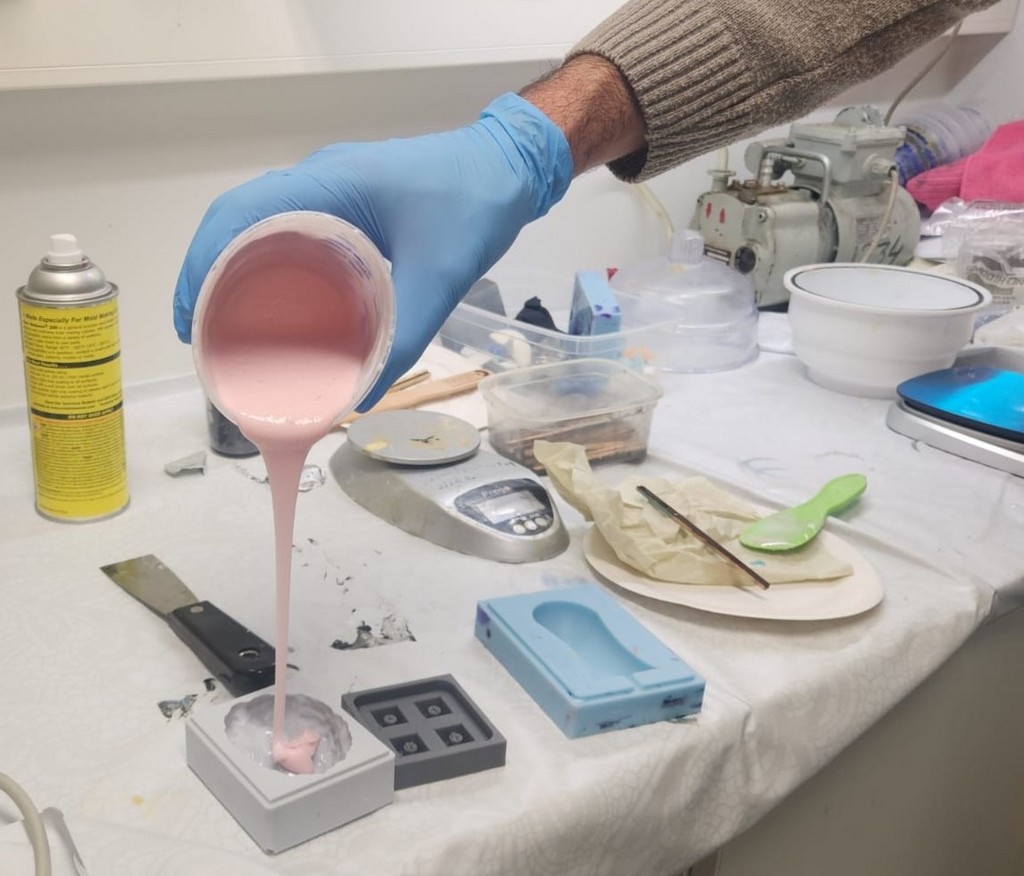
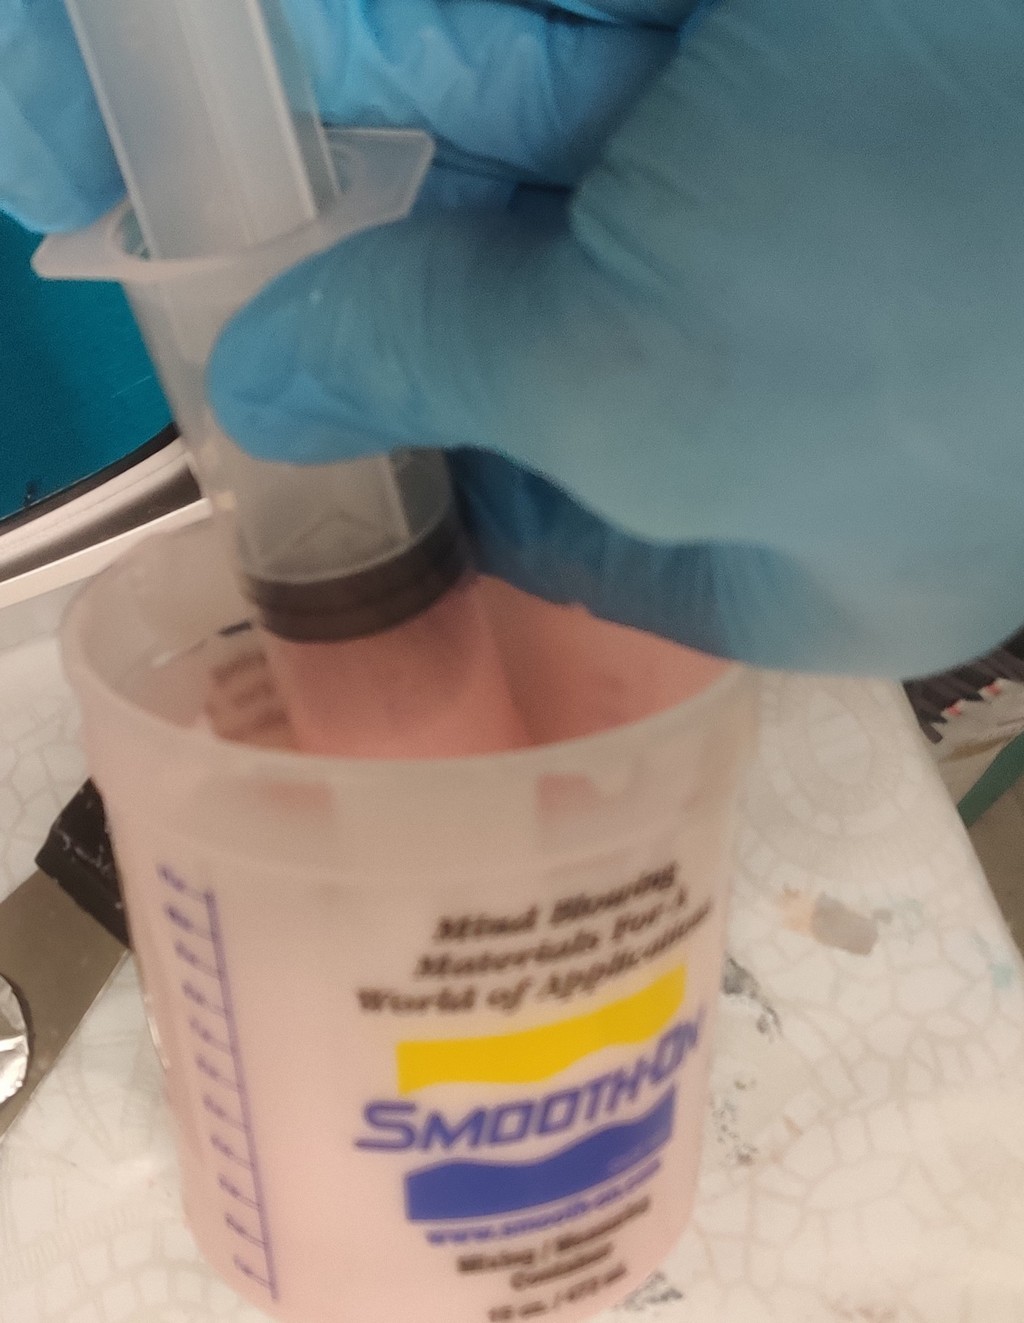
For casting, I used Smooth-Sil 940, a silicone-based material that we thoroughly reviewed in the group assignment. I will not repeat the full preparation process here.
The brain mold required approximately 90 ml of silicone. Accounting for material that sticks to the mixing container, I prepared nearly double the volume (about 176 ml).
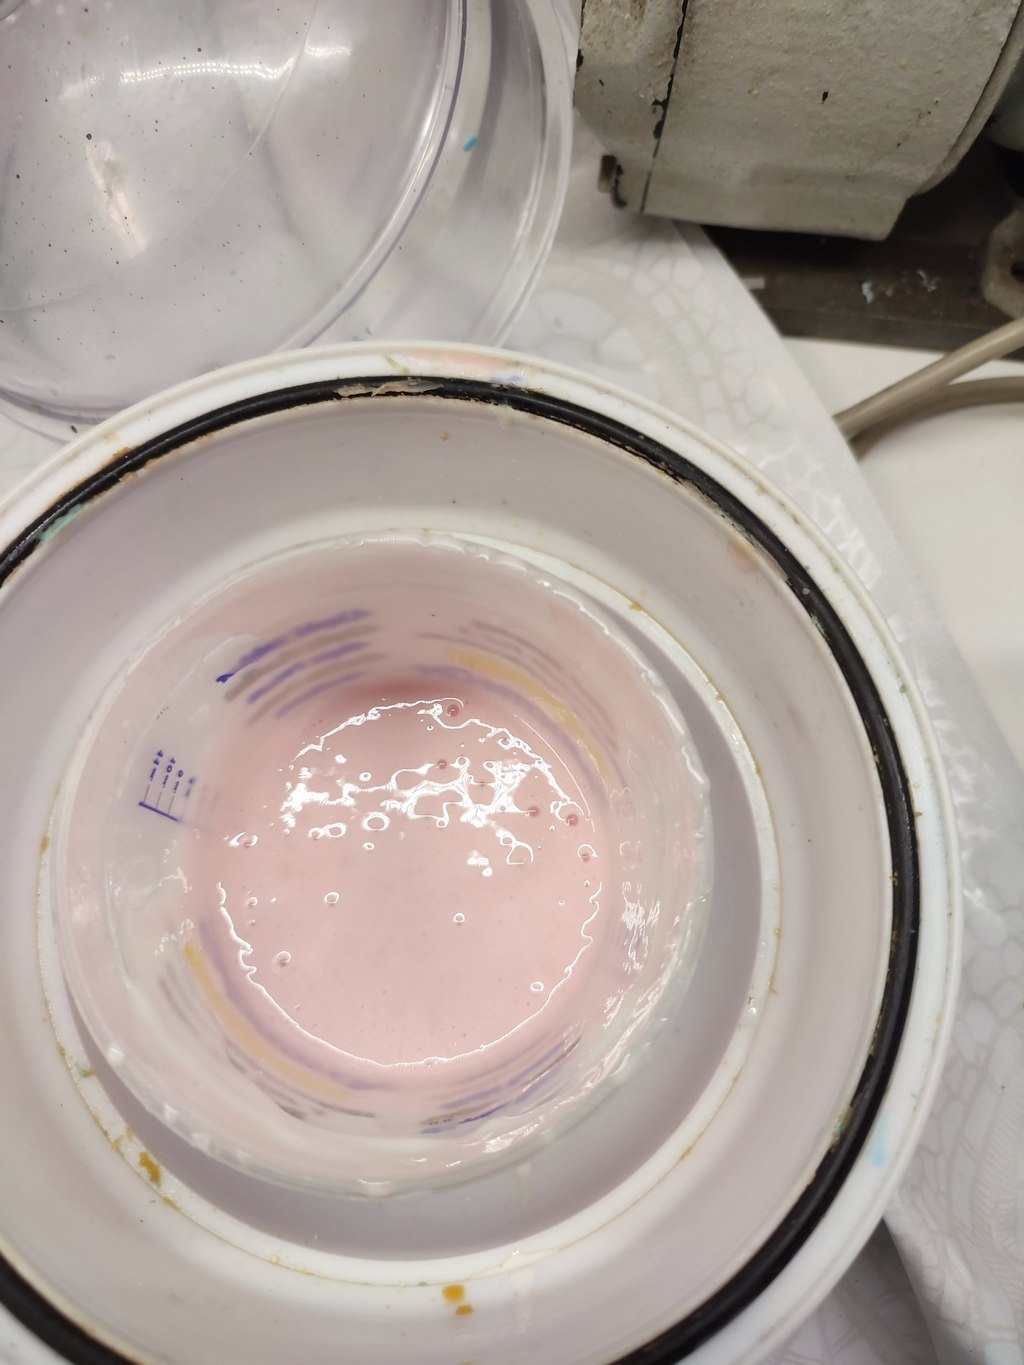
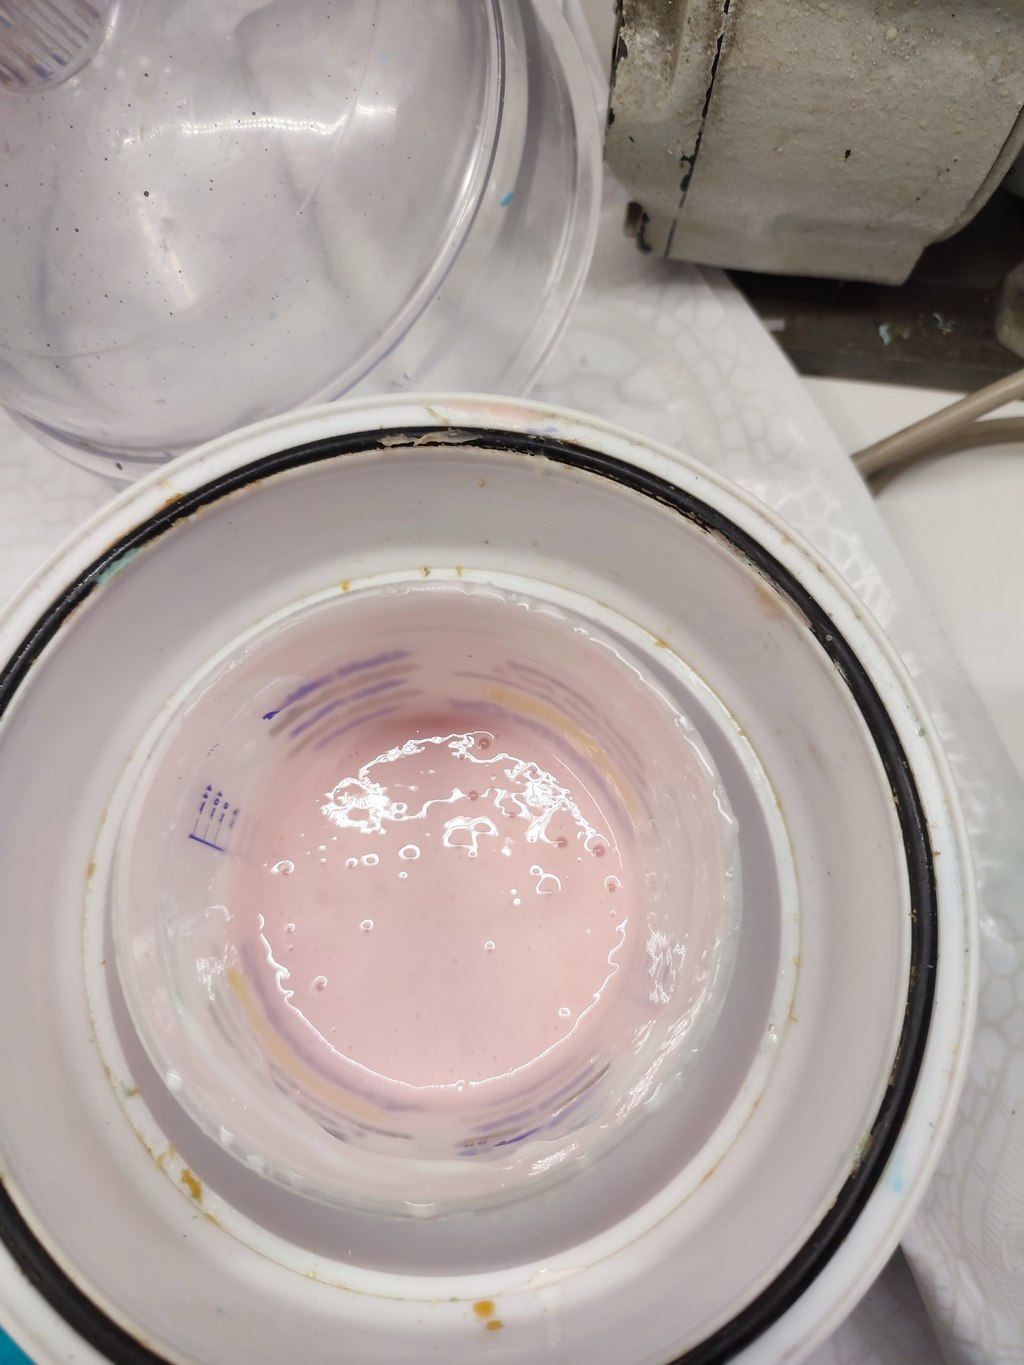
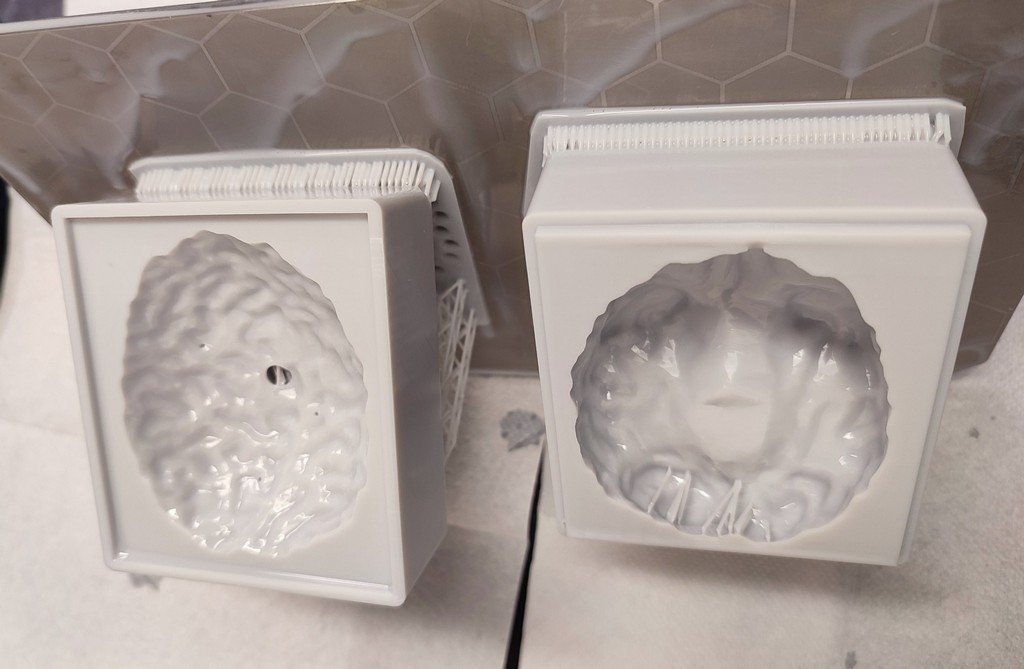
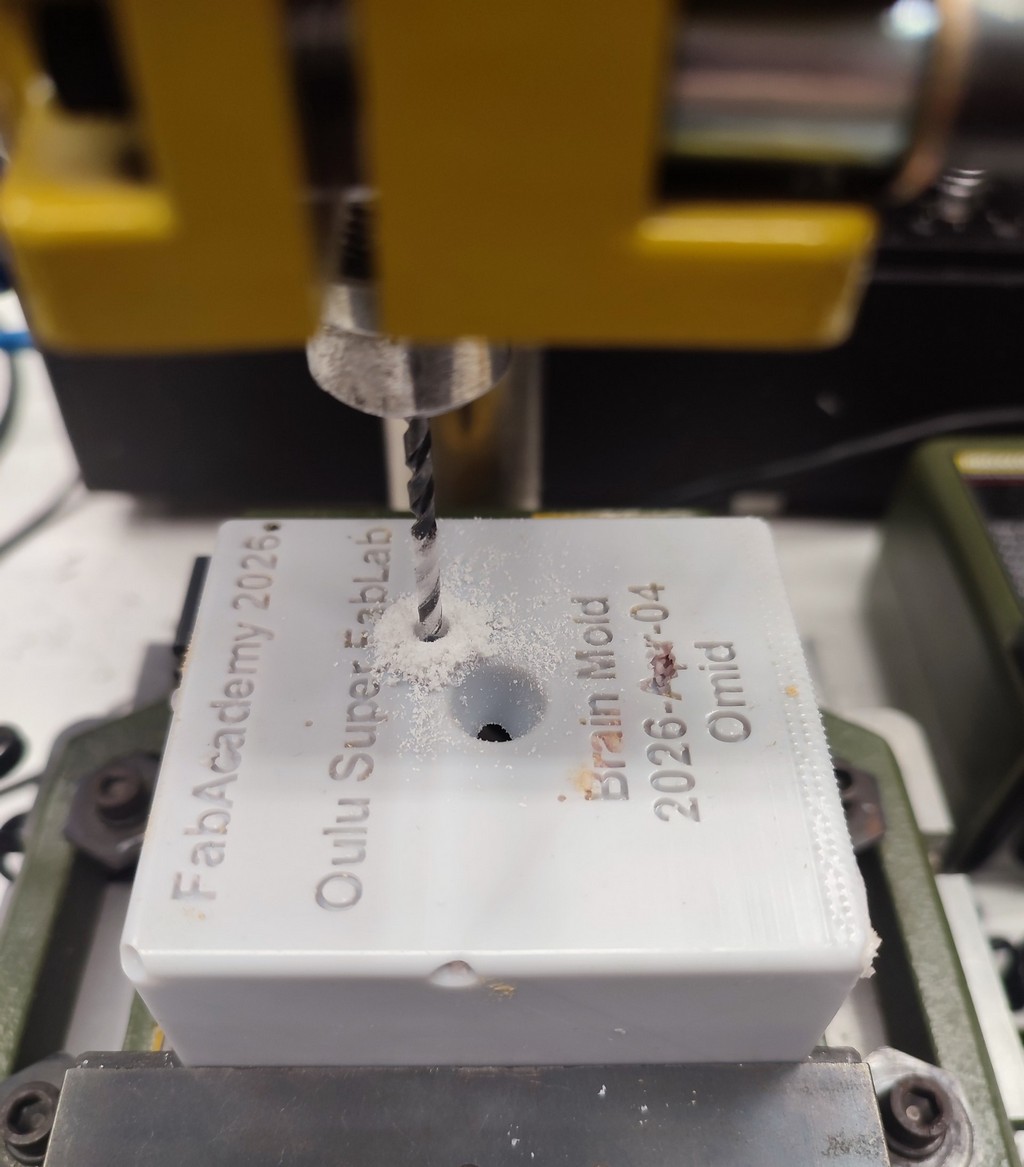
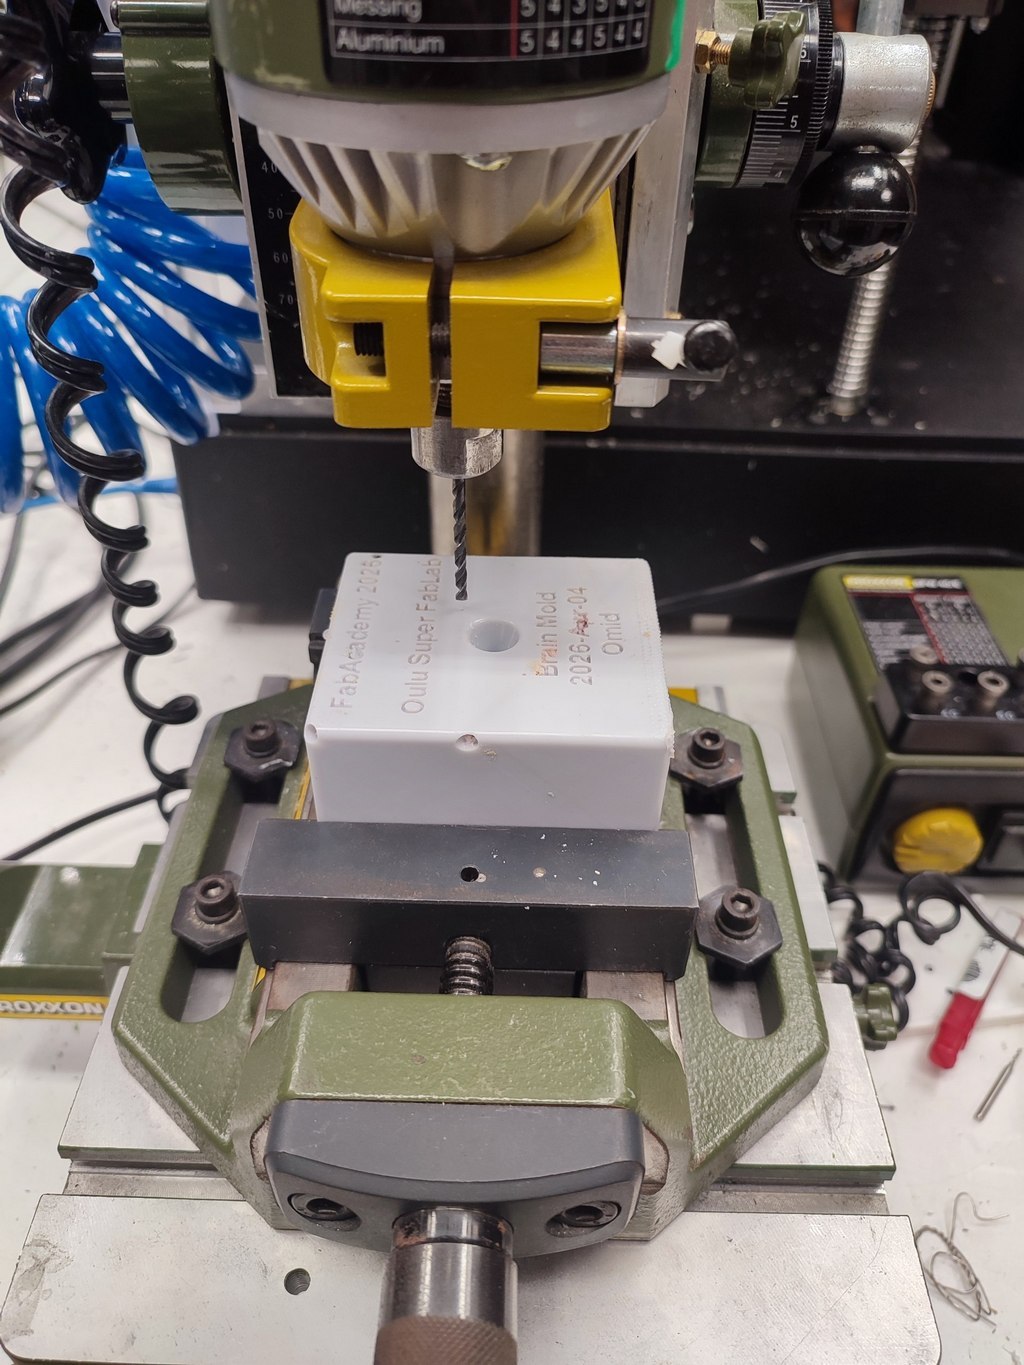
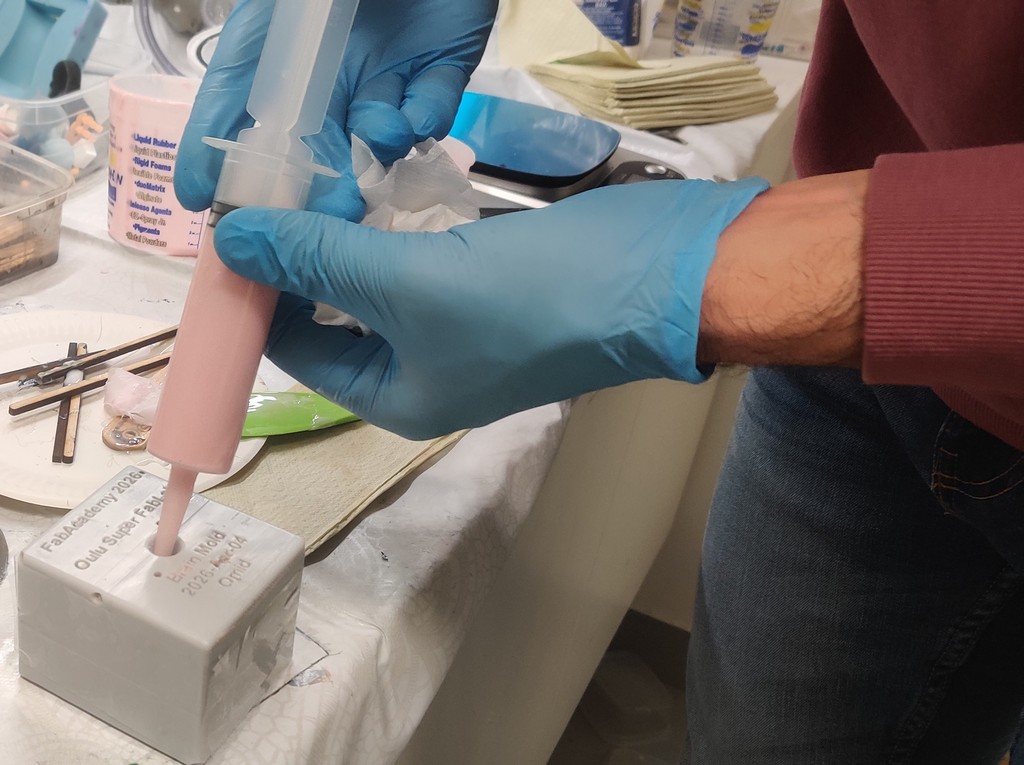
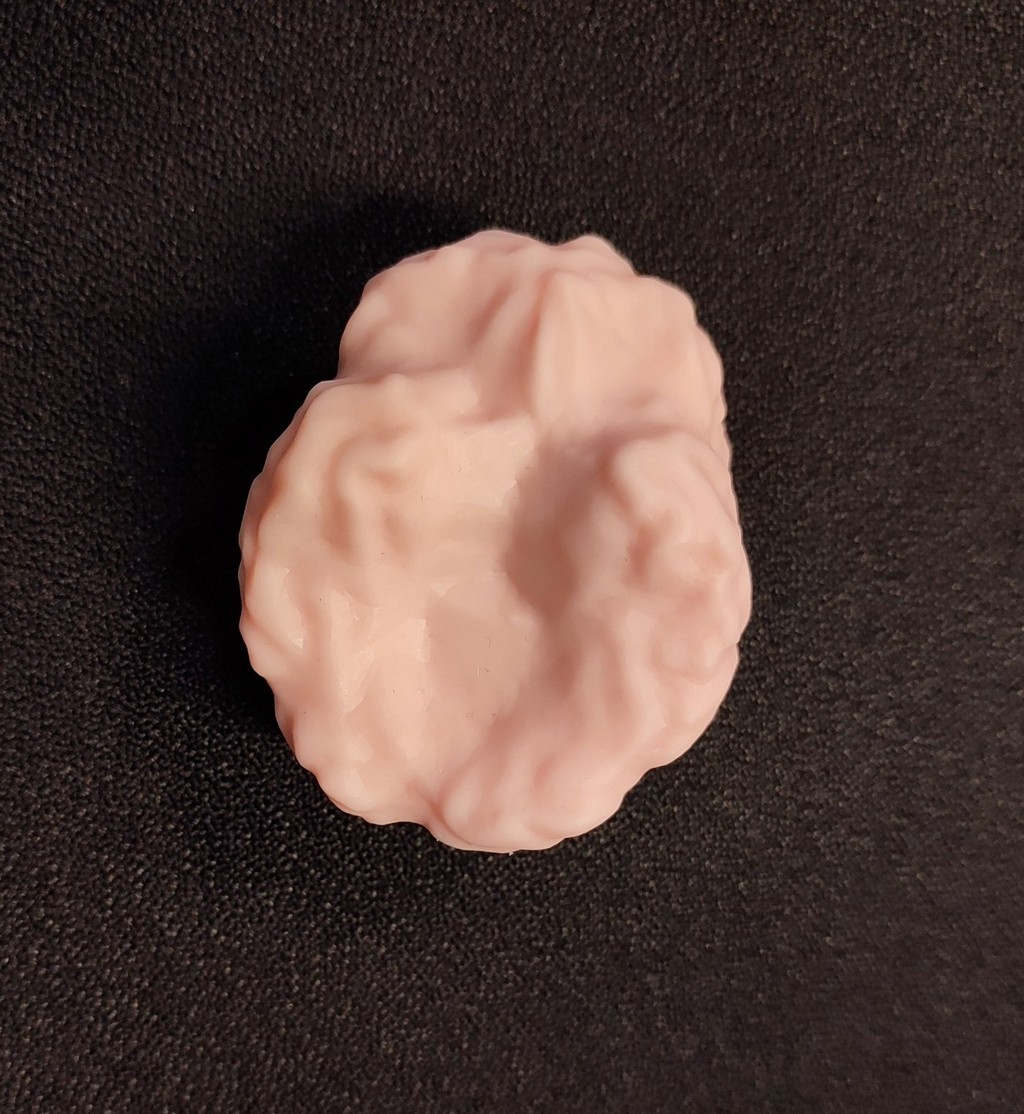
Because we scaled the mold to 50%, the gate and vent (air escape) channels became quite small. This made pouring difficult when the top and bottom were assembled, and the first casting attempt failed.
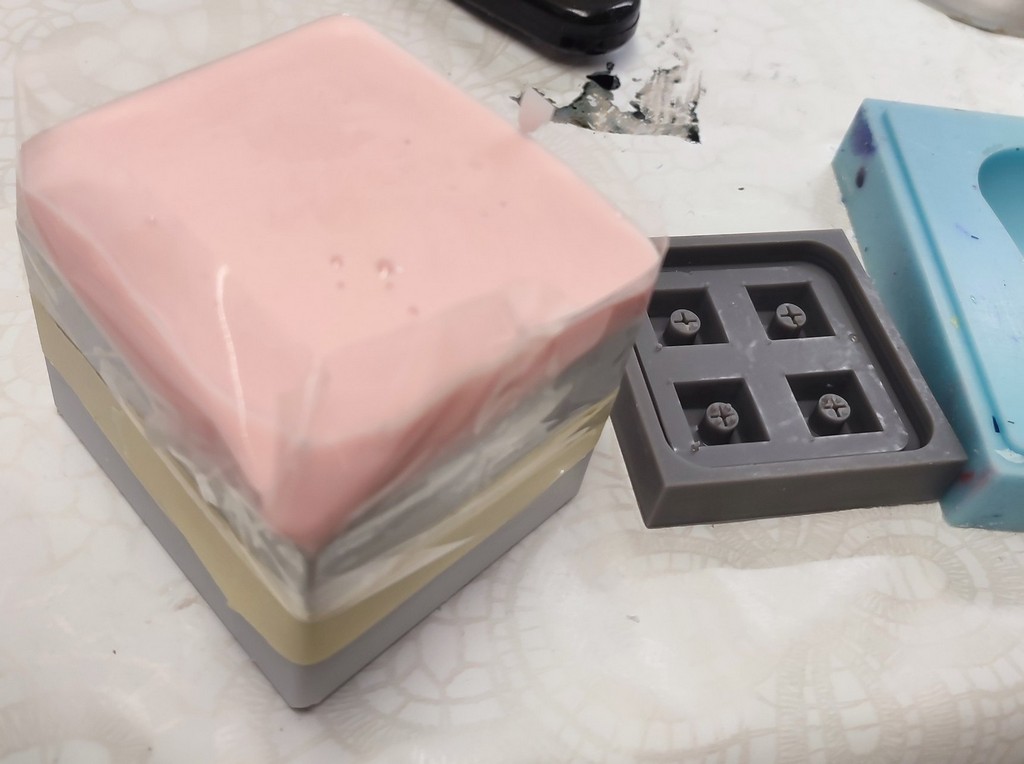
For the second attempt, I enlarged the gate and vent holes by drilling.
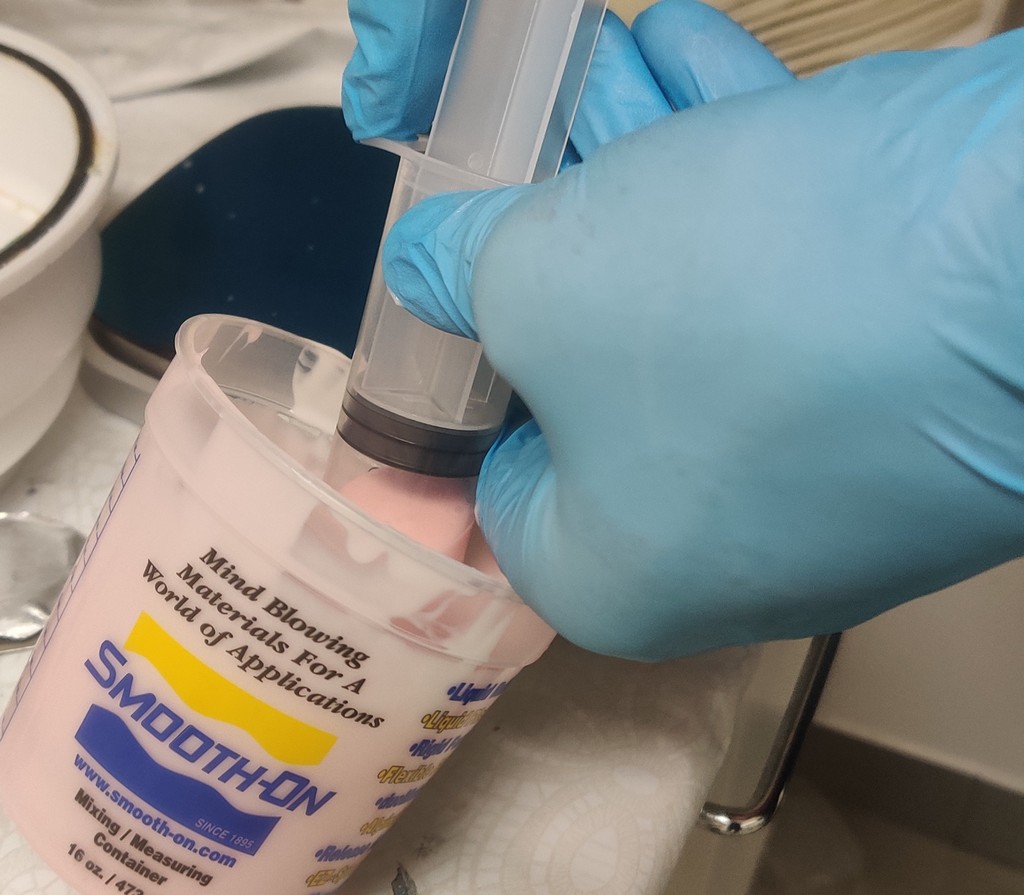
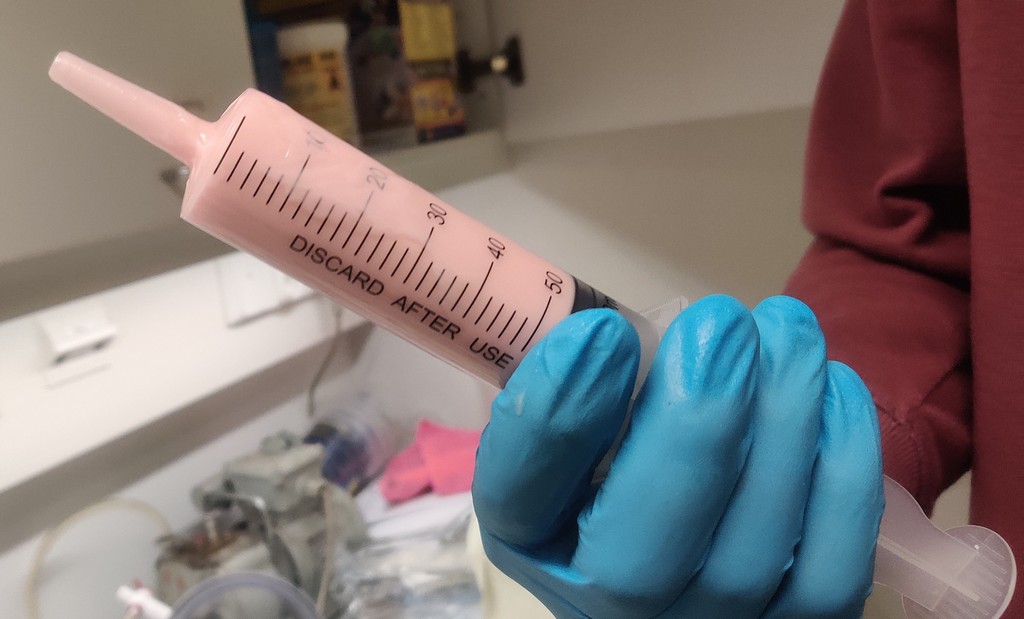
I prepared a new batch of silicone and used a 60 ml syringe for more controlled pouring.
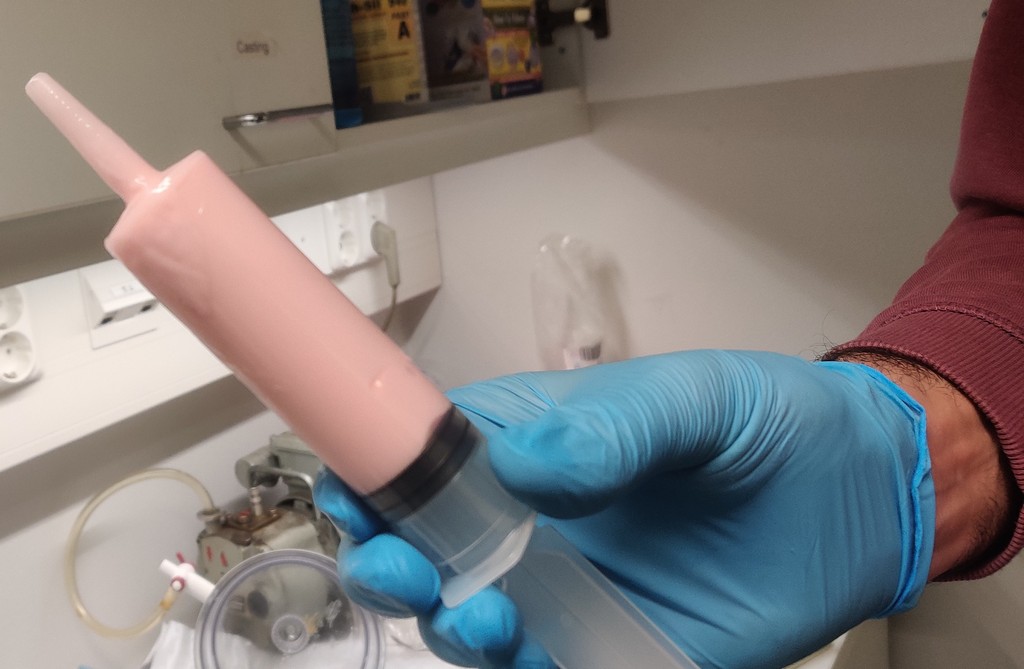
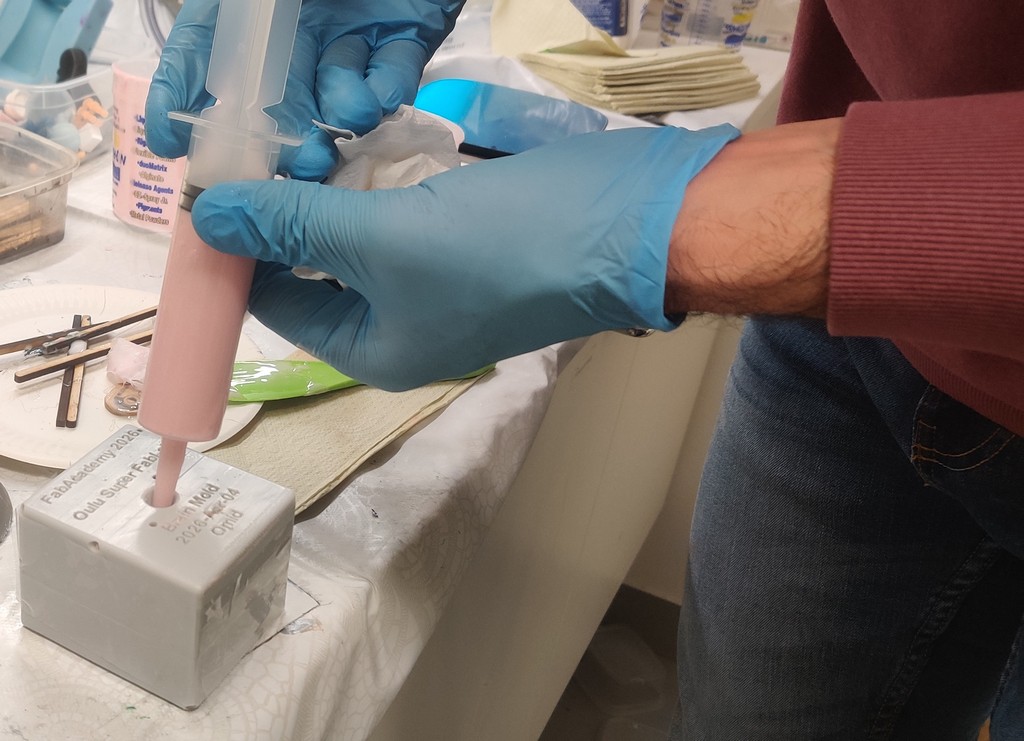
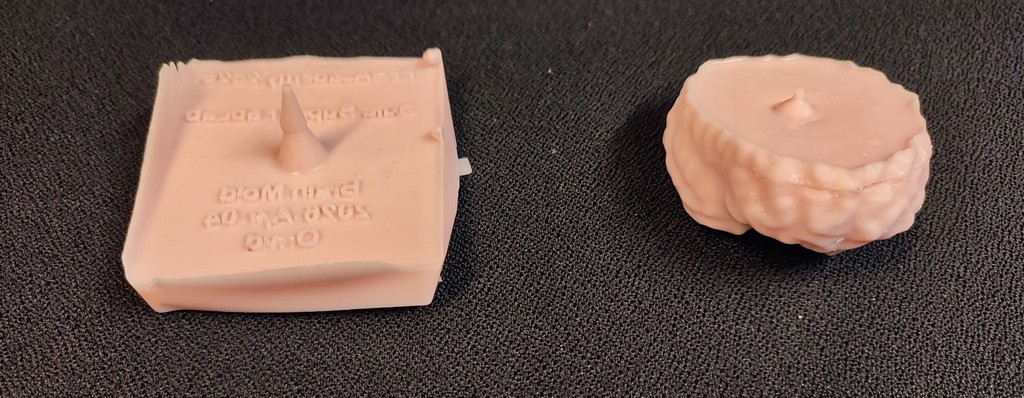
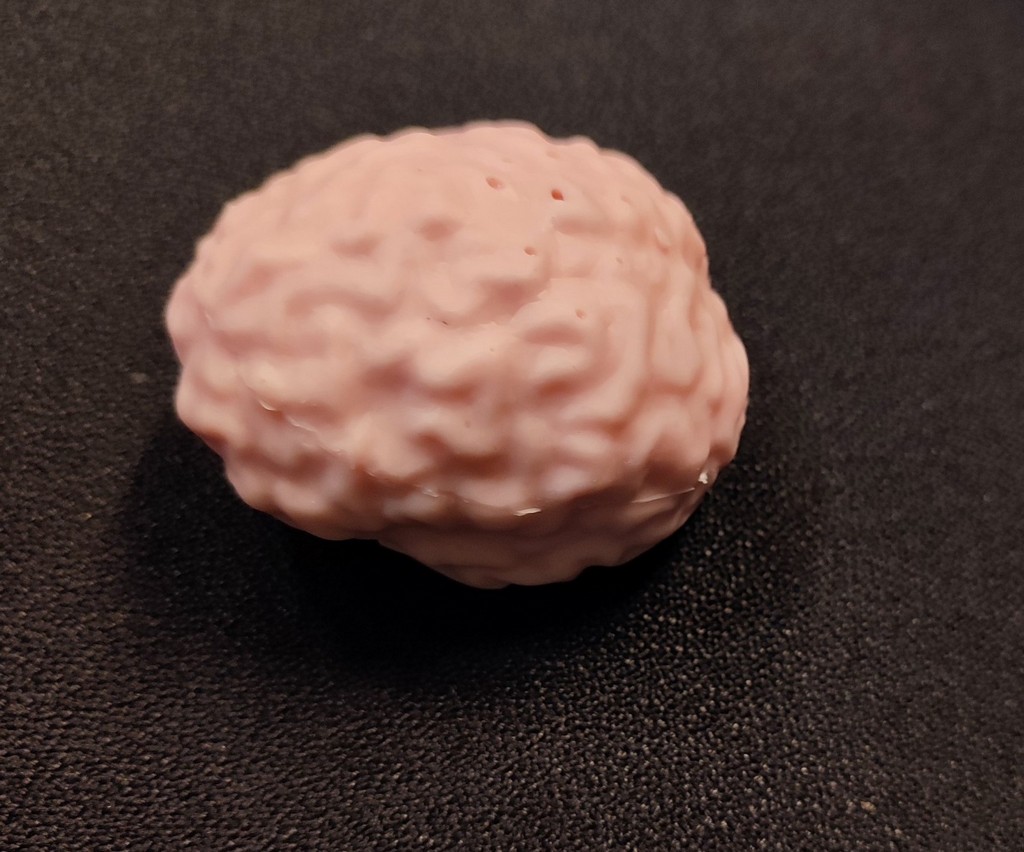
After curing for approximately 25 hours, the second casting was successful, although a few small bubbles remained in the brain details.
Reflection
This week was both highly educational and thoroughly hands-on. Working with molding and casting taught me the importance of considering demolding (ease of part removal) already during the design phase. The original highly detailed brain model was too complex for clean casting, which forced me to learn mesh editing techniques in Blender, a valuable skill I can apply in future projects.
Scaling the model down was necessary due to printer limitations, but it highlighted how small features can create major problems during casting (narrow gates and trapped air). The failure of the first cast and the successful second attempt after modifications reinforced the iterative nature of digital fabrication.
Using a resin 3D printer for the first time was exciting. The post-processing steps for curing (IPA cleaning, ultrasound, and preheating) are critical for achieving a safe, usable, and watertight mold. Overall, I gained confidence in the full workflow: from 3D model acquisition and modification, through mold design and fabrication, to material mixing and casting. The resulting silicone brain will be useful for our research group’s educational and demonstrative purposes.
I also learned the importance of proper air vents (vent holes) when designing molds, especially for complex shapes like the brain with many cavities. Even though I made a sprue (filling hole), I didn’t pay enough attention to vent holes in the beginning. This caused trapped air during the first casting, which led to failure. After drilling bigger vent holes for the second try, the casting worked much better. This taught me that good mold design needs both a proper inlet for material and outlets for air to escape.
The experience also emphasized safety practices and proper documentation, both of which are essential in a shared fab lab environment.