3D Design
For this week’s assignment, I designed a mold based on the ReSeed project logo. Since the logo has a clean and symbolic shape, it was a good candidate for experimenting with molding and casting.
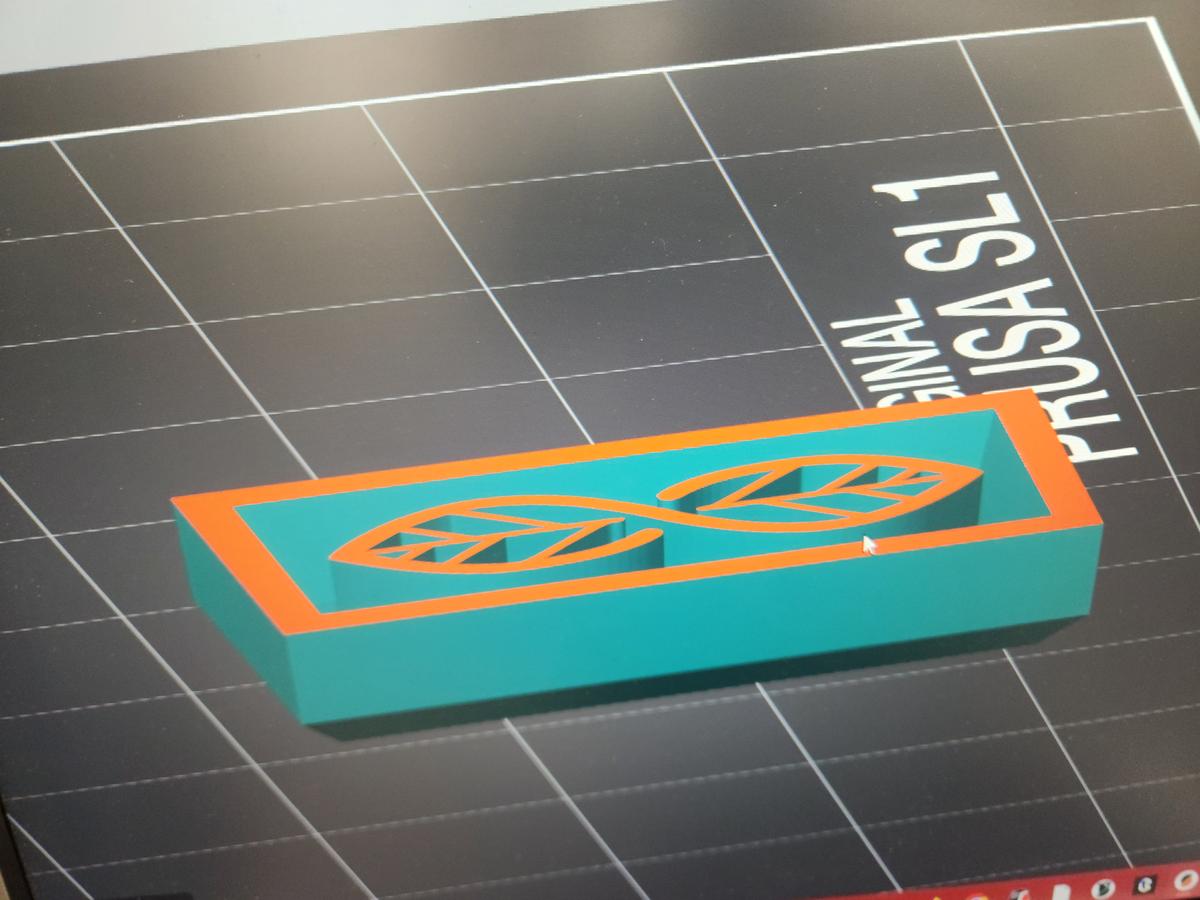
The logo was first imported into the CAD software and converted into a 3D geometry. The shape was then extruded to create sufficient depth for the mold cavity.
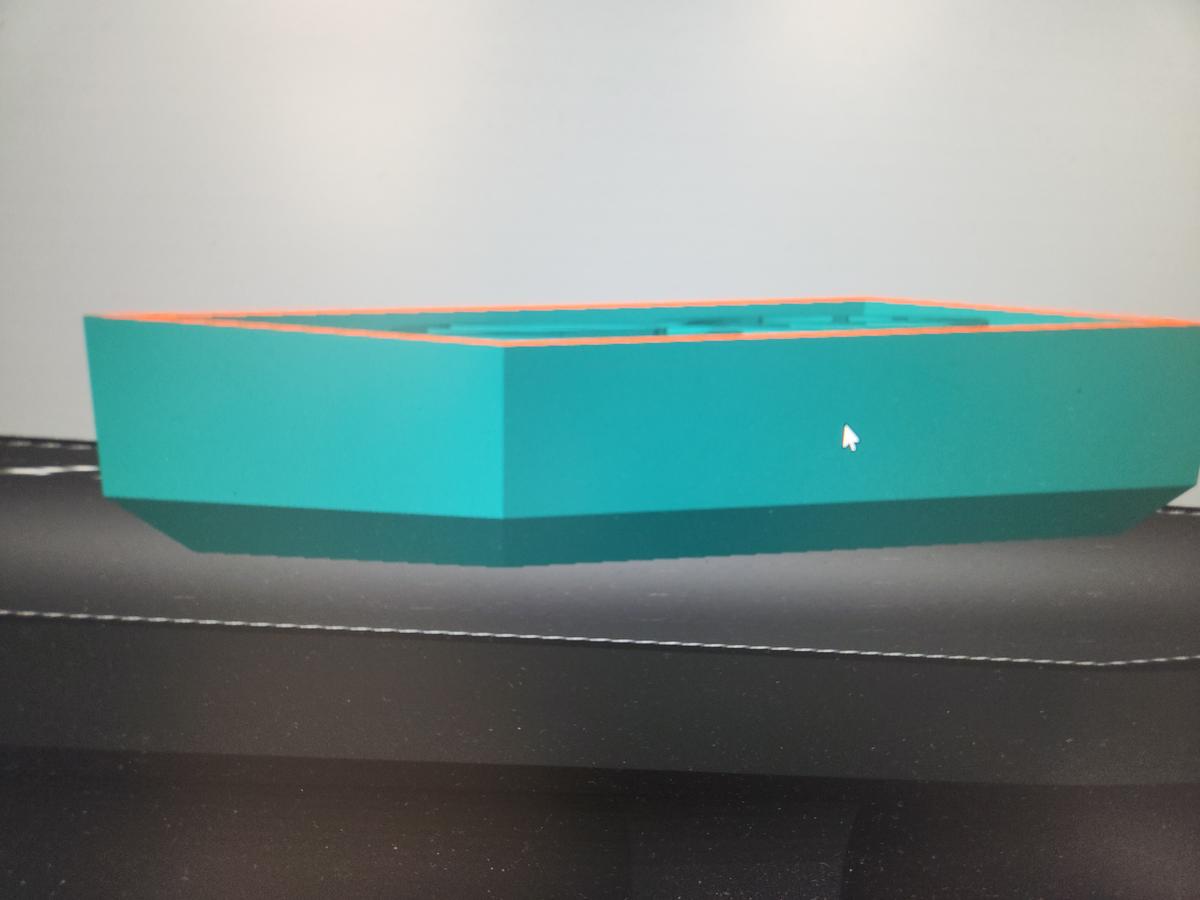
A rectangular container was designed around the geometry to hold the molding material. The outer box acts as the mold frame and provides structural support during casting.
To improve the printability and final mold release, I added chamfers on the side walls and at the base. The side chamfers help in easier demolding, while the chamfer/fillet-like transition at the base reduces sharp corners and helps the 3D printer create a stronger and cleaner first layer adhesion.
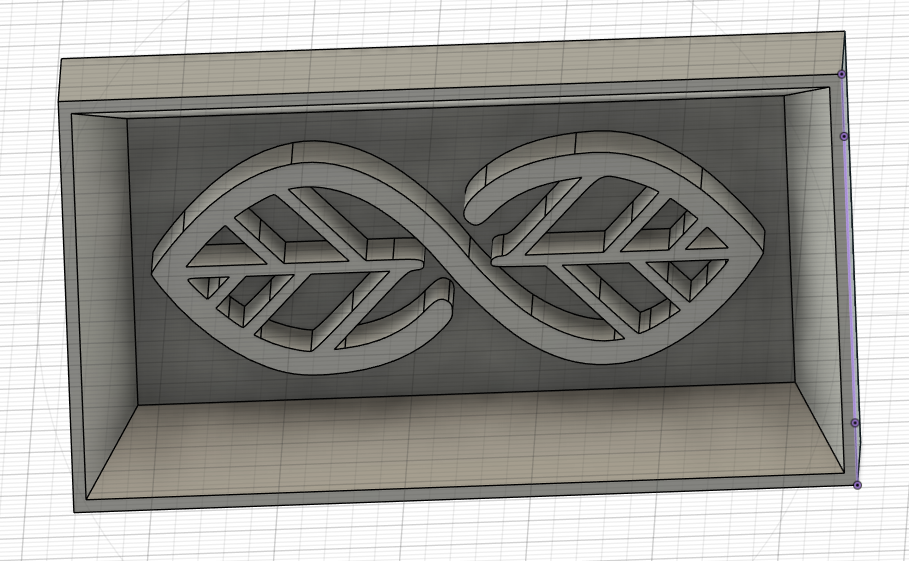
While designing the mold, I also considered the geometry carefully to avoid difficult undercuts and to ensure that the final cast could be removed easily without damaging either the mold or the casted object.
Material Selection
The success of molding and casting depends heavily on selecting suitable materials for each stage of the workflow. In this assignment, different materials were used for printing the master model, creating the silicone mold, and casting the final object.
| Stage | Material | Purpose |
|---|---|---|
| Master Print | SUNLU Standard Resin | Used for SLA printing of the master model |
| Mold Making | Mold Star 16 FAST | Used to create a flexible silicone mold |
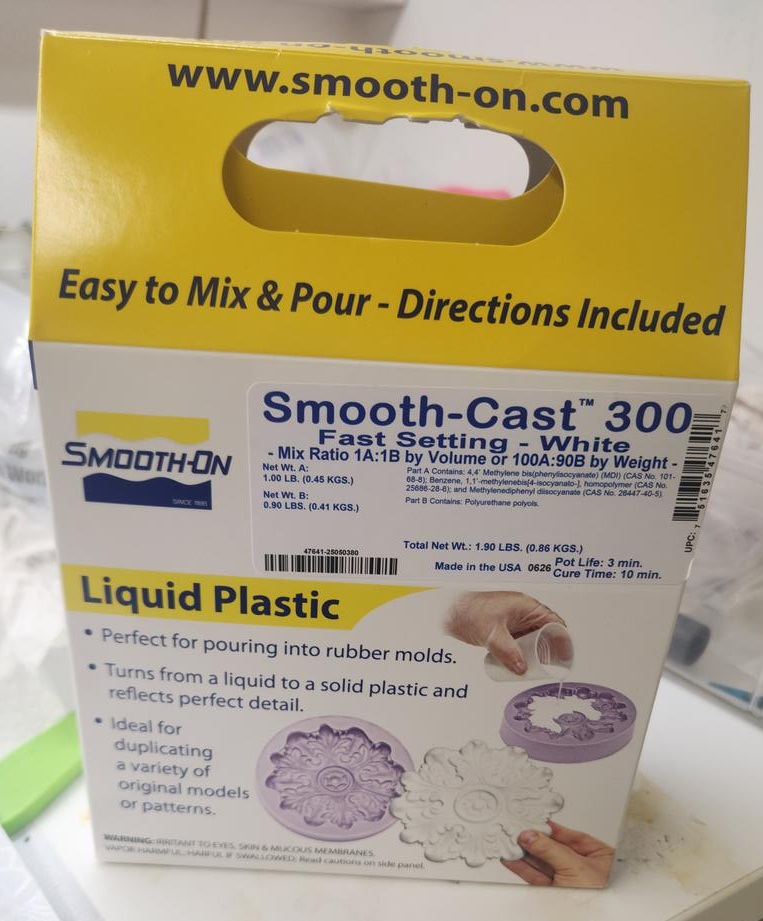
| Final Casting | Smooth-Cast 300 | Used to create the final hard plastic cast |
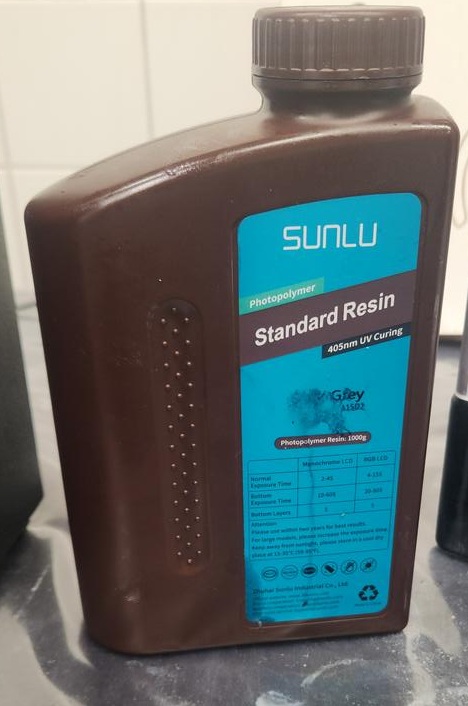
For the master model, I used SUNLU Standard Resin, a UV-curable photopolymer resin suitable for high-detail SLA printing. This resin provides a smooth surface finish and captures small geometric details accurately.
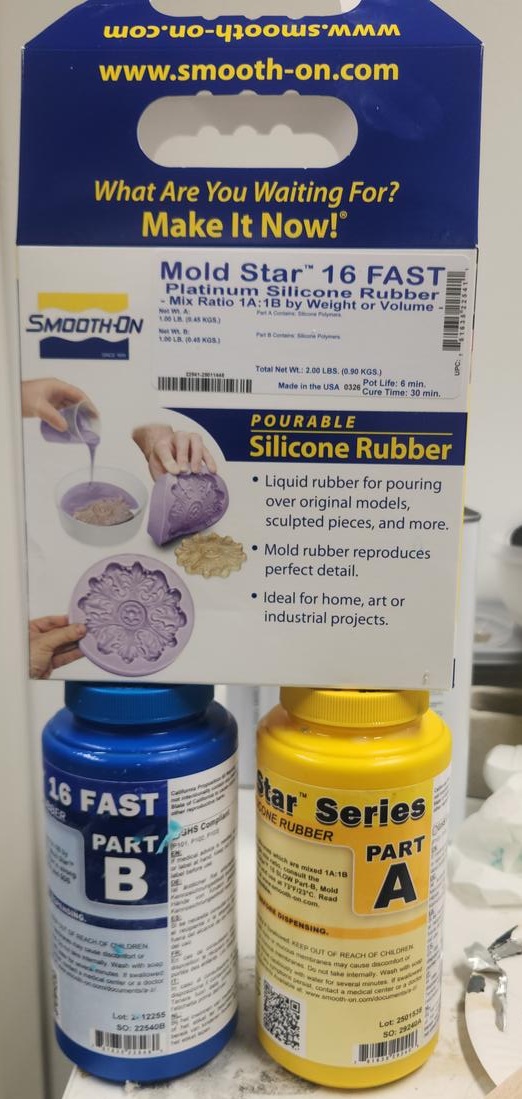
To create the mold, I used Mold Star 16 FAST, which is a platinum silicone rubber. It has a simple 1A:1B mixing ratio by volume and a relatively fast curing time, making it ideal for quick prototyping.
For the final cast, I selected Smooth-Cast 300, which is a fast-setting liquid plastic. It also uses a 1A:1B mixing ratio and cures quickly, producing a solid plastic part with good detail and surface quality.
3D Printing the Master
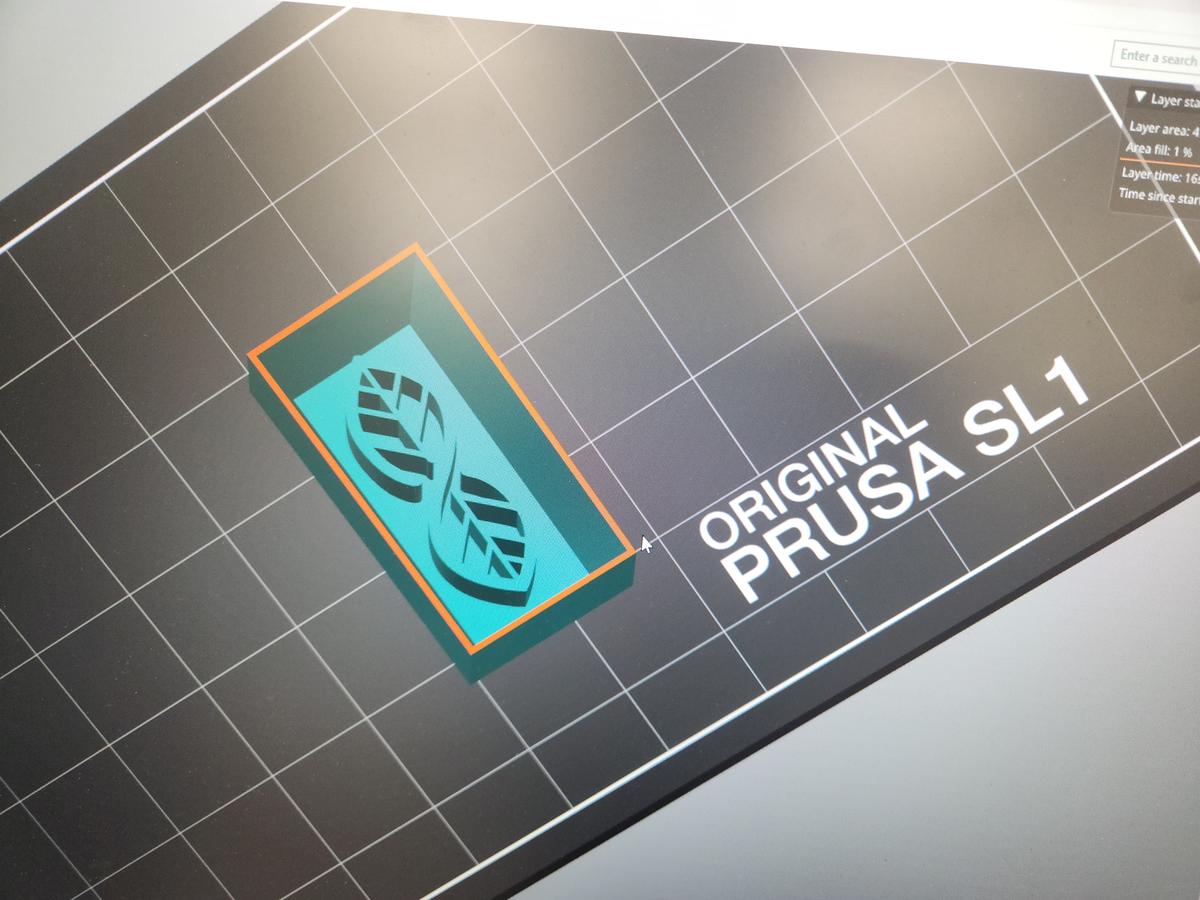
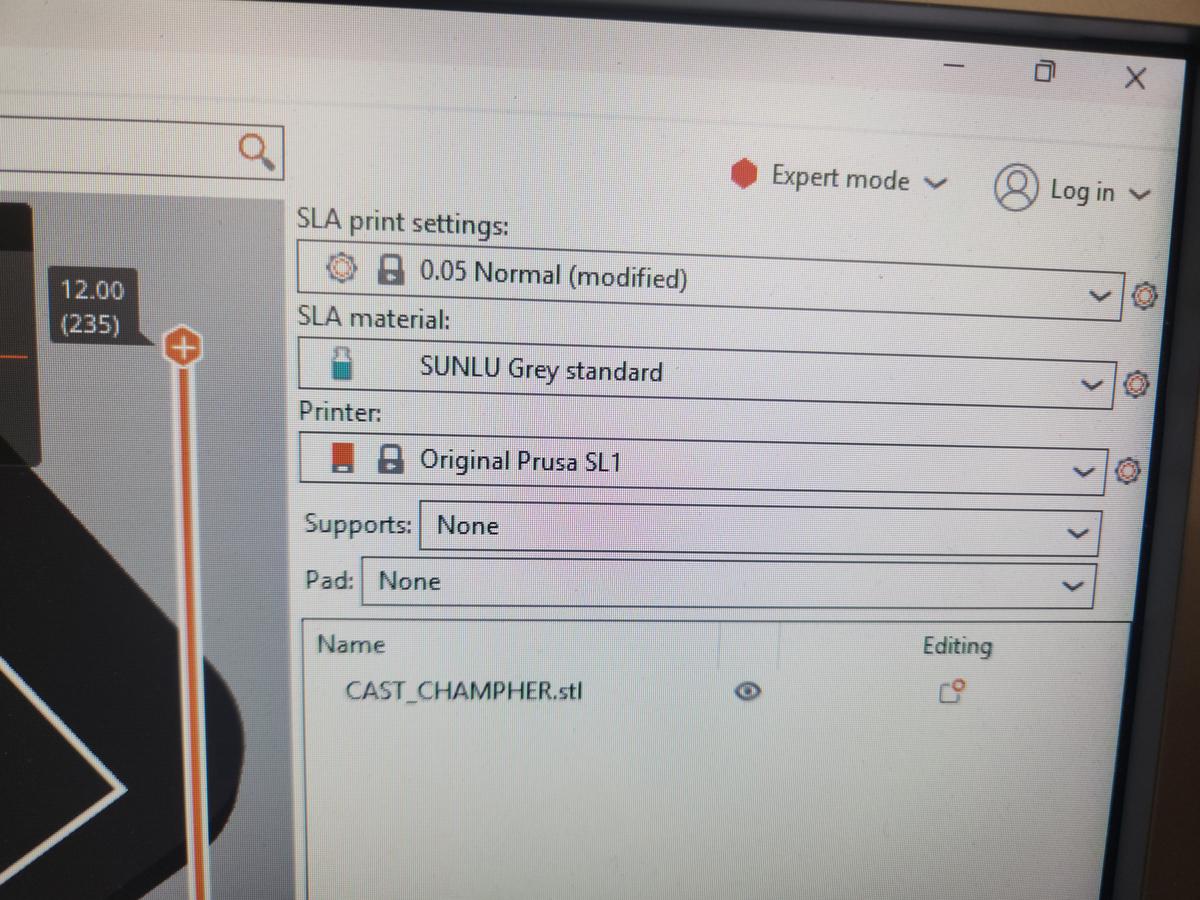
After completing the CAD design, the model was exported as an STL file and imported into the slicer software for preparation. I used the PrusaSlicer software to orient the model and verify the layer-by-layer print process before sending it to the printer.
The side chamfers and bottom chamfer were intentionally added during the CAD design stage to improve the manufacturability of the part when using SLA resin printing. Unlike FDM printers, where the flexible build plate can be bent to release printed parts, SLA prints are attached directly to a rigid metal build plate. If the mold were printed with a completely flat bottom surface, it would be extremely difficult to remove the part without potentially damaging either the print or the build plate. By introducing a bottom chamfer, a small clearance was created around the perimeter of the model, allowing a scraper or removal tool to be inserted underneath the print more easily. The side chamfers also helped create smoother transitions between surfaces and reduced stress concentrations during part removal. This design modification made the post-processing stage significantly easier while preserving the accuracy of the mold geometry.
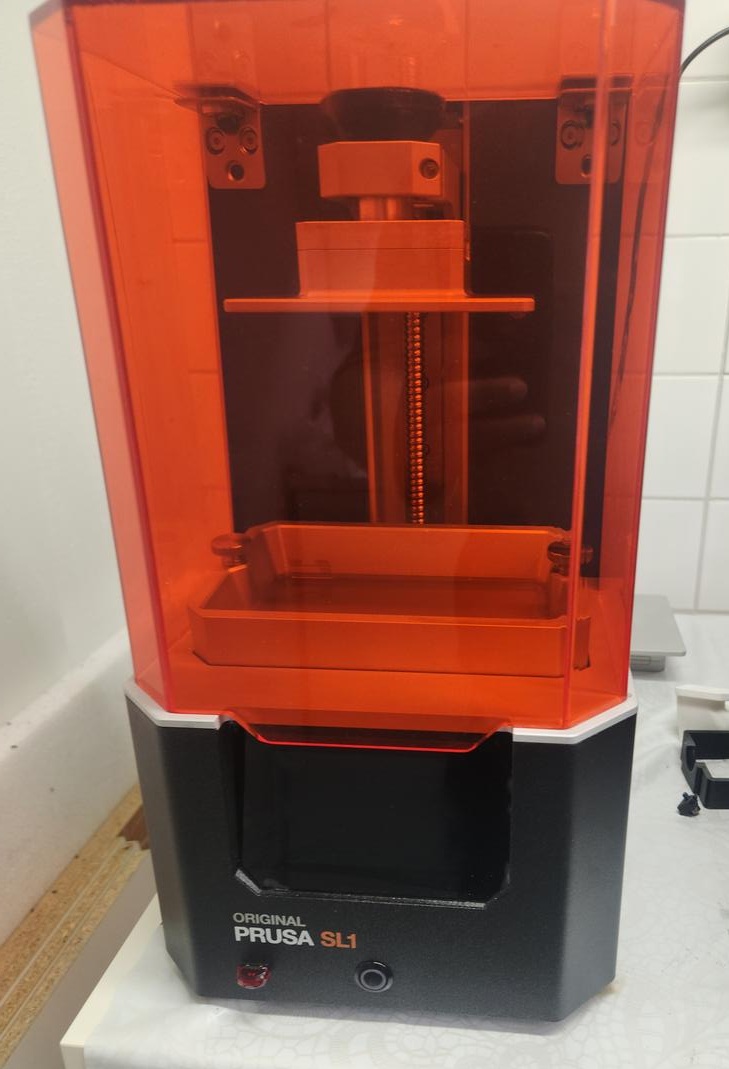
The printing was done using an Original Prusa SL1, which is an SLA (stereolithography) resin printer. SLA printing was selected because it provides a much smoother surface finish and higher detail compared to FDM printing, which is beneficial for mold making.

The following print settings were used during the printing process:
| Parameter | Value |
|---|---|
| Printer | Original Prusa SL1 |
| Layer Height | 0.05 mm |
| Material | SUNLU Grey Standard Resin |
| Supports | None |
| Pad | None |
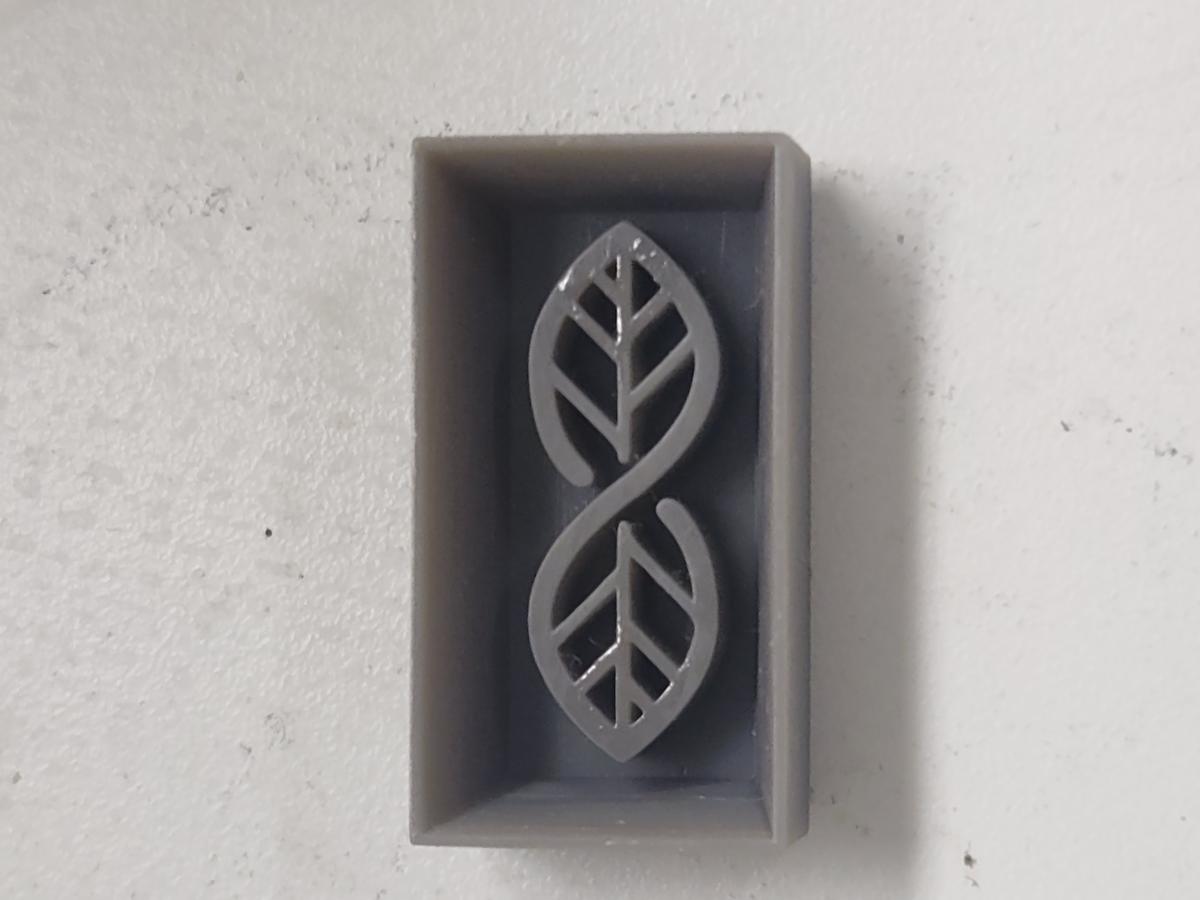
After printing was completed, the final master model was cleaned and prepared for the mold-making stage.
Once the printing was completed, the printed part was still covered with uncured resin. Therefore, the model was first cleaned using an isopropyl alcohol (IPA) wash station to remove excess resin from the surface.
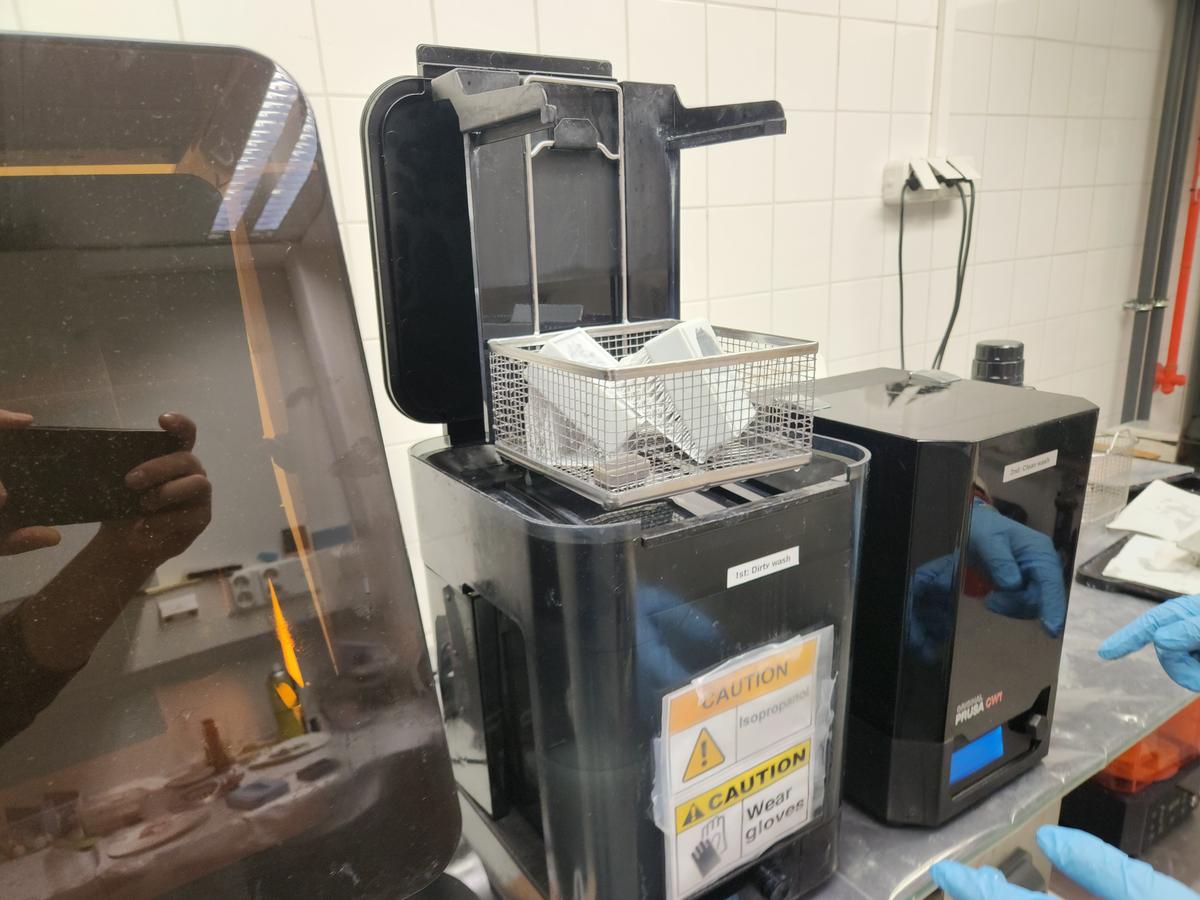
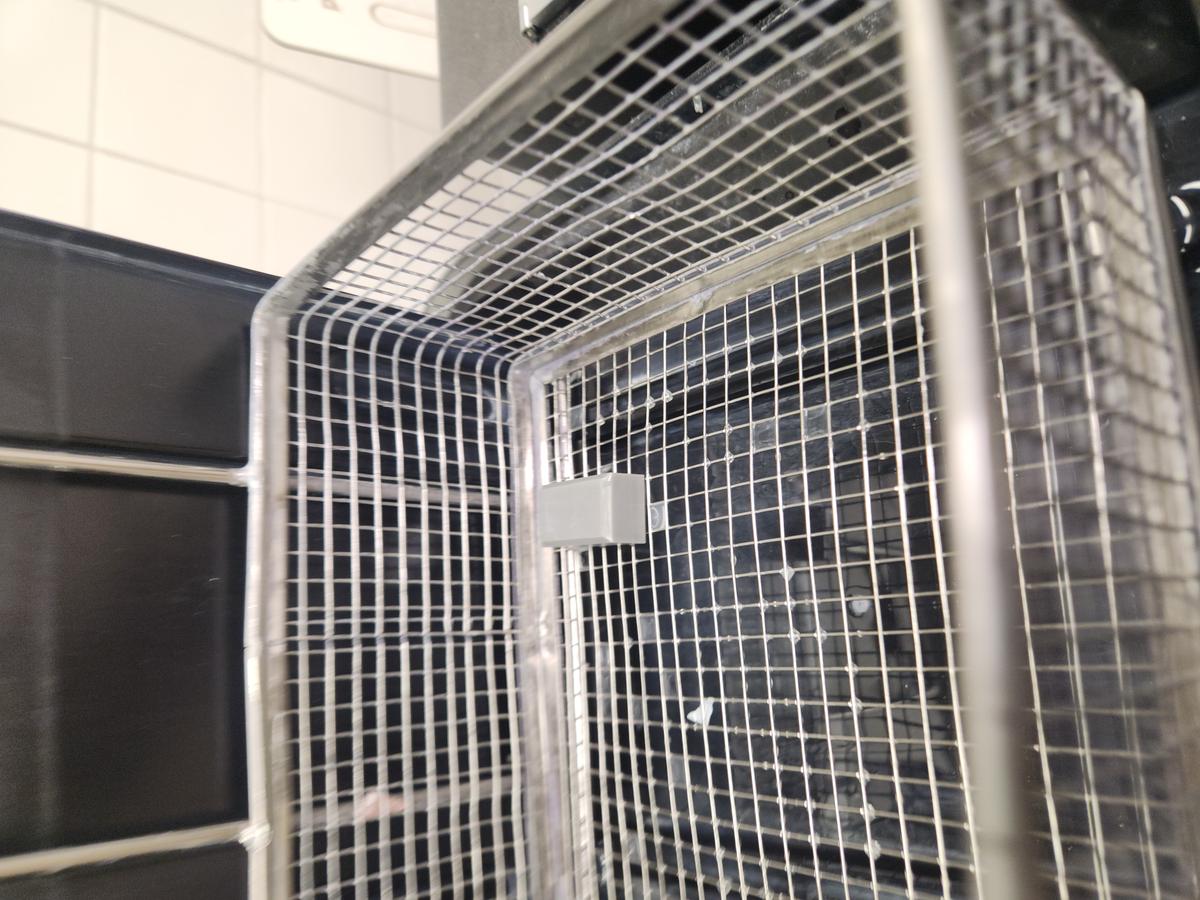
After the initial IPA wash, the printed master was placed inside a small container filled with isopropyl alcohol and then cleaned using an ultrasonic cleaner. The ultrasonic vibrations help remove residual uncured resin trapped in small cavities and fine geometric details that are difficult to reach through normal washing alone. This step was particularly important because any remaining uncured resin on the surface could interfere with the curing process of the silicone mold and potentially cause defects in the final mold.

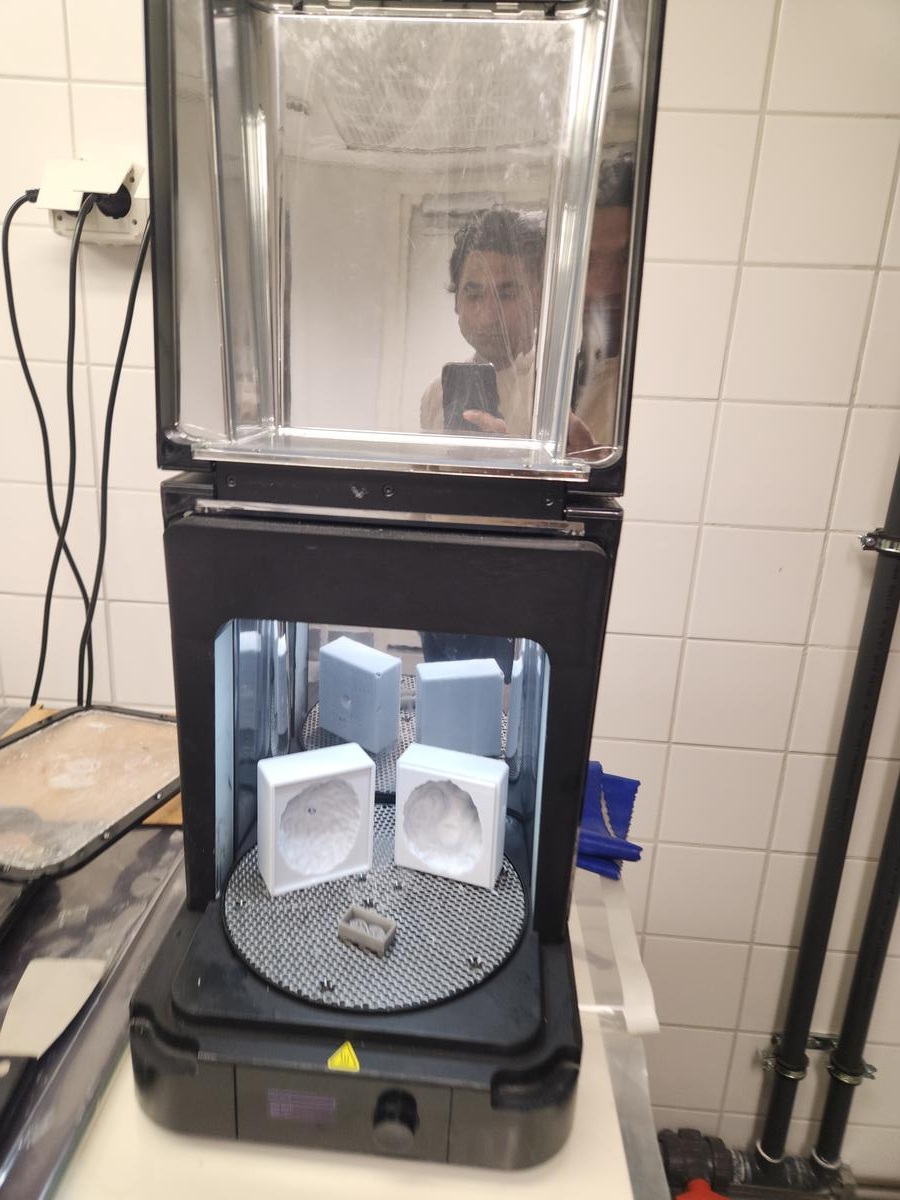
After washing, the model was transferred to a UV curing station for final hardening. UV curing ensures the resin reaches its full mechanical strength and stabilizes the surface before mold making.
Mold Making
After preparing the printed master model, the next step was to create the mold. Since the printed model already had side walls, I only needed to seal the open top and ensure the silicone would stay in place during curing.
The two components of Mold Star 16 FAST silicone rubber were mixed in a 1:1 ratio by volume. The mixture was stirred slowly to reduce the amount of trapped air bubbles.
Since I did not have an acrylic or laser-cut mold frame available at that moment, I improvised by using wooden sticks and tape to create a temporary sealing structure around the printed model. This prevented leakage while pouring the silicone.
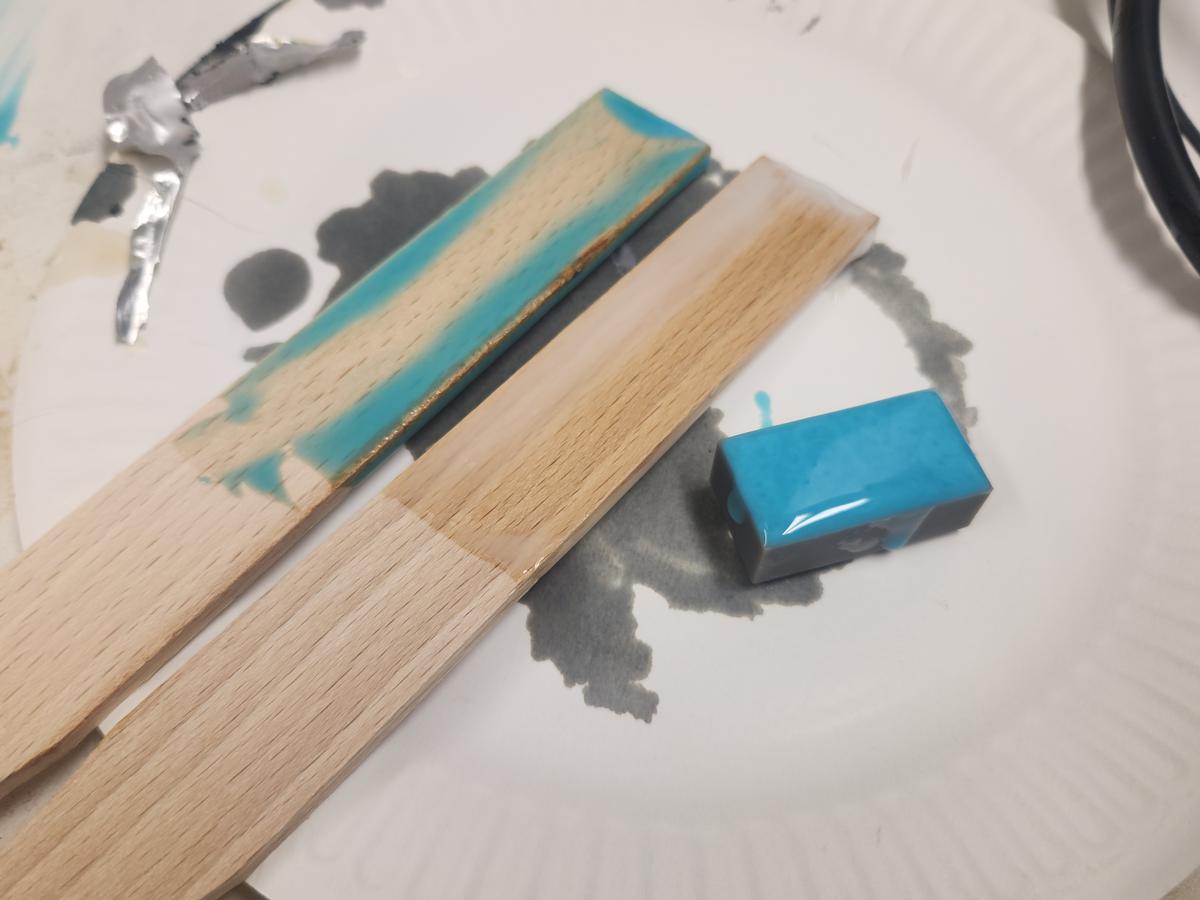
The silicone was then left undisturbed for curing. During this stage, the liquid silicone flowed into all cavities and captured the fine details of the ReSeed logo.
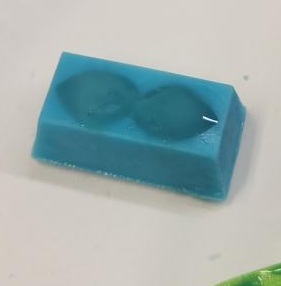
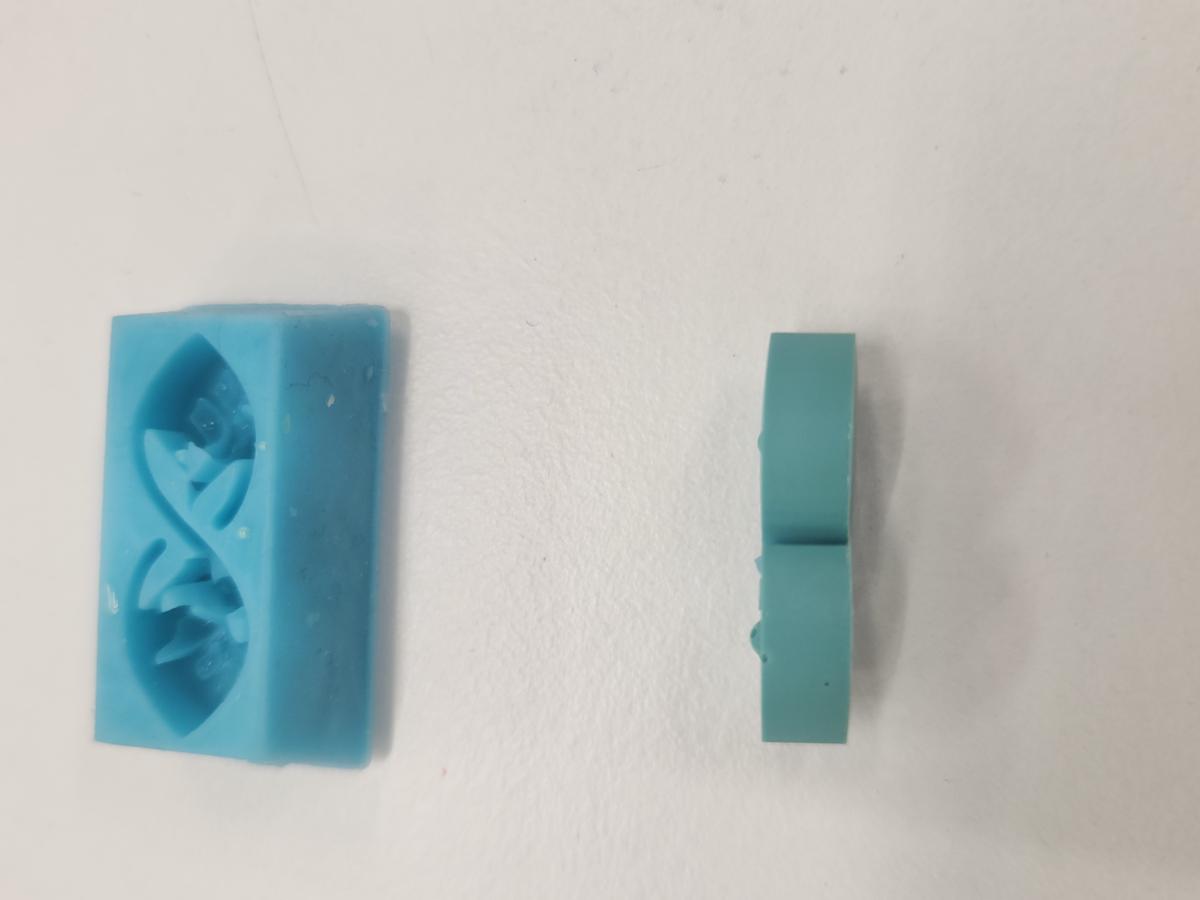
After curing, the printed master model was carefully removed from the silicone. The final mold successfully captured the geometry and fine details of the design, making it ready for the casting stage.
Casting Process
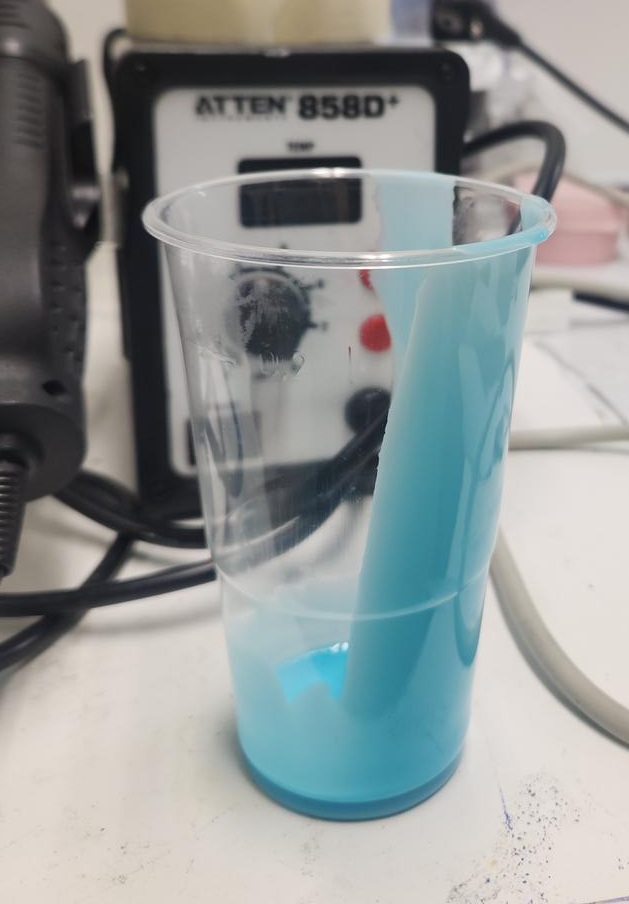
Once the silicone mold was ready, the next step was to prepare the final casting material. I used Smooth-Cast 300 liquid plastic, which is a fast-curing material suitable for creating rigid final parts.
The two components were mixed in a 1:1 ratio and poured carefully into the silicone mold. Since the material cures quickly, the pouring process had to be done immediately after mixing.
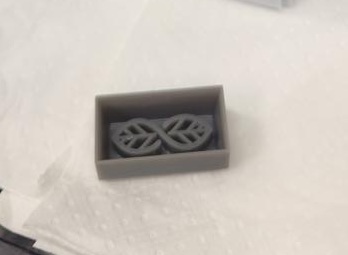
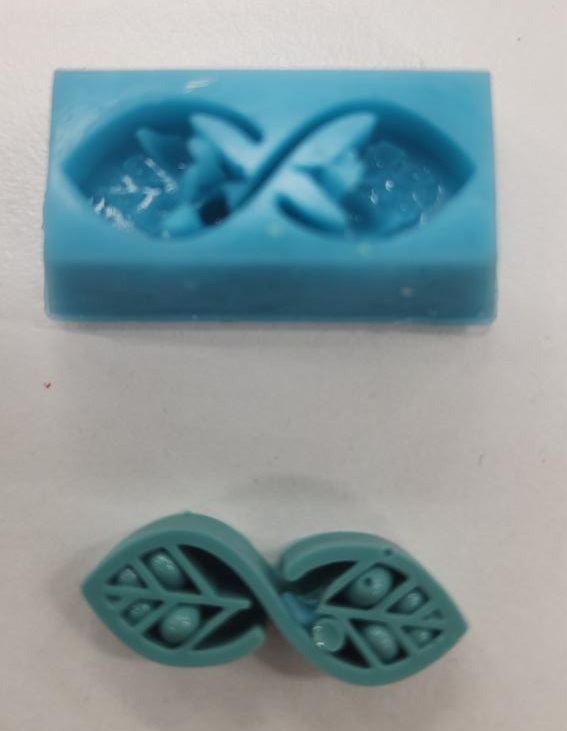
After curing, the casted object was removed from the mold. The mold successfully reproduced the fine details of the original ReSeed logo.
Final Result
The final object was successfully cast using the silicone mold. The process involved multiple stages including CAD design, SLA printing, washing and curing, silicone mold preparation, and final casting.
The result demonstrates that the mold was able to capture small geometric details, although minor air bubbles were visible in some areas. This assignment helped me understand the complete workflow of molding and casting in digital fabrication.
Although the final mold successfully captured the overall geometry of the ReSeed logo, some small defects and air pockets were visible in certain regions. One possible reason is that air became trapped within the narrow cavities of the logo during silicone pouring. Since the mold was poured manually and without vacuum degassing, small bubbles may have remained attached to the detailed features. Another contributing factor could be the relatively deep and narrow geometry of some sections of the logo, which makes it more difficult for the silicone to flow evenly into all areas. Additionally, slight traces of uncured resin on the master model could have locally affected the silicone curing process. Despite these imperfections, the mold reproduced the majority of the design features successfully and provided a valuable learning experience regarding mold design, material preparation, and air-bubble management.
Successfully completed the full molding and casting workflow from concept to final product.