1. Introduction
This week focuses on understanding and interfacing input devices with a custom-designed microcontroller board. The objective was to probe both analog and digital signals and measure a real-world physical property using a sensor connected to my previously fabricated PCB.
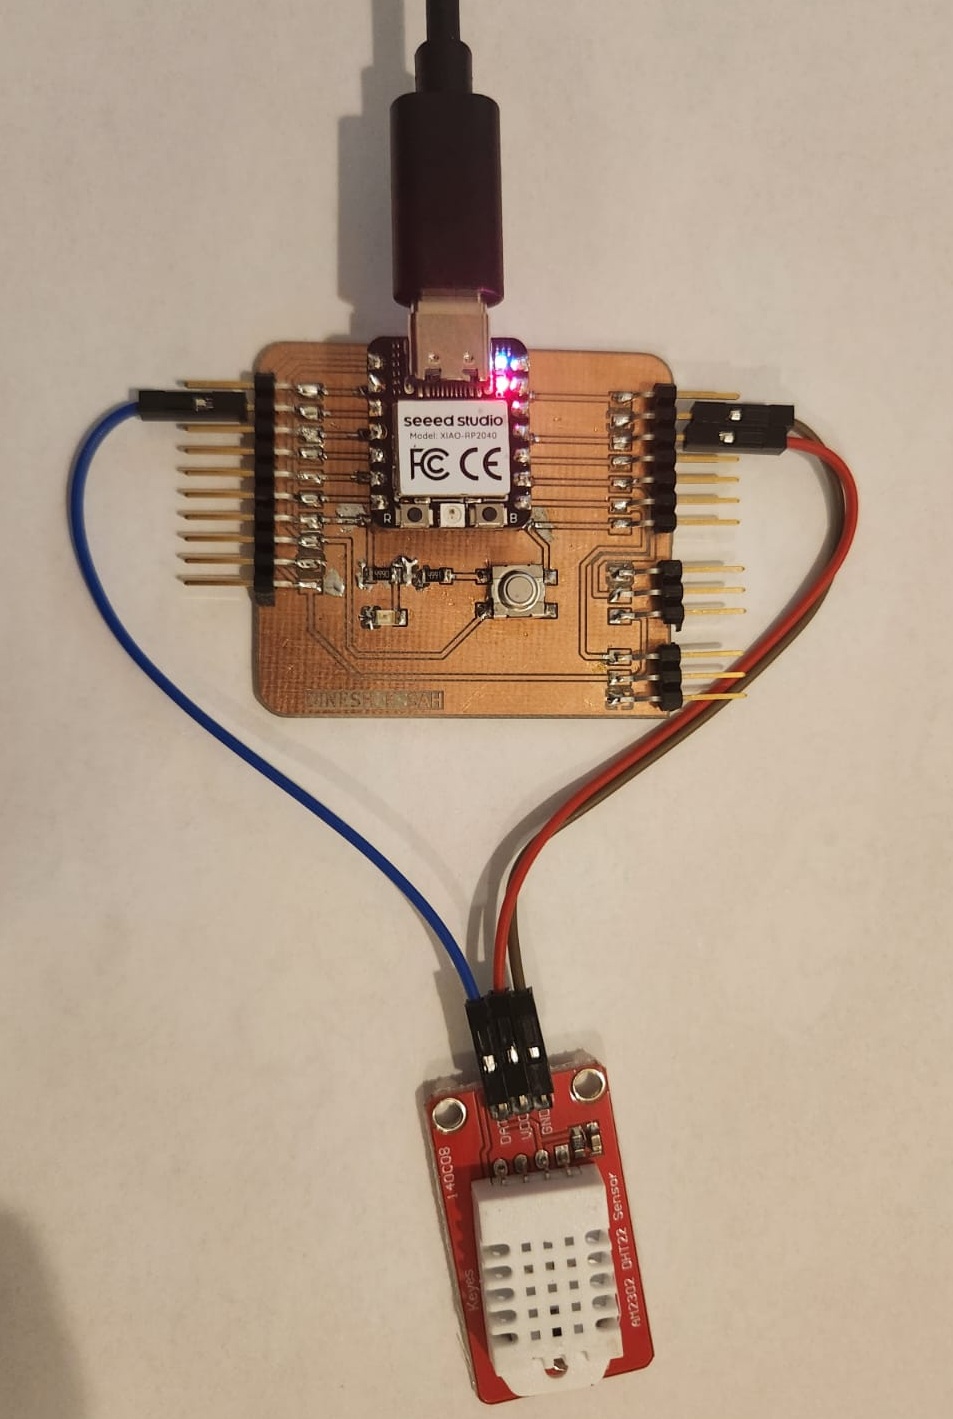
For the individual assignment, I measured environmental temperature and humidity using a DHT22 sensor connected to my custom board based on the Seeed Studio XIAO RP2040 microcontroller.
2. Group Assignment
As part of the group assignment, we analyzed and probed input device signals using measurement instruments such as oscilloscopes and multimeters. We observed analog voltage levels and digital transitions to understand signal timing and logic behavior.
Detailed documentation of the group work is available here:
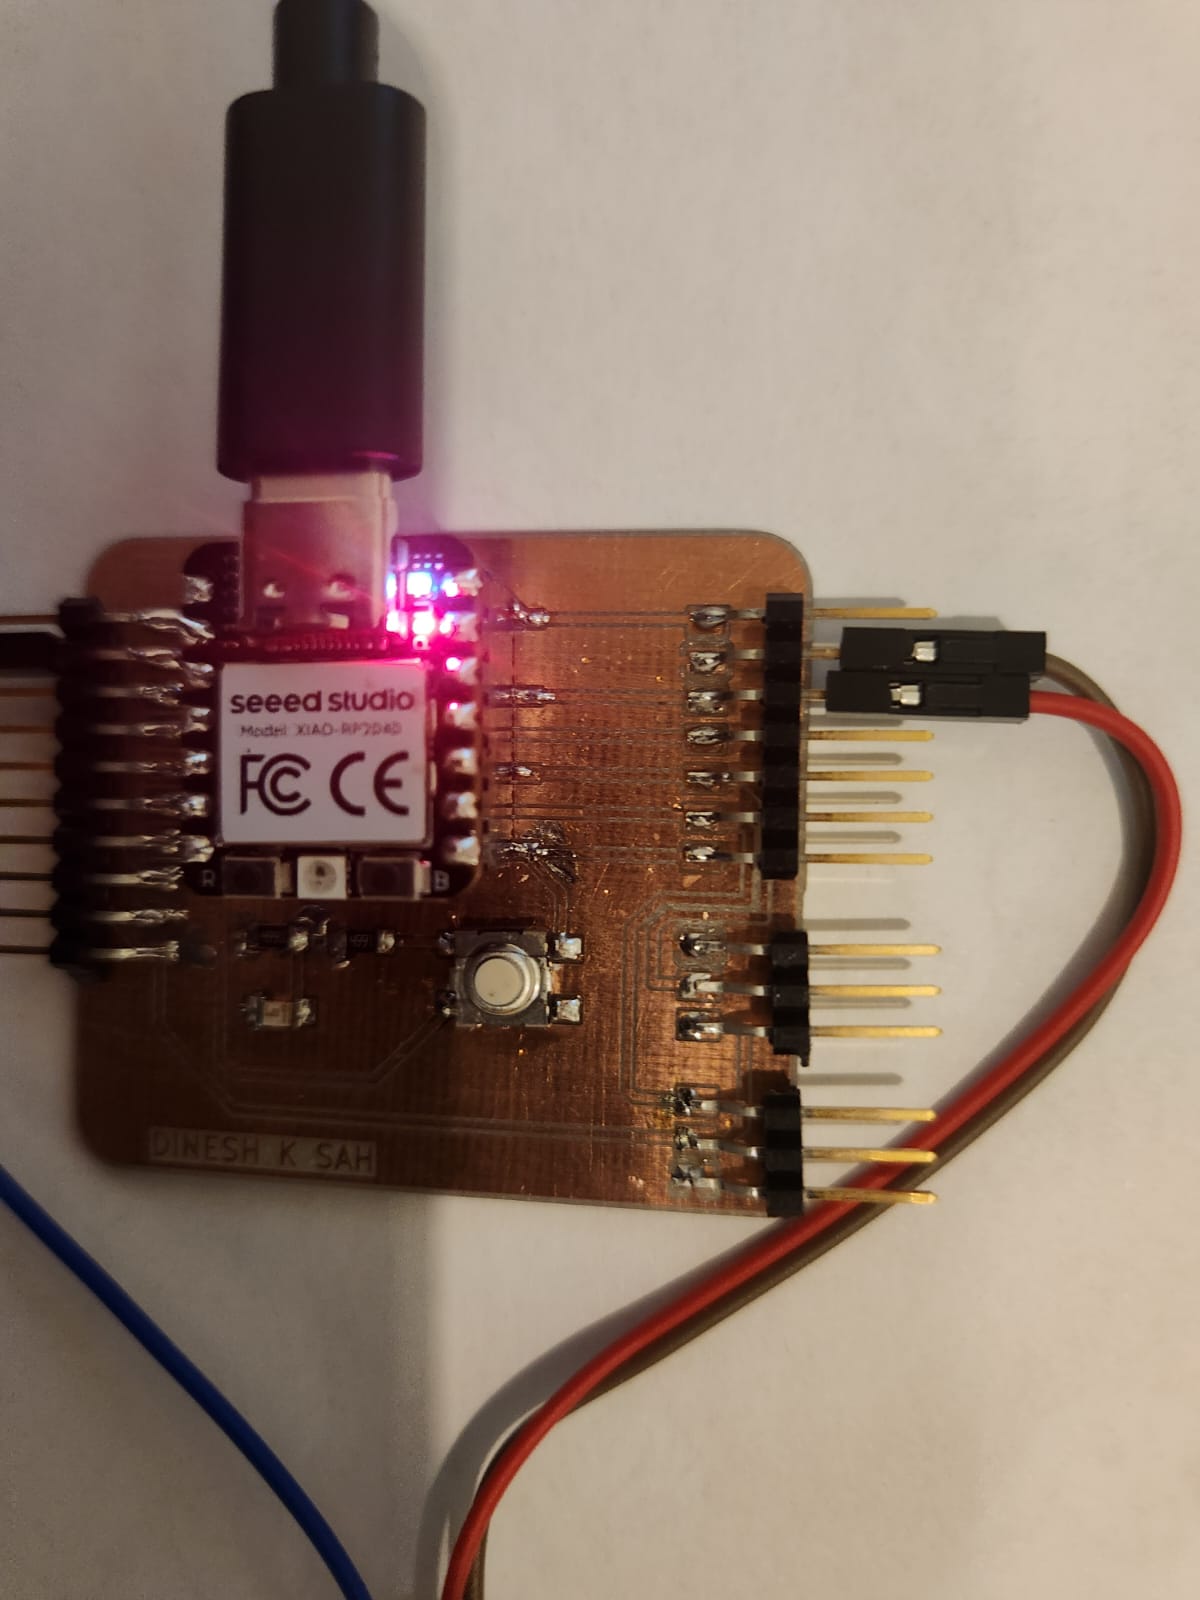
3. Hero Shot
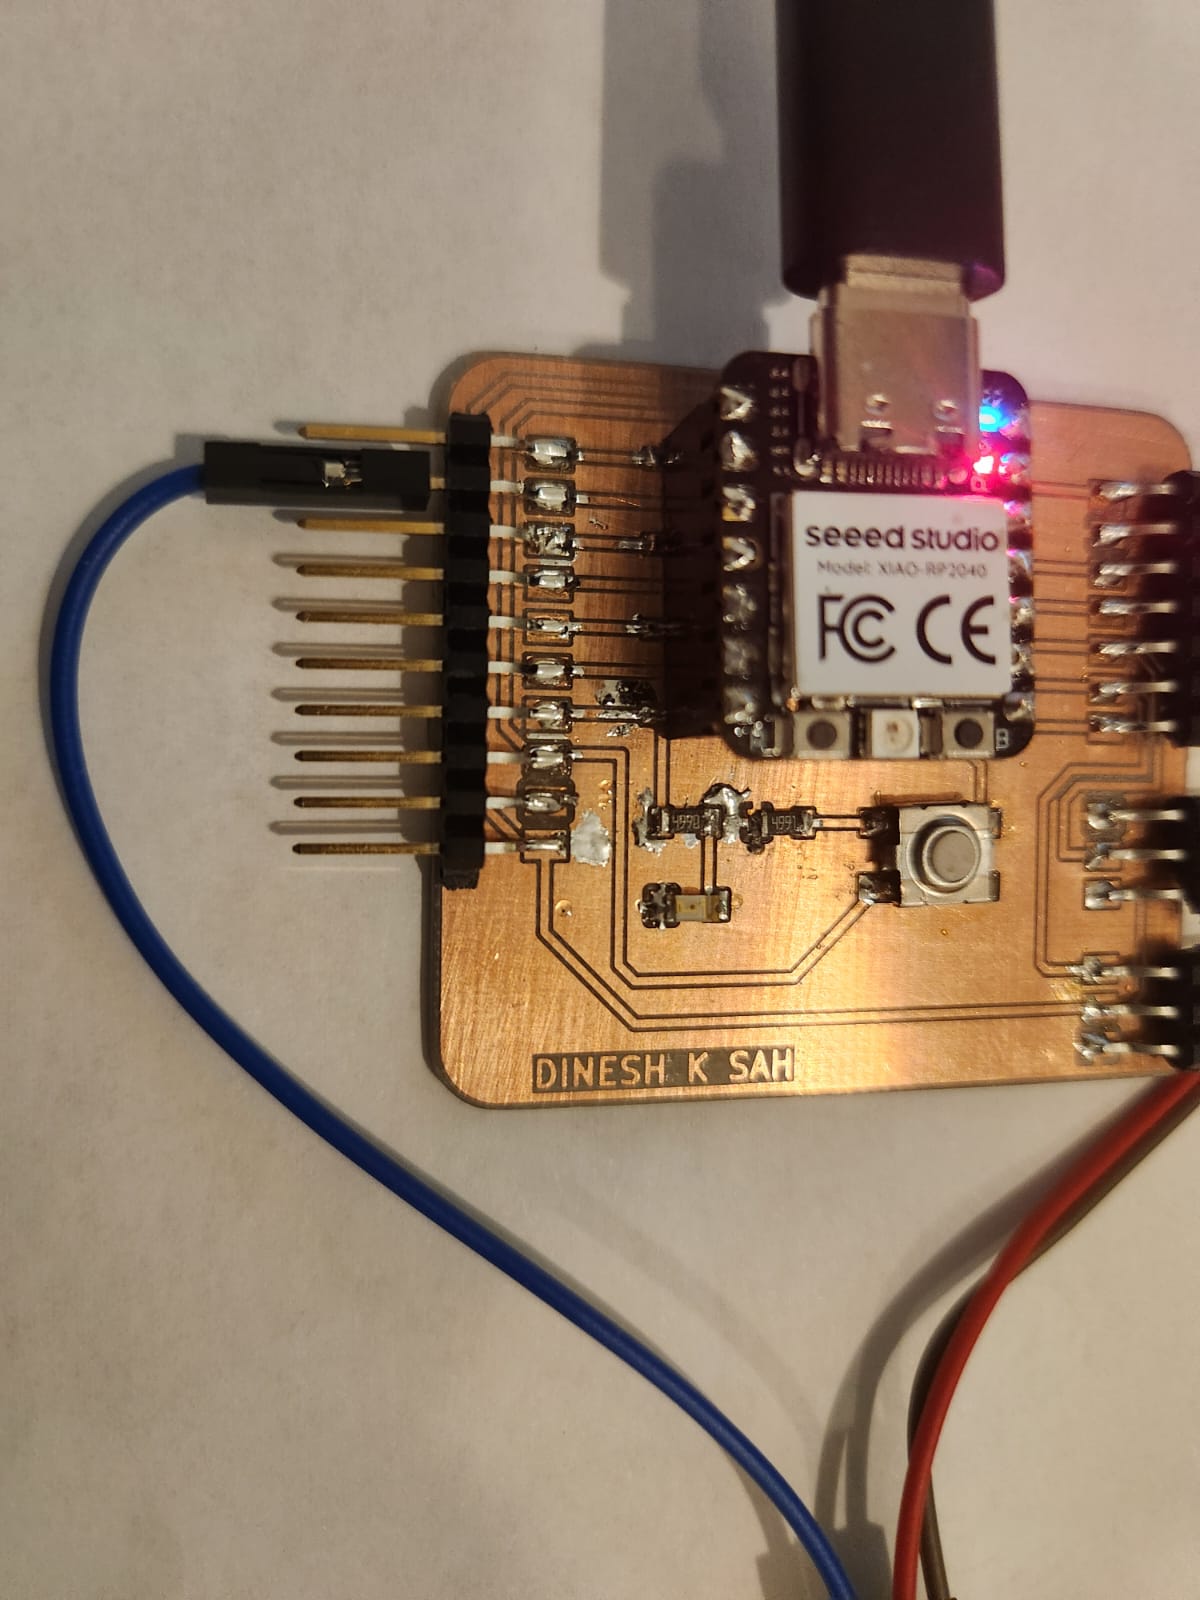
4. Microcontroller Board Used
Instead of designing a new PCB this week, I reused my previously fabricated custom embedded board. This board includes:
- Seeed Studio XIAO RP2040 microcontroller
- Power regulation and decoupling capacitors
- Pin headers for external connections
- Push button and LED
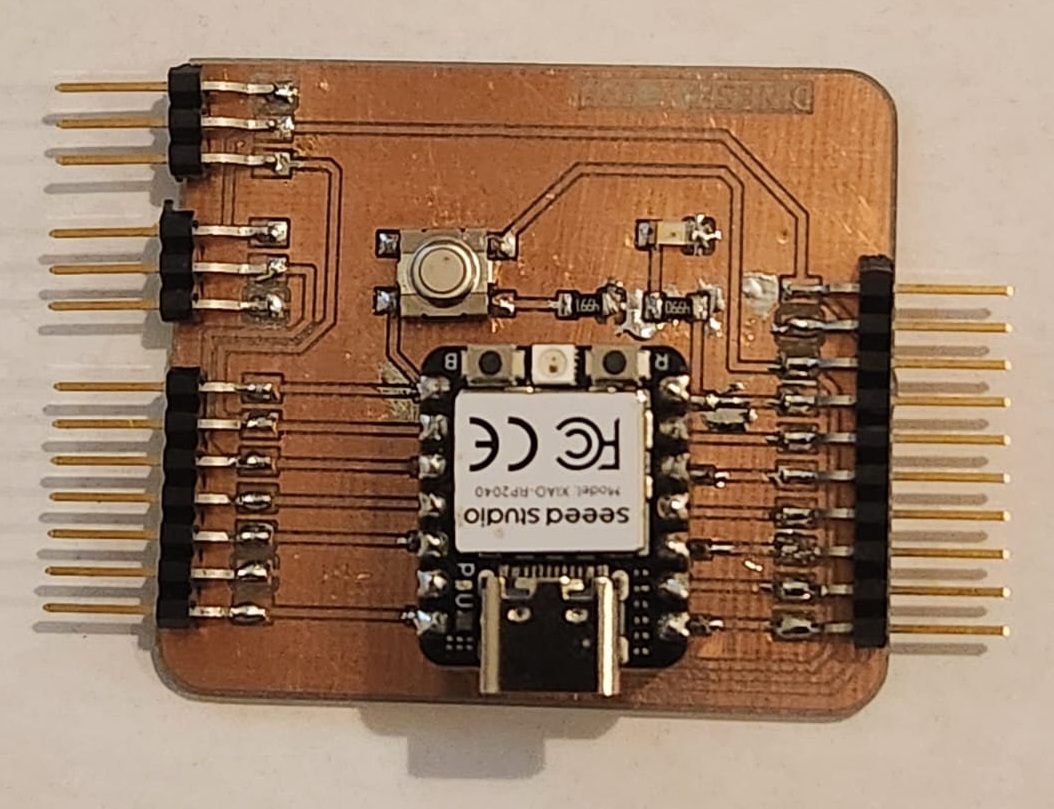
Reusing the board demonstrates modular design and expandability in embedded systems.
5. Input Device – DHT22 Sensor
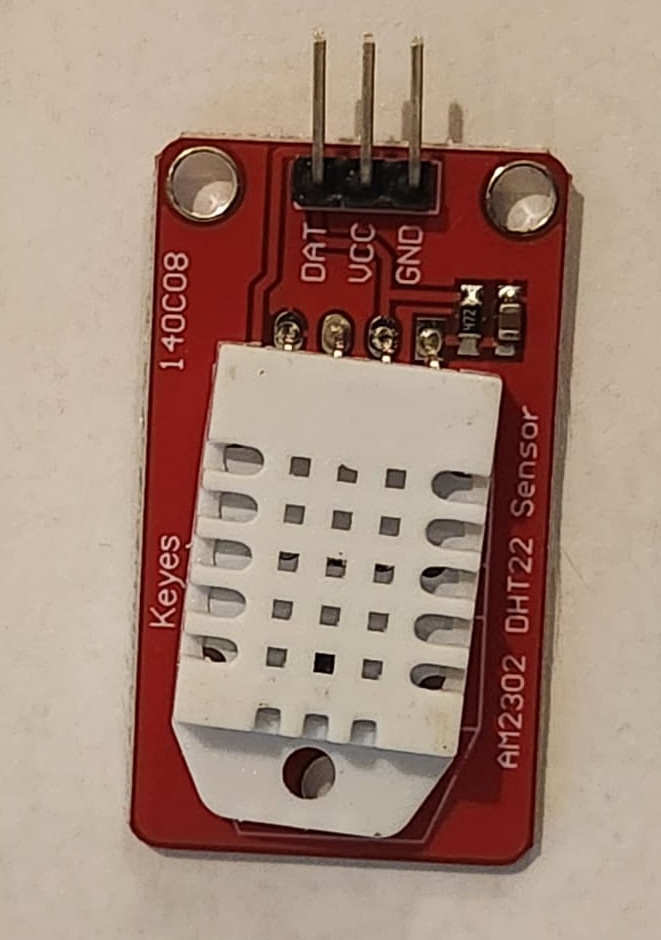
The DHT22 is a digital temperature and humidity sensor. It internally measures:
- Temperature using a thermistor
- Humidity using a capacitive sensing element
Although these are analog physical properties, the sensor converts them internally into digital data and transmits the result via a single-wire protocol.
6. Wiring and Connections
The sensor connections were:
- VCC → 3.3V
- GND → Ground
- DATA → Digital Pin D1
7. Code Explanation
#include "DHT.h"

#define DHTPIN D1
#define DHTTYPE DHT22

DHT dht(DHTPIN, DHTTYPE);

void setup() {
  Serial.begin(115200);
  dht.begin();
}

void loop() {
  delay(2000);

  float h = dht.readHumidity();
  float t = dht.readTemperature();

  if (isnan(h) || isnan(t)) {
    Serial.println("Sensor read failed");
    return;
  }

  Serial.print("Humidity: ");
  Serial.print(h);
  Serial.print("%  Temperature: ");
  Serial.print(t);
  Serial.println("°C");
}
The code initializes the DHT sensor and reads humidity and temperature values every two seconds. Error checking ensures invalid readings are detected.
8. Measured Results

The readings show stable humidity and temperature values, confirming successful interfacing and reliable digital communication.
9. Problems Encountered and Fixes
- Incorrect baud rate selected in Serial Monitor
- Loose jumper connections
- Library dependency missing
After correcting these issues, stable sensor readings were achieved.
10. Reflection
This assignment strengthened my understanding of digital sensor communication, signal abstraction, and embedded debugging techniques. It reinforced the importance of modular PCB design and careful wiring practices.
12. Video Demonstration
The following video demonstrates the complete working setup of the DHT22 sensor interfaced with my custom PCB. The Serial Monitor output shows real-time temperature and humidity readings.
11. Current Progress Status
| Assignment Task | Status |
|---|---|
| Linked to group assignment page | Completed |
| Probed input device signals (Group Assignment) | Completed |
| Interfaced DHT22 sensor with custom PCB | Completed |
| Measured environmental temperature and humidity | Completed |
| Explained code functionality | Completed |
| Documented design & fabrication process | Completed |
| Documented problems encountered & solutions | Completed |
| Included hero shot of final board | Completed |