Week 13: Casting and Molding
This week is about molding and casting! I made beautiful soaps! We explored different methods and materials to mold and cast on our group website! To learn more, CLICK HERE.
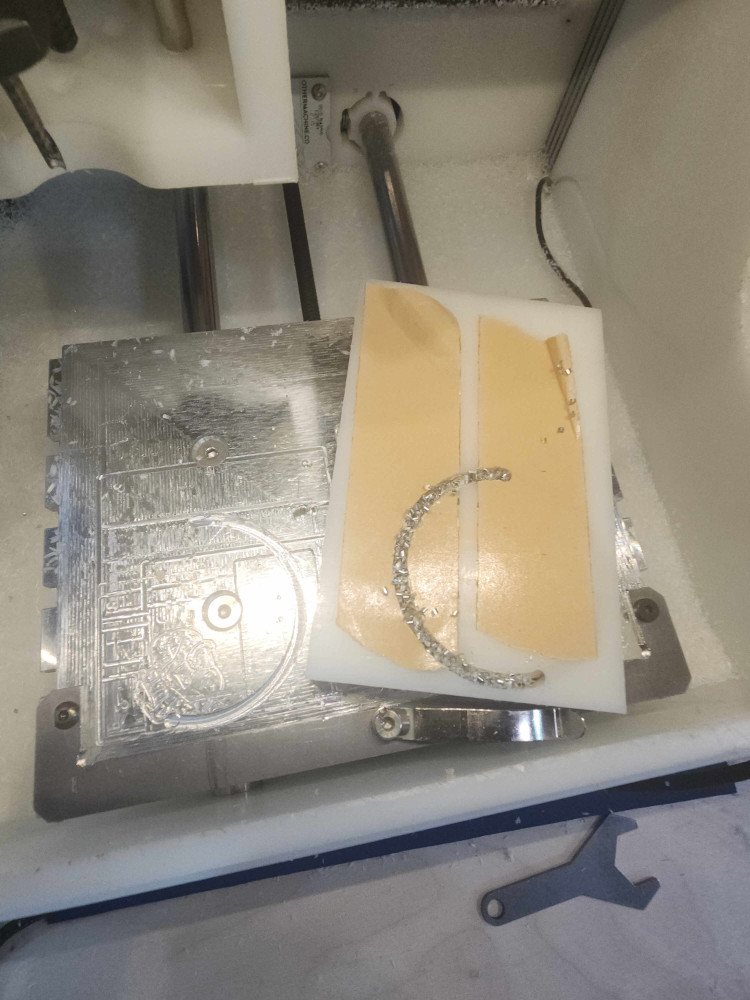
Out of our selections, I decided to make a mold out of HDPE, or high density polyethylene. This is good because it doesn’t have bubbles, and bubbles cause holes in the mold.
Designing the soaps
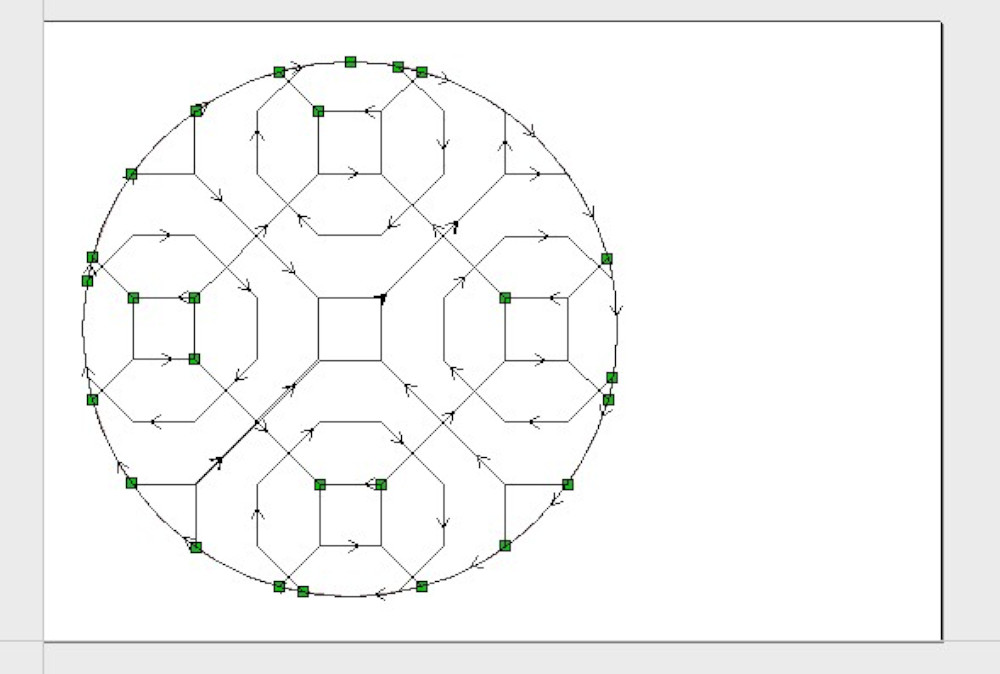
I used Varve to generate the files and Bantam tools to run the mill. I did not made a 3D model, but instead made an SVG of the pattern and decided the cut depths.
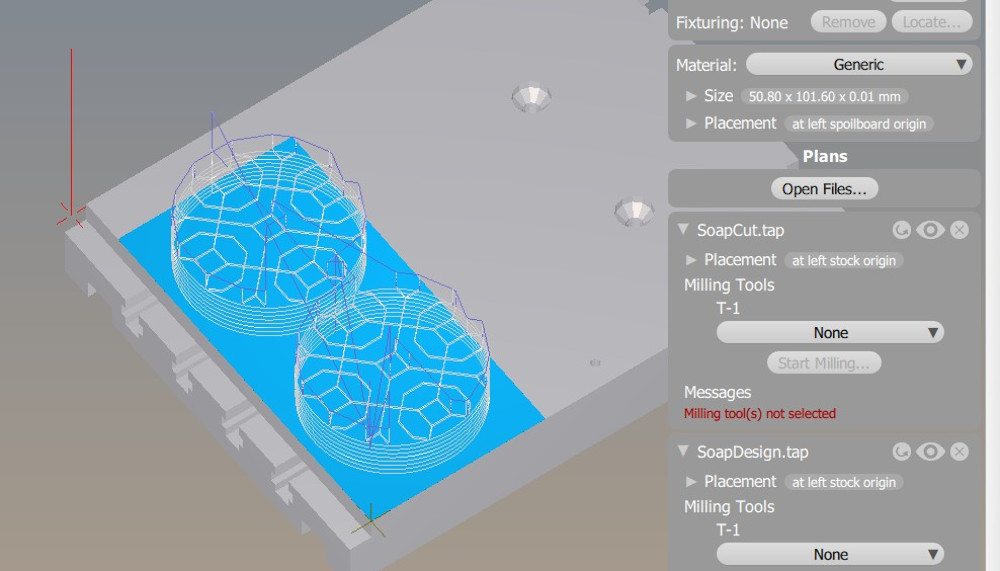
This caused problems later because in Vcarve you can only add draft to a 3D model.
Soaps!
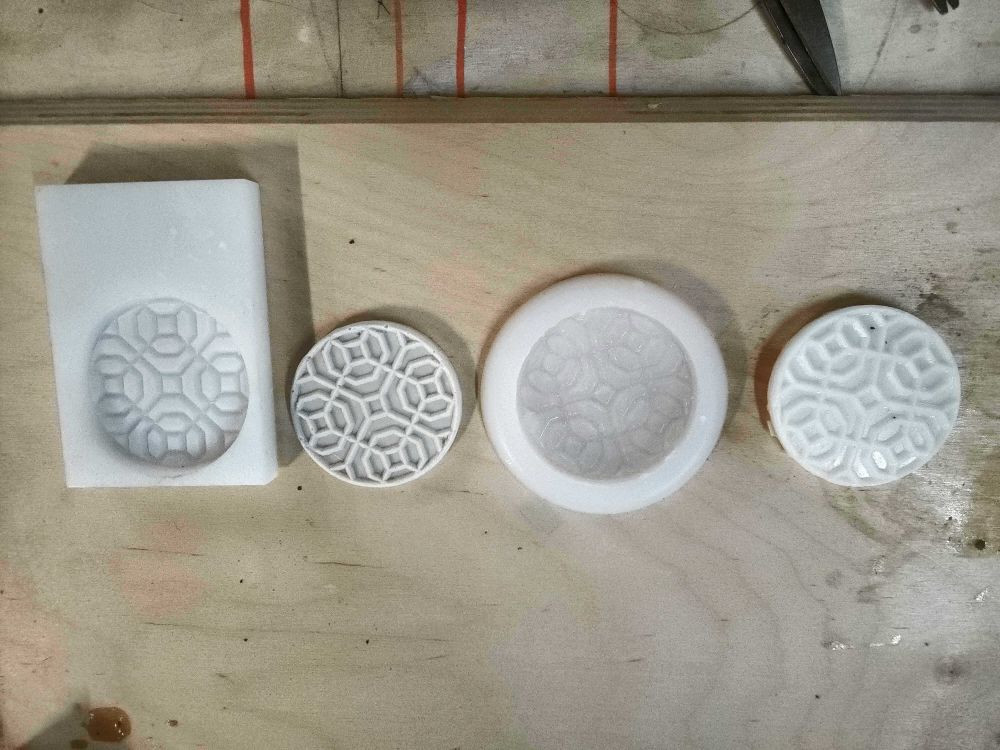
This picture shows the steps I did to make the big soap.
- Mill the design out of HDPE (negative mold)
- Cast it in Alginate, it firms up quickly and is easy to demold (positive mold)
- Cast the Alginate “Soap” in silicone (negative mold)
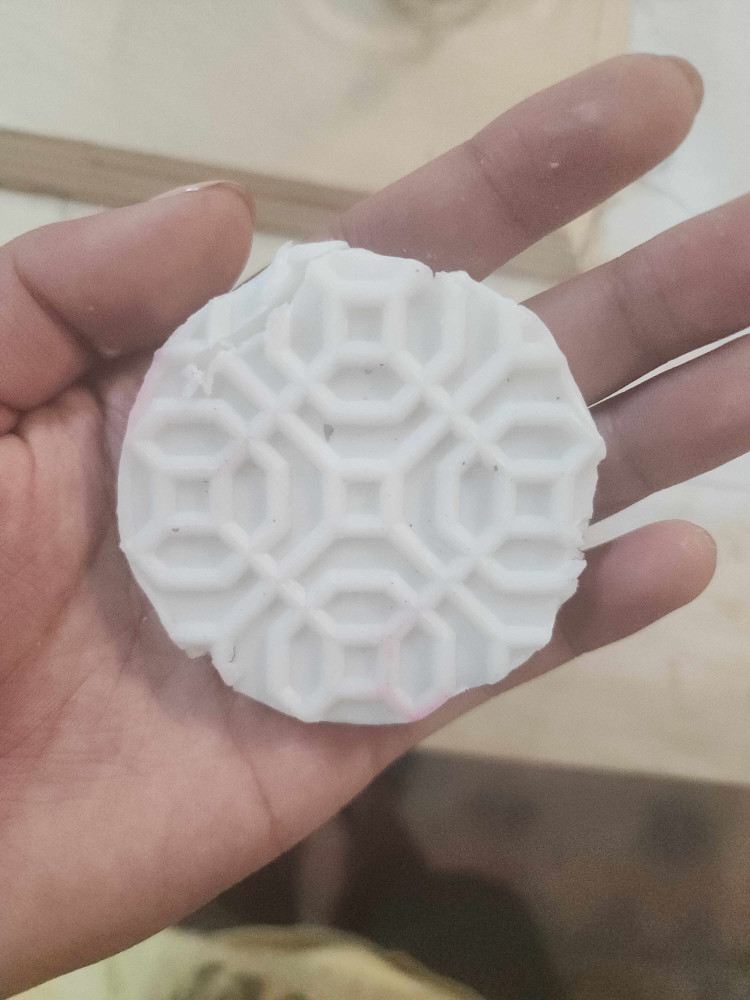
- Heat meltable soap in the microwave and pur into the silicone. Add Essential oil for scent, then remove
- Enjoy your soap!
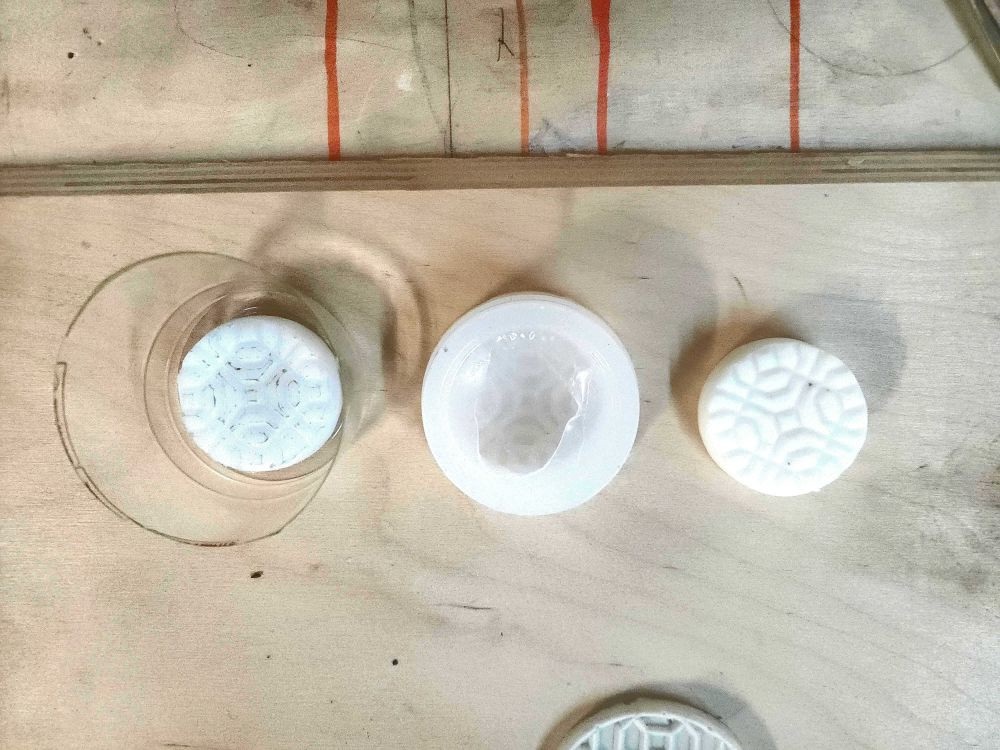
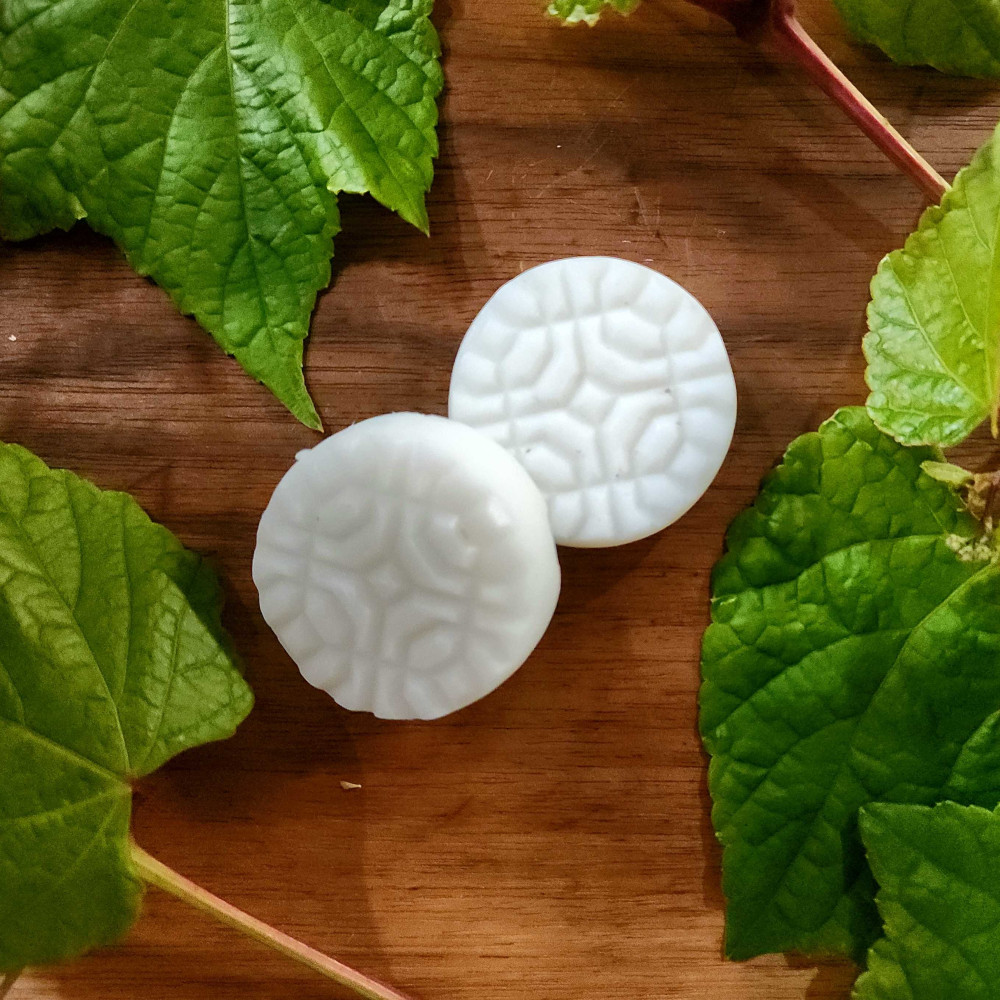
The small soap journey was quite similar, this time I but this time I directly milled the positive mold.
- Mill the positive mold, this will be what your soap looks like when its done
- Cast it in Silicone to make the negative mold
- Pour the soap in!!!
- You’ve got soap! Easy-Peasy
Trouble shooting (It was not easy-peasy)
Q: Why didn’t you pour soap directly in the HDPE mold?
A: I did, and the soap got stuck. I did not create any draft angle to help the soap be removed, and HDPE is a very rigid material. I decided on using a silicone mold because it is flexible and demolding is easier.
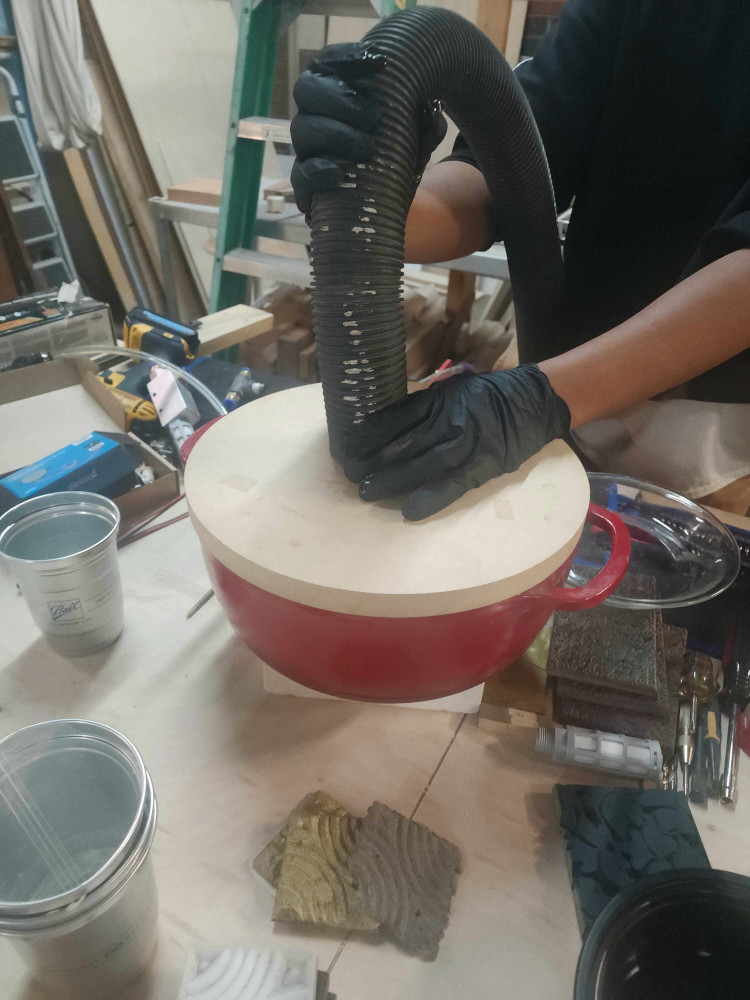
Q: Why are there bubbles in my silicone? It is causing holes and weird bumps in my design!
A: Silicone has a high working period because it needs to be degassed. Degassing is the process of removing bubbles, this is a picture of our degassing chamber. The hose is a vacuum sucking up the bubbles.You also may not be using a proper degassing chamber, or it may not be properly sealed.
Q: Why did my machine cut into the bed?
A: In my particular case, when the G-code loaded in it was not level with the bed, but sitting on top of the material. I manually lowered it, and did not check from the side profile if it was even with the bed. I just assumed it was the same height at the material and did the math to lower it by the same amount.

Q: I degassed, why does the mold still have bubbles?
A: You may have mixed too much and didn’t have enough time to degass all the silicone. If you put a flash light under a clear bowl you will be able to check. Also, the way your pour also matters, do it slowly and pop any bubbles you see with a stick.

Q: How do I demold?
A: That depends heavily on your material. If you are making a negative mold, the structure you cast it around also matter. I cast the silicone in a paper bowl and plastic sub because I knew I could destroy them in order to get my mold.
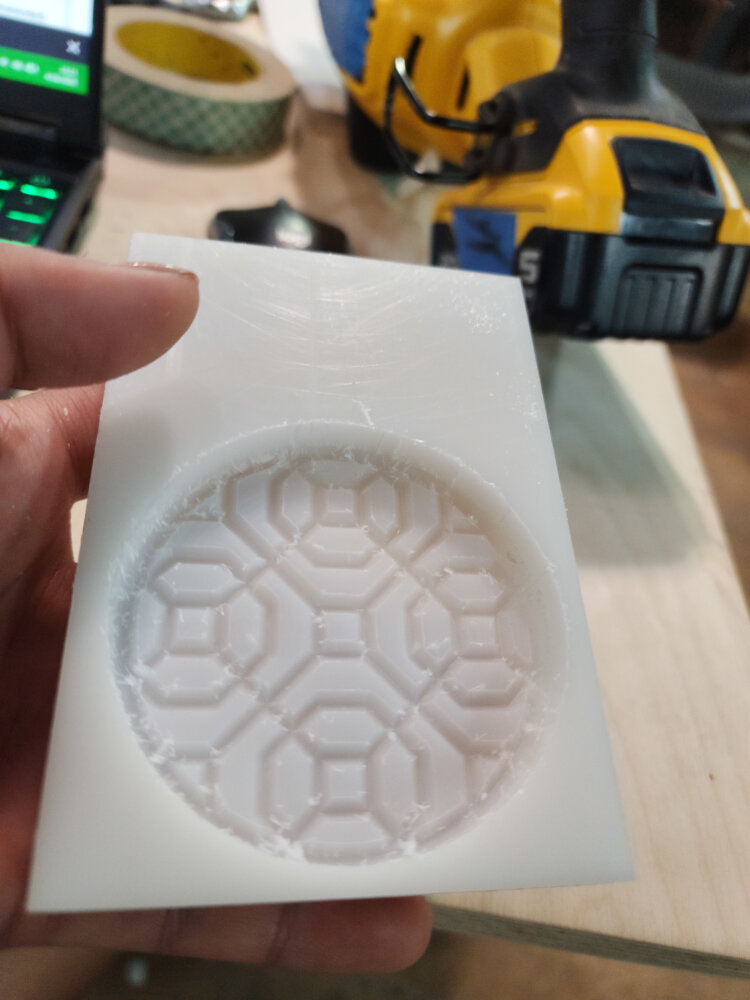
Q: I milled my mold, how do I get it smooth and have draft?
A: Milling can create many “bits” that need to be filed off. I used sandpaper where I could, But in the end I have to use tweezers and a needle file to smooth out all the pieces. There are many ways to add draft, for my small soap molds I just used a dremel to carve/sand it down into the shape I wanted, then used sandpaper to smooth it out.
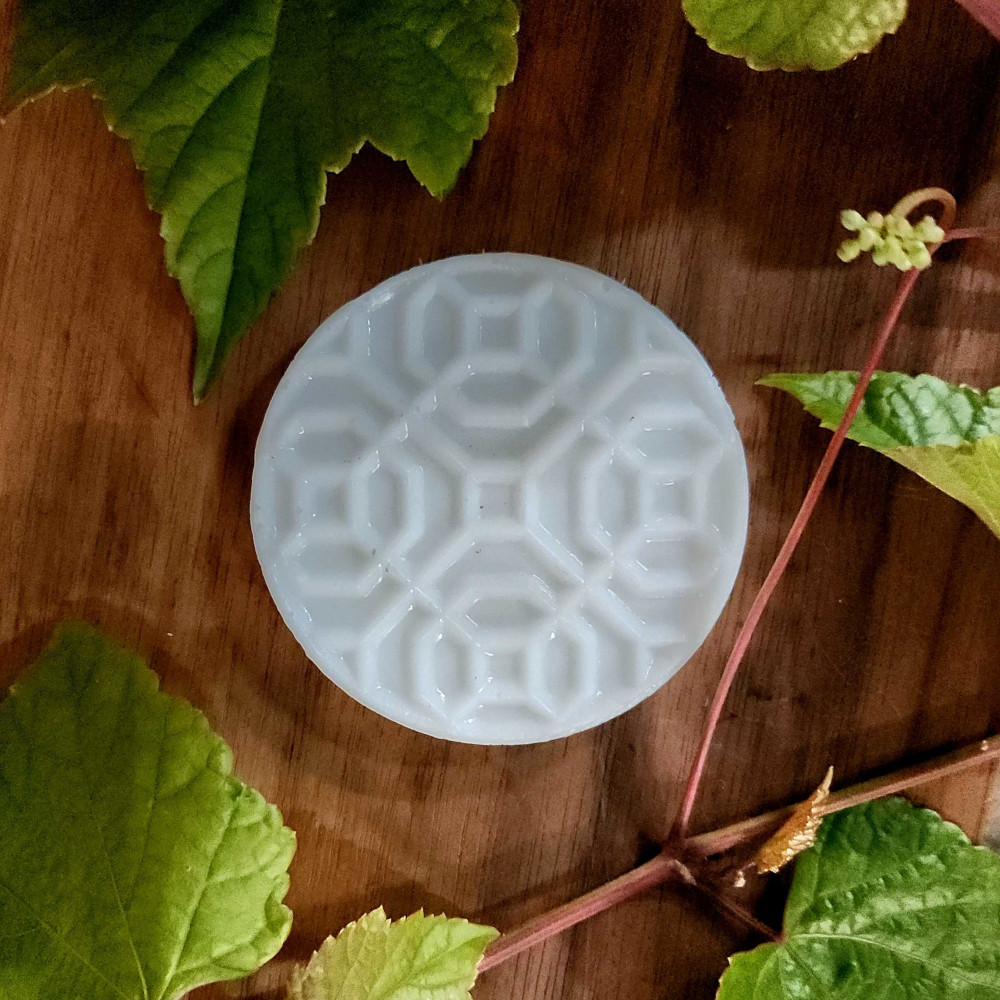
Q: How did you get that pretty picture of your soaps?
A: It is a chopping board from the lab and invasive ivy taken from outside. Then I edited the light balance, contrast, highlights, and shadows with the default samsung photos option to enhance the look of the white soap. The design is more subtle in real life.
Group Project Reflections
-
Reading the instructions and proper PPE and ventilation are very important to prevent injury via inhalation or skin irritation
-
Casting soap into alginate is not ideal because alginate is wet.
-
The silicone has a working time of 45min. You will not set a timer because it is so long. But degassing takes a long time, set the timer.
-
The putty NEEDED binder and demolding spray. The word putty will make you think it is like silly putty, but it is so sticky it is practically glue.
-
Movement can sometimes affect your working time. Alginate did not firm up until I stopped mixing.
Alginate : Quick and high success. It absorbs detail and demolds easily. It is also fragile. Food safe.
Silicone: Long working time because it needs to be degassed. Demolds easily and is durable.
Putty: Long working time. At around hour 3 it actually became more like putty. Sticky like glue. Has some give.
HDPE: No working time, you carve into it. Design needs post-processing. Has zero give and is difficult to demold. The most durable material
Cats!
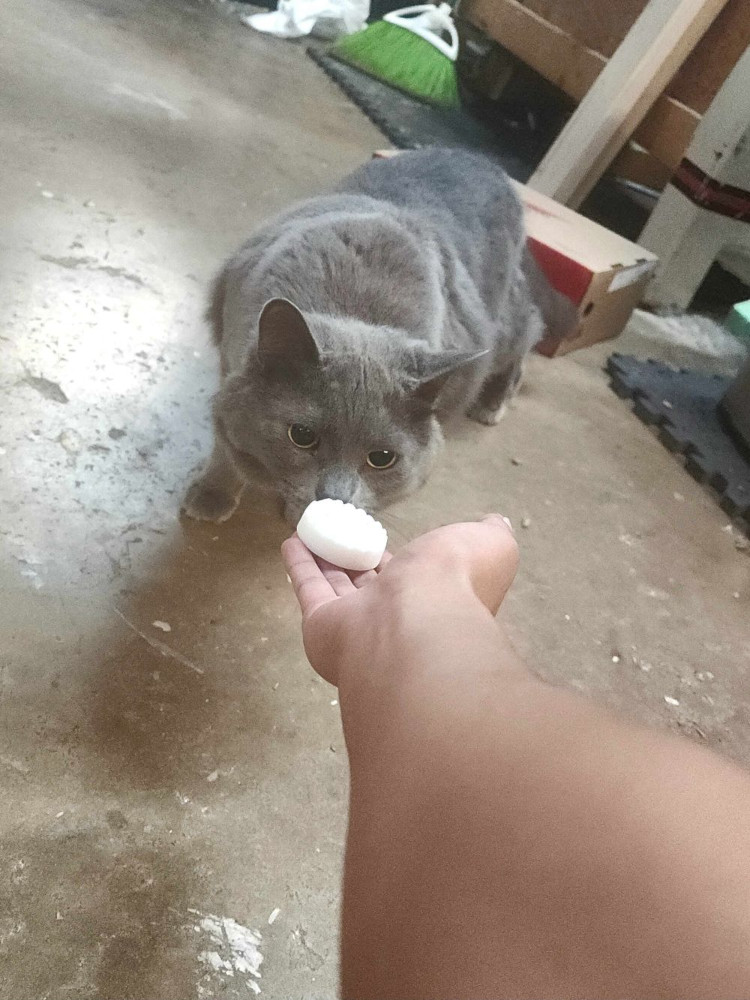
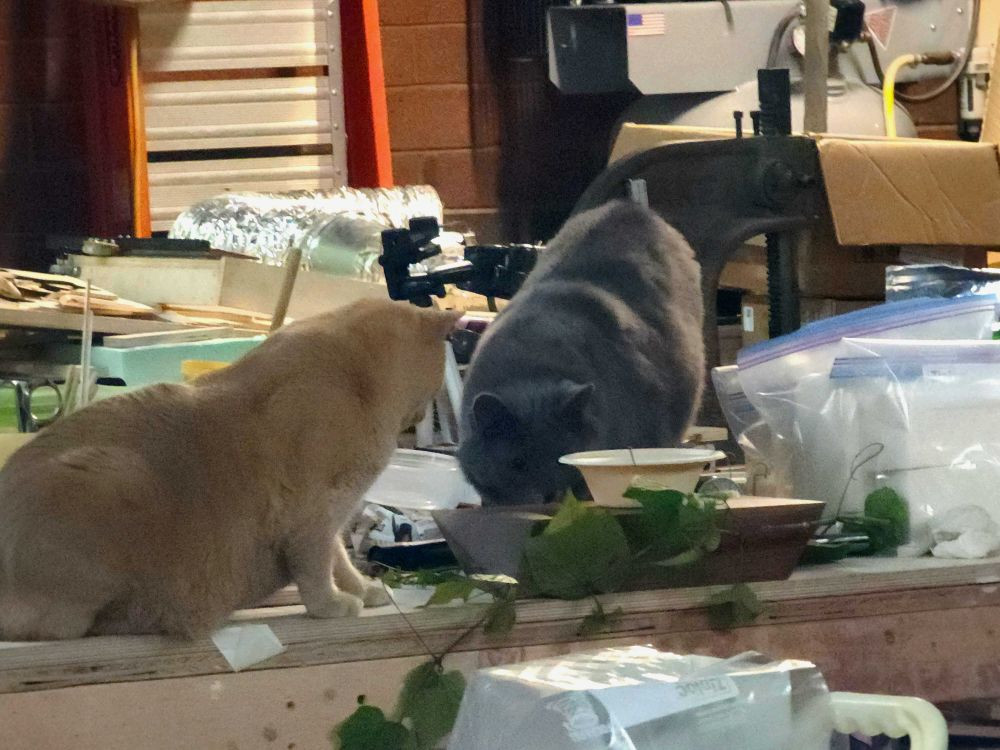
The Echo and Shadow do not take my food, but they no longer run away if I am only walking pass them. They have learned we will not randomly jump at them. They also like to smell the things I show them!
Files & Details
I used 2 Design files to make the soaps, one for the design, and one to cut deep. I used a 1/8th inch endmill to create a pocket and cut the outline, and an 80* V bit to create the details.