Week 1: Project Management
Hello all! Welcome to my documentation on FabAcademy. This page is documentation on how I document & set up my website.
Gitlab
The website is hosted on Gitlab! for our 20 weeks, we have 500MB of data we are allowed to use. At the end of the year, our work will be archived. The reason we are doing Github is because it has Version Control. Version control allows you to revert your website to any previous state. Our repository limit is 500MB, but that means 500MB TOTAL including ALL previous versions of my website. This has caused many problems for me, mainly with the upload limit being 10MB.
I used this tutorial to get the basics on how to set up my website.
SSH Key
I used this website to learn how to generate an SSH key. This is so that I can edit my website offline, on my local computer.
I also downloaded VSC to edit my code.

I opened up my terminal and made sure to tell my computer/website my name and email.
Next I went to my website on the FabAcademy Gitlab to copy the SSH Key.
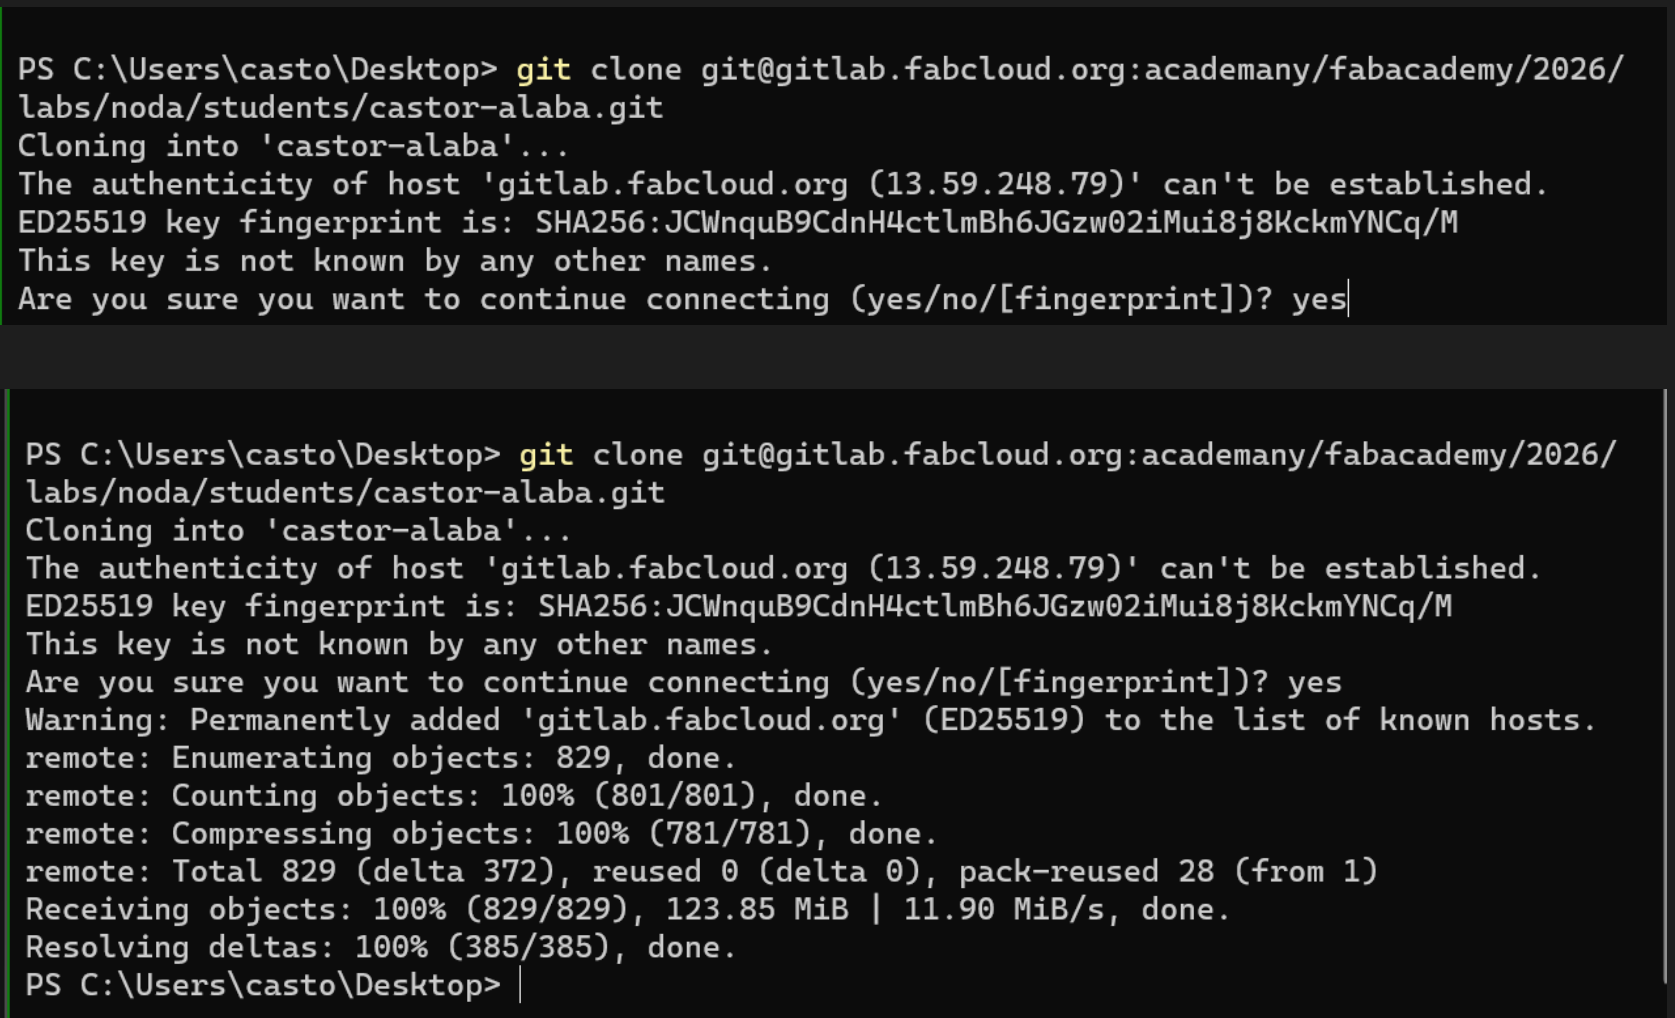
I typed in the commands in the terminal and everything was synced up!
HTML
I initially learned HTML using this quick course. However during different classes I saw people coding their website using Markdown, and it was much simpler. THe downside is that the markdown has less options for UX/UI and graphic design.
Markdown Transfer
To Transfer my from HTML to Markdown, I used the provided template on FabAcademy Gitlab site. I copied my HTML files onto my desktop in a folded titled “safehaven”. Next, I deleted the files in my folder “castor-alaba”. This is where my website “looks” so see if I made any changes. THen I copied and pasted the markdown files in the correct paces, and then dragged in my old files so the text would still be there. Then I used an HTML to Markdown converted to make sure everything was properly formatted. Lastly, I went through and manually fixed anything that didn’t convert properly.
Documentation
For Documentation I used Obsidian! It’s a free note taking tool. It is used with markdown. This means I can copy and past anything directly and it will look the same in VSC.
Additionally, I am able to directly paste my most recent screenshot using windows in-built snipping tool
File Compression
 I used an older version of GIMP to compress my files.
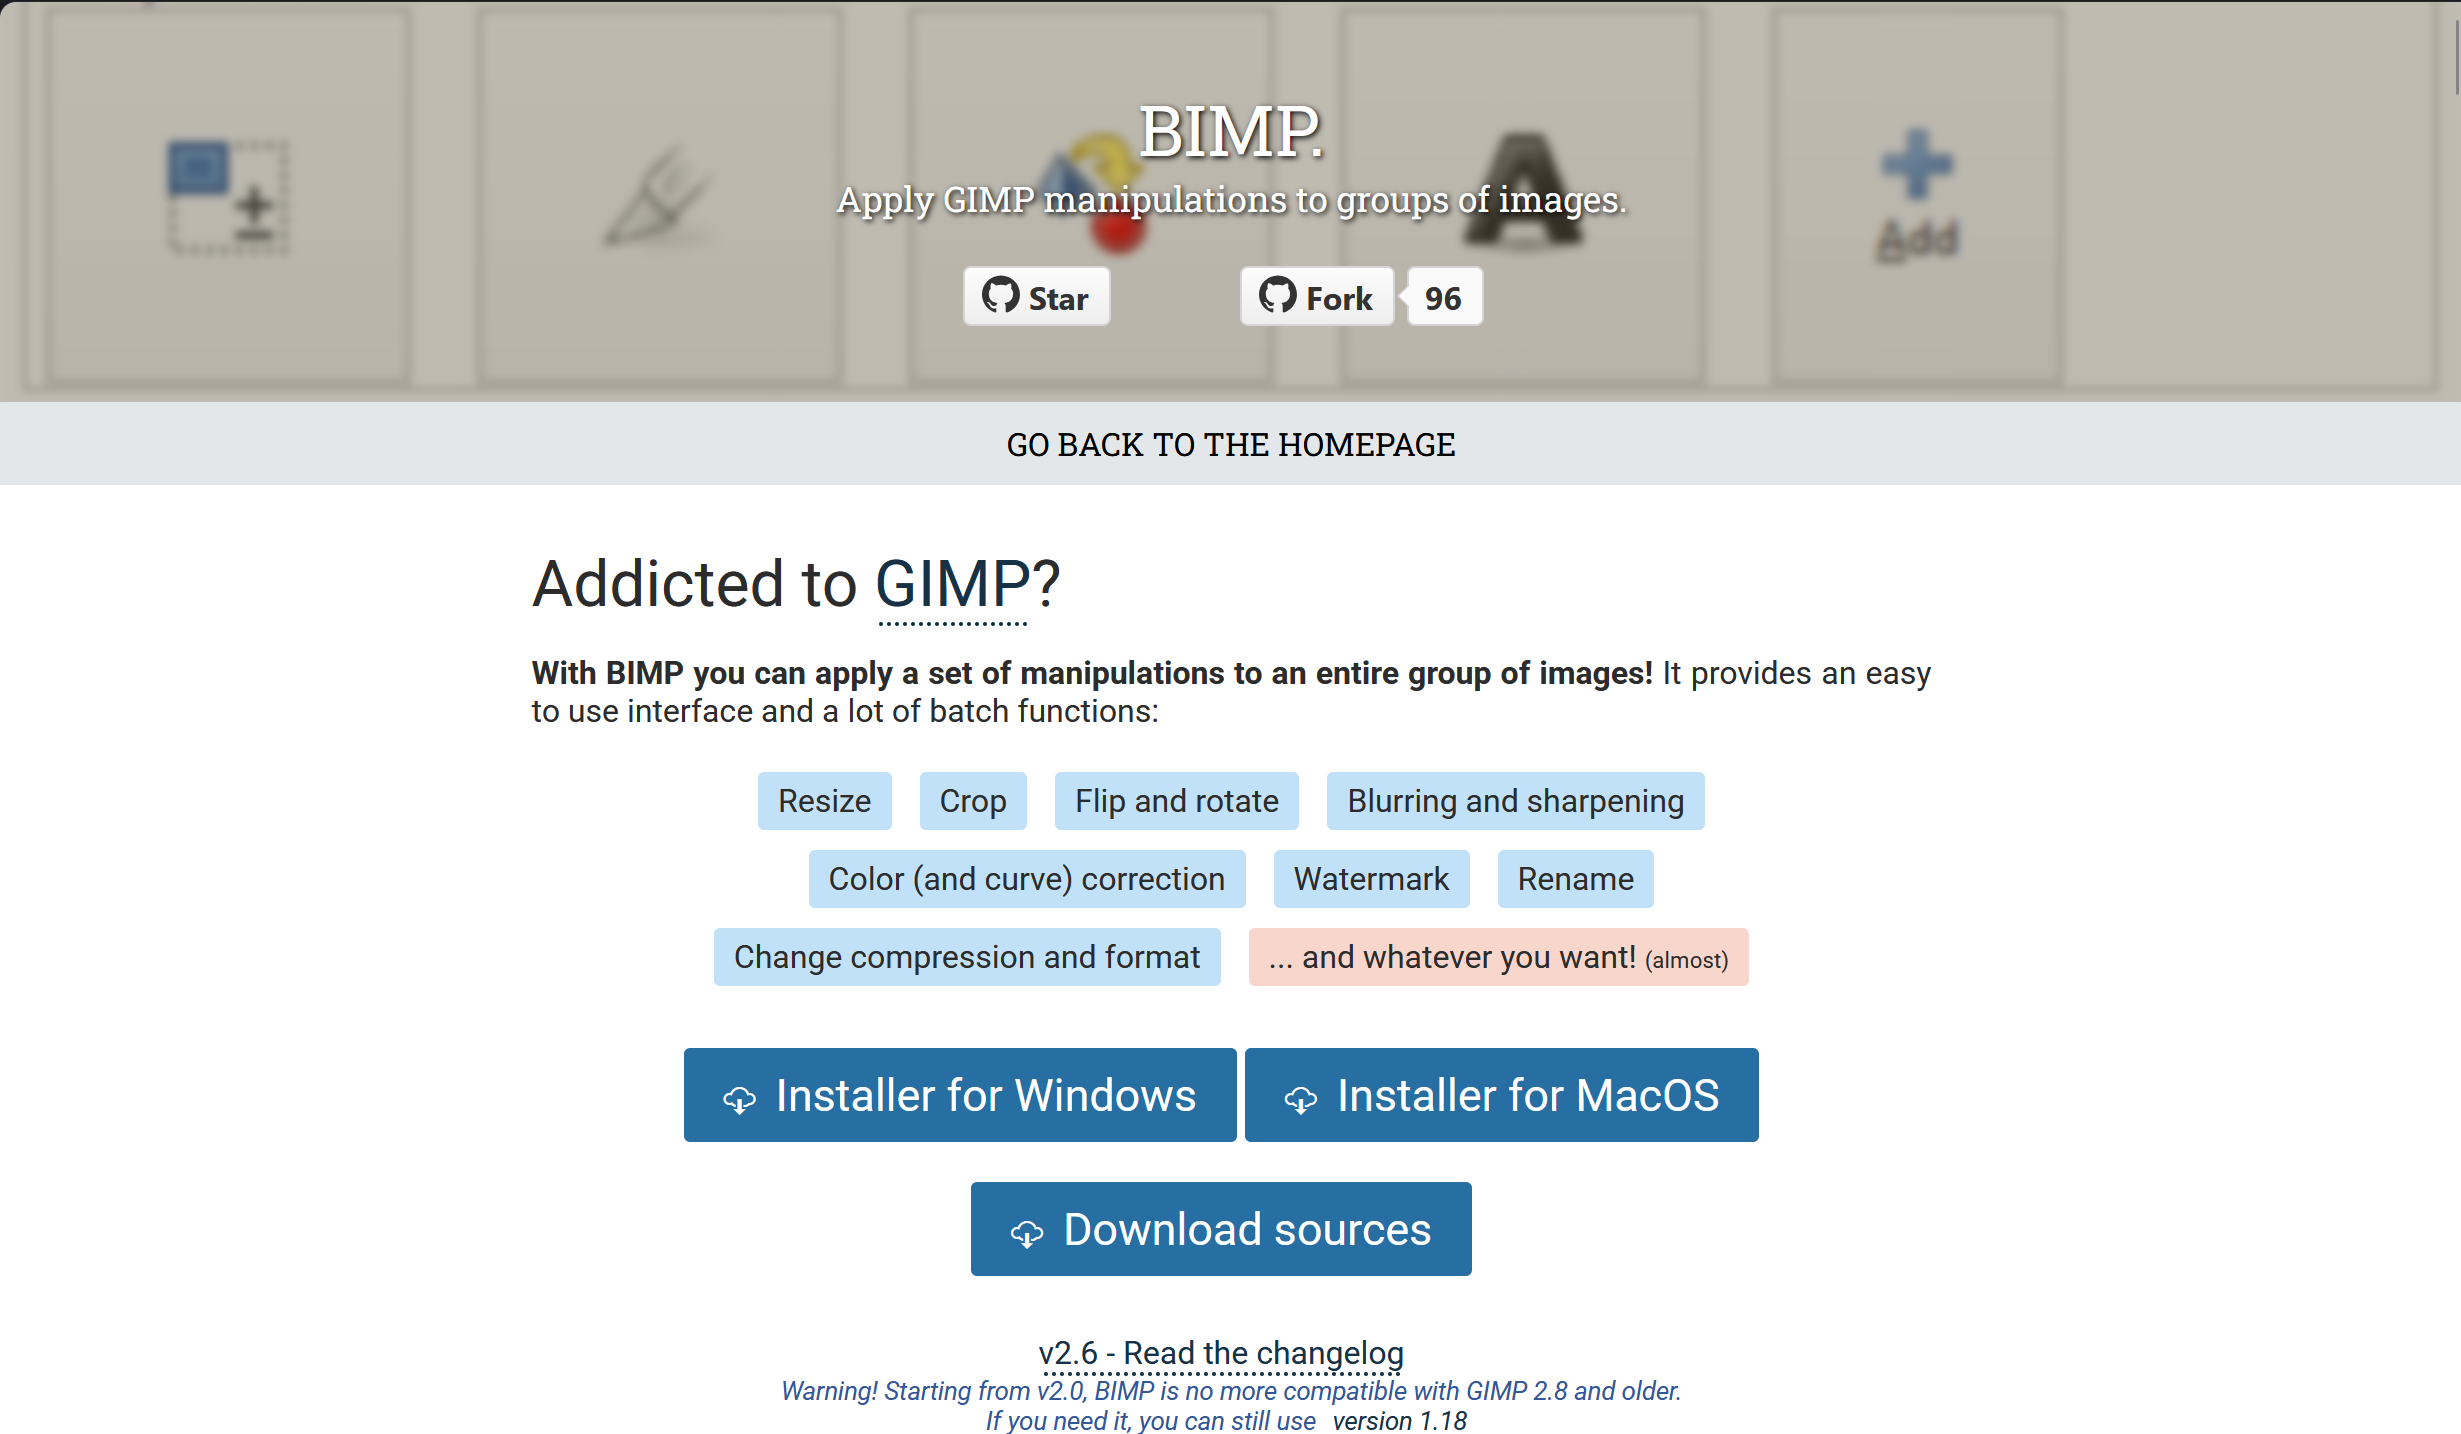
I used an older version because it was compatible with BIMP, an add on that allows you to manipulate images in batches all at once. Previously I used websites like JPEG Compressor that would only compress 20 images at a time.
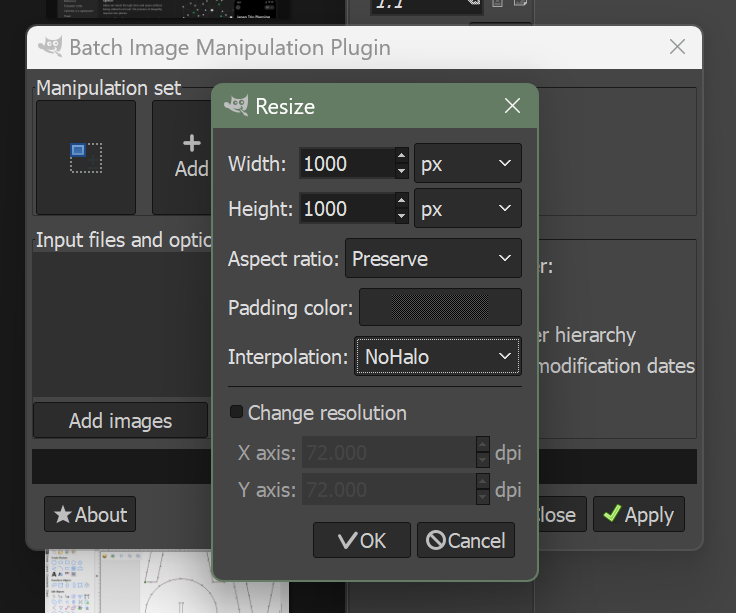
These are the settings I’d use for ALL images on BIMP. For me, the data eater wasn’t if I compressed photos or not. It was the Image size. On screen displays, images only need to be 70PPI, or 70 pixels per inch, to be high quality.
Photo Troubleshooting
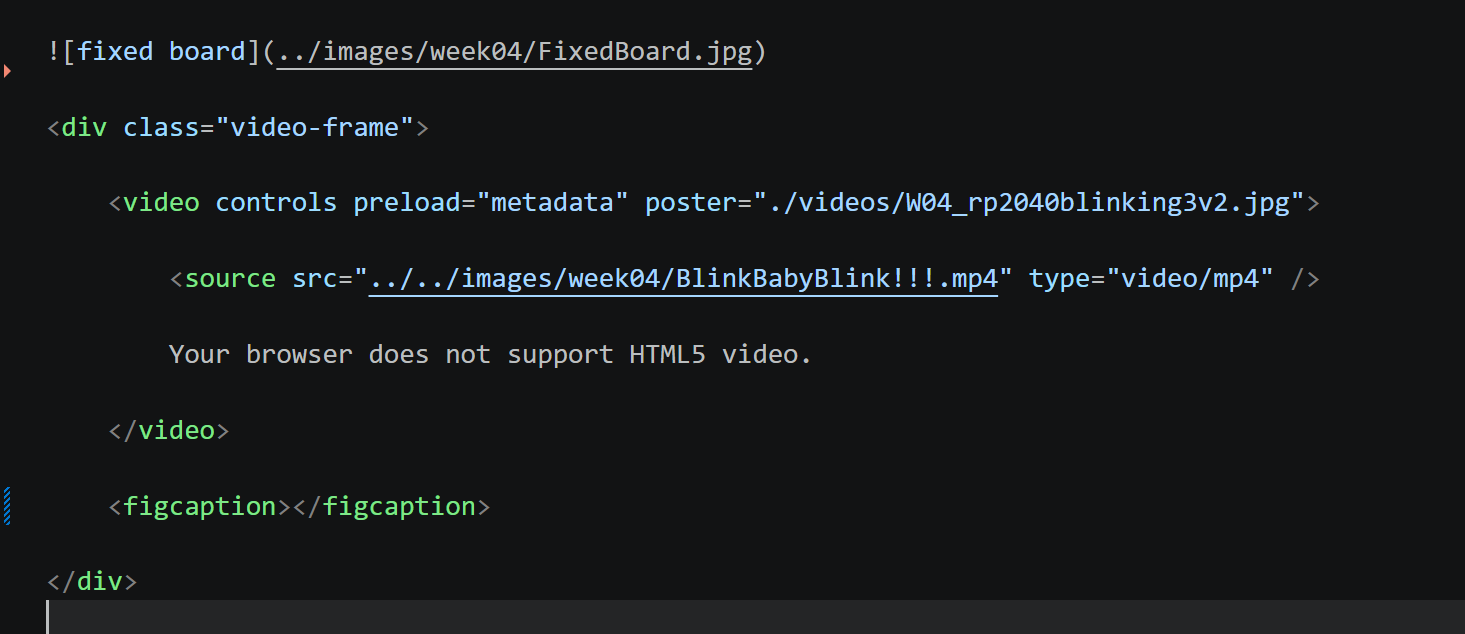
In markdown, the notation is ! [ words ] ( )
(with no spaces)
To add a photo,
-
use the notation
-
drag the photo into the images folder and into as many sub folders as you like
-
go to the photo you want within your repository
-
left click and copy relative path
-
paste into the ()
-
under the pathing, delete /.. and replace i with ../
-
make sure there are NO SPACES in ANY of the folders or photo names
-
ctrl+F “/”
-
click the down arrow to the left of the pop up
-
replace all “/”
-
it should work now :)
IF YOU MOVE THE LOCATION OF YOUR FILES YOU NEED TO CHANGE THE PATHING OF ALL THE FILES YOU MOVED
File Transfer
I take many photos using my phone. I use the Android system. I have a phone, tablet, and a windows computer. All of android devices come with a feature called “Quickshare” where I can directly send and receive files VIA Bluetooth. For my laptop I had to download Quickshare.
Video Compression
For video compression I use FREECONVERT. I had much trouble getting video to work. This code doesn’t work in the preview but it works in the browser.
Save your work
Open up the terminal
git init .
git add .
git commit -m “write commit here”
Reflection
This week was a very accurate introduction to the type of work and rigor FabAcademy asks of you. I am writing this after week 20. The very first class teaches you much of what I mentioned here, but I was too overwhelmed with new information to be able to understand it all. The writing here represents my final system for documentation.
CATS
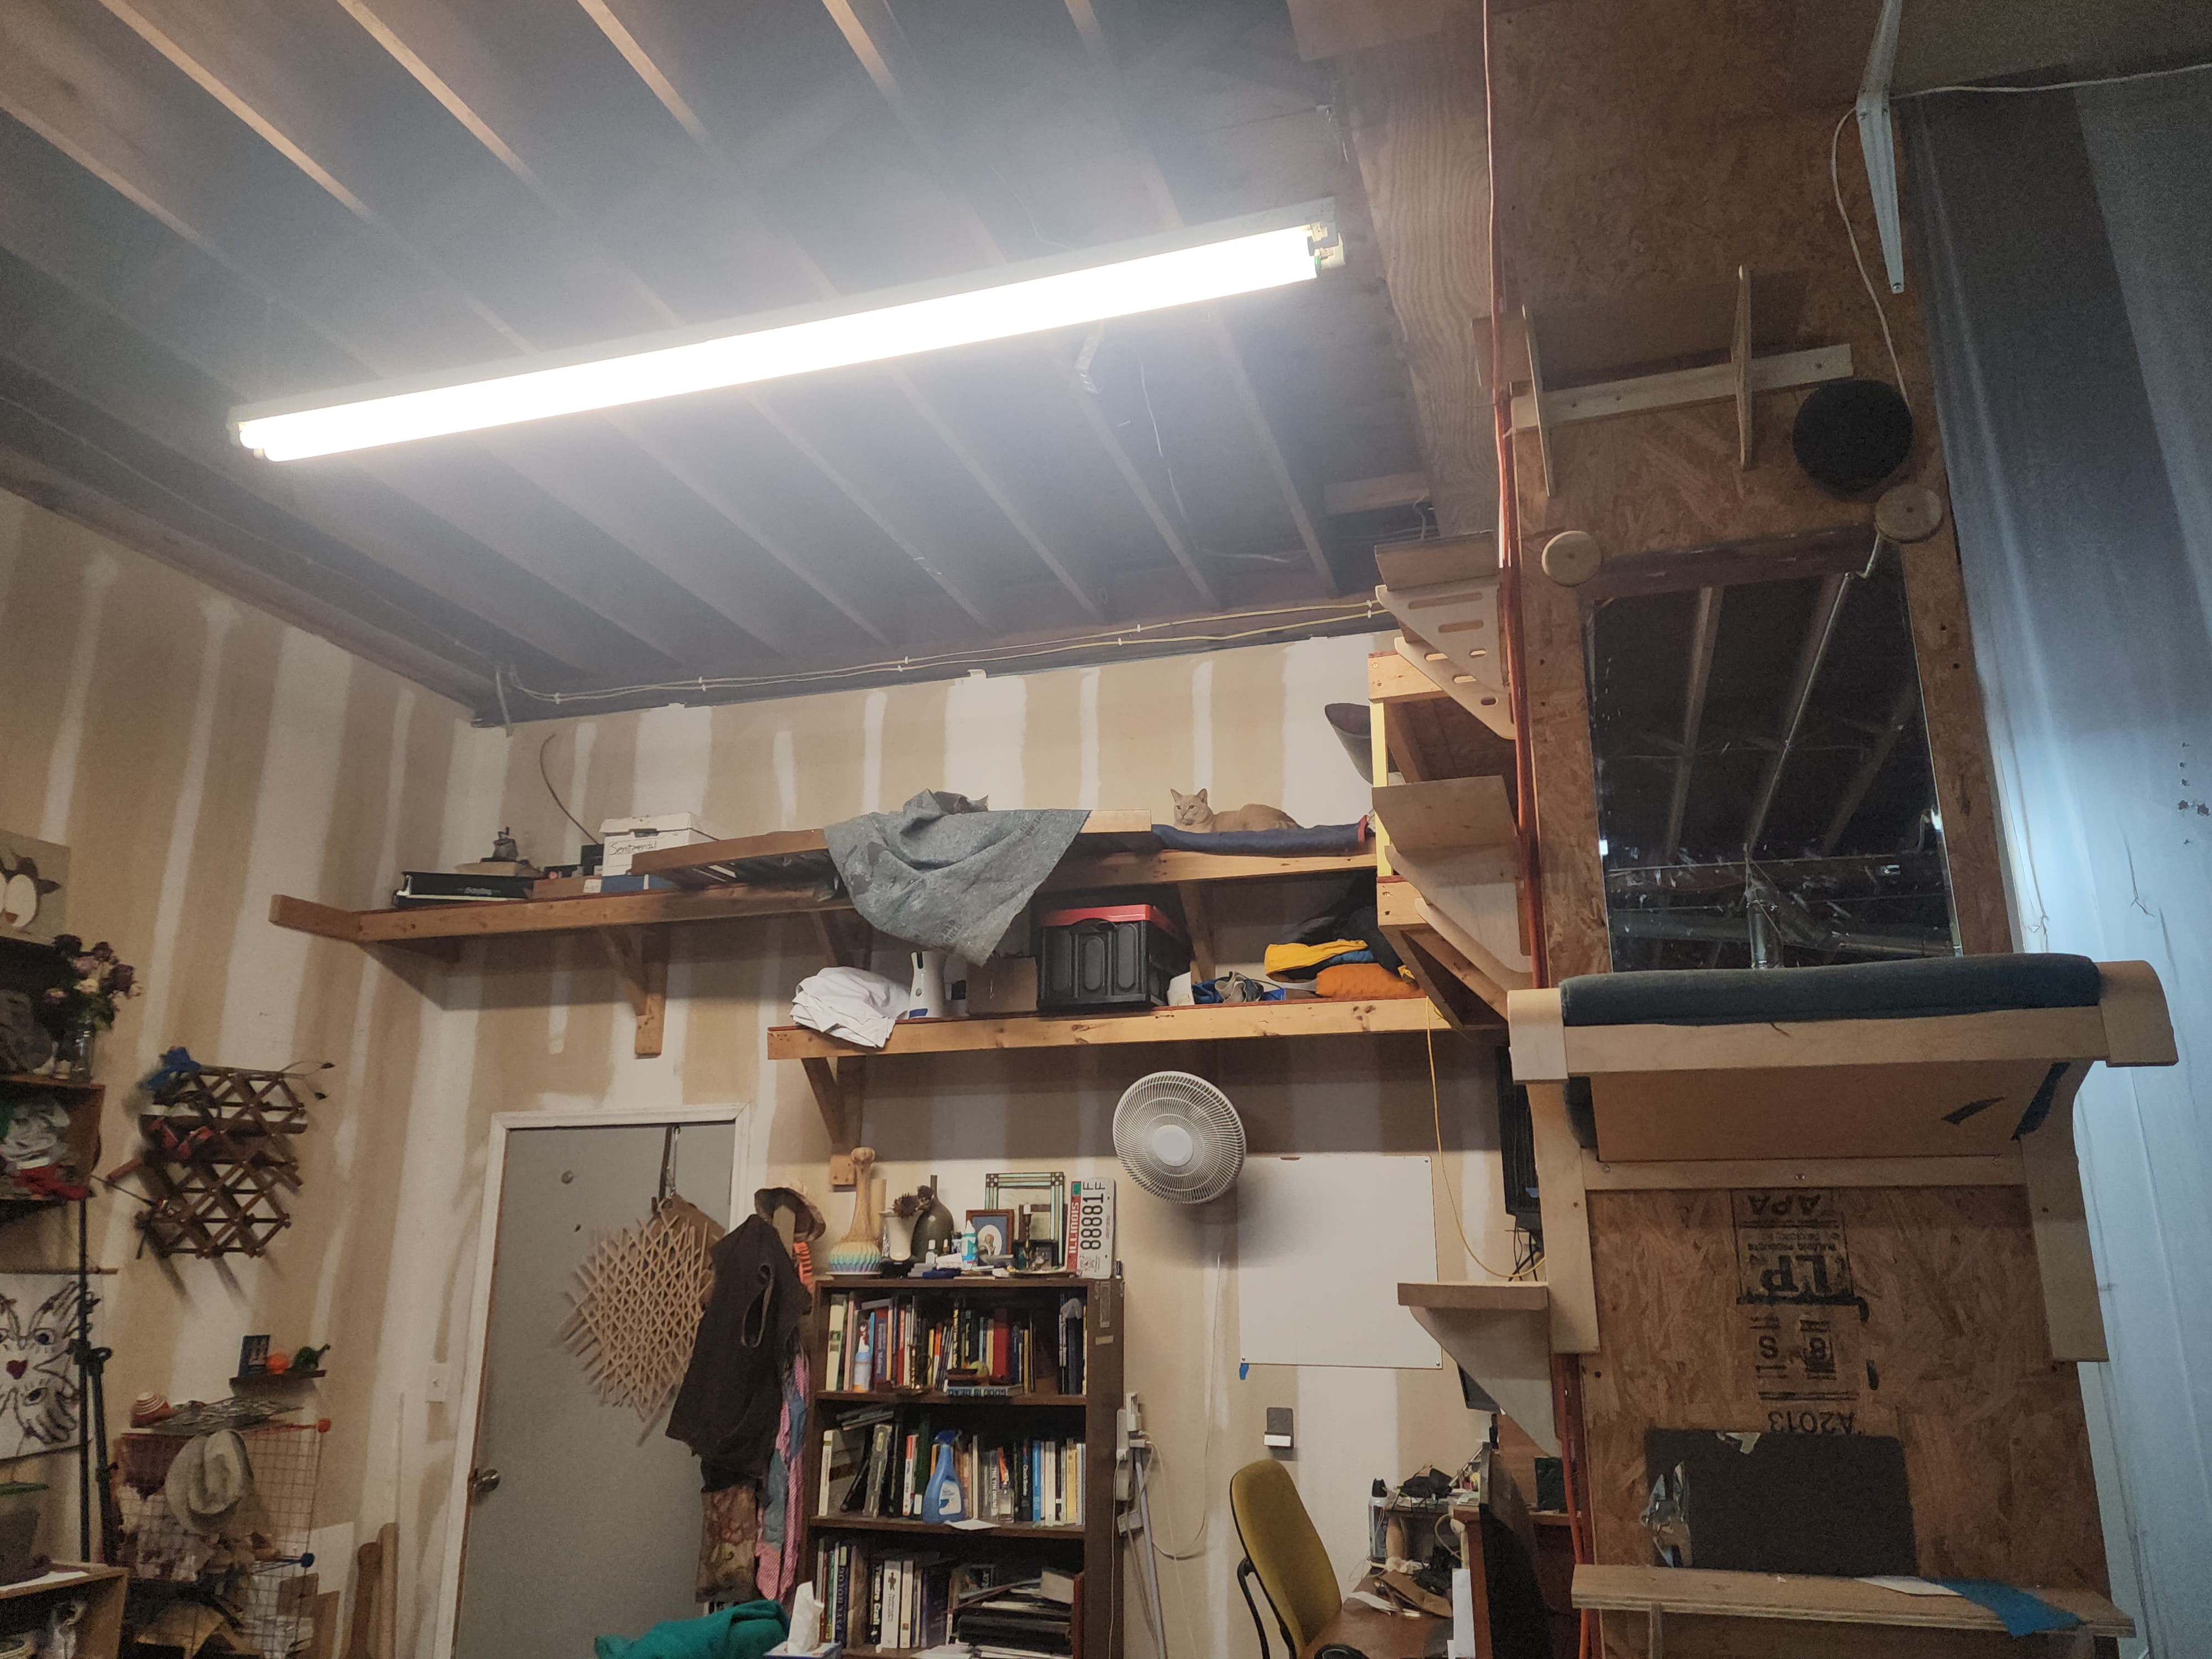
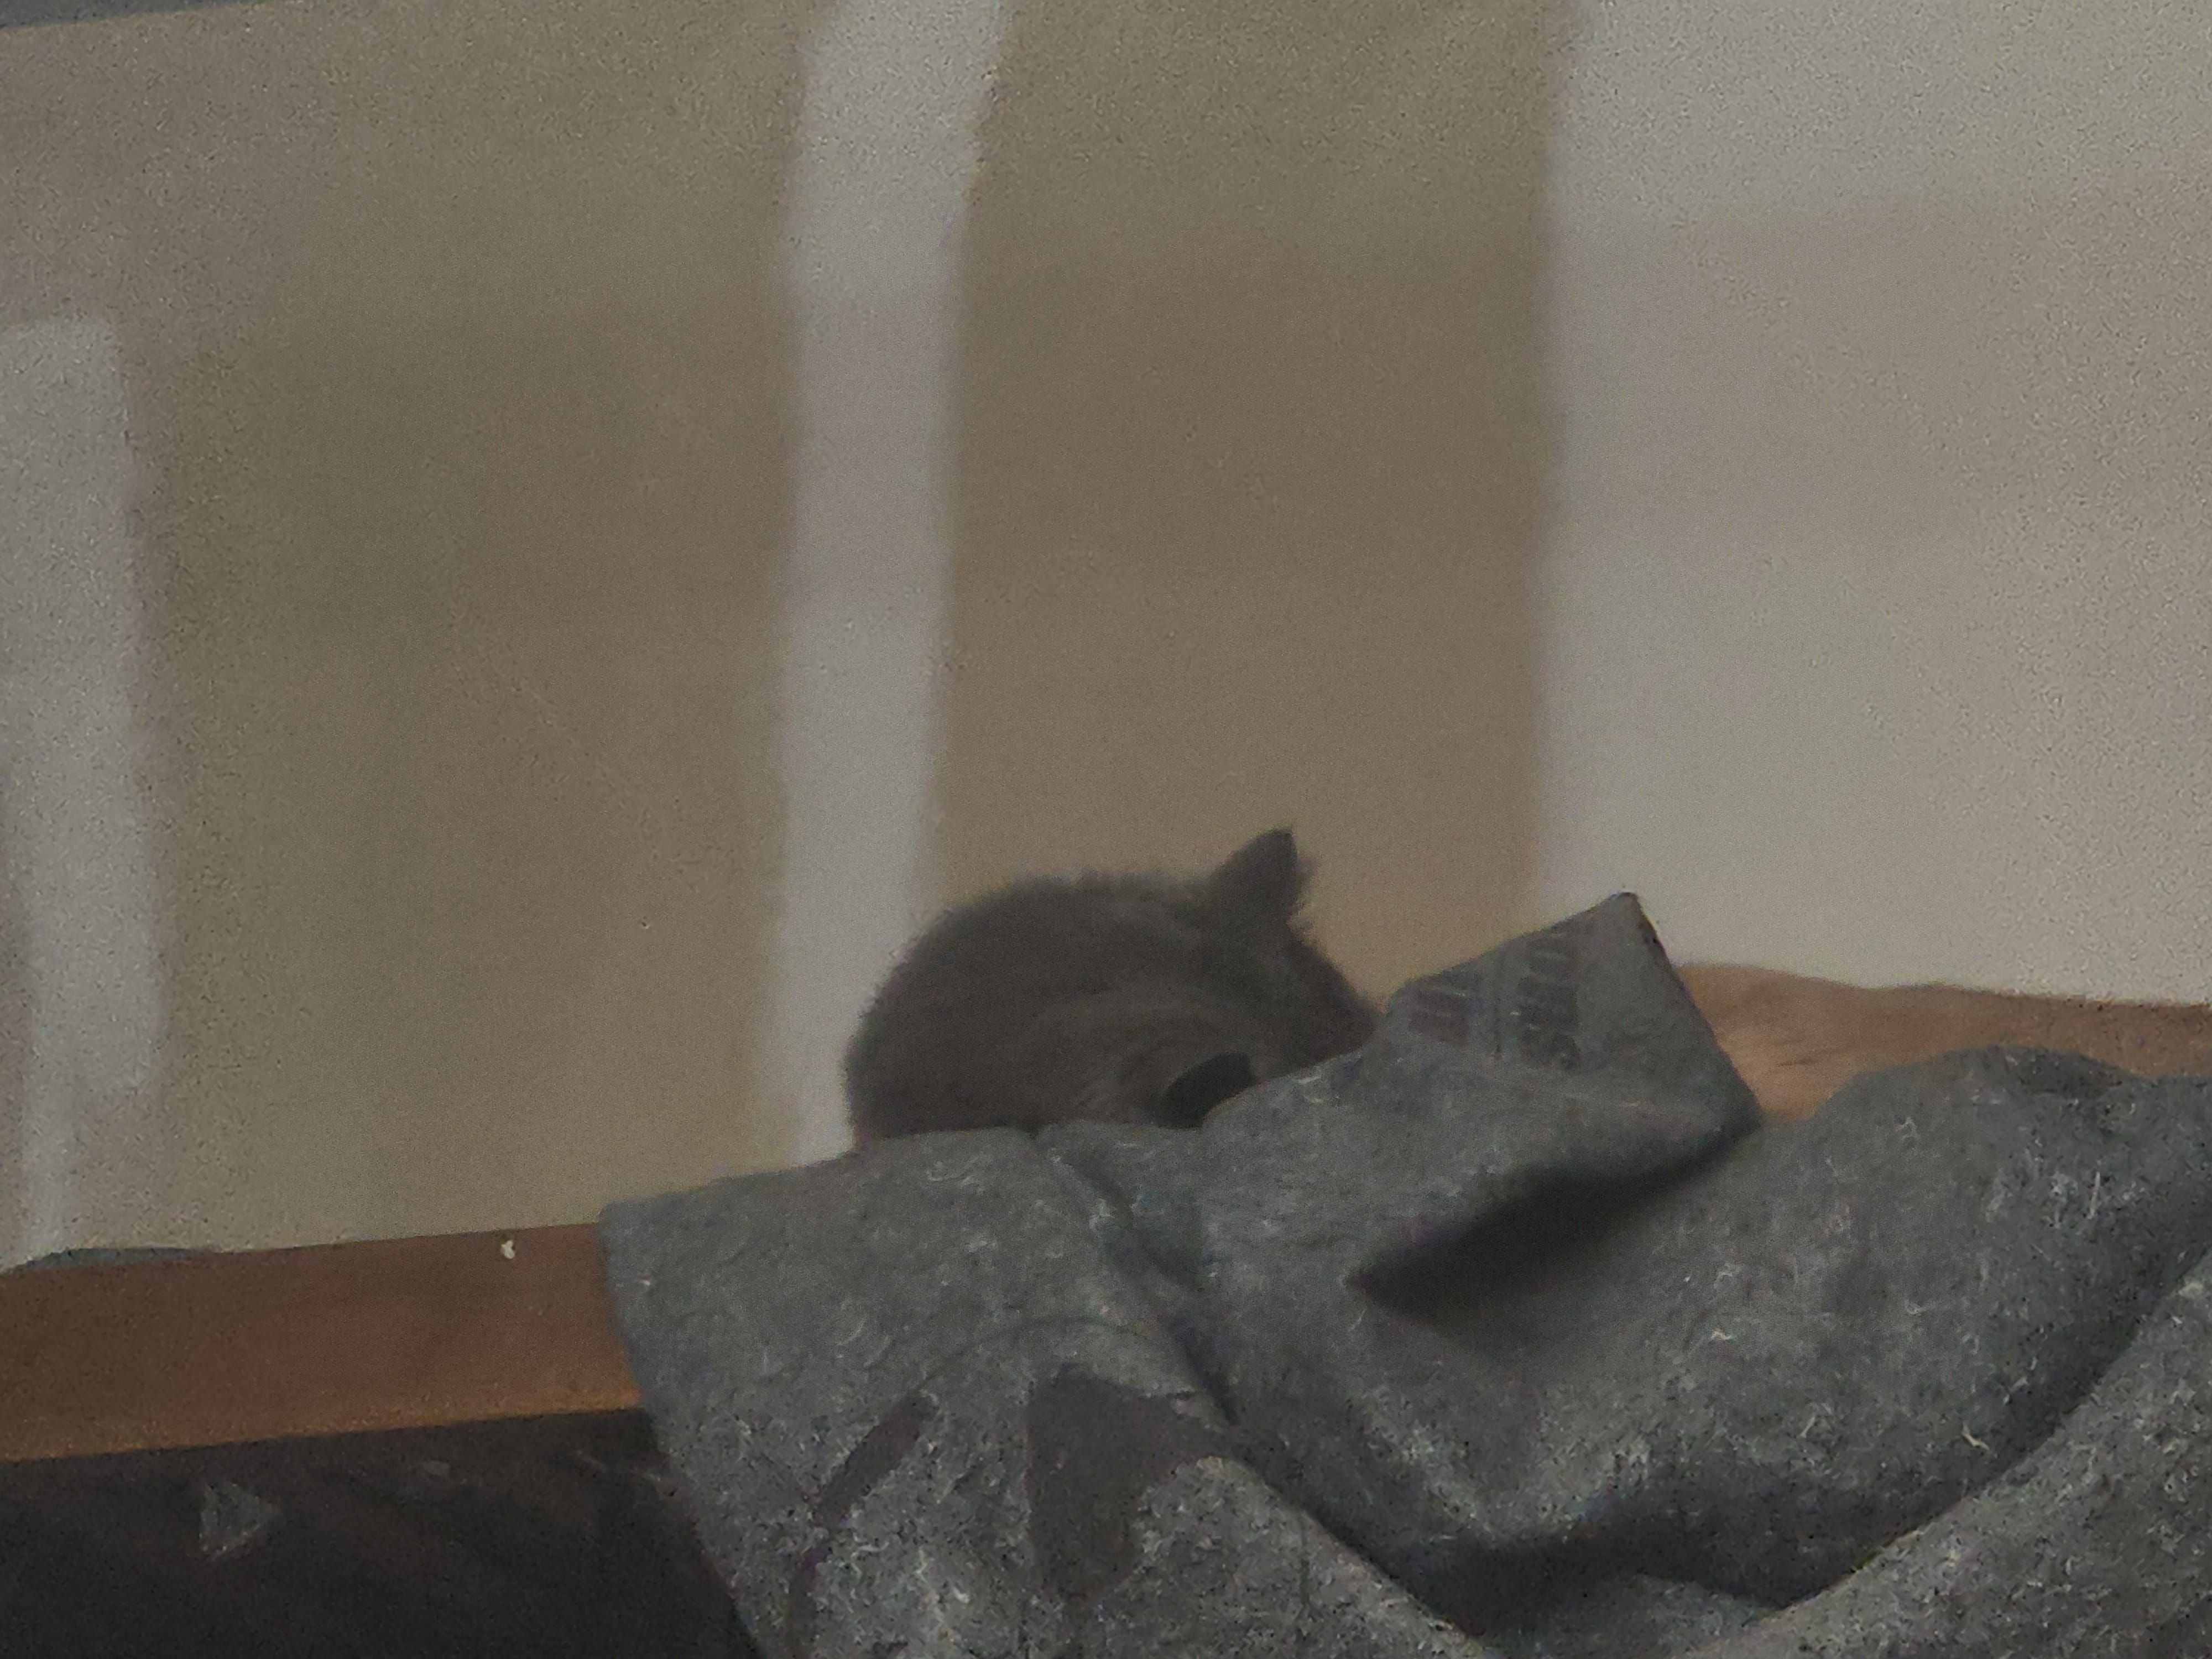
This studio has 2 studio cats! The orange one is named Echo and the gray one is Shadow. They are formally abused strays that the instructor took in. They are both skittish and do not trust humans. Mostly they hang out on the shelves far away from our view and reach. Hopefully us being here helps them!
Copyright 2026
Source code hosted at gitlab.fabcloud.org