Computer controlled cutting
Group assignment:
-
Characterize your lasercutter’s focus, power, speed, rate, kerf, joint clearance
-
Document your work to the group work page and reflect on your individual page what you learned
Laser Cutting
Laser cutting is a subtractive manufacturing process: this means that we start with a raw material and remove pieces from it to obtain the final shape, unlike 3D printing which adds material layer by layer.
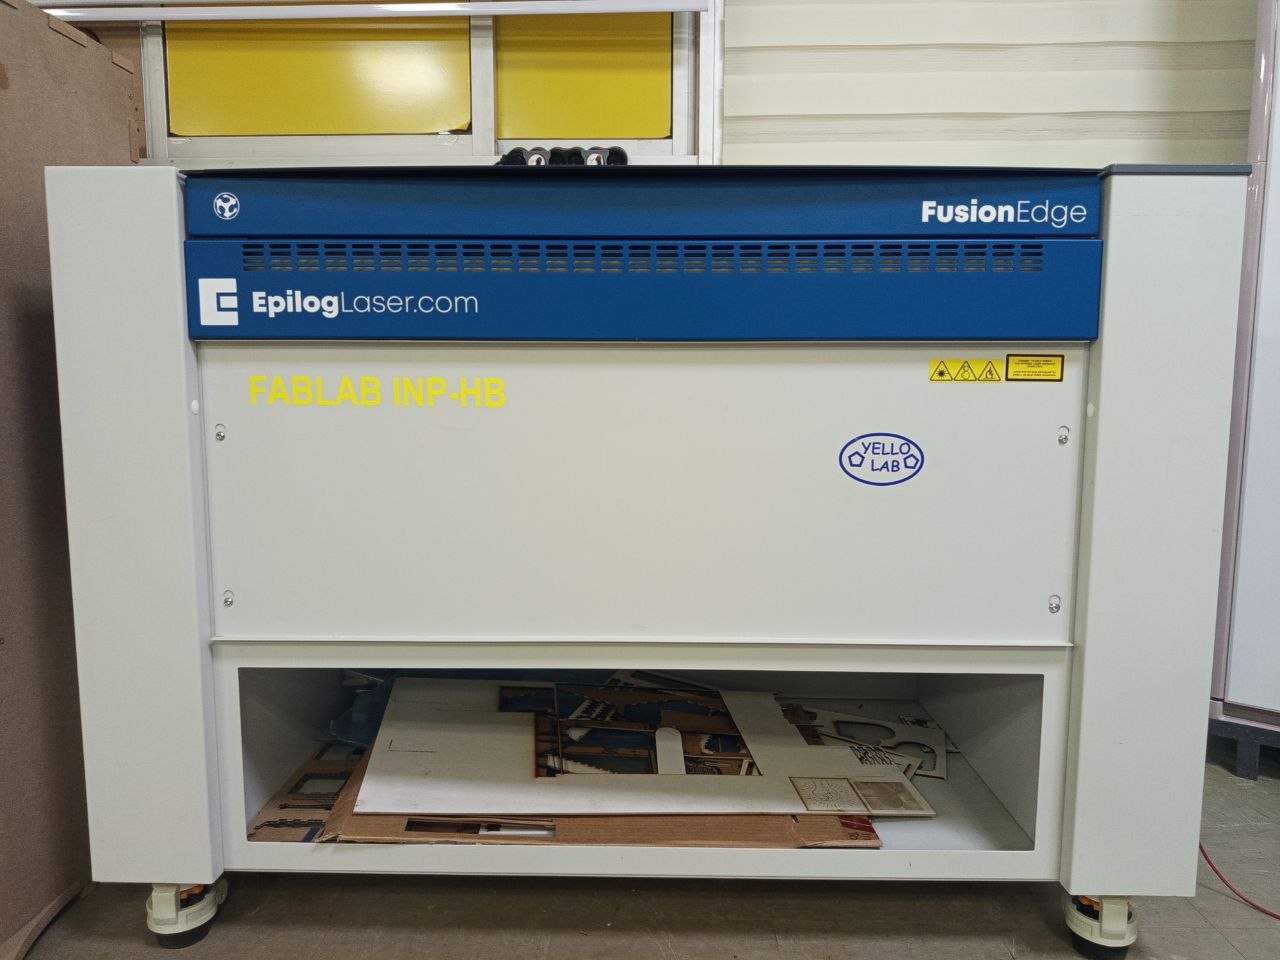
In our laboratory we use the Epilog Edge 36 laser.
Principles of laser cutting
The principle is simple but remarkably effective: the machine uses an ultra-concentrated and invisible beam of light (often generated by a CO₂ tube for Fab Labs) that is directed towards the material via a series of mirrors and then focused through a lens.
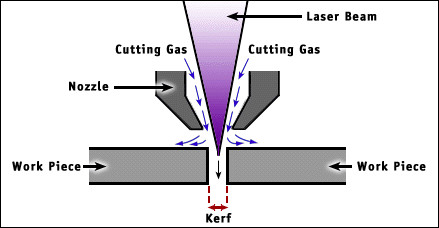
Source : https://fabacademy.org/2023/labs/inphb/assignments/week03/
When this beam touches the surface, the thermal energy is so intense that it instantly melts, burns, or vaporizes the material over an extremely localized area. A stream of gas (often compressed air) constantly blows on the point of impact to remove molten residue and prevent the material from catching fire.
Even if the width and shape of the laser beam are constant, many parameters affect the width of the kerf. It is therefore necessary to measure and record this width experimentally for each material used in the laboratory, as well as the cutting parameters (including power and speed) of the machine that produced it.
Depending on how the machine is set up, the laser can perform three main actions:
-
Cutting : The laser follows a closed line with enough power to completely cut through the material and detach a piece.
-
Marking or Tracing : The laser follows a line but with reduced power or high speed. It only draws a line on the surface without cutting through (very useful for folding lines or markings).
-
Engraving : The laser head scans the material from left to right at high speed (like an inkjet printer). It removes a thin surface layer to draw images, logos, or textured text.
Features of our Epilog Edge 36 laser cutter
This table lists a set of technical and functional specifications for our machine.
| Specification | Value |
|---|---|
| Work Area | 36″ x 24″ x 10″ (914 x 610 x 254 mm) |
| Laser Source | CO2: 80 W |
| Speed Controller | 0.1 – 100% (adjustable) |
| Power Control | 1 – 100% (adjustable) |
| Resolution | 75 – 1200 dpi |
| Software | Epilog Dashboard; Inkscape |
A complete description of the machine is available on the manufacturer's website.
Let's talk about security
The use of laser cutting requires strict safety measures to protect operators and prevent accidents. Please review the safety instructions before starting operation. The complete manual is available here.
- Stay near the laser: Never operate the laser system without supervision.
- Clear the area: Clean around the machine and ensure the workspace is free of clutter, combustible materials, explosives, or volatile solvents such as acetone, alcohol, or gasoline.
- Be ready with a fire extinguisher: Always keep a properly functioning and regularly inspected fire extinguisher within reach.
- Use air assist: Always activate the air assist function of the system during vector cutting.
- Be careful during vector cutting: Many materials can ignite suddenly during laser cutting, even common ones. Always monitor the machine while it is operating.
- Clean the laser system: Buildup of cutting and engraving residues is dangerous and may cause fire risks. Keep your laser system clean and free of debris. Regularly remove the vector cutting bed to eliminate small pieces that may fall through the grid.
the focal point
To achieve a clean, precise engraving or cut, the material must be positioned at the correct distance from the focusing lens. This adjustment—known as focusing—is done by placing the material on the table and then adjusting the table’s height. Our laser cutter offers both automatic and manual focusing modes.
- automatic focus adjustment
Autofocus is a feature of laser cutting and engraving systems that automatically adjusts the beam’s focal length to ensure optimal focus on the material. Useful for materials of varying thicknesses or with uneven surfaces, it relies on sensors that measure the distance between the laser head and the workpiece, then move the focusing lens to position the desired focal point. This adjustment is typically performed in real time during cutting or engraving, ensuring consistent and precise results despite variations in thickness or surface imperfections.
- manual focus
Manual focusing in laser cutting and engraving systems involves manually adjusting the position of the focusing lens to achieve the optimal focal point on the material’s surface. It generally requires moving the lens vertically relative to the workpiece until a satisfactory focus is achieved. This operation, performed before cutting or engraving, may require trial and error depending on the thickness and characteristics of the material. Although less automated than autofocus, manual focusing remains flexible and allows for precise control of the process.
For more details, please refer to the manual, pages 123–124.
Power and speed
Download and open your files in Inkscape
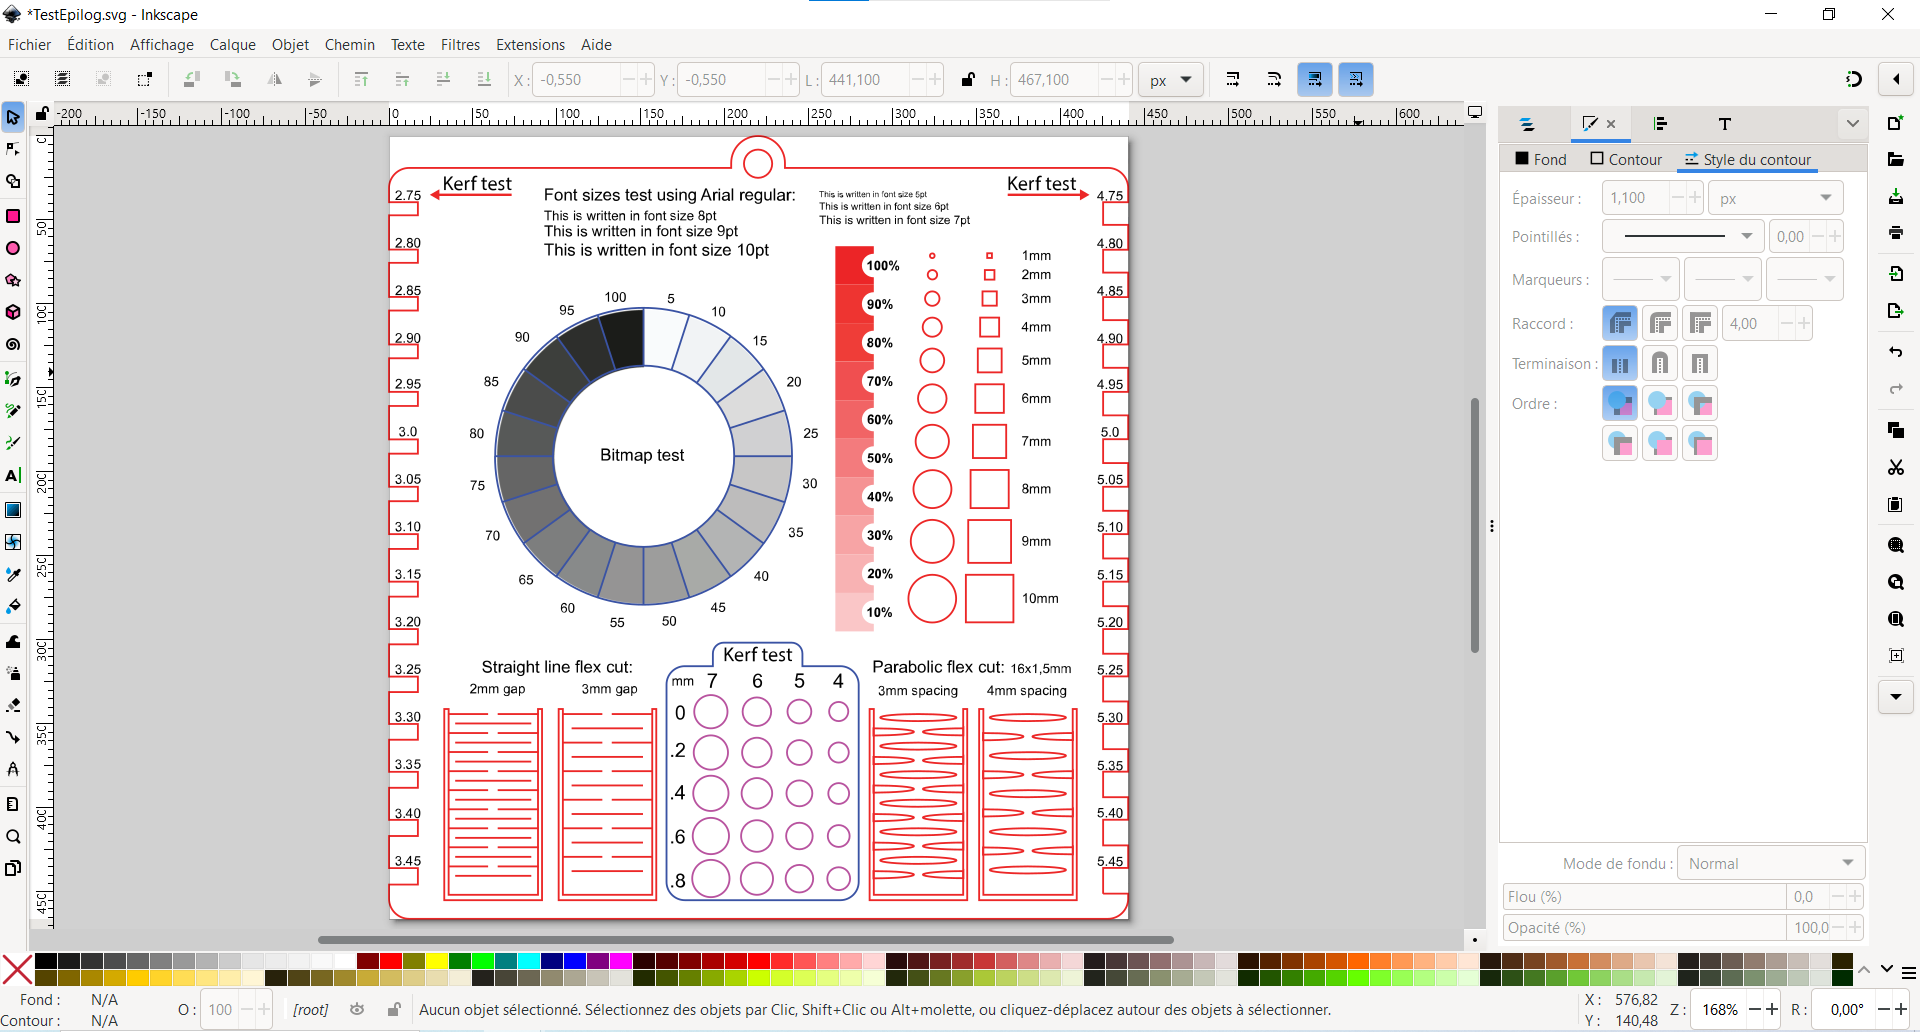
For more information, please refer to the materials for Week03 of the August-Goubo course. There you will find the steps to follow before using the machine and starting the cutting process.
Cutting
Cutting Settings
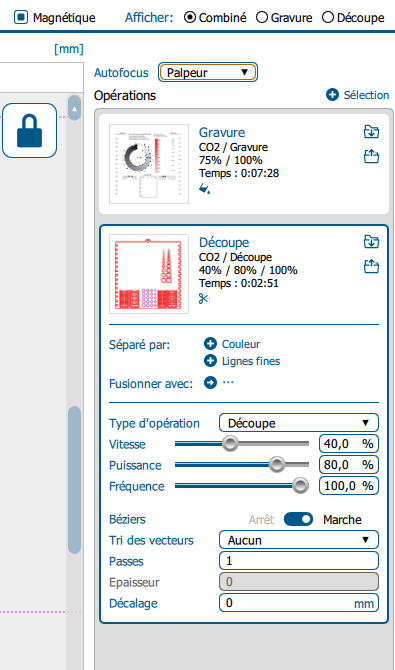
Cutting Video
Kerf
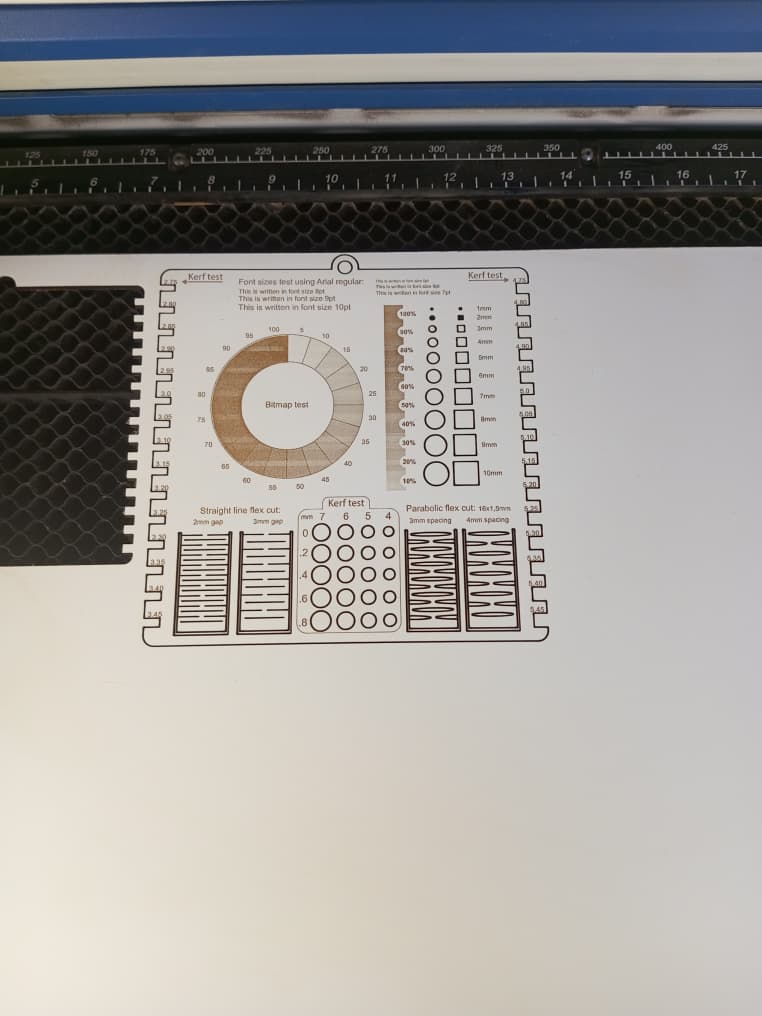
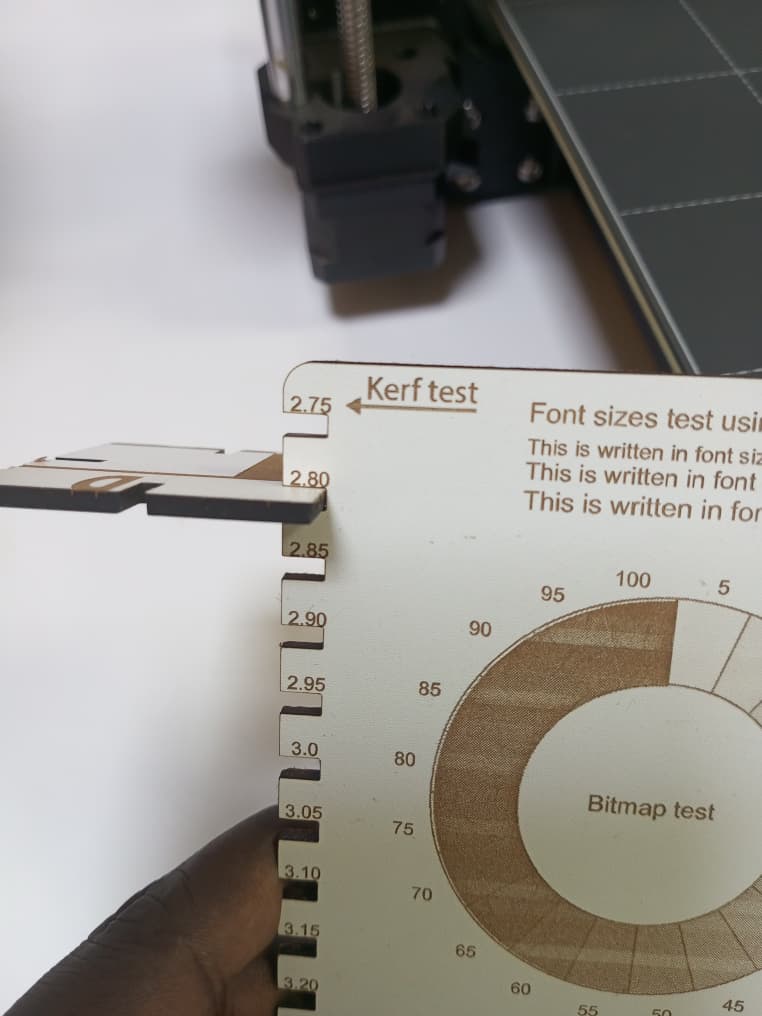
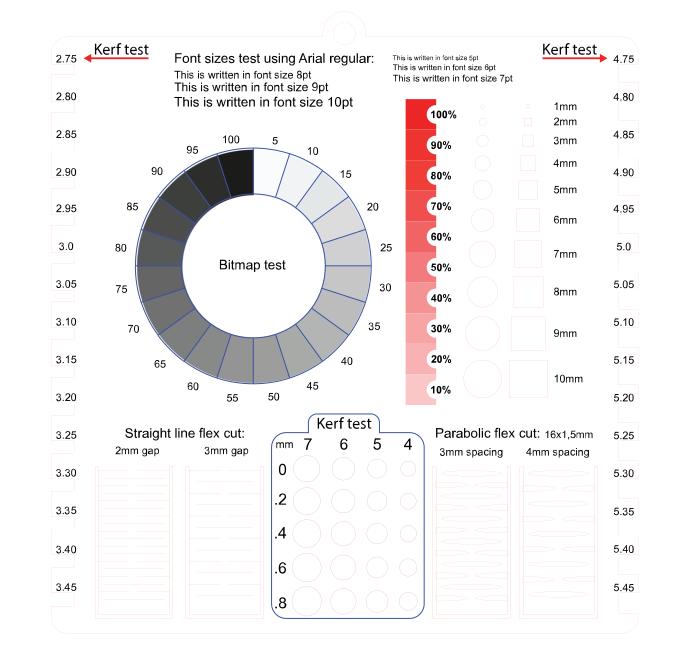
To determine the kerf, we measured a 3-mm-thick MDF piece and were able to insert it into a 3.45-mm-wide slot. which helped us realize that there was a scaling issue with our parts.
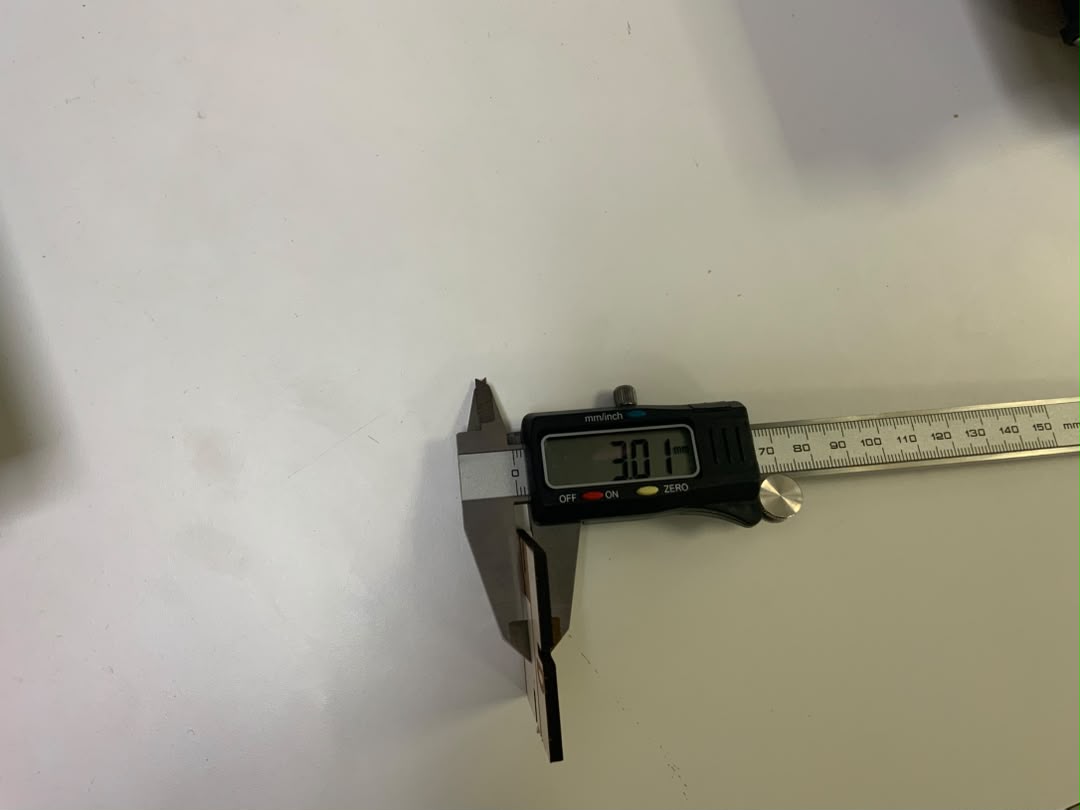
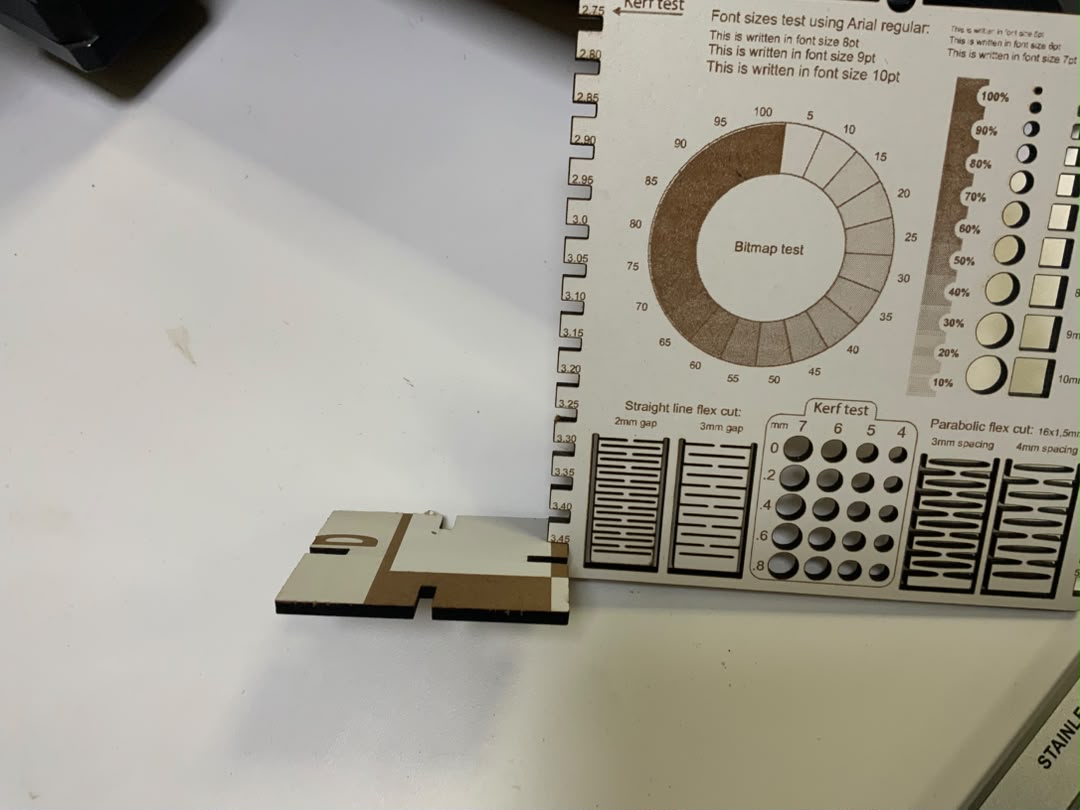
After resolving the scaling issue by enlarging the drawing in Inkscape, we cut out the part.
Now we were able to insert it into a 2.80 mm slot. Therefore, the kerf is 0.2 mm.