Week 18 Wildcard Week
This week, I was tasked with using any digital fabrication process not covered in the course. I chose to use the Brother SE700 embroidery and sewing machine. I chose to embroider my name onto a piece of cloth.

Above is the Brother SE700 machine.
Click Here to Access the Website and Specs
Material Setup
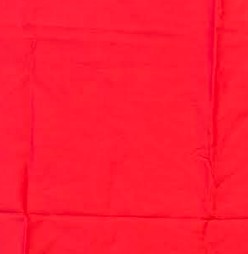
I chose to use a thin red cotton sheet as the material.
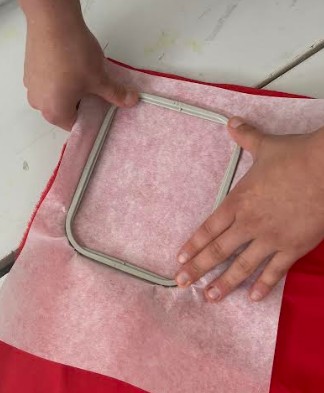
After choosing the material, I cut it to size, then cut a similar sized piece embroidery stabilizer to put behind it. This keeps the stabilizer keeps the embroidery secure onto the material. I then put the material in the holder from the machine. The holder is super easy to use, just snap the two pieces around your material.
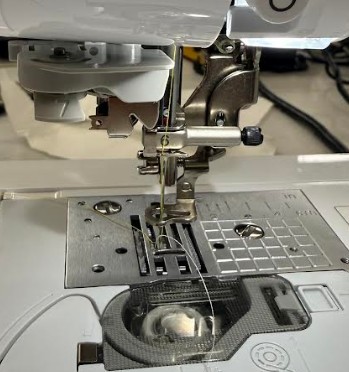
Before putting the material on the machine, I made sure the thread was properly inserted. As you can see, the thread goes through spot 6, as intended, then goes through the needle hole. After the needle, a few inches of excess thread was left, which is perfect for starting. Additionally, the thread from below the machine was also properly extruded. I used a size 90 needle, which is a bit on the larger size, but still able to cleanly embroider on my cotton sheet.
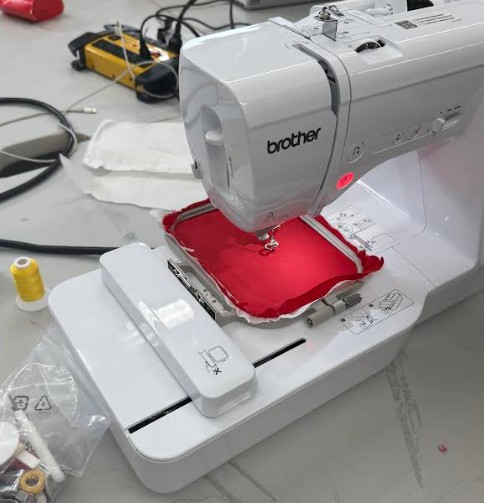
After making sure the needle was properly setup, I put the material into the machine. It was super easy, just slide the bracket holding the material into the labled place.
Interface
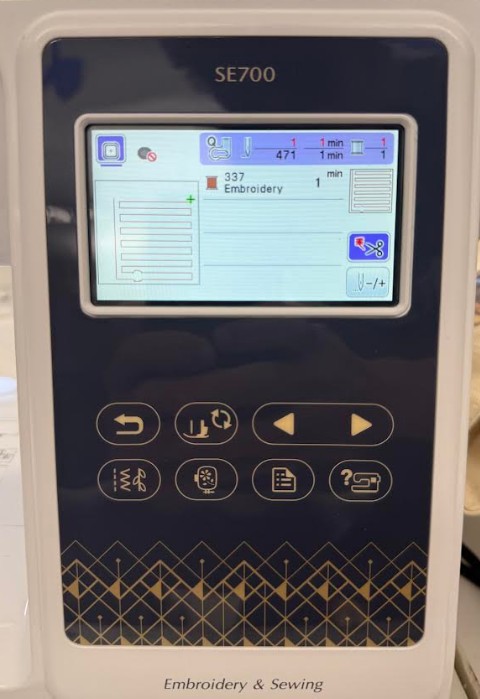

These are the Job and Moving interface on the machine. The Job interface (Which currently has Angelina Yang's job on it), controls the job that is loaded on the machine. The Moving interface allows the user to move the material around.
Design
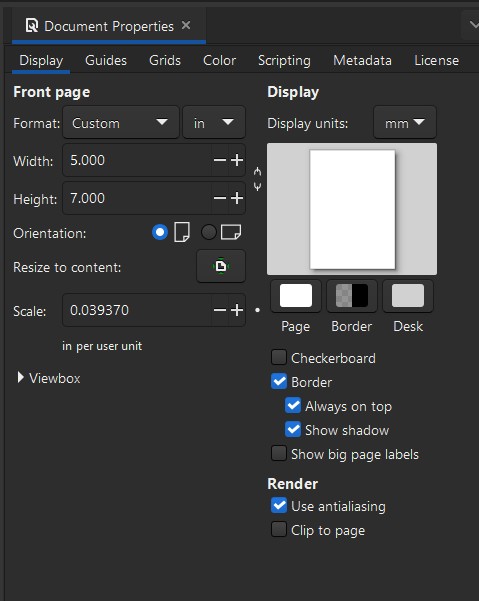
In Inkscape, I first set the job dimensions to the size of the material on the machine.
After that, I went to extensions, ink/stitch, lettering, then lettering. (Make sure you have setup inkstitch on your computer, just go to their website, download, and install.)
**Click Here to view the Inkstitch Website
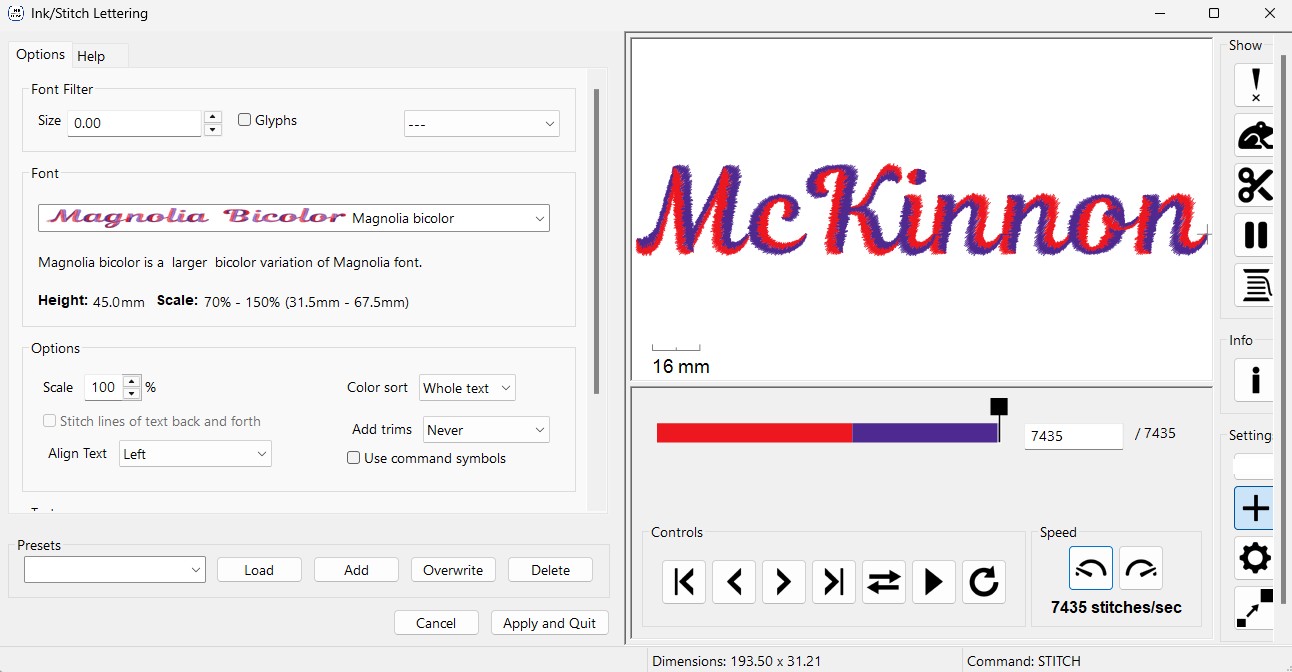
After going there, this window pops up. I chose my desired font, then selected whole text, and typed in my name. After that, I hit apply and quit.
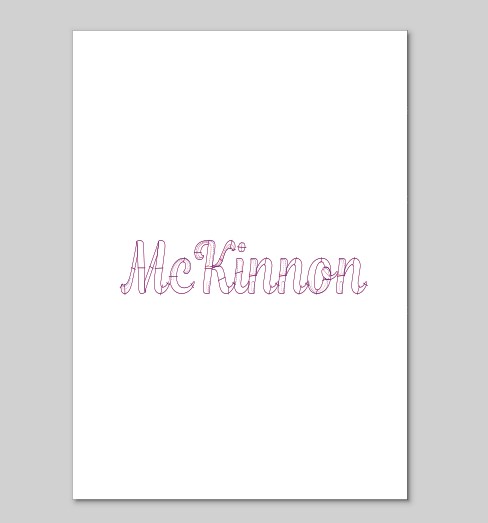
After I hit apply and quit, the lettering popped up on my design in Inkscape. I positioned onto my material.
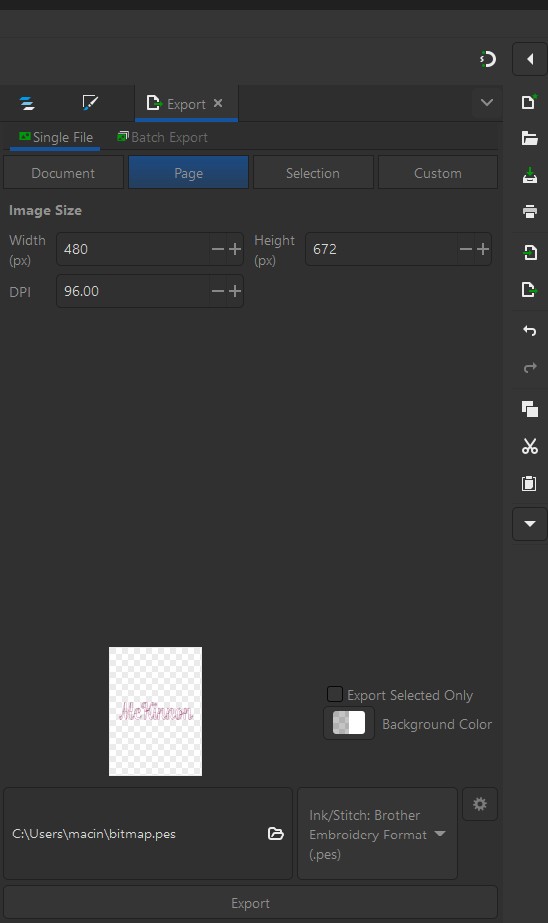
After that, I exported as a .pes file.
Click Here to Download the File
Once I had the file, I uploaded it to the machine. There was no need for a slicer or anything. The pes file was able to be directly read by the machine.
Since I had already setup the machine, I started the job.
Process of Sending the File:
1) Prepare your design file
Make sure your design is saved as .PES (Brother format) Keep it within the SE700 limits: Max embroidery area: 4" × 4" (100 × 100 mm) If you created it in software (Ink/Stitch, Hatch, etc.), export specifically as Brother PES (older versions are usually safest)
2) Put the file on a USB drive
The SE700 does not read files directly from your computer, so you need a USB stick. Use a small USB flash drive (2–32GB works best) Format it as FAT32 Copy your .PES file onto the root of the drive (or a simple folder like “Embroidery”)
3) Transfer to the machine
Turn off the machine (recommended before inserting USB) Plug the USB drive into the USB port on the SE700 Turn the machine back on
4) Load the design on the SE700
On the touchscreen: Tap Embroidery Tap USB Your files will appear Select your .PES file The machine will load a preview on screen
5) Set up the embroidery
Before stitching: Attach hoop (make sure fabric is properly stabilized) Thread machine (top thread + bobbin) Check needle type (embroidery needle recommended) Then on screen: Position/resize if needed (stay within 4×4 limits) Check design orientation
6) Start stitching
Press Start/Stop button Machine will begin stitching automatically It will pause for thread changes if the design has multiple colors
Finished Product
Since the machine runs by itself, I had no involement in the embroidery process.
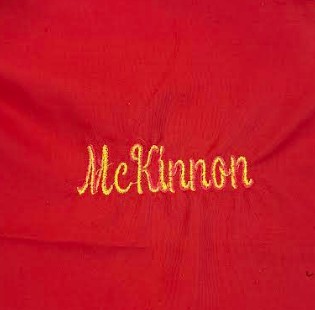
This is the finished design embroidered on the cotton.
Reflection
I found this week pretty easy to complete. The embroidery process was very straightforward, however after this week, I don't have much interest in embroidery or sewing.