Week 5 3D Scanning and Printing
Week Objectives:
-
Design, document and 3D print an object that could not be easily made subtractively
-
3D scan an object
-
Group Project: Characterizing 3D Printers
Link to Group Site
Designing and 3D Printing
I decided to design and 3D print a movable joystick in an enclosed housing. This could not be made subtractively because there is a sphere inside a slightly larger spere.
In Autodesk Fusion, I sketched these two faces along with an axis to revolve around.
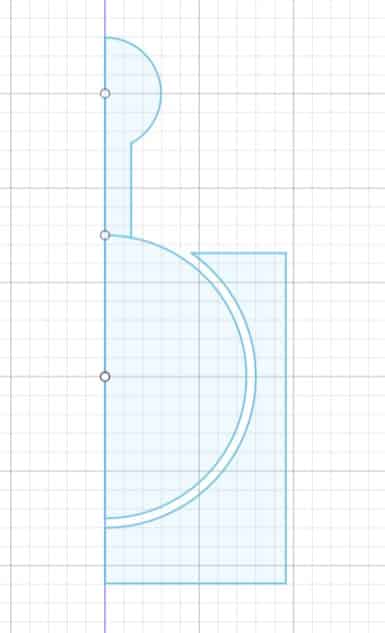
I finished the sketch then used the revolve feature under create.
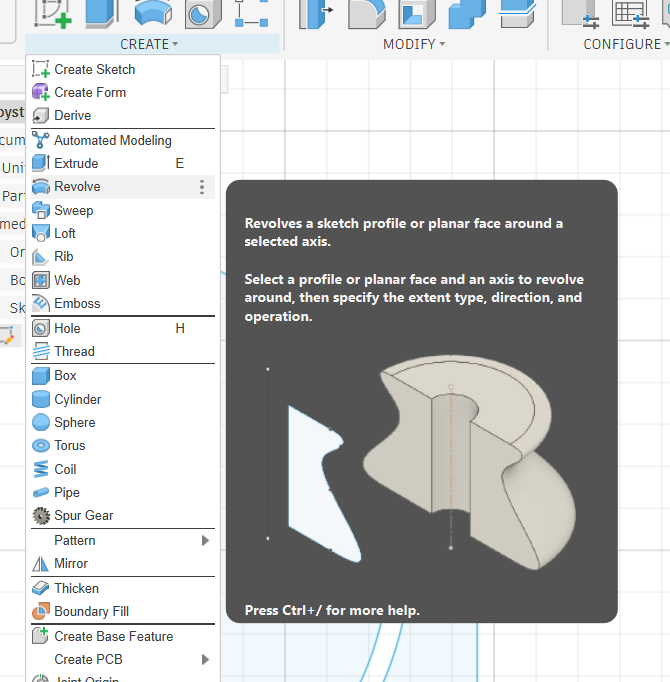
Here is the location of the revolve tool.
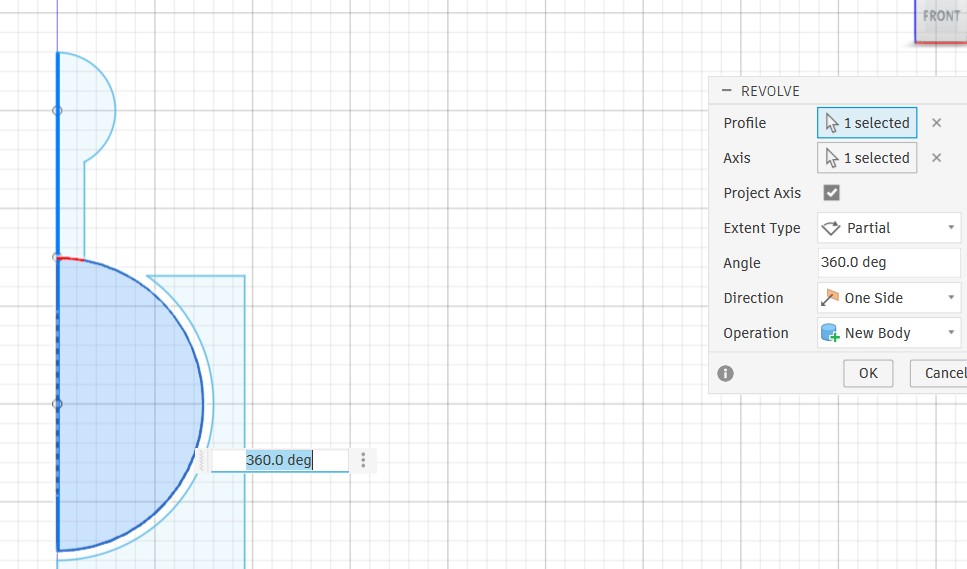
This is the revolve tool interface. I selected the axis I wanted to rotate around, then the profile I wanted to rotate around that axis.
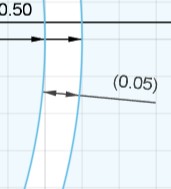
I also added a 0.05 inch tolerance (~1.27mm) to the design. This way, The joystick will have plenty of room to move around.
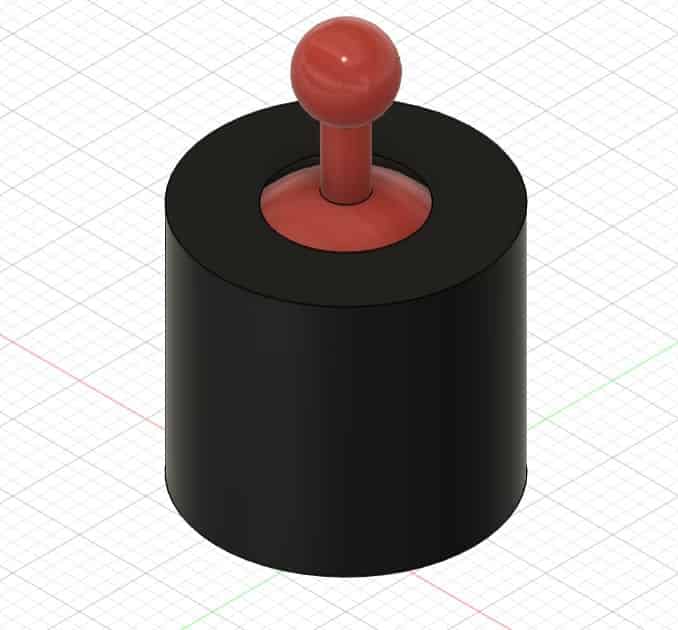
This is the joystick after being revolved. The red joystick is the inner profile after being revolved, and the black housing is the outer profile after being revolved.
You can access my model by clicking here.
You can download it by clicking here
Bambu Studio
Because my node uses Bambu Lab printers, I used bambu studio to slice my model.
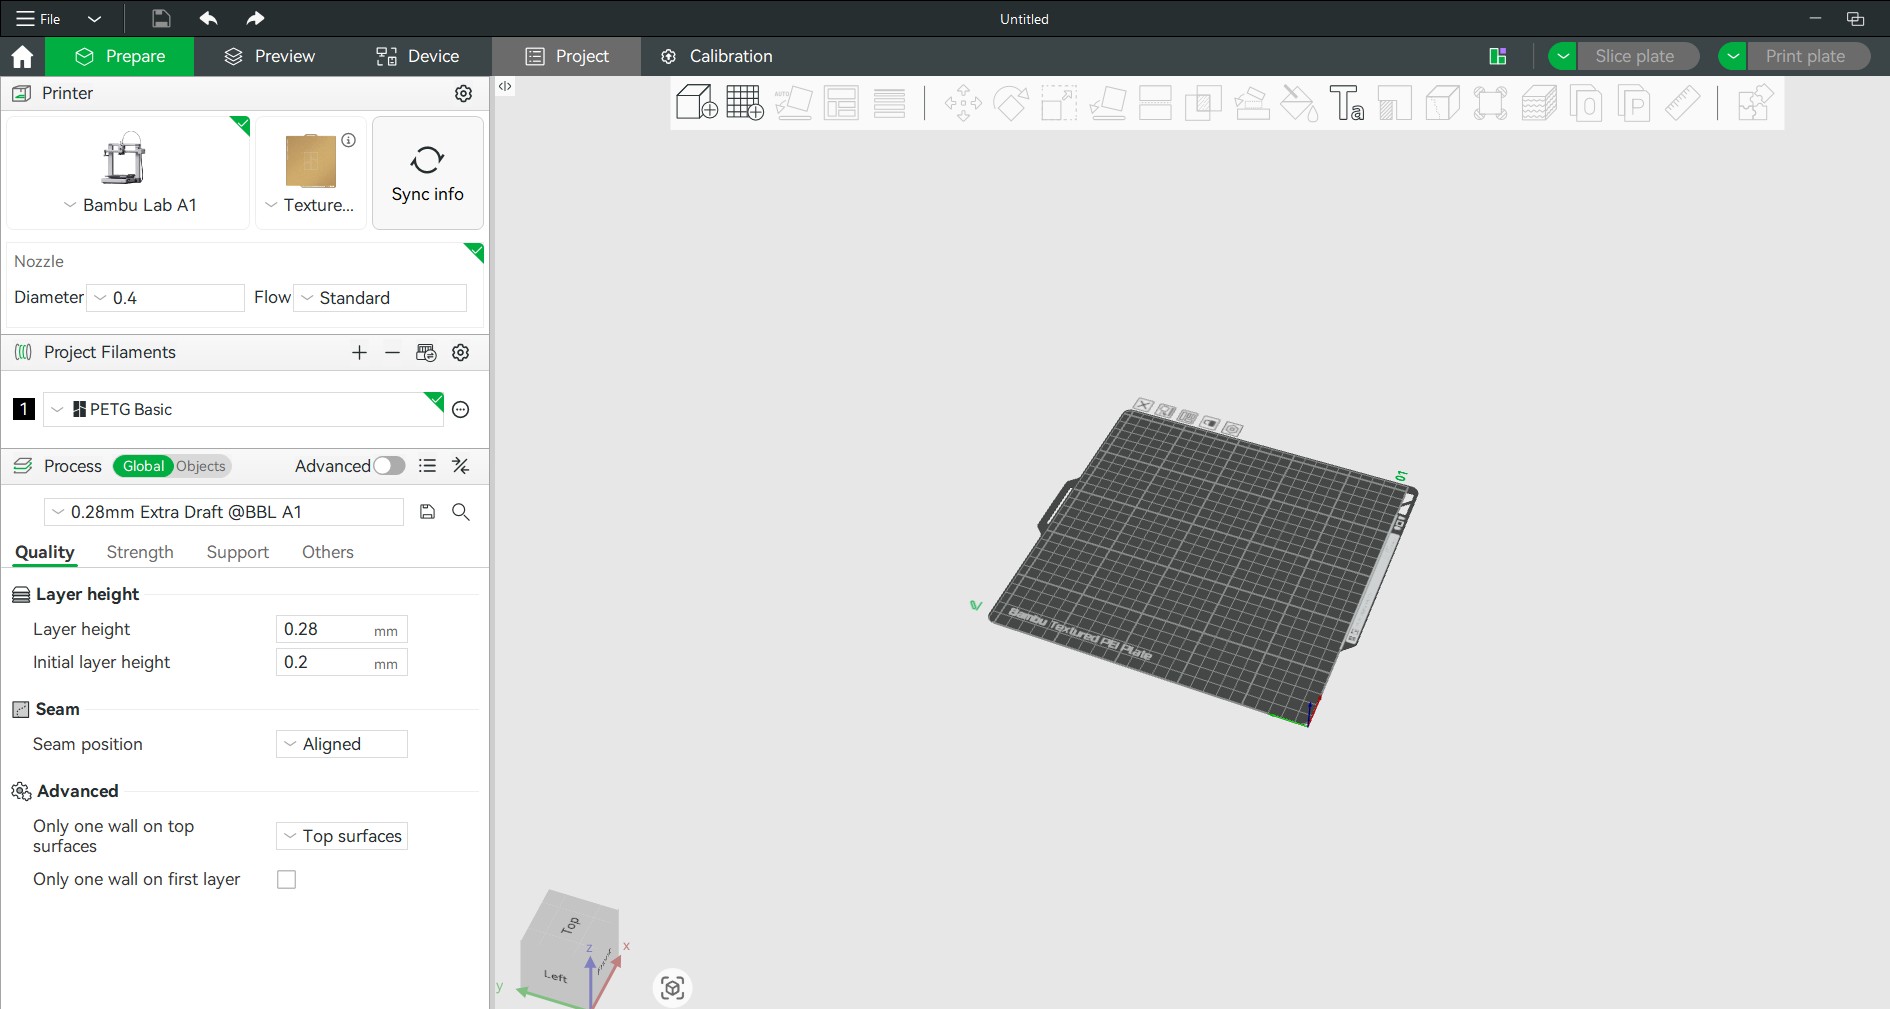
This is the bambu studio interface.
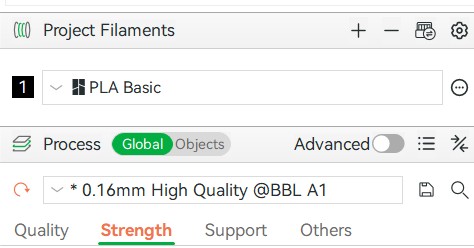
Here, I selected the 0.16mm high quality preset. This setting will make the layer height 0.16mm, a very fine setting.
I also selected Bambu PLA, the Charlotte Latin Fab Lab mainly prints PLA.
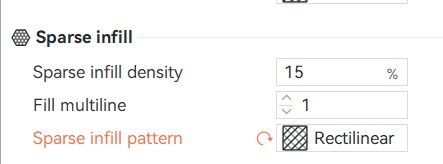
Here I selected 15% infill, meaning only 15% of the solid space will be printed. This saves filament and reduces time. The rectillinear setting means the infill will be printed in a rectangular shape.
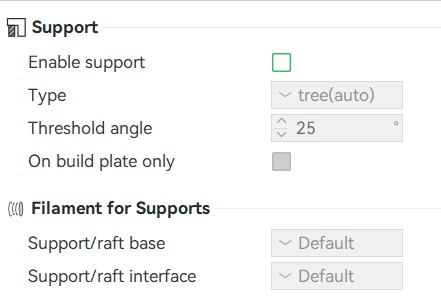
I decided this print did not need any supports. The print doesn't have any large overhangs (this is where supports are needed). The joystick will fuse a little bit to the housing during printing, however it will easily be able to be seperated just by applying force. If I did choose to use supports, I would be unable to remove them because they would be in the housing.
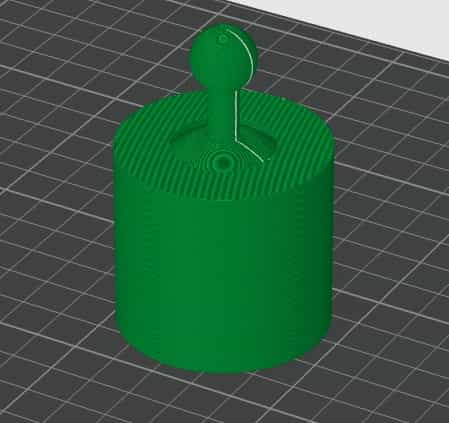
This is the joystick after I sliced the model. Slicing the model generates a preview of the print. You can see the layer lines, and seam (White line). Once the print is sliced, I sent the print to the printer.
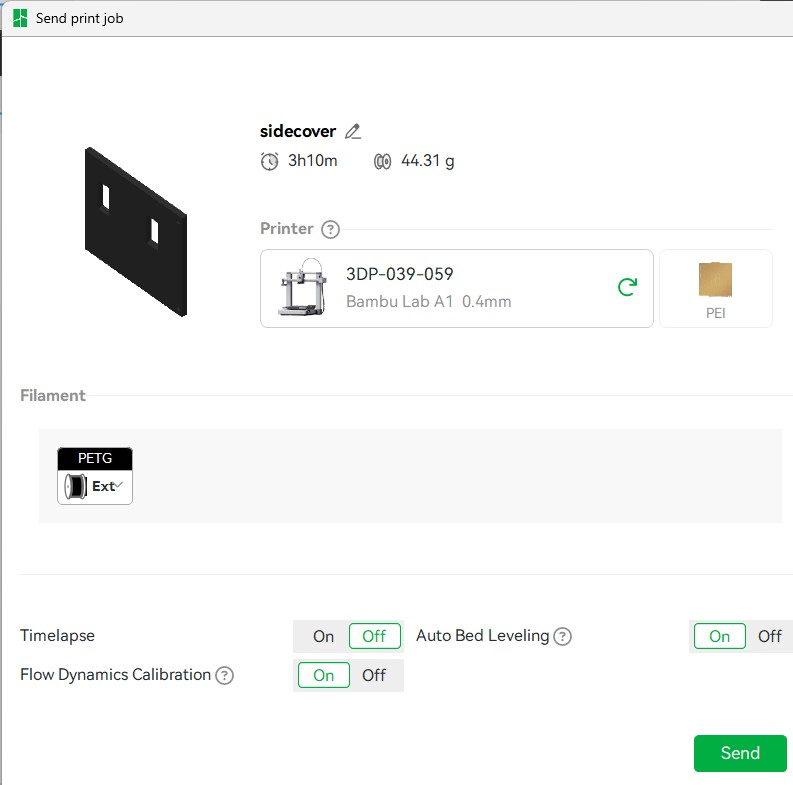
This is the screen where you can send a print to the printer. For the joystick print, I selected Auto Bed Leveling and Flow Dynamics Calibration. These settings would ensure that my printer prints the model the best. I also selected the correct printer from the dropdown.
(Note: this model is not the joystick, I am using this print for a demonstration).
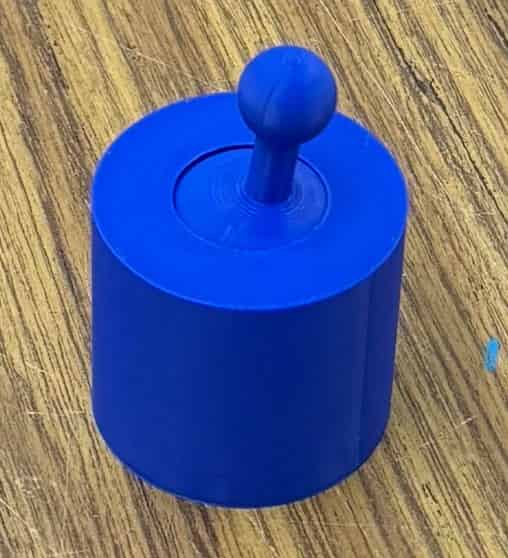
This is my joystick. The stick moves freely inside of the chamber because there were no supports stuck in the joystick.
3D Scanning
I choose to 3D scan one of the most useful tools in the fab lab: Calipers
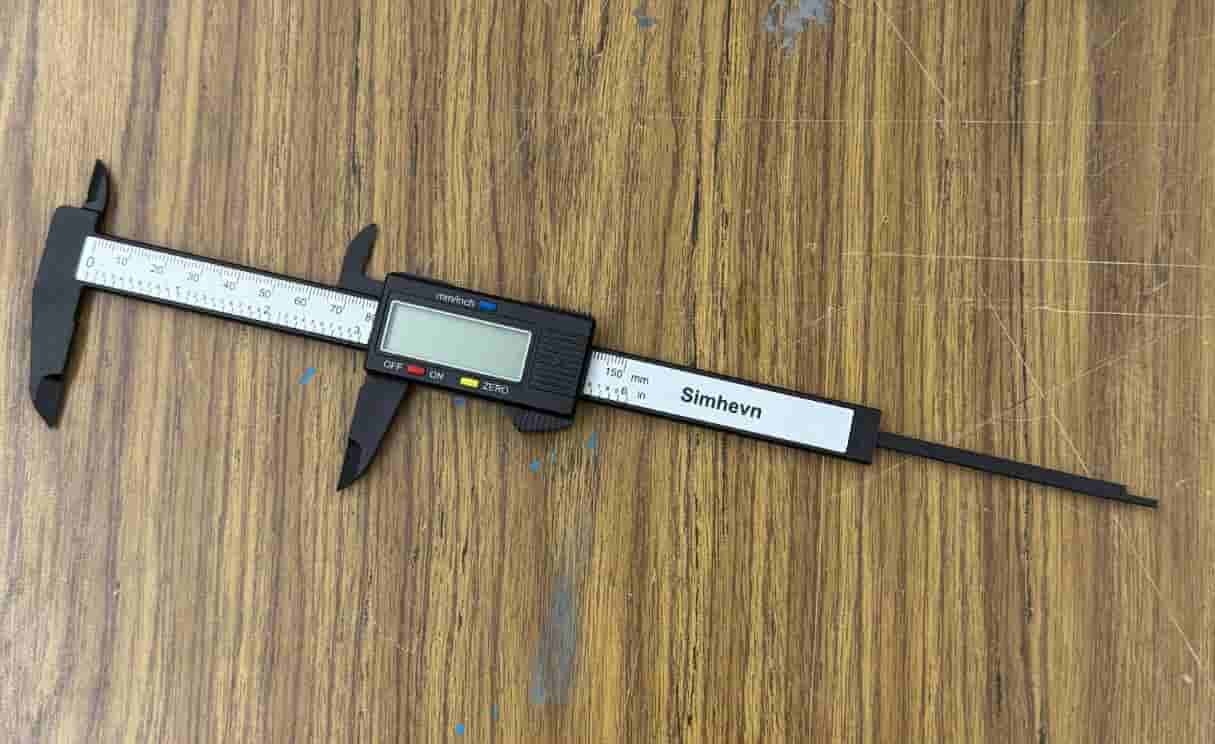
I downloaded Polycam on my iphone and selected the object scan. Then, I moved my camera around many angles of the calipers and took many photos. From those photos, polycam built a 3D model which I downloaded.
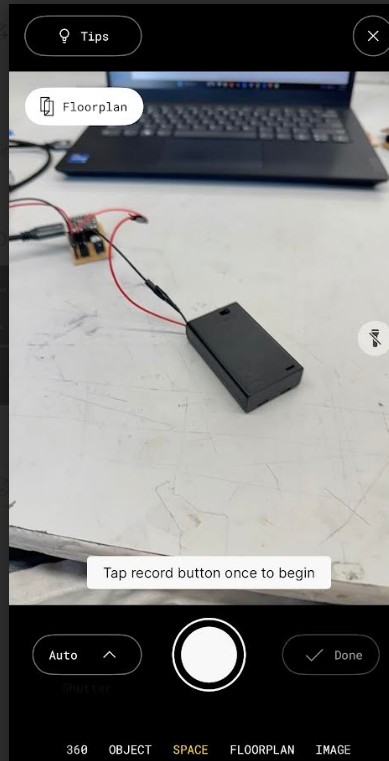
This is the view of the scan. Select the type of scan, then press the record button and move the camera around the object. The app will automatically take pictures and build your object from there.
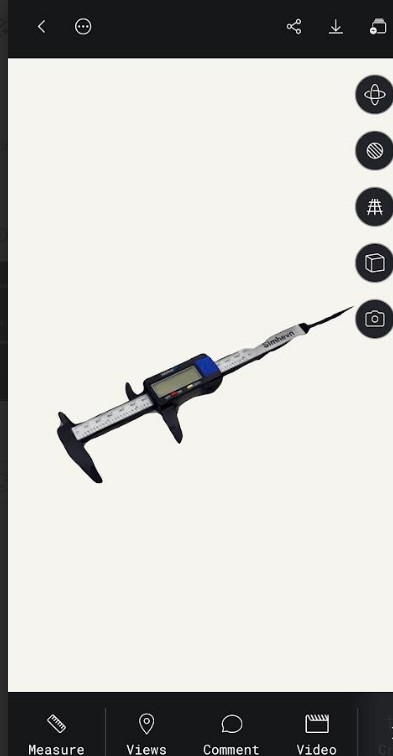
After scanning the calipers, Polycam made this model.
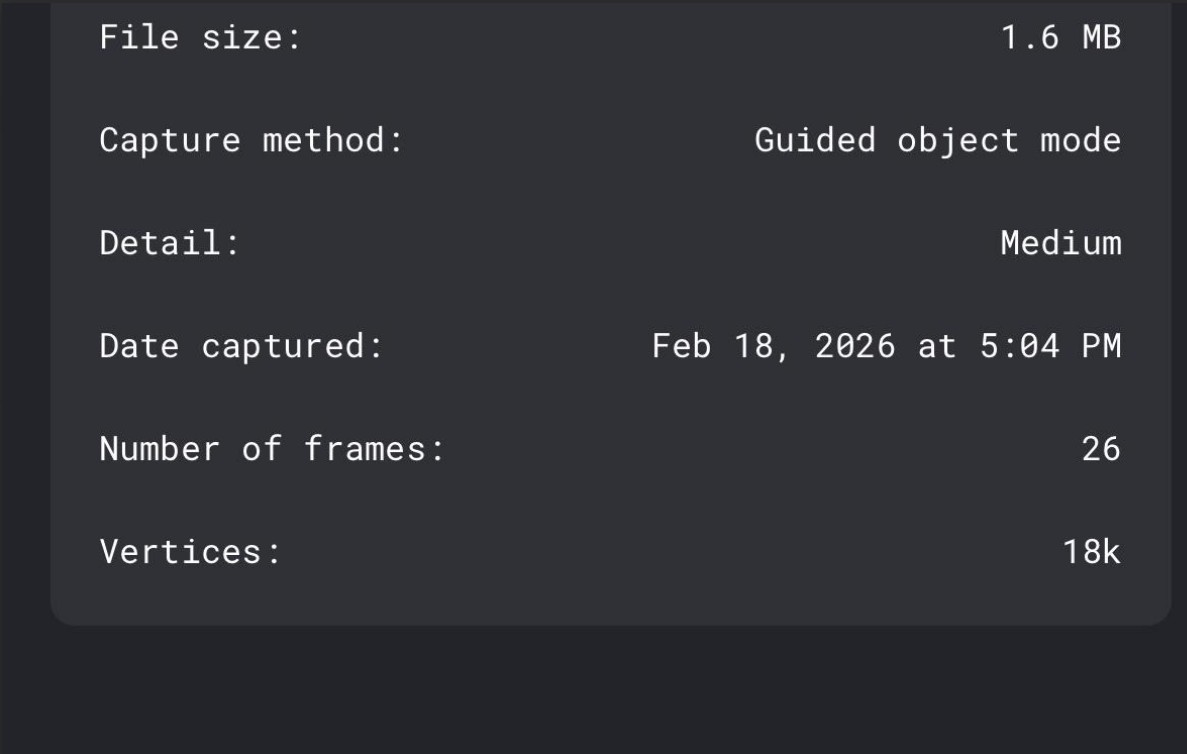
These are the settings I used during scanning along with some details about my scan.
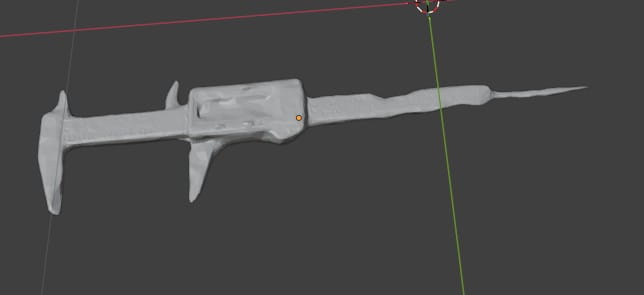
I imported the GLB file into blender to visualize the scan. The scan is pretty accurate but the triangles are still visible because I used the free version of Polycam.
Click Here to Download the File
Reflection
This week felt pretty easy. The group work went by quick especially because I didn't have to design anything. My joystick was very easy to design in fusion. 3D scanning was new for me however it was very easy to learn.