Wildcard
Overview of week 16
Individual Assignment
- Design and produce something with a digital process (incorporating computer aided design and manufacturing) not covered in another assignment, documenting the requirements that your assignment meets, and including everything necessary to reproduce it. Possibilities include but are not limited to wildcard week examples.
Individual Assignment :
Hero shot
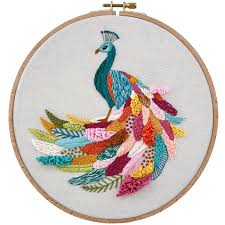
Embroidery
Embroidery is the art of decorating fabric using needle and thread or yarn. It often includes designs such as flowers, patterns, or logos. Traditional embroidery is done by hand, while modern methods use computerized machines. Common stitches include chain stitch, satin stitch, and cross-stitch. Materials used include silk, cotton, and metallic threads. Embroidery is widely used in fashion, home décor, and textiles. It reflects cultural heritage and is both a hobby and a professional craft.
Types
- Hand Embroidery – Traditional method done manually using various stitches.
- Machine Embroidery – Done using electric or computerized machines for precise and faster stitching
Stitches
- Running stitch
- Backstitch
- Satin stitch
- Chain stitch
- Cross-stitch
- French knots
Materials
Threads : Cotton, silk, wool, metallic threads
Base fabrics : Cotton, linen, silk, denim, felt
Tools
- Needles
- Embroidery hoops/frames
- Scissors
- Thimbles
Wilcom Embroidery Software
Wilcom is a leading embroidery digitizing software used worldwide by professionals to create, edit, and manage embroidery designs. It’s known for precision, flexibility, and industry-standard file compatibility.Converts images or artwork into stitch files readable by embroidery machines (like .DST format).
- Reads and writes over 30 embroidery machine file formats like .DST, .PES, .EXP, .JEF.
- Can also import common graphic formats (JPEG, PNG, BMP, etc.) for digitizing.
I download and open the Wilcom software
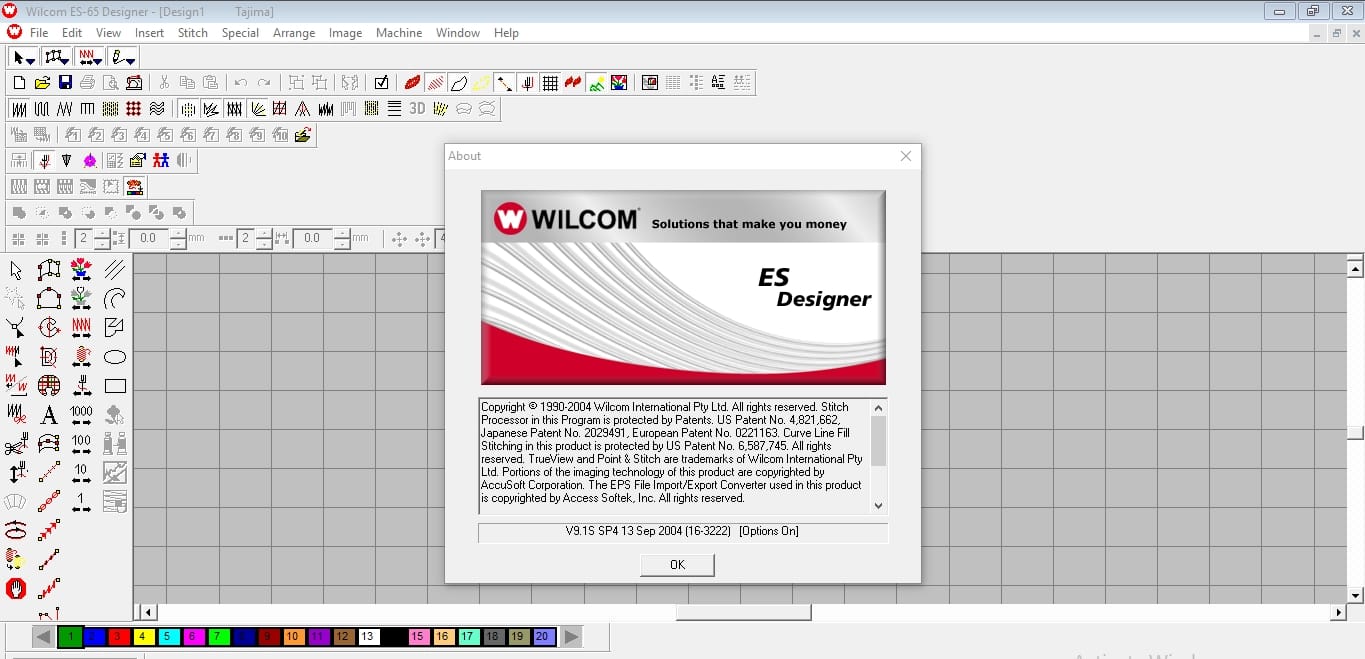
Wilcom has lot of tools in the front interface itself, as a brginner we can directly use the tools without worring about theirs locations
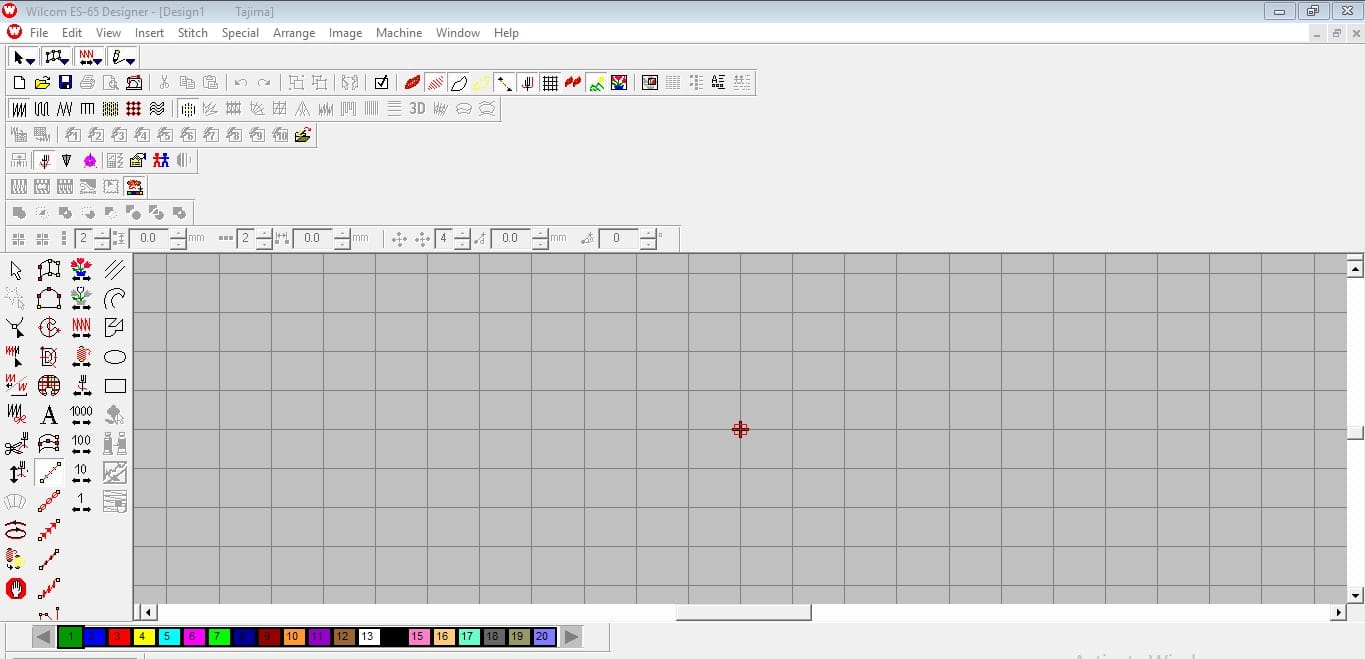
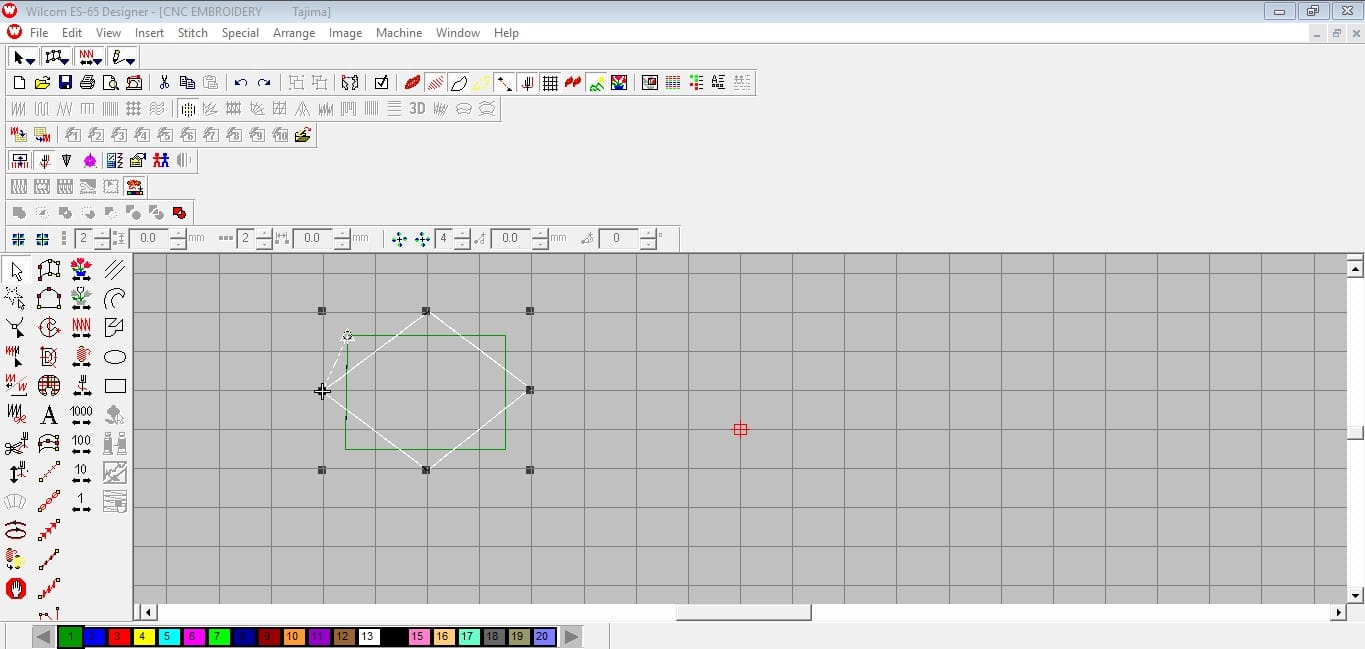
At first I use the options to familar in this software, I start to draw the designs
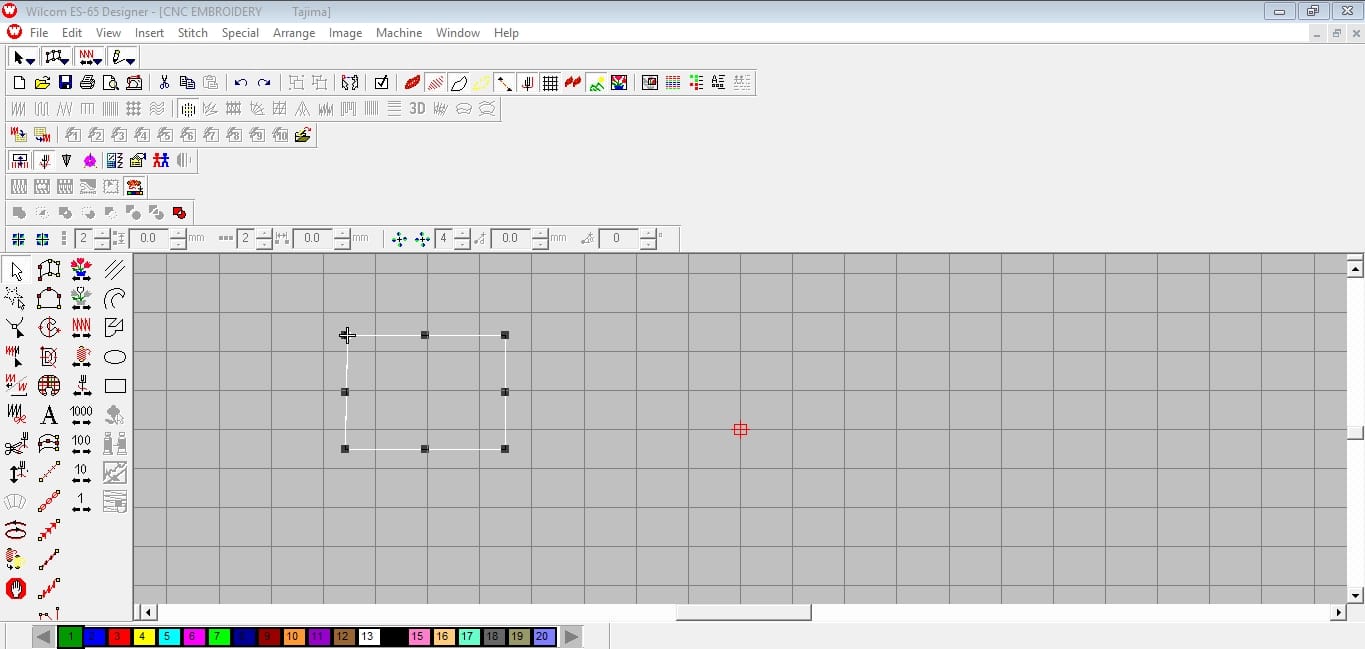
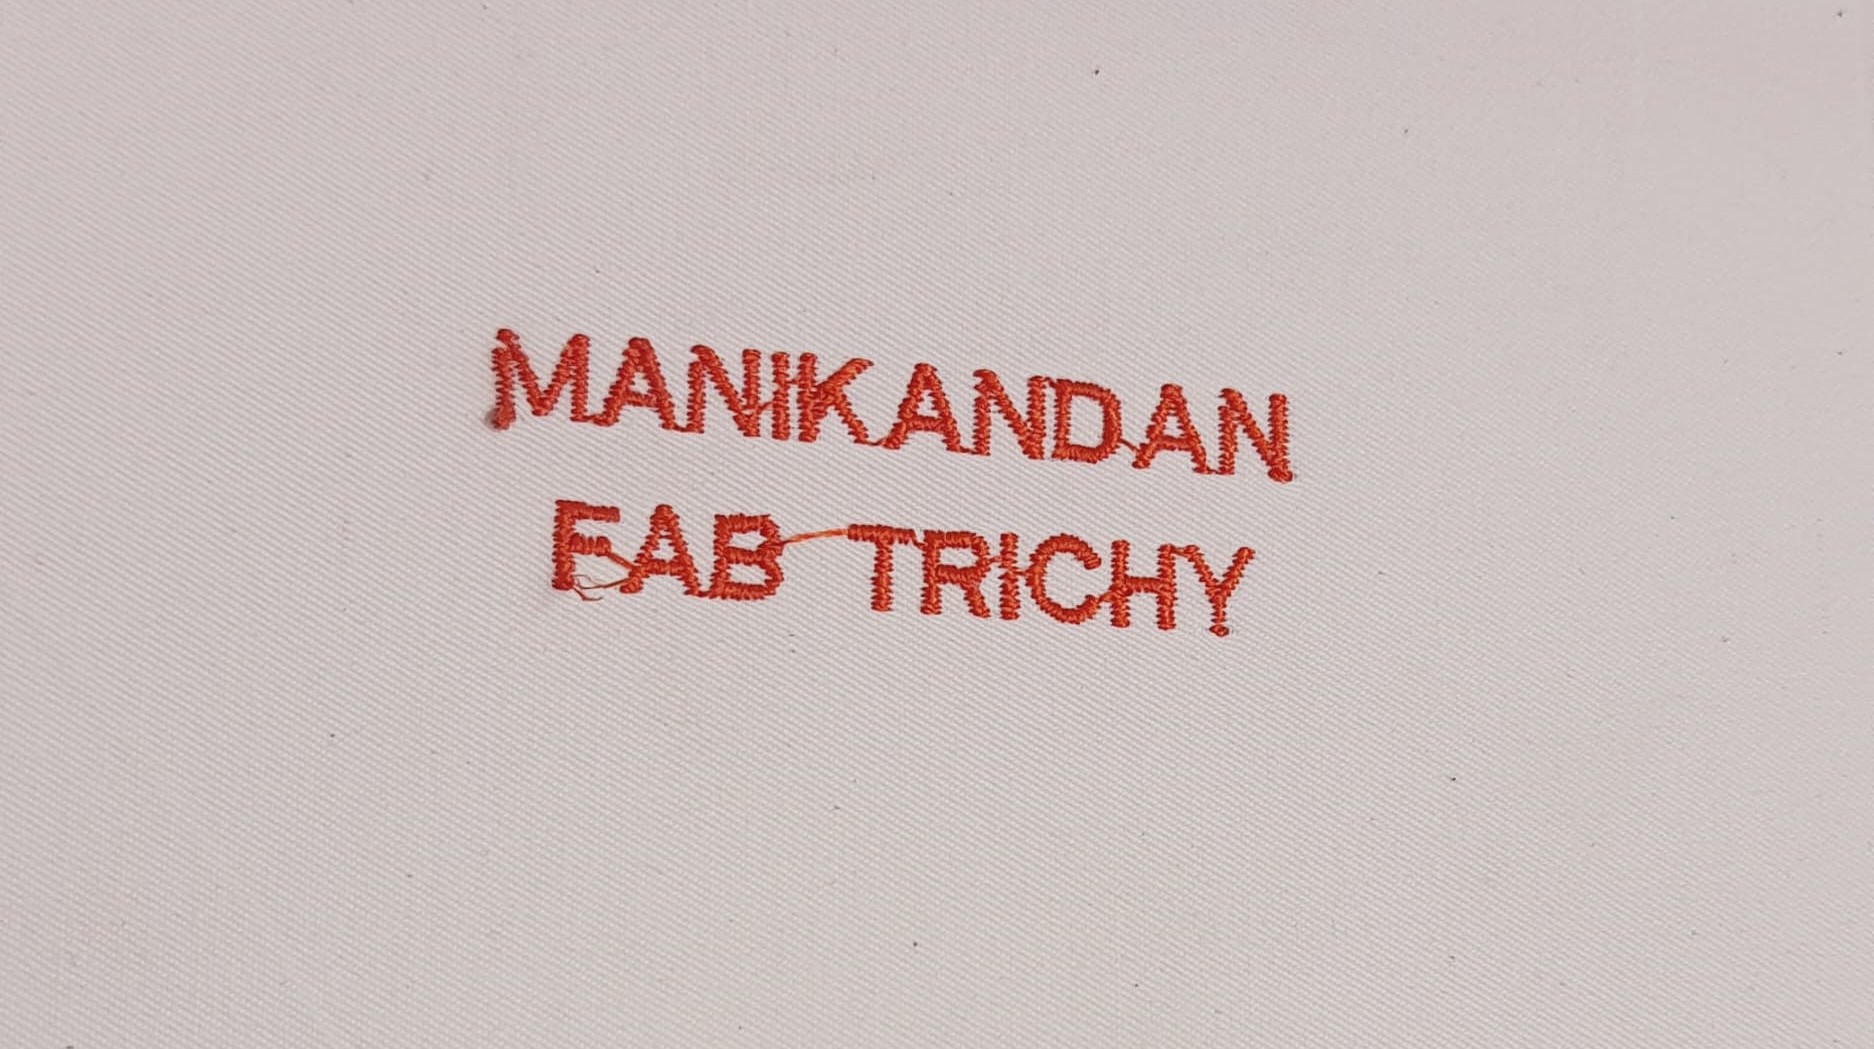
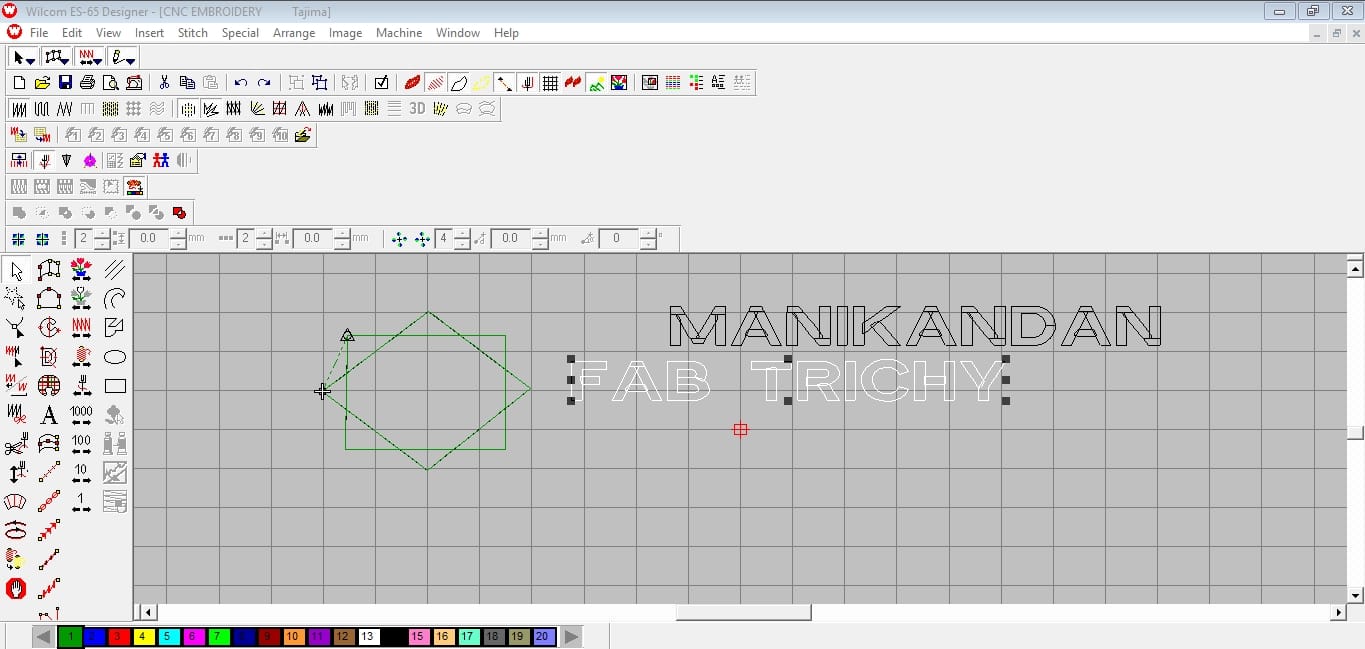
By using the text options I create my name and Lab name
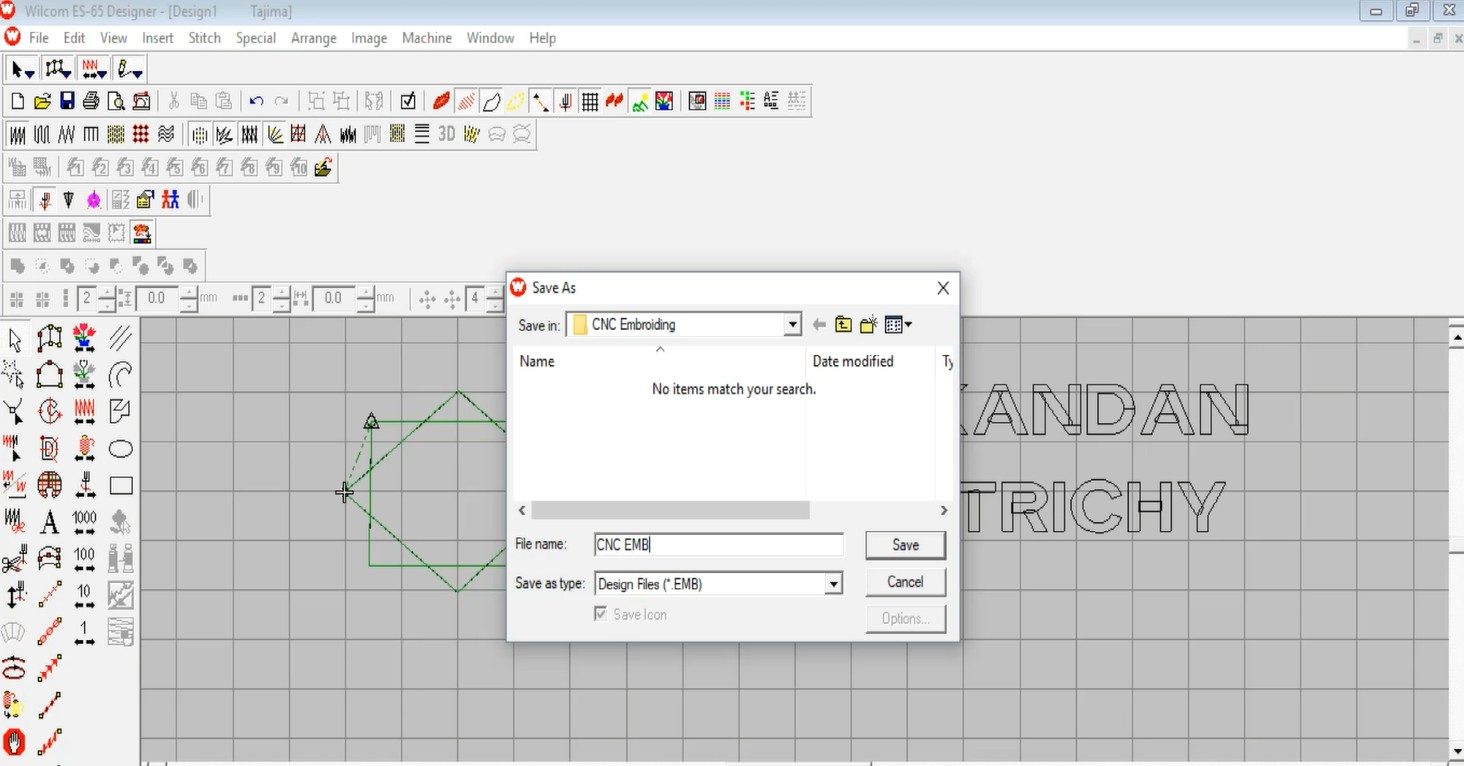
Then I save it into .EMB file for the CNC operation
Single-head Computerized Embroidery Machine
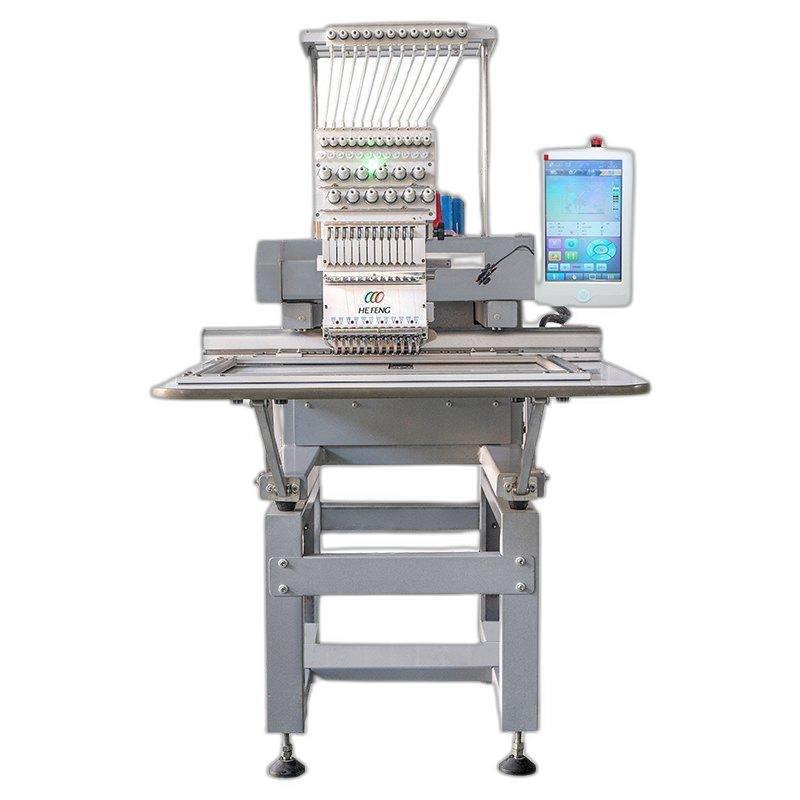
Specification
- Number of Heads : 1
- Number of Needlesr : 12
- Max Speed : 1000–1200 stitches/min
- Display : Color Touchscreen
- File Formats : DST, DSB, PES (depends on model)
- Power Supply : 240 V AC
- Communication : USB port and networkable/Wi-Fi file transfer
- Stitch Type : Automatic embroidery stitching
- Thread Change : Automatic color change
- Working/Embroidery Area : 500mm x 1200mm
- Control System : 10-inch LCD touch pane
Machining
Before starting the embroidery process, I fixed the fabric properly in the embroidery frame and ensured it was stretched evenly.
This is important because loose fabric can affect the stitch quality and the accuracy of the design. After securing the fabric, I mounted the frame onto the embroidery machine and checked that it was locked correctly.
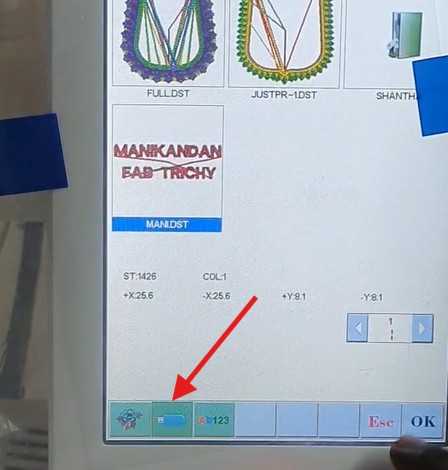
After take the .EMB format I upload the Embroidery CNC machine
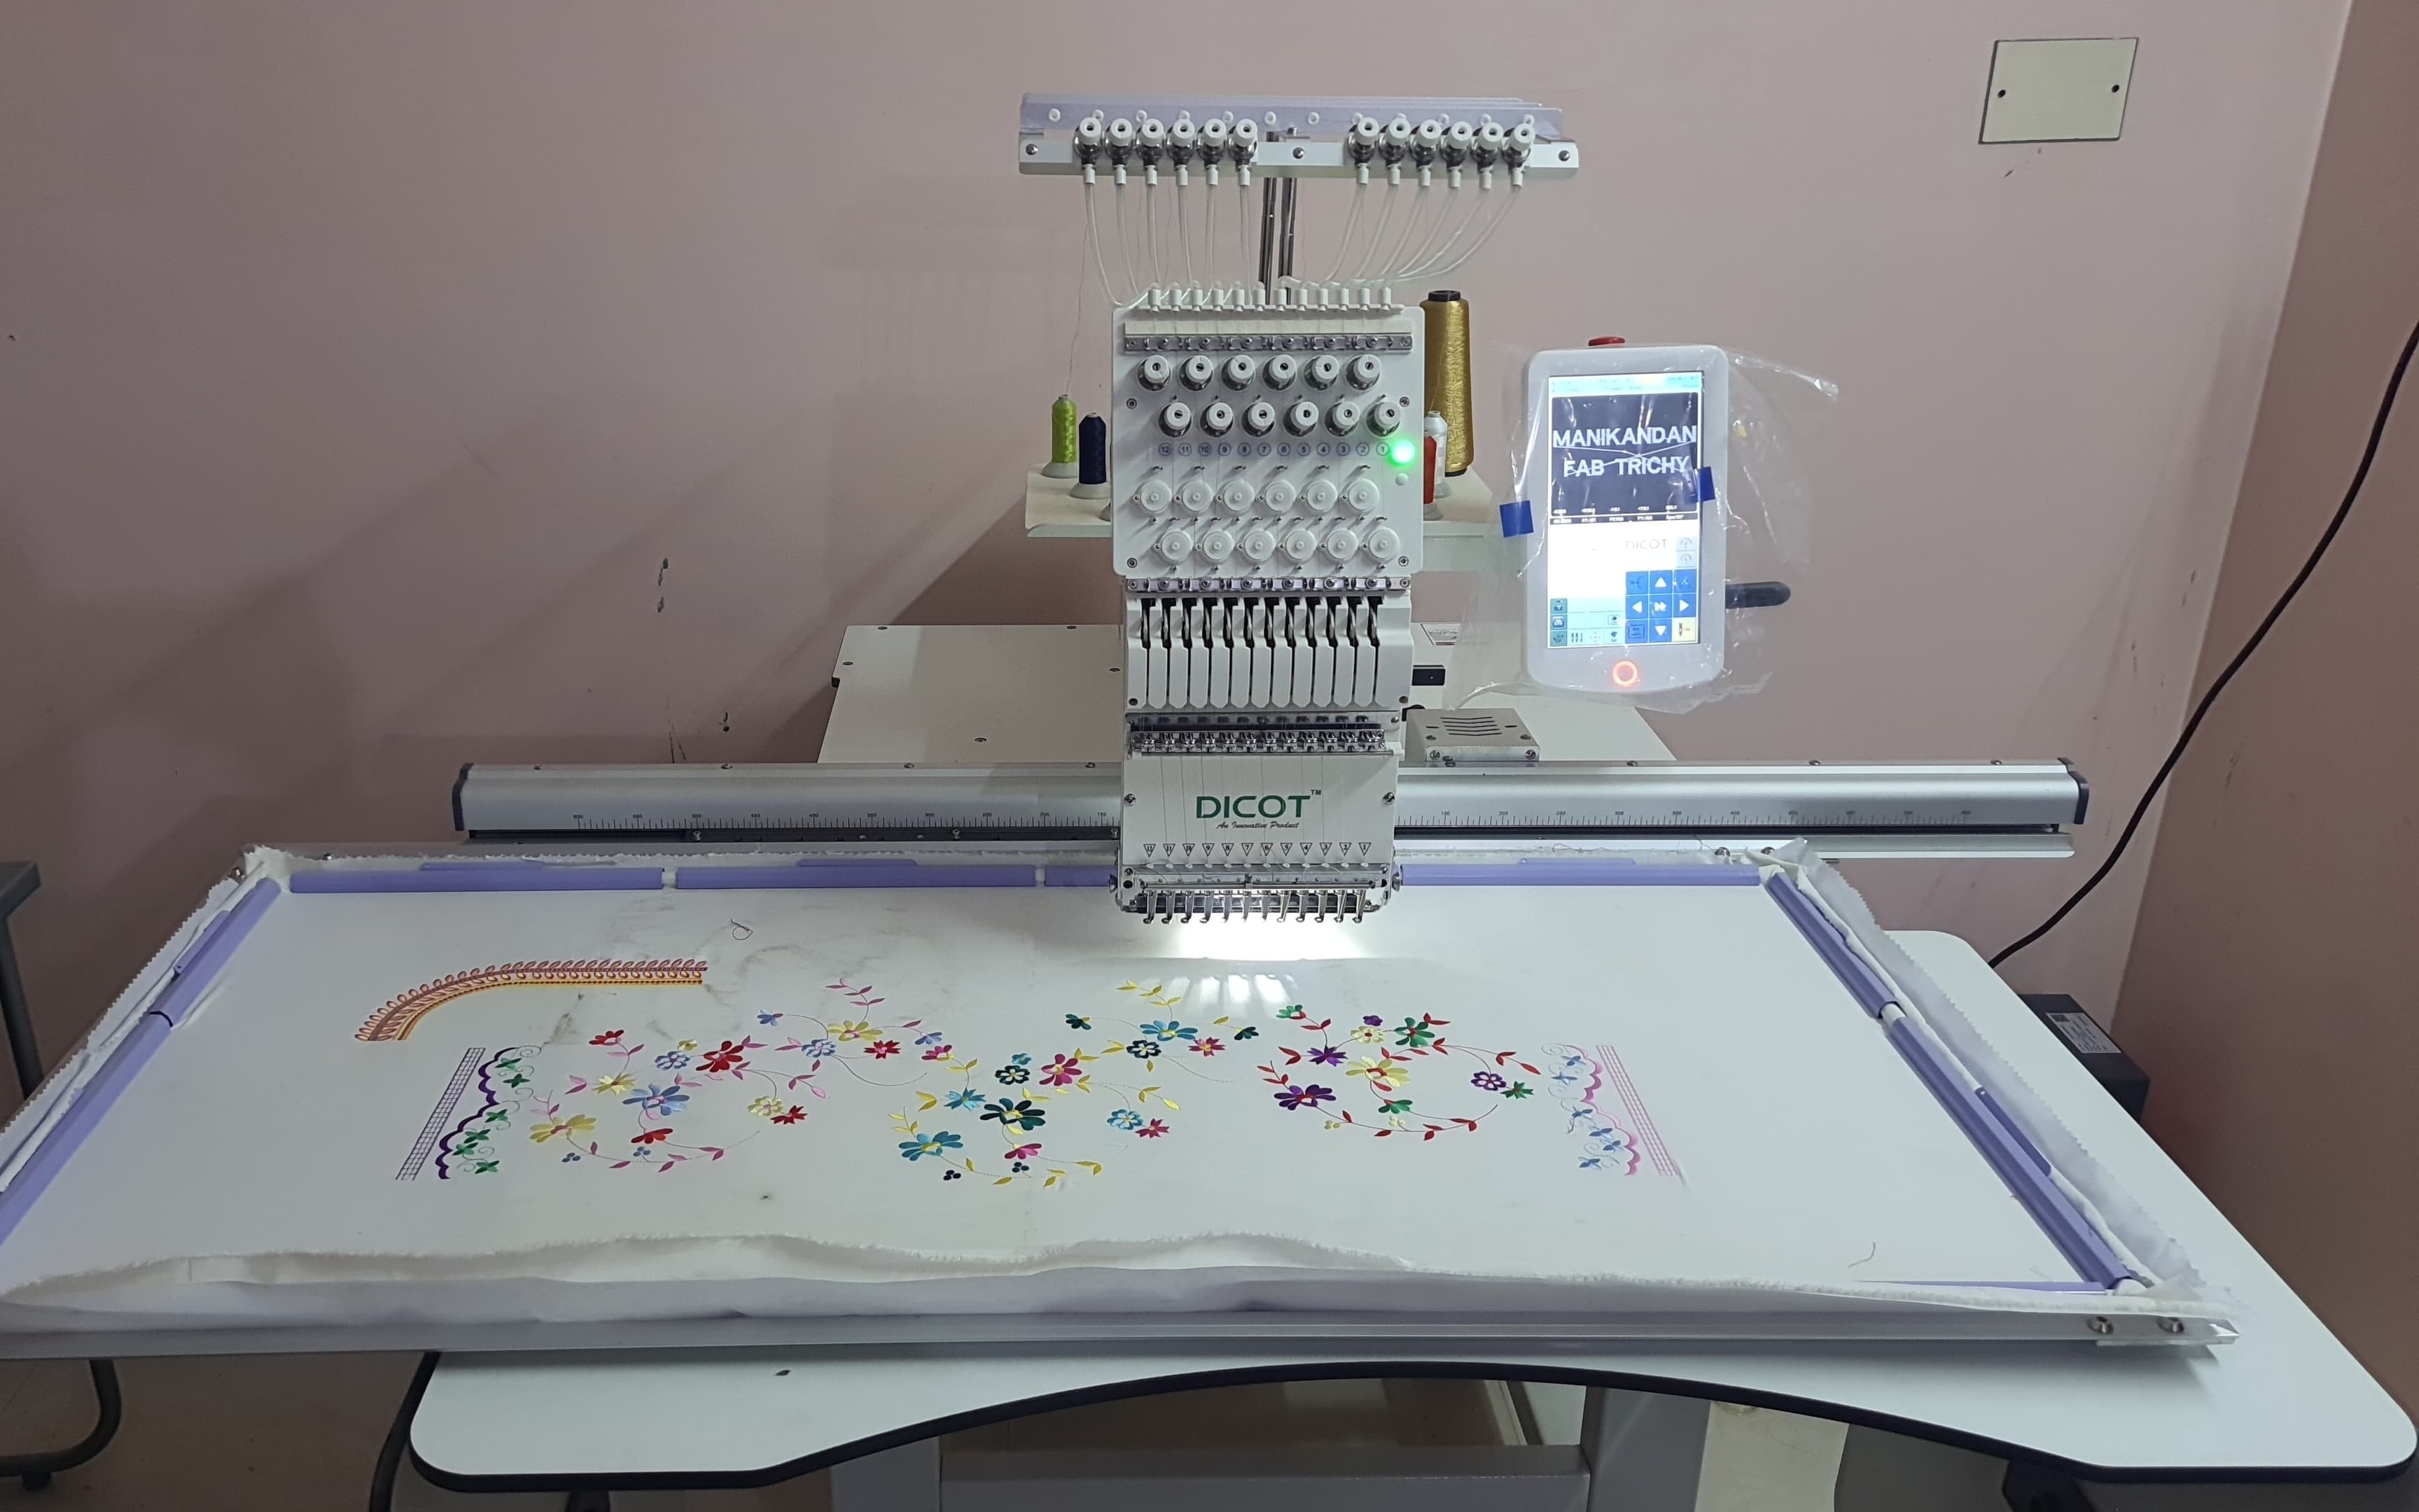
Next, I loaded the embroidery thread into the machine and verified that the thread was passing correctly through the guides and needle.
I also checked the needle position and made sure the machine was ready for operation.
At first I check with the box design to understand the machine function, I draw one box in Wilcom software, then save and upload it into the CNC machine
Then save and upload it into the CNC machine and do the process after set the orgin points
After setting the origin point, I performed a boundary check to confirm that the design would fit within the embroidery area.
This helped me avoid any positioning errors before starting the actual embroidery process.
Once the machine started, I observed how the embroidery frame moved in the X and Y directions while the needle moved up and down to create the stitches.
The machine followed the toolpath generated from the embroidery design and stitched the pattern automatically.
After learnt that operation I try to embroidery my name though the CNC
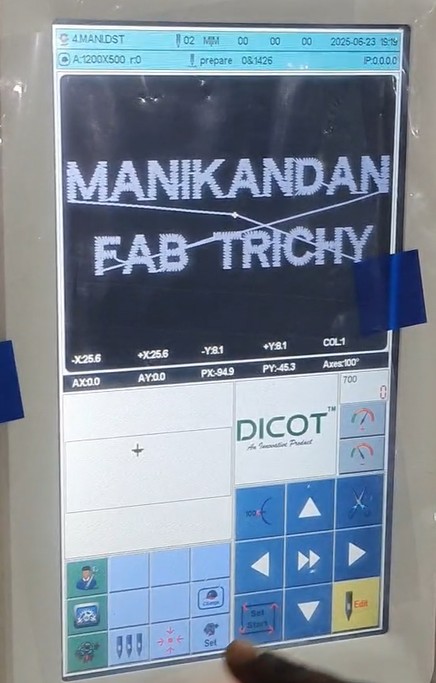
We can set the colours by choosing the one,so I choose the red colour
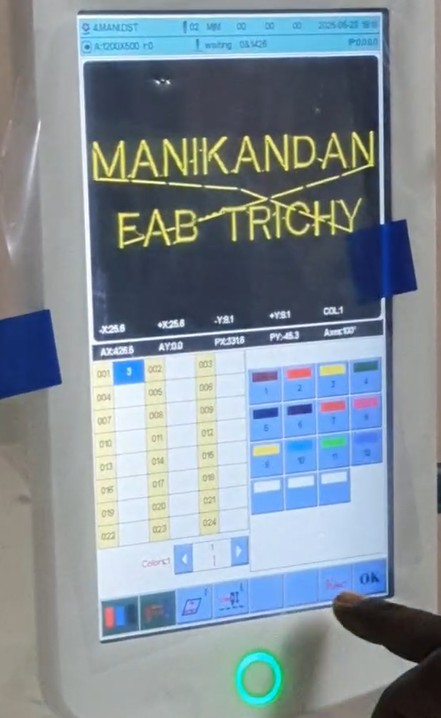
Then I start the machine to do the operation further. During the operation, I monitored the stitching quality and thread movement.
Inbetween the process the machine has stop due to the line ending and move to the next phase by cutting its threads itself. When one section of the design was completed, the machine automatically cut the thread and proceeded to the next section of the embroidery process.
This automatic thread trimming reduced manual work and ensured a clean transition between different stitching operations.
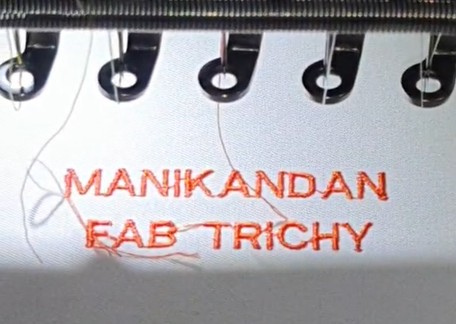
After the embroidery was completed, the I inspected the final output of the white fabric cloth.
Materials Used
Conclusion
Learning outcomes
- To learn about the Embroidery CNC designs and its advantages compare to the traditional method
- Gained the knowledge in Wilcom software to do the design for the embroidery operations.
- Learnt how to operate the CNC machine and check the parameters like colors changes.