Interface and Application Programming
Overview of week 14
Group Assignment
- Compare as many tool options as possible.
Individual Assignments
- Write an application for the embedded board that we made, that interfaces a user with an input and/or output device(s)
Group Assignment :
Explore and compare programming tools
Get to know how to work in Scratch
Understand the Scratch functionality
Create a simple program in Scratch
Individual Assignment :
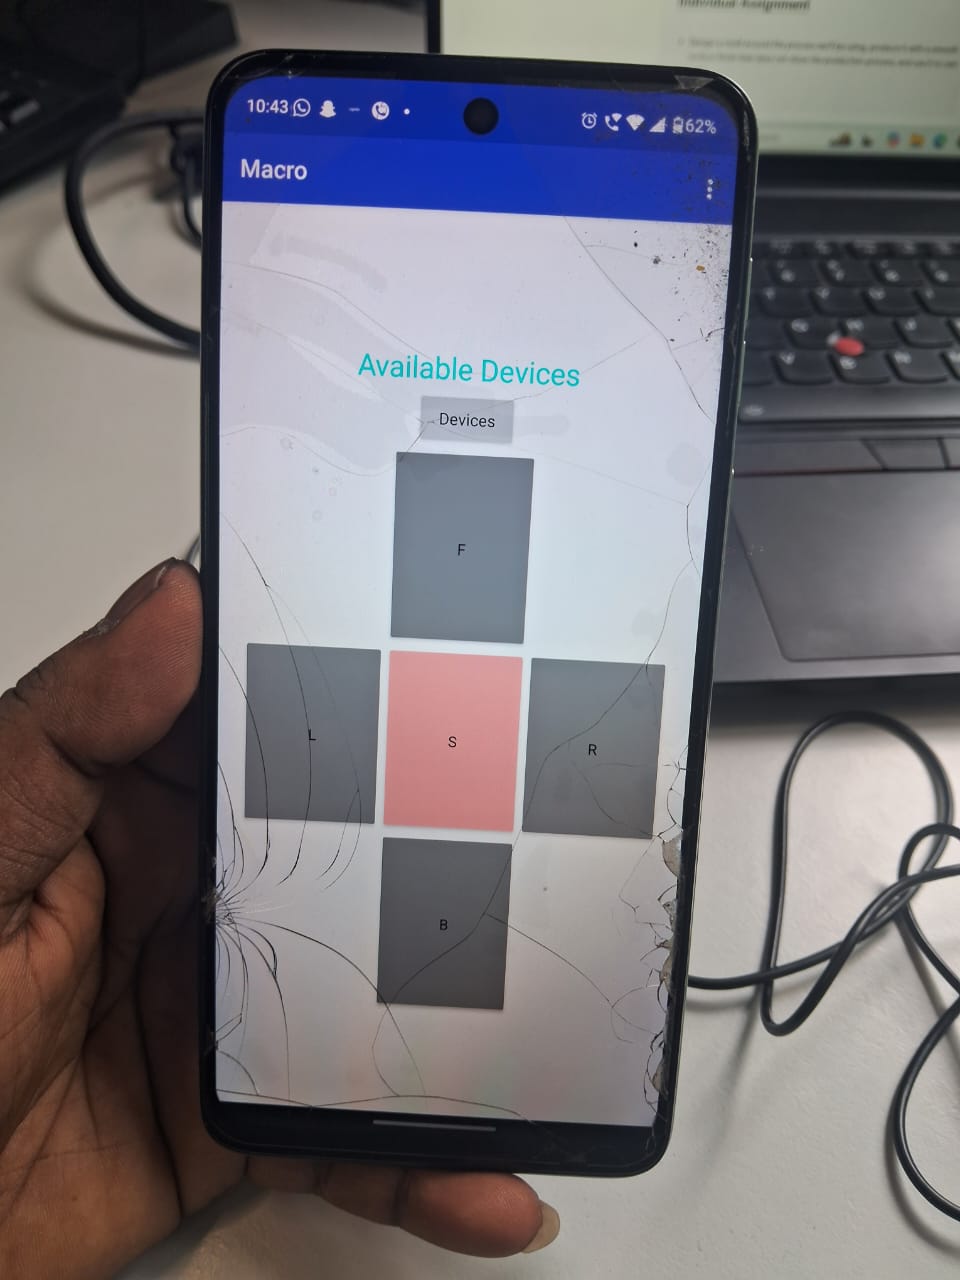
Hero shot
MIT App Inventor
MIT App Inventor is a block-based programming app builder that allows us to create Android apps without coding.
I start with app inventor for this week assignment, I create the account also. Then we can create the new app
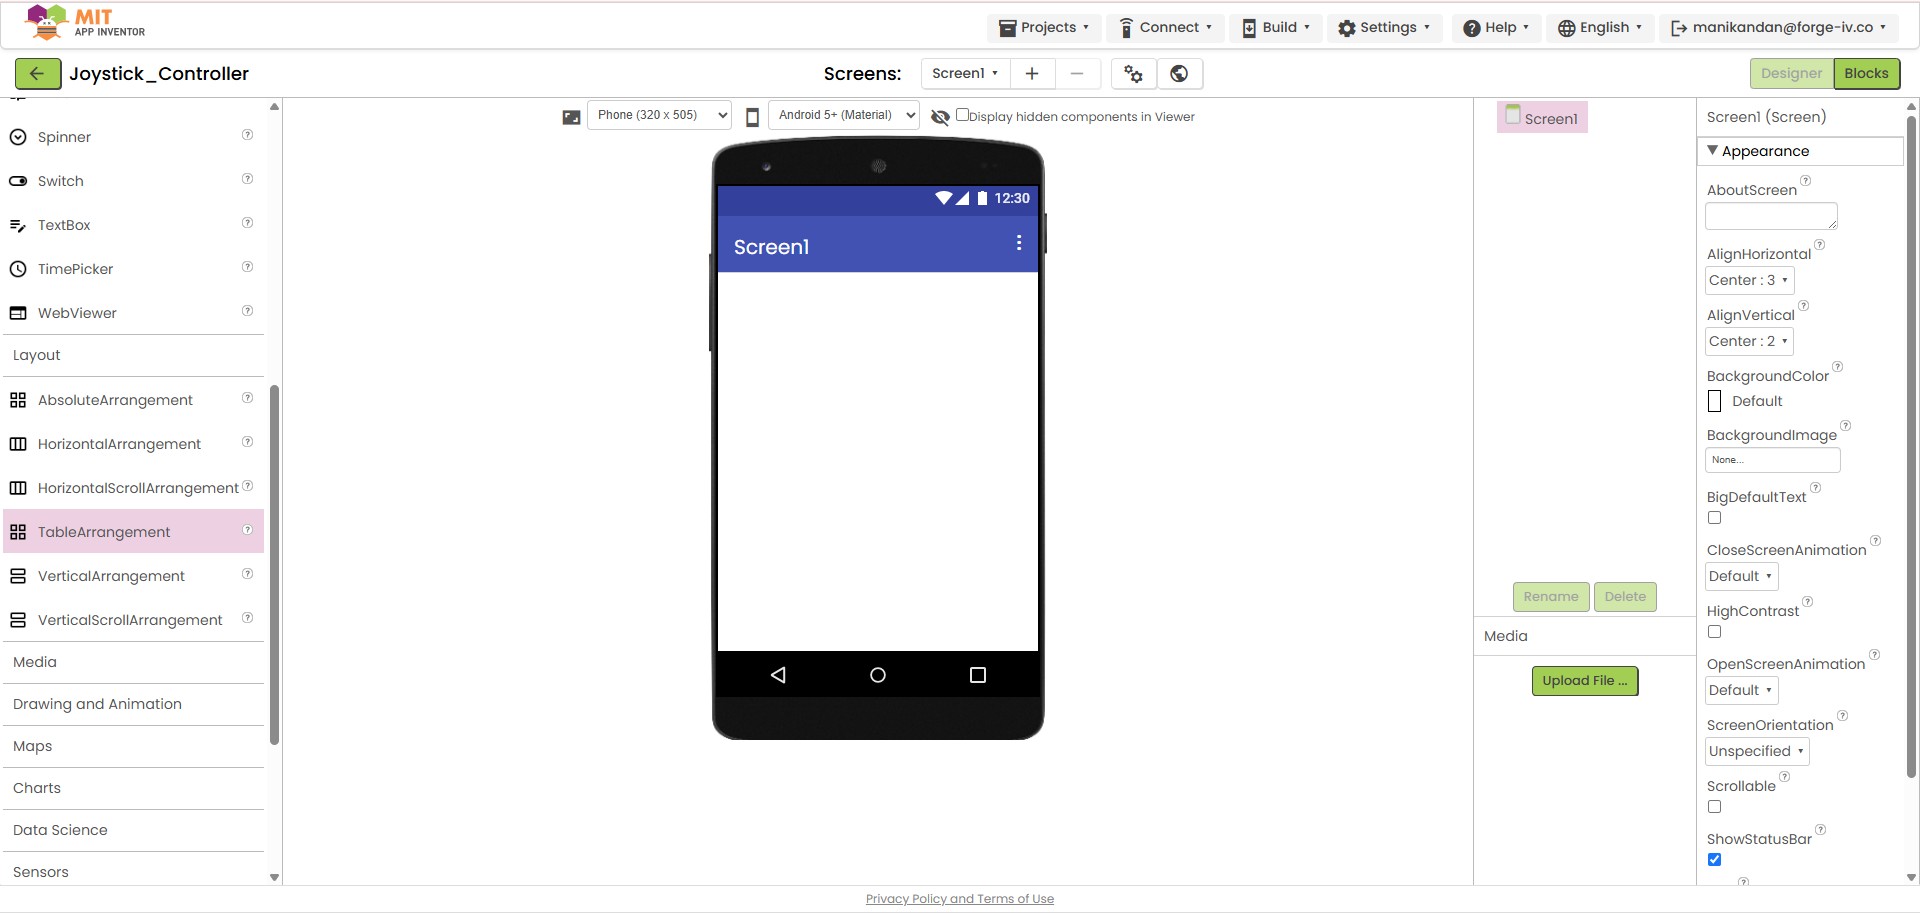
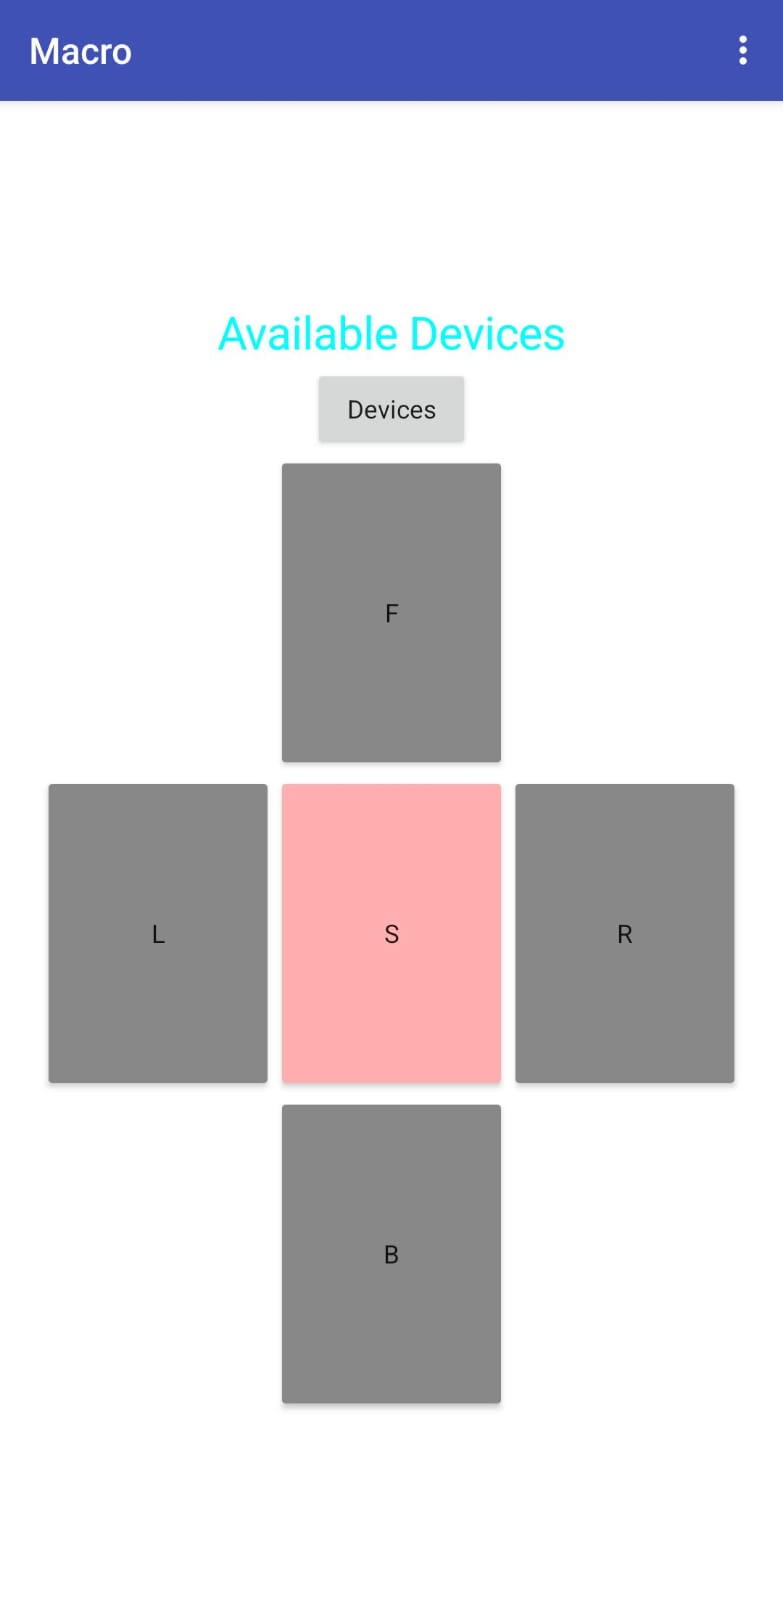
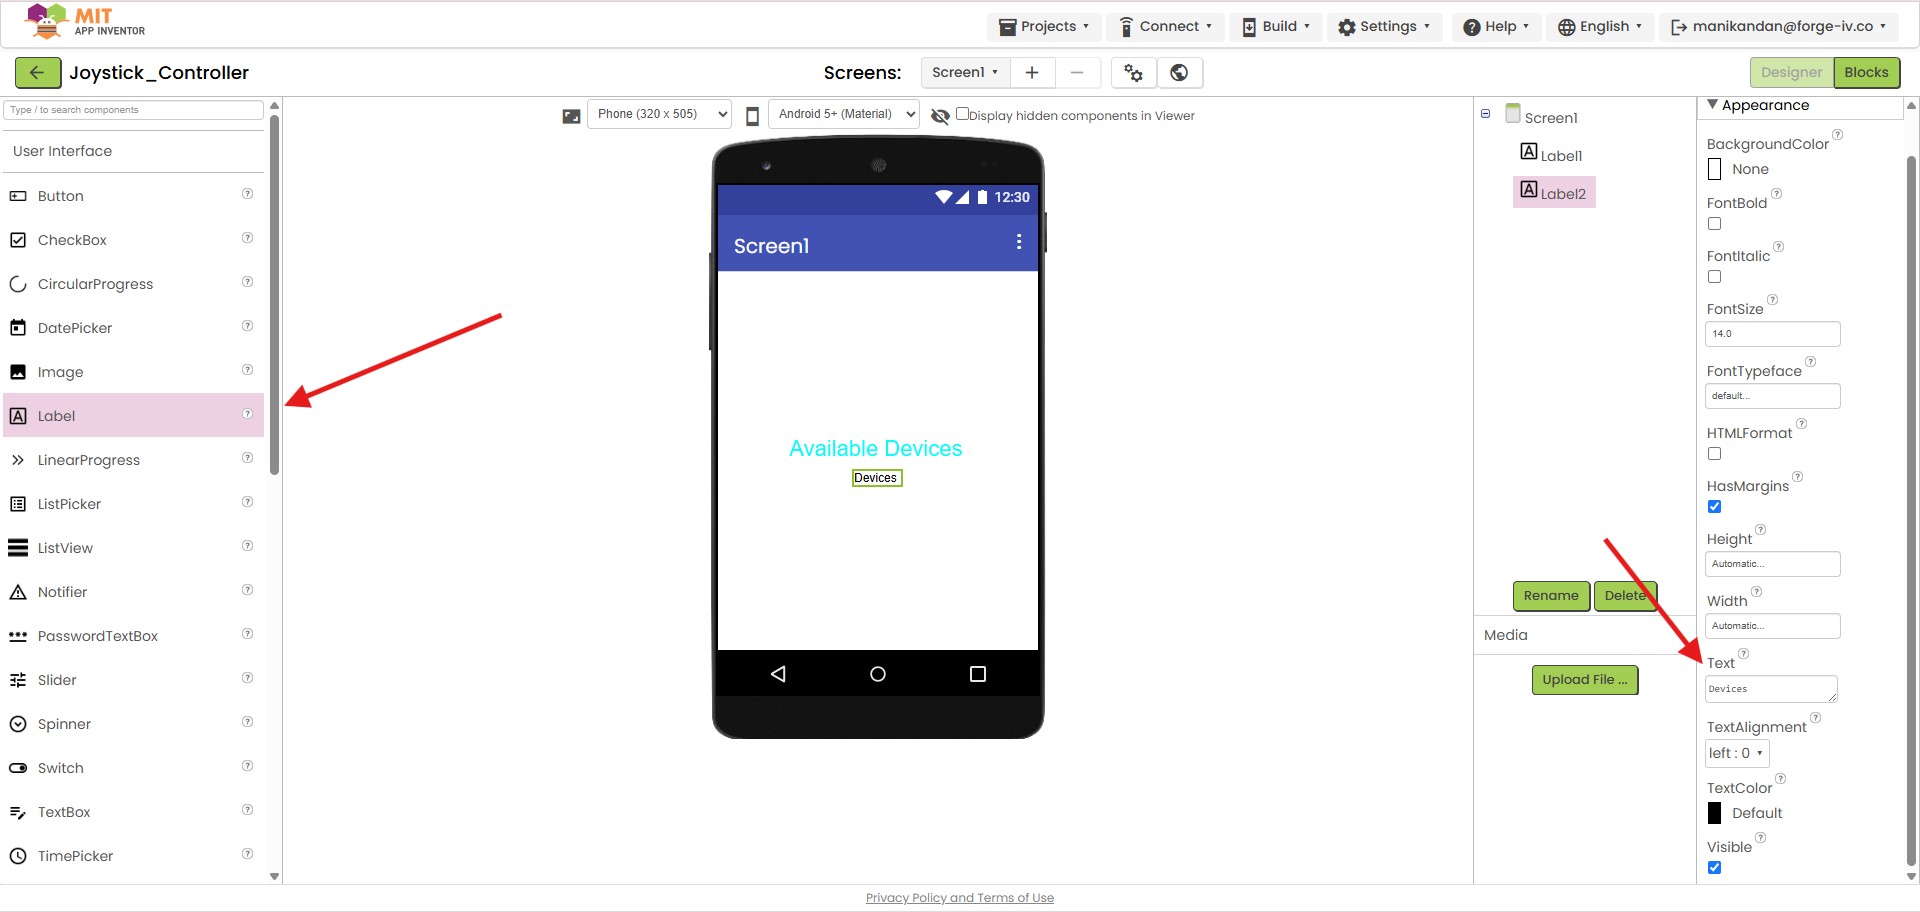
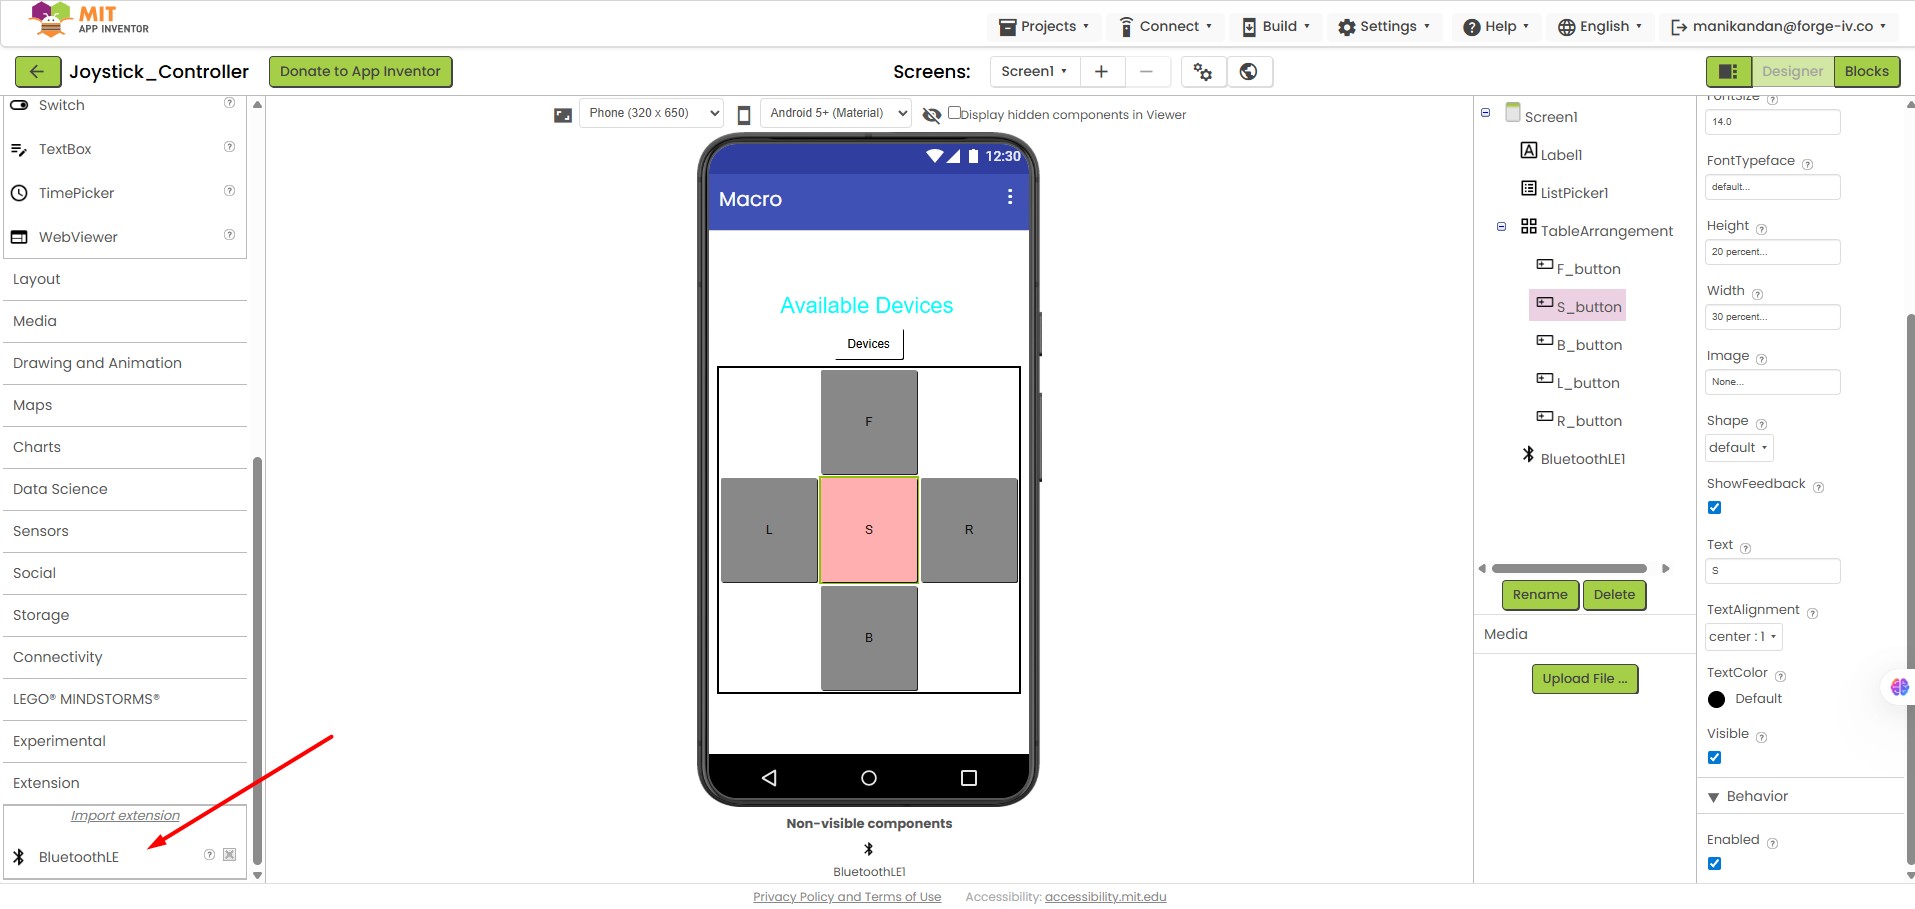
Then add the Devices setup user interface and change the customization which one I like to visualize
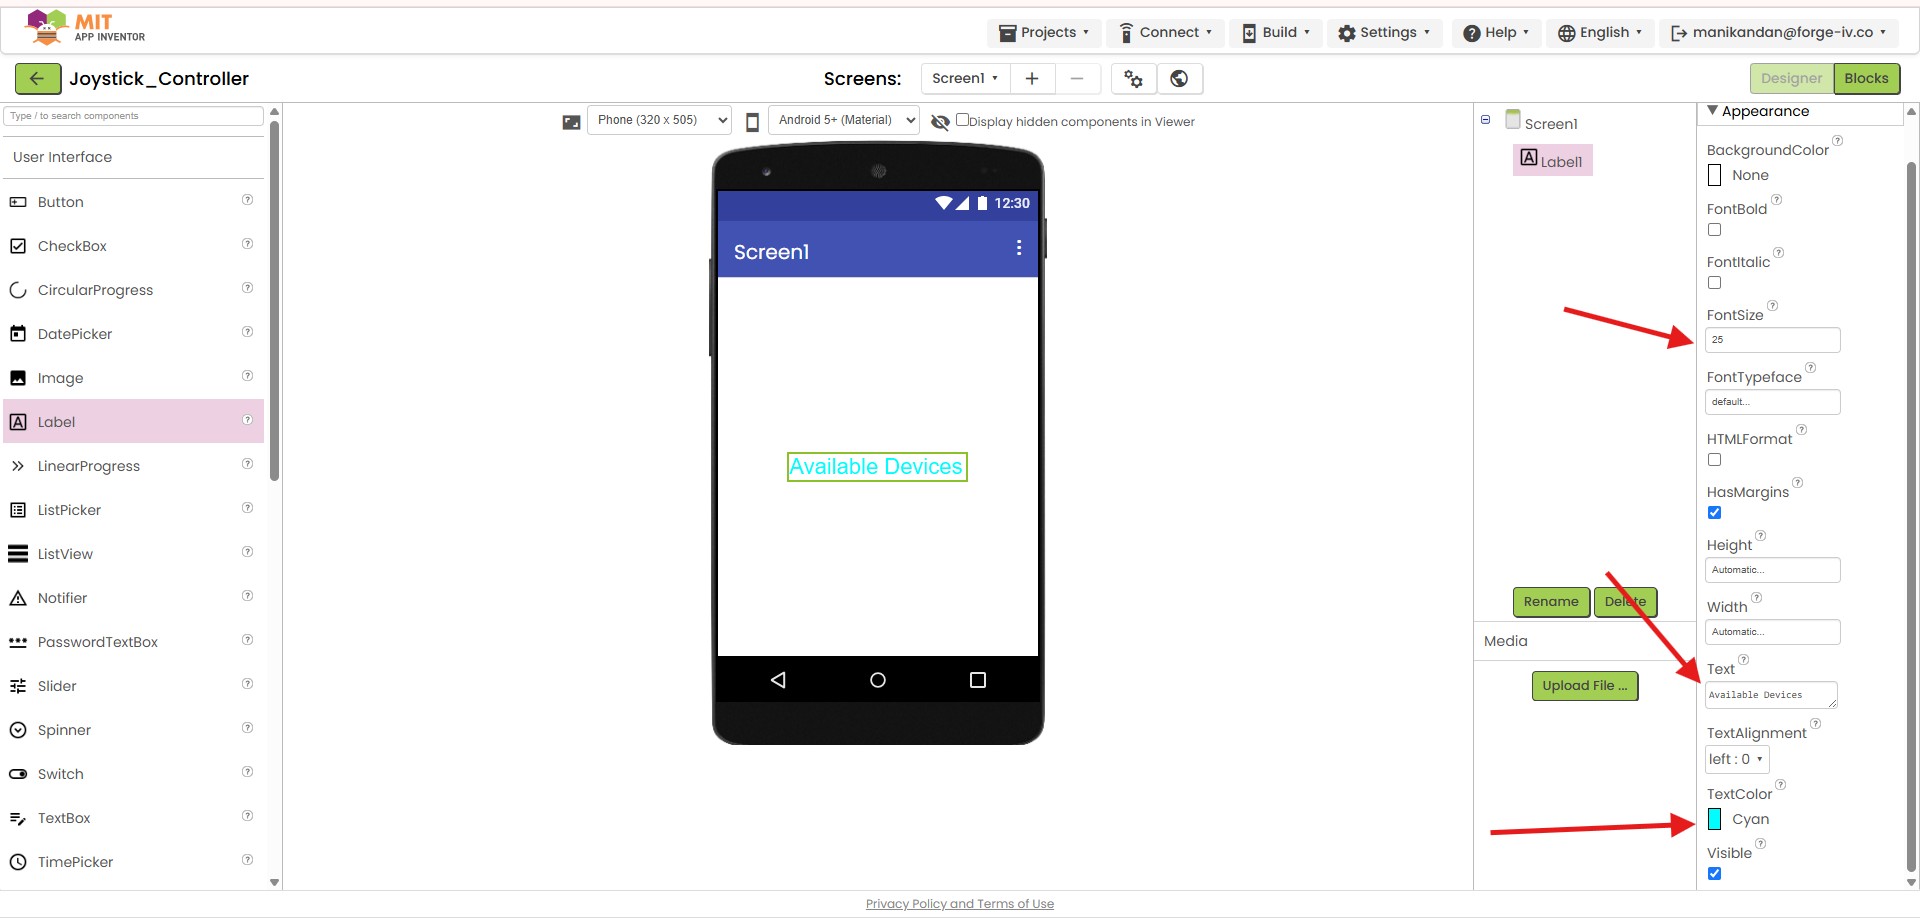
Add the label for the external devices bluetooth connectivity and adjust the customization also
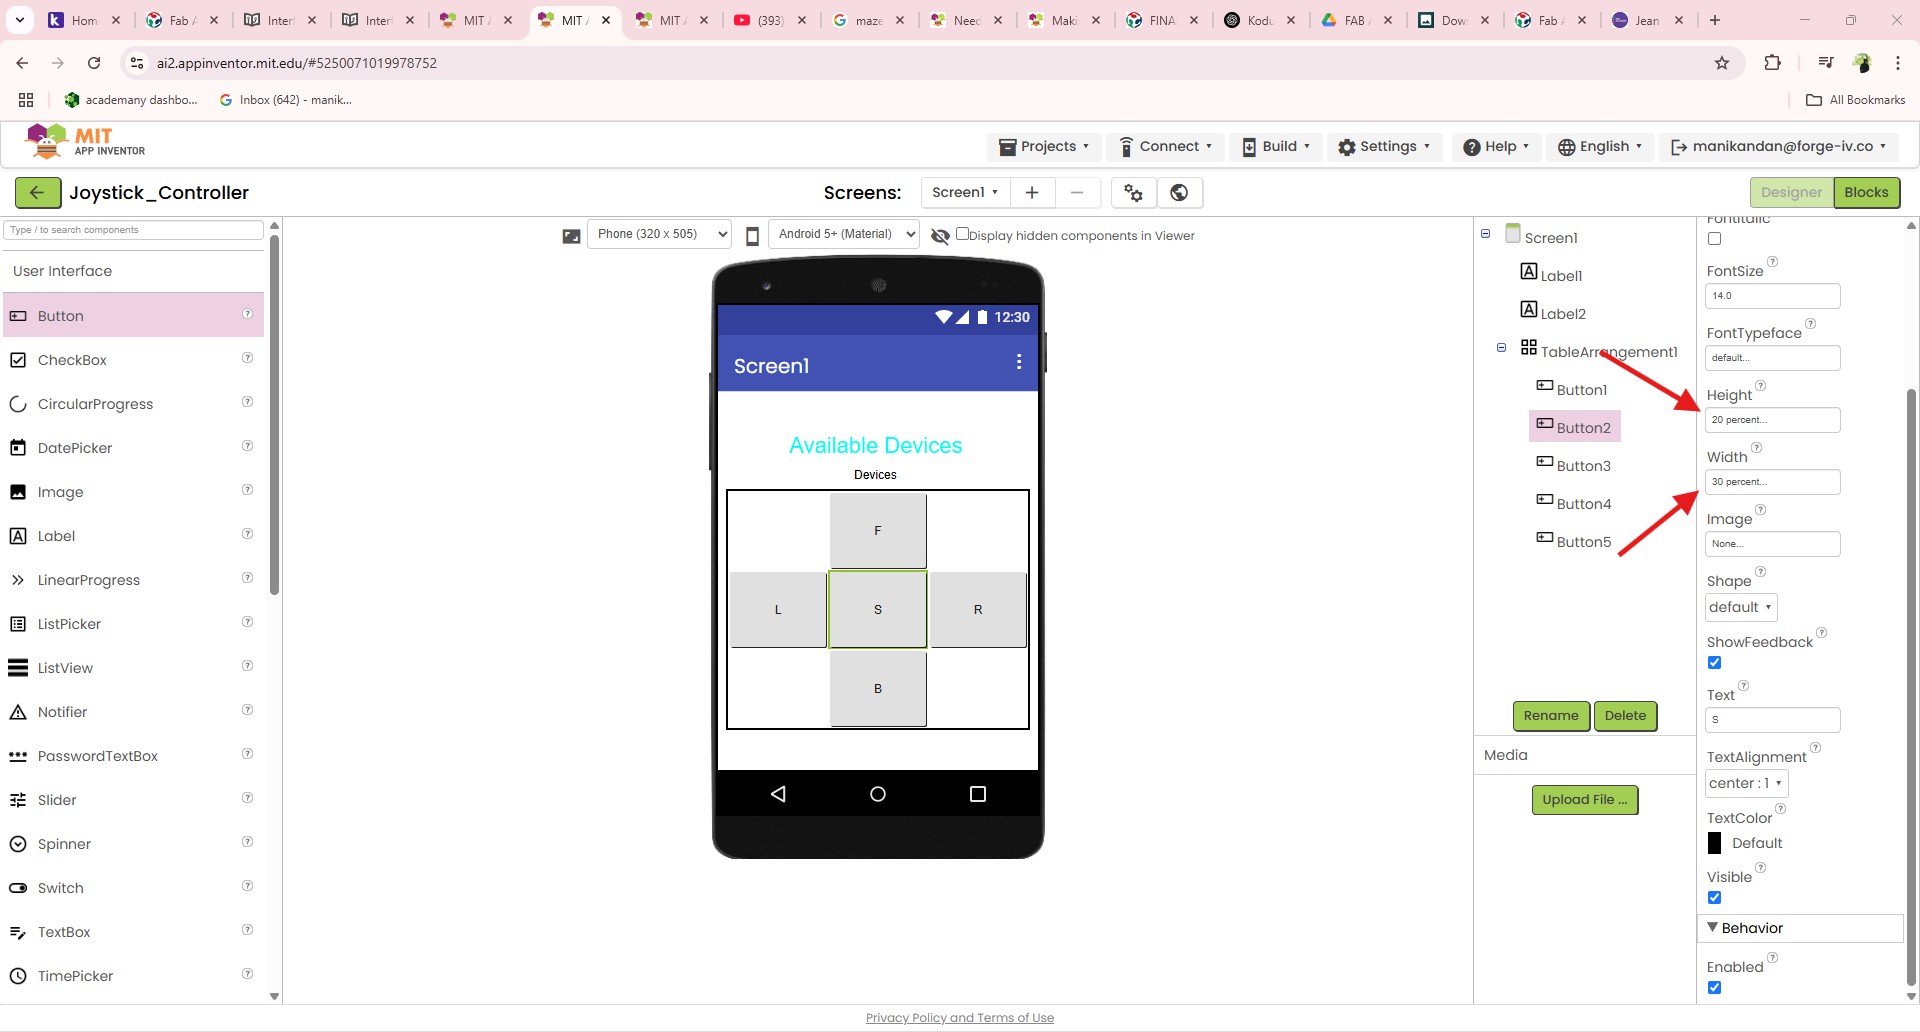
I set the limit for the joystick butoons by using the table arrangement and made some customs

Then import the button for the joystick and arrange it properly
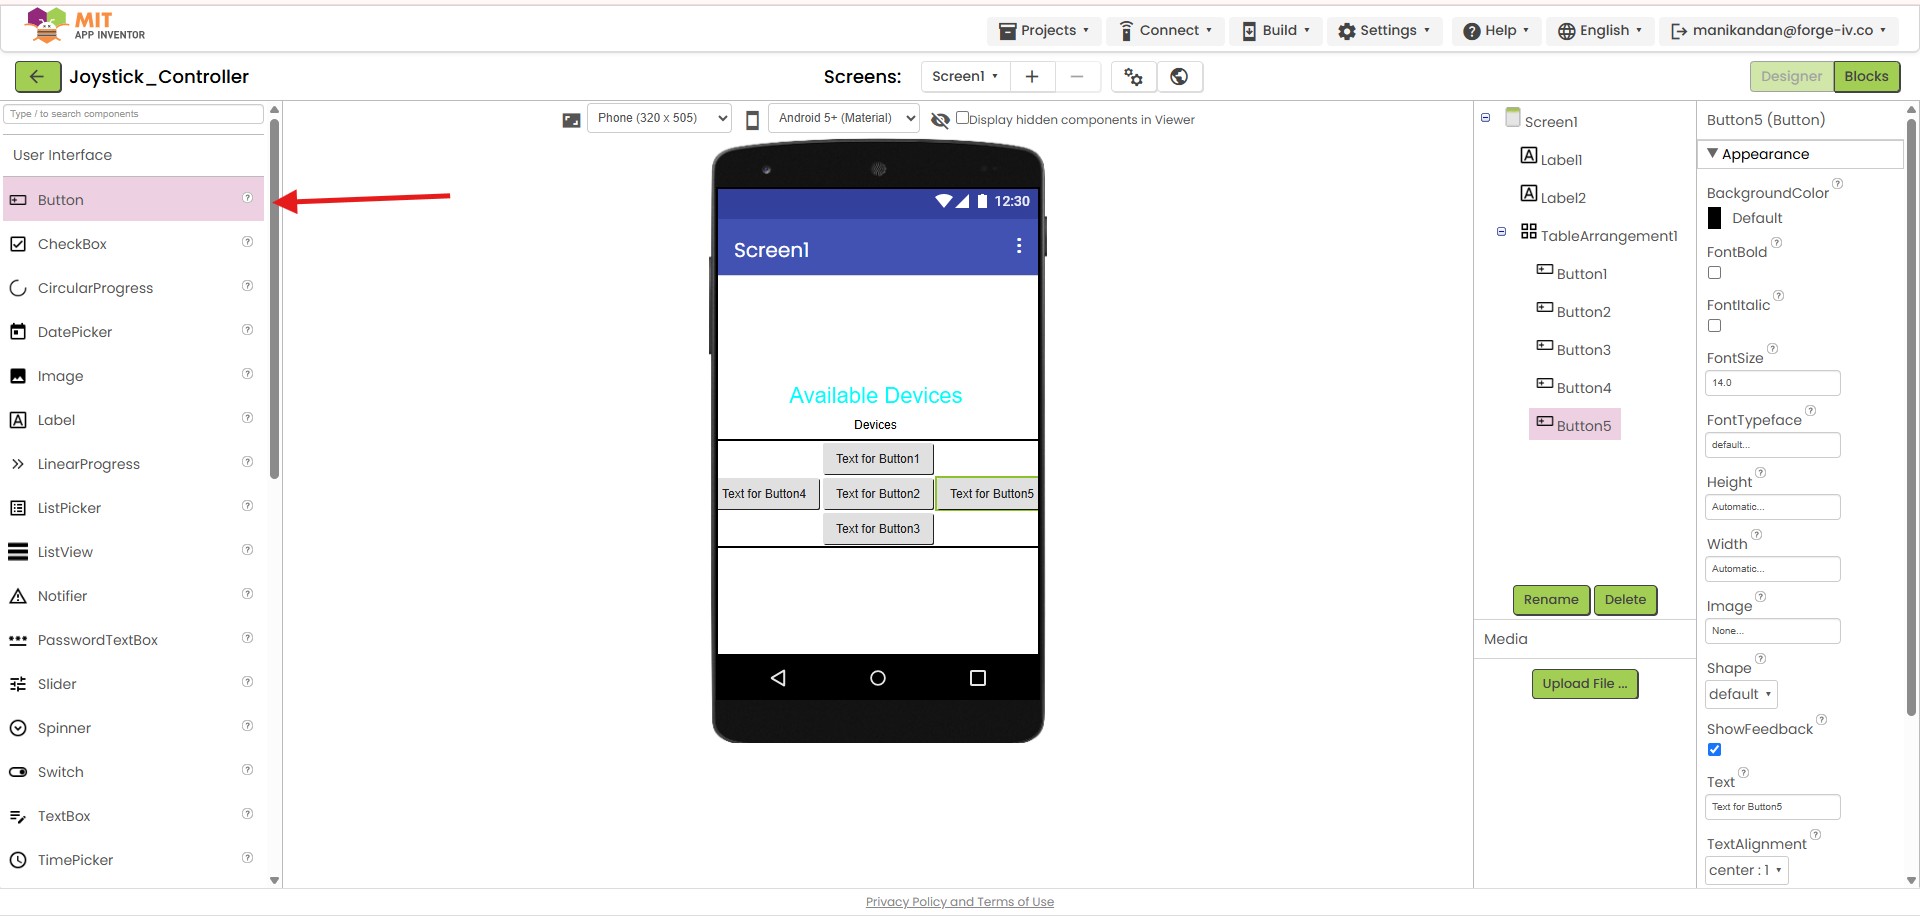
Address the names for the respective buttons for simple user interface
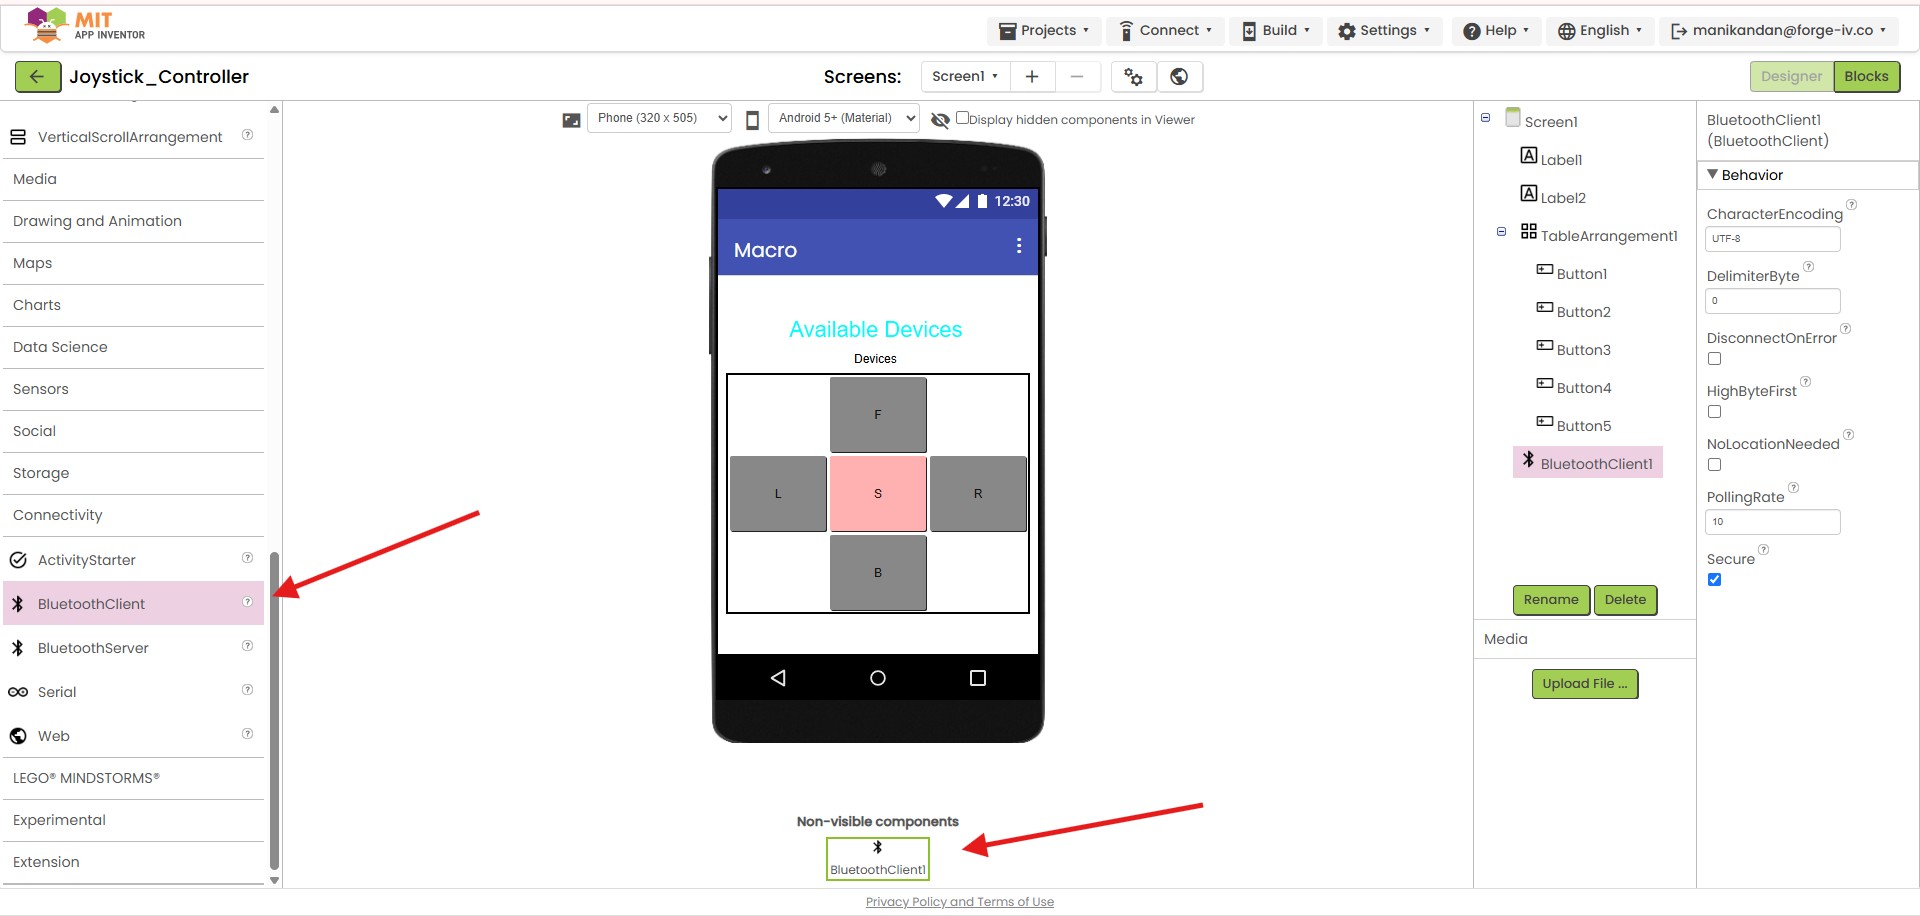
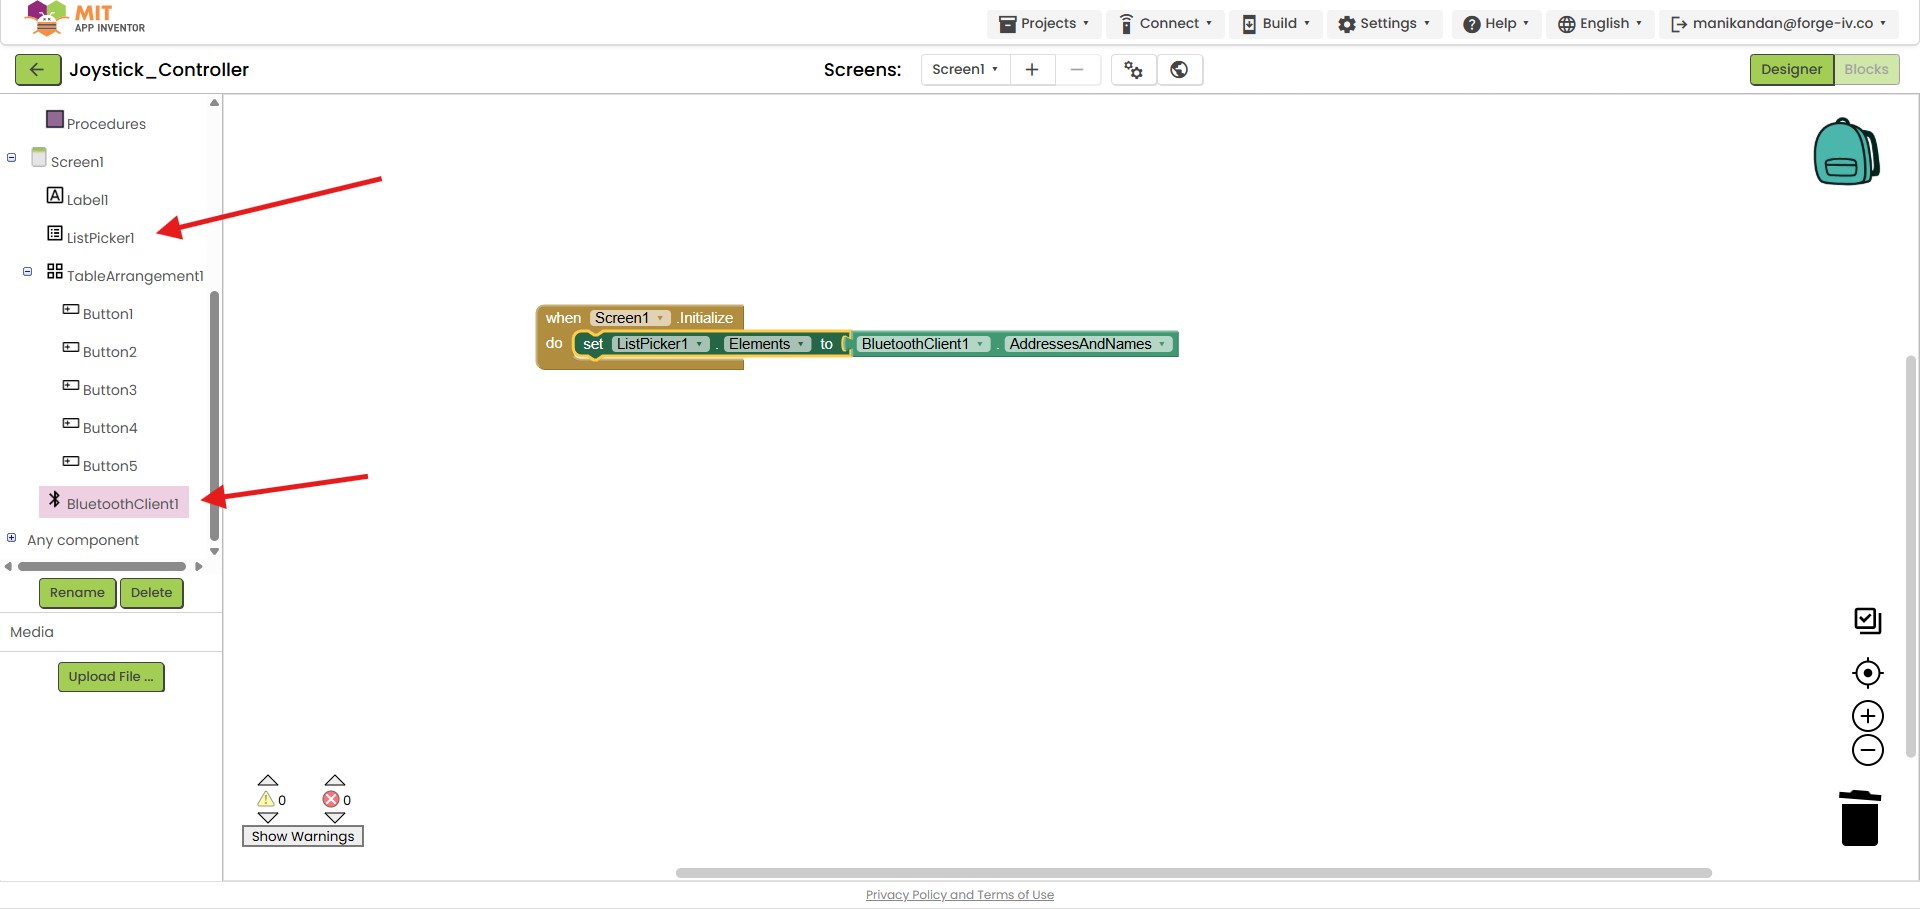
For the bluetooh connectivity I import the Bluetooth Client, it has no visualization so it only appear in the below of the phone screen for the reference
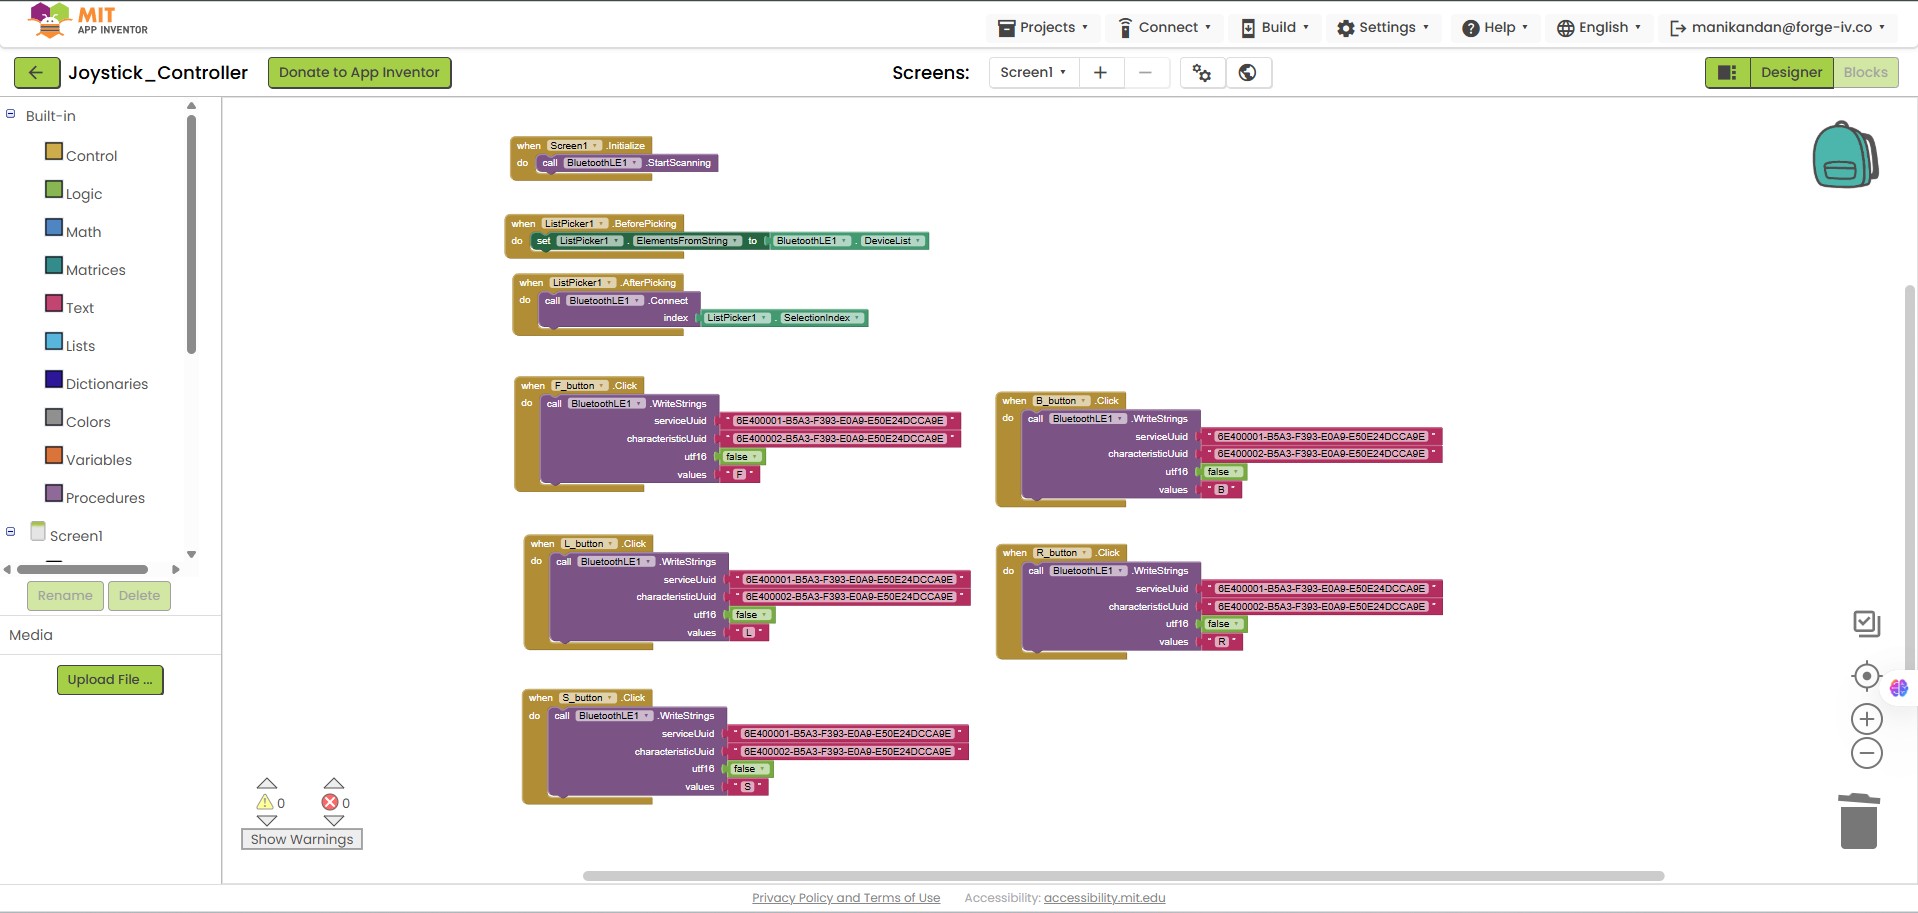
After finishing everything in the Designer section I moved on the Block section to build a program relative to my design
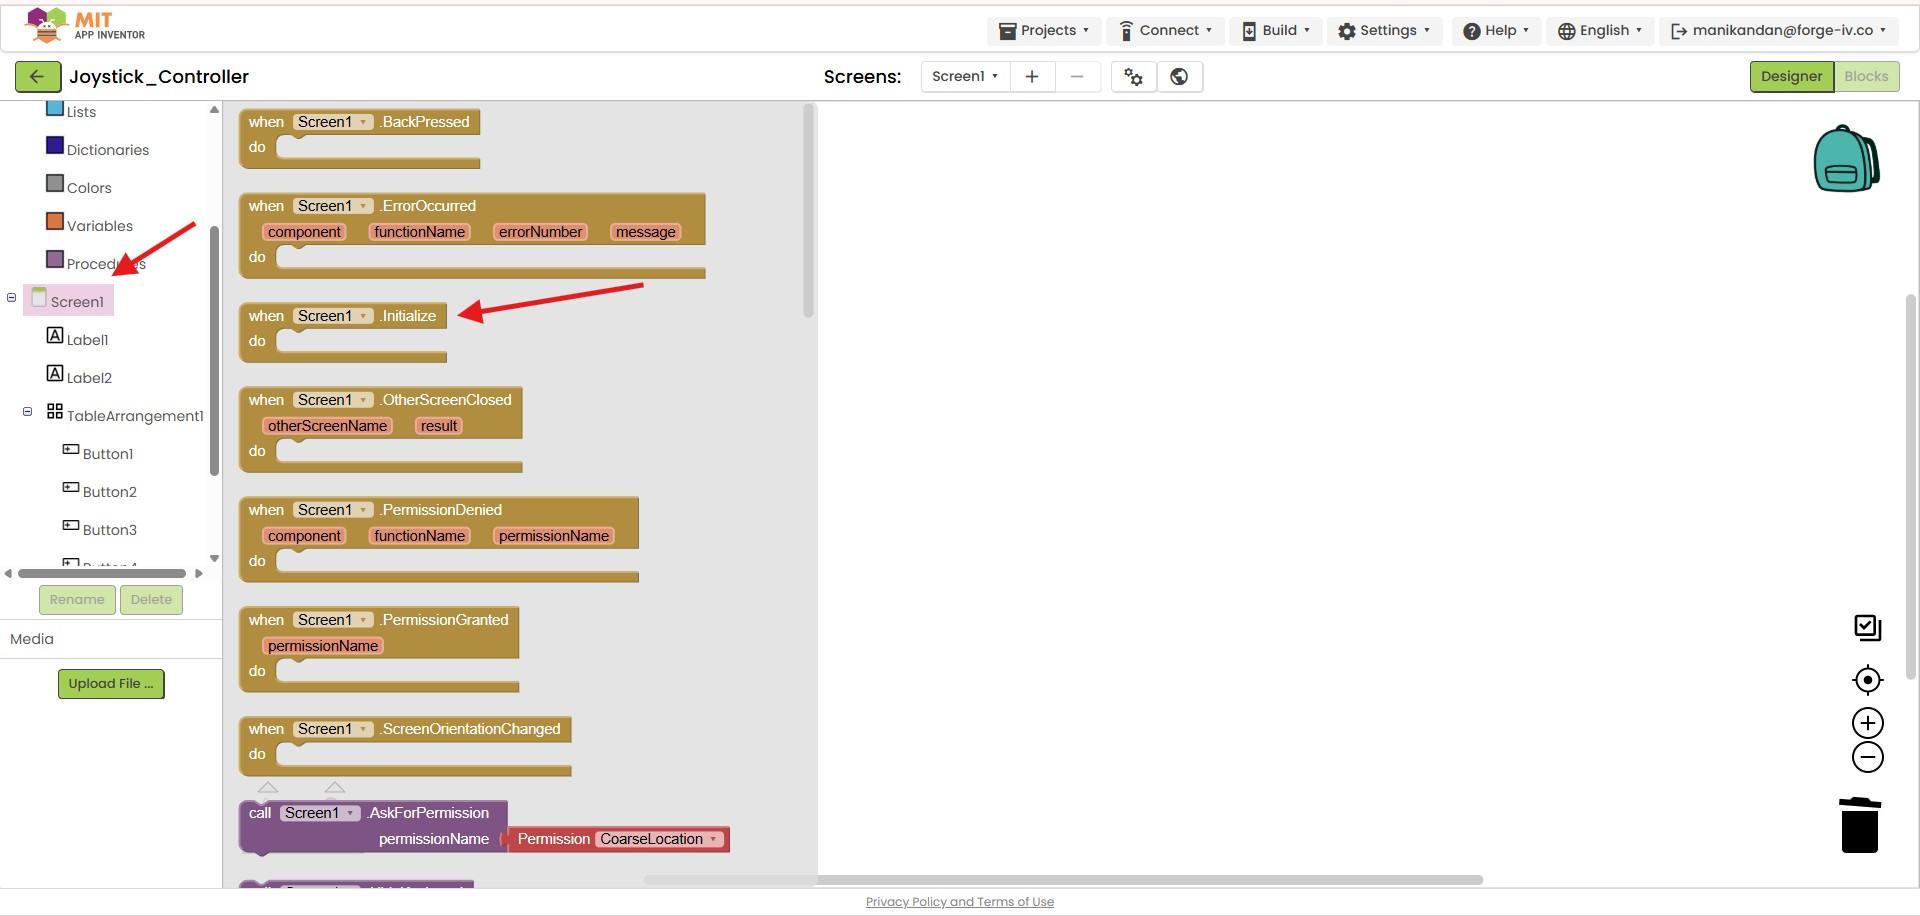
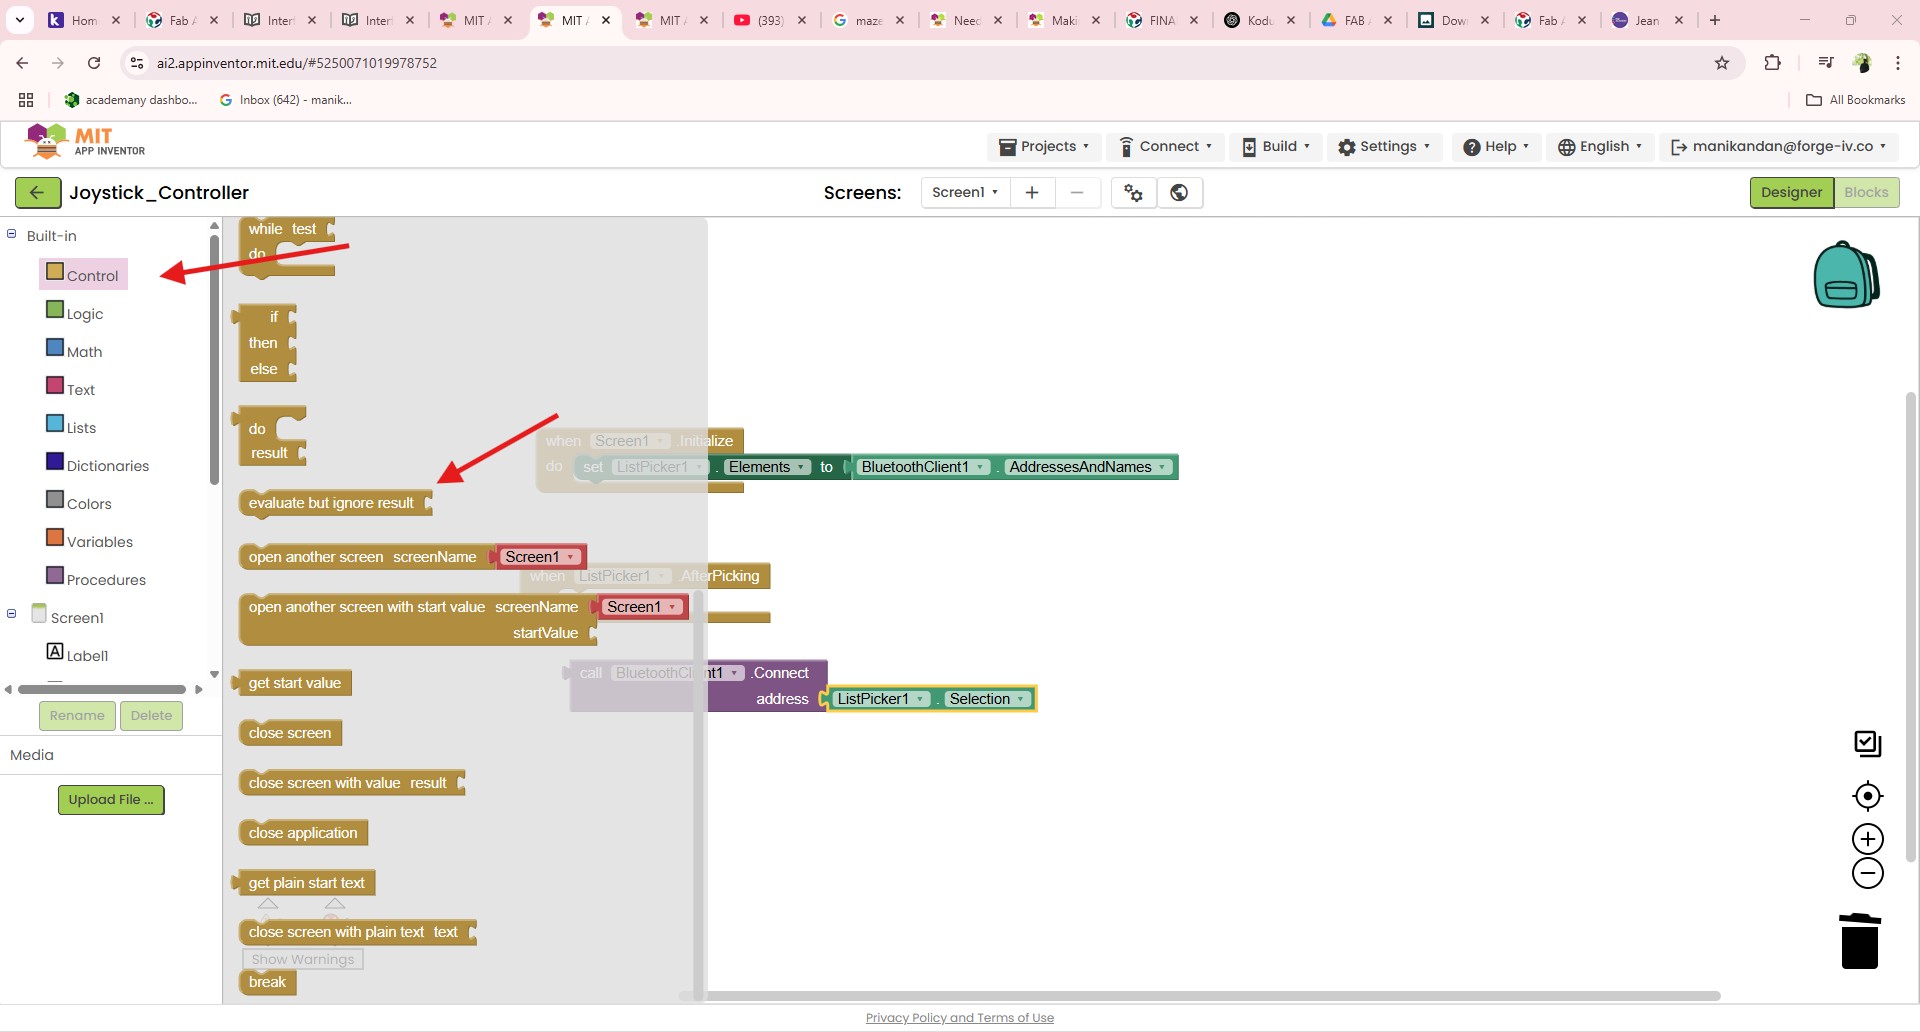
Step by step I import the reqiured blocks and set their fuctions and relate their working operations
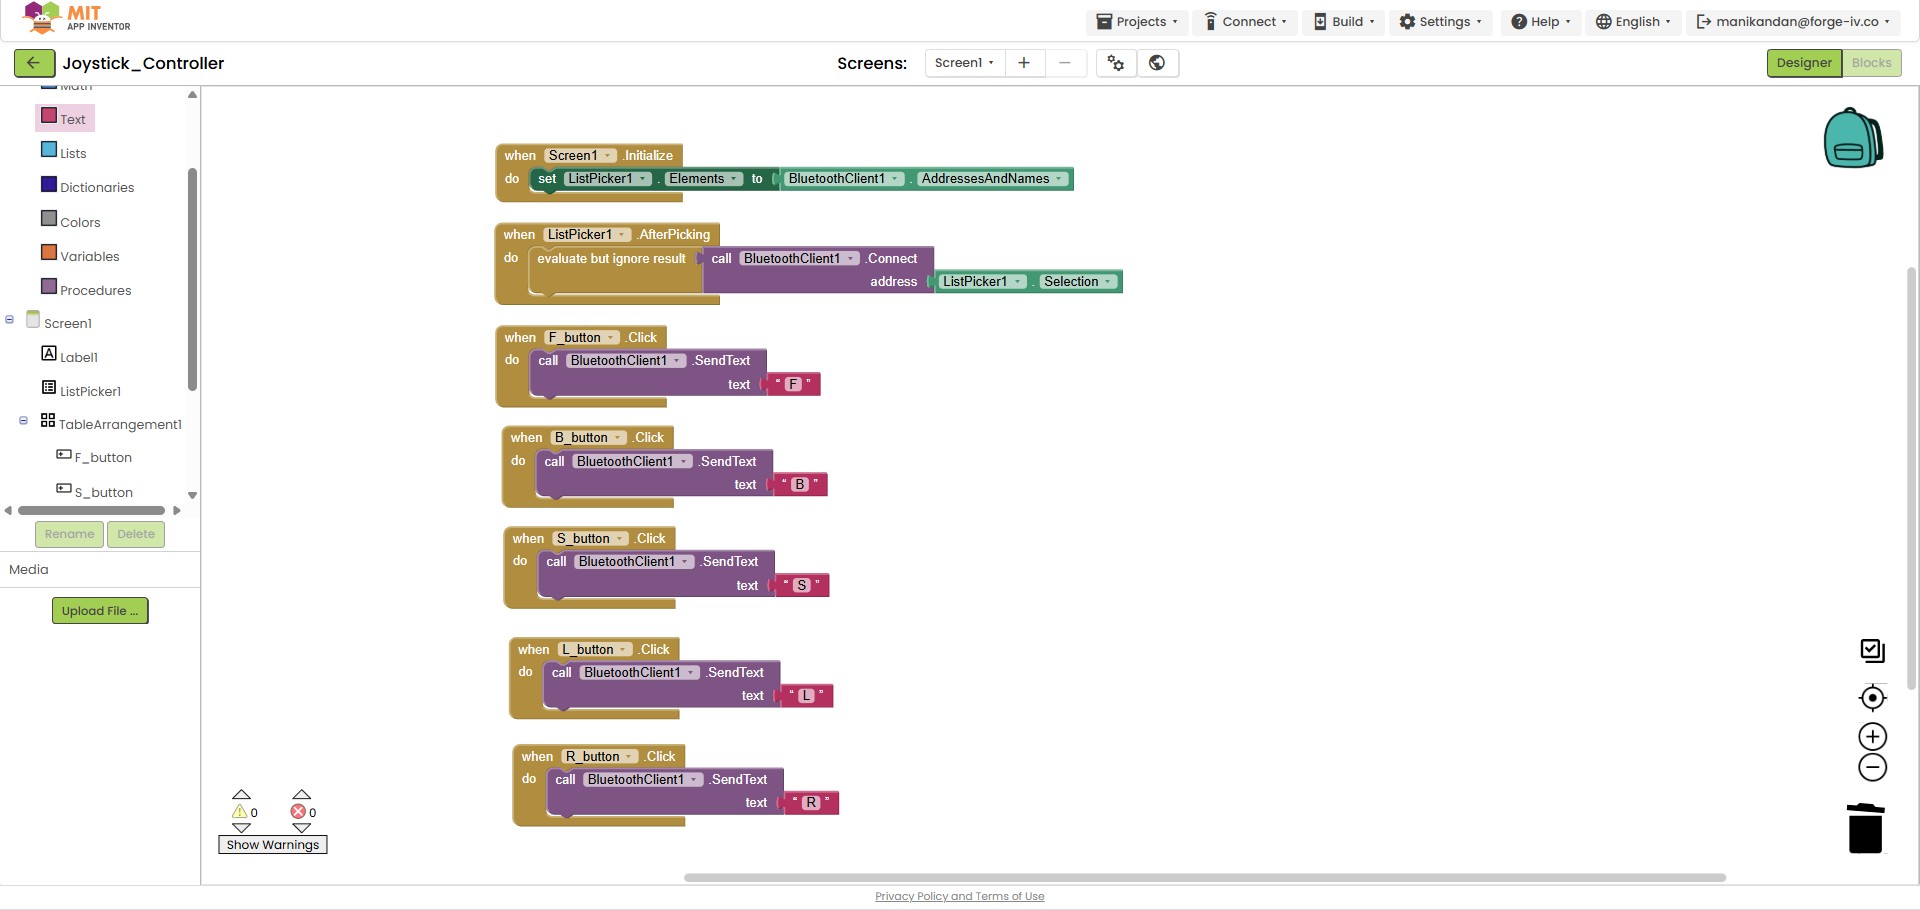
This is my final block for my app to operate it
Then I came back to the design section and put out my app by .apk format
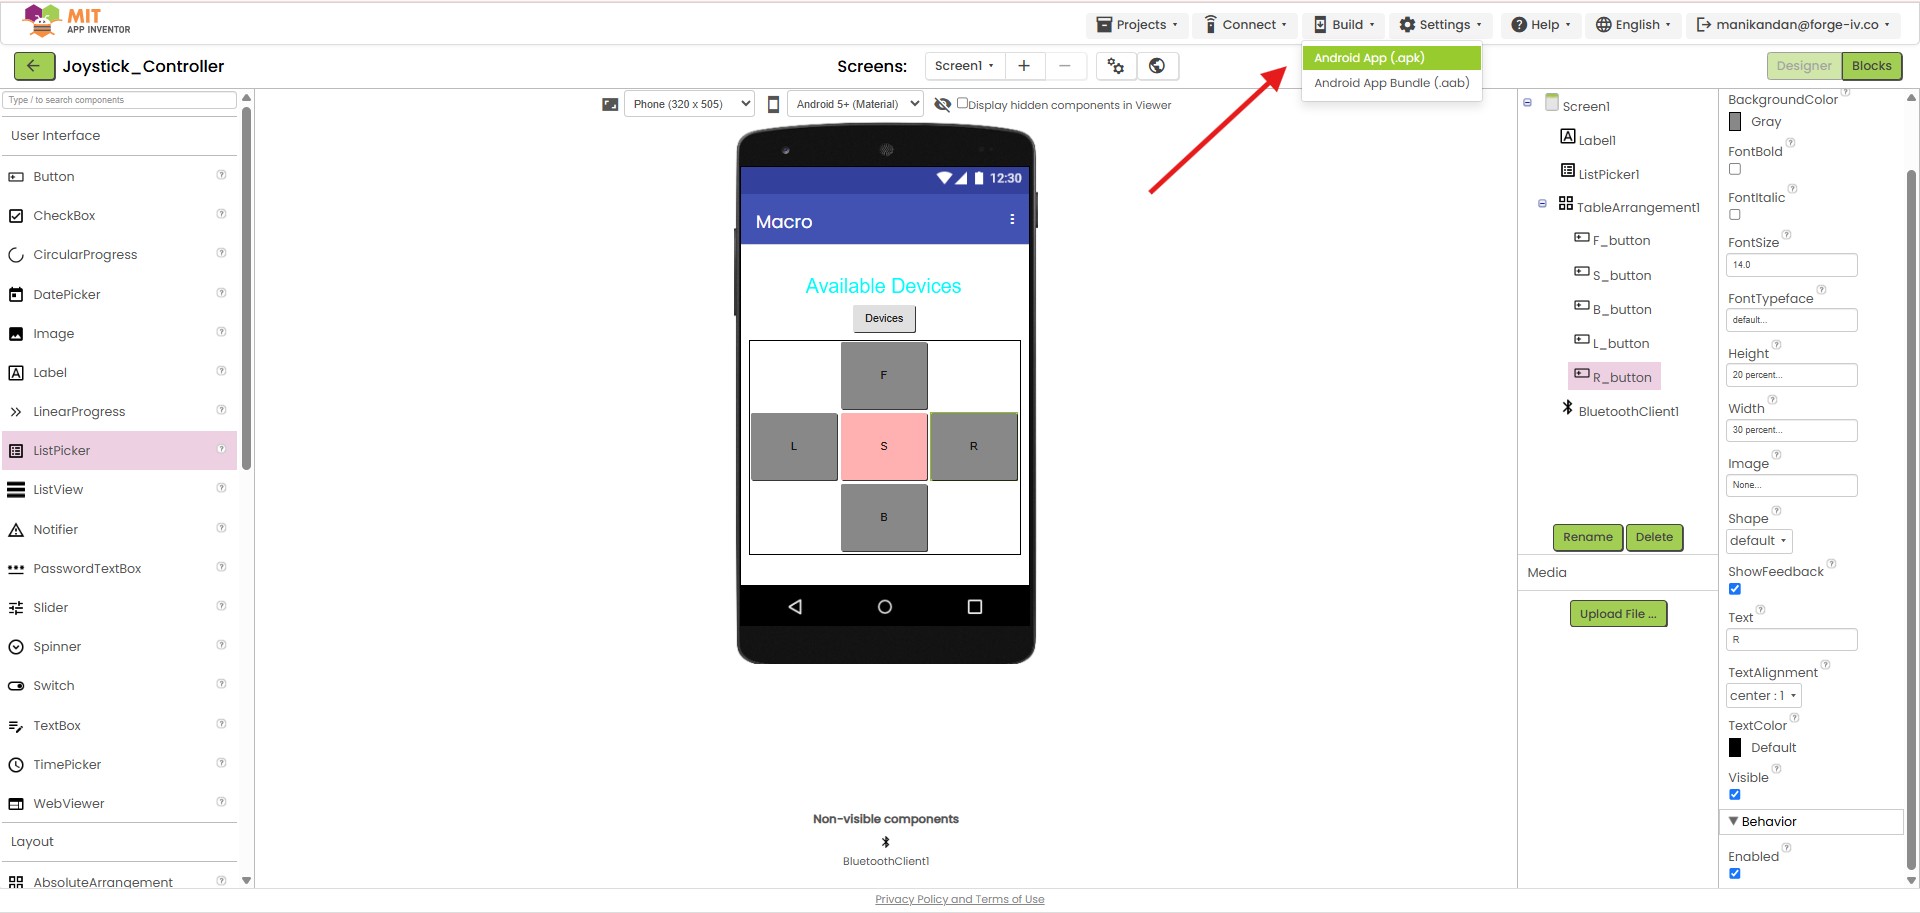
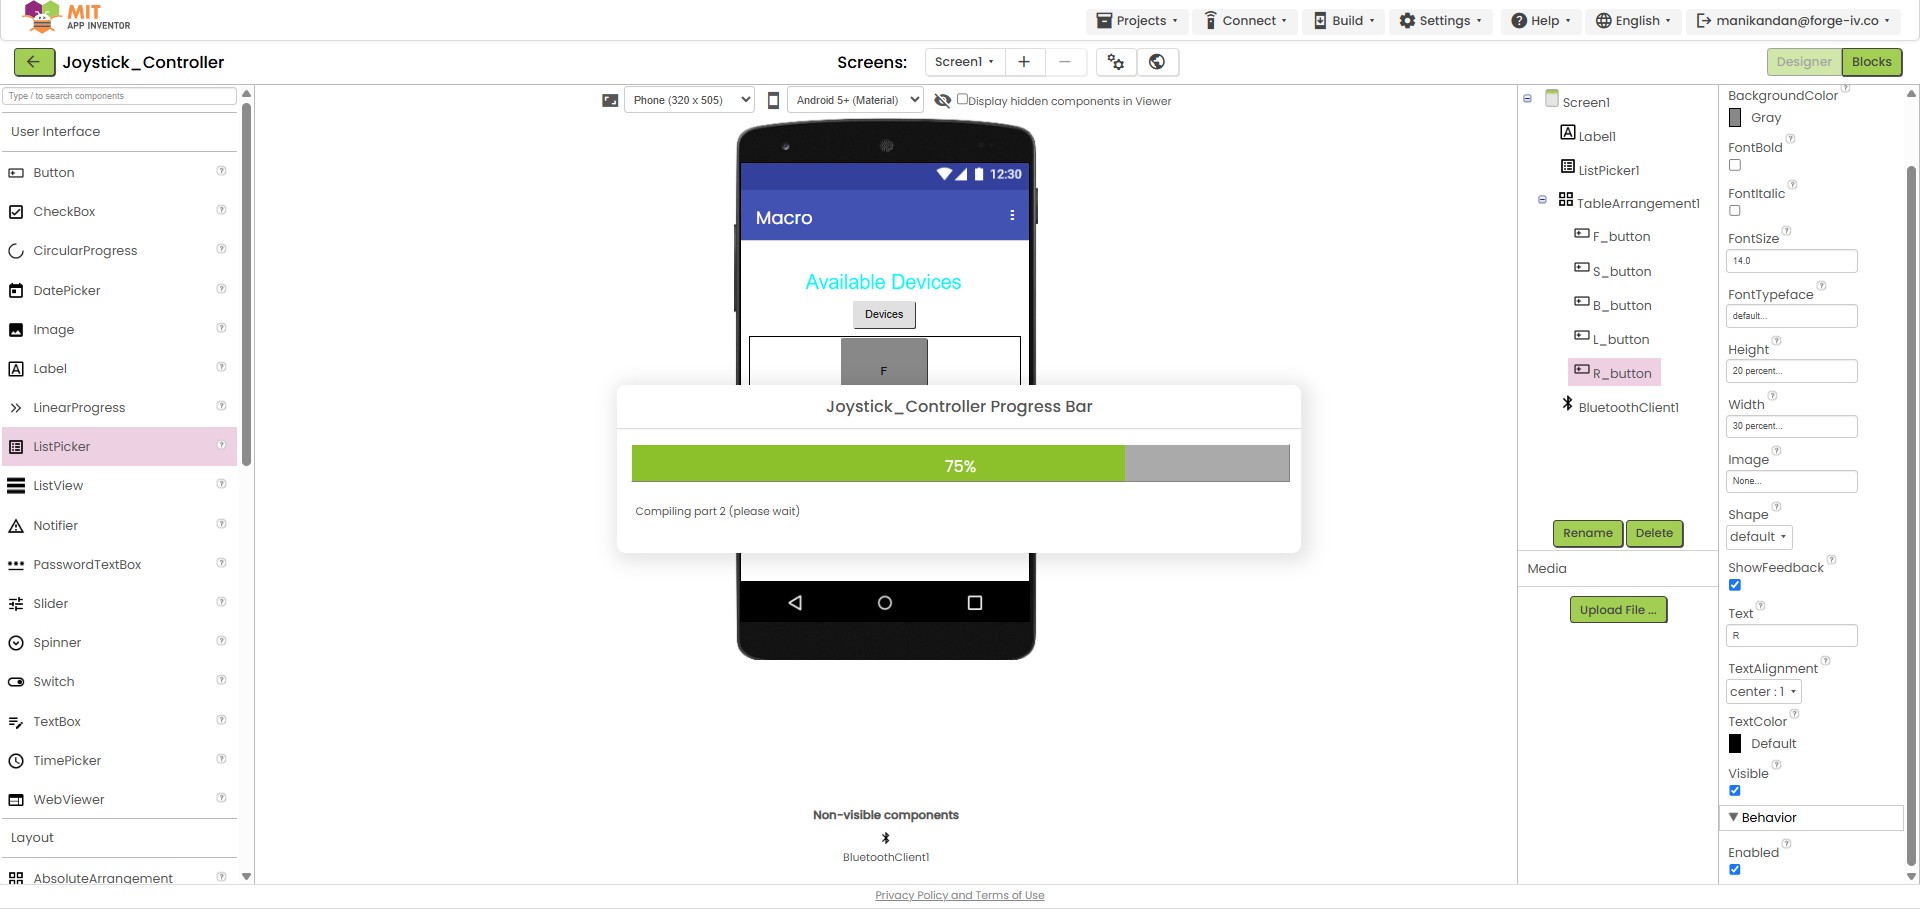
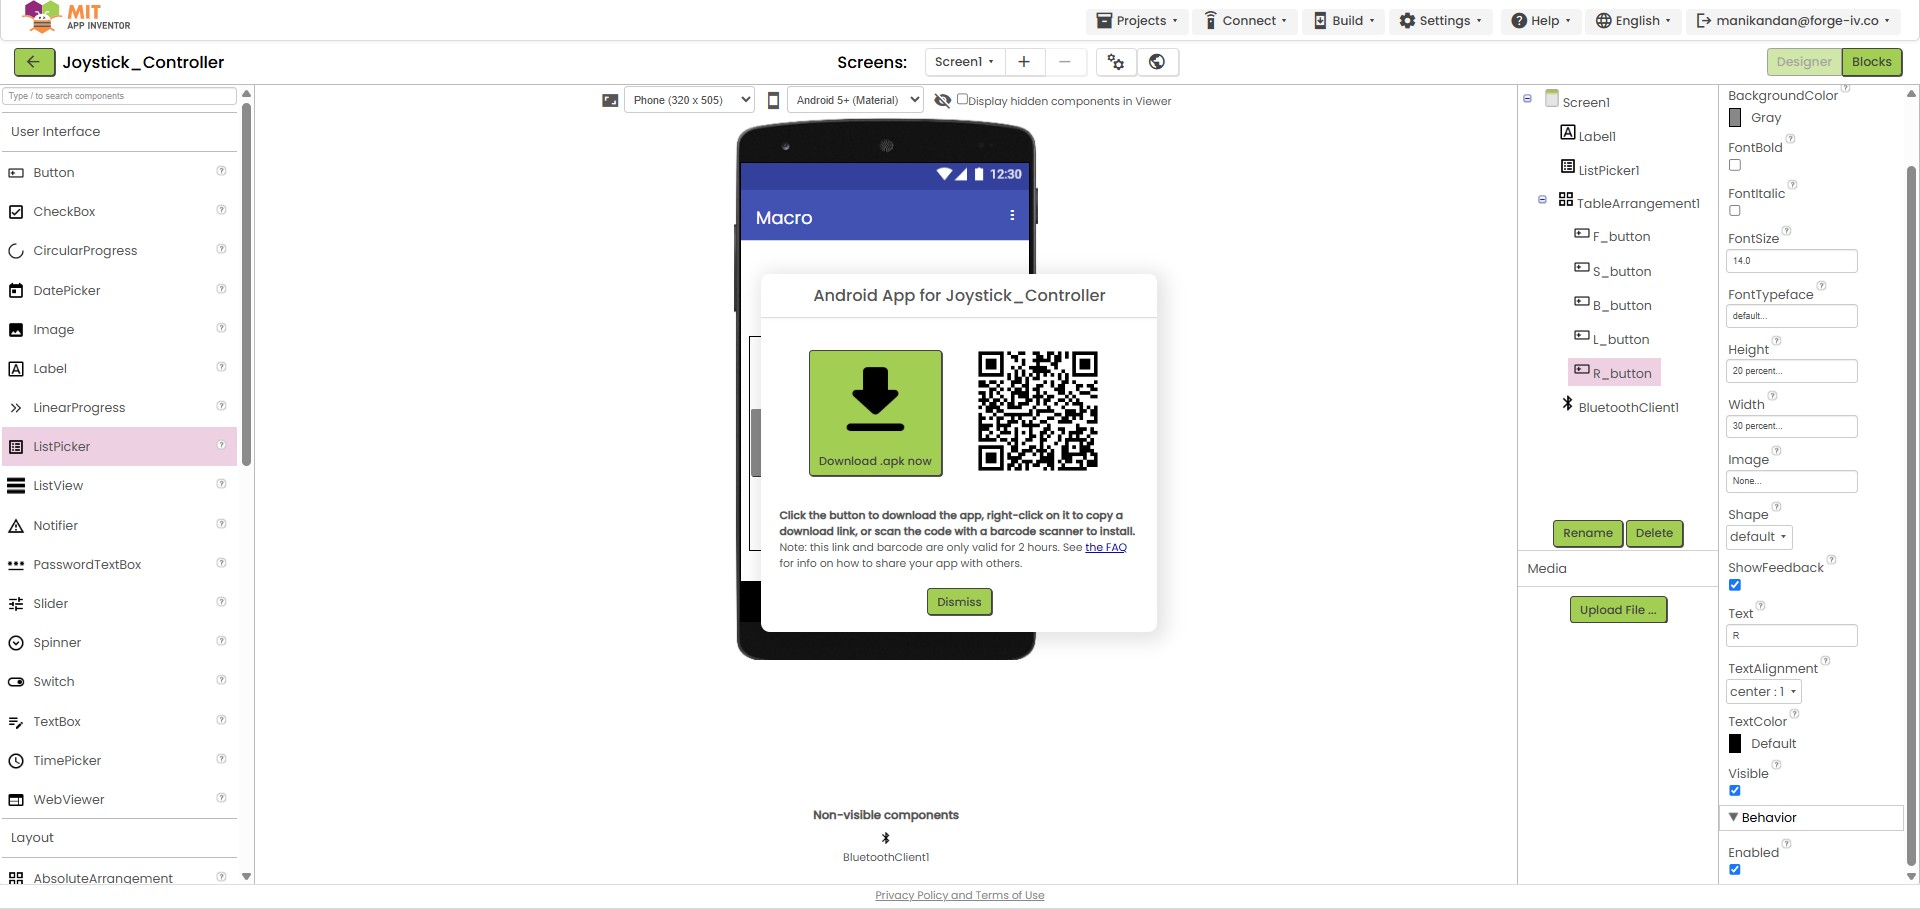
Then we can see this QR code, by using this we can download it by our smart phones
Then upload the code into Xiao board to work on Bluetooth, by using Arduino IDE I did.
I check with my phone after download it, but there is one problem I faced. All things came good but I can't connect with my Xiao board in the app I created, the name is not displayed but it showing phone's bluetooth but still I can't able to connect so I start debugging.
At first I check with the Xiao board bluetooth, there is one I find out at that time Xiao nrf52840 has only Bluetooth Low Energy, so I download the extension for the bluetooth communication - BluetoothLE
I just go through the details of that extension and understand litte bit of how it works - Link
Then I change the Blockcode as well regarding the BluetoothLE.
Xiao nrf52840 code
#include <bluefruit.h>
#include <Servo.h>

BLEUart bleuart;

Servo myServo;

void setup() {

  Serial.begin(115200);

  // Attach Servo
  myServo.attach(D0);

  // Initial Position
  myServo.write(90);

  // BLE Setup
  Bluefruit.begin();

  Bluefruit.setName("XIAO_BLE");

  bleuart.begin();

  Bluefruit.Advertising.addFlags(BLE_GAP_ADV_FLAGS_LE_ONLY_GENERAL_DISC_MODE);

  Bluefruit.Advertising.addService(bleuart);

  Bluefruit.ScanResponse.addName();

  Bluefruit.Advertising.start(0);

  Serial.println("BLE Ready");
}

void loop() {

  while (bleuart.available()) {

    char cmd = bleuart.read();

    Serial.print("Received: ");
    Serial.println(cmd);

    // Forward
    if (cmd == 'F') {

      Serial.println("Rotate Forward");

      for(int pos = 90; pos <= 180; pos++) {

        myServo.write(pos);

        delay(10);
      }
    }

    // Backward
    else if (cmd == 'B') {

      Serial.println("Rotate Backward");

      for(int pos = 180; pos >= 0; pos--) {

        myServo.write(pos);

        delay(10);
      }
    }

    // Stop
    else if (cmd == 'S') {

      Serial.println("Stop Servo");

      myServo.write(90);
    }
  }
}
After connecting the Xiao board I can able to work on the app which was I created.
I made the wire connection with the Servo motor and test it.
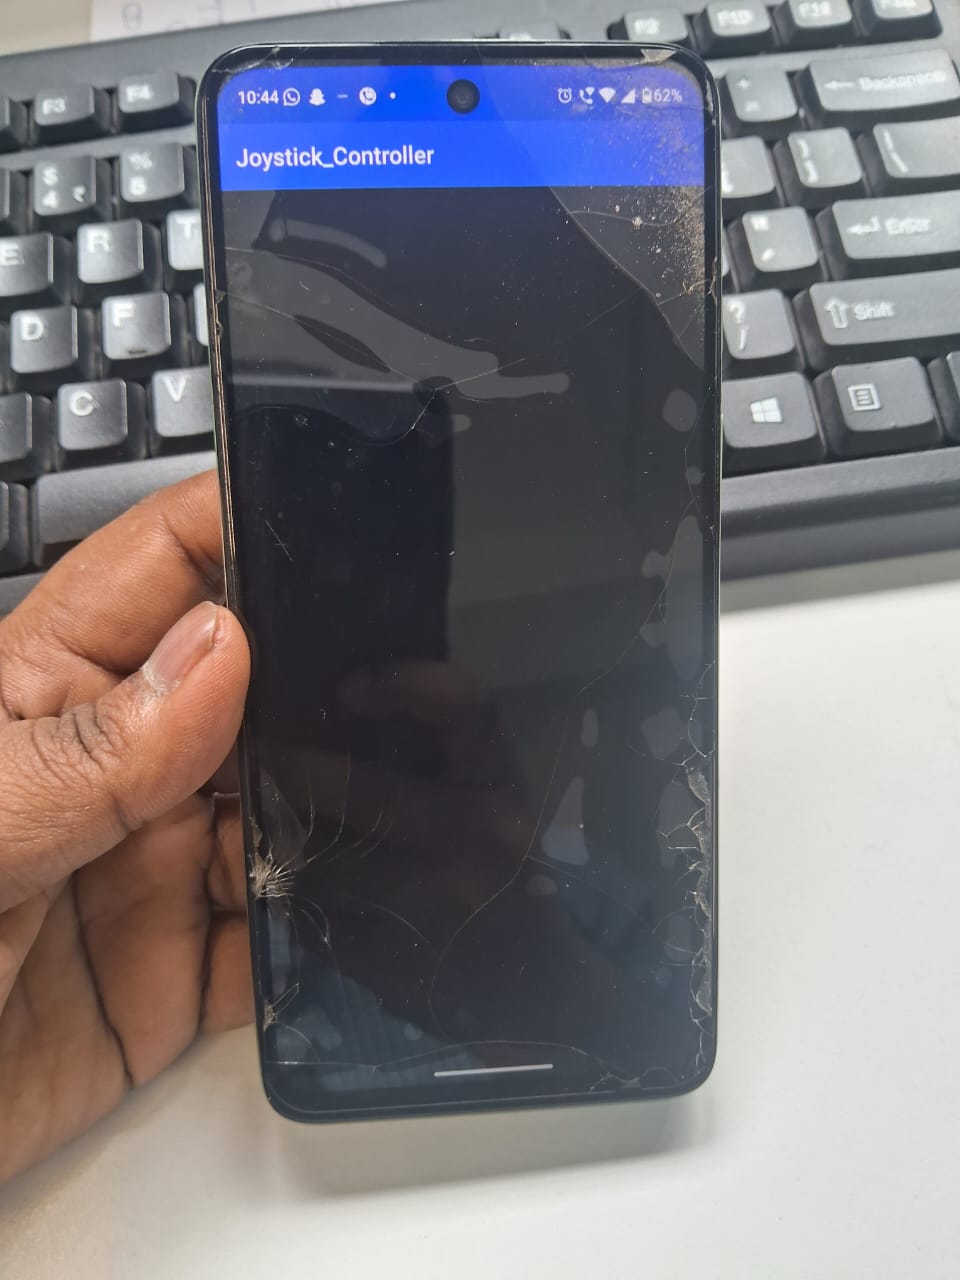
Bluetooth Testing
Finally I succed to work on Bluetooth connection with my own app.
HTML & JavaScript-based UI for Hardware Control
HTML and JavaScript-based UI for hardware control involves creating a web interface that allows users to interact with physical devices remotely. HTML structures the page with buttons and text, while CSS styles the appearance. JavaScript adds interactivity, enabling the buttons to send commands to the microcontroller using HTTP requests. The microcontroller runs a web server that listens for these requests. When a button is clicked, JavaScript sends a request to the server's specific route. The ESP32 interprets the command and controls connected hardware, such as motors or LEDs. This creates a seamless and user-friendly way to control devices over Wi-Fi.
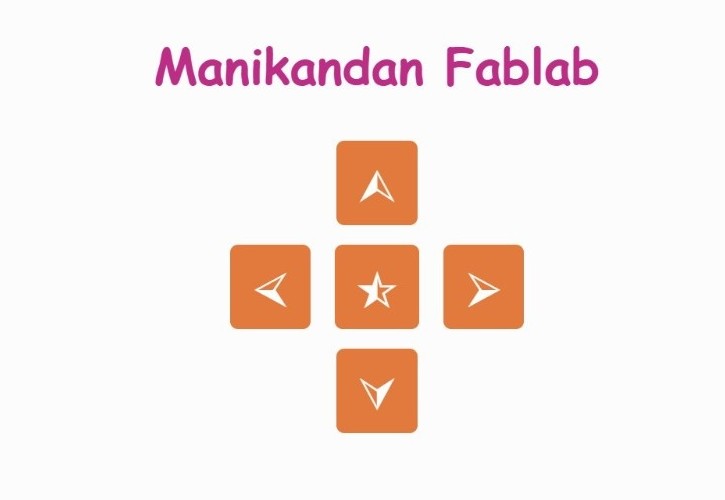
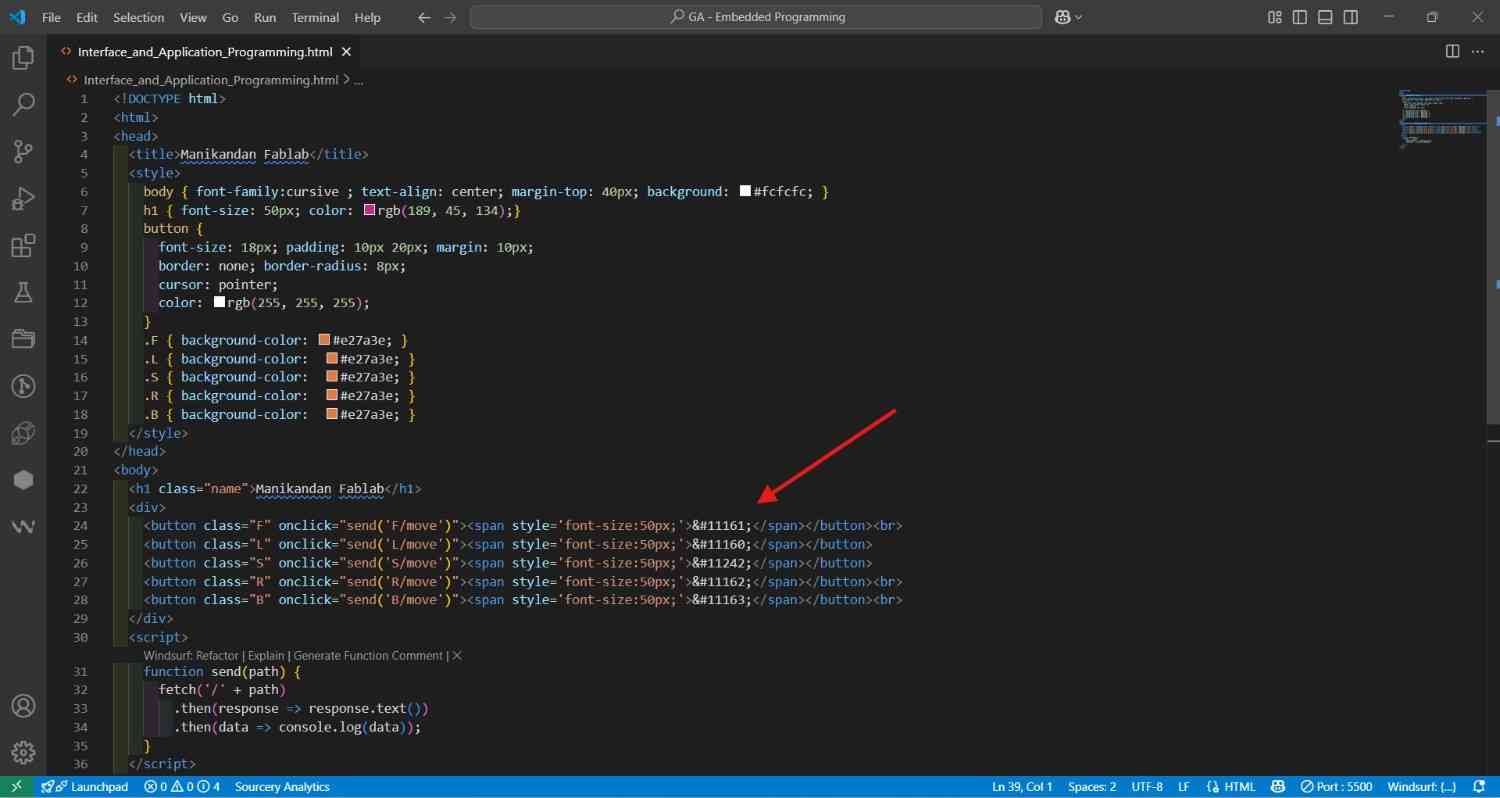
At first I used the VScode to create the HTML page for the simple layout and buttons to create the HTML code for my user interface design of BLDC motor control
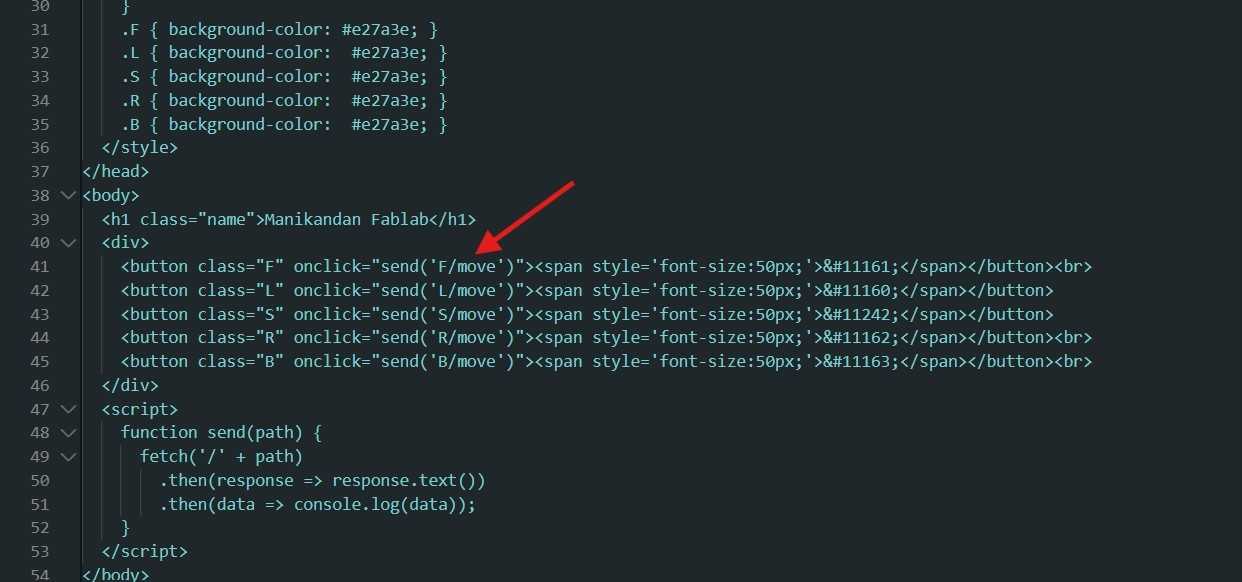
I include the butoons in page like (Forward, Left, Right, Stop), for that butoons I used the special characters to display more attractively.Then I create the buttons for the motor control

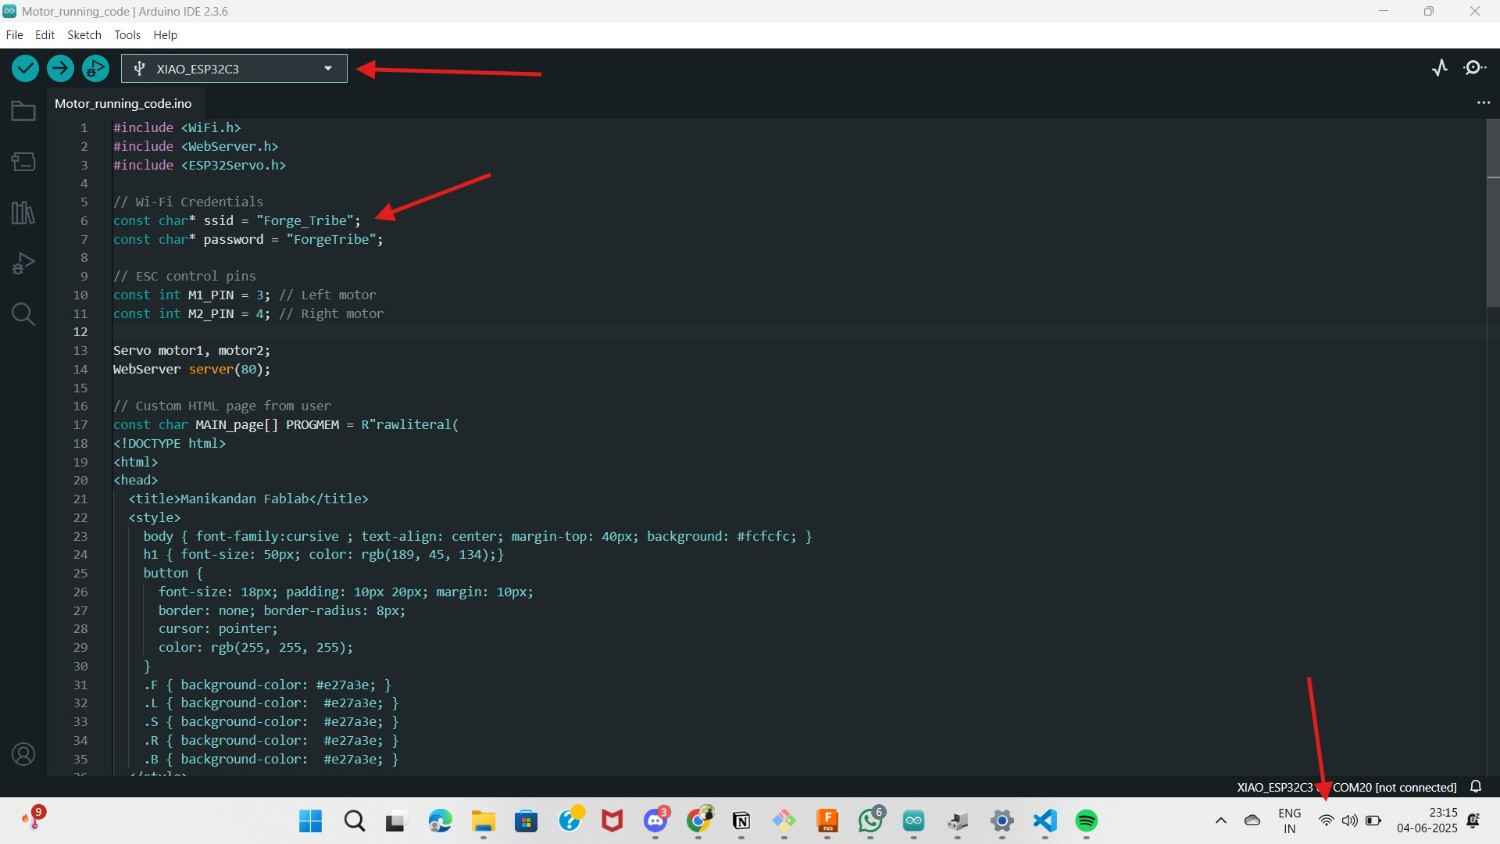
After created the HTML code I used the Arduino IDE compiler to compile and upload the code to my microcontroller, I set the board for XIAOESP32C3 board and confirm the port as well
In our Arduino code, we connect the ESP32C3 to a Wi-Fi network using WiFi.begin(ssid, password). This allows devices on the same network to access the ESP32 via its IP address.
I address each button in the html code that will calls a JavaScript function send(path) using onclick. This function sends an HTTP request (/F/move) to the ESP32 web server via fetch().
The ESP32 receives these requests through server.on("/F/move", ...) and responds.
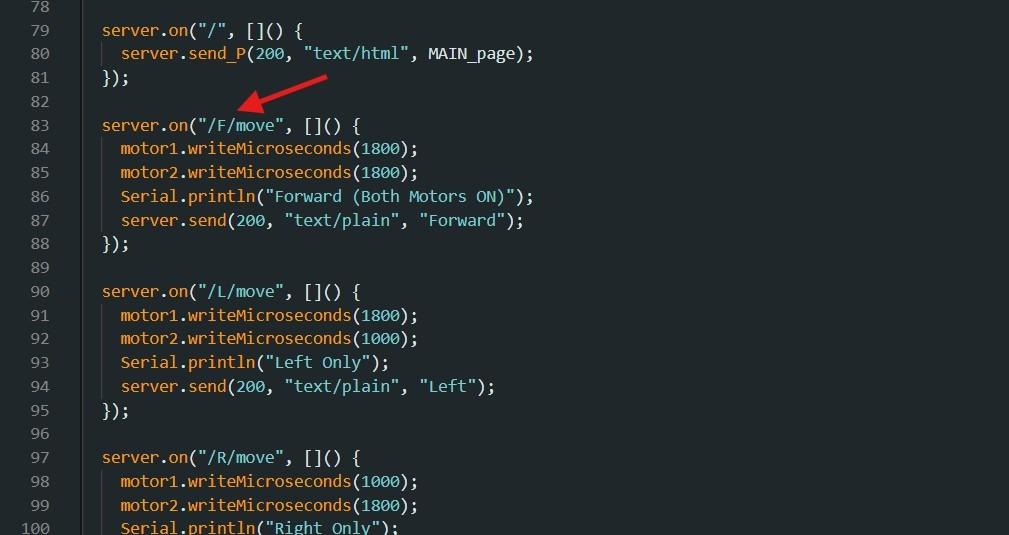
It then activates the motors by sending PWM signals via the ESP32Servo library to the ESCs.
I set the motor operation like if I give Forward then both motor will start rotate, if I give Left then the left side motor only will run, as same as if I give Right then the right side motor only will run.
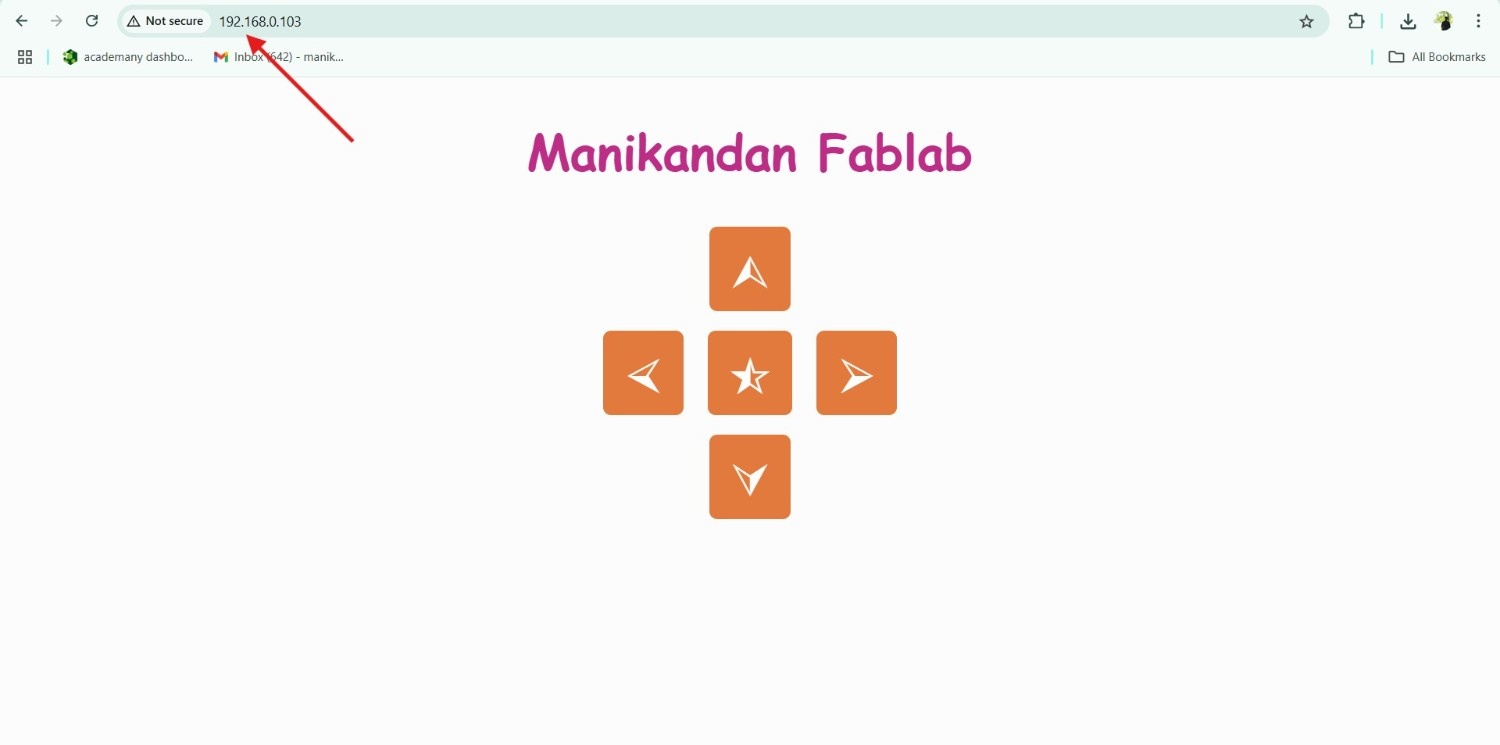
After I upload the code into the ESP32C3 board and check the serial monitor to take out the IP address
Copy the IP address and paste it into the browser, in that browser we use the buttons to control our motors wirelessly through the webpage.
Conclusion
Learning outcomes
- I learnt about how to do app by using the blocks which can be offer by MIT app inventer, Kodular, etc..
- Know about how to create the simple user interfaces and to do the operations similarly how to build the blocks regarding to our perspective
- Again did some practice in HTML code and create the new one to do the same thing by using it
- Know more about HTTP and how it will function to the fetch setup.
Reference Files
Here is my HTML and Arduino code of 2 BLDC control and the apk file of the app.