
Wildcard Week: 3D Printing on Fabric
For Wildcard Week, I experimented with 3D printing directly onto fabric using a Bambu Lab 3D printer.
This technique blends rigid and soft materials, making it useful for wearable tech, artistic elements, and flexible enclosures.
Material and Tools Used
- Fabric: Velvet-like textile (soft and slightly textured)
- Filament: PLA, 1.75 mm
- Printer: Bambu Lab X1 Carbon
Experimentation Process
I ran three main experiments to test the effectiveness of printing on fabric:
-
Experiment 1 – Minecraft Sword: I printed a Minecraft sword design where the middle section was replaced with fabric.
The idea was to combine rigid edges with a soft, flexible center. The alignment worked visually, but the fabric wasn’t tightly fixed and caused uneven layers.
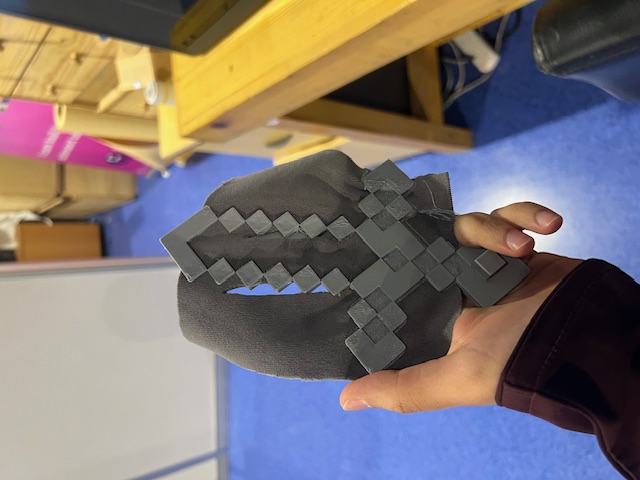
- Download Minecraft Sword
-
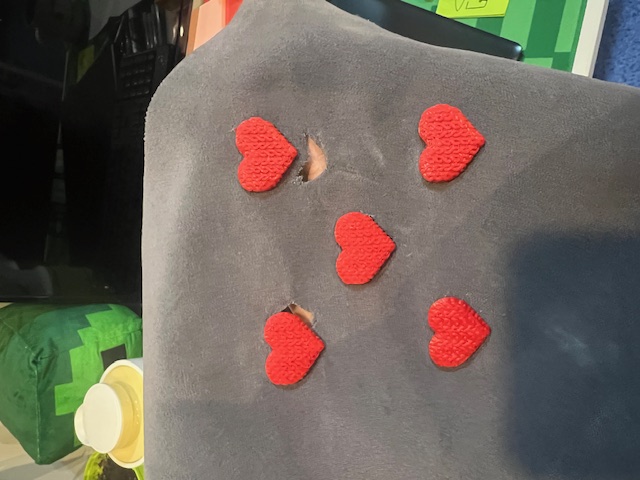
Experiment 2 – Cut Heart Shapes: I tried printing small heart shapes on the fabric, which had some pre-cut details.
However, the fabric was not properly secured and shifted during printing, causing the nozzle to miss and exposing the cuts.
-
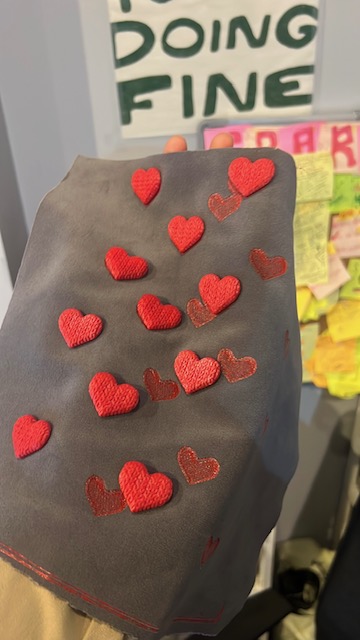
Experiment 3 – Fixed Fabric with Magnets and Tape: I repeated the heart shapes, this time fixing the fabric tightly using magnets and heat-resistant tape directly on the build plate.
This approach stabilized the fabric and allowed clean, successful prints with proper adhesion and alignment.
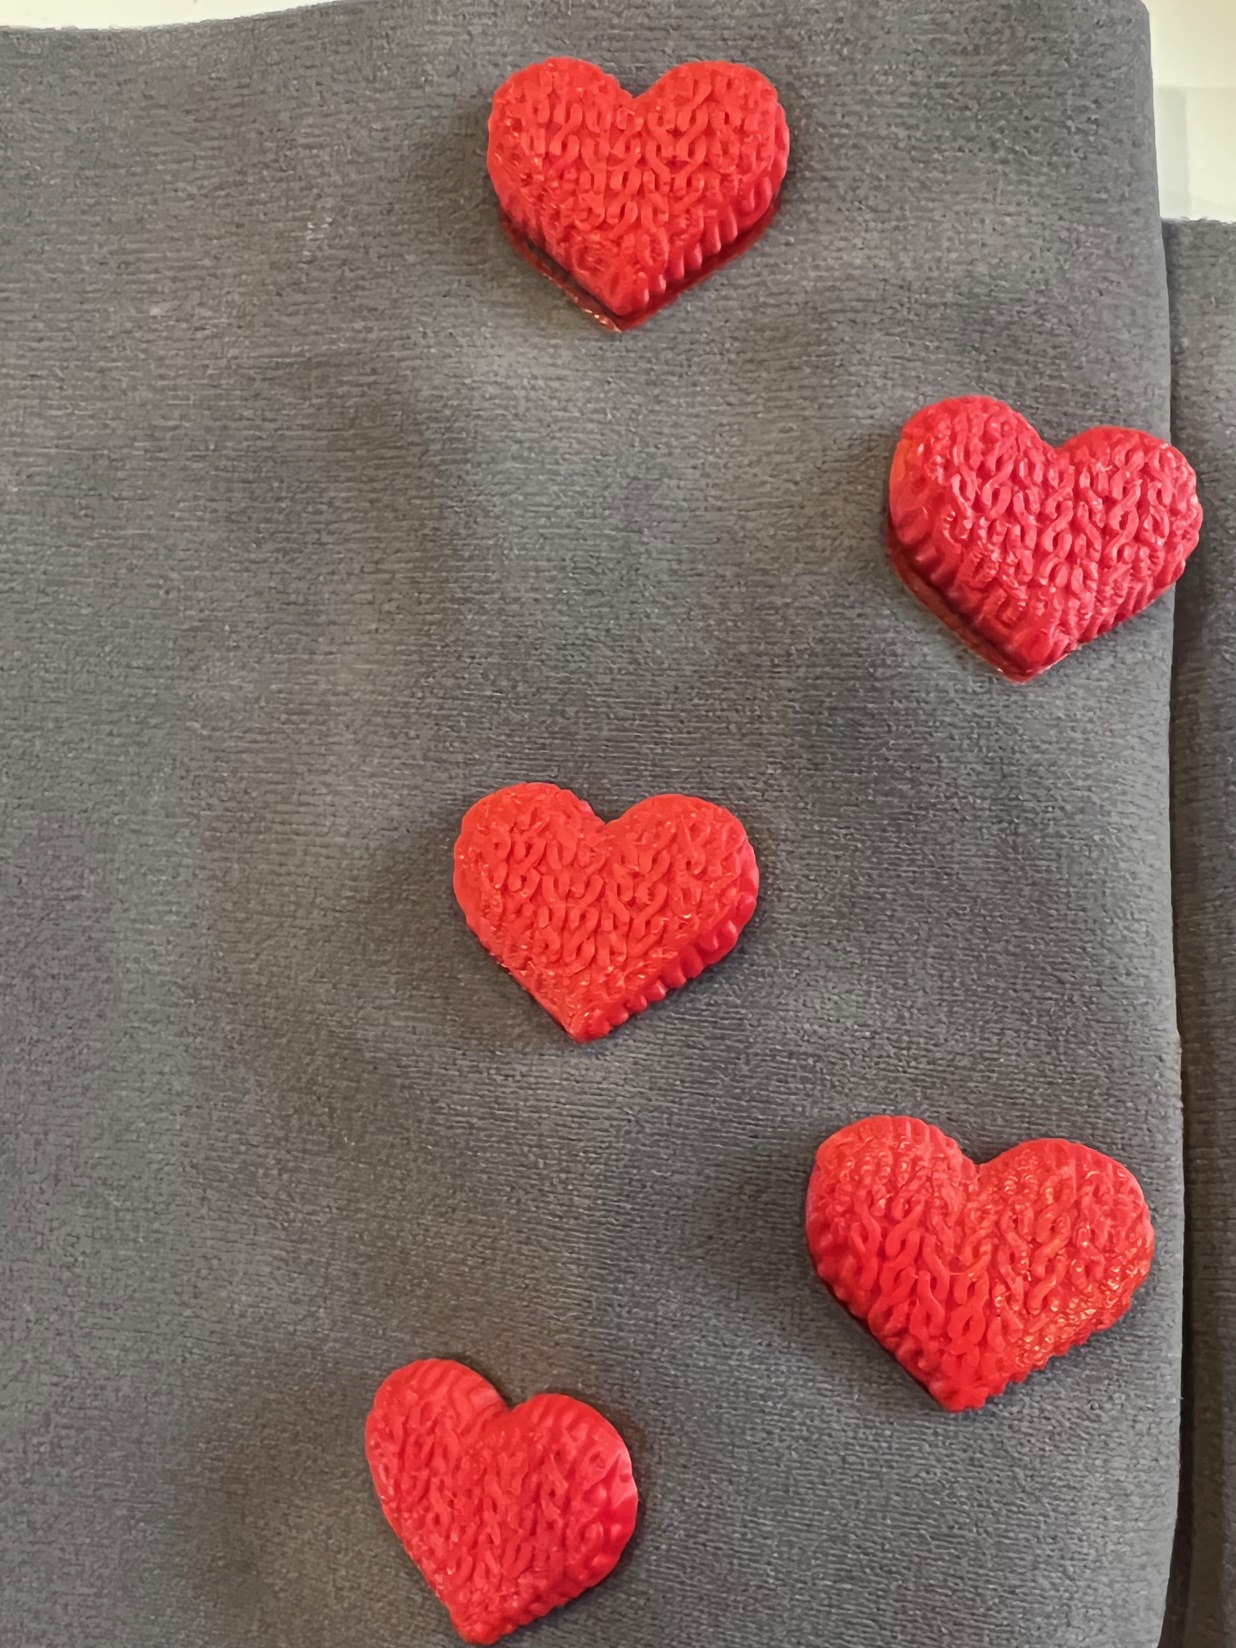 Download Knitted Hearts
Printing Method
I used a simple but effective technique to integrate fabric mid-print:
- I sliced the design using Bambu Studio with standard PLA settings.
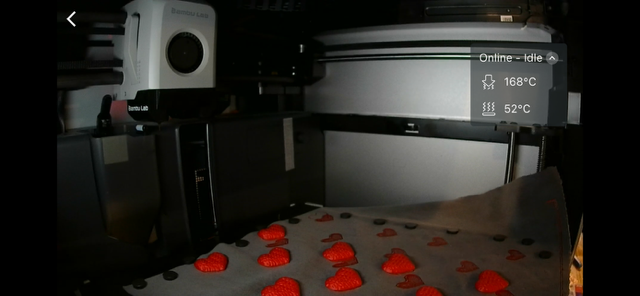
- During printing, I paused the print manually after the first few layers (around 1 mm height).
- I then carefully placed the fabric on the build plate, securing it flat with magnets and heat-resistant tape.
- Once the fabric was secured and flat, I resumed the print. The nozzle continued printing over the fabric, successfully bonding the PLA to the textile surface.
Results and Observations
- The PLA adhered well to the velvet-like surface due to the fabric’s texture and grip.
- Proper fixing is critical—loose fabric leads to shifted layers or nozzle collisions.
- The final result in Experiment 3 produced smooth, clean prints that merged soft and rigid elements elegantly.
Applications
- Wearable designs (e.g., logos, patches, or decorative panels)
- Textile-integrated enclosures or soft pouches
- Soft robotics or artistic textile works
Reflection
3D printing on fabric was an exciting and hands-on experience. The process of pausing the print and integrating materials mid-process required attention to detail and timing.
I learned the importance of fabric stability, nozzle clearance, and surface selection. Next, I’d like to experiment with TPU or conductive filament to explore more functional wearable applications.