


Moulding & Casting
Overview
This Week I worked on testing different materials for creating my own moulds and casts. Then I designed my own design of a two pieces sword that was casted with resin and soap.
What is molding & casting?
Molding and casting is a fabrication process used to replicate the shape of an object: Molding is the process of creating a hollow container (the mold) that captures the shape and details of an original object. Casting is when a liquid material (like resin, plaster, or metal) is poured into the mold, allowed to harden, and then removed to create a copy of the original. This method is commonly used in art, manufacturing, and prototyping to produce detailed duplicates.
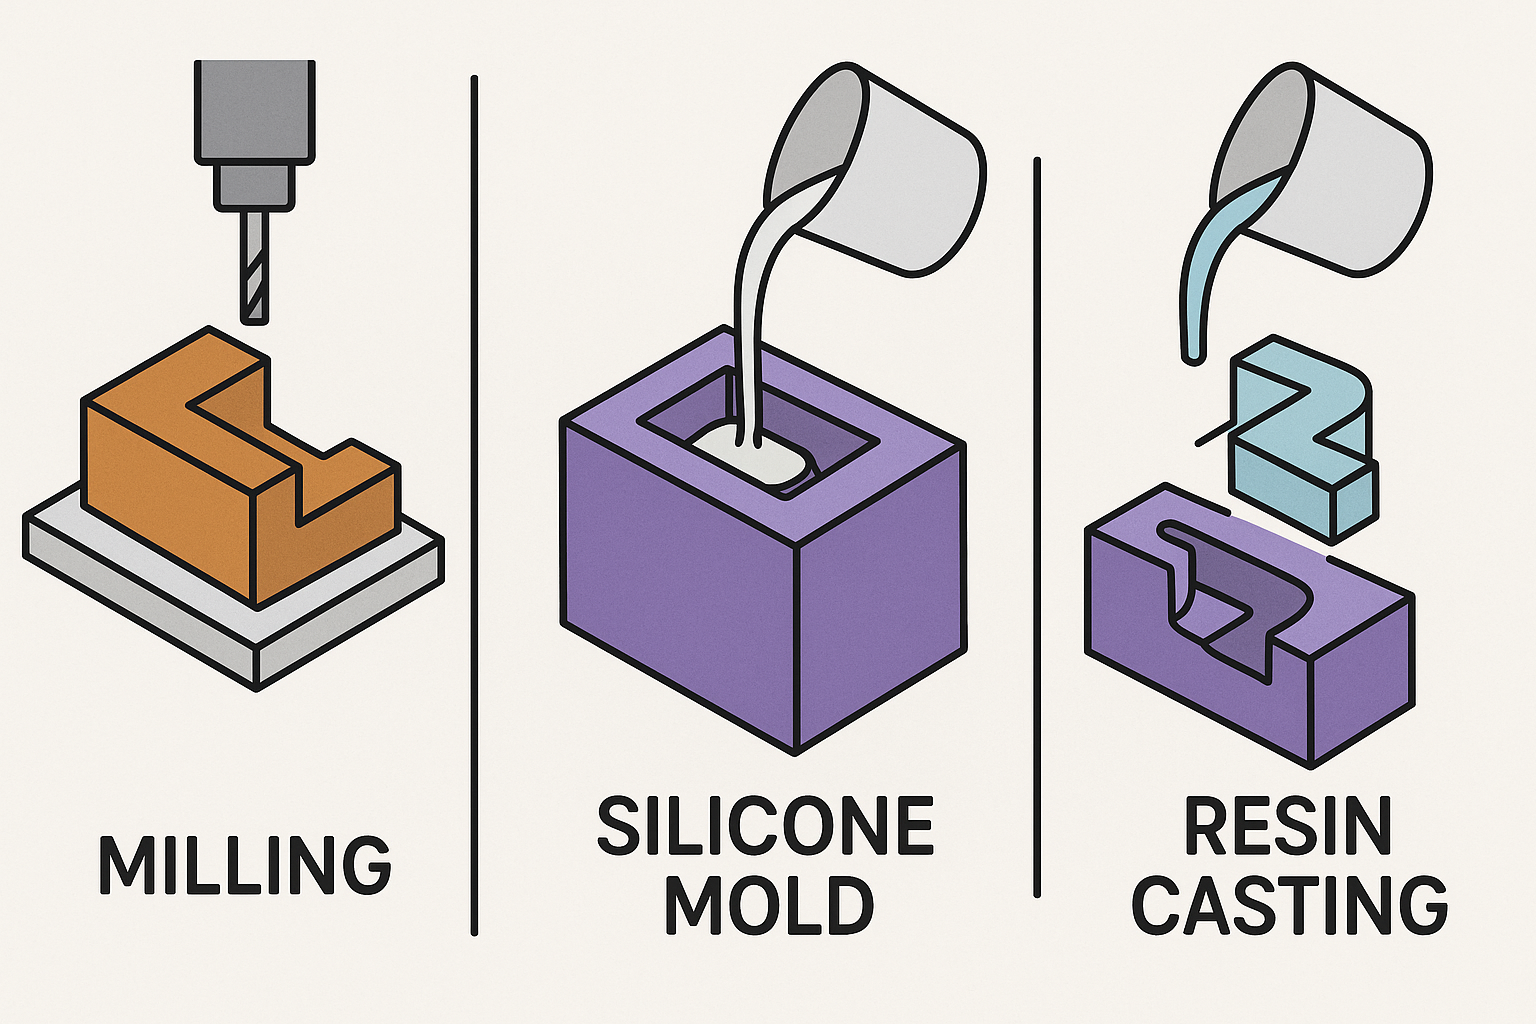
For my process, I used 3 steps , starting with milling the positive mold, then making the negative moldwith silicone, then the final result is the positive cast in resin.
Group Assignment
For the group assignment, we tested different molding and casting materials. The ones I will be using are silicone for the m old and resin for the cast.
Group Assignment PageCrafting my Sword
Mining: Designing steps
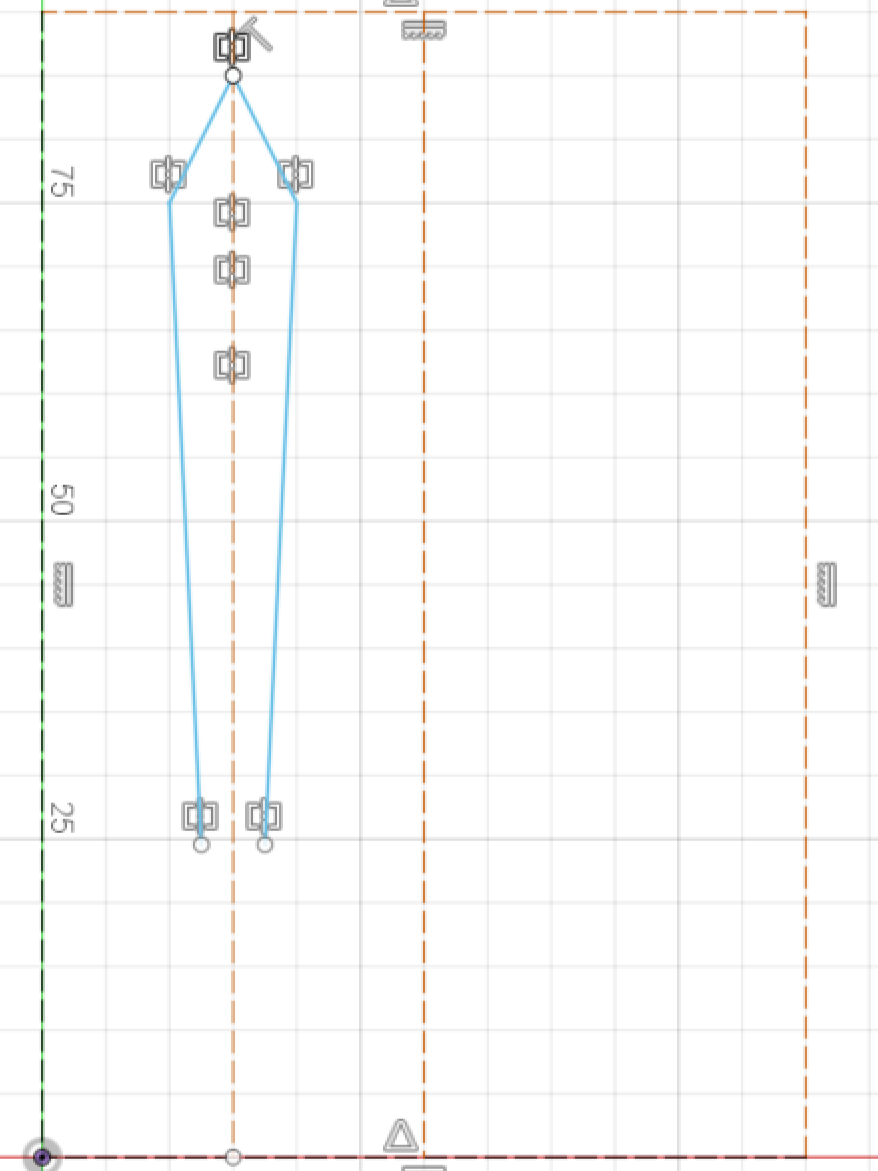
- I used Fusion360 for the design.
- I started by making a sketch of a sword.
- Then I mirrored the sword for it to be two sided.
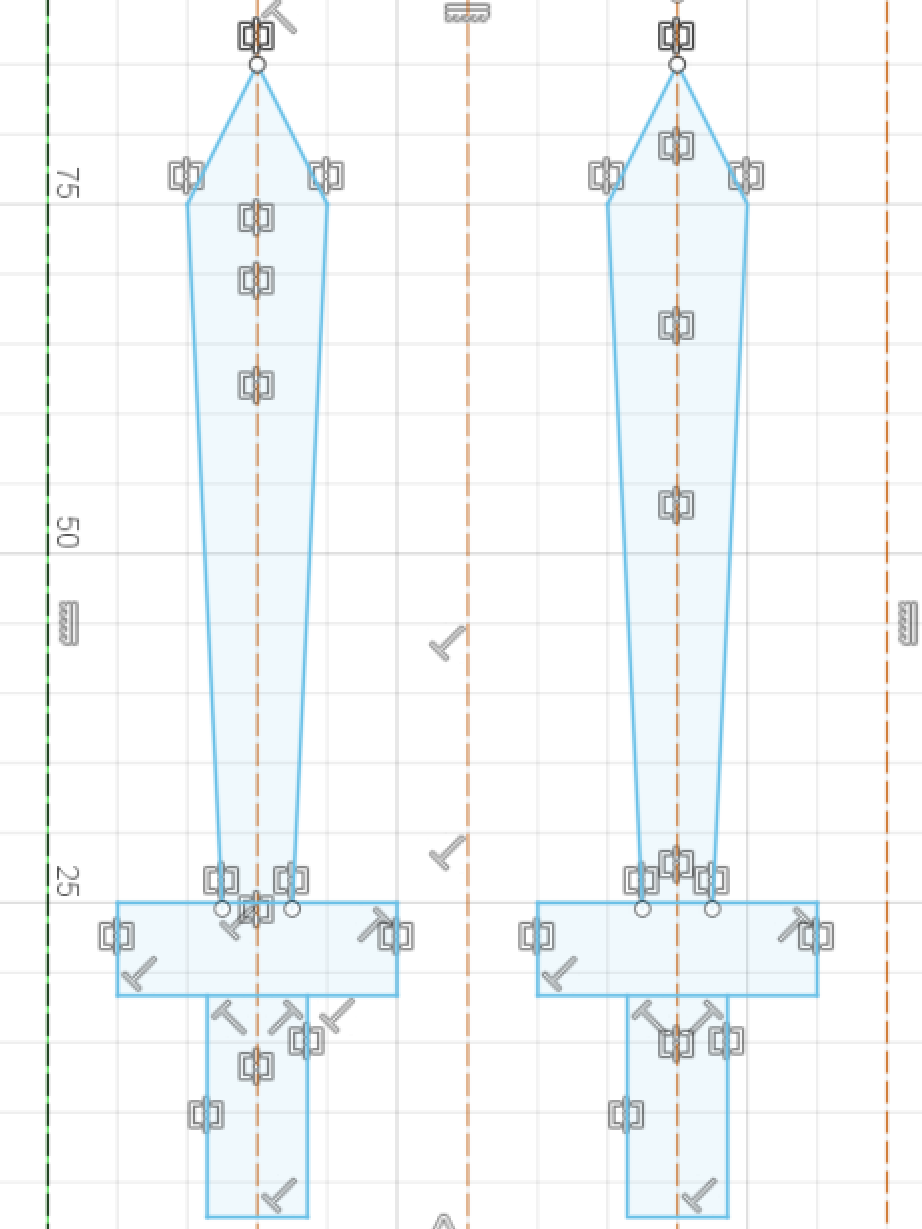
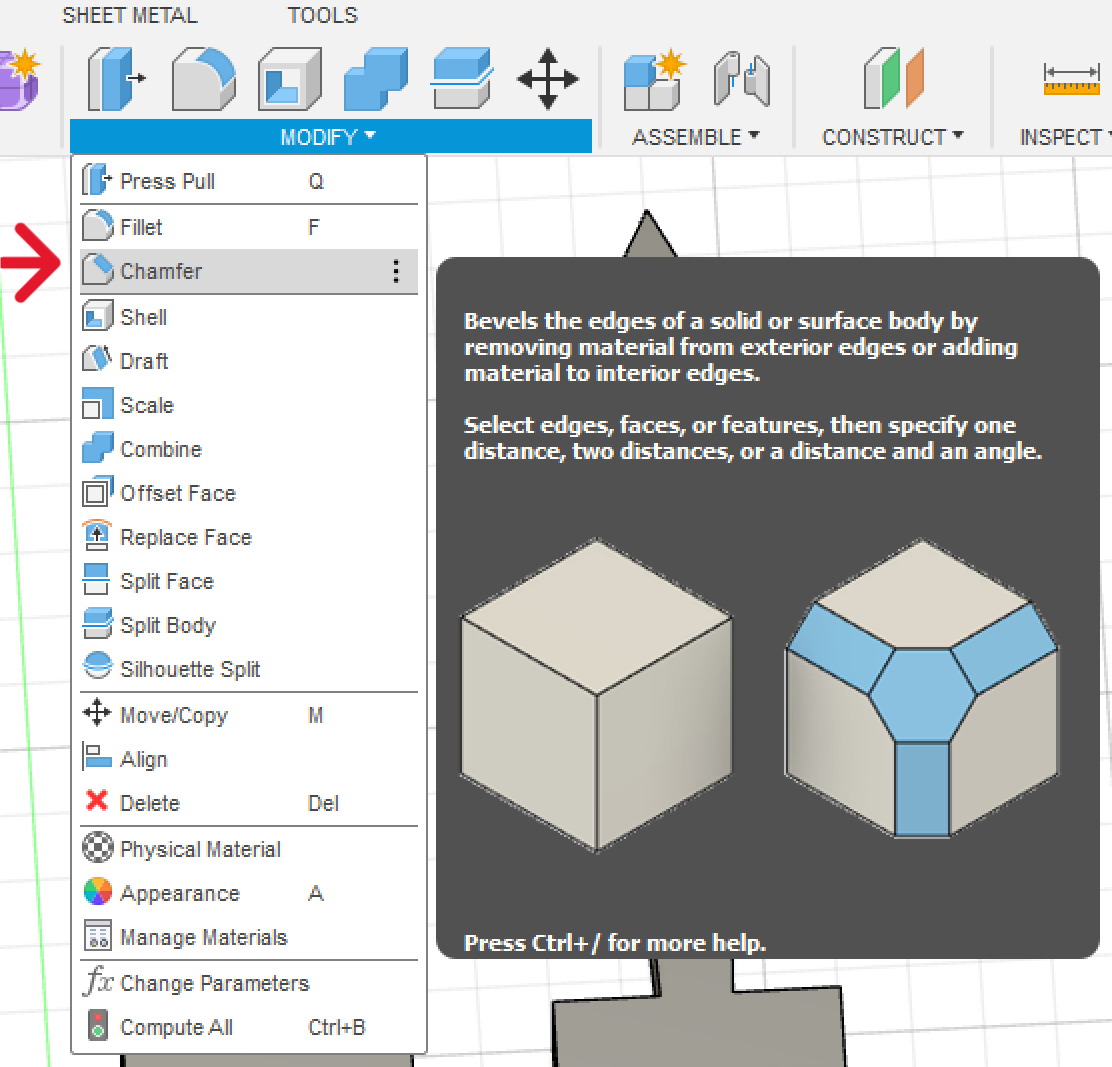
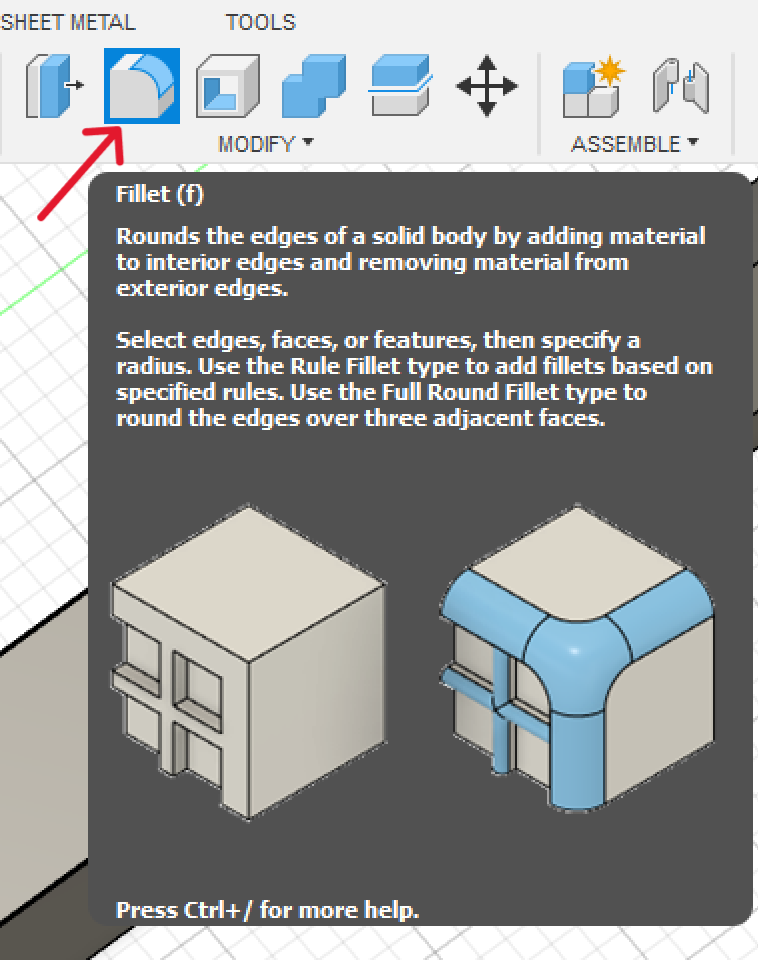
- After extruding the sketch, I used the Chamfer Tool to make the edges of the sword.
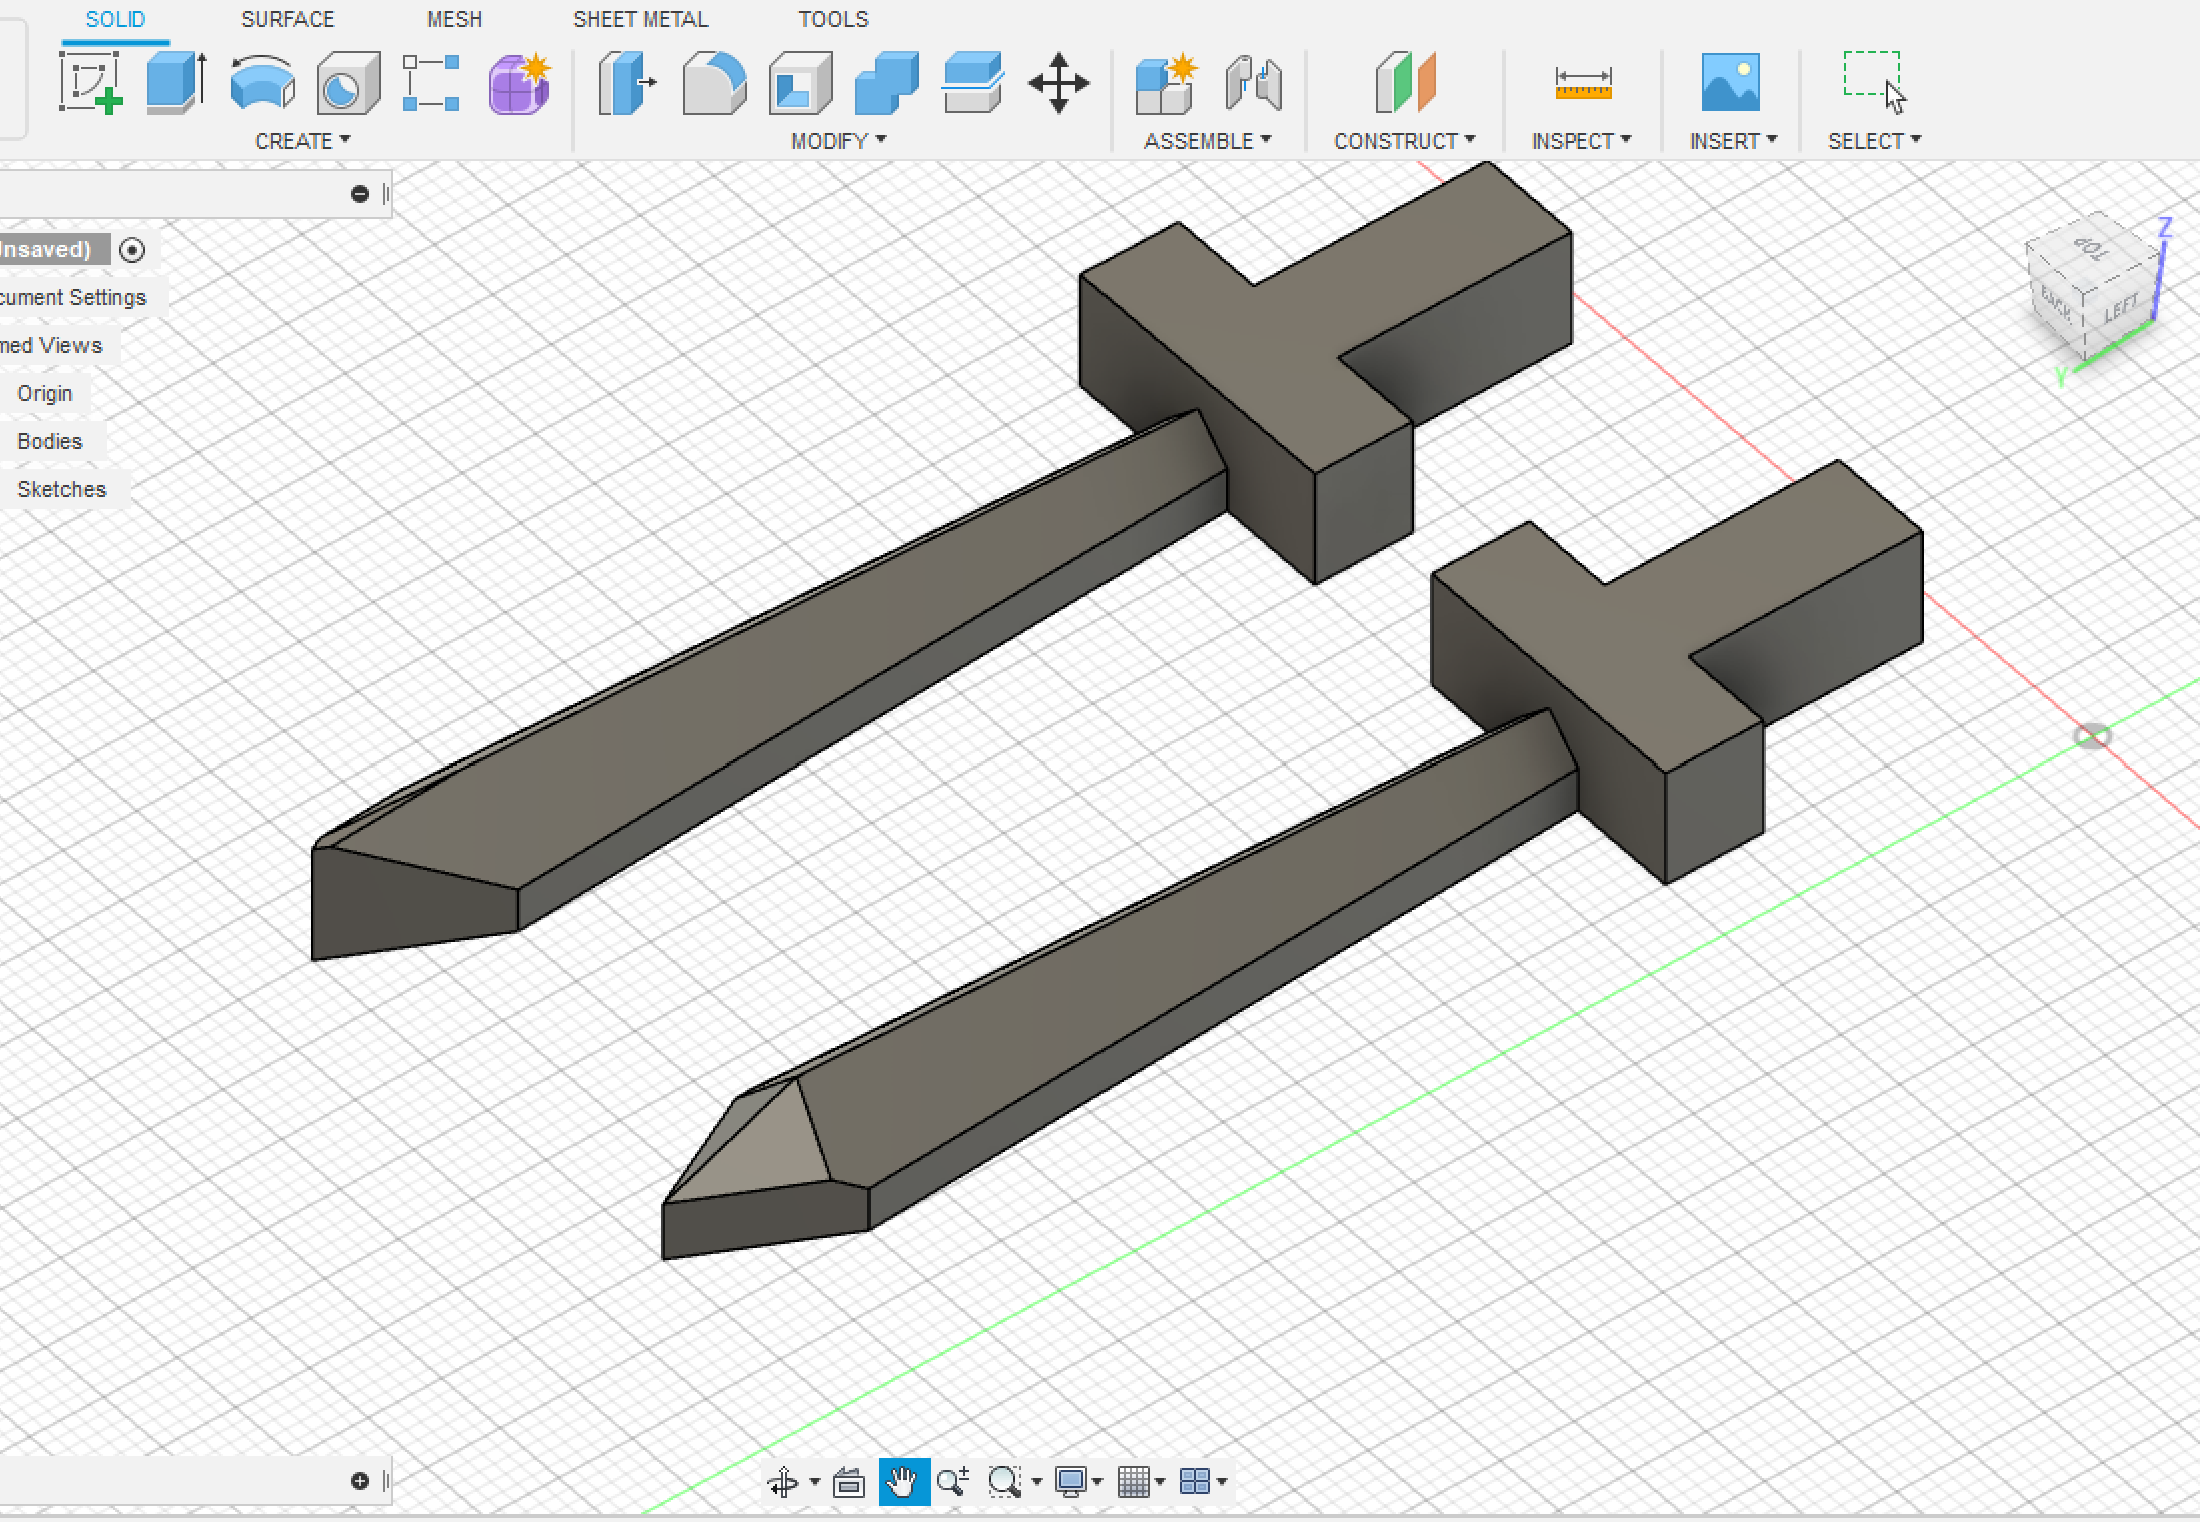
- Then I used the fillet Tool for the handle.
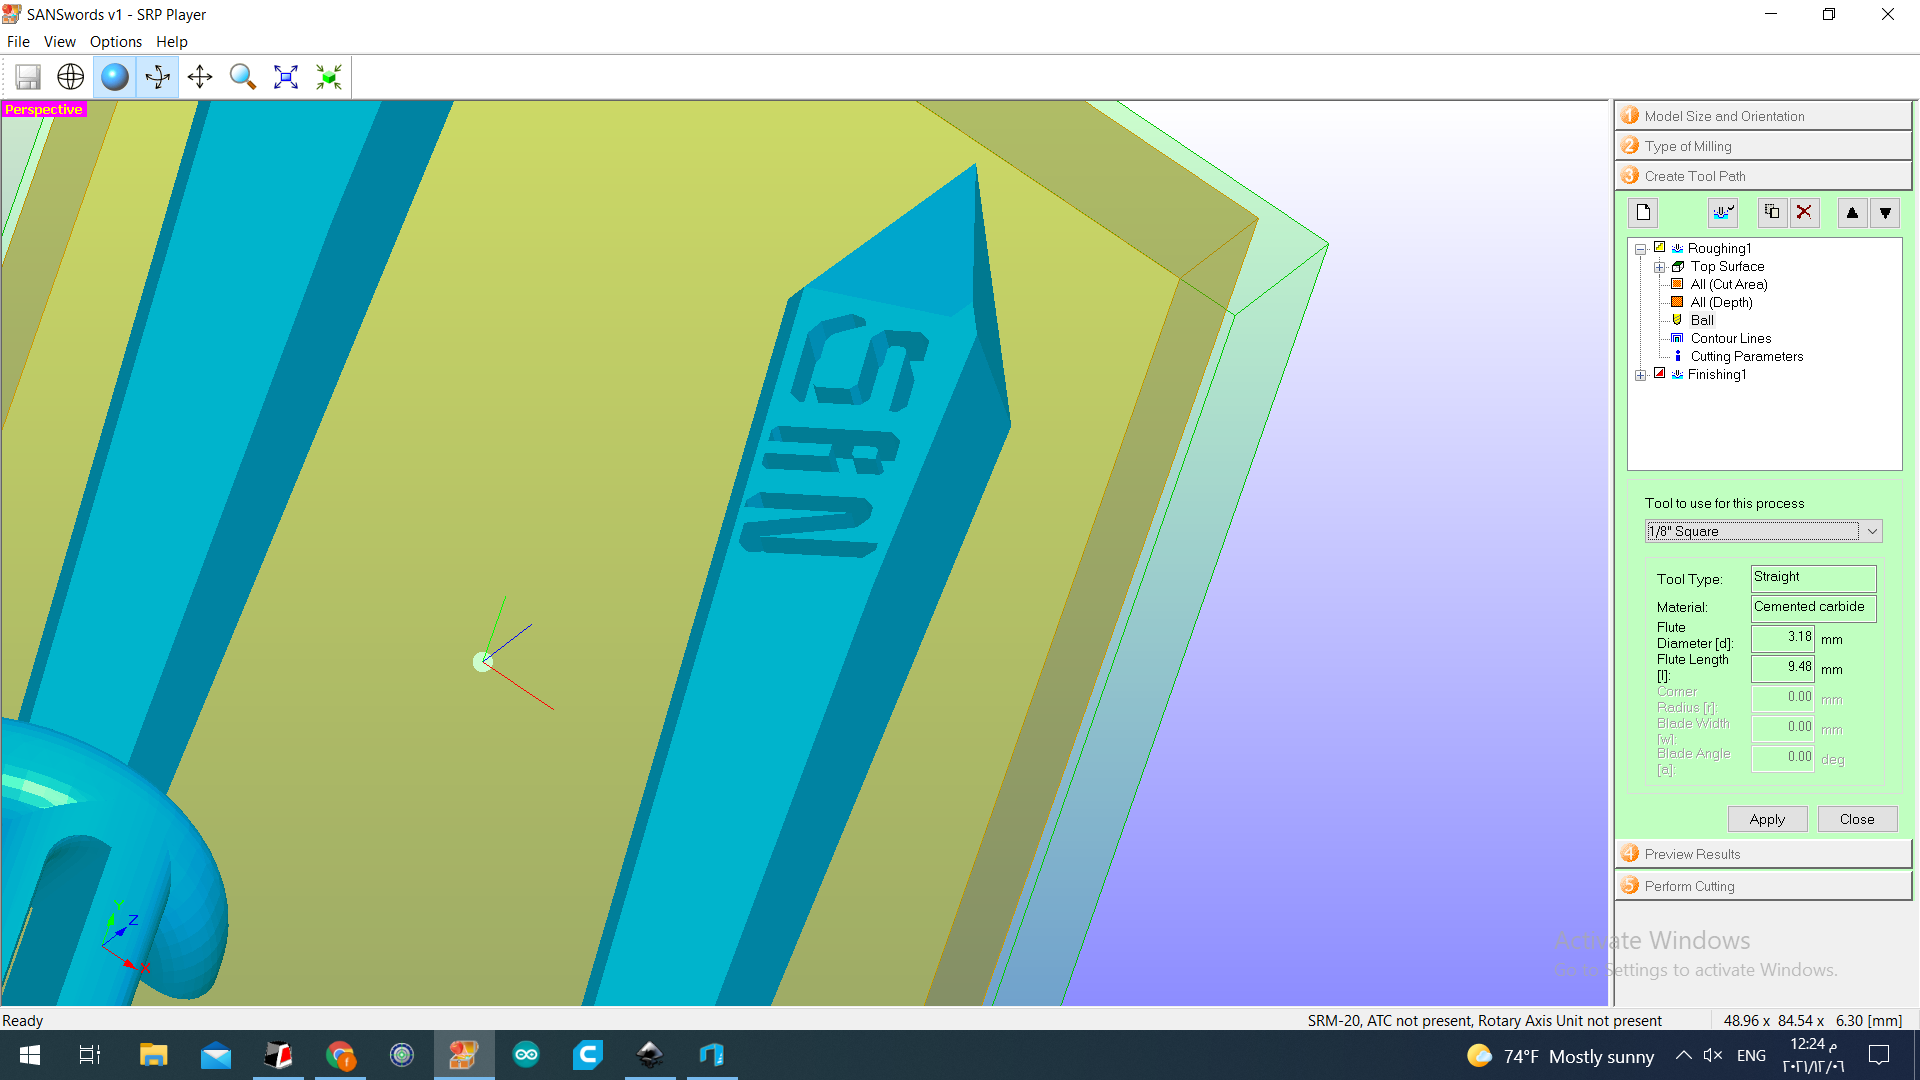
- I wrote SAN on one of the sides and that was the final result.

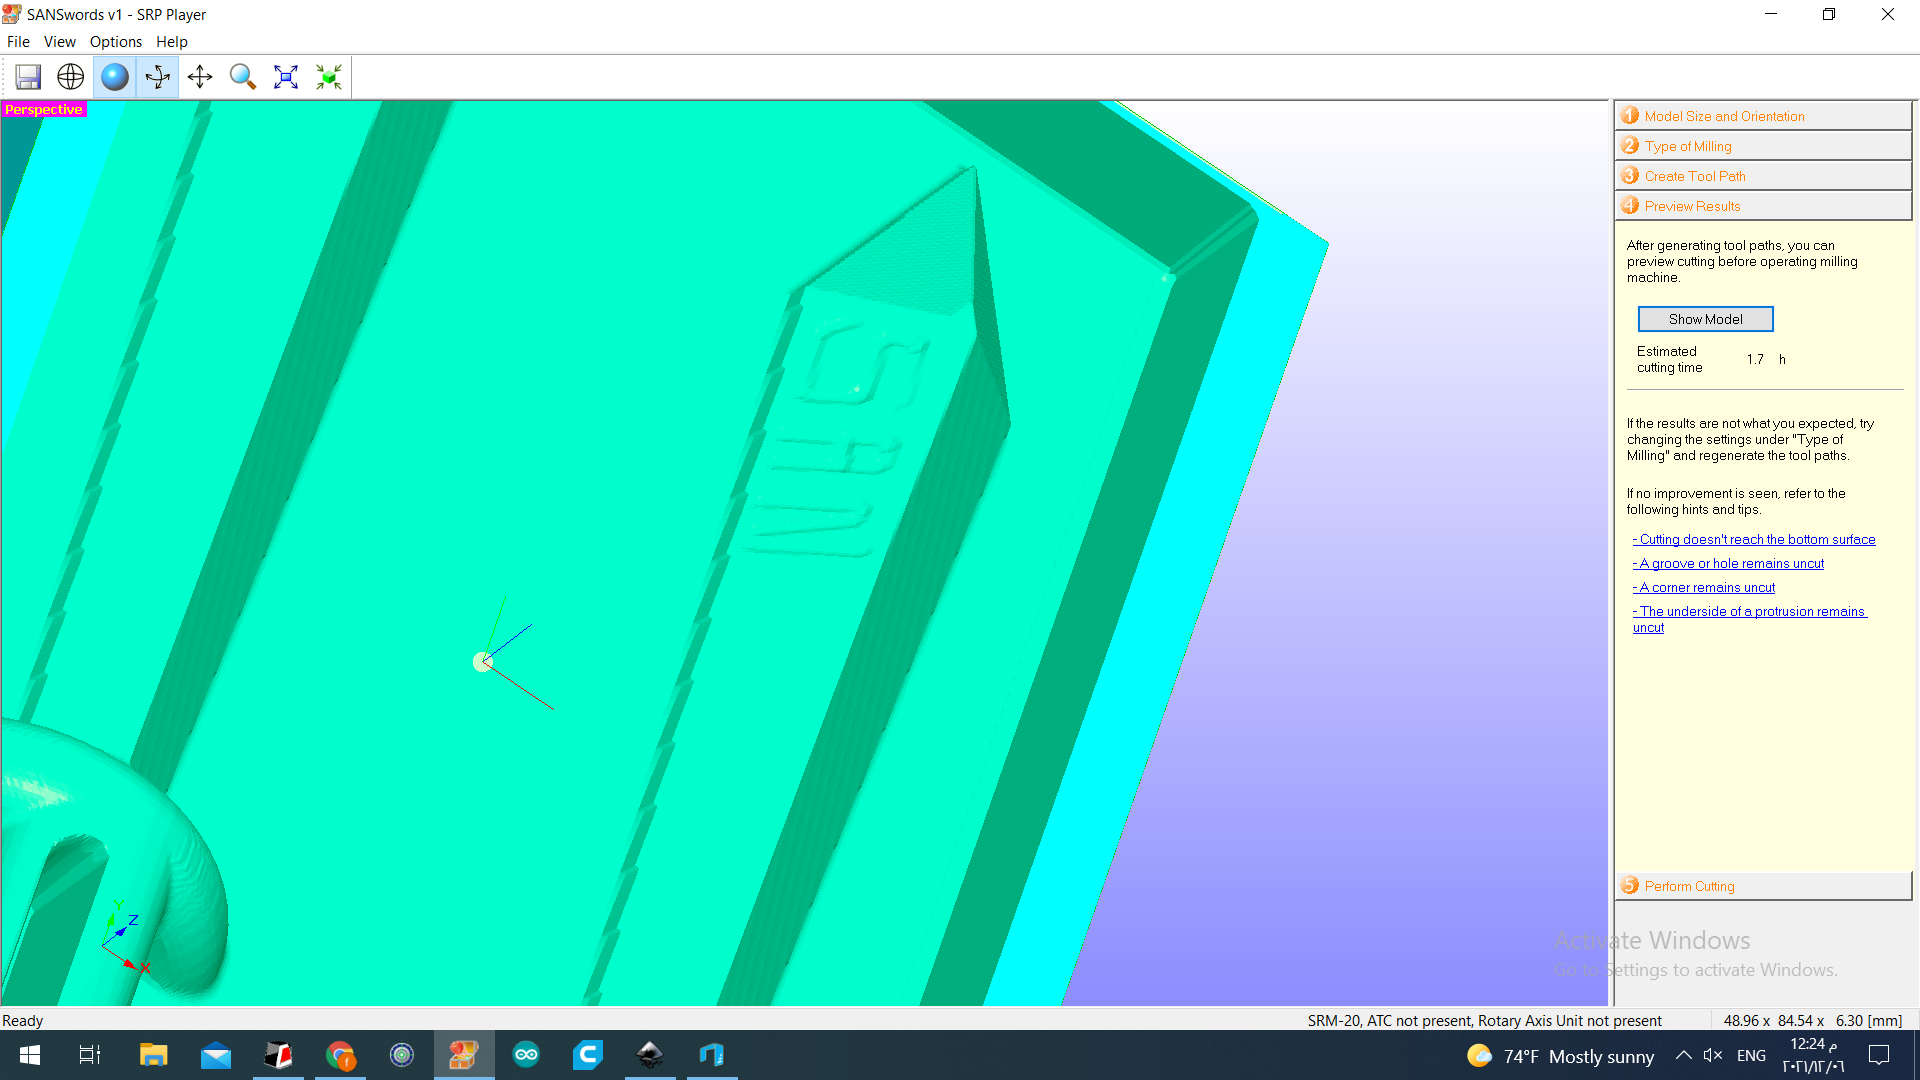
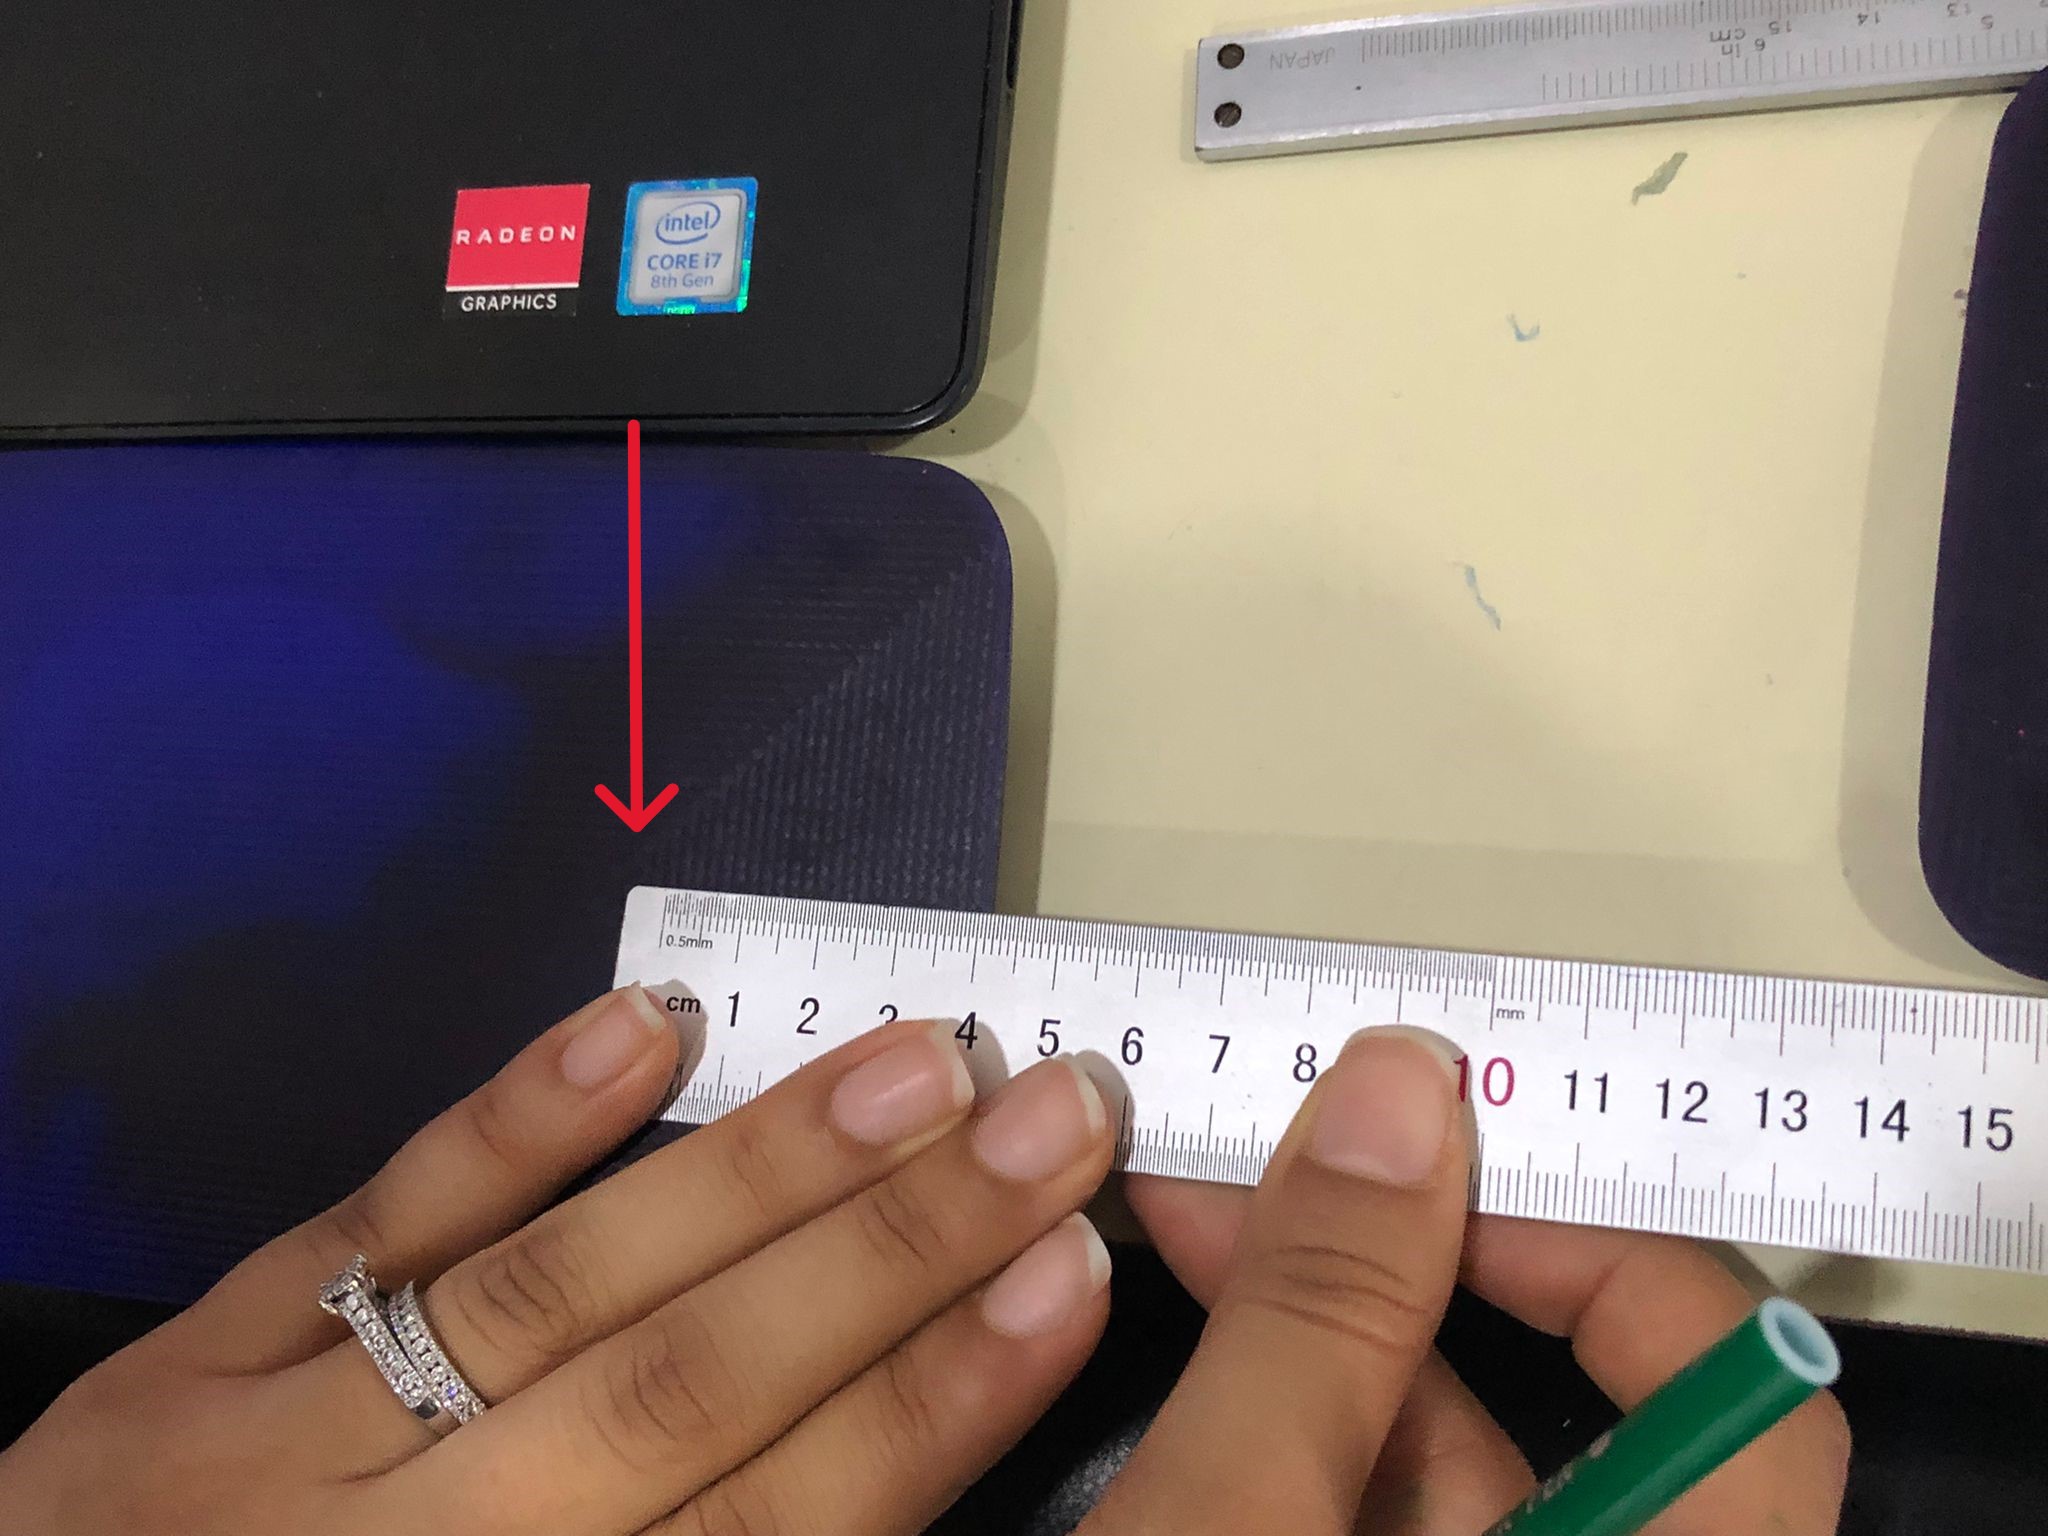
- NOTE: The spacing and width of the font is 0.9mm, which is bigger than the 0.8mm bit. Smaller details will not appear properly.
- To Download the stl file Click Here.
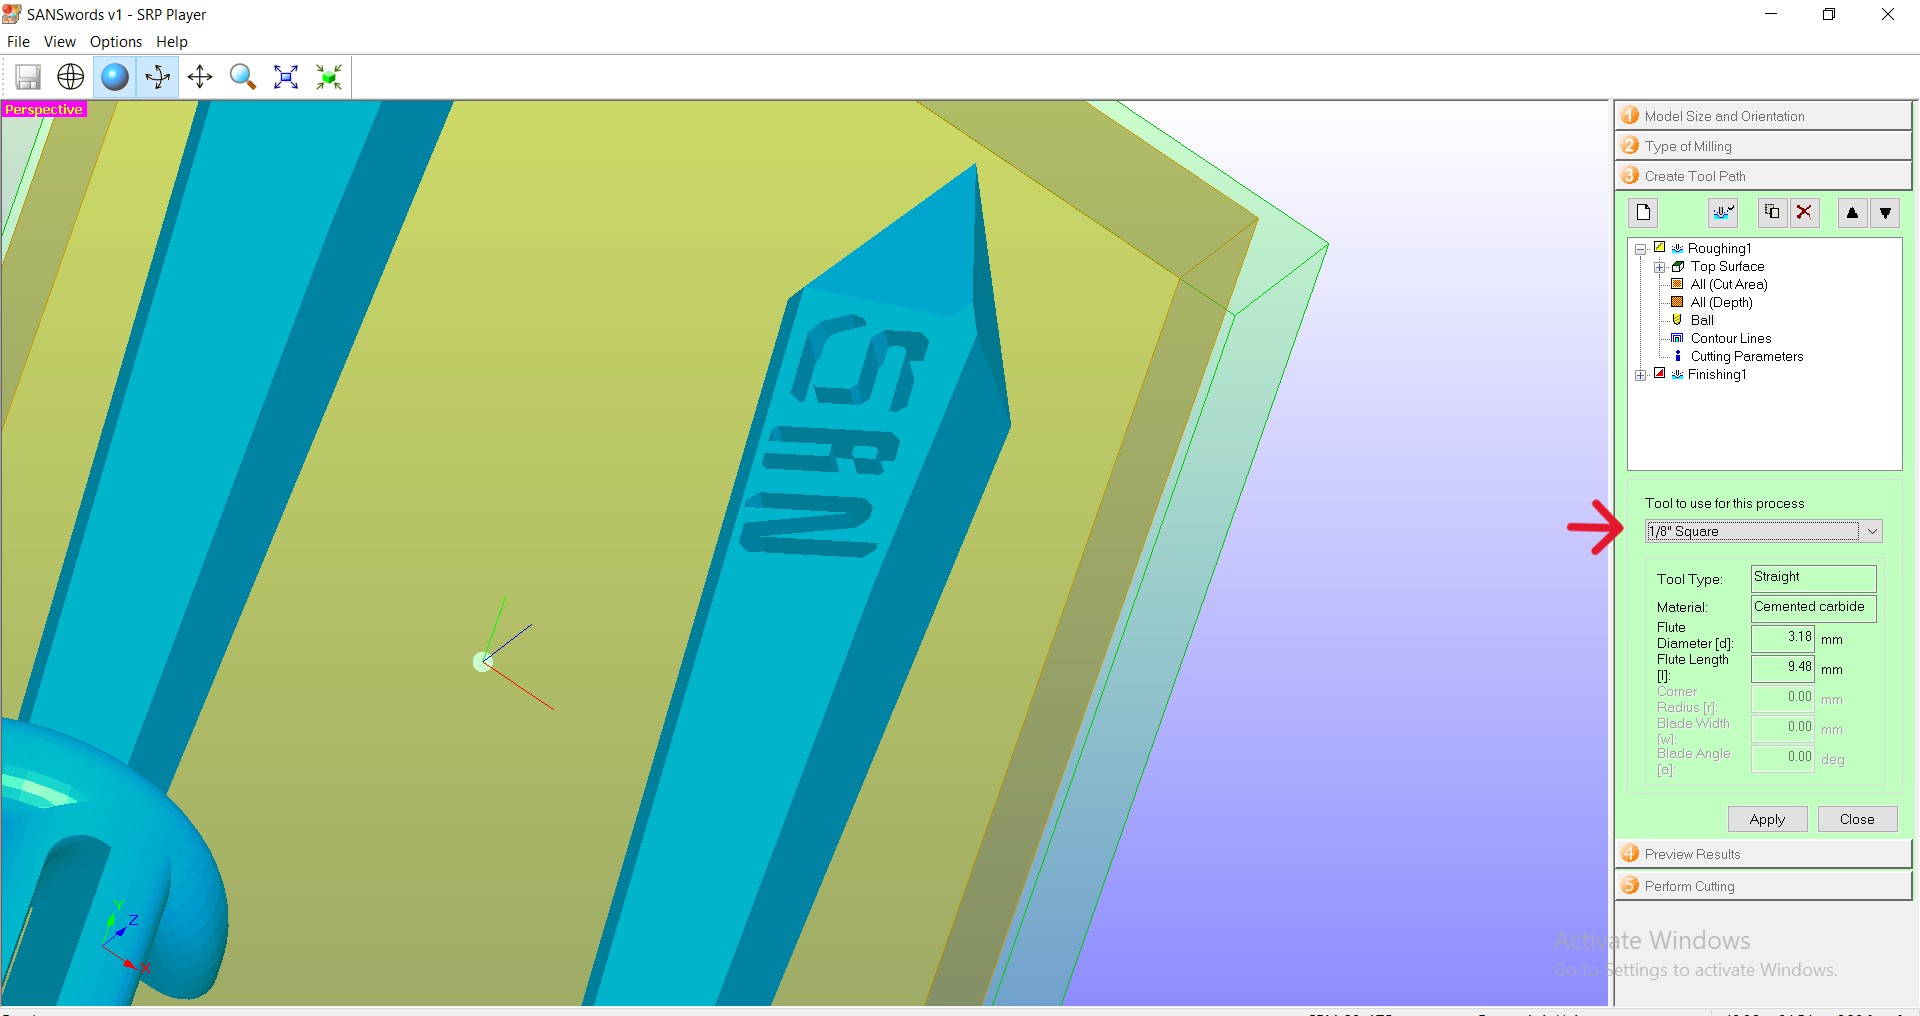
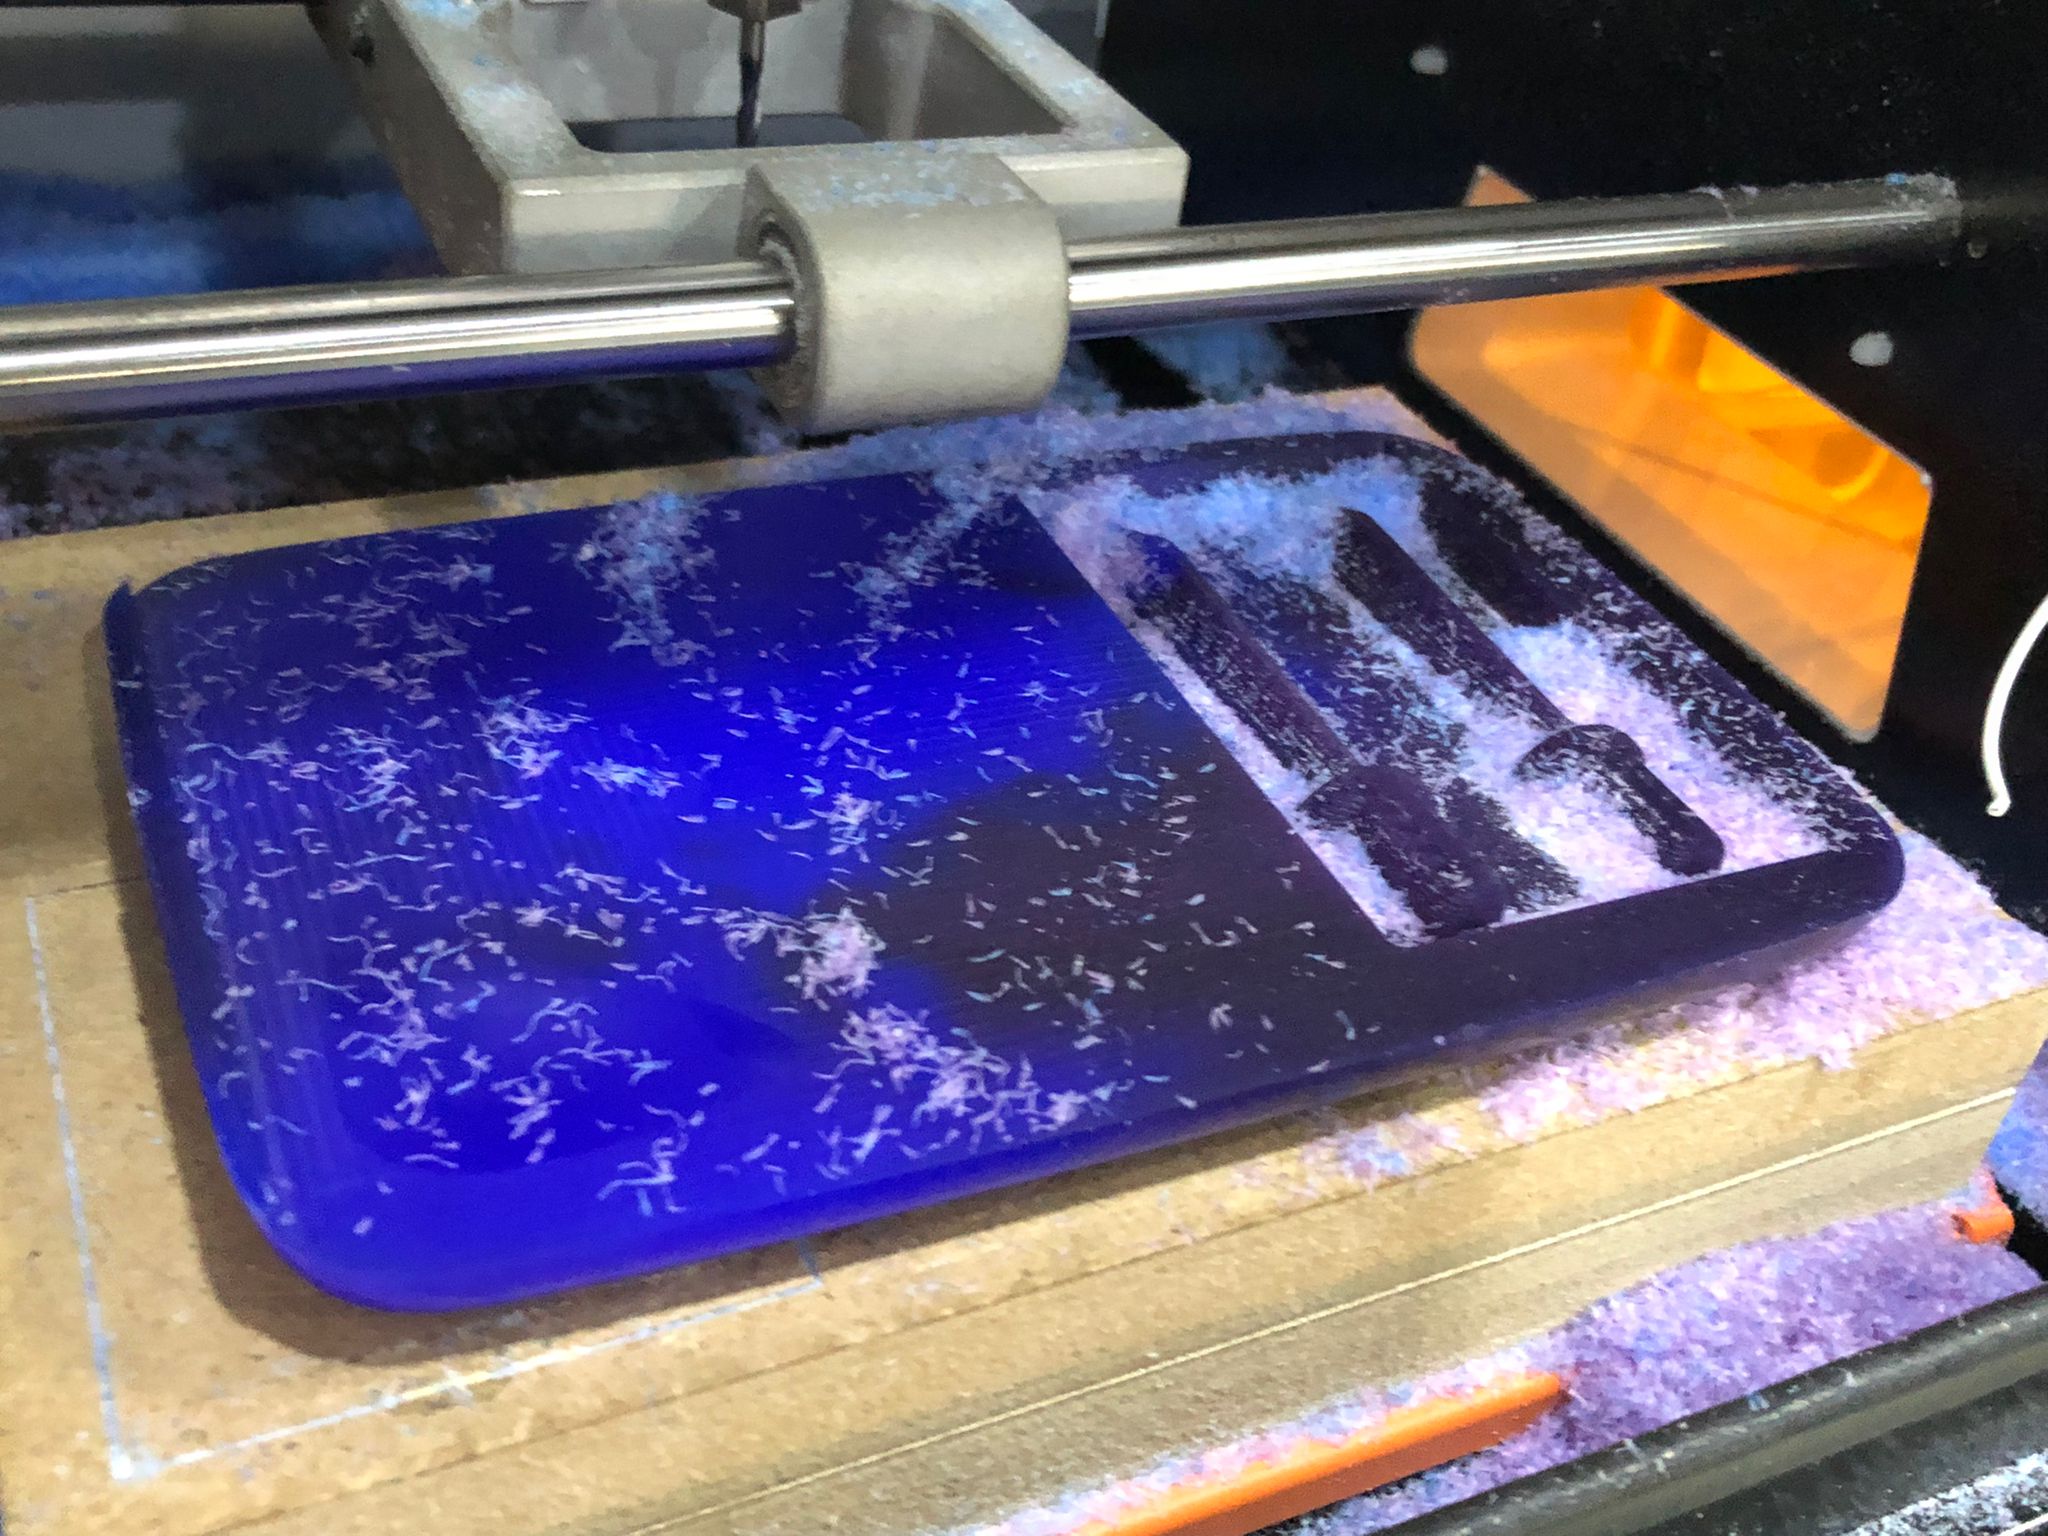
Crafting Table: Mill the design
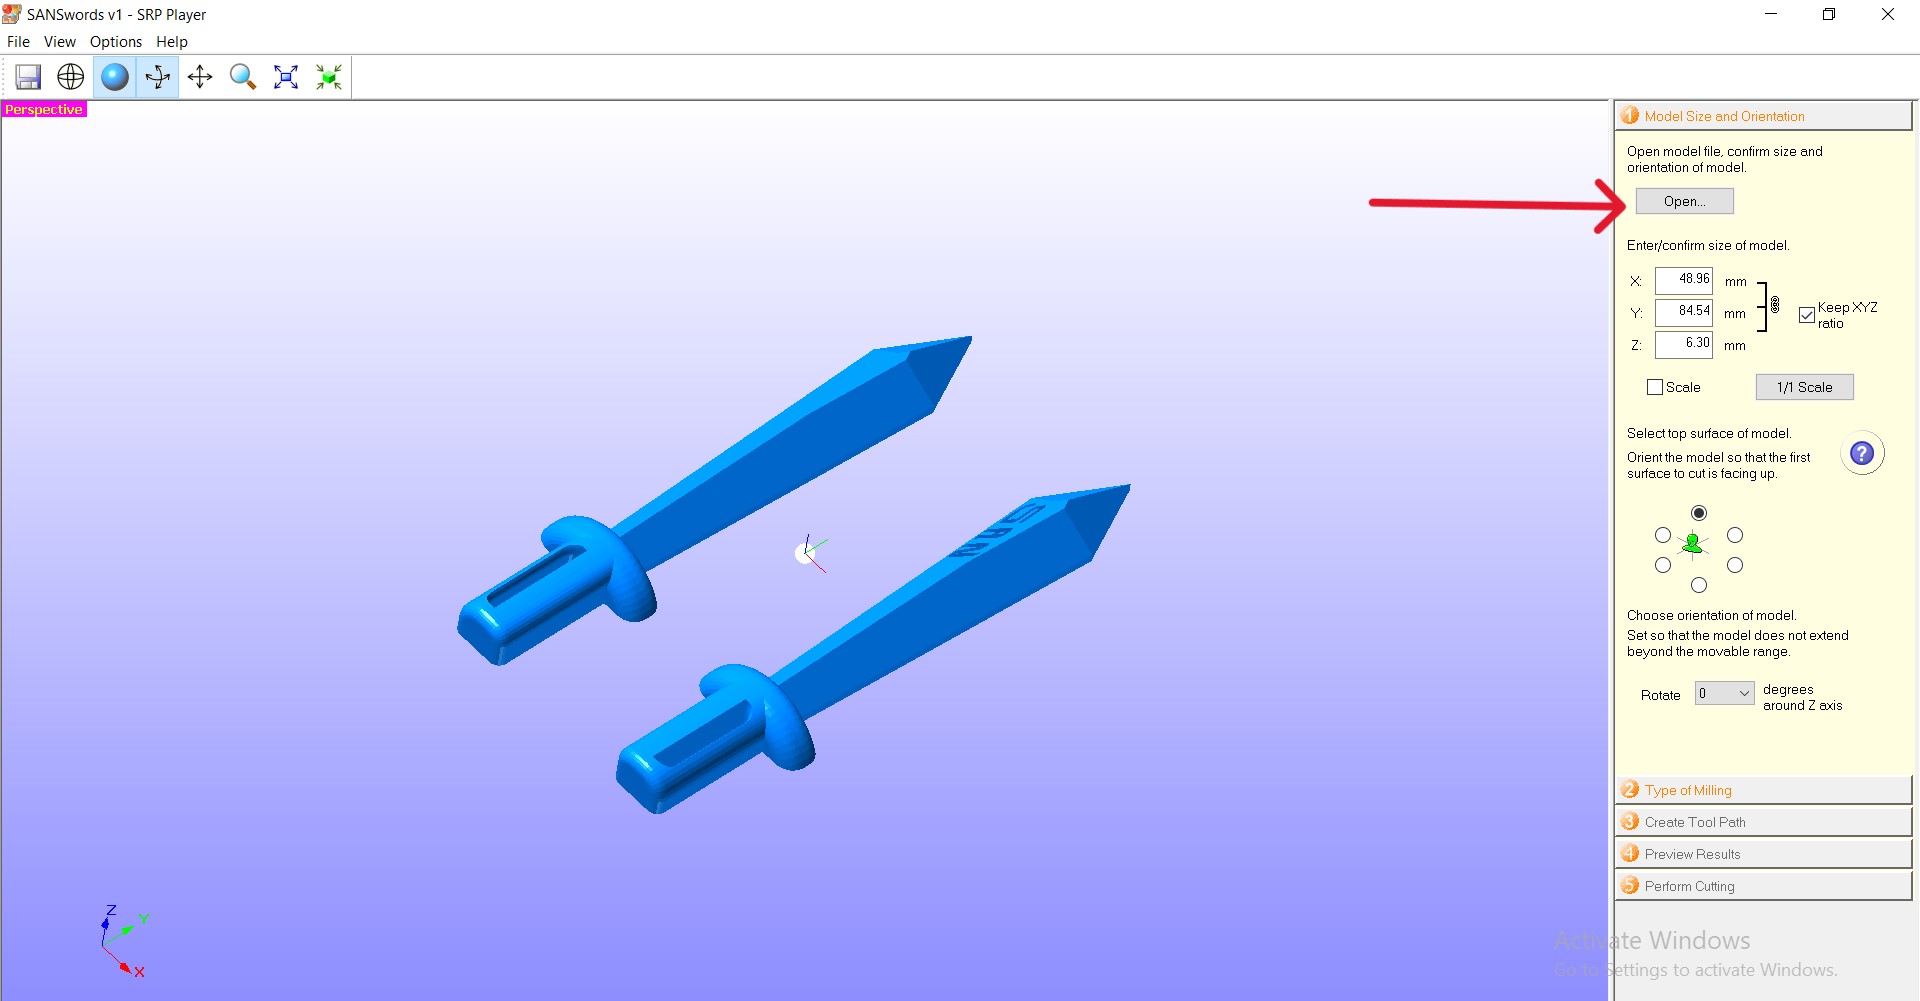
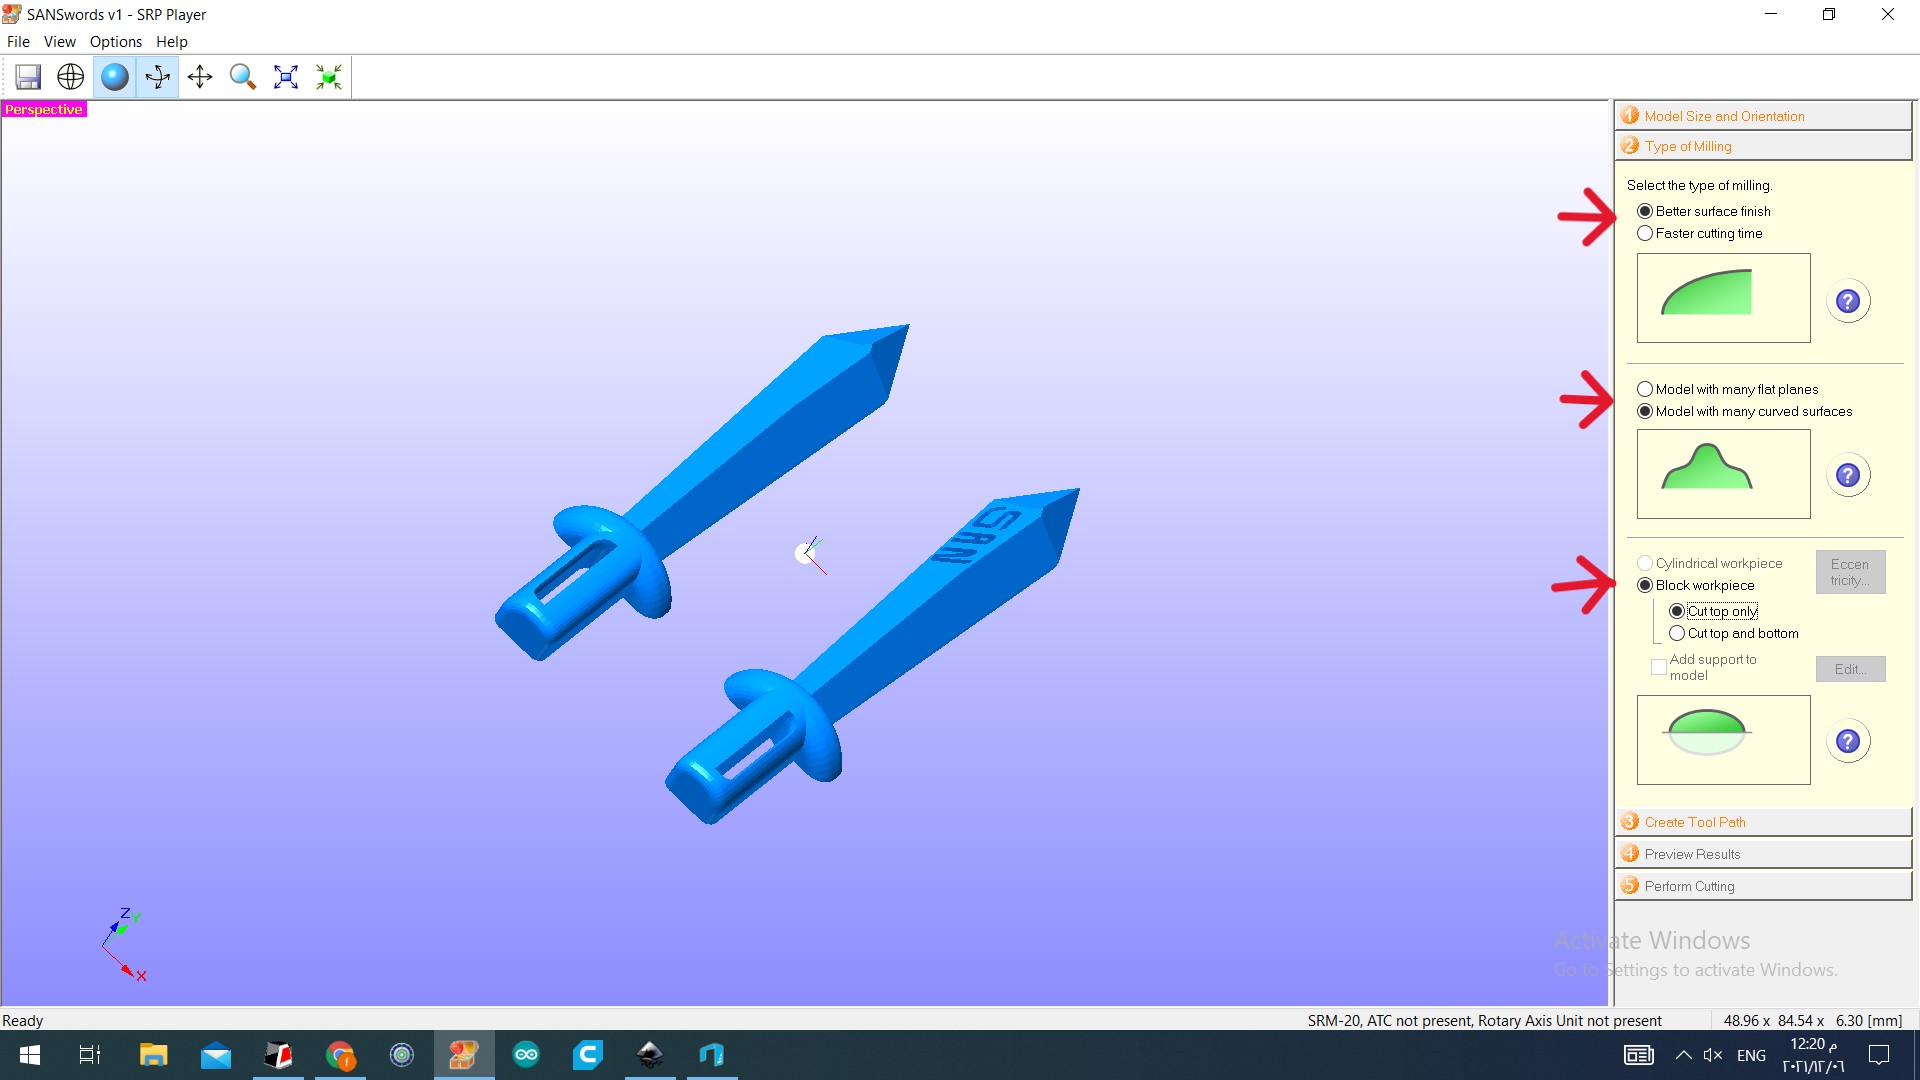
- The Software used is SRP Player.
- Upload the stl file to preview the design.
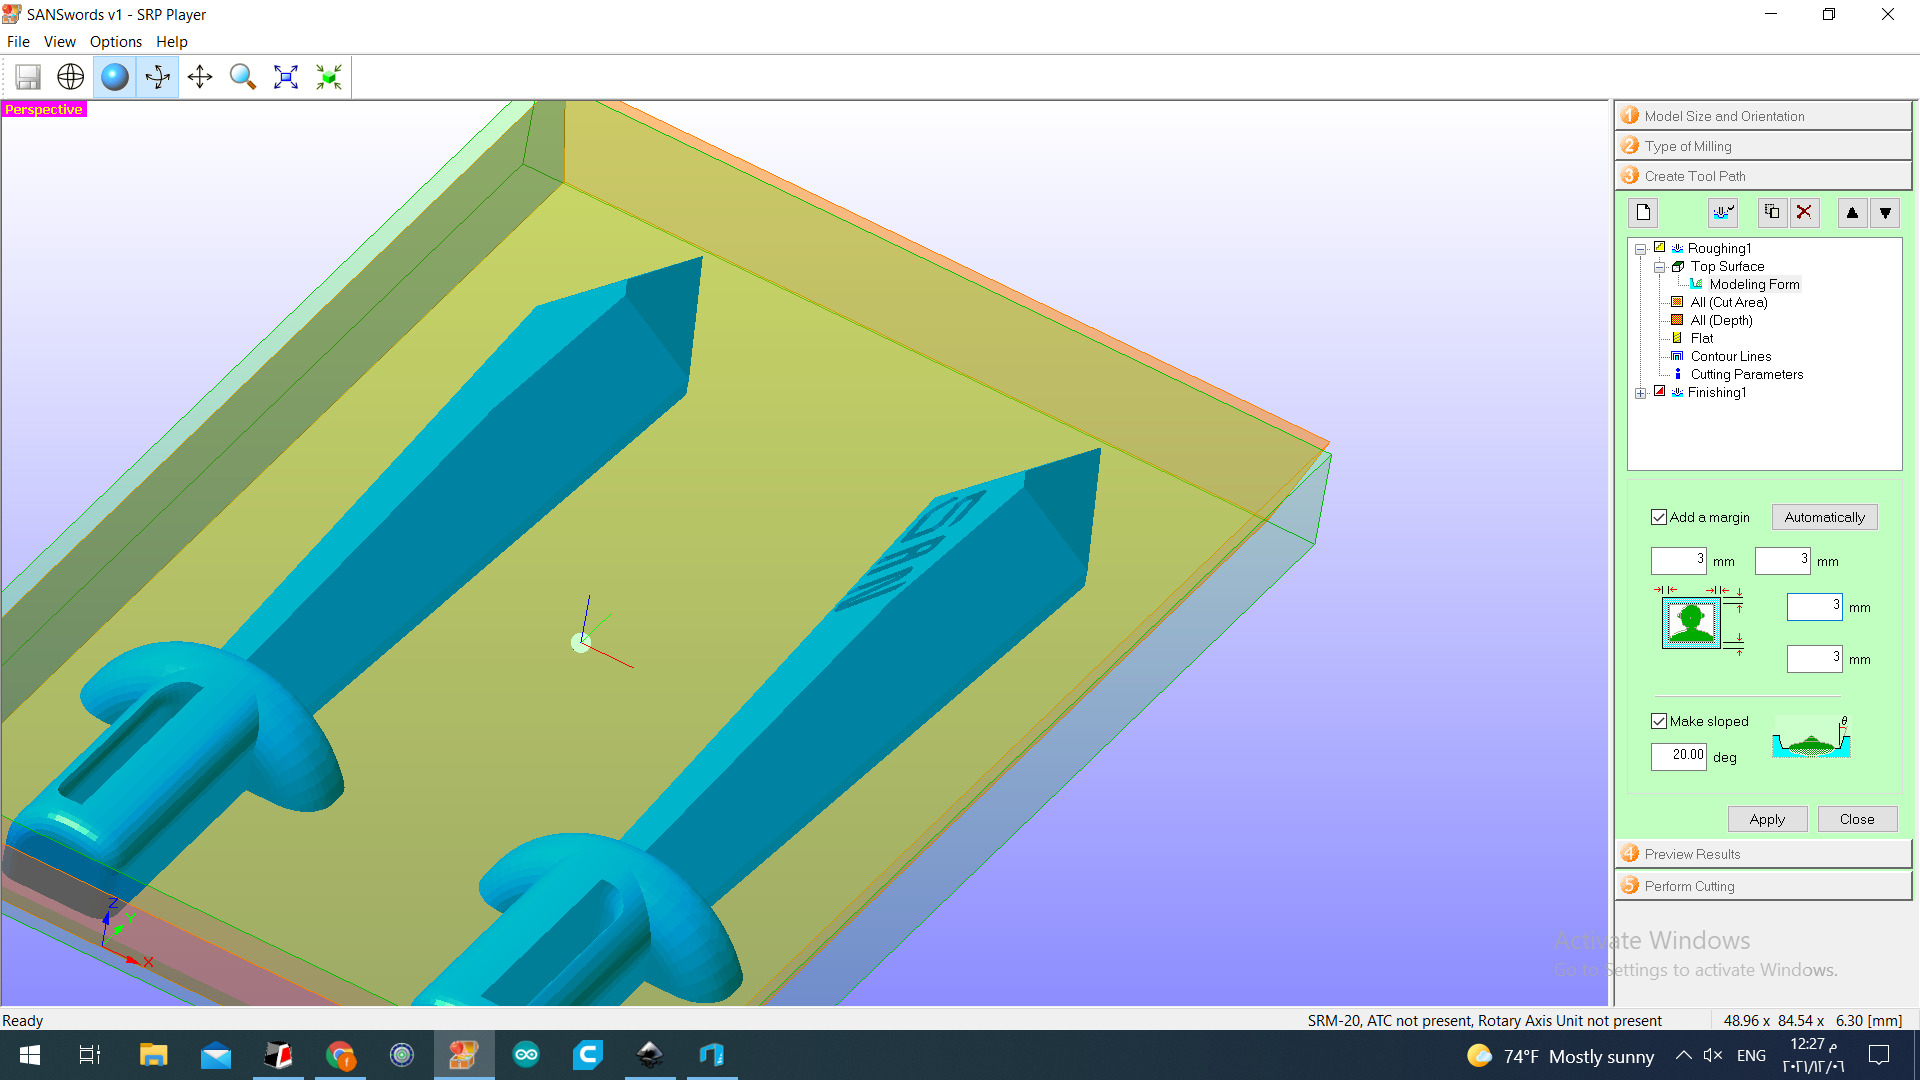
- The software shows the design dimensions.
- Select Better surface finish for detail accuracy.
- Choose “curved surface” since the sword has curves.
- The software creates the tool path.
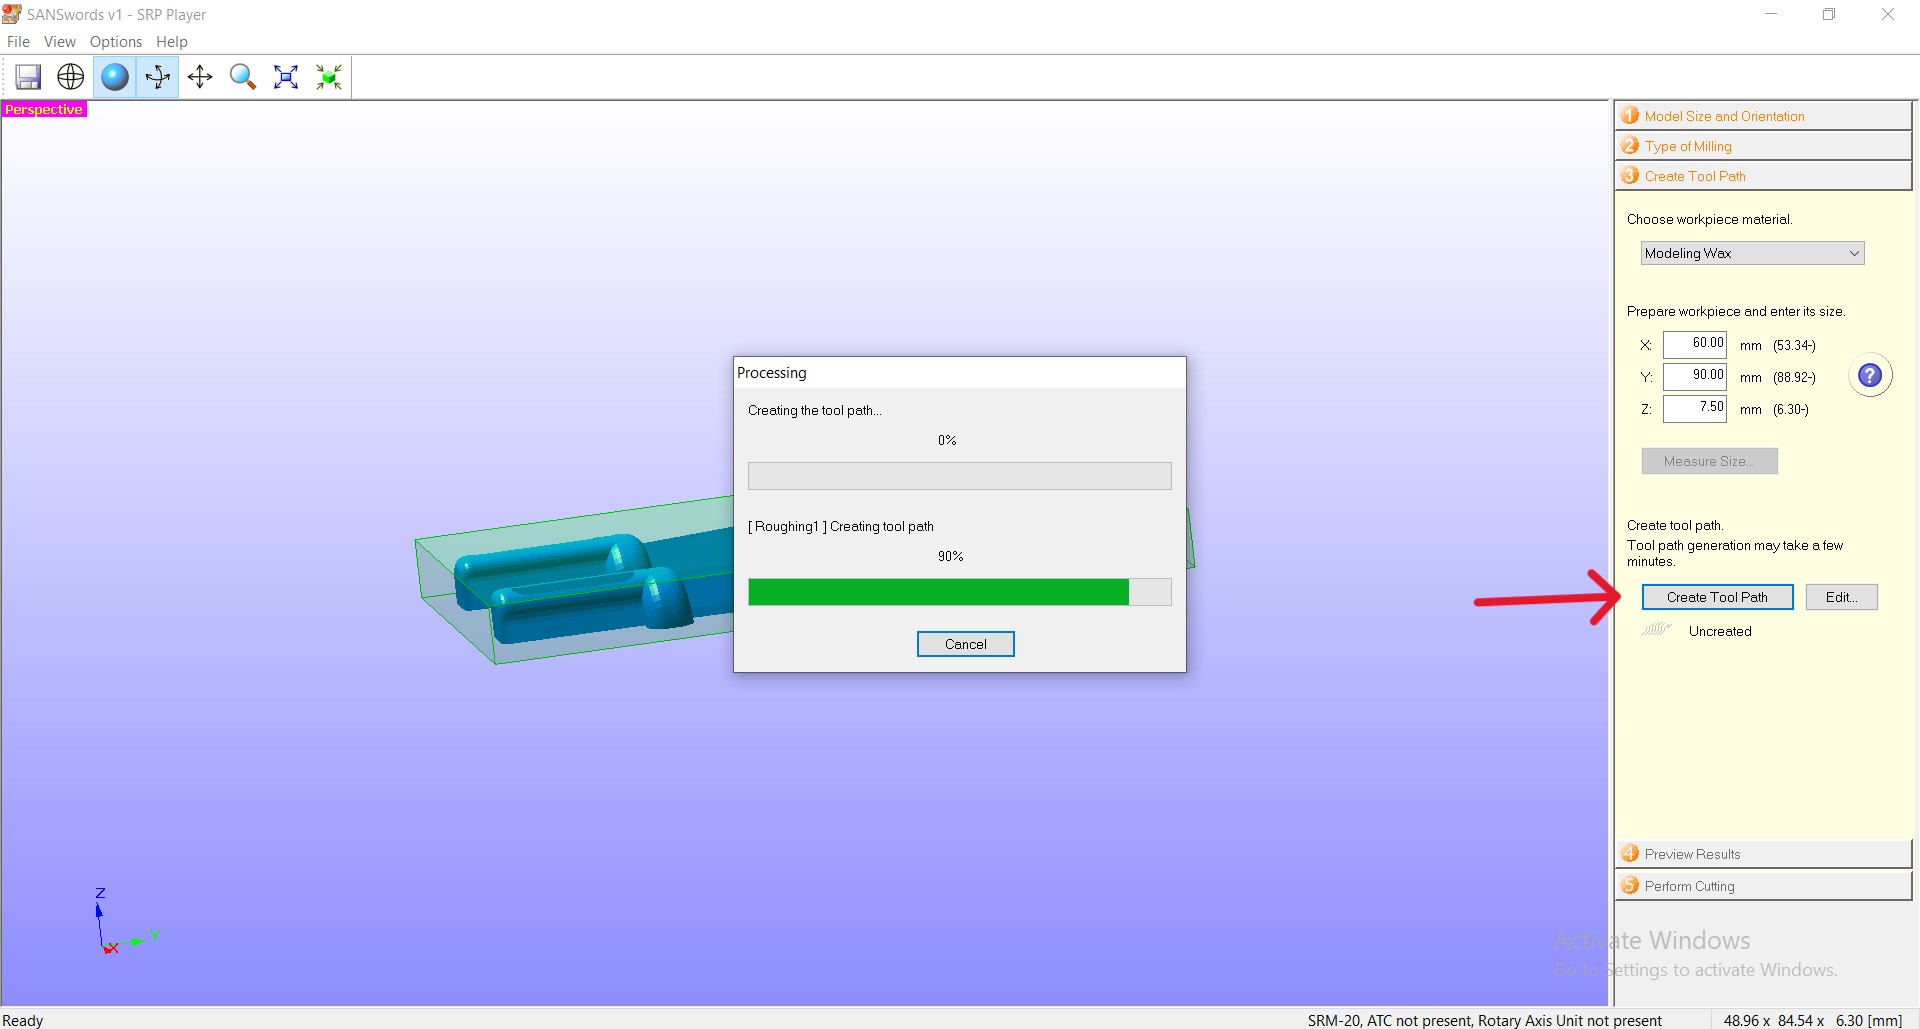
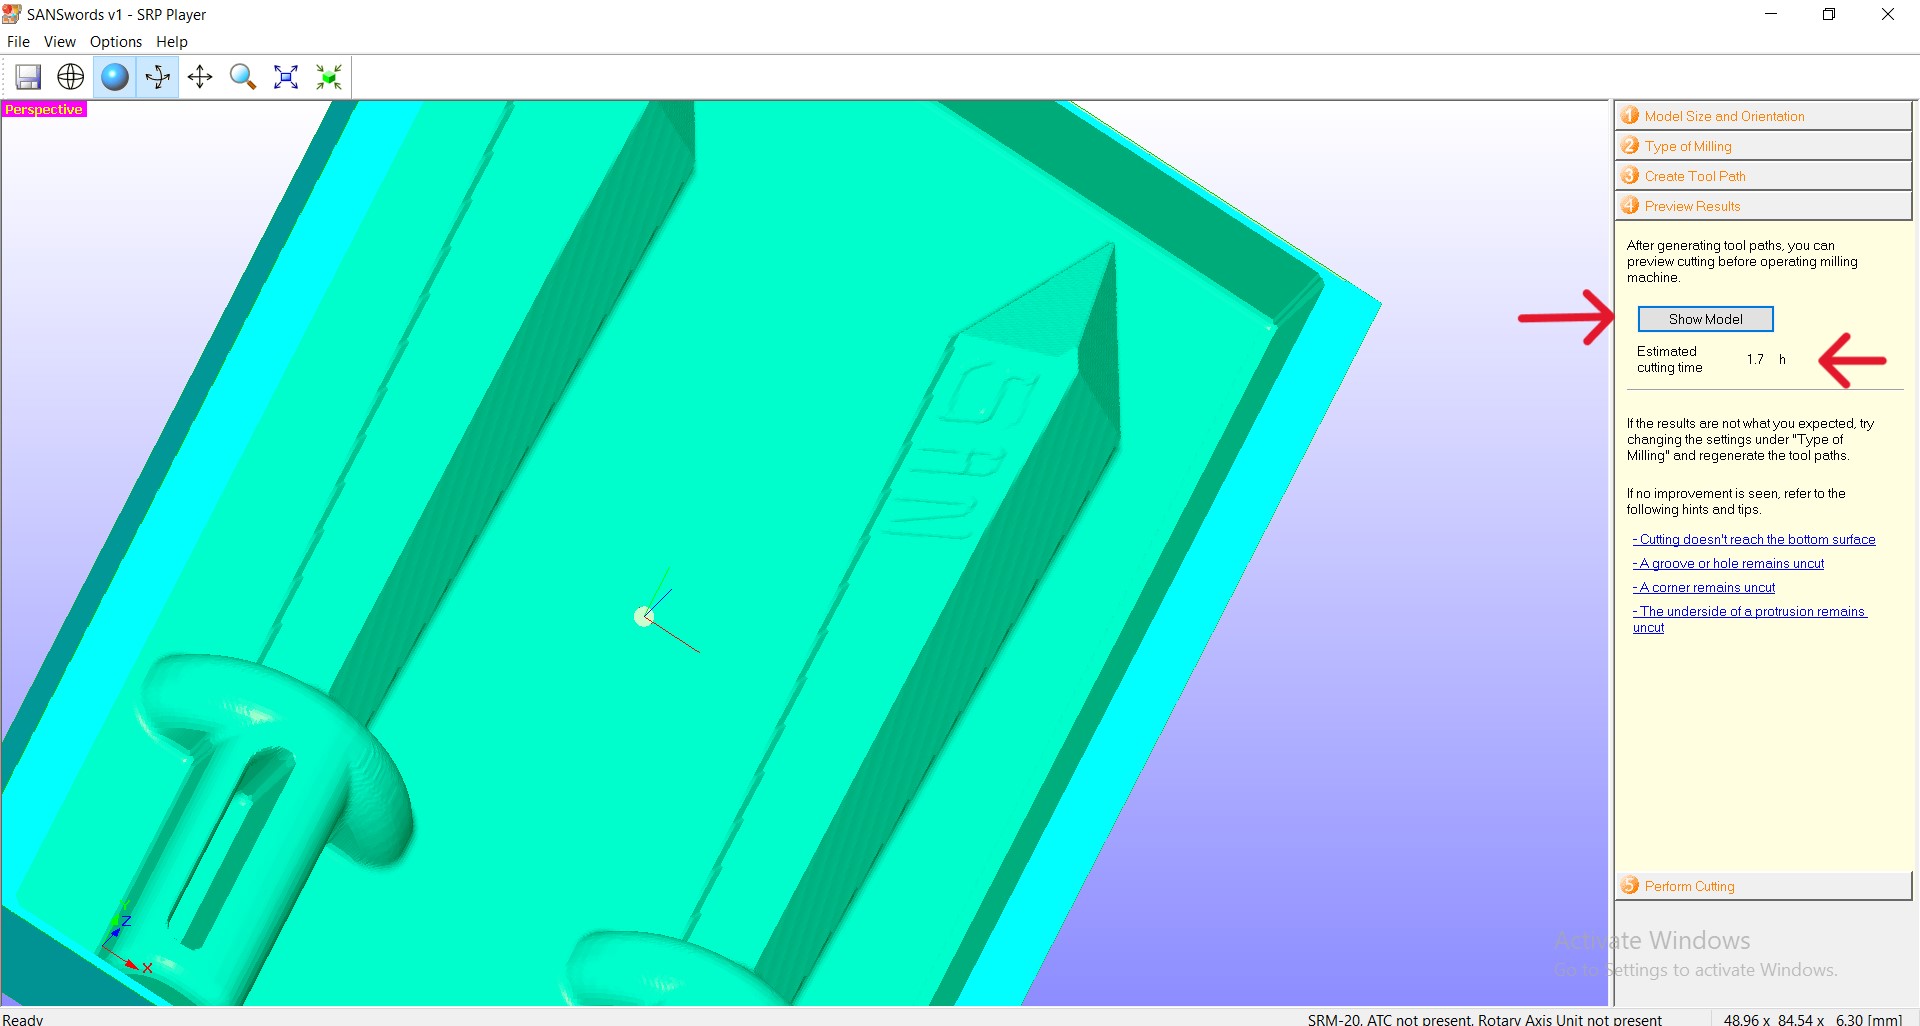
- A preview and cutting time appear.
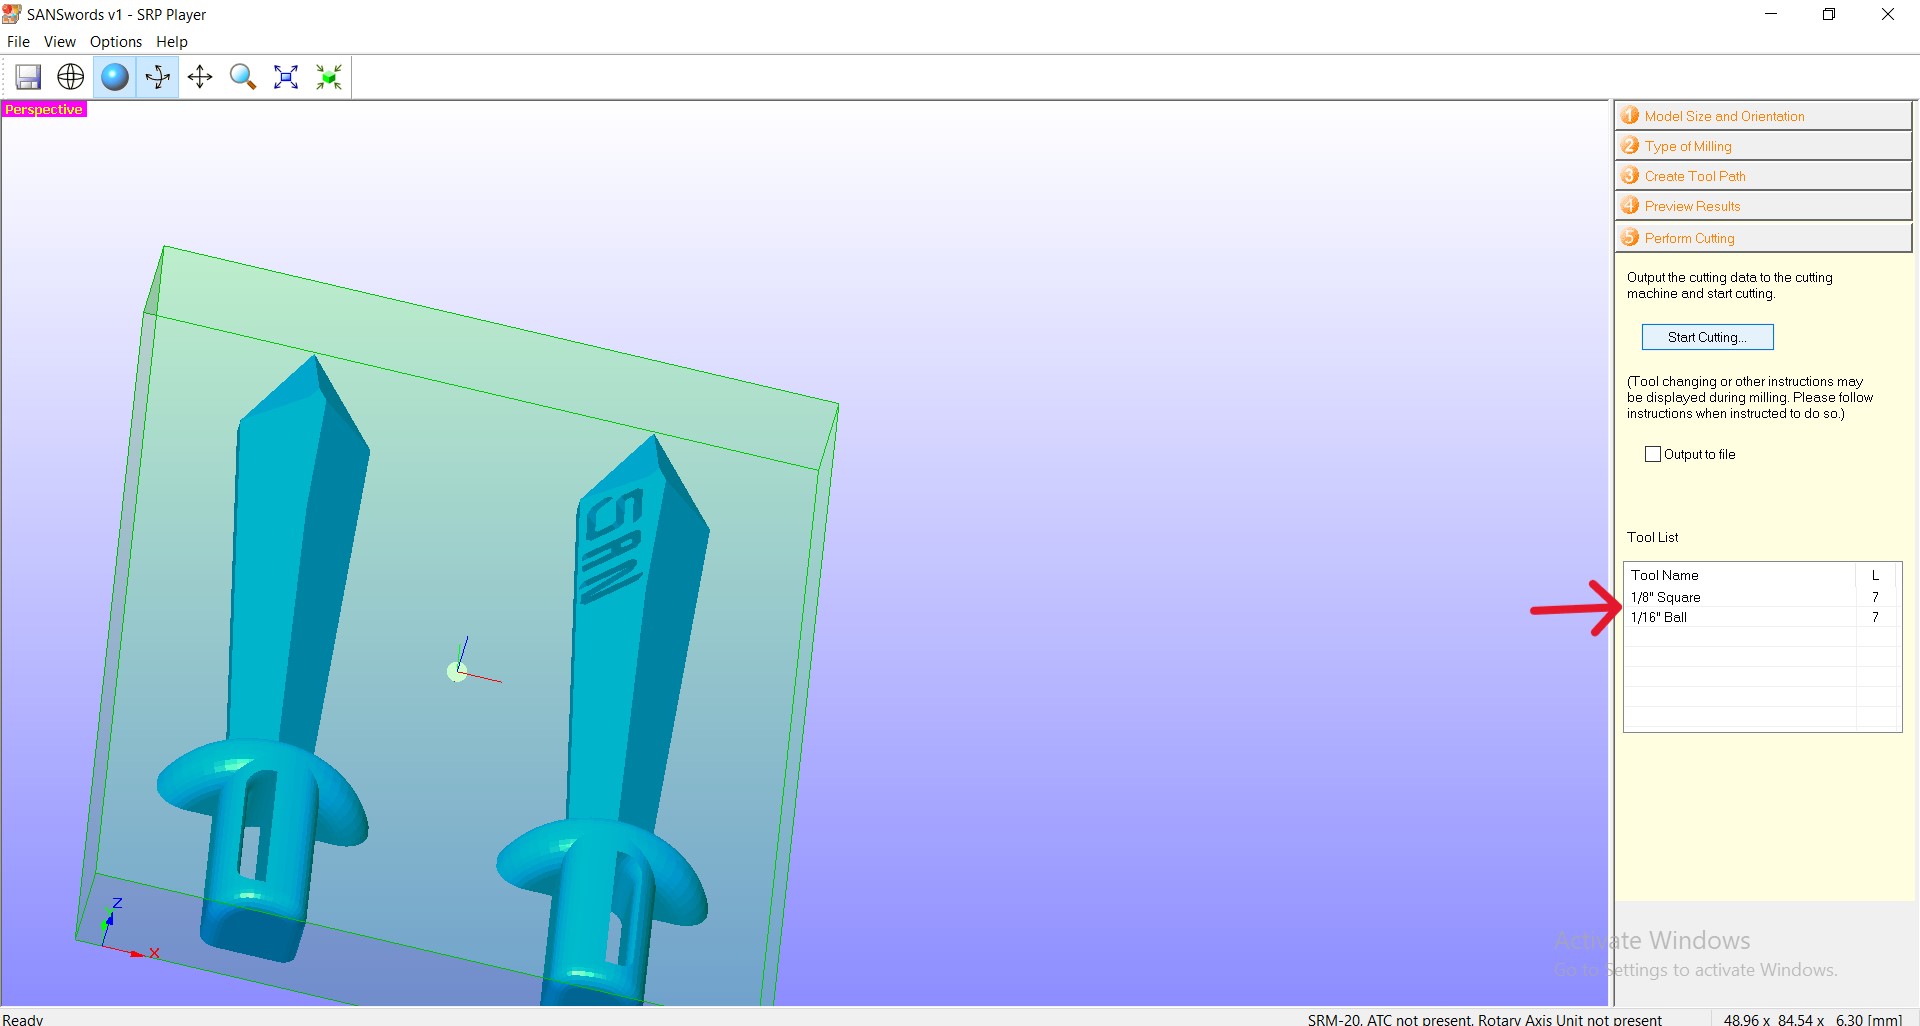
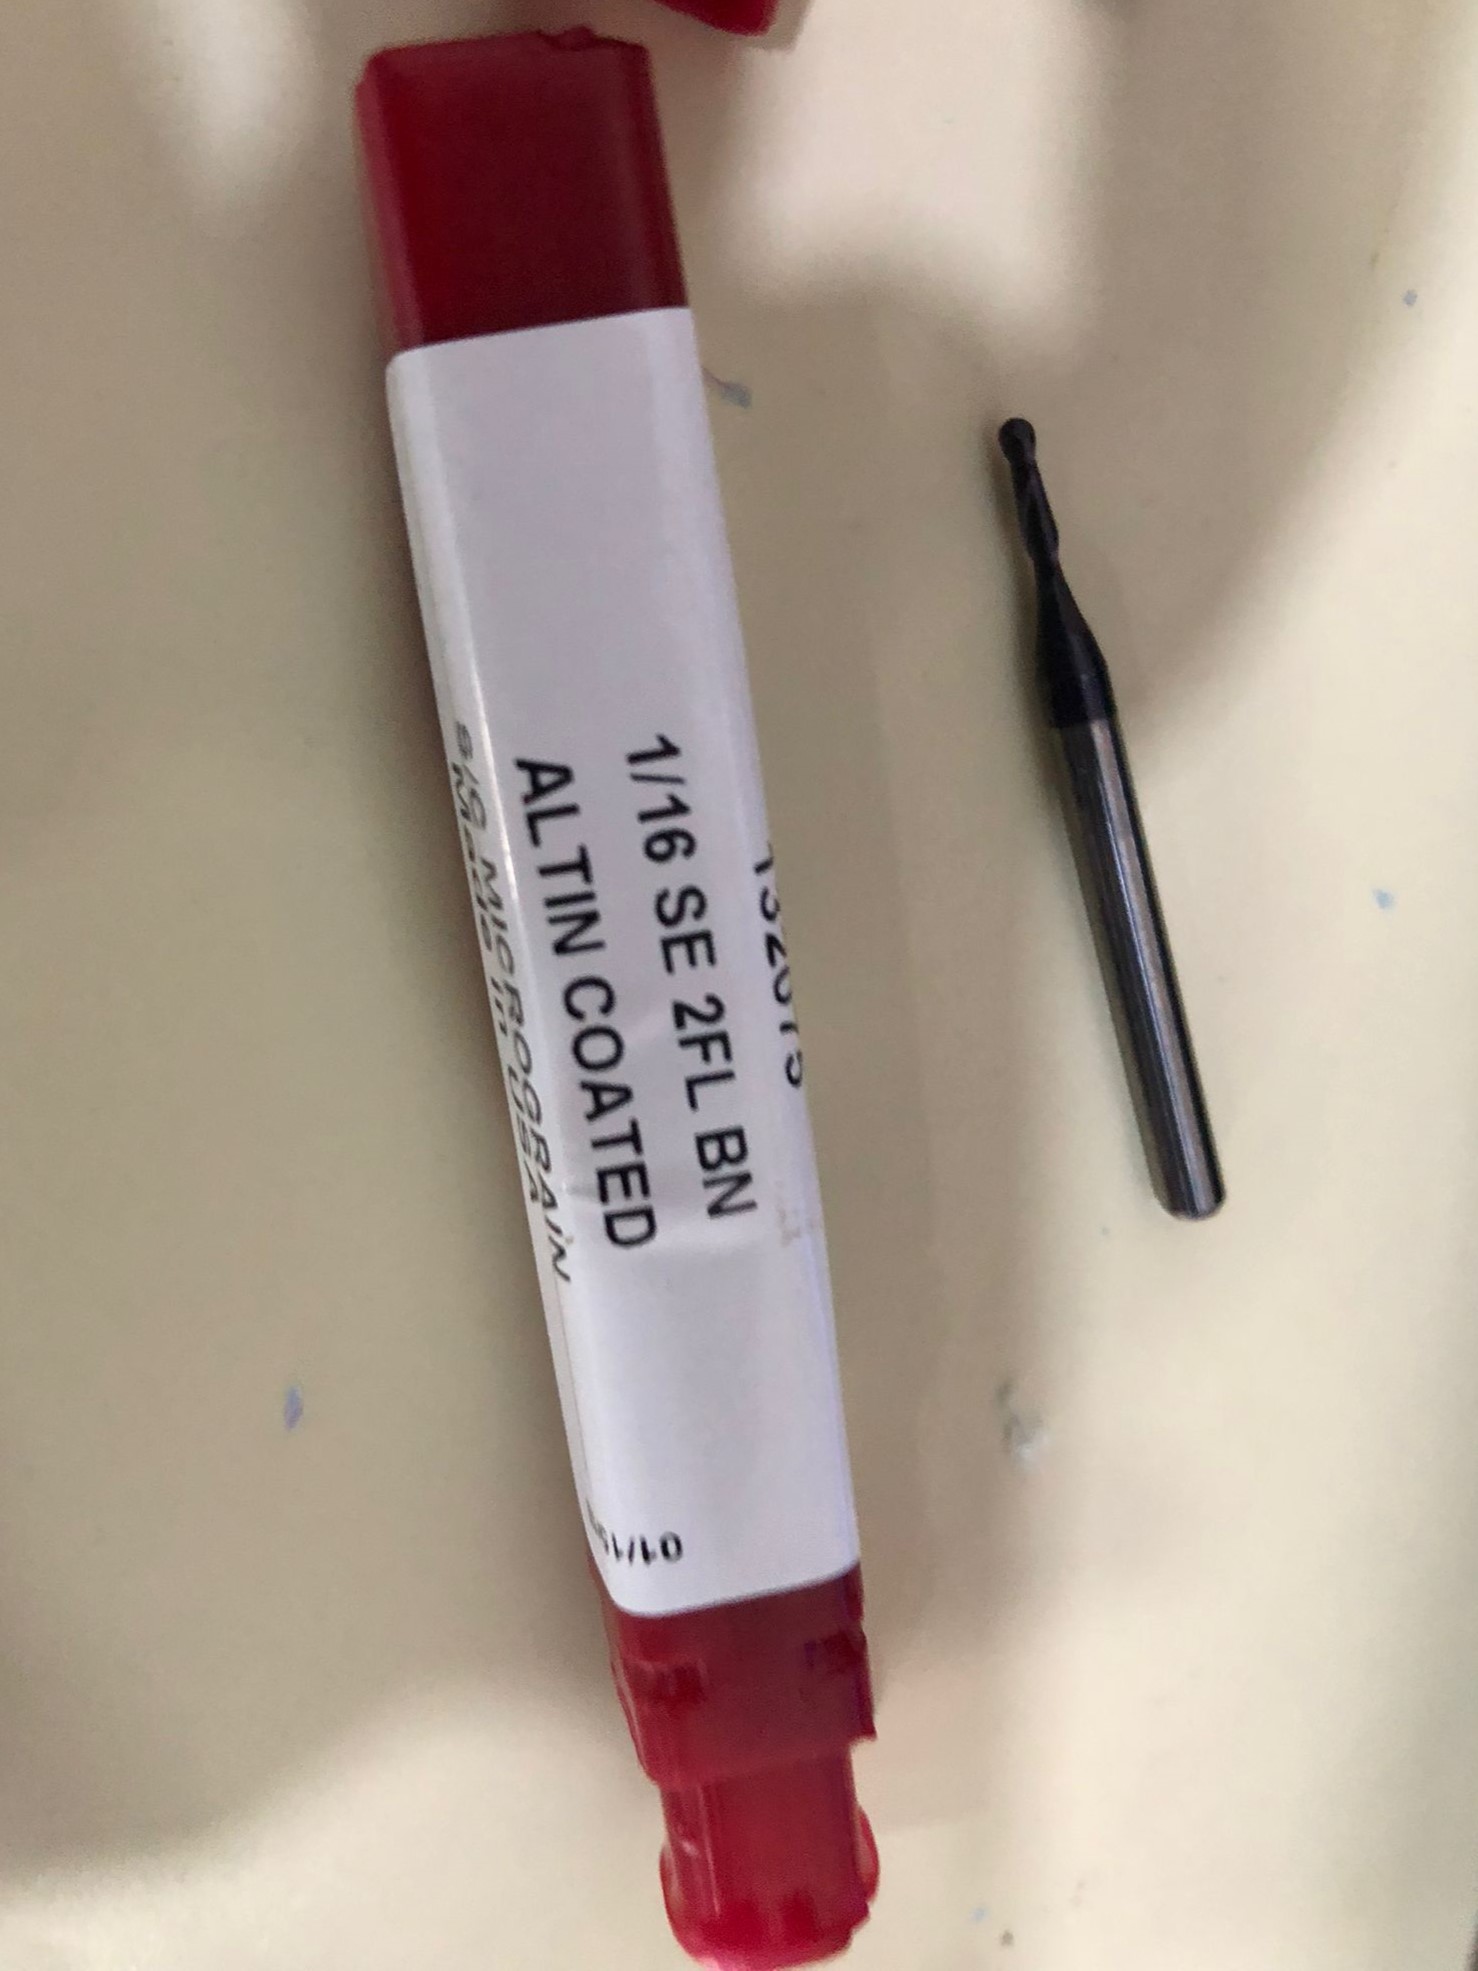
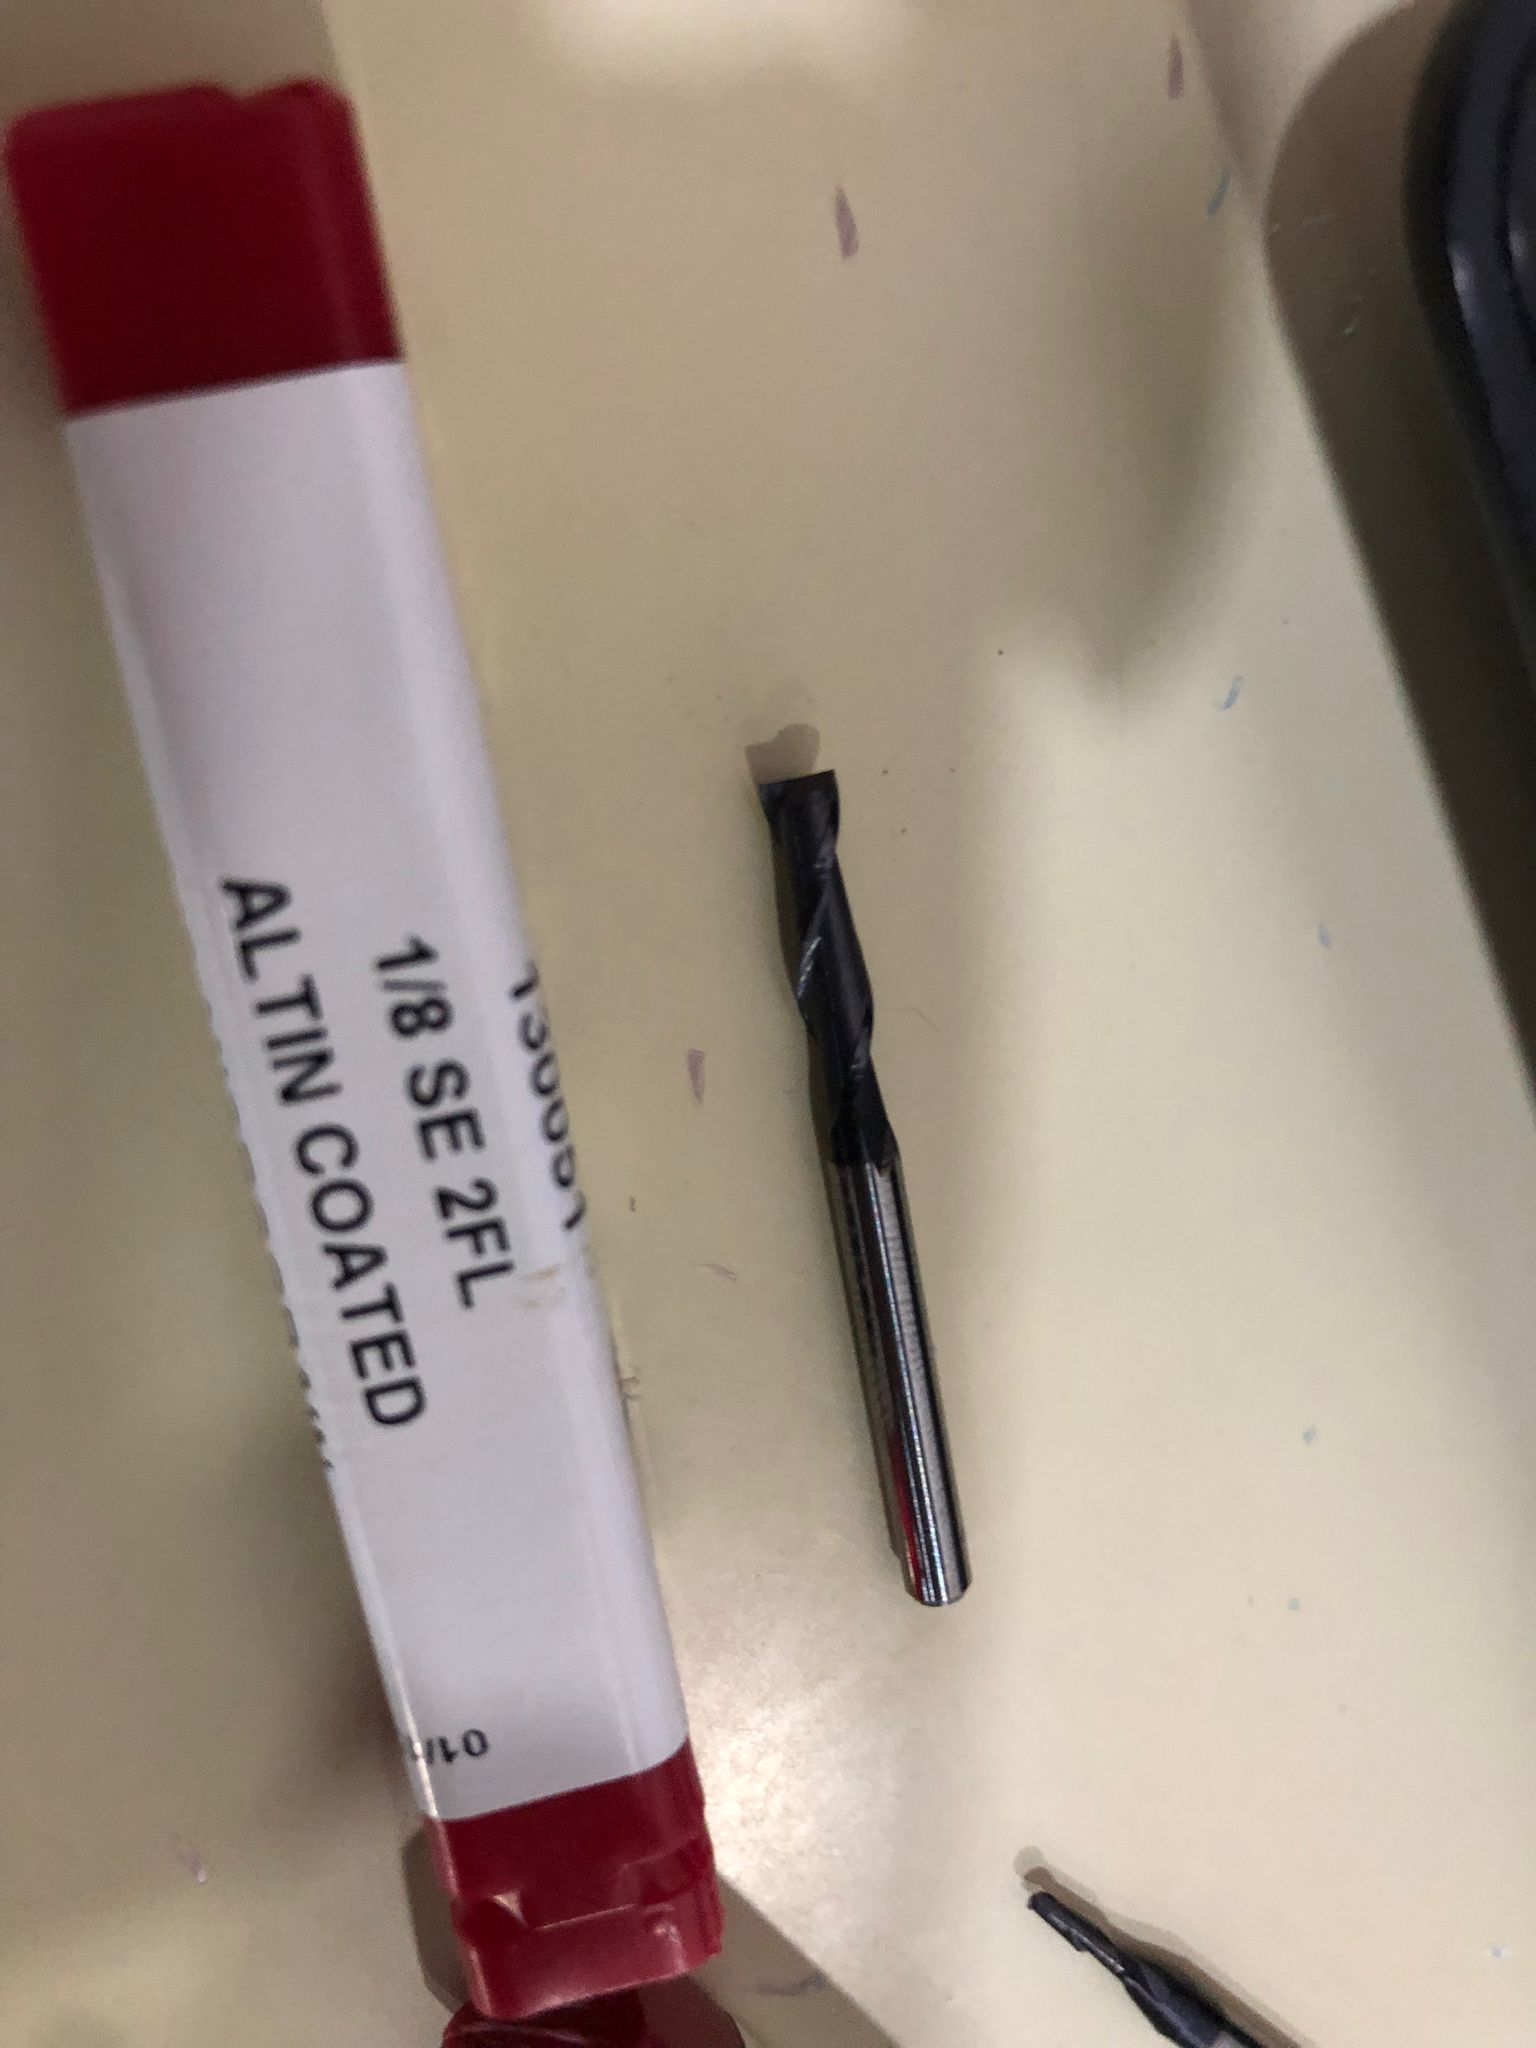
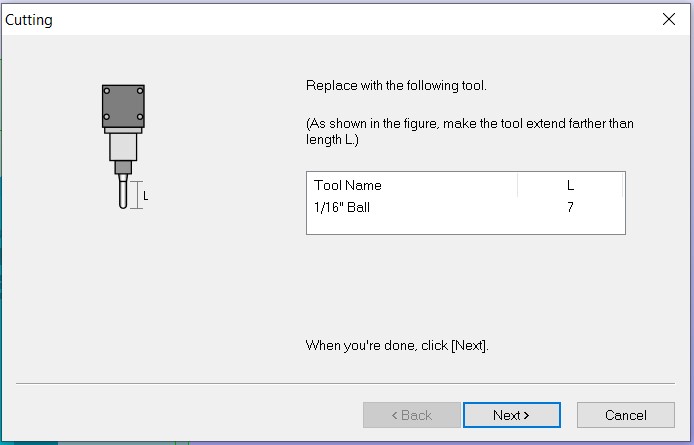
- Changed tool path: 1/8" Square for roughing, 1/16" Ball for finishing.
- The drill bit differences:

- Preview improved and cutting time reduced to 1 hour.
- 3mm margin added on all sides.
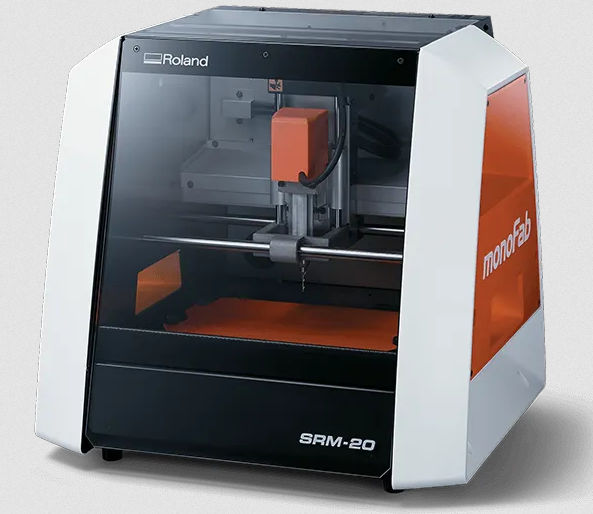
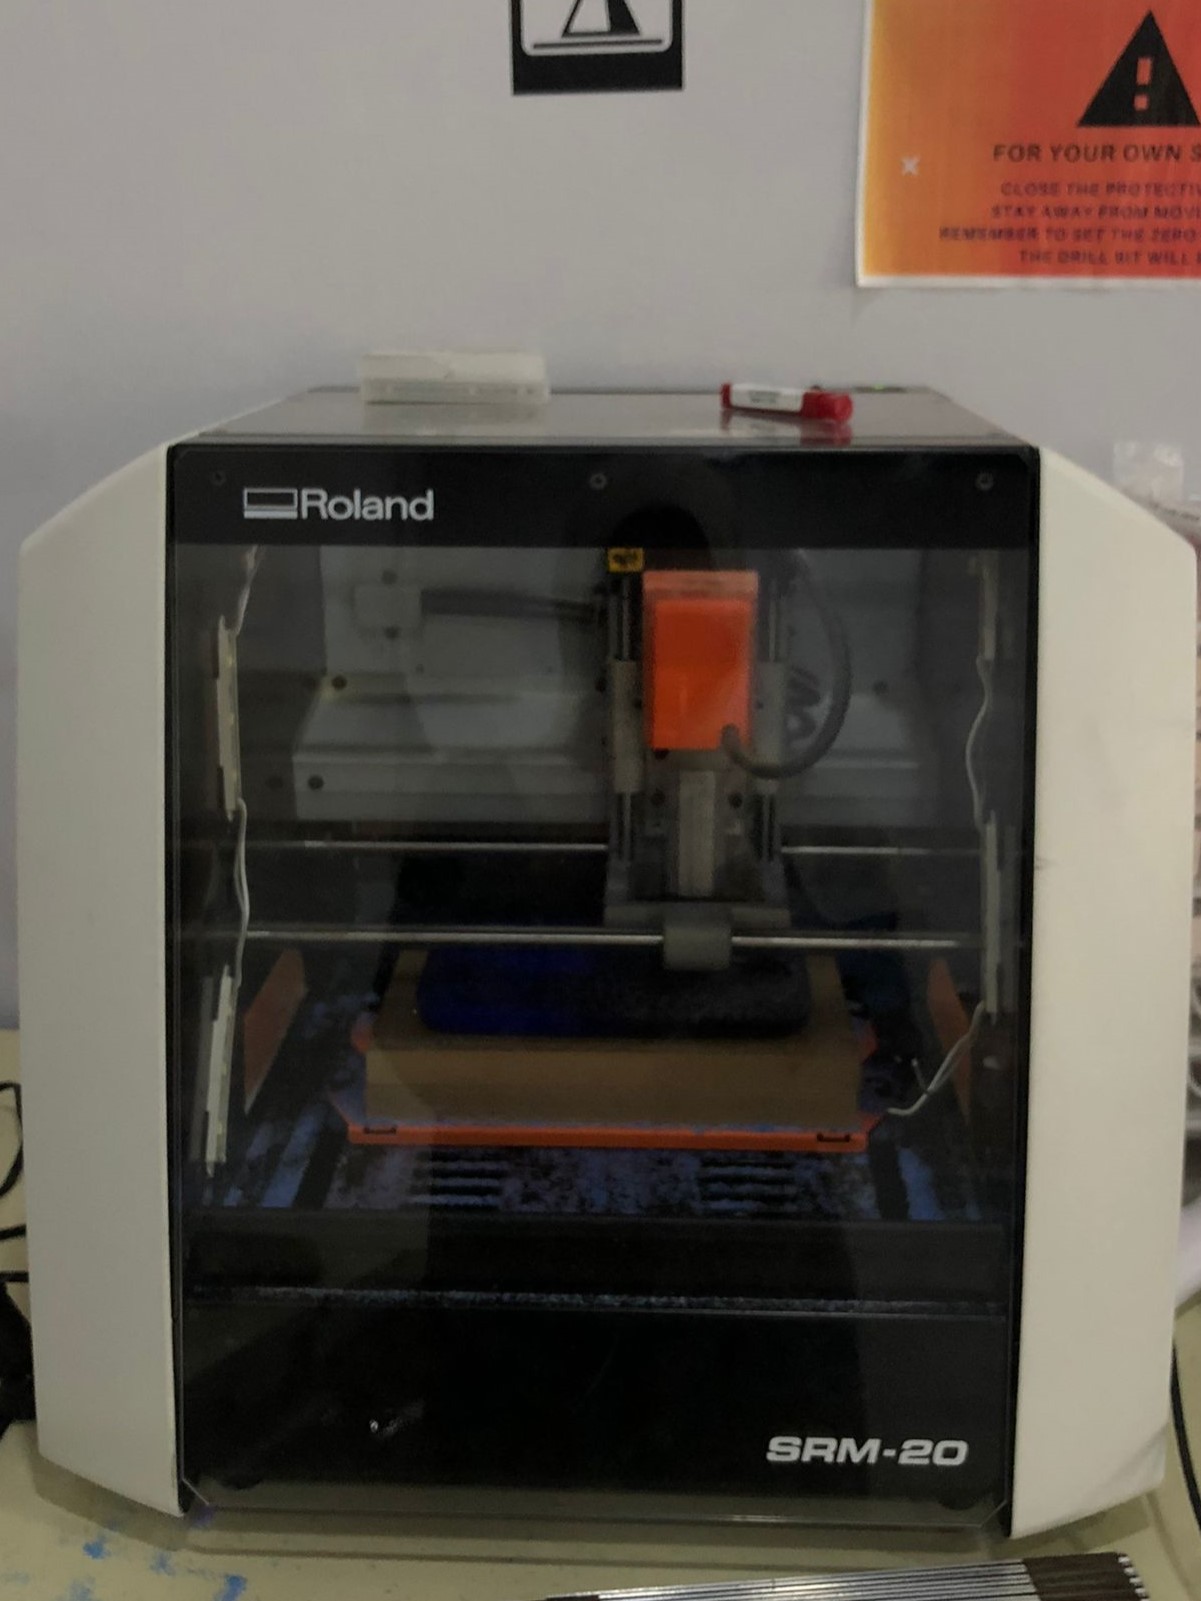
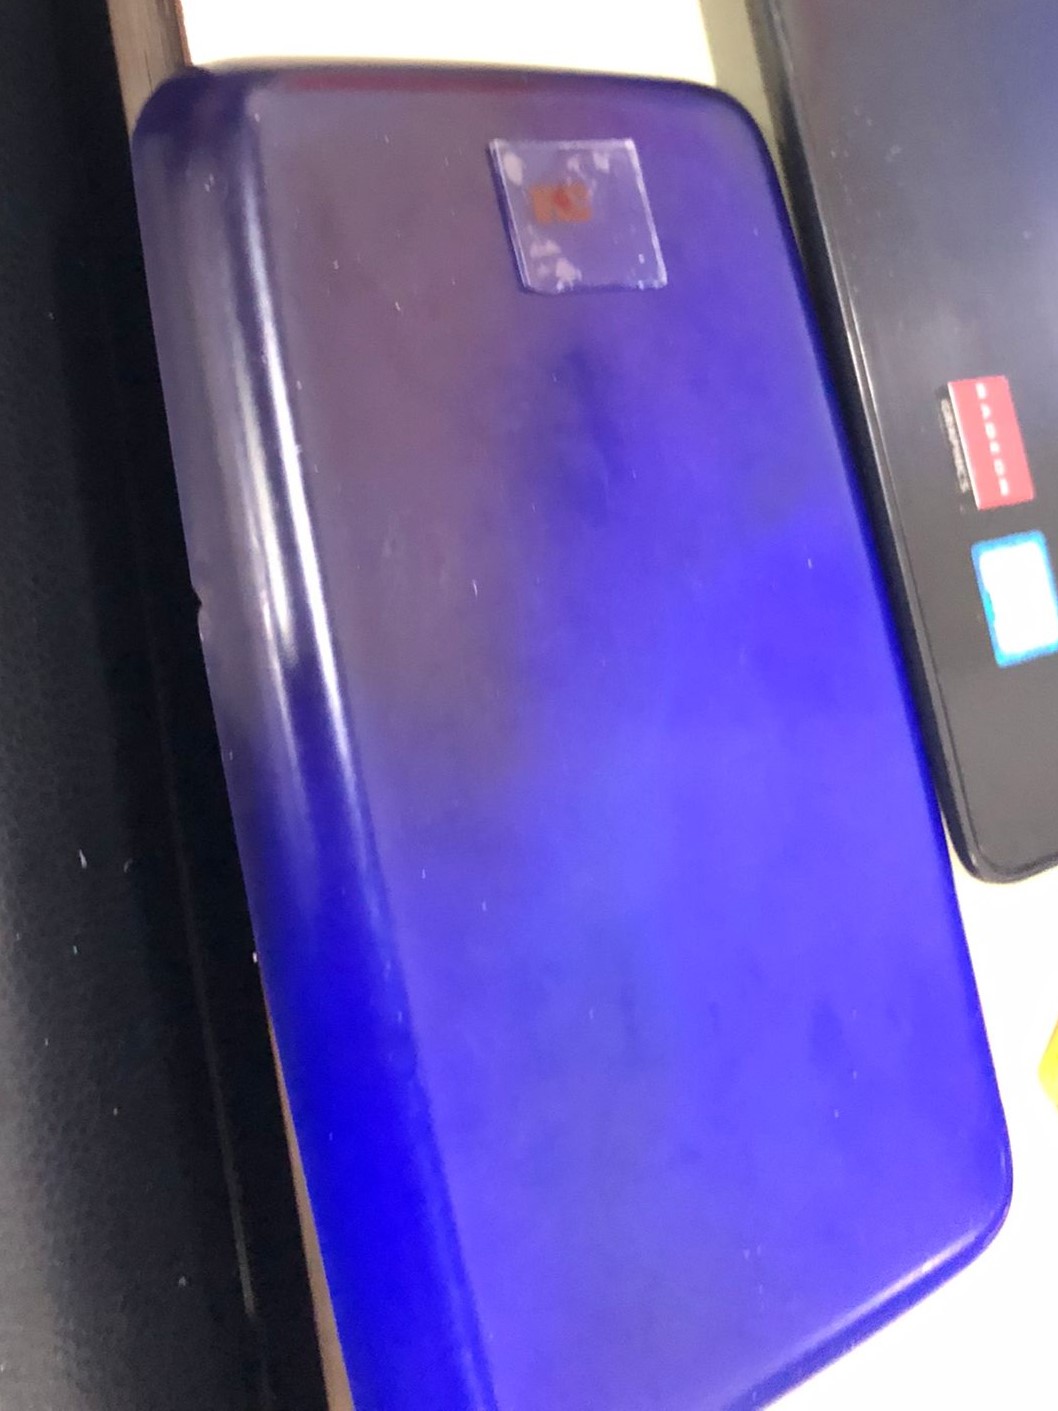
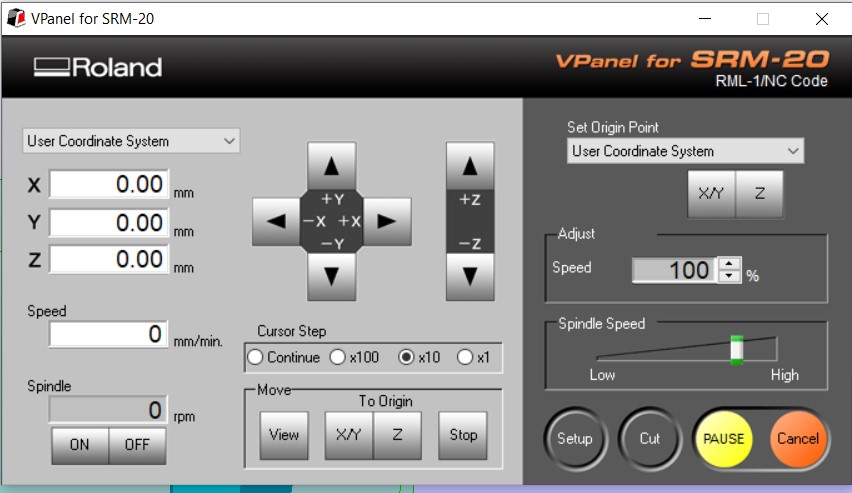
- Machine used: Roland SRM-20
- Open machine software.
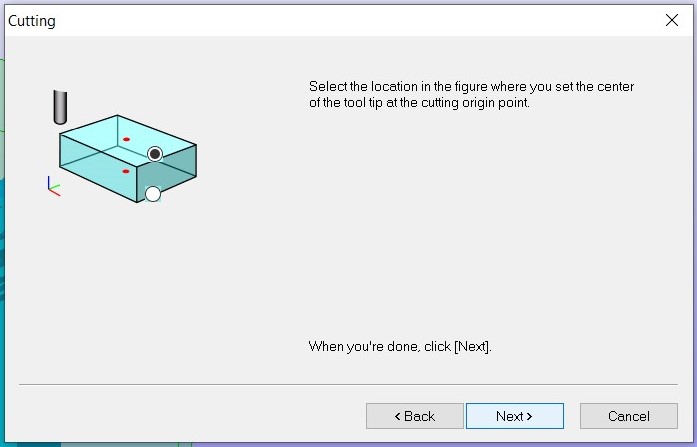
- Set origin at wax center.
- Use double-sided tape to stick wax.
- After roughing, software prompts to switch drill bit for finishing.
- Final result: clean details and smooth curves.
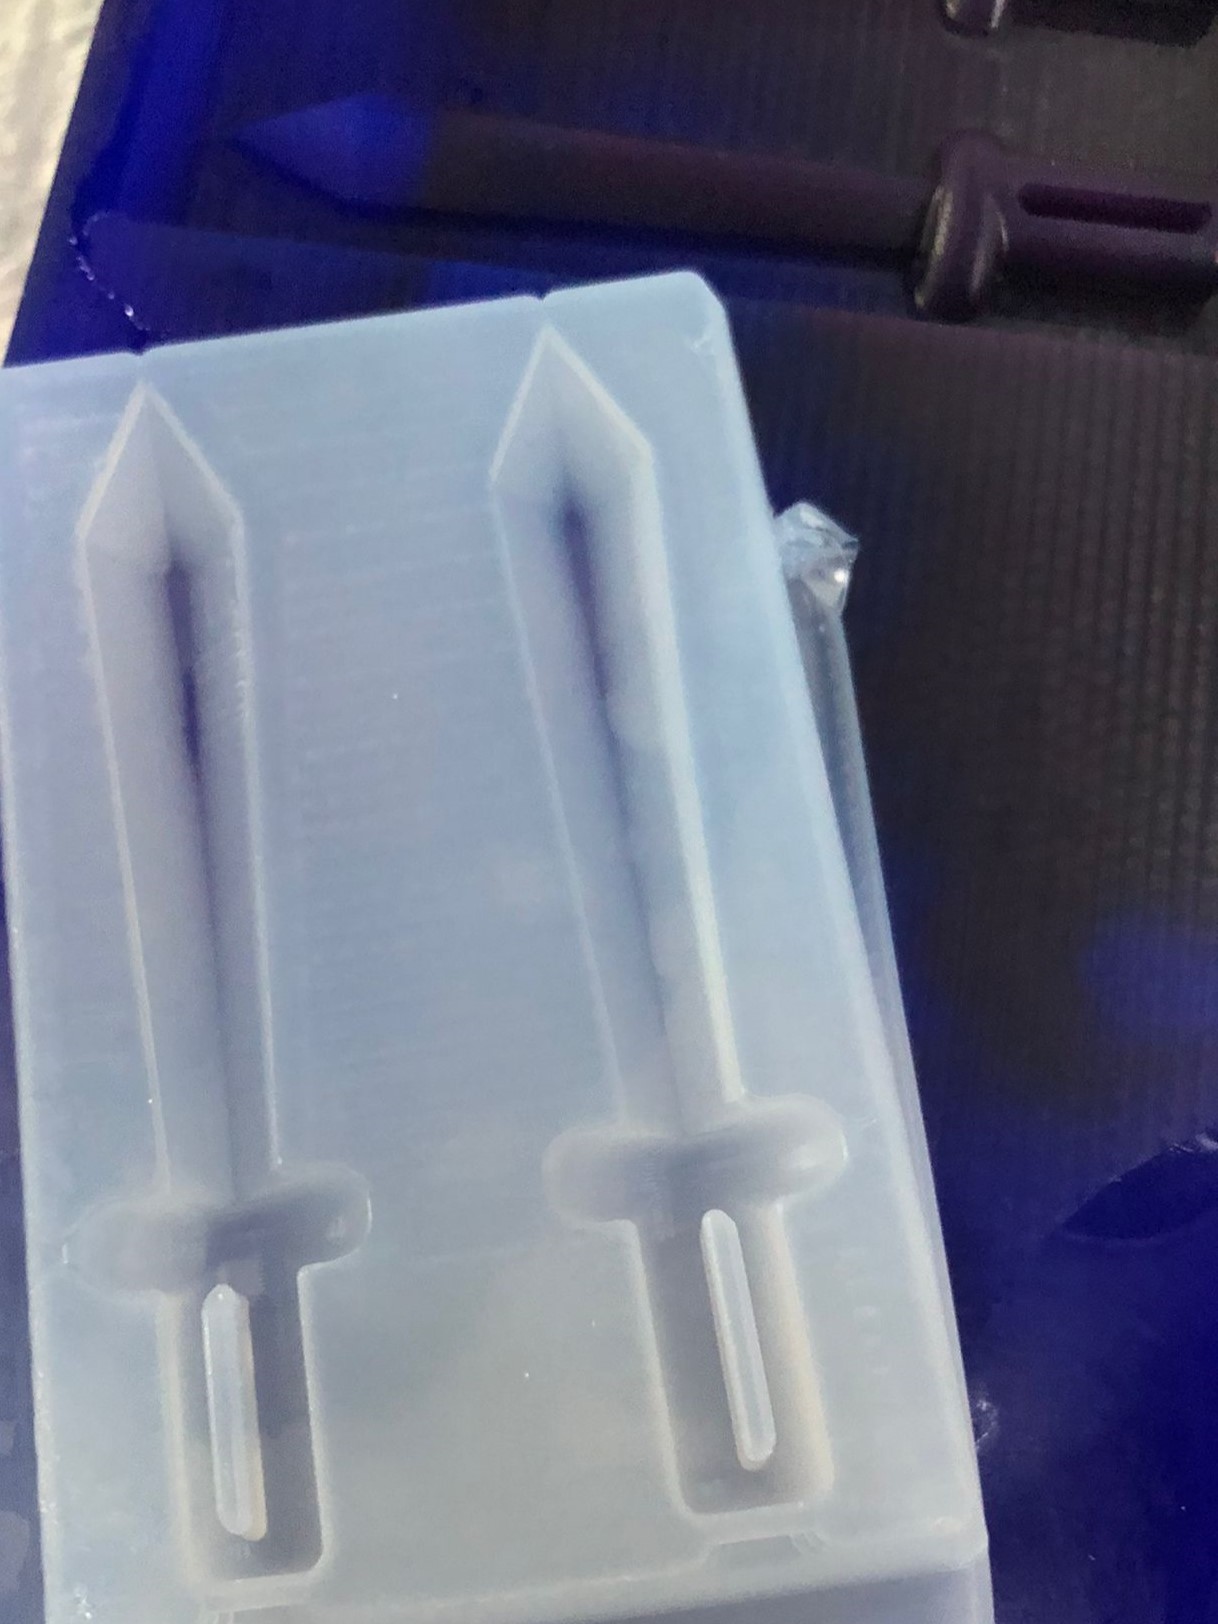
Moulding
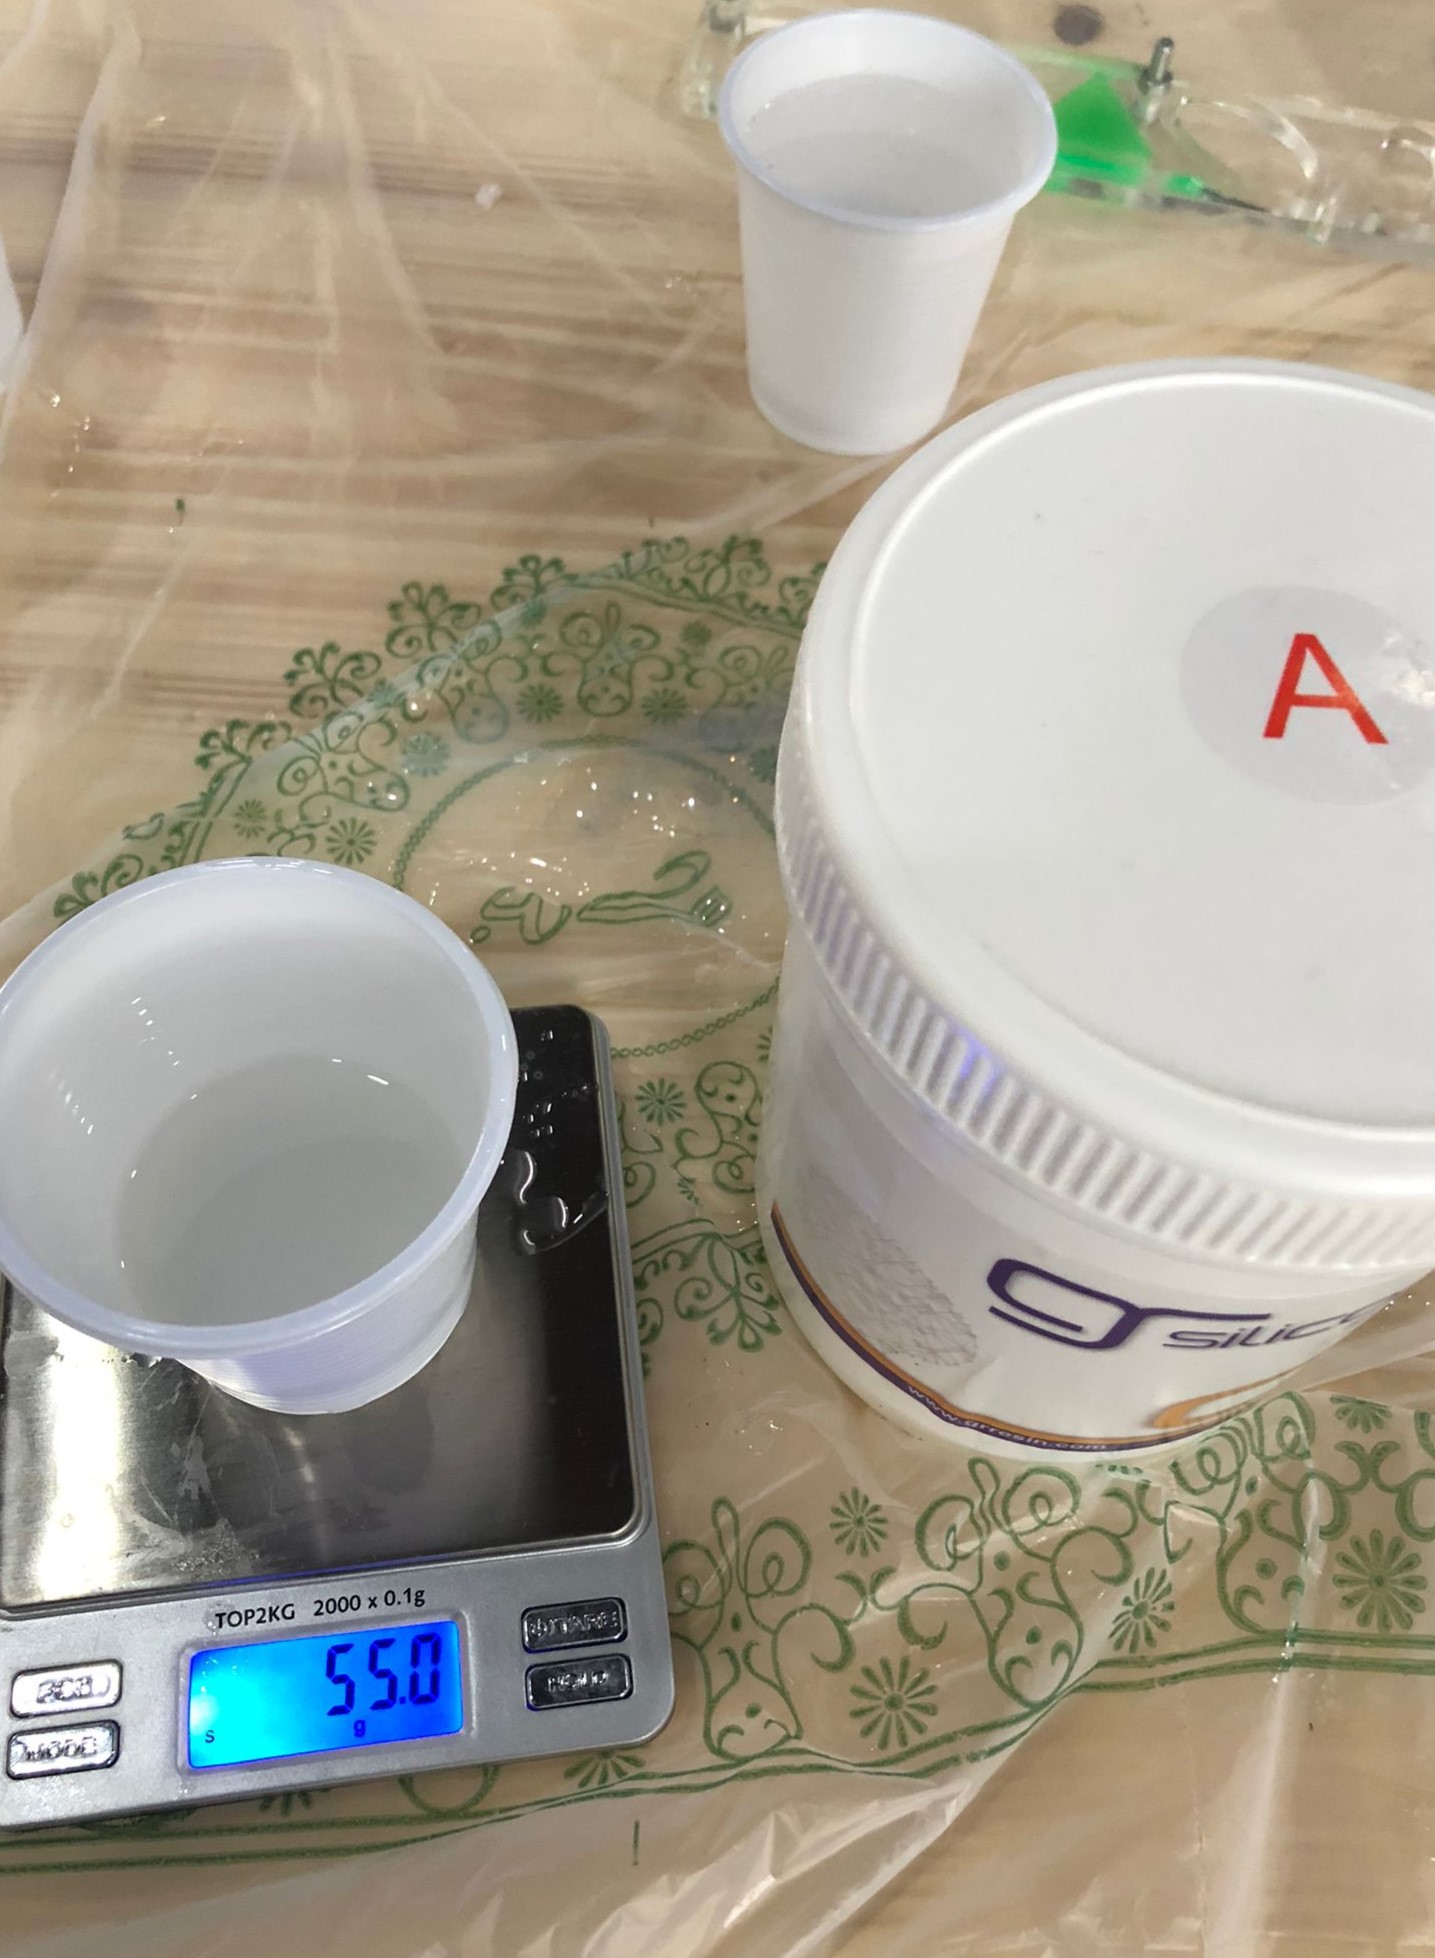
Material used: Silicone
Safety
Not food-safe. Use gloves and safety glasses.
Steps
- Measure equal amounts from each container.
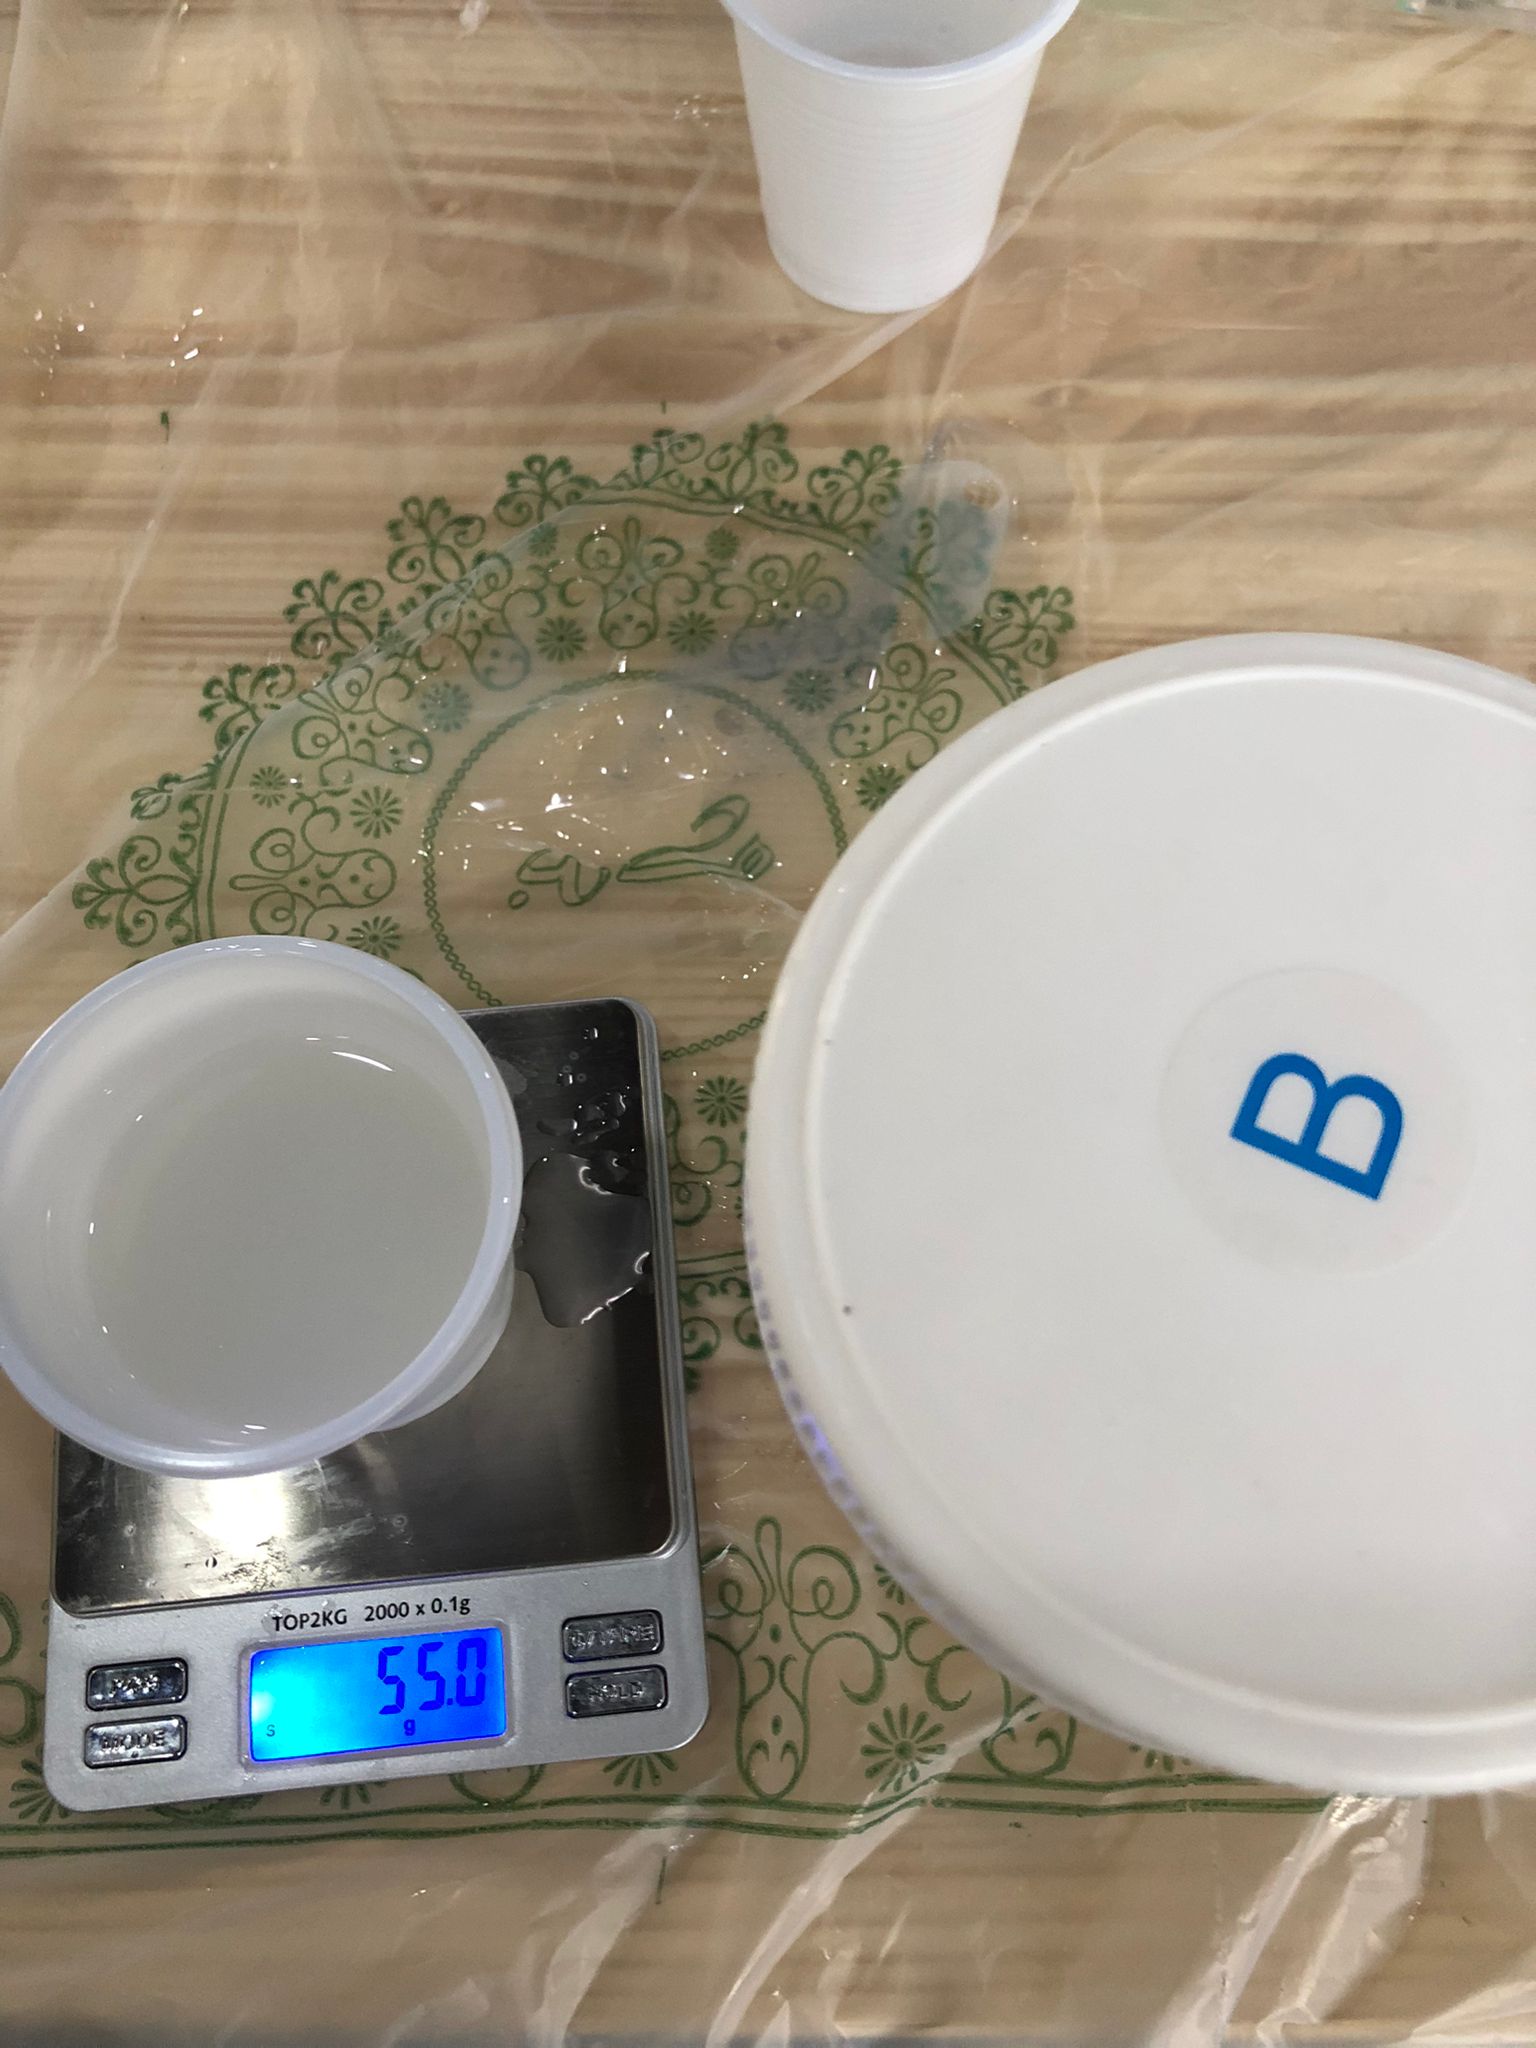
- Mix and pour carefully into the mold.
- After ~24 hours, silicone mold is ready.
Casting
Soap
Safety
Gloves not required but avoid overheating in microwave.
- Work time: While hot and pourable.
- Cure time: ~15 minutes.
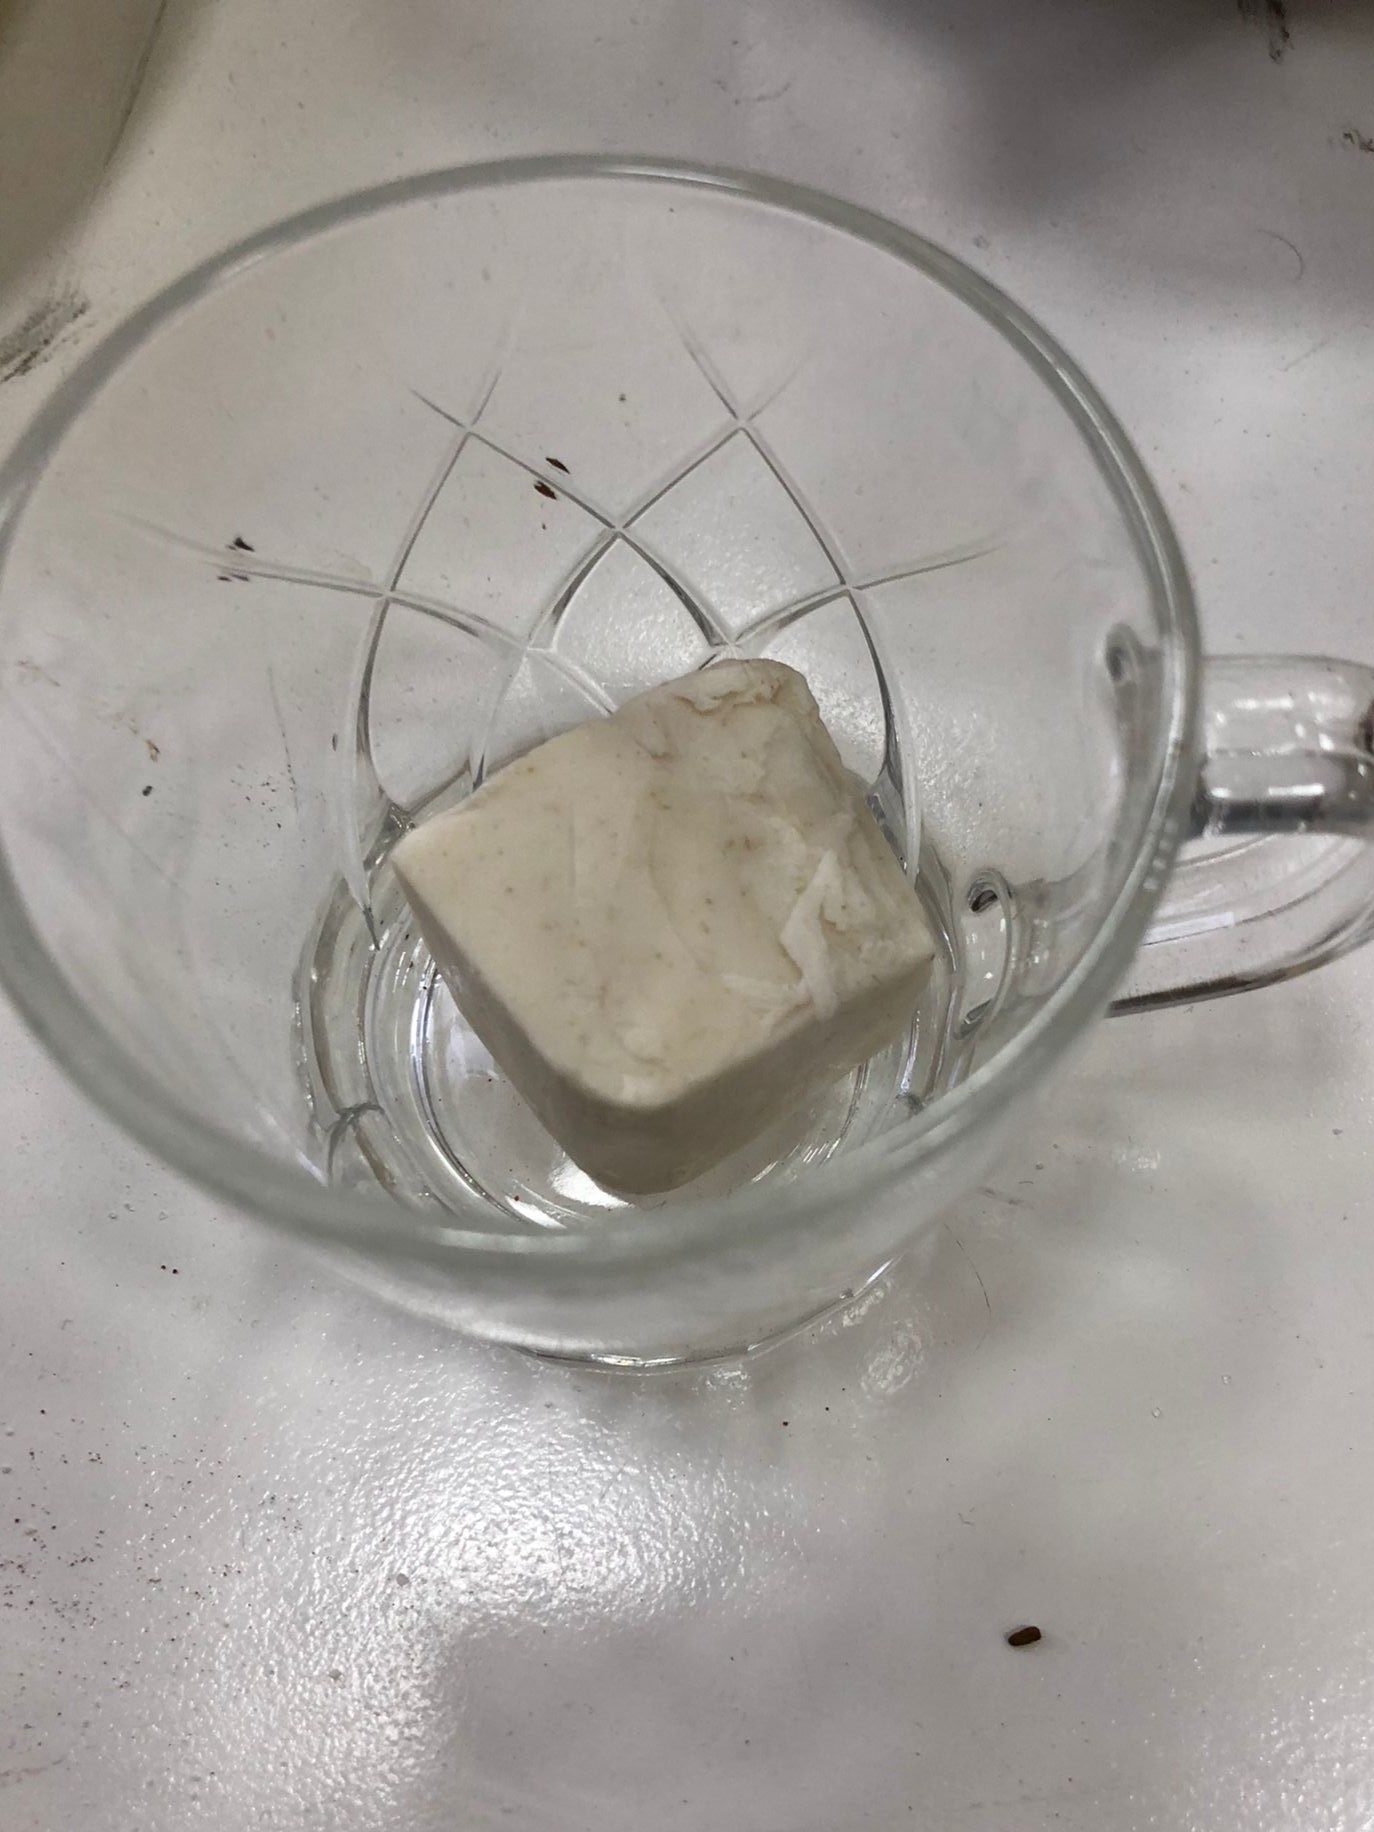
Process
- Cut soap into pieces and place in microwave-safe glass cup.
- Heat for 10 seconds, stir, and repeat as needed.

- Pour into mold quickly while still hot.
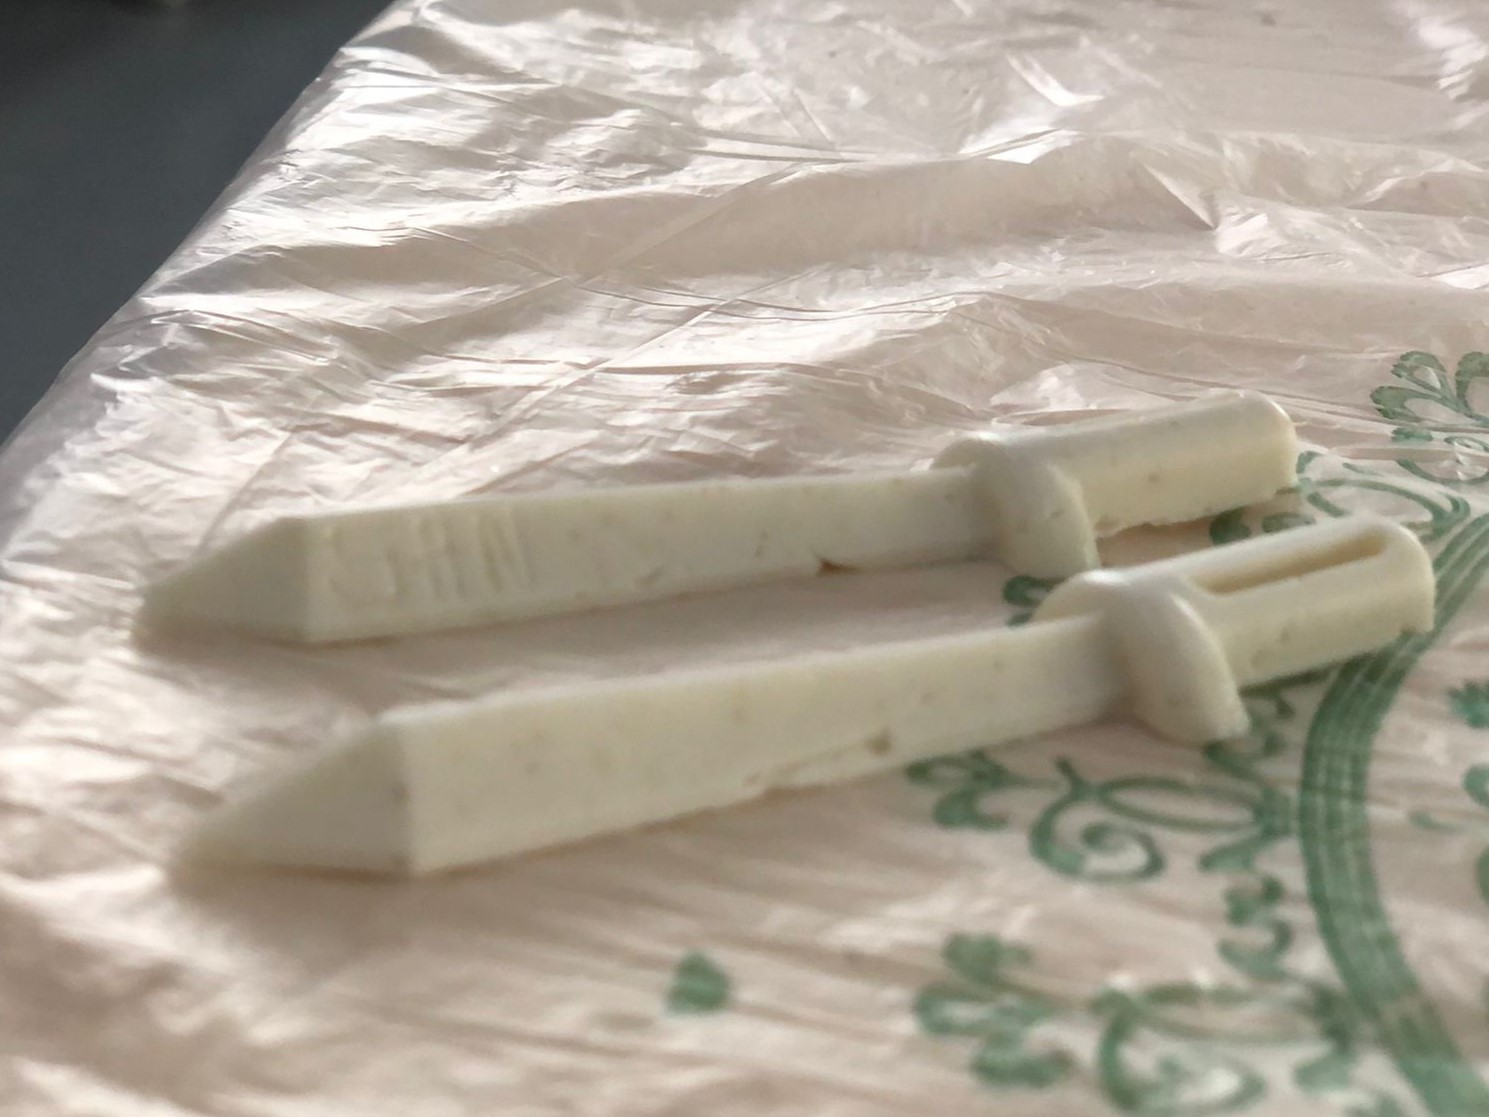
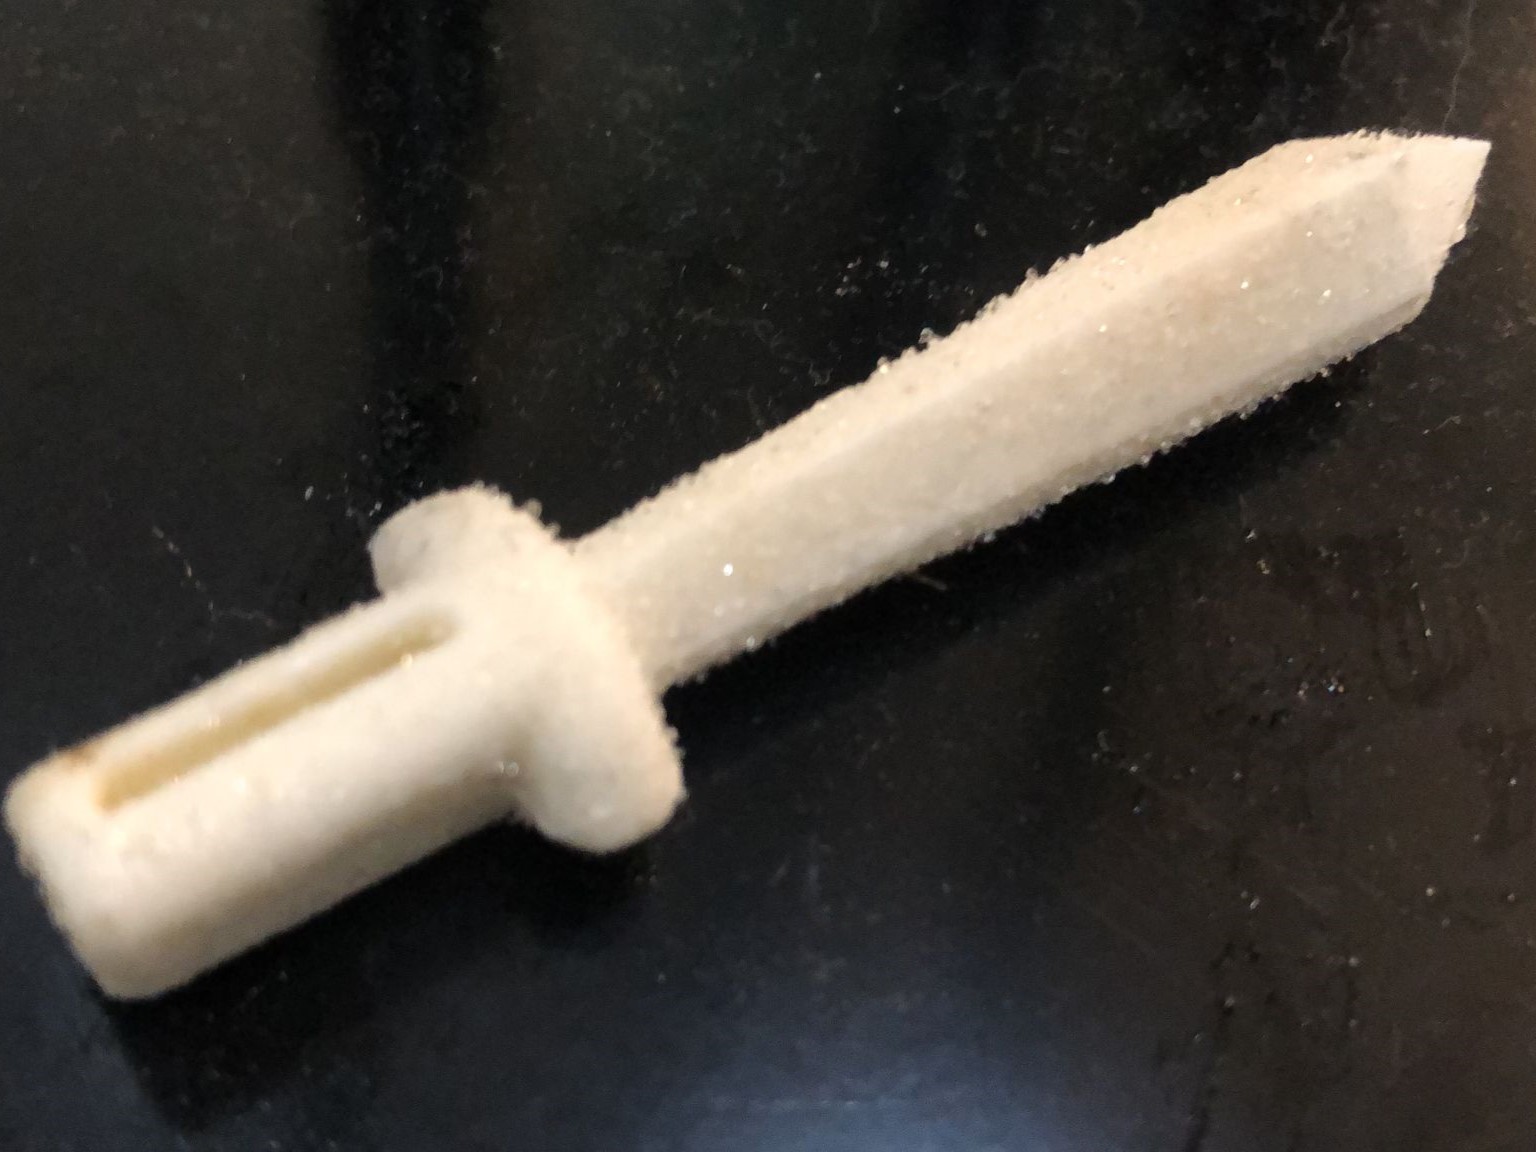
- Soap sets quickly.
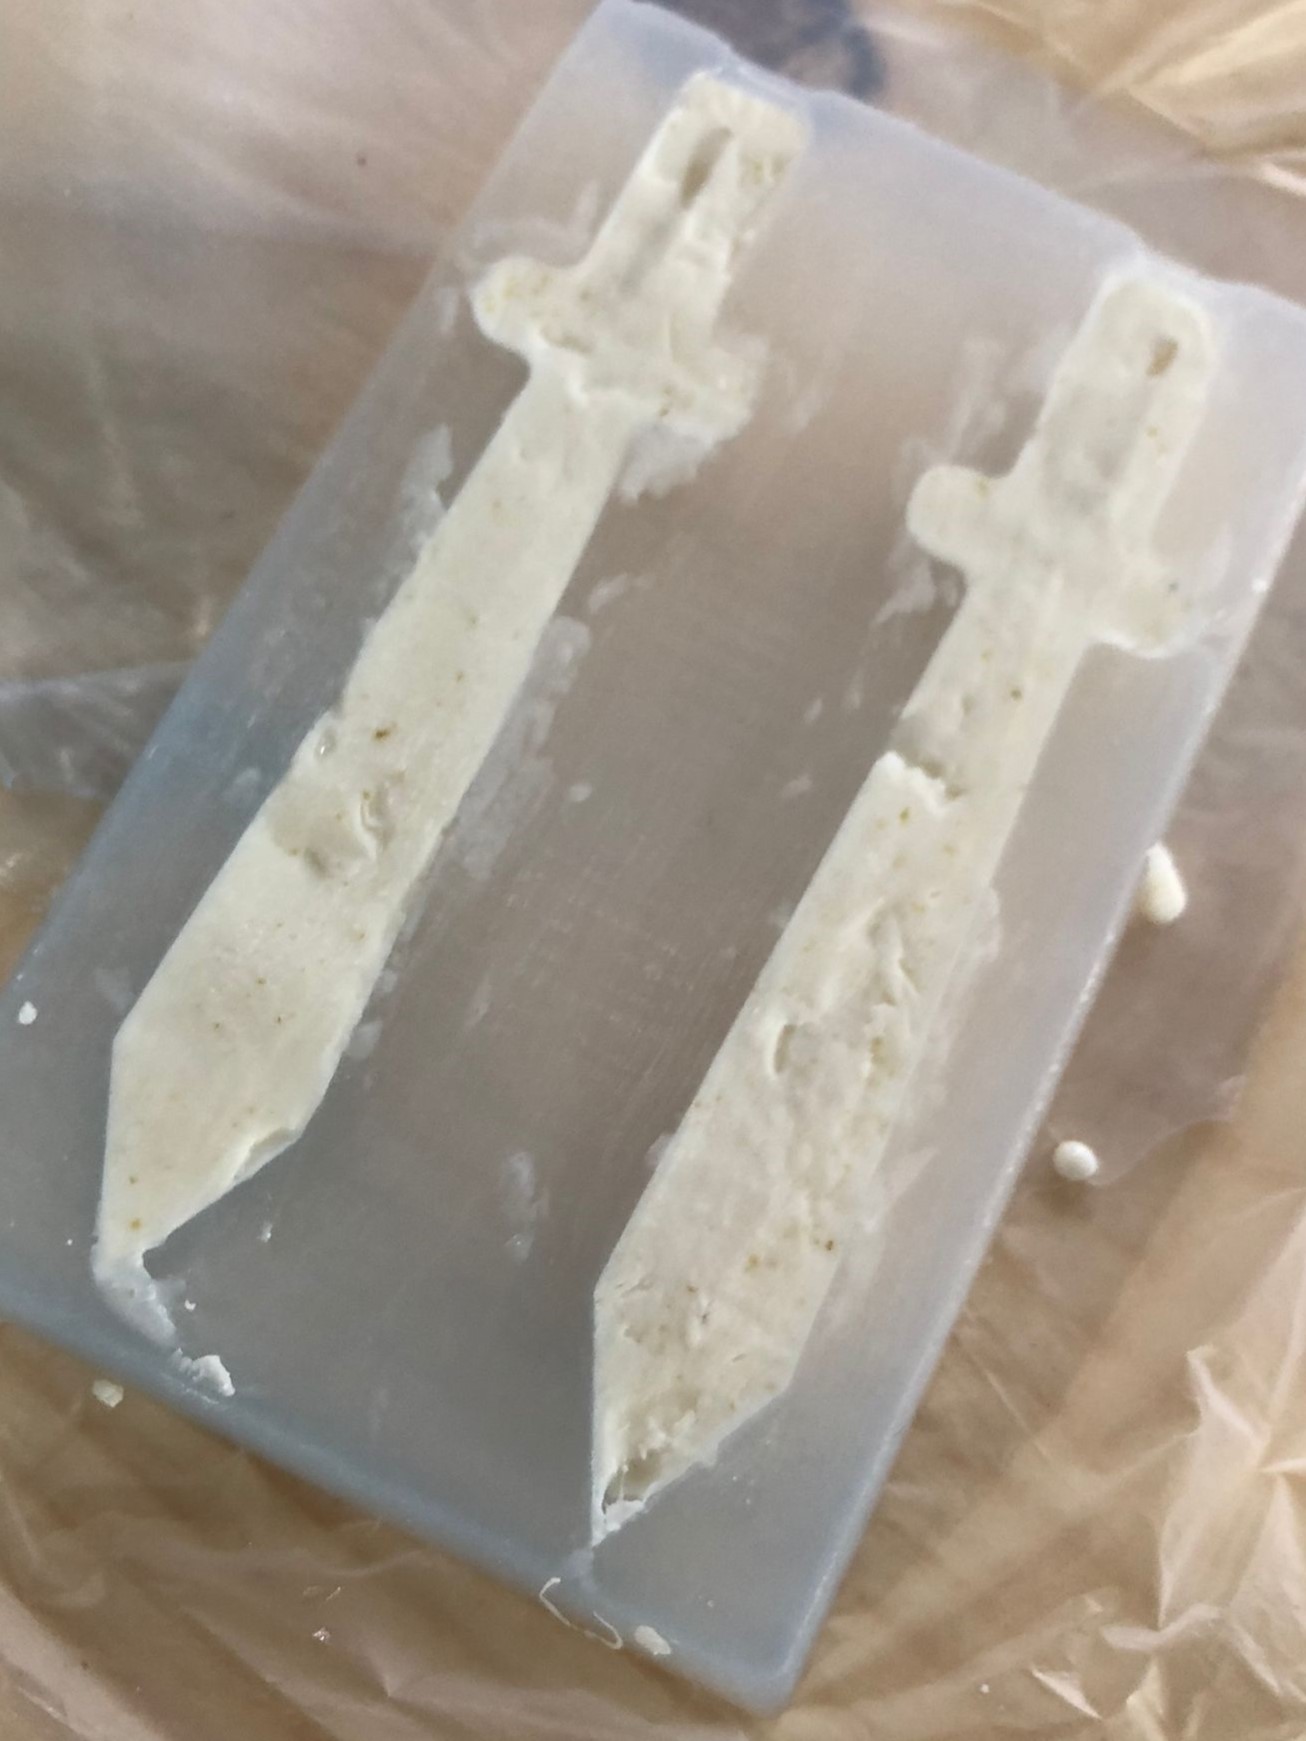
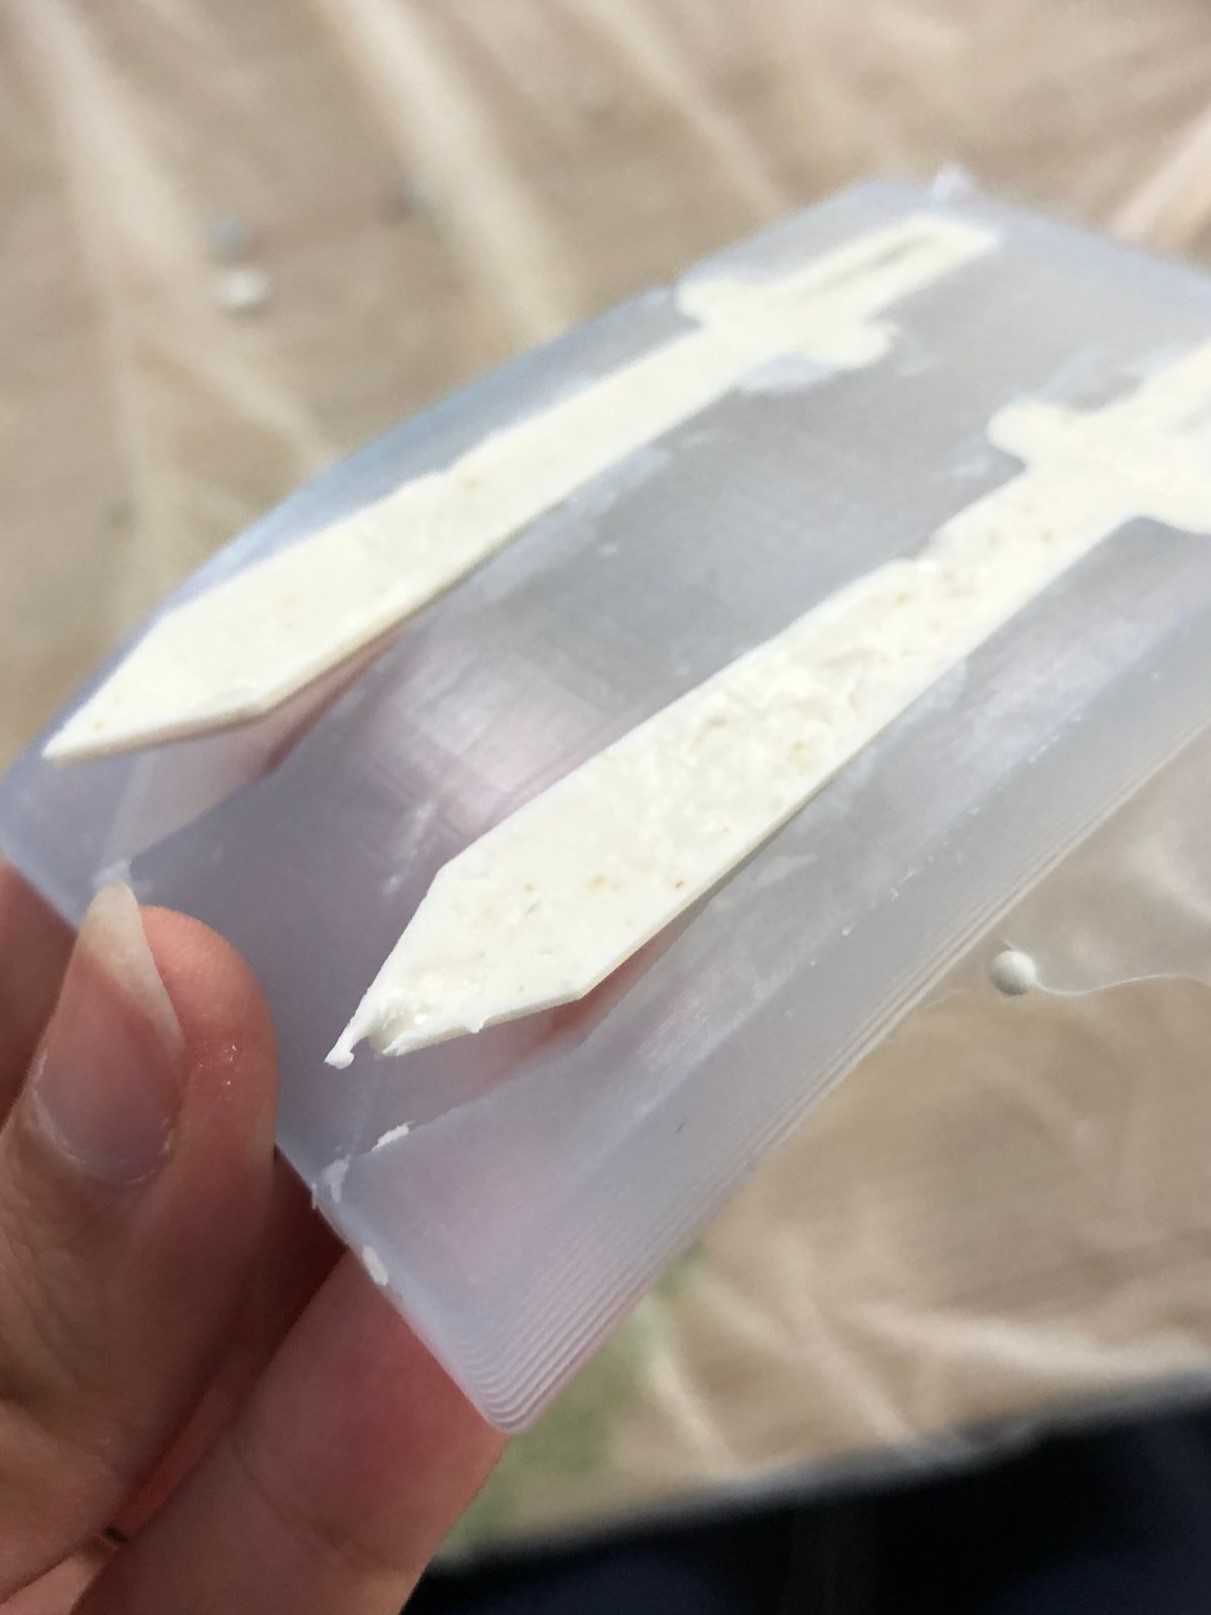
- Remove from mold.
- Use water to stick two soap halves together for full sword.
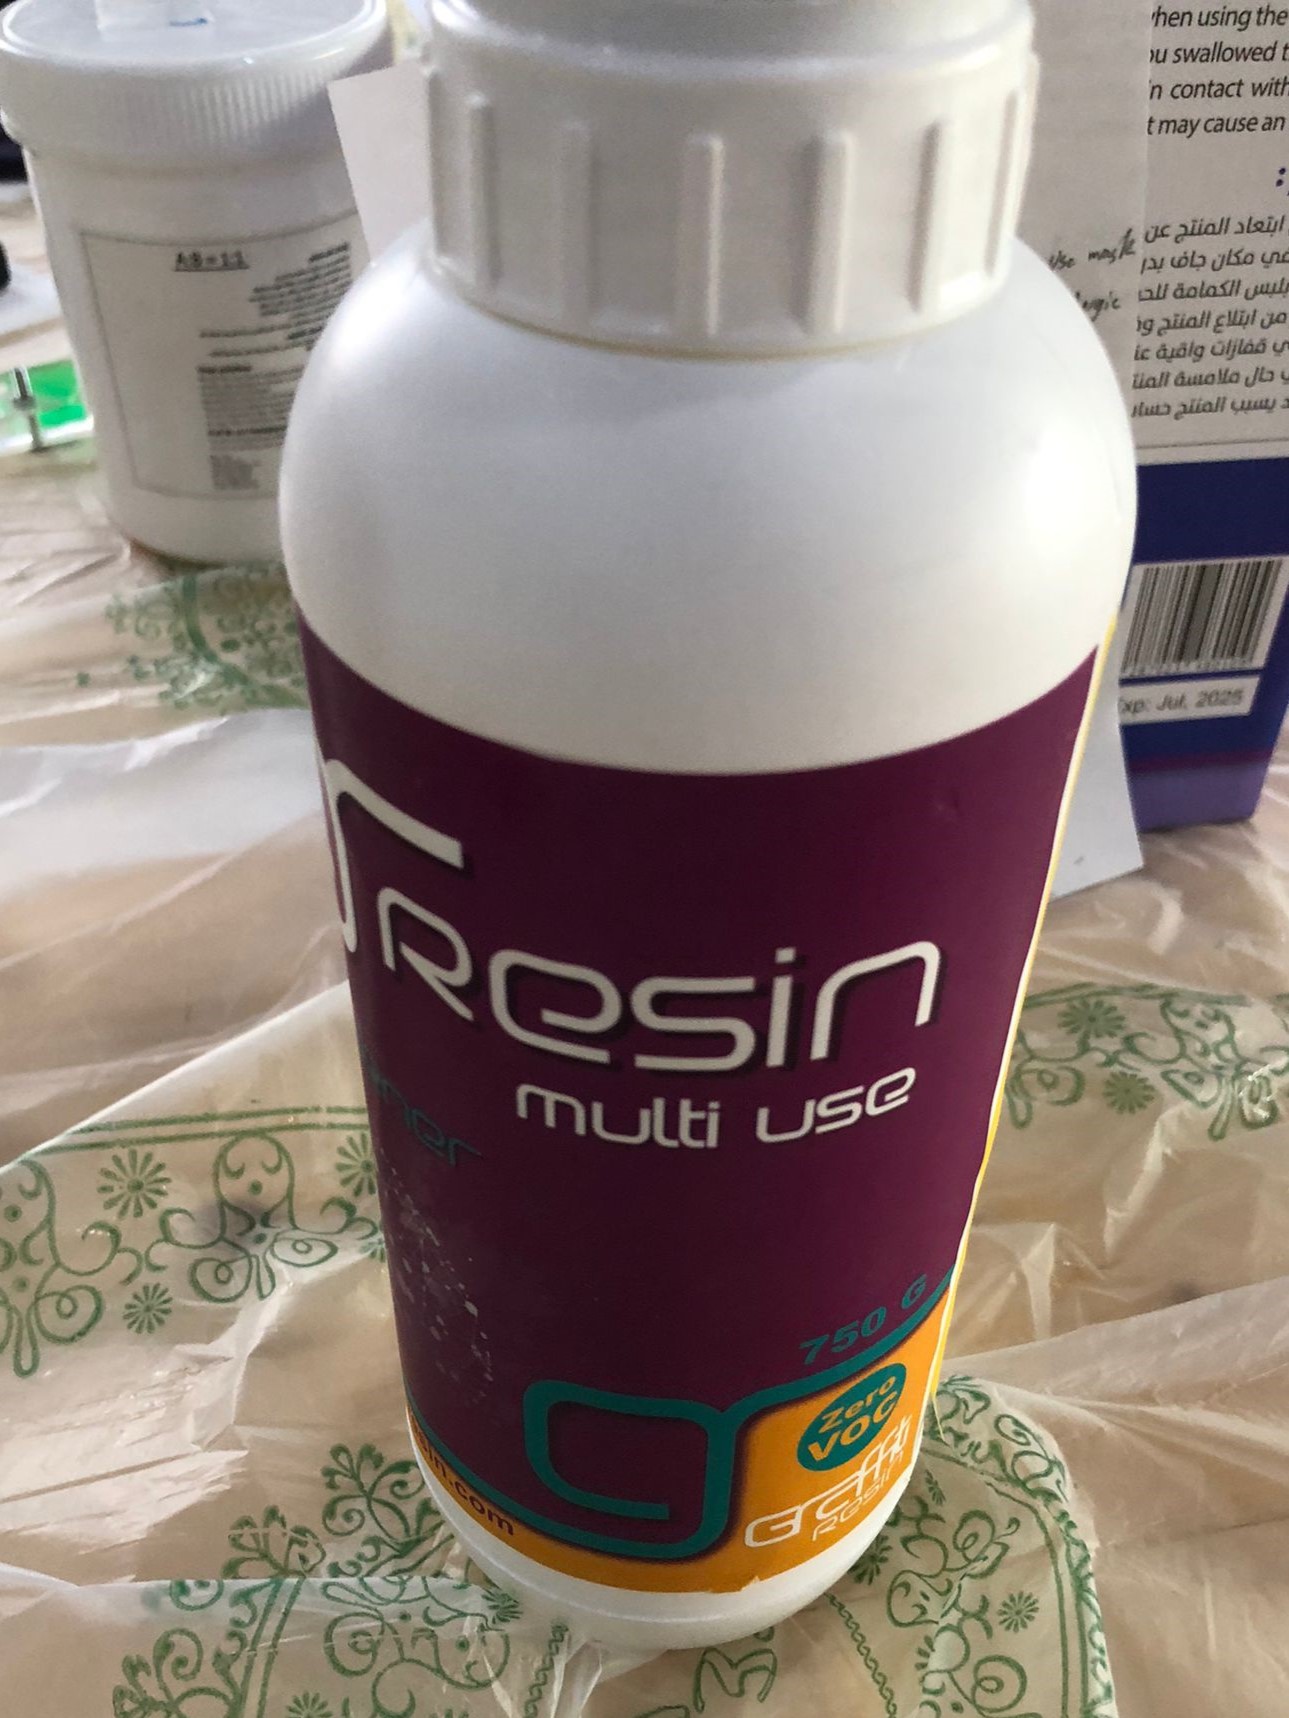
Resin
Safety
Wear gloves, avoid vapor inhalation, use glasses, wash skin if contact occurs.
- Work time: ~40 minutes
- Cure time: ~24 hours, 48 to fully harden
Process
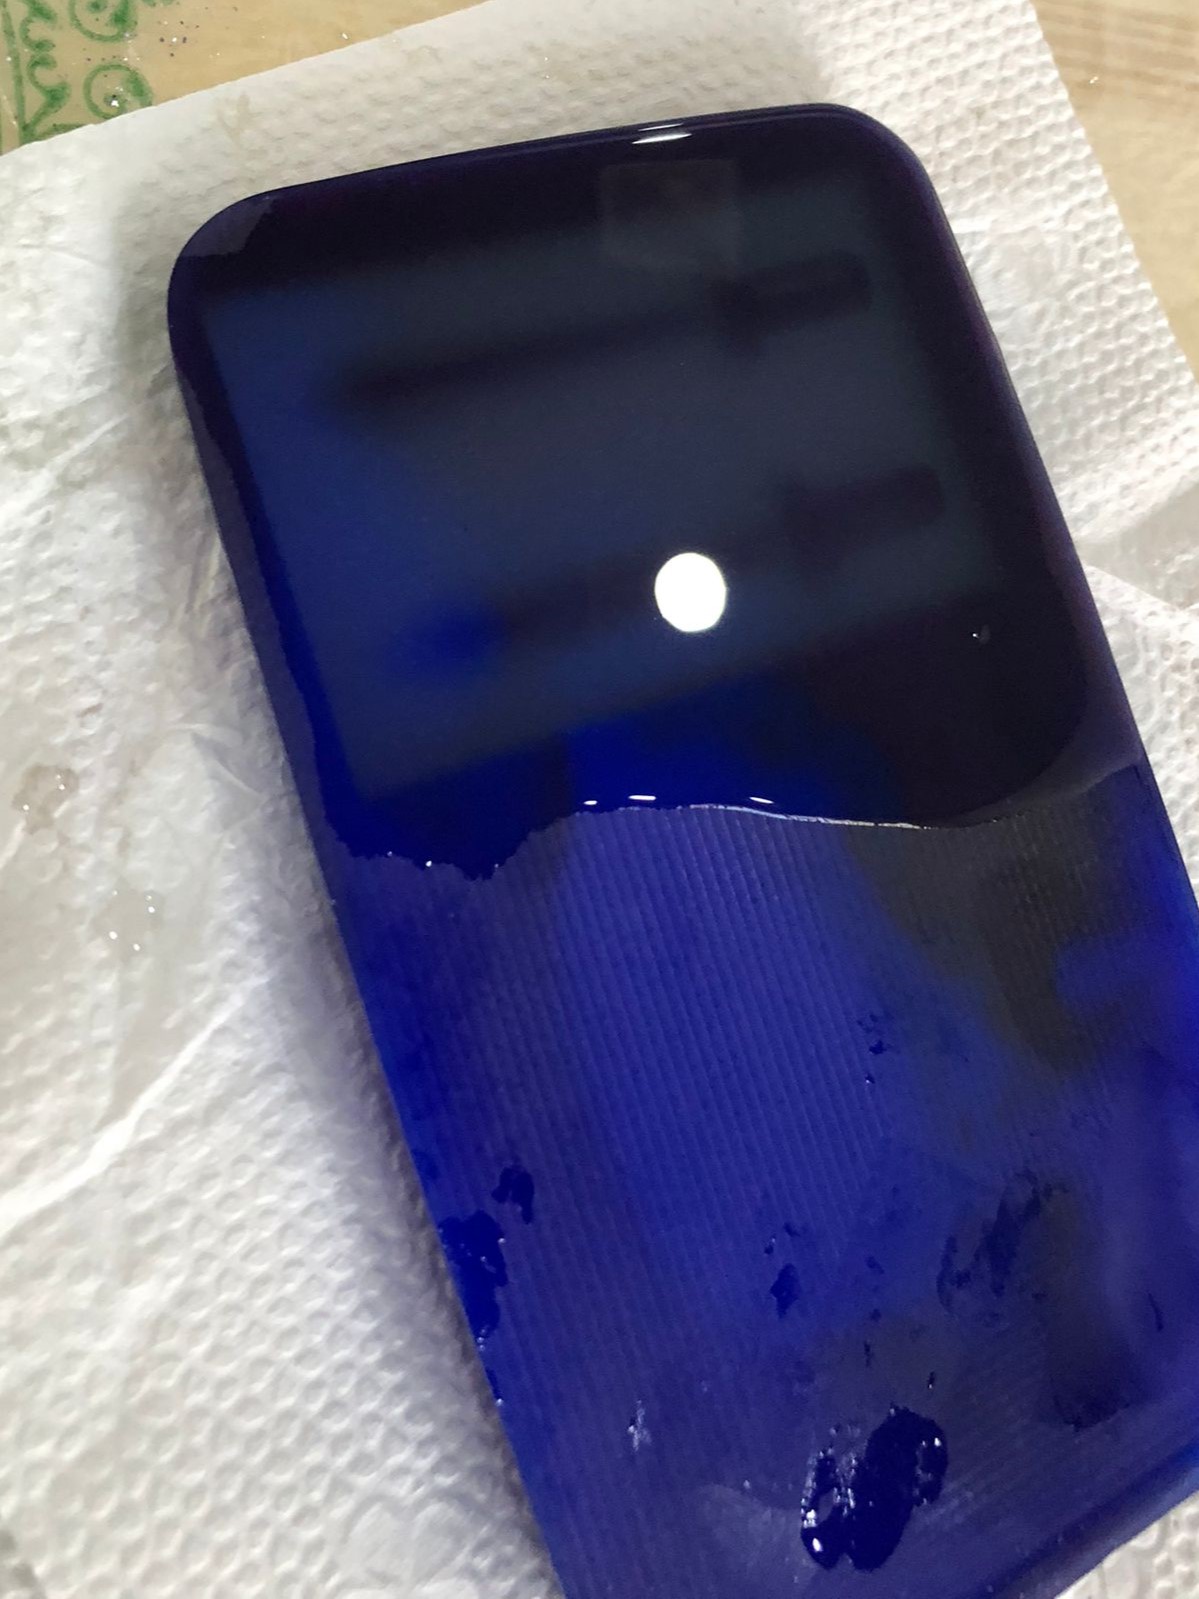
- Measure 10A:6B ratio of resin to hardener.
- Mix well and add black acrylic paint + glitter.
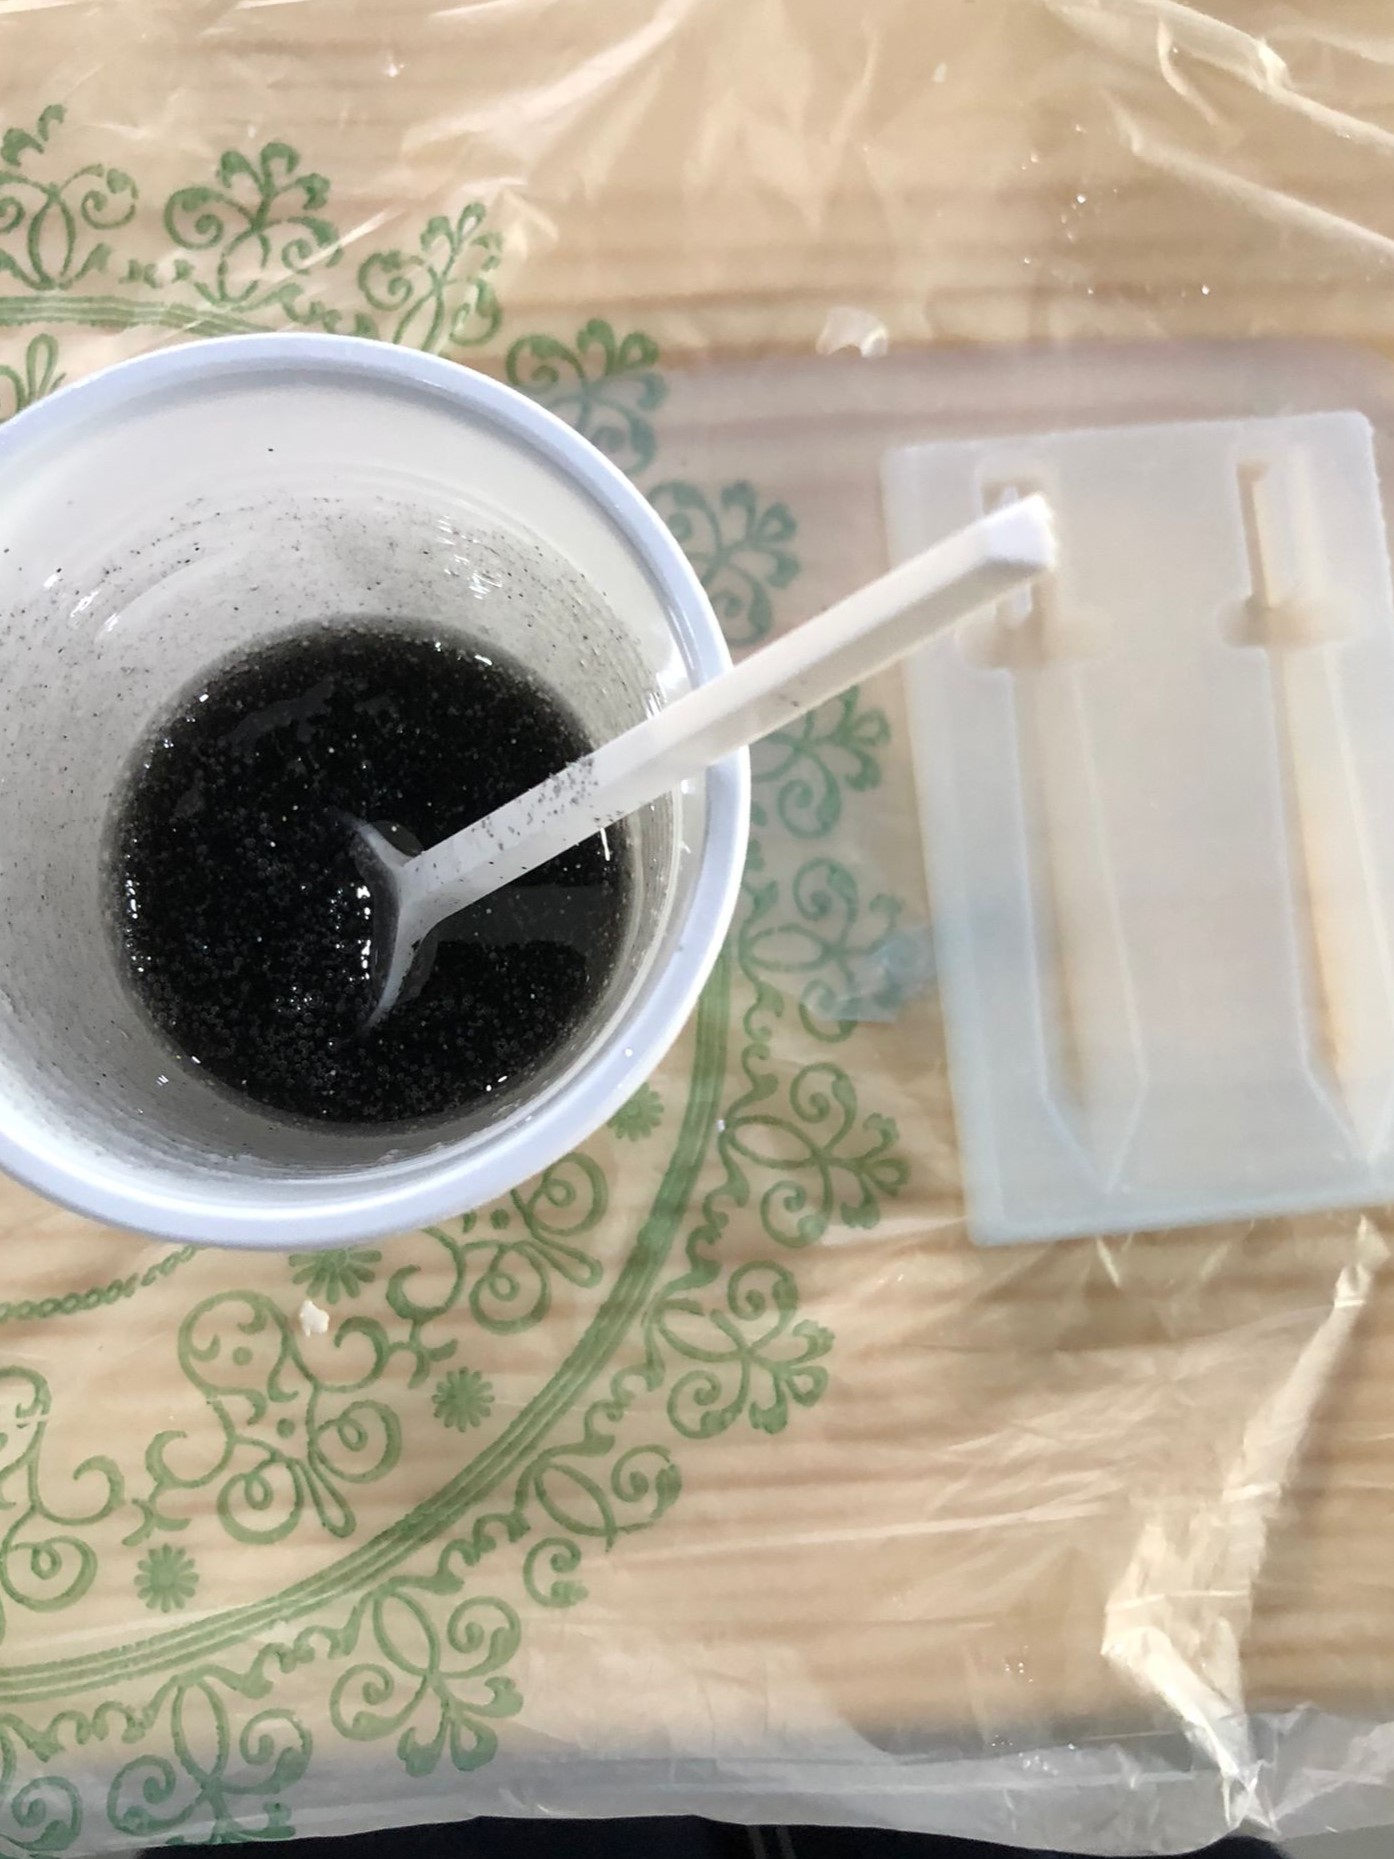
- Bubbles appeared after pouring into mold.
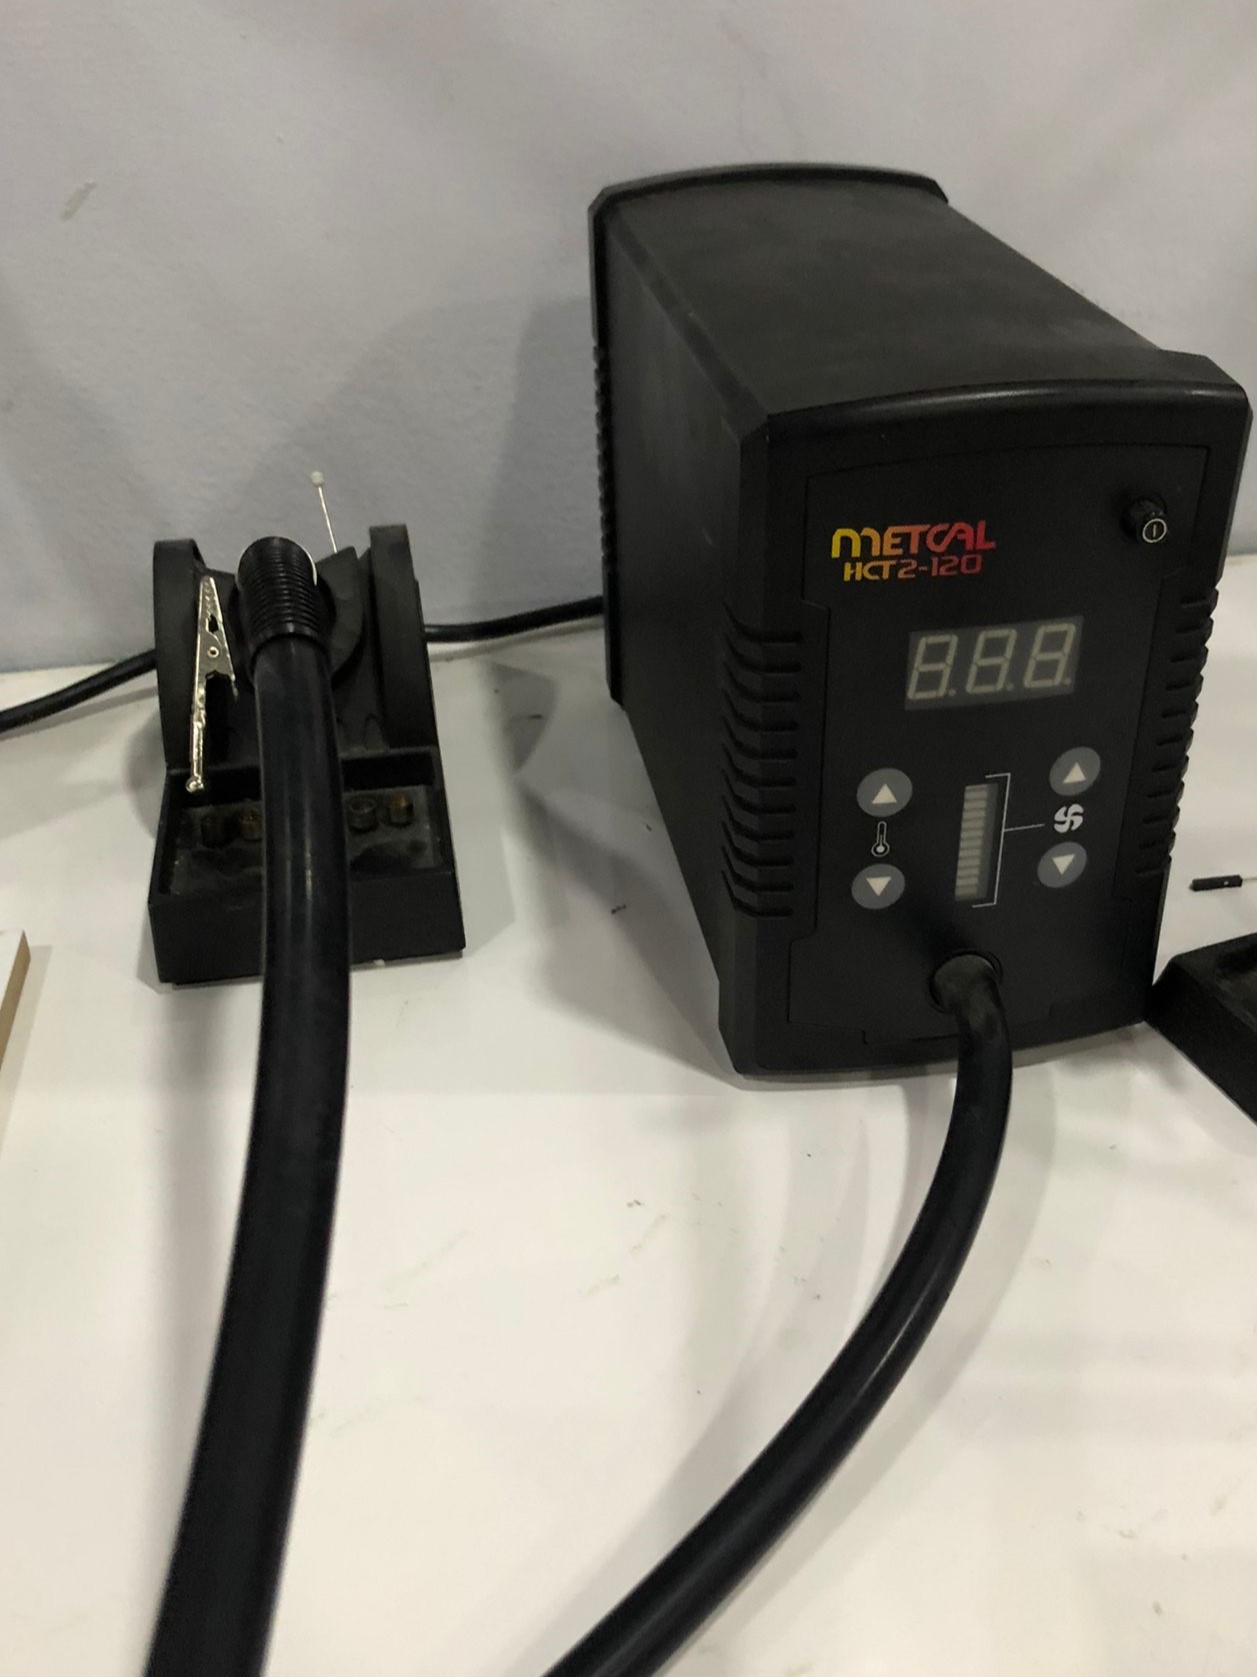
- Used heat gun to remove bubbles — not too close!
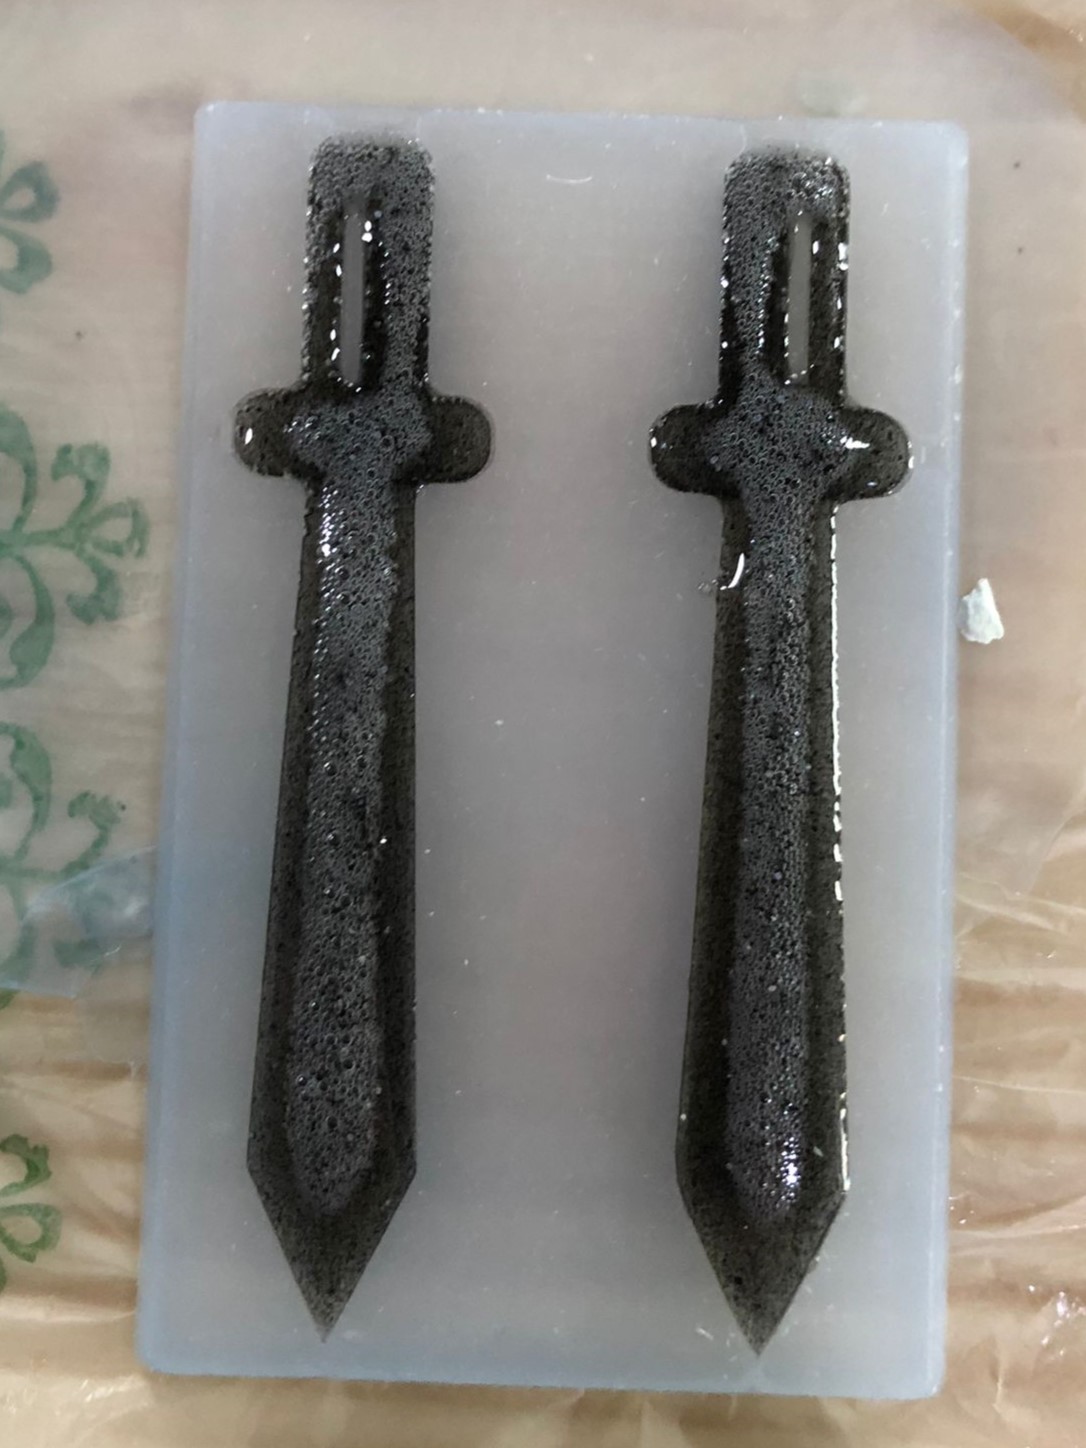
- Waited for resin to cure.

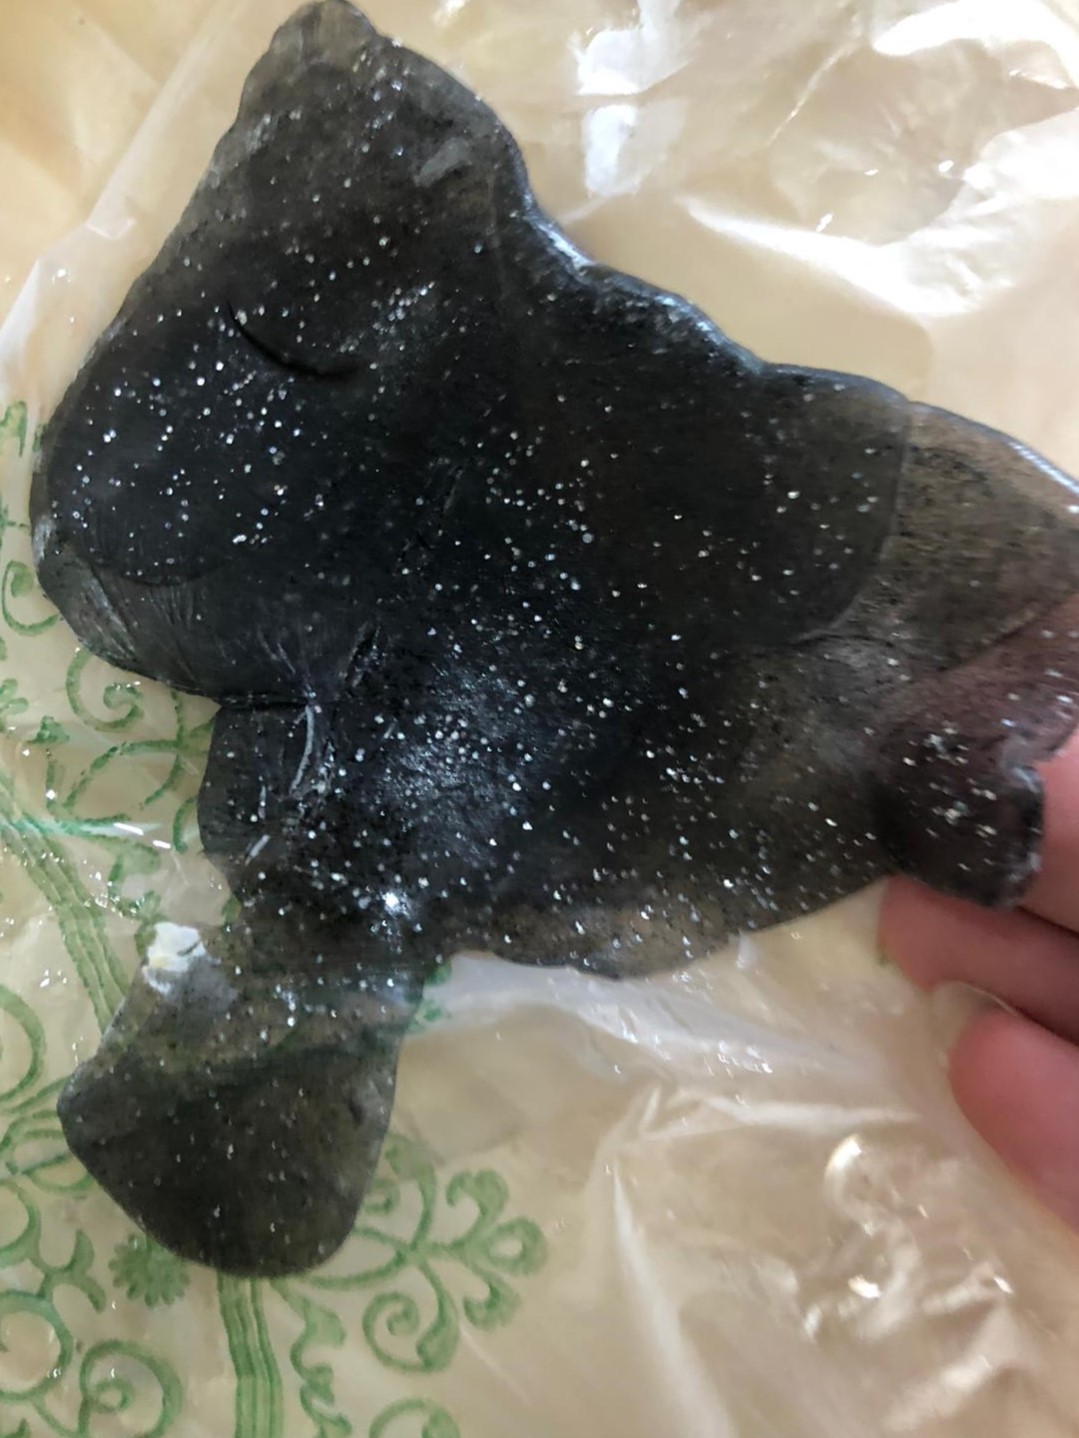
- Failed attempt: Resin didn’t cure after 3 days — likely measurement error.
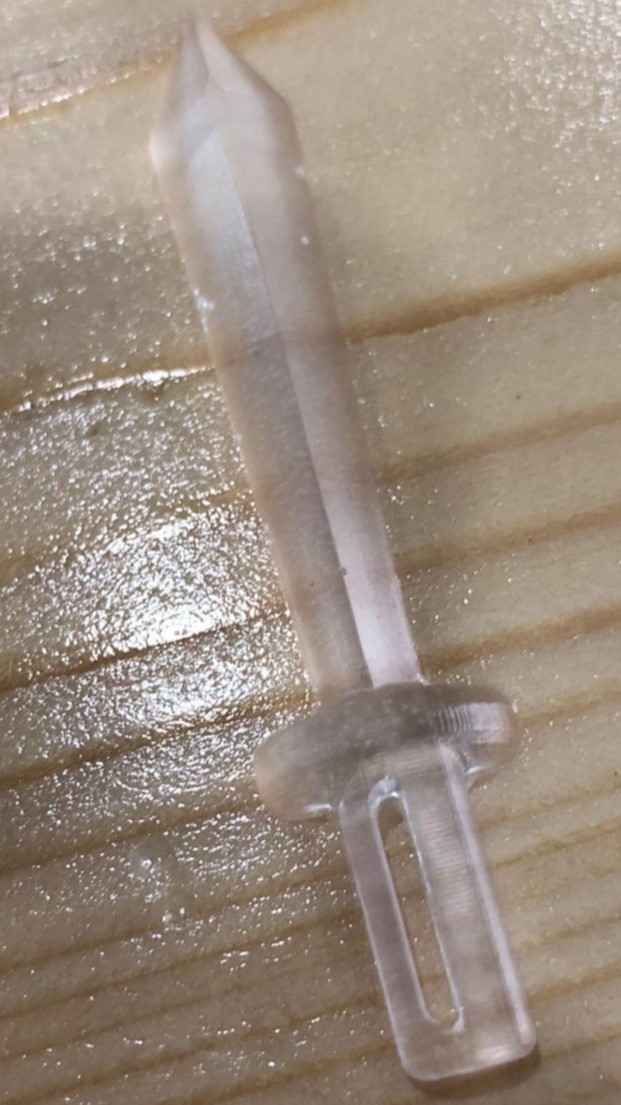
- Repeated with no paint/glitter and it worked perfectly.
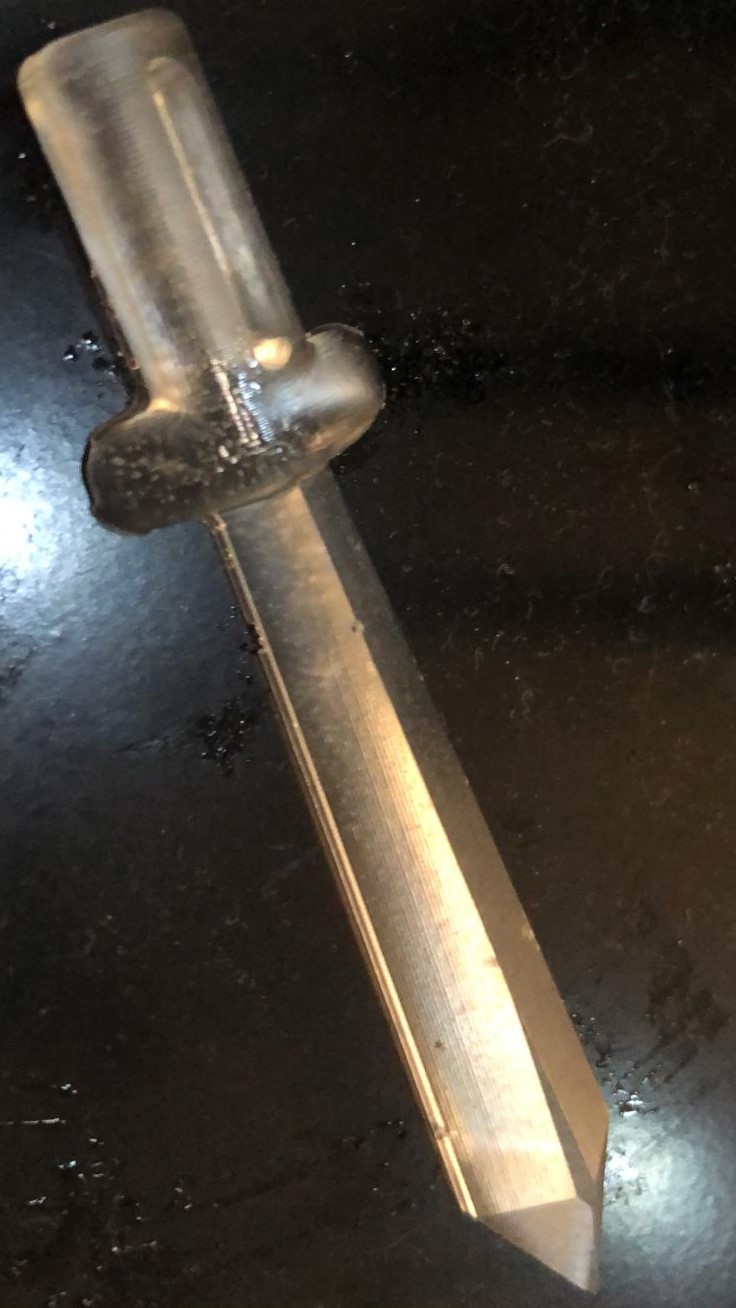
NOTE:
- Glue two sword halves after sanding for final piece.
- Alternative: Create a two-part mold. Read More