15. Interfaces and Applications
This week I worked on two things:
-
Understanding Processing using Xiao RP2040
-
Understanding Blynk using NodeMCU
Processing using the Xiao RP2040:
Processing is Java-based and is primarily used for creating visuals and sketches. It is good for interactive graphics and has libraries which can handle not just graphics, but also sound and video.
You can download the application from the Processing website.
As usual, I began this week by referring to Jesal Sir’s documentation.
There I found his processing exercises interesting, especially the RGB color spectrum one.
So I began by replicating his work.
For this, I used the Xiao RP2040 that was on my PCB which I made in my Week 8: Electronics design.
Mouse Click
I started by looking at his circle code. This was basically about creating a circle on processing and coding the RP2040 such that when your mouse clicks within the circle, the built-in RGB LED of the xiao lights up.
Using the same concept, I tried playing playing around by changing the mapping of the mouse X, mouse Y to simply having the mouse click anywhere. I realized later that this made the circle redundant and unnecessary but I chose to let it be.
My logic was that when you press a certain button (Left mouse, Right mouse, drag mouse, or a key on the keyboard), a certain color will emit from the Xiao’s RGB.
-
Left mouse button – send “1” – White light
-
Right mouse button – send “0” – Blue light
-
Key pressed – send “2” – Red light
-
Mouse drag – send “3” – Cyan light
-
Idle state/no button or key pressed – Green light
On running the code on the RP2040, the green light switched on immediately as that was the idle state condition.
However, the code did not work properly. As soon I clicked on the play button of the Processing sketch, it triggered the “Left mouse button” case and hence the white light flashed. The color did not change after that.
RGB spectrum
Next, I tried the RGB spectrum. Here the logic is that the processing code will generate a color spectrum and depending on where you click, it will send that value to the RP2040 and the RGB LED will light up in that color.
The code ran successfully! However, some colors seemed a little off and there was a color change before and after the desired color lit up. My best guess for this is because the color values are taken in one by one or that there is a lag in the color values showing up. For example, the r_ value gets transmitted first and read by the MCU but the g_ value does not. There is delay. This results in a mix of the colors before and after the actual color is synced.

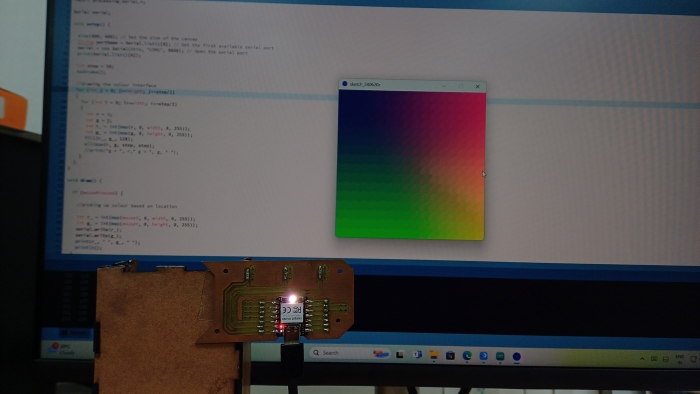
The logic:
In Processing, the nested loop in setup() creates the RGB spectrum. The outer ‘j’ loop ensures the colors are spread across the height of the canvas where the inner ‘i’ loop does the same across the width of the canvas. In the ‘i’ loops, ellipses are made in each iteration and each ellipse is assigned a particular color which is based on the XY co-ordinates of where the ellipse is. This is done using map().
for (int j = 0; j<=height; j+=step/2)
  {
    for (int i = 0; i<=width; i+=step/2)
    {
      int r = i;
      int g = j;
      int r_ = int(map(r, 0, width, 0, 255));
      int g_ = int(map(g, 0, height, 0, 255));
      fill(r_, g_, 128);
      ellipse(r, g, step, step);
      //print("g = ", r," g = ", g, " ");
    }
  }
In the void loop, the if statement ensures that the commands take place only when the mouse is pressed. The coordinates of where the mouse is clicked is stored into a variable which is then send across to the MCU.
if (mousePressed) {

    //picking up colour based on location

    int r_ = int(map(mouseX, 0, width, 0, 255));
    int g_ = int(map(mouseY, 0, height, 0, 255));
    serial.write(r_);
    serial.write(g_);
    print(r_, " ", g_, " ");
    println();
  }
In the IDE code, when the data is received from Processing, they are stored in variables and then used to light up the LED. the r_ variable corresponds to Red values of the RGB light. Similarly, the g_ variable corresponds to the Green value. The Blue value remains constant throughout the spectrum. It does not vary.
Errors:
At first, Processing gave me the error that my “Port is busy” and the sketch kept crashing. After a bit of reading online, I understood that it was because my serial monitor was open in the IDE. You can either have the Serial monitor running or the processing sketch. So make sure to close the Serial monitor in the IDE, and also make sure that the COM value is matched for both the IDE and the processing code.
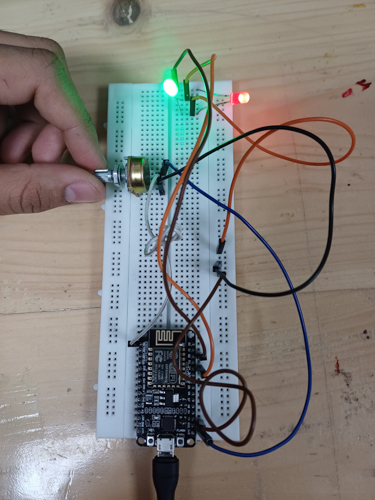
BLYNK along with NodeMCU:
Incidentally, our college module named “IoT” coincided with the dates of the Fab Networking and the Interfaces module. So in this college lecture, we learnt about connecting NodeMCU (ESP8266) wirelessly, and interfacing it with a UI software such as Blynk.
Blynk is an Internet of Things (IoT) platform. It allows you to remotely control and monitor hardware devices. It uses a mobile and web app interface to interact with various hardware. Blynk is rather simple to learn and the GUI/Drag-and-drop aspect make it really easy to use.
You can download it here: Blynk.io
My gratitude to the professors at college who showed us the steps to executing this and guided us- Chinmay Sir and Jesal Sir. You can find the pdf that was shared with us in class HERE.
Hero videos:
Connections:
Process:
On the Desktop: Guage for Potentiometer reading
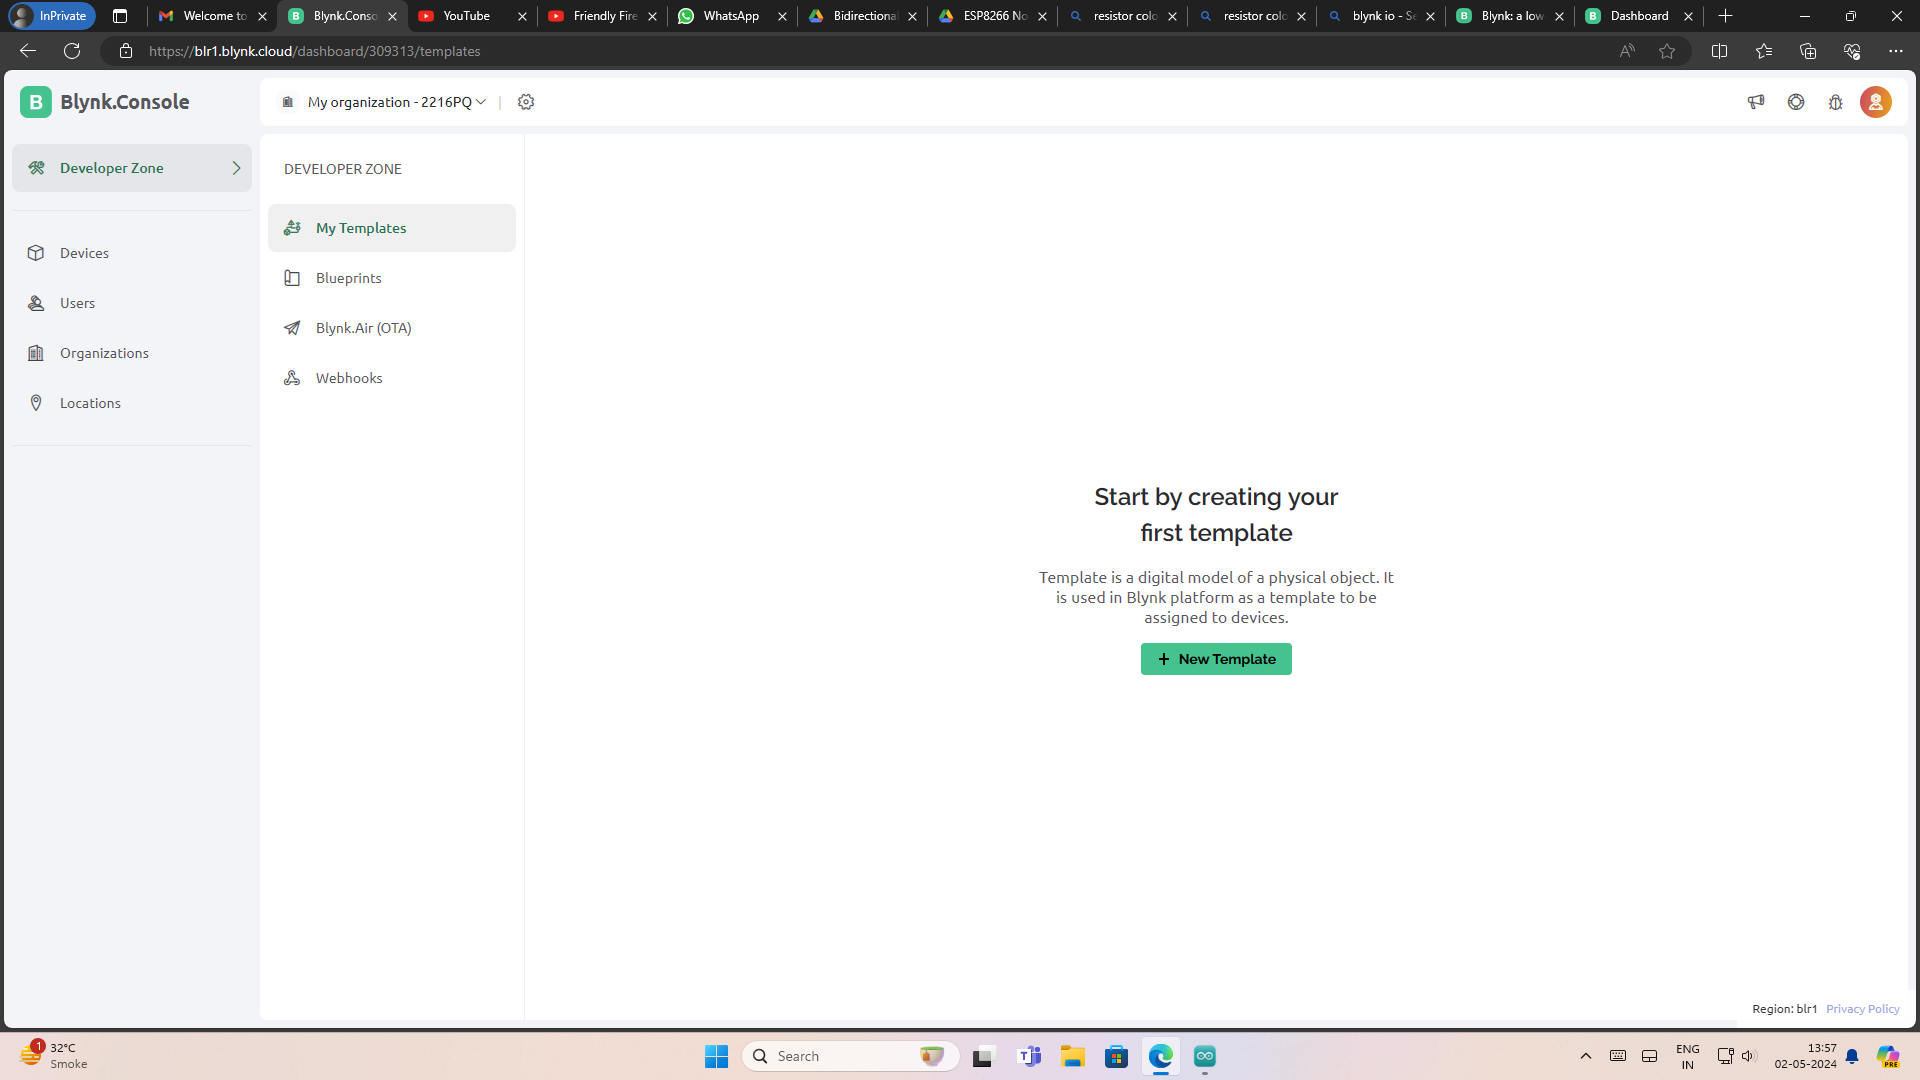
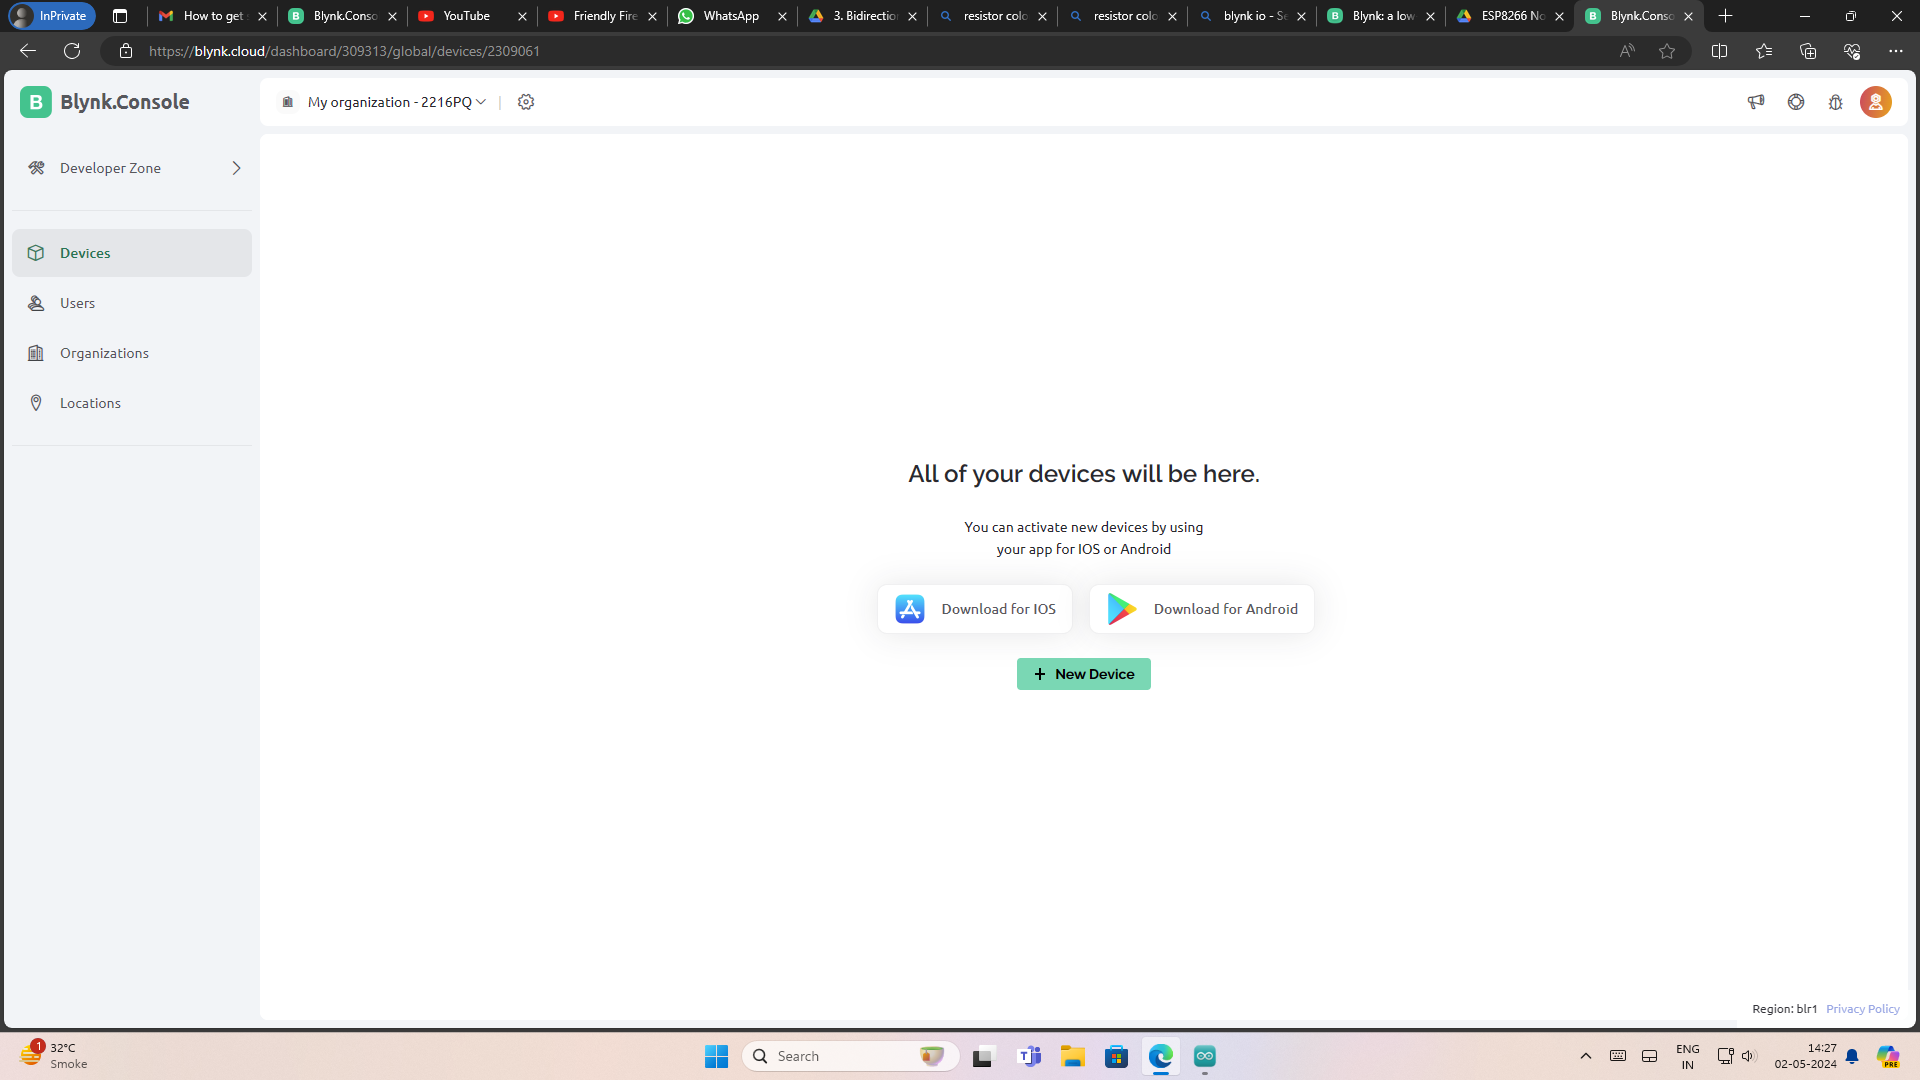
We followed the steps as per our College Instructor. To start off, go to the Blynk webpage and create an account.
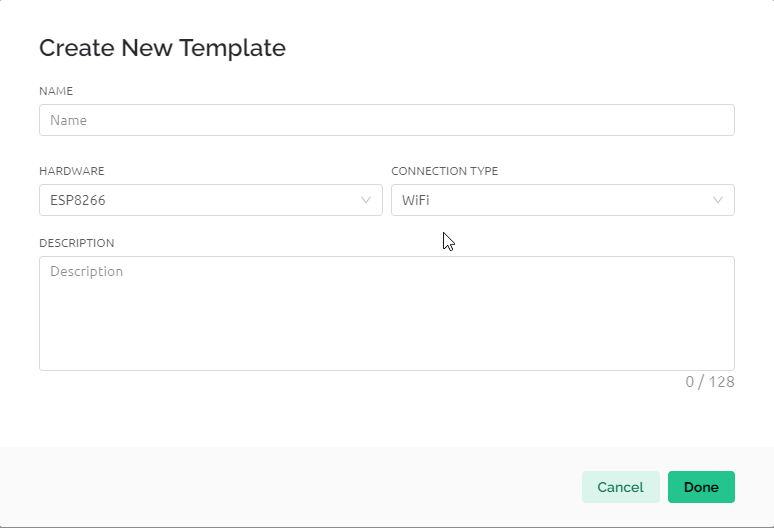
Step 1: You start by creating a new template
Choose the device as ESP8266 as that is what we are usign and the connection type as WiFi
Step 2: Adding Datastreams:
Create Datastreams
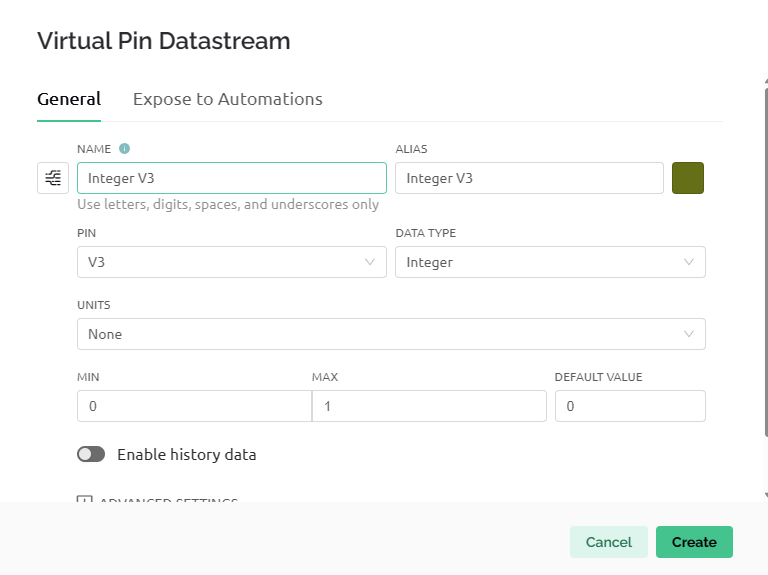
Let the Type of Pins be Virtual Pins, and the data type be Integers.
The 3 Datastreams should look like this

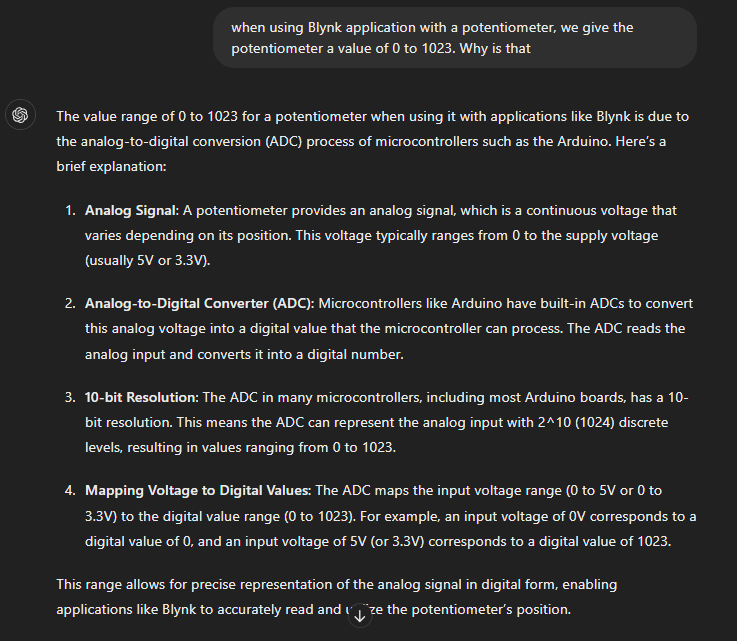
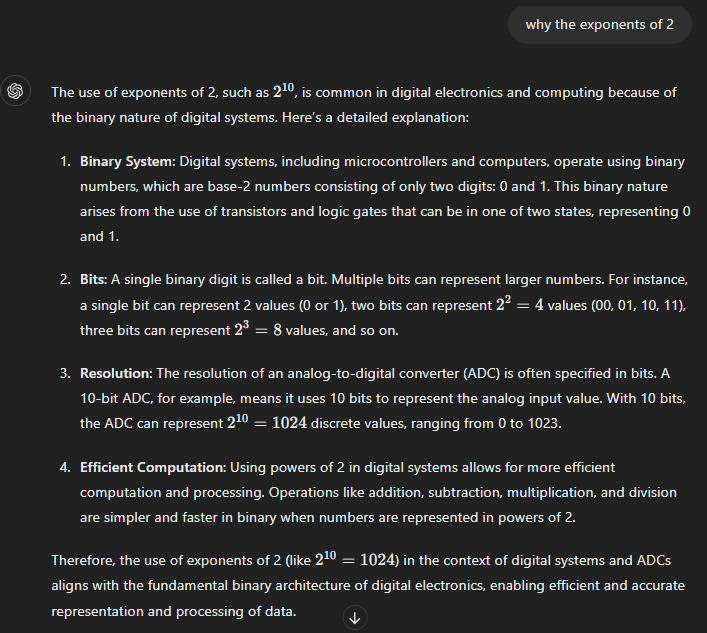
The Potentiometer should have a range of 0 to 1023 as that is the size of the ADC of the NodeMCU.
For better clarificaiton, I asked chatGPT to explain it to me:
The PWM will be 0 to 255 as it requires the values for the colors.
And finally, the On-Off LED will have just a HIGH or LOW value, i.e, 1 or 0.
Step 3: Adding Widgets
Since we want to connect the Potentiometer to Gauge on the Desktop so that it takes the readings of the Potentiometer, we will do the following:
Web Dashboard> drag and drop the gauge widget

Click on the widget and Choose Datastream as the one assigned to it
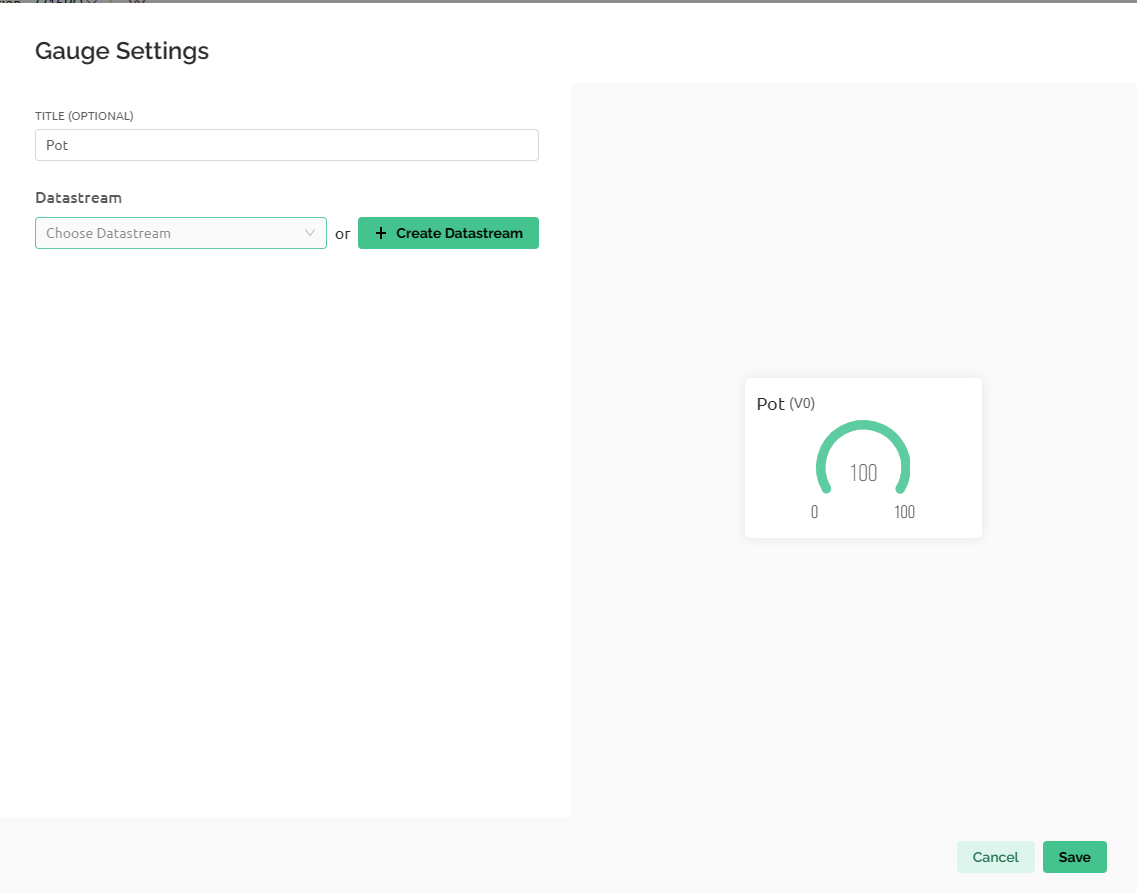
Gauge widget settings. Choose the corresponding Datastream
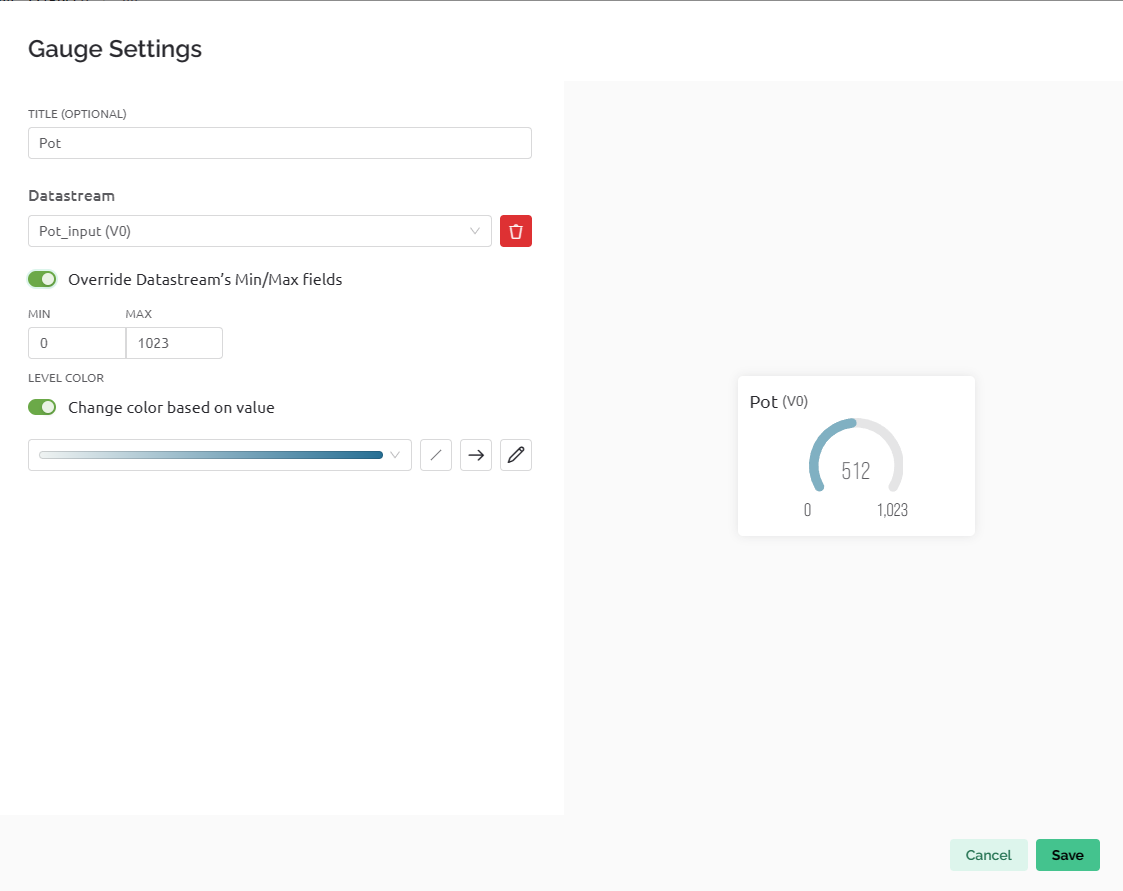
Widget is set up
Step 4: Creating a New Device:
Click on New Device +
Choose “from Template”

Create new device

Device created for Potentiometer
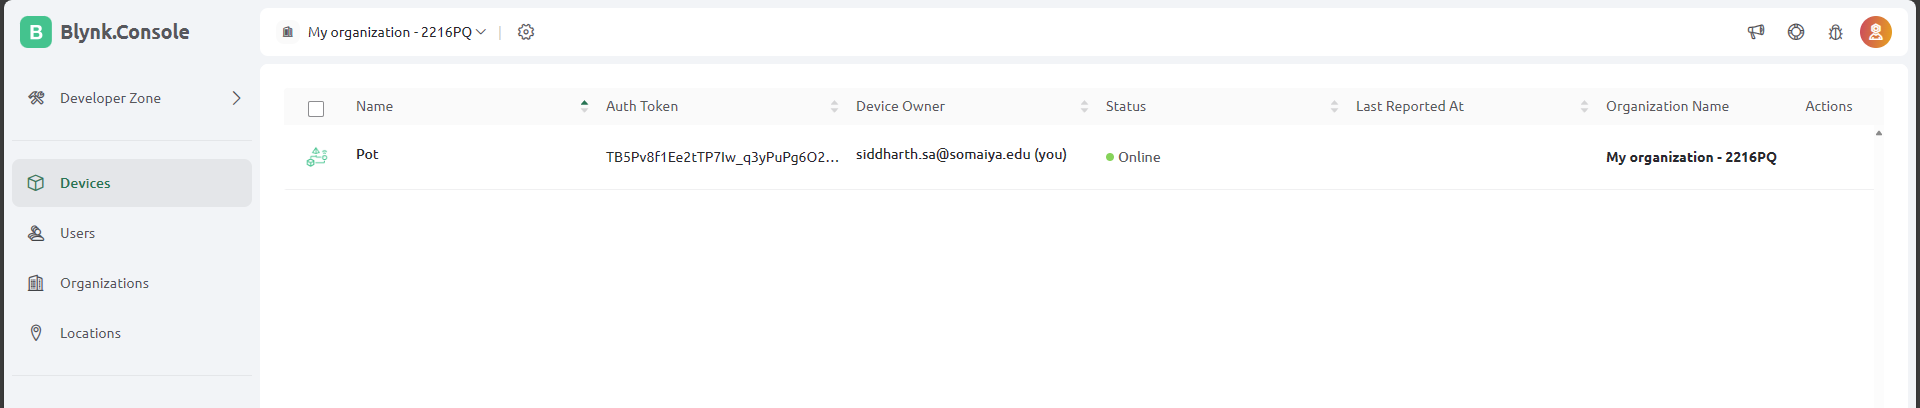
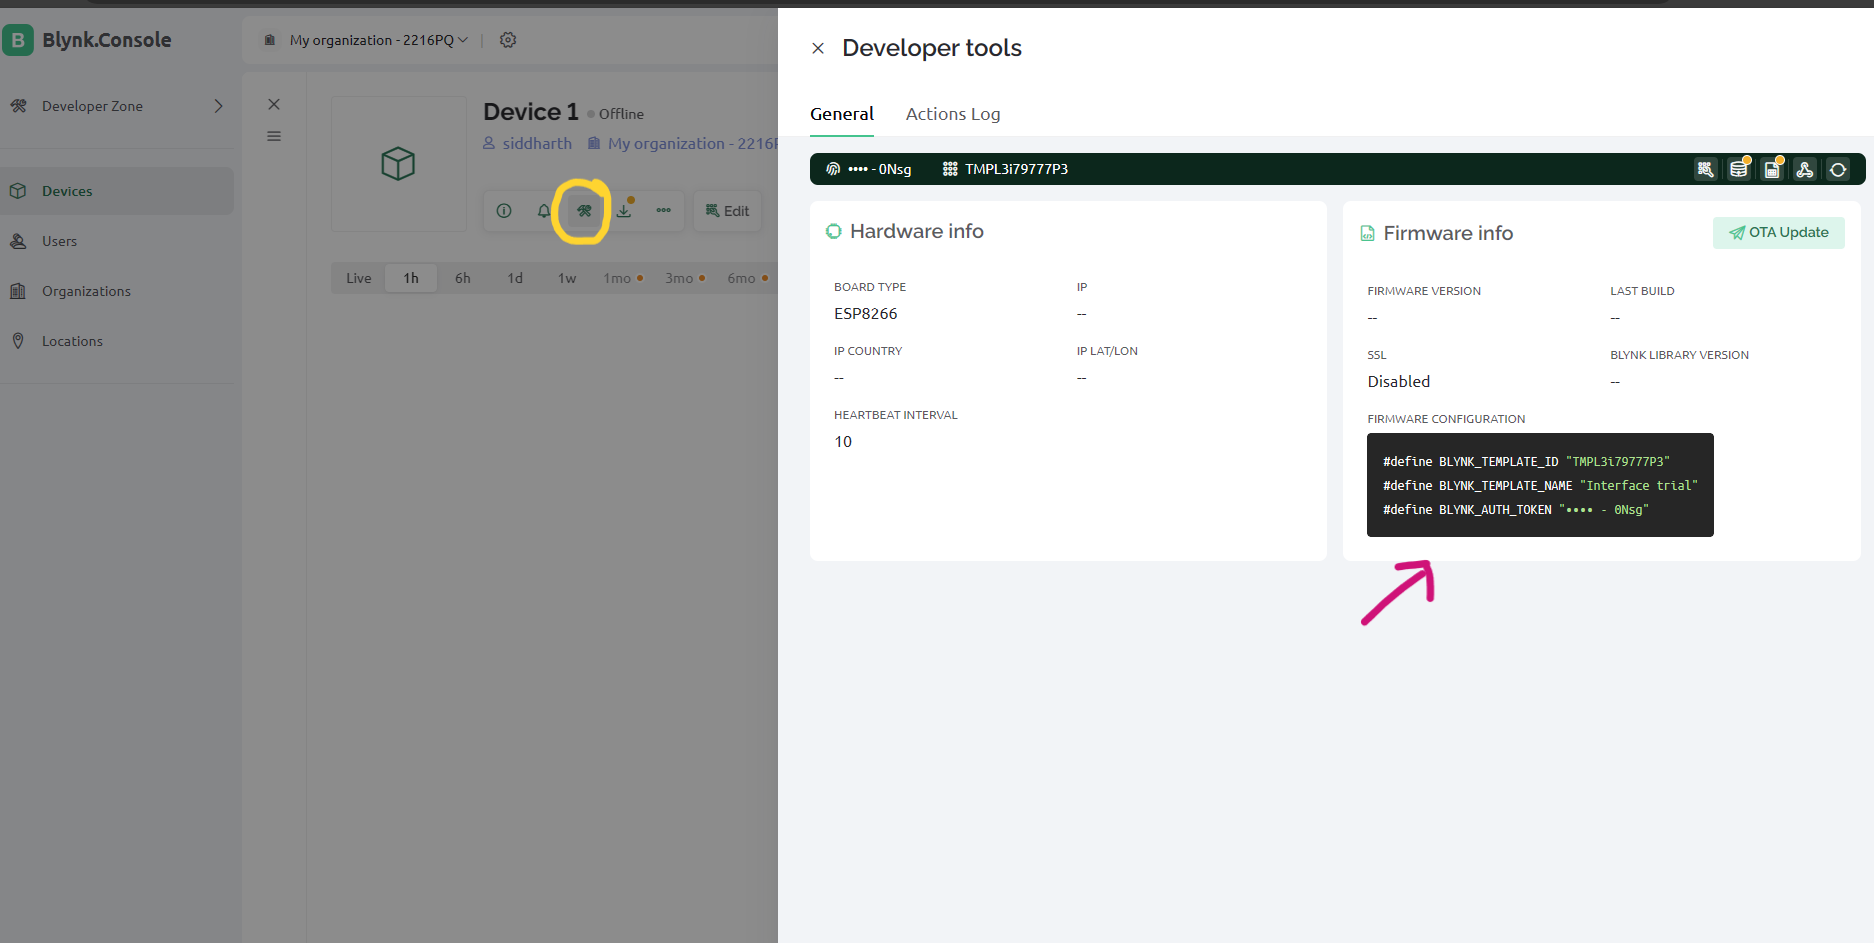
Copy the Template ID, Template Name, and Authtoken

If you miss this dialogue box, go to Dev tools to get the Device config and copy it to clipboard:
Step 5: Blynk Code:
Install the Blynk library on the Arduino IDE

Blynk code. Replace the wifi and password, and the device details:

On the App: LED Button and Slider for PWM
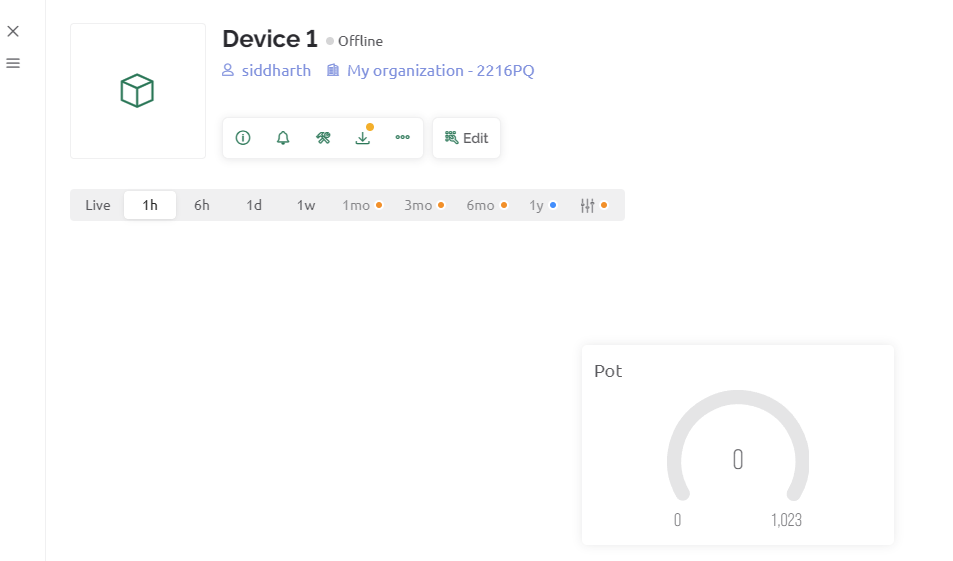
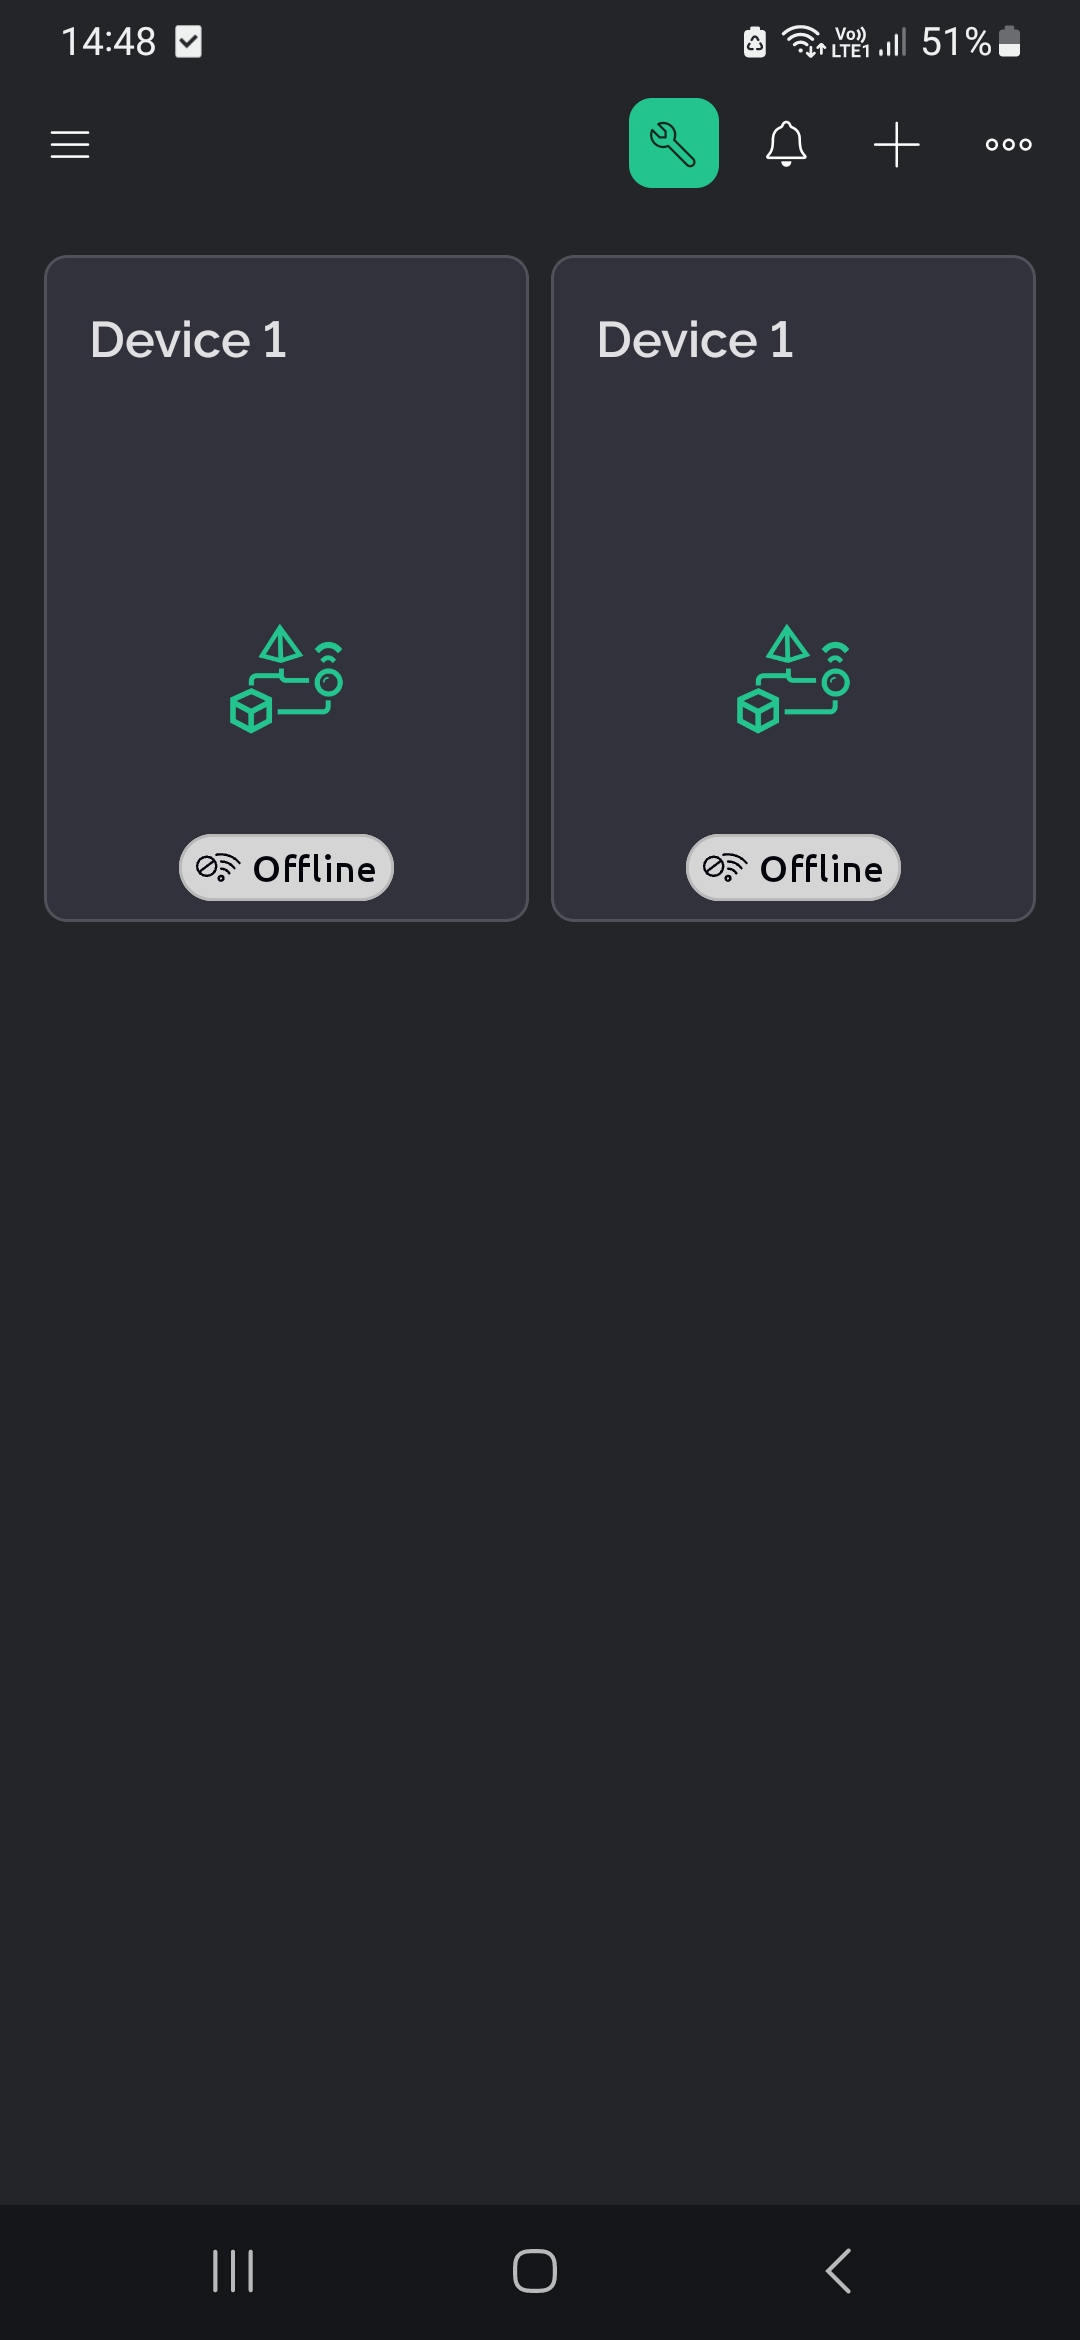
Once you install the Blynk app, you will see your existing device there. Click on it. It will take you to the widgets section.
Now here, click on the Developer mode (Tool Icon) on top right. This way you can add widgets.

Now, in the Dev mode, click on the + icon to add widgets. Choose from the list of widgets. For this assignment, I have used the slider and the button.
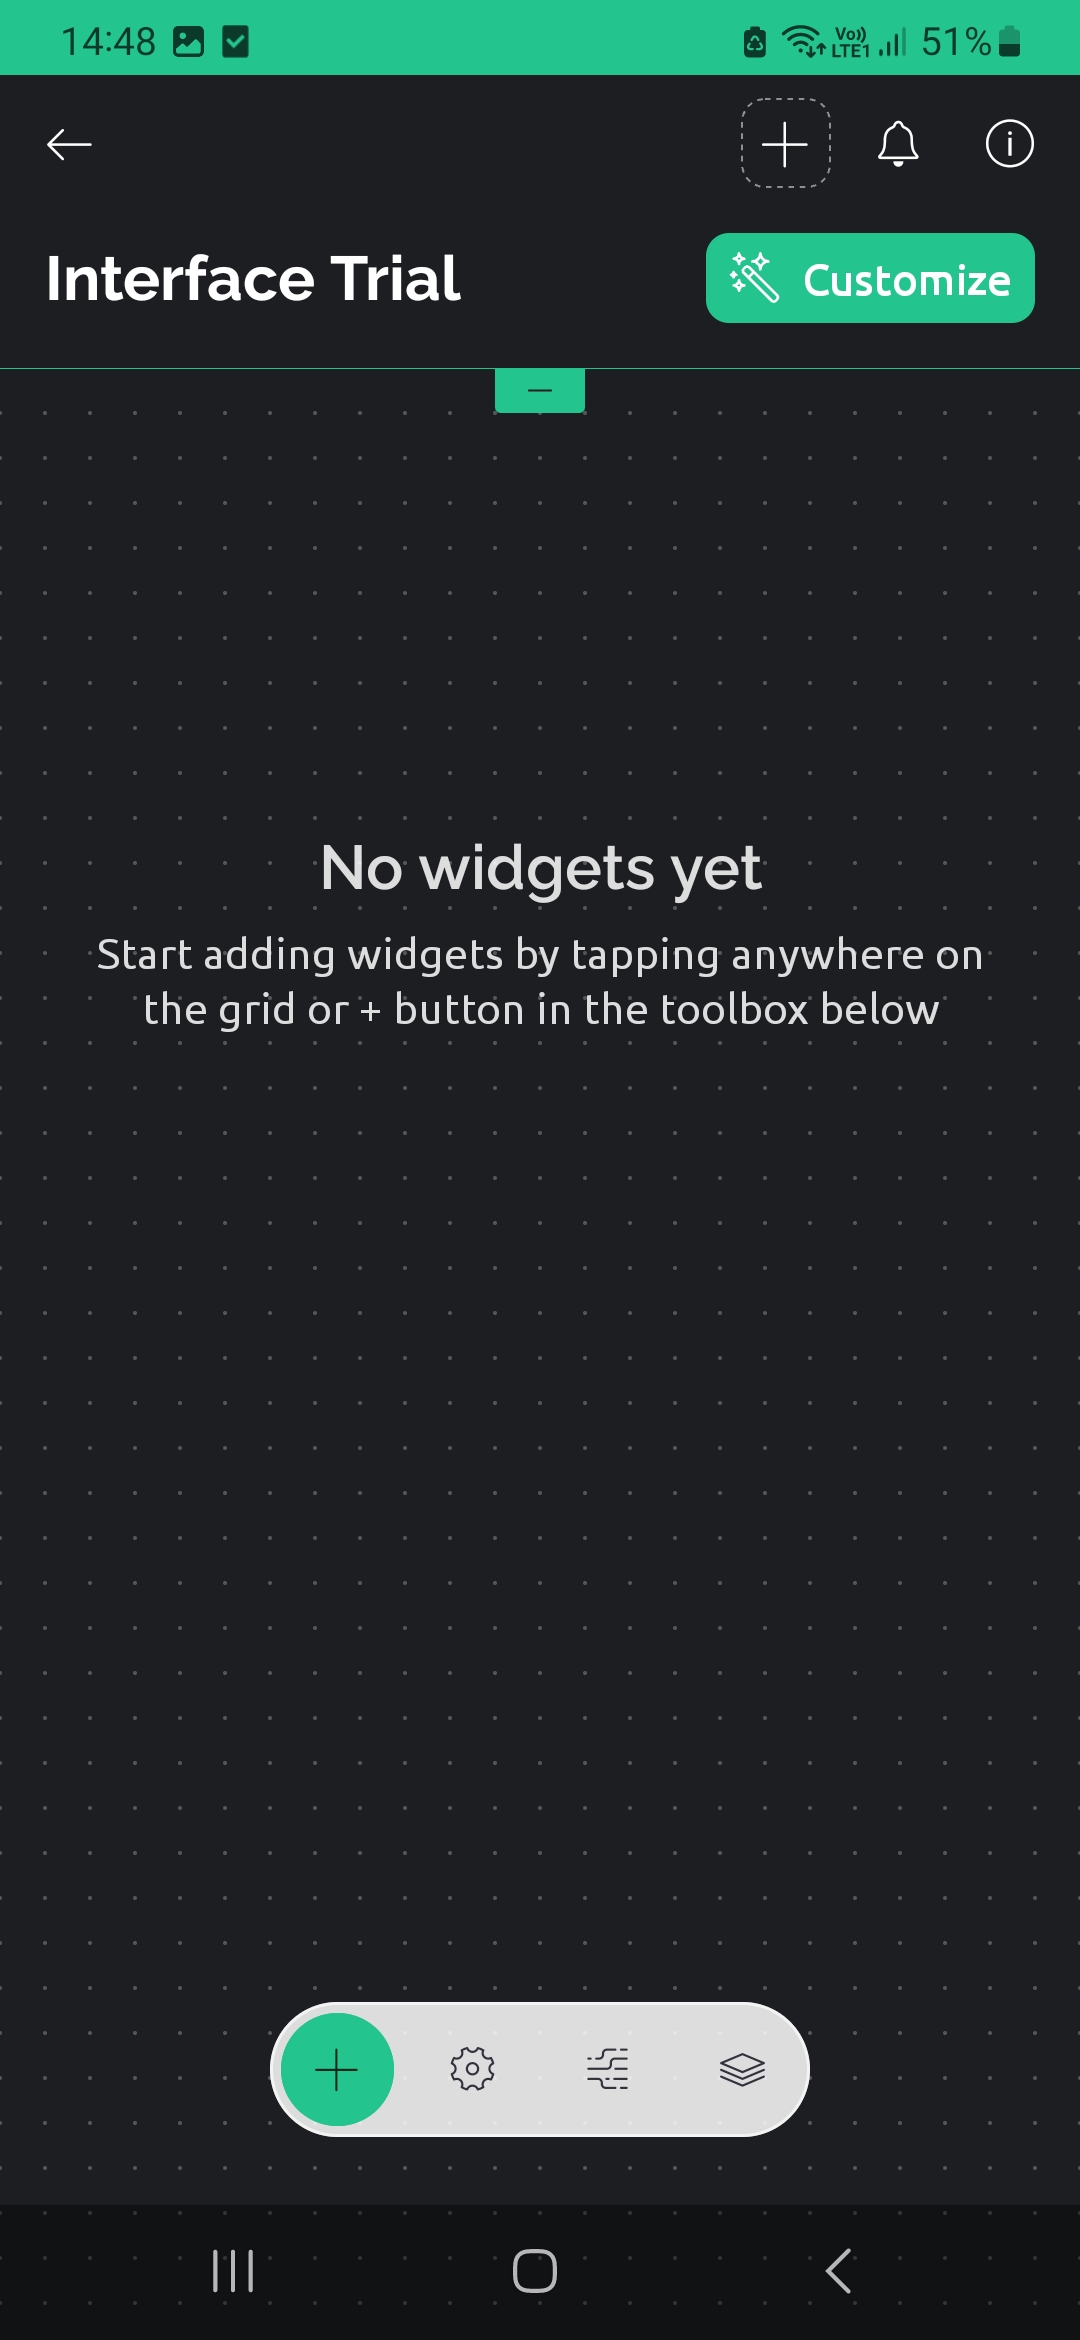

Click on the widget, it takes you to details of the widget. Here, you will select the Datastream you had initially provided to widget when making the Template. I also switched the Button’s mode to Switch instead of Push.


Setting up IDE for NodeMCU
I have spoken about the necessary drivers required in my Week 14. You can follow those steps to set up your NodeMCU with the IDE: My Week 14 LINK
Reflection:
This week was a bit of a time crunch so I could not explore more. I have used P5.js before and used it in my Week 1 to change the background of my mkdocs website: LINK
Processing essentially combines P5.js characteristics with the Arduino IDE. You can sketch and control the microcontroller at the same time! It is like the middle ground. It communicates with the microcontroller by Serial Communication.
Using the NodeMCU and Blynk was really fun too! I finally made a UI which can do something wirelessly!
While the Processing to RP exercise only communicated from the Application to the Microcontroller, the Blynk exercise did both- the potentiometer reflected on the app screen while the LED was triggered using the button on the app screen.
Type of Communication
Processing uses Serial communication or UART protocol. We select the COM port on the applications.
Blynk uses the webserver. The Webserver or Cloud Server connects Hardware IoT devices like sensors and NodeMCUs to the software IoT platforms like Blynk.
Type of Information Shared
In the RGB example, a variable with xy value which correspond to rg values is sent across to the board from the computer.
In the Mouseclick example, a variable corresponding to what action is taking place- mouseclick left, right, keypressed etc is sent.
In the Blynk example, the value of the potentiometer (analog value), the switch (0 or 1), the PWM value is sent between the board and Blynk.
Comparing Processing, Blynk, and P5js [Group work]
Processing is Java-based and is primarily used for creating visuals and sketches. It is good for interactive graphics and has libraries which can handle not just graphics, but also sound and video.
P5.js is JavaScript based and used extensively for creative coding on the web. You can create interactive graphics and animations directly in the web browsers.
Blynk is an Internet of Things (IoT) platform. It allows you to remotely control and monitor hardware devices. It uses a mobile and web app interface to interact with various hardware. Blynk is rather simple to learn and the GUI/Drag-and-drop aspect make it really easy to use.
Code:
NodeMCU code for Blynk-Potentiometer-LED-Button