2. Computer Aided Design: CAD
This week I worked on understanding and exploring 2D and 3D CAD softwares.
This week’s documentation is divided into two main categories of exploration:
A. For 2D design, I worked on:
- Illustrator
- Inkscape
B. For 3D design, I worked on:
- FreeCAD
- Blender
1. Fun with 2D CAD:
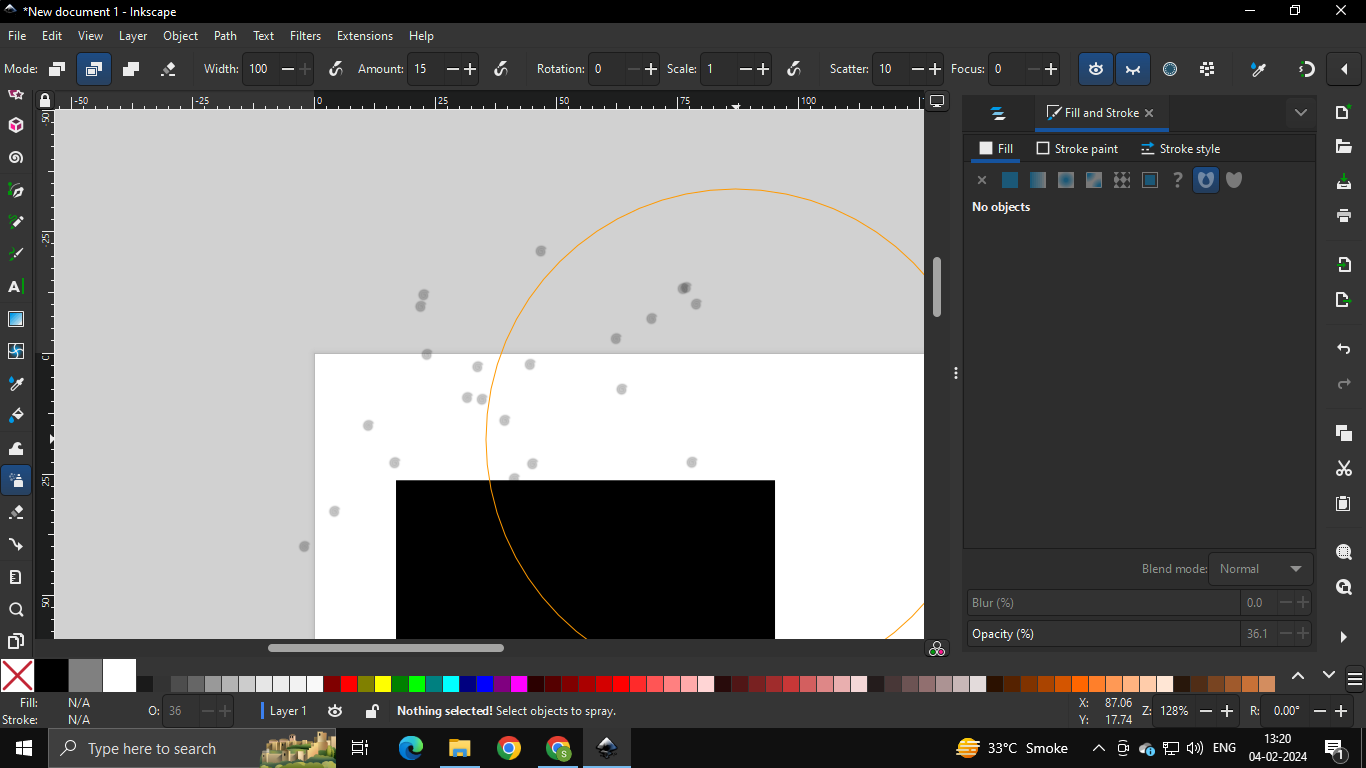
Vector tool- Inkscape
I have used illustrator before and am comfortable with it. So this time, I decided to check out Inkscape for vector drawings.
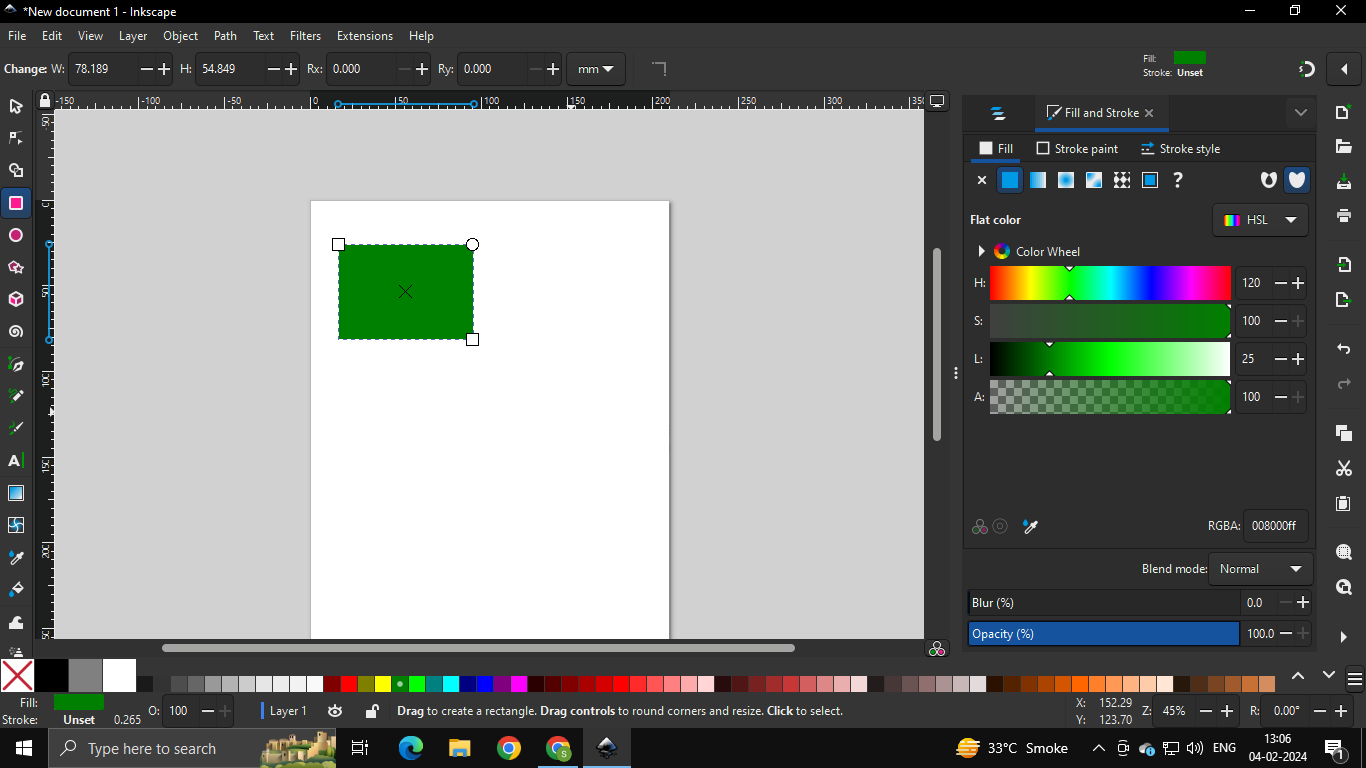
Exploring shapes on Inkscape
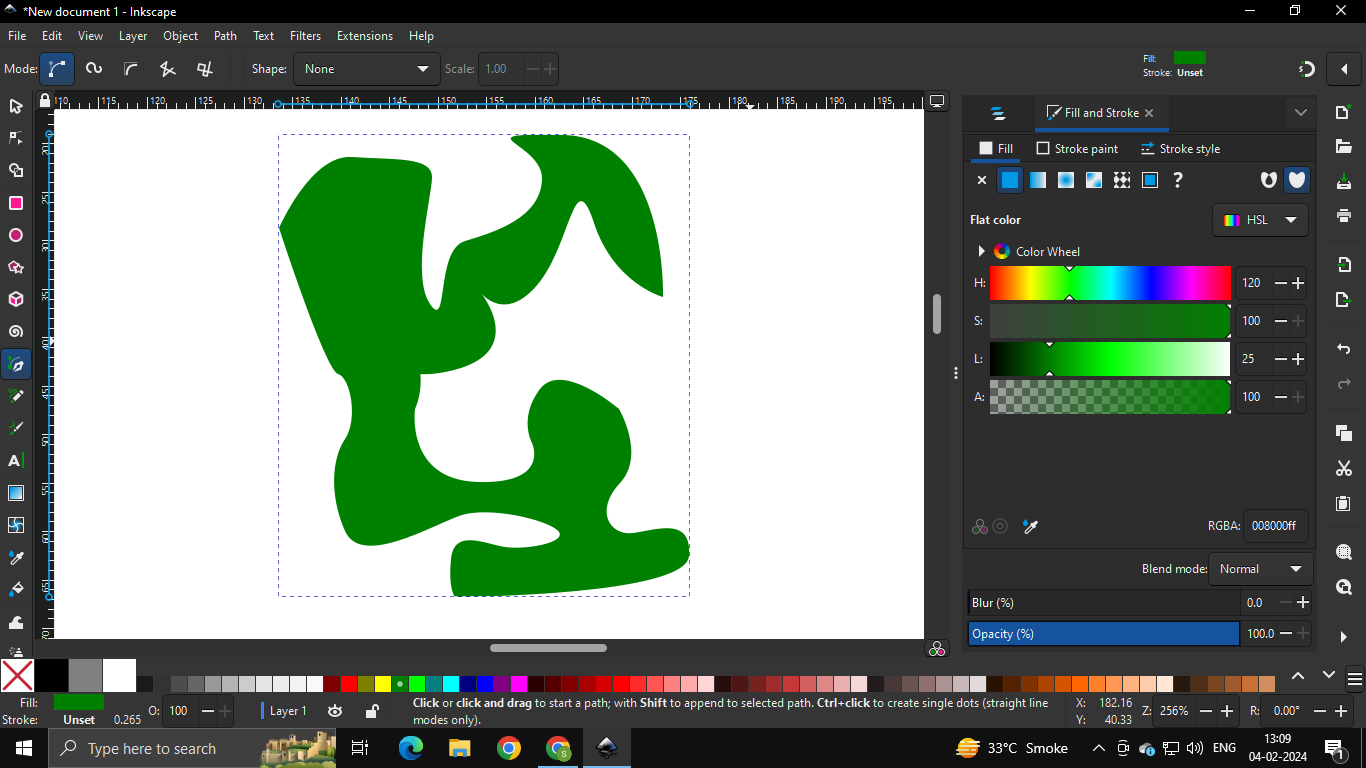
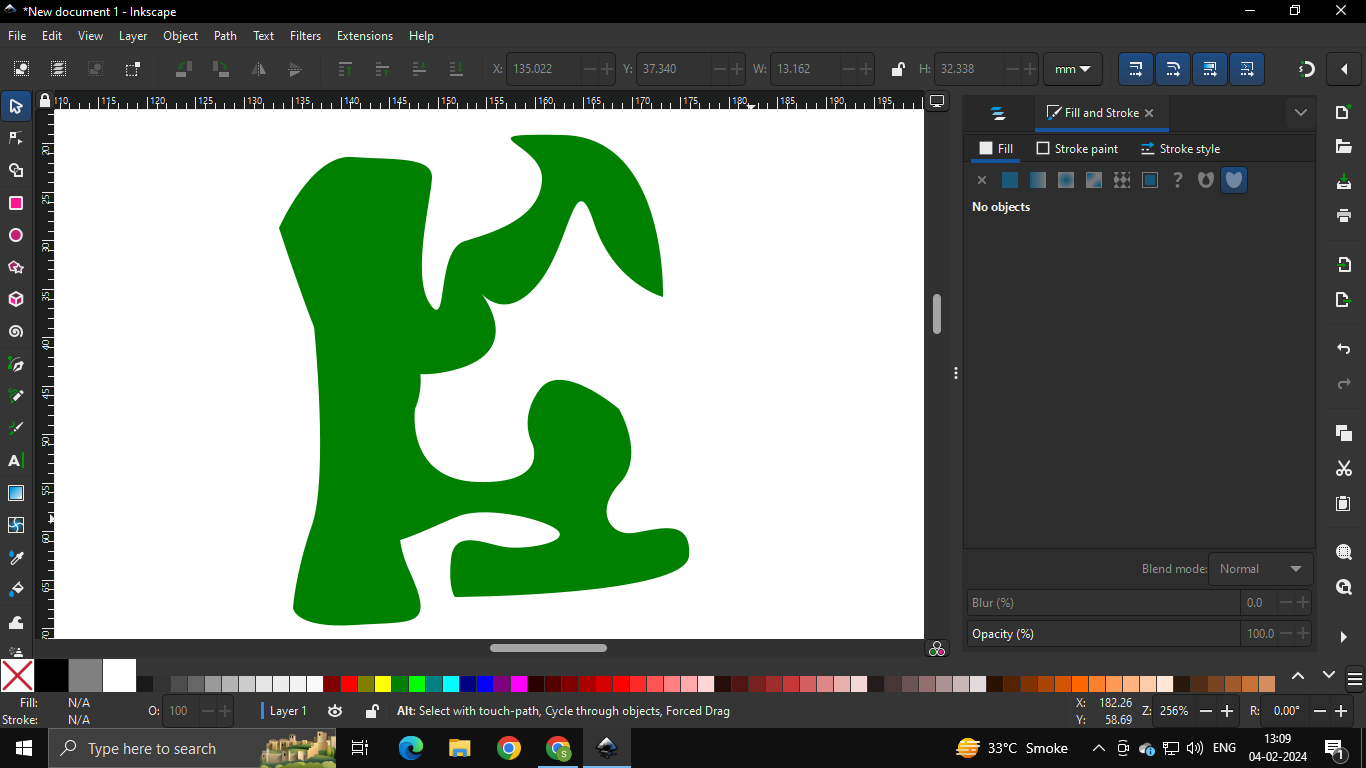
I tried making a flowy letter ‘K’ next:
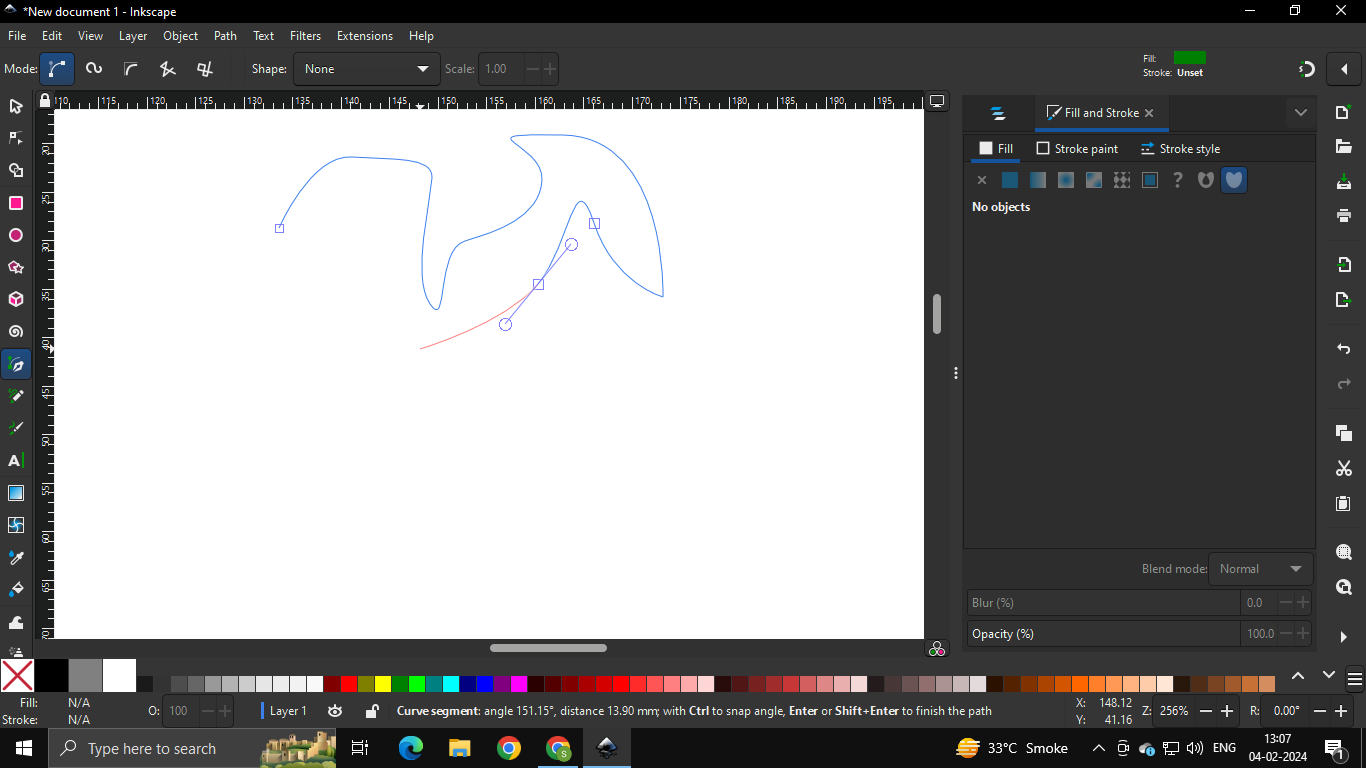
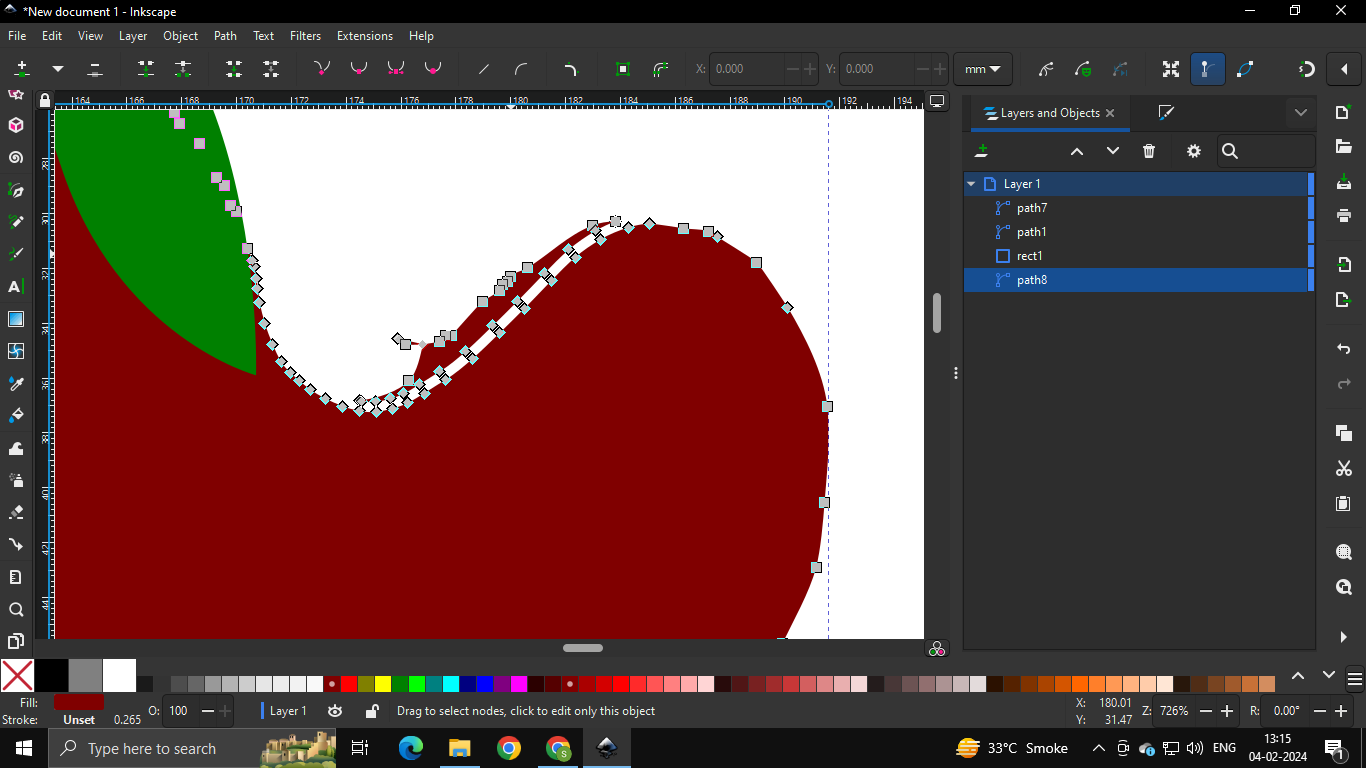
Exploring the pen tool on Inkscape
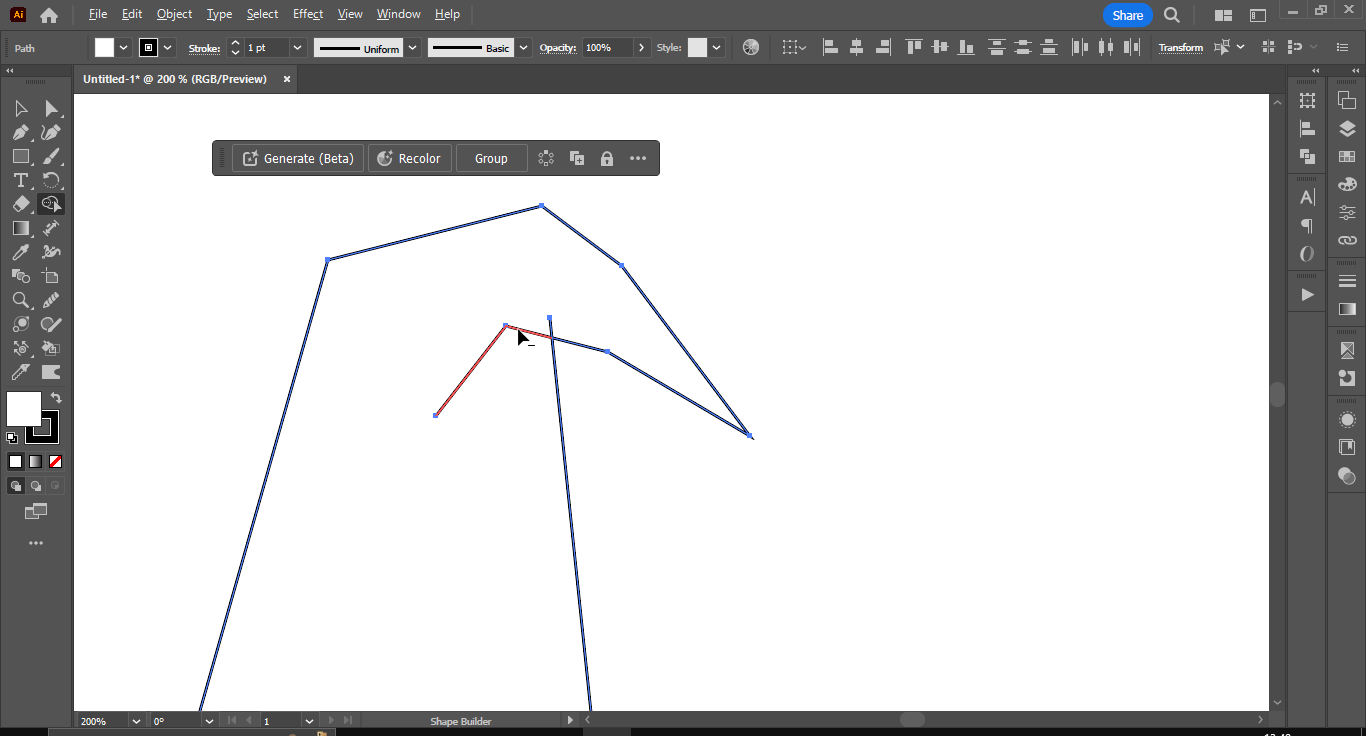
Exploring the shape builder tool on Inkscape


Adding more shapes made from pencil tool


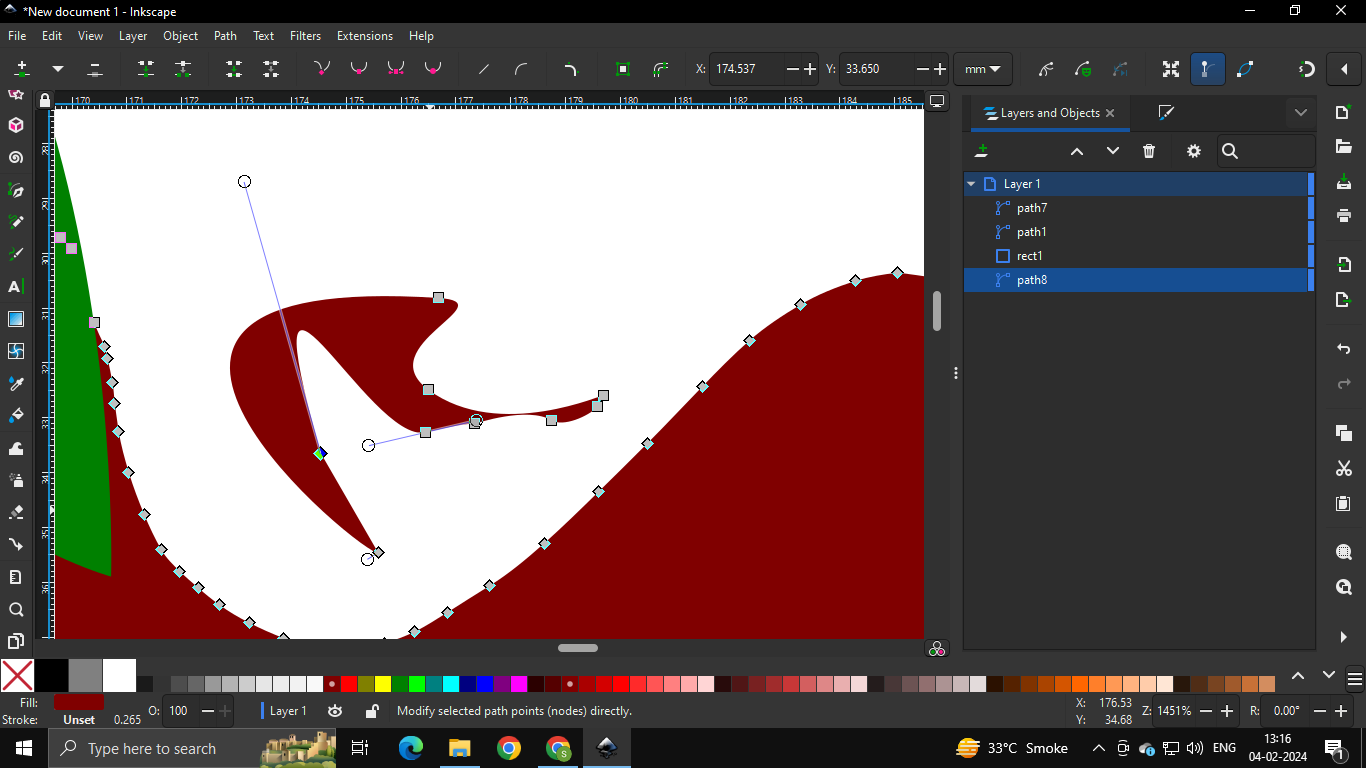
Erasing and then playing with anchor points

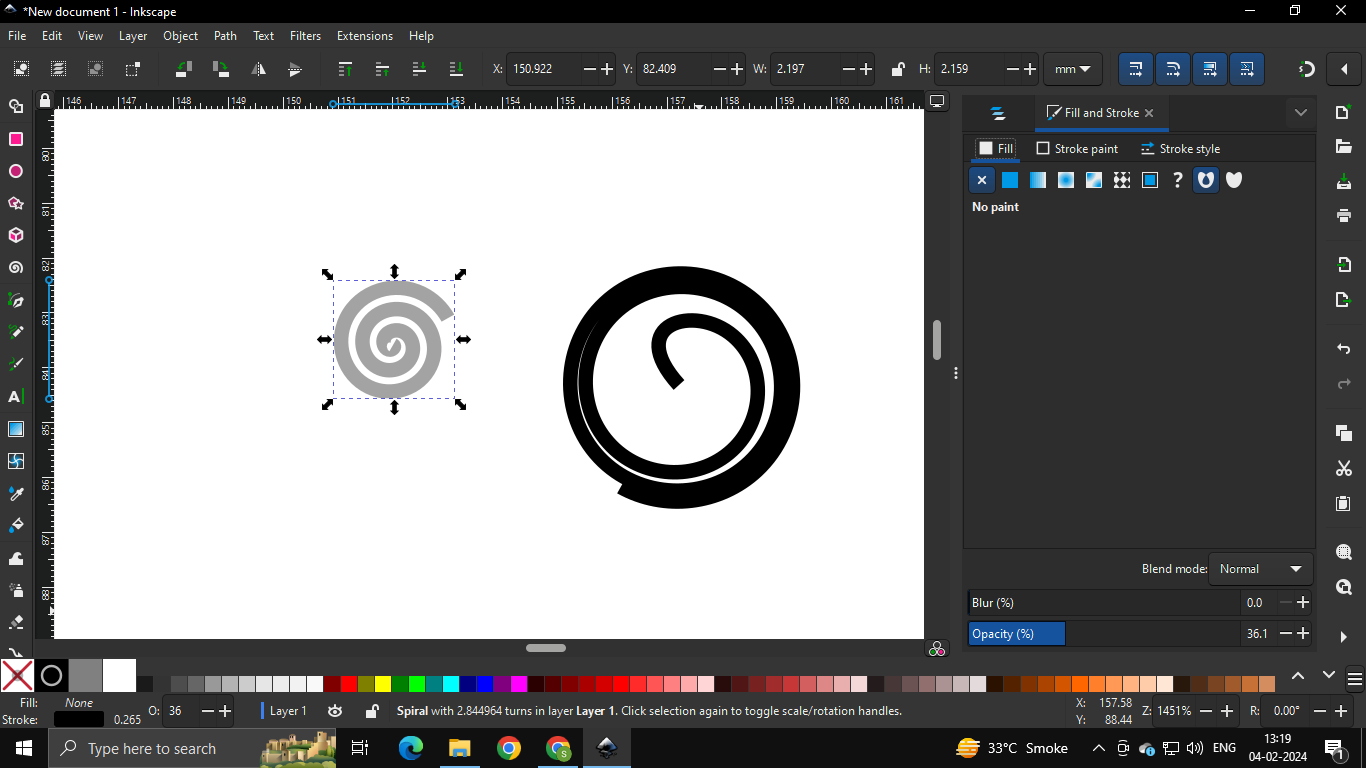
Using the spiral tool and adjusting its properties

Reducing opacity and adding a blur

Using the spray tool and spraying the blurred spiral
Made mickey mouse :D

And a man’s face using the spray tool

Vector tool- Illustrator
As mentioned earlier, I have decent proficiency with illustrator. It is my go-to tool for vectors! You can check out a lot of my illustrator previous work on my Instagram: Siddhaaarrrtth
For this week, I opened up illustrator and used it to create a title/logo design for my final project.
The project is an interactive board game that is set in a Witch’s hut, and hence has the name “Atelier”.
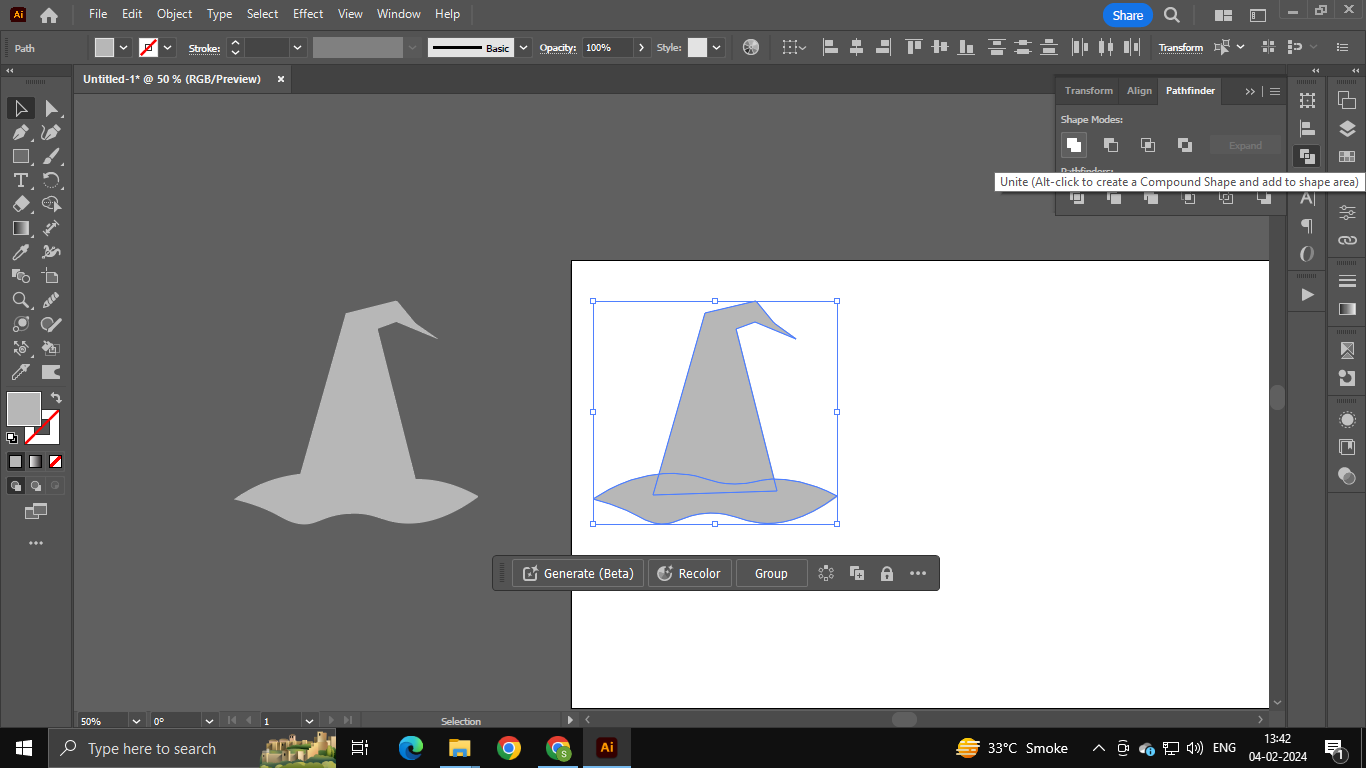
I wanted to draw out a witch’s hat because it will be thematic to the game.
So I began with the pen tool and made a rough hat.

I then went ahead and cleaned up the sketch.
And gave it some color and used the pathfinder tool to join the two shapes (basically a boolean operation).
I added some text and chose a good font that would fit with the whole witch/fantasy theme. I chose the font “Storybook Ending Regular”

Then, I tried making the logo! (The hat had the basic shape of the letter ‘A’ so that’s where I started)

Something felt missing, so I began creating another shape using the pen tool. This was going to be a broom.

I used the Pucker effect to make normal spike (shown in blue line) turn into curved spindle like spikes (shown in the solid yellow shade). You can find this effect under Effects > Distort > Pucker and Bloat
Then once, done, you can recreate the path to the puckered one by simply clicking on Expand Appearance.

Then, I created the final tuft of the broom in a similar manner. I made slight adjustments to the curvature using the Curved Pen Tool.

And finally, merged.

The broom looked very dry, so I gave it some character using the Tweak effect under Effects > Distort

The final broom:
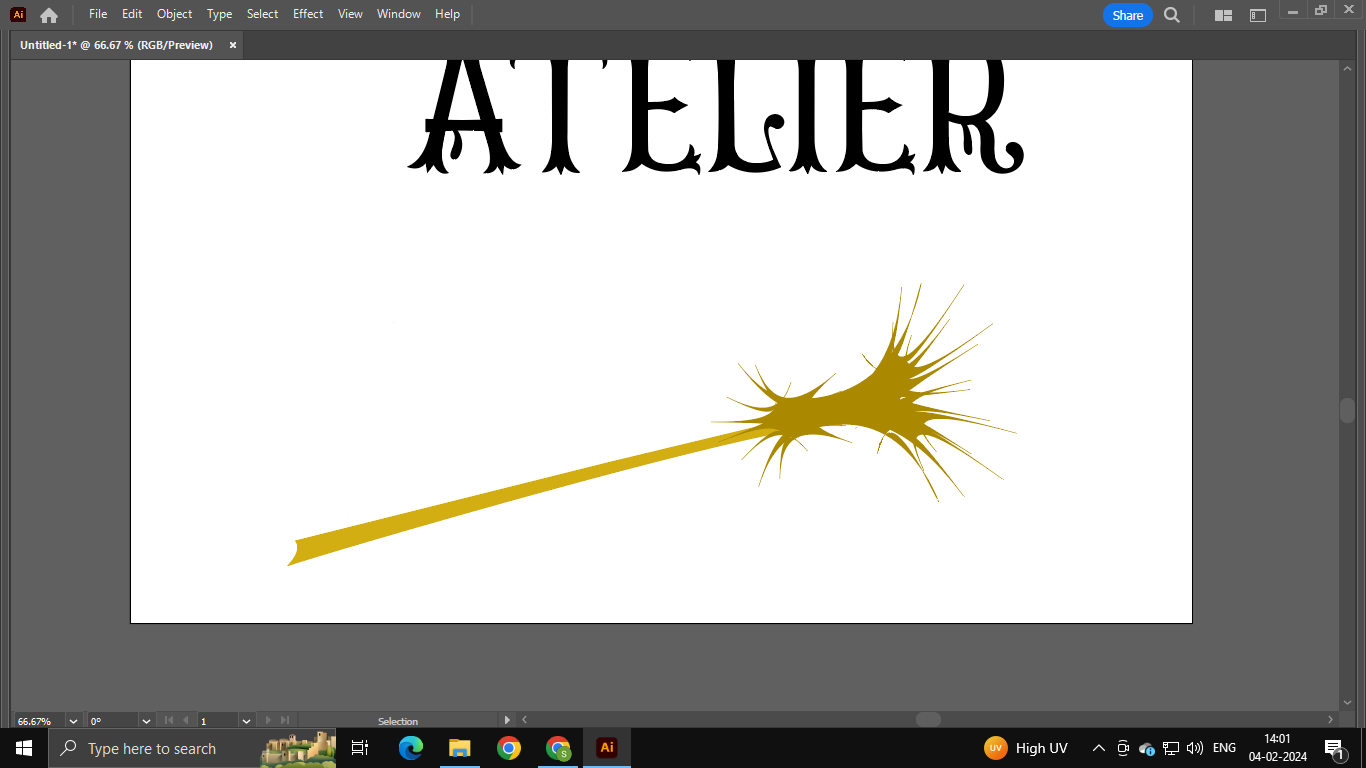
Using the Intertwine feature to intertwine it with the Title text.
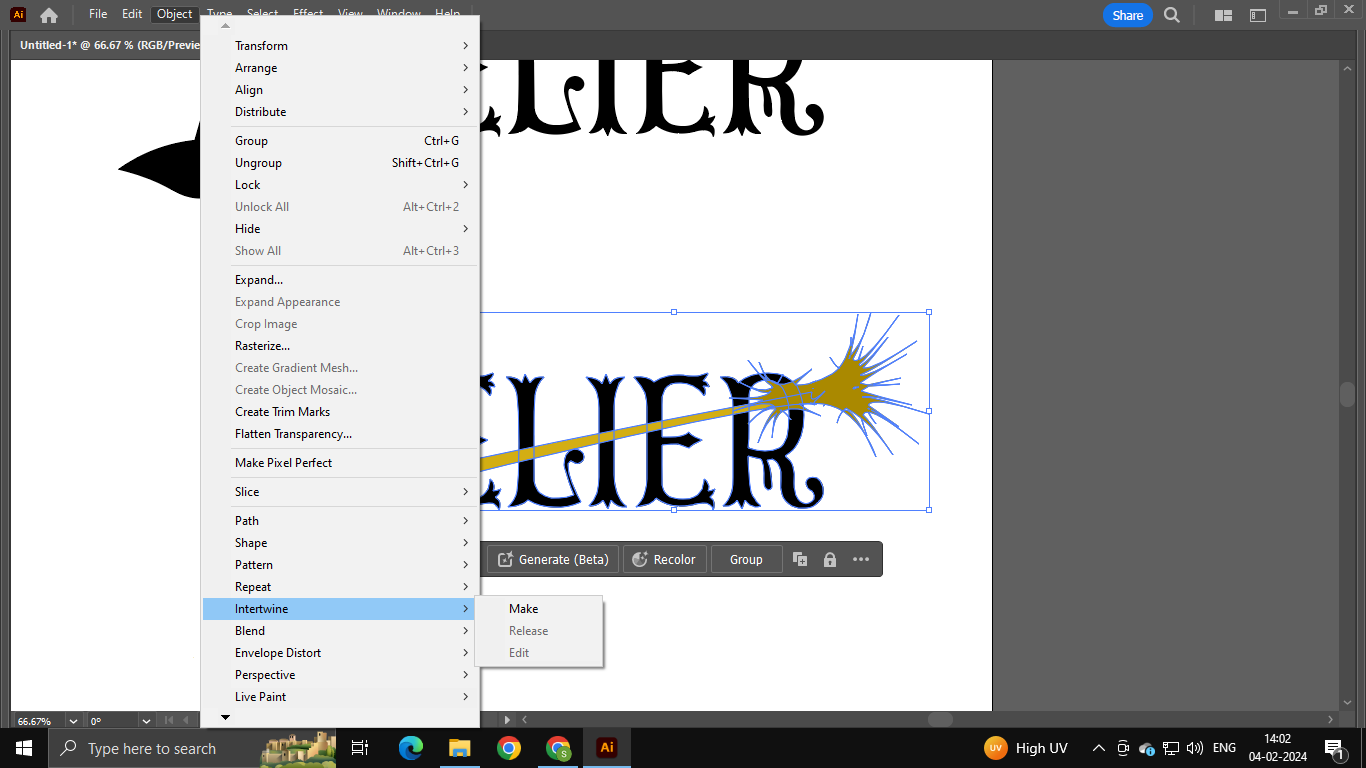
The Final Title is here!!
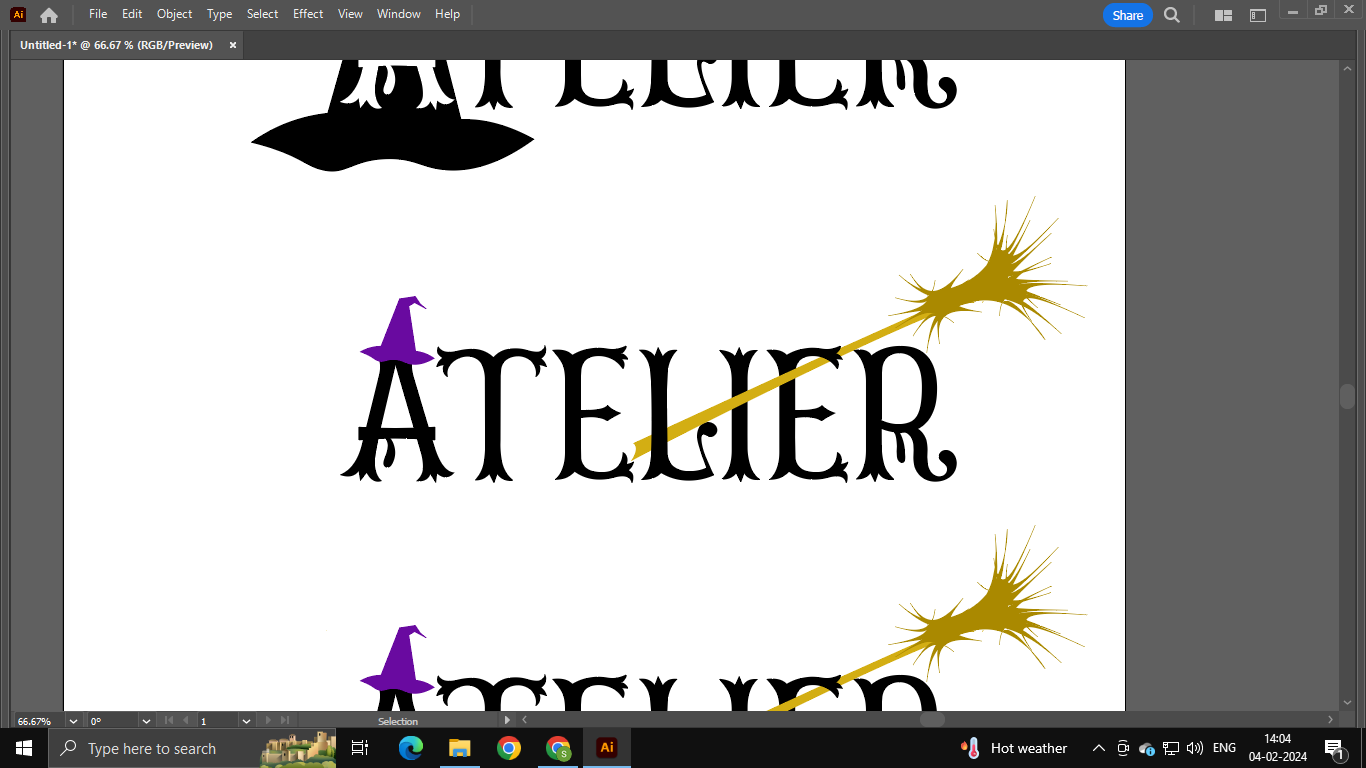
This title design can be engraved on the actual board game itself. And it can be a part of the packaging and branding.
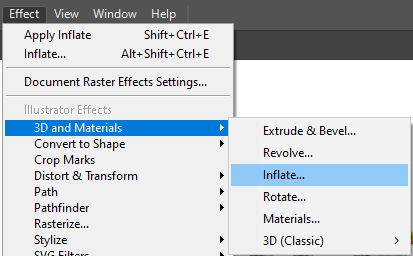
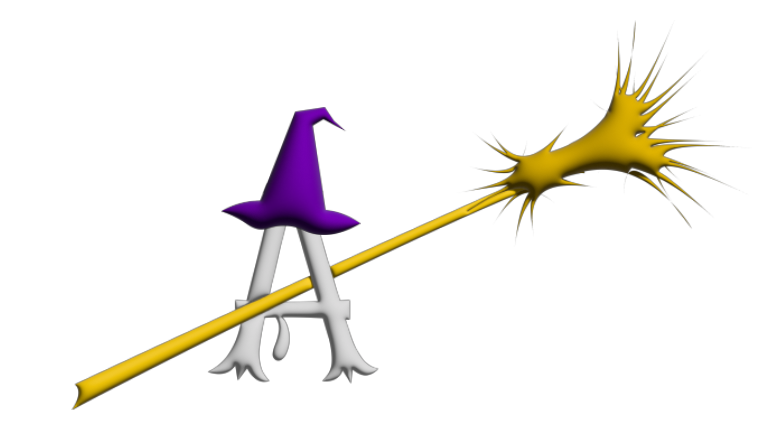
I did some further trials using the Inflate tool!
Effect > 3D and Material > Inflate

Just using the letter ‘A’:

2. Exploring 3D CAD:
Learning FreeCAD
FreeCAD was a completely new software to me. I have used blender and Fusion360 before and wanted to try something outside of my comfort zone. I have also used Fusion in subsequent weeks assignments (for example, W5: 3D Printing, W9: Output Devices and have documented it on that weeks page.)
I referred to the following FreeCAD tutorials to learn FreeCAD: The Fab academy tutorial
I felt a bit confused while watching this. Maybe because the video is from 2015 and the tools on the control panels have been moved around, along with slight changes in UI I believe.
Also, I found this tutorial on the Fab tutorials page. Check it out for tutorials on almost everything!
Then I went ahead and found this short crisp tutorial. I referred to this for my explorations.
Finally, I found another tutorial which went a little in detail.
I began with a sketch. I applied the vertical height constraint and the horizontal length constraint and gave it values. I also applied symmetry contraints on the vertices of the verticle line and gave the central axis as the X-axis (the sketch turned green after this point). I also gave a slight radius to one of the edges.

Then, I made another sketch- a rectangle- and used the PAD option to make it 3D. The PAD feature is synonymous to the Extrude feature on Fusion or Blender.

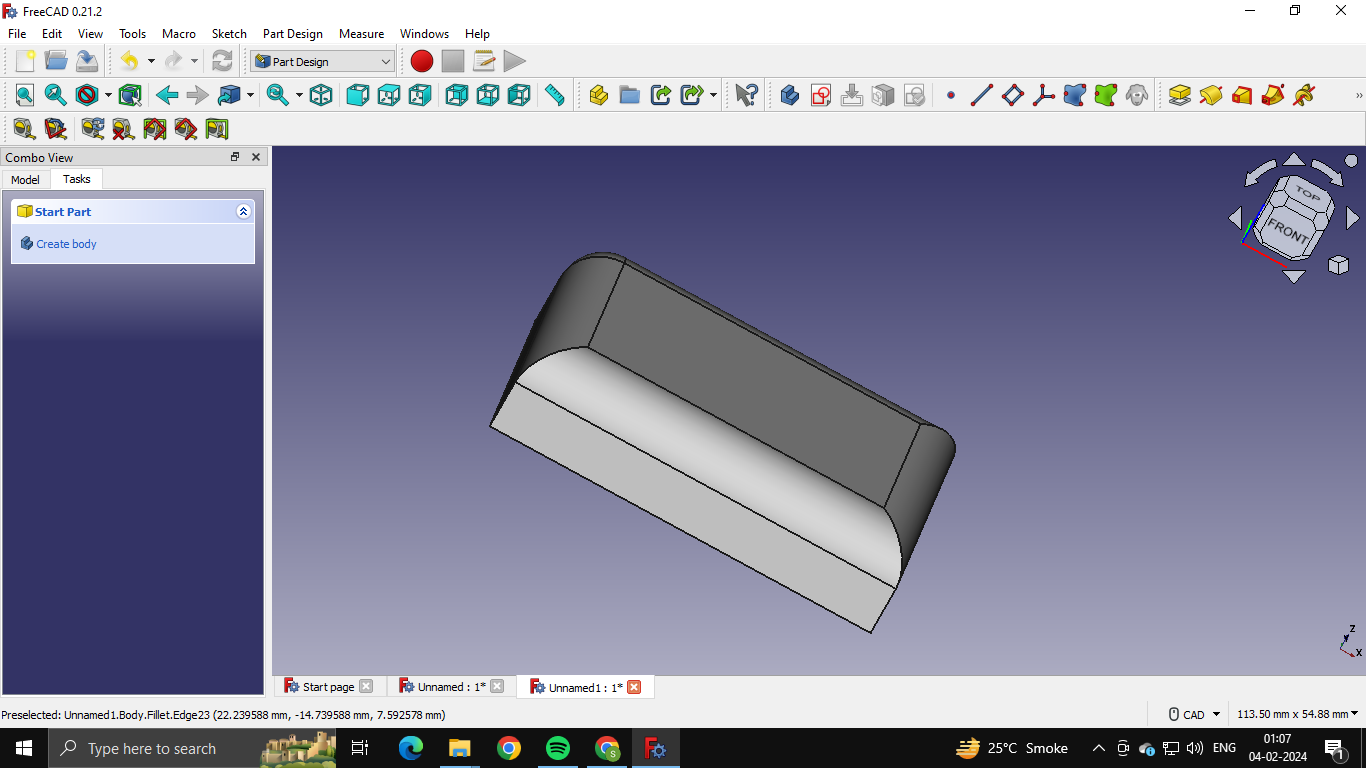
Next, I gave another 3D body a fillet on one of the faces. This smoothened out the edges of that face.
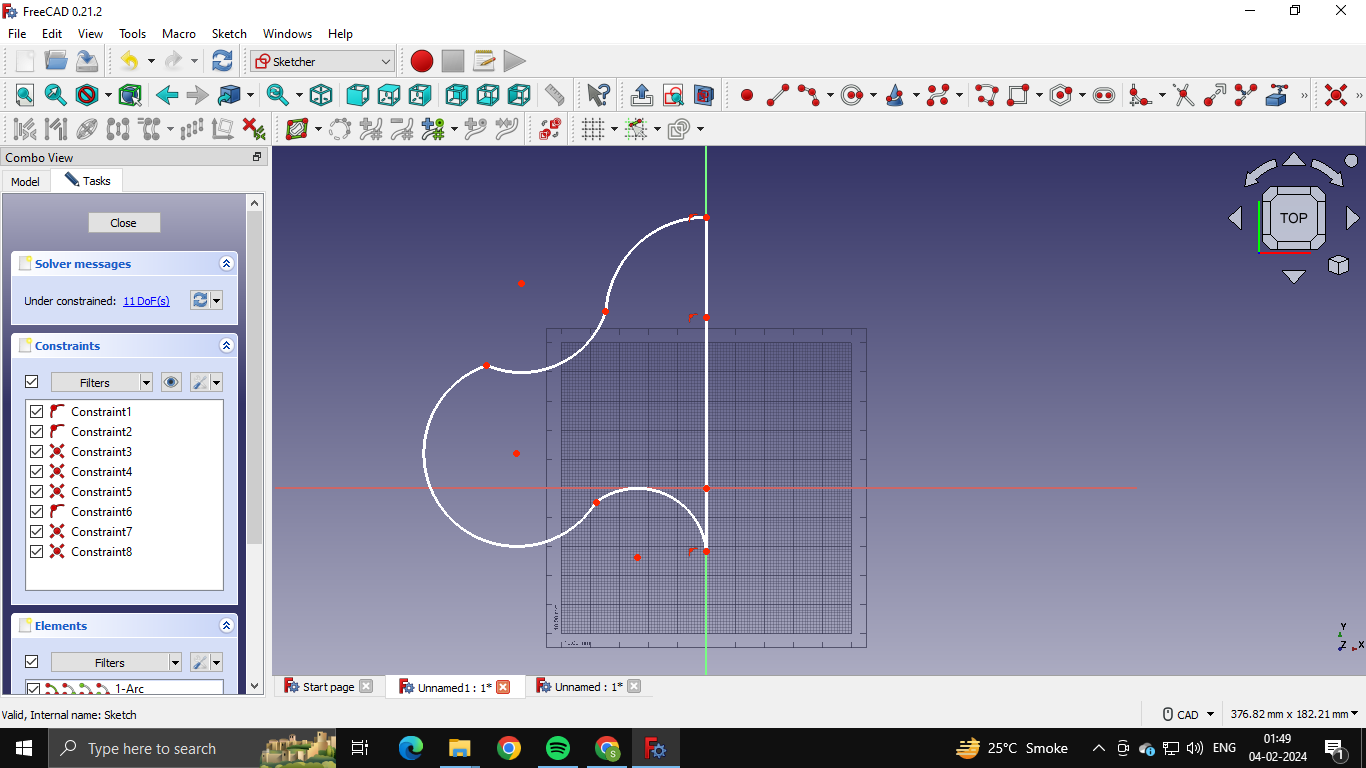
Now, I wanted to create a more organic shape. So, I used the arc tool in sketch mode to sketch out half of what looked like a Spades symbol in playing cards.

I gave certain vertices a radius using the radius constraint in order to smoothen them out.

And at this point, as I exited the sketch mode, FreeCAD crashed T-T

I had not saved the file, so even the recovered file was basically a blank file. I started again with the sketch.
I used revolve on the sketch I had created and set the angle to 180 degrees.
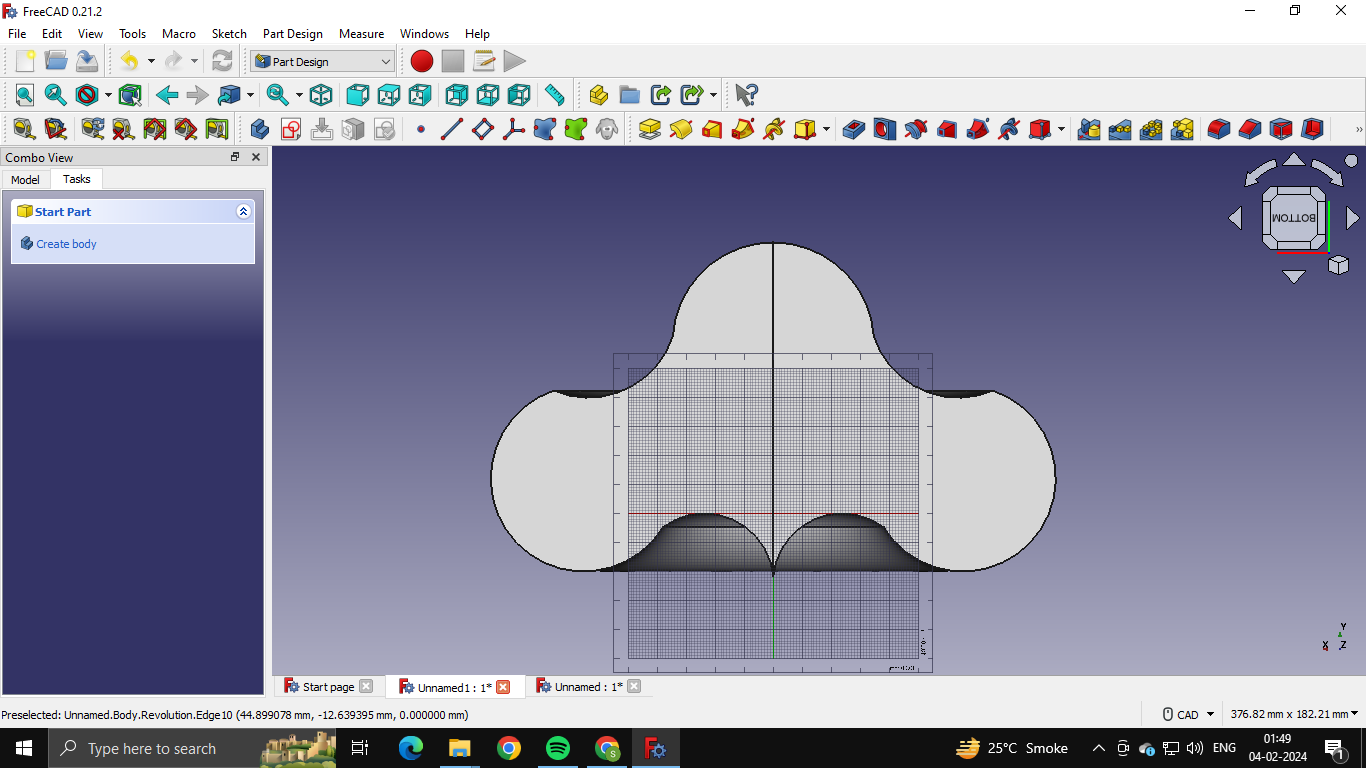
And then finally to 360 degrees.

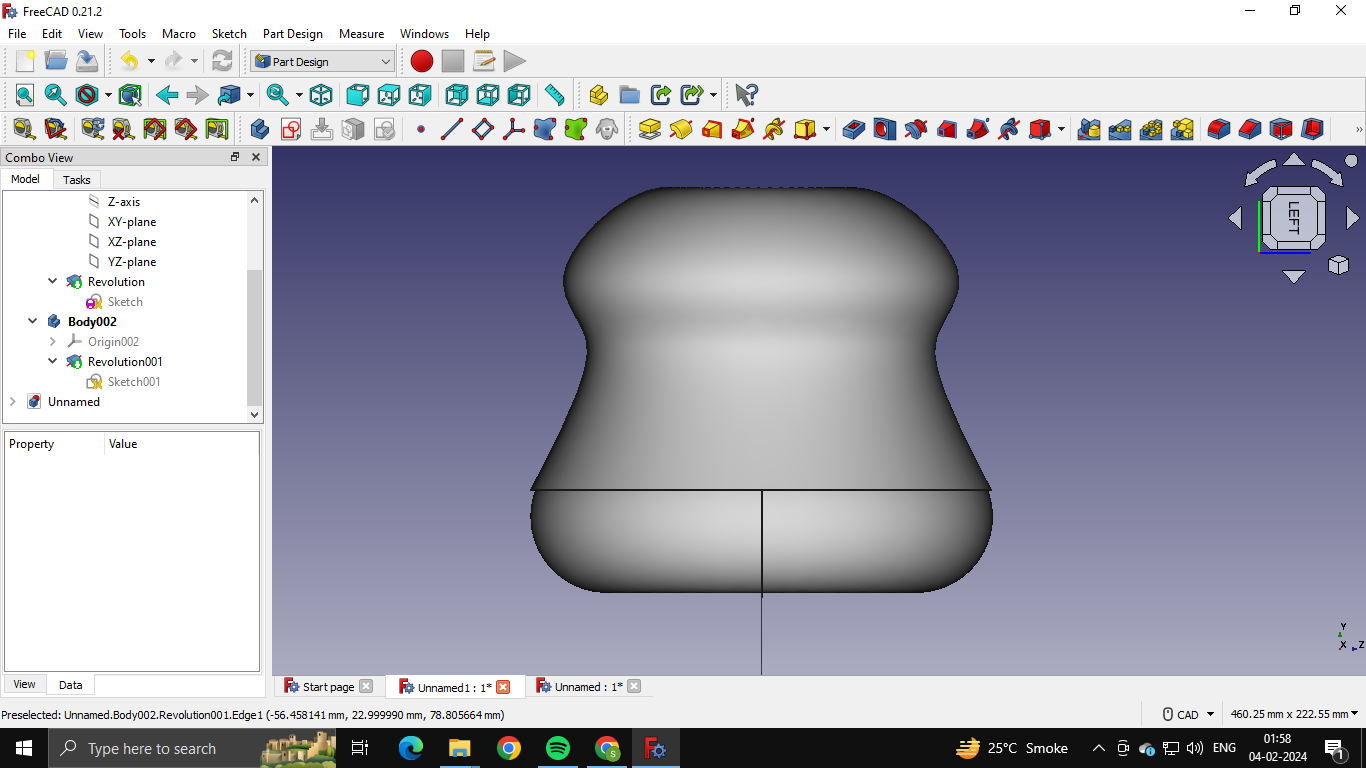
I then explored a B-spline, which according to google is a type of curve that provides the local control through control points over each segment of the curve.

Revolved the B-spline.

It produced the revoled body at an unusual orientation. So, I used the transform option to move the body.


Finally, I used the boolean operator to get the intersecting body (the common area shared by the bodies)

Overall, I found freeCAD a bit tedious as the buttons are very unintuitive. I also felt that it involves a lot of constraints without which you can’t proceed.
Blender
I have worked on Blender before, even done some sculpting, and animating. Check out my previous Blender work here
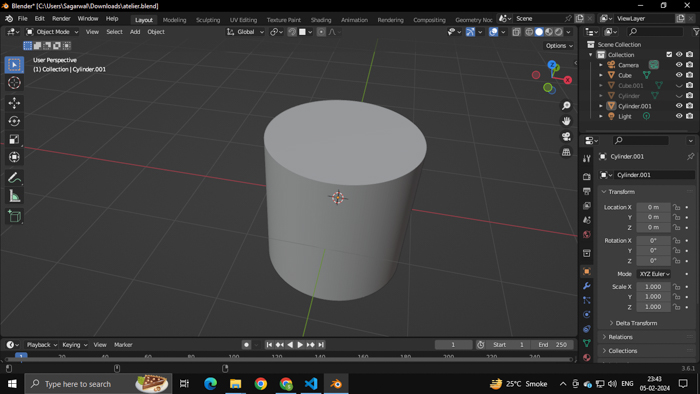
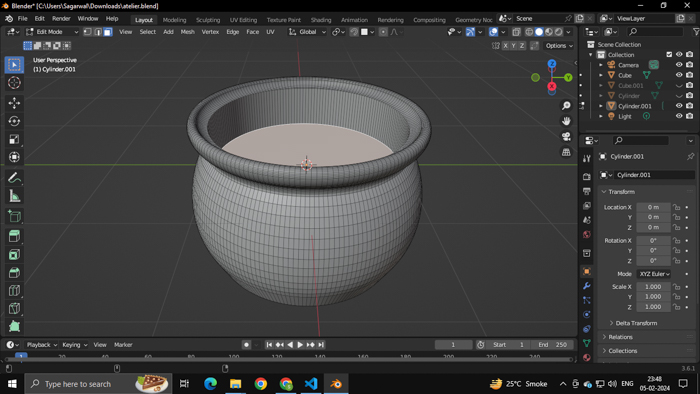
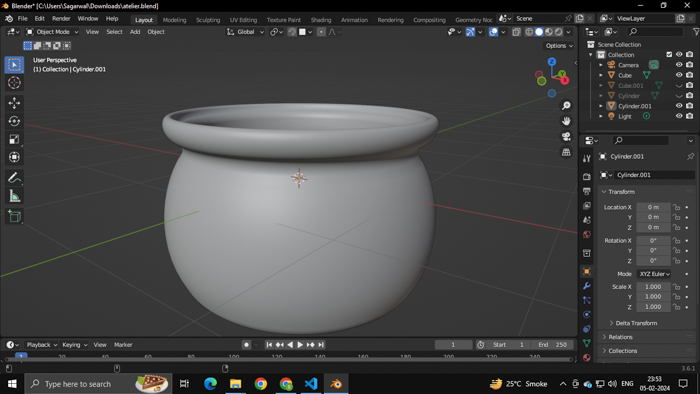
I wanted to create a cauldron (Witch’s huge metal pot) on blender which I can hopefully 3D print and add to the board game as a set piece. I started off in blender with a cylinder.
I started with a basic cylindrical mesh:
Then I went into Edit mode and added a bunch of Loop Cuts:
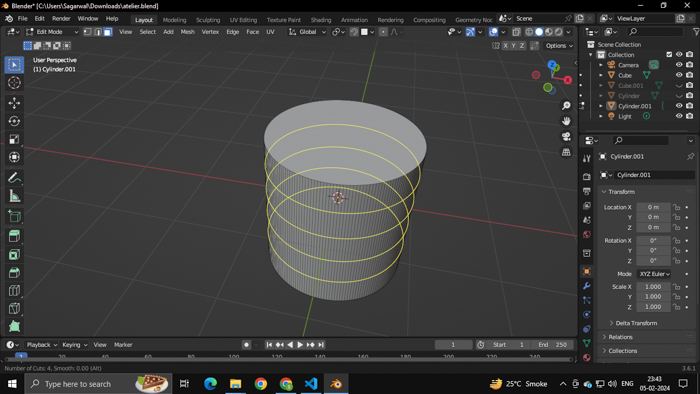
I reshaped the loops in order to give me a basic pot shape.
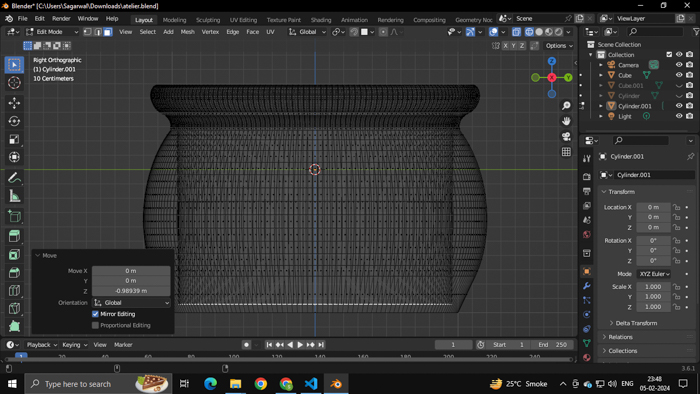
Here, you can select the entire loop in edit mode by selecting the Edge selector on top left (or pressing 2 on keyboard) and then Alt clicking the desired loops. Then you can press Grab or G to move it around and press X, Y, Z to determine the axis of movement or Shfit + X/Y/Z to block off an axis.
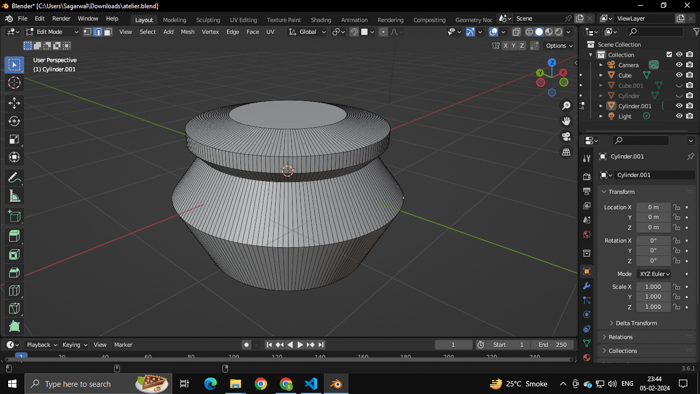
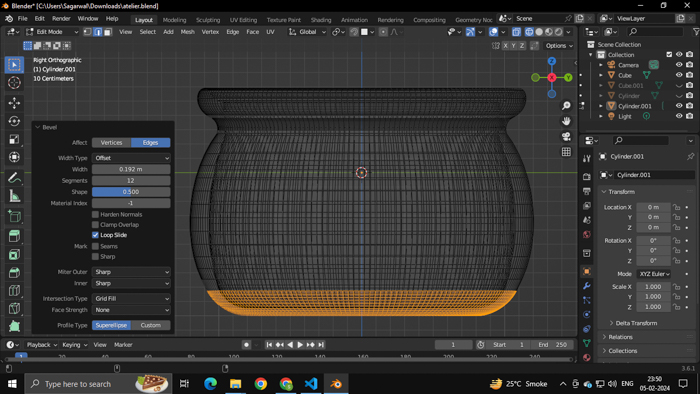
I gave bevels in edit mode to the edge loops in order to smoothen them out:
Moving the loops around to refine the pot shape:
Giving Bevels to them:

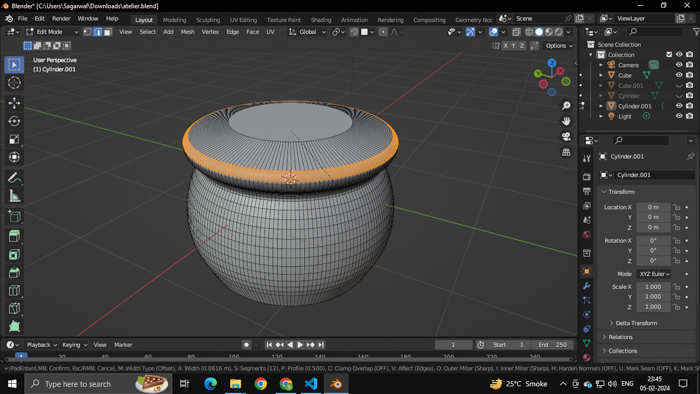
The outcome in object mode:

Giving Shade Auto-Smooth modifer to make the surface smoother:
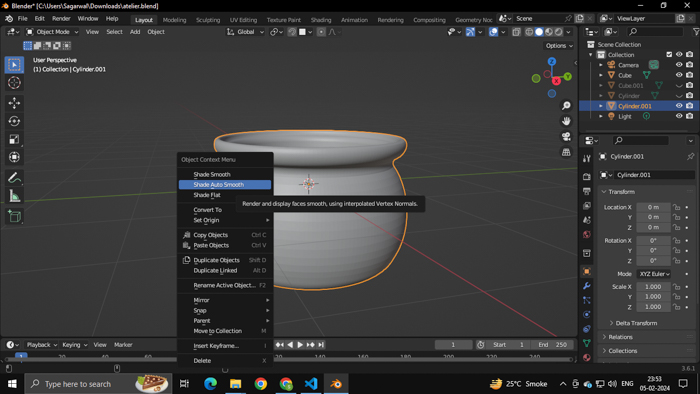
The final outcome:
Closing thoughts/comparison
Like mentioned earlier, I have been fairly proficient in fusion 360, blender, illustrator and photoshop. Trying out inkscape was a good experience. It compares really well to illustrator and can be used effectively. This was surprising to me! The colors and UI of Inkscape also felt more welcoming and friendly especially when compared to any adobe software.
FreeCAD, though interesting, is a peculiar one. I have grown mighty comfortable with Fusion over the last few years of my college and hence shifting to a new 3D software was a bit of a struggle. FreeCADs UX and UI doesn’t help either. It felt really tedious and confusing to use. The purple gradient in the background also adds to my distaste. Overall, I would prefer Fusion360 over this. Blender remains an all time favorite for me! :D
Project Files:
Class Summary and Lecture Notes:
Running notes during week 2 class:
Class 2 Links:
Bottle cutter into filament
fab meme academy
Trex fab project
shape shifitng fabric
PET bottle to filament
Another PET bottle to filament
One more PET bottle to filament
Again, PET bottle to filament
Bottle to filament, once more
moonlighter fab website
Fab Learning Academy
Light up hex tiles
student prokect- precommit hooks
Blender Parametric models
Solic edge for CAD
chatGPT and blender linkingOther notes:
Separate web page for final project tracking.
Dont link abs path (home/class/img). link relative path (/img)
Issue-watch global for getting emails for issues for size
Project reviews:
- Mandy from CIDI–great documentation
- Teo from ULB– great planning
- Wilber from UTEC
- Sophia from Kamplinfort
- Daisy from hopelab– Archiblox..create in real world translates to creation in computer
Dont recommend powershell
Tesla coil music
Bhutan- bottle recycler machine- 2022, zina and team
AutomaTiles- individual hex tiles which connect side by side to form patterns w/ LEDs
ATtiny412 SSFR- small processor
Aruco codes –BnW pixel like visual identifier
Onshape has all sorts of open source tools you can use like finger joints and layout
This week is about testing as much design software as possible, and then choosing the one you are going to use throughout the cycle.
FirstRobatics
McMaster-Carr
Openfoam for CFD
Audacity= audio editing
Kdenlive= video editing
Gazebo (gazebosim.org) for Robotic simulation
You can ask chatgpt to generate ffmpeg commandline based on what output you would like alsoCAD notes:
2d raster/vector
Gimp, bimp pixels. Bimp= gimp for batch operatios
Mypaint for painting
Imagemagick- for coding, converts images to any format with all sorts of operations
One of assignments is compress images and videos
MoD, inkscape = can be used to draw vector boundary for any images
Inkscape allows cloning..good for making slots when using laser cut
Sketchpad- web vector drawing
freeCAD- has constraint solving..equal length, perpendicular etx. Based on workbenches. Snap menu (to grid etc). PArt into containers. Vary etc. Origin set. Offset- inflate or deflate.
Fasteners change karna he. Make links so one edit changes all
Parametric, variables, based on python coding, via spreadsheets
Can merge freeCAD with openSCAD
Parametric kit= one parameter and whole design adjusts around it
Imperative- design what you want
Declarative- you give instructions
Generative- uise algorithms
Optimization- solve
MDO multidisciplinary optimization
CAD extensions for blender- CAD sketcher
GrabCAD Viewer for getting 3d models to webpage