Assignments
1. Principles and practices
2. Project management
3. Computer Aided design
4. Computer controlled cutting
5. Electronics production
6. 3D Scanning and printing
7. Embedded programming
8. Computer controlled machining
9. Electronics design
10. Output devices
11. Input devices
12. Molding and Casting
13. Networking and communications
14. Interface and application programming
15. Wildcard week
16. System integration
17. Applications and implications
18. Invention, intellectual property and income
19. Project development
6. 3D Scanning and Printing
Scanning
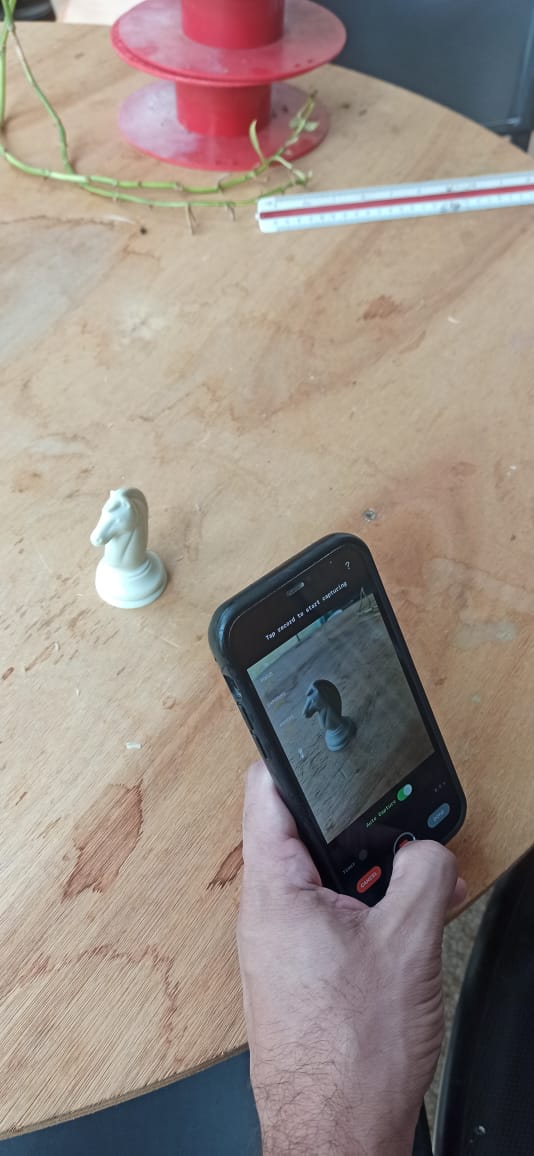
For the scanning, I used the 3D Scanner app on a colleague's iPhone. We had experimented with the app, and its quality seemed relatively good to us. This was the object that I sacanned, a chess horse piece: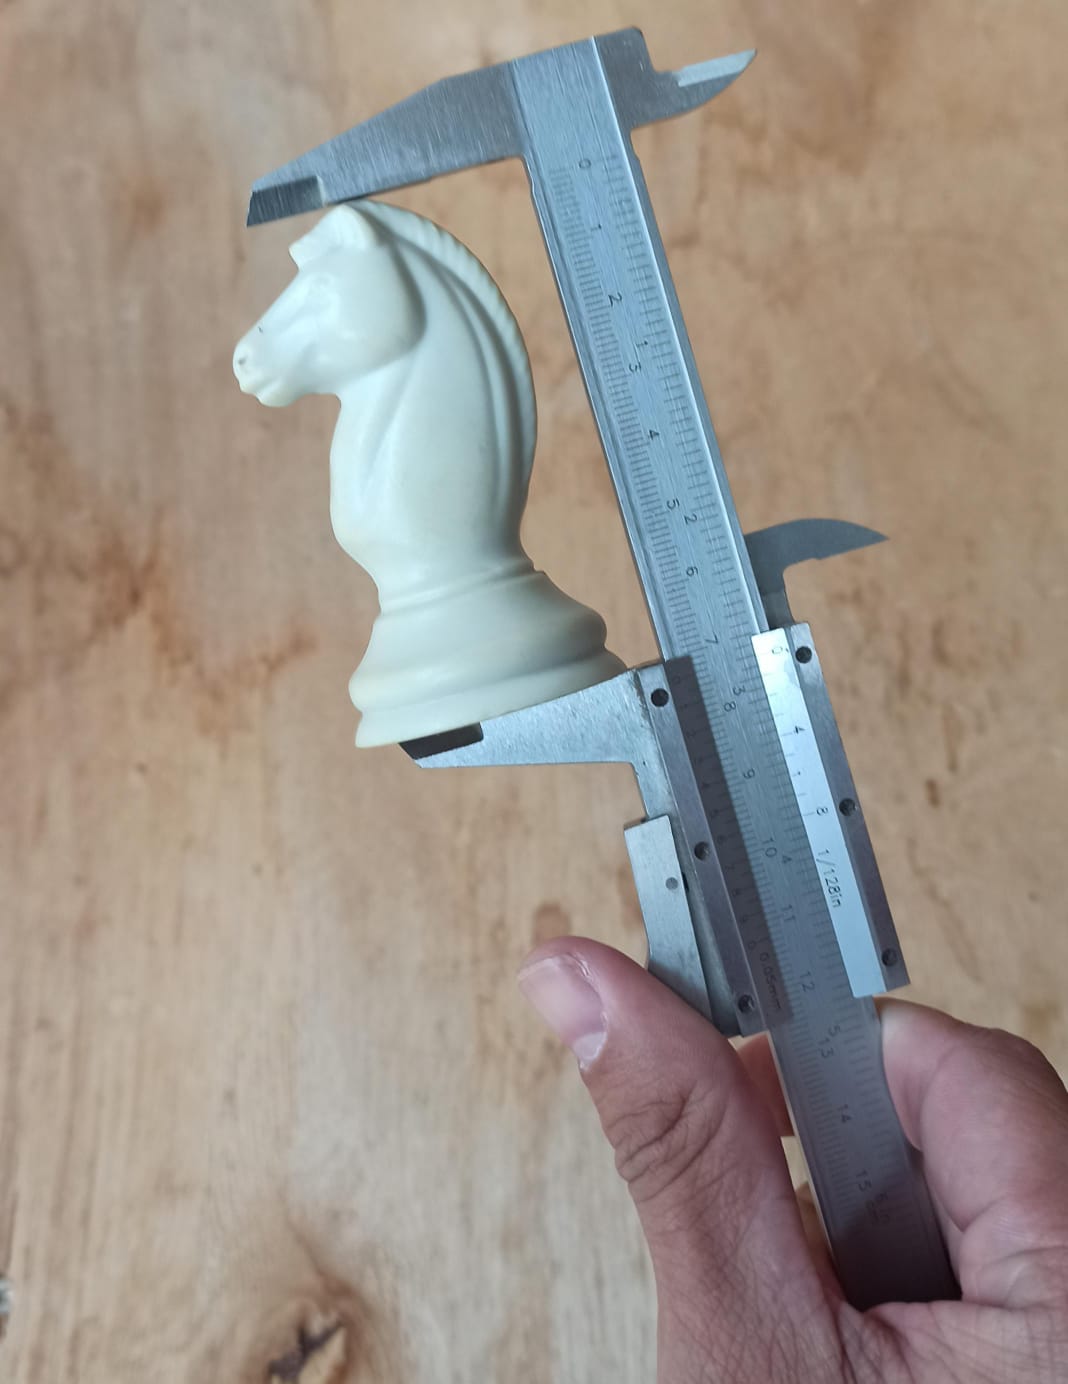
This is during the scanning process.
The scanning generated an .stl file that I opened in Autodesk Meshmixer software.
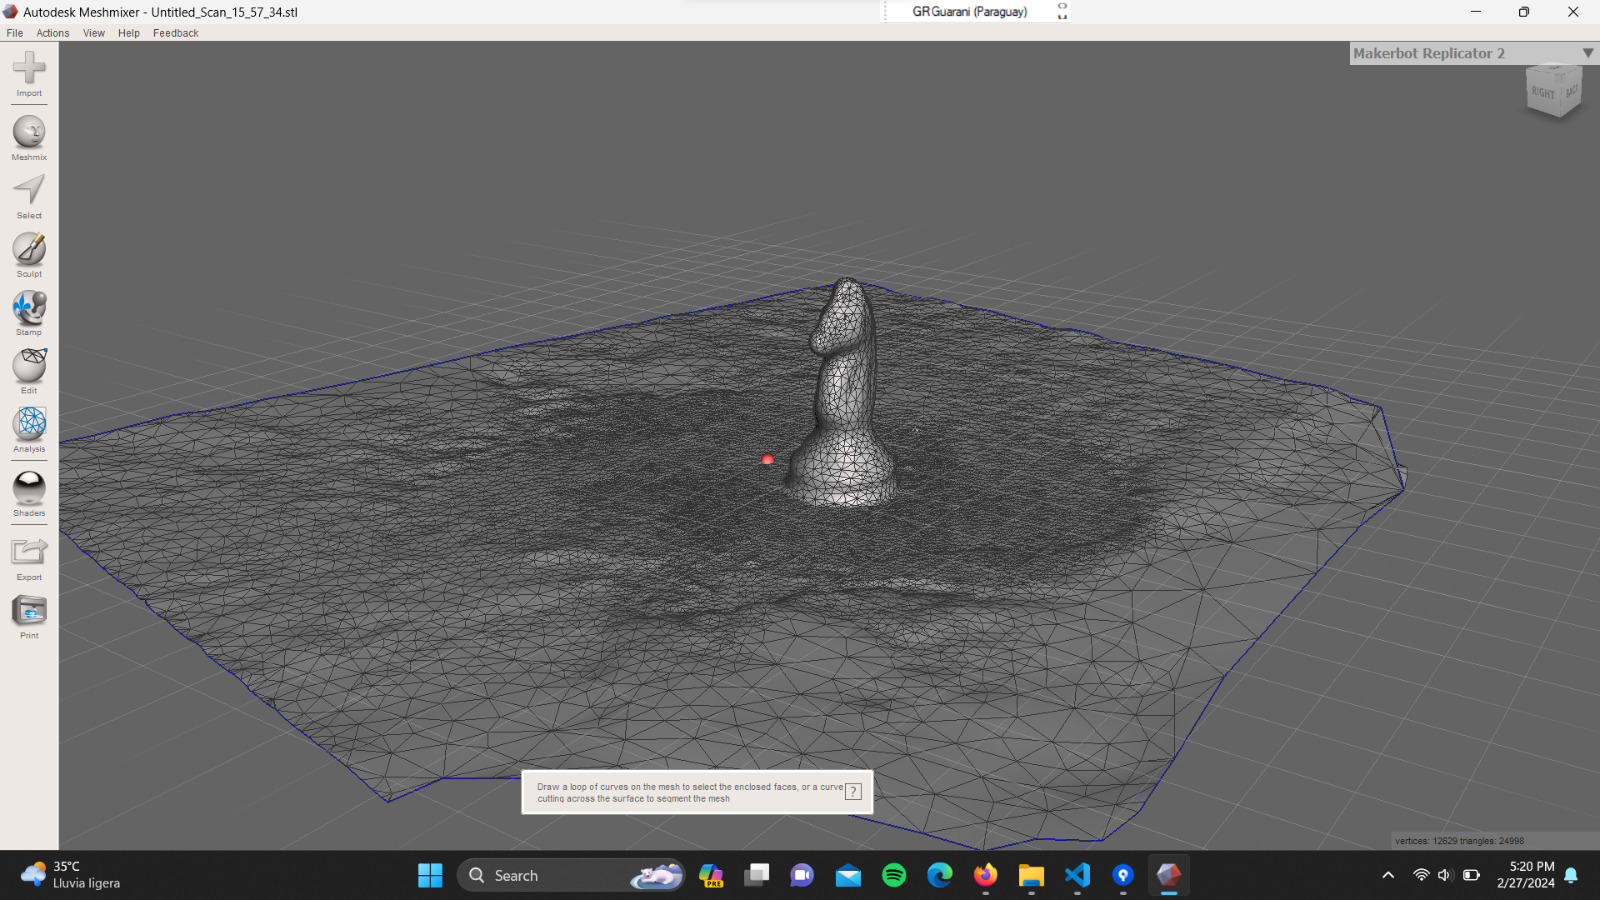
The first thing I did was delete the base, in this case, which corresponds to the table where the object was.
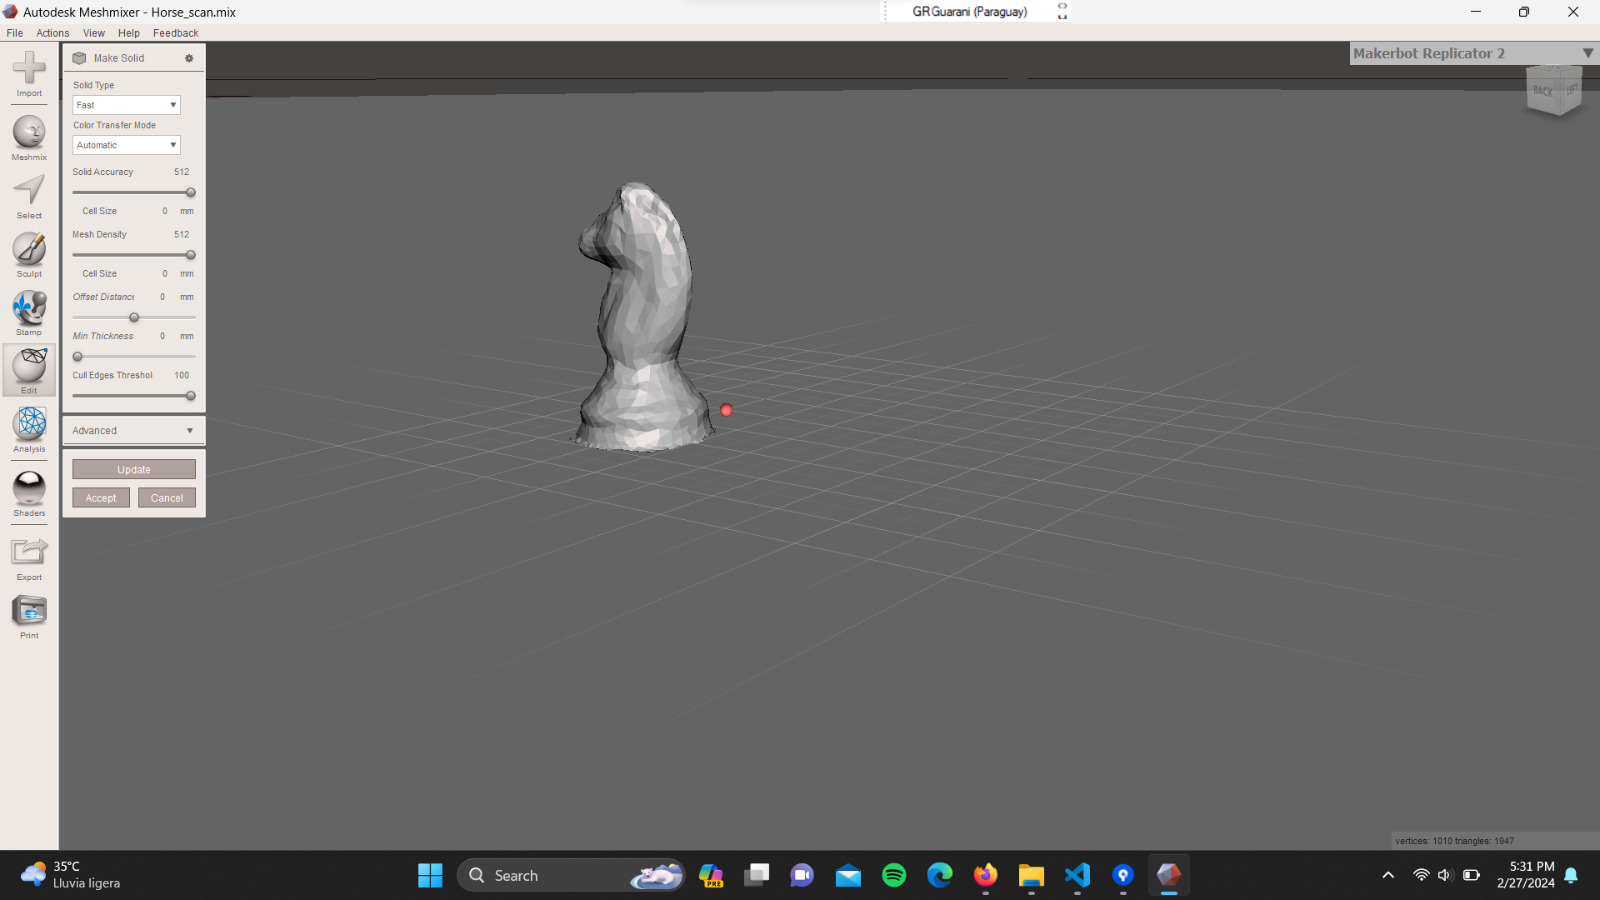
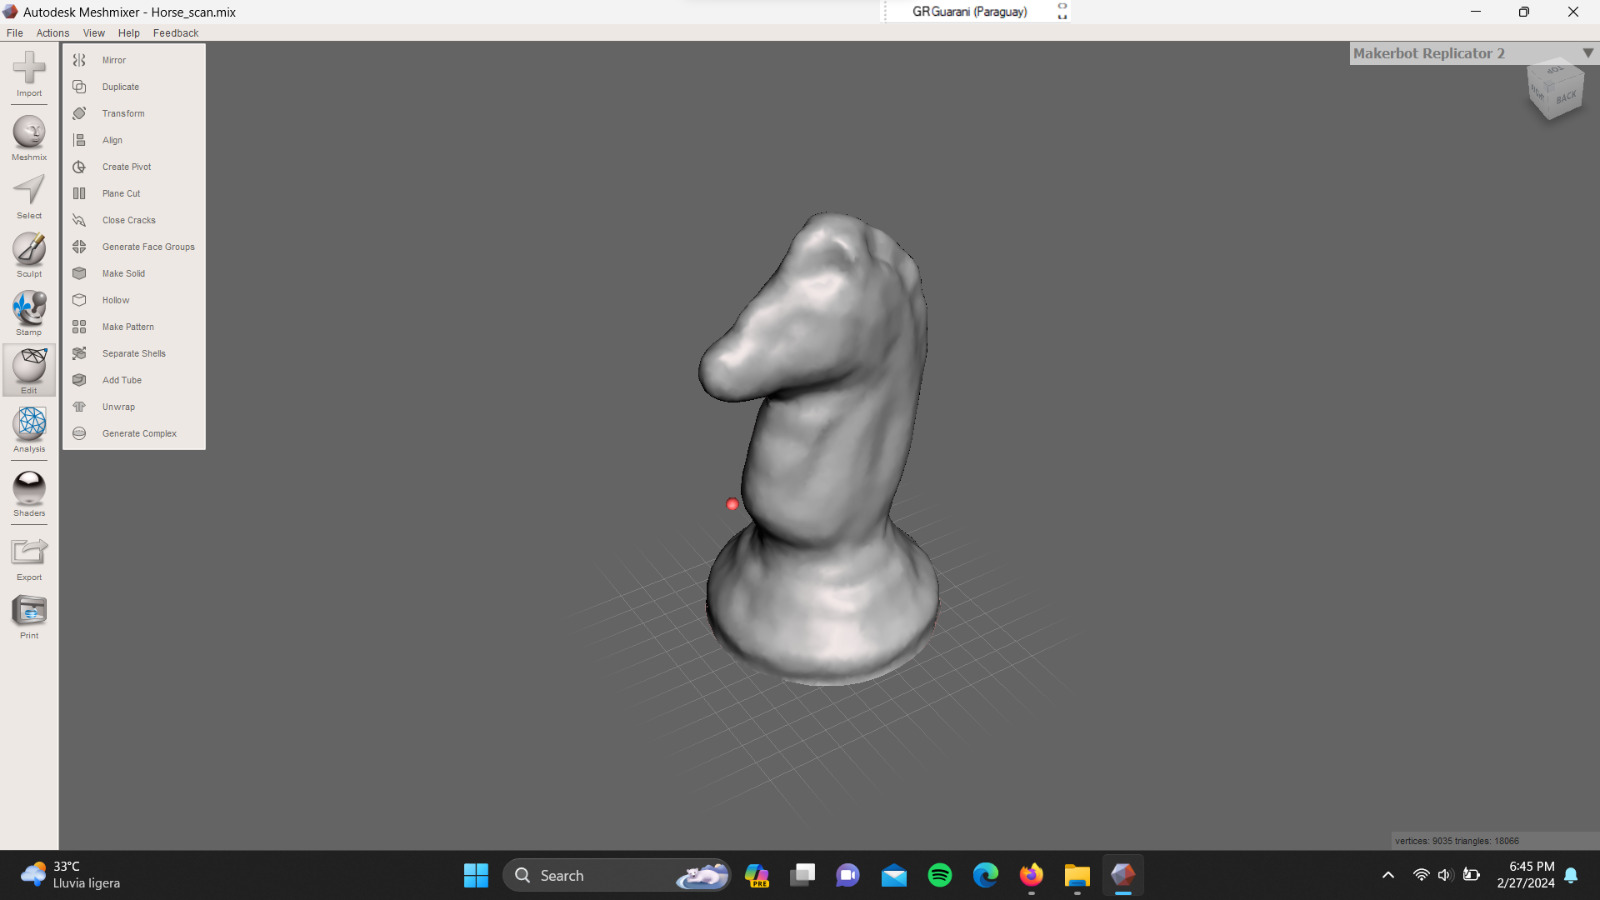
Next, I transformed the object into a 'solid' using the 'Make Solid' function.
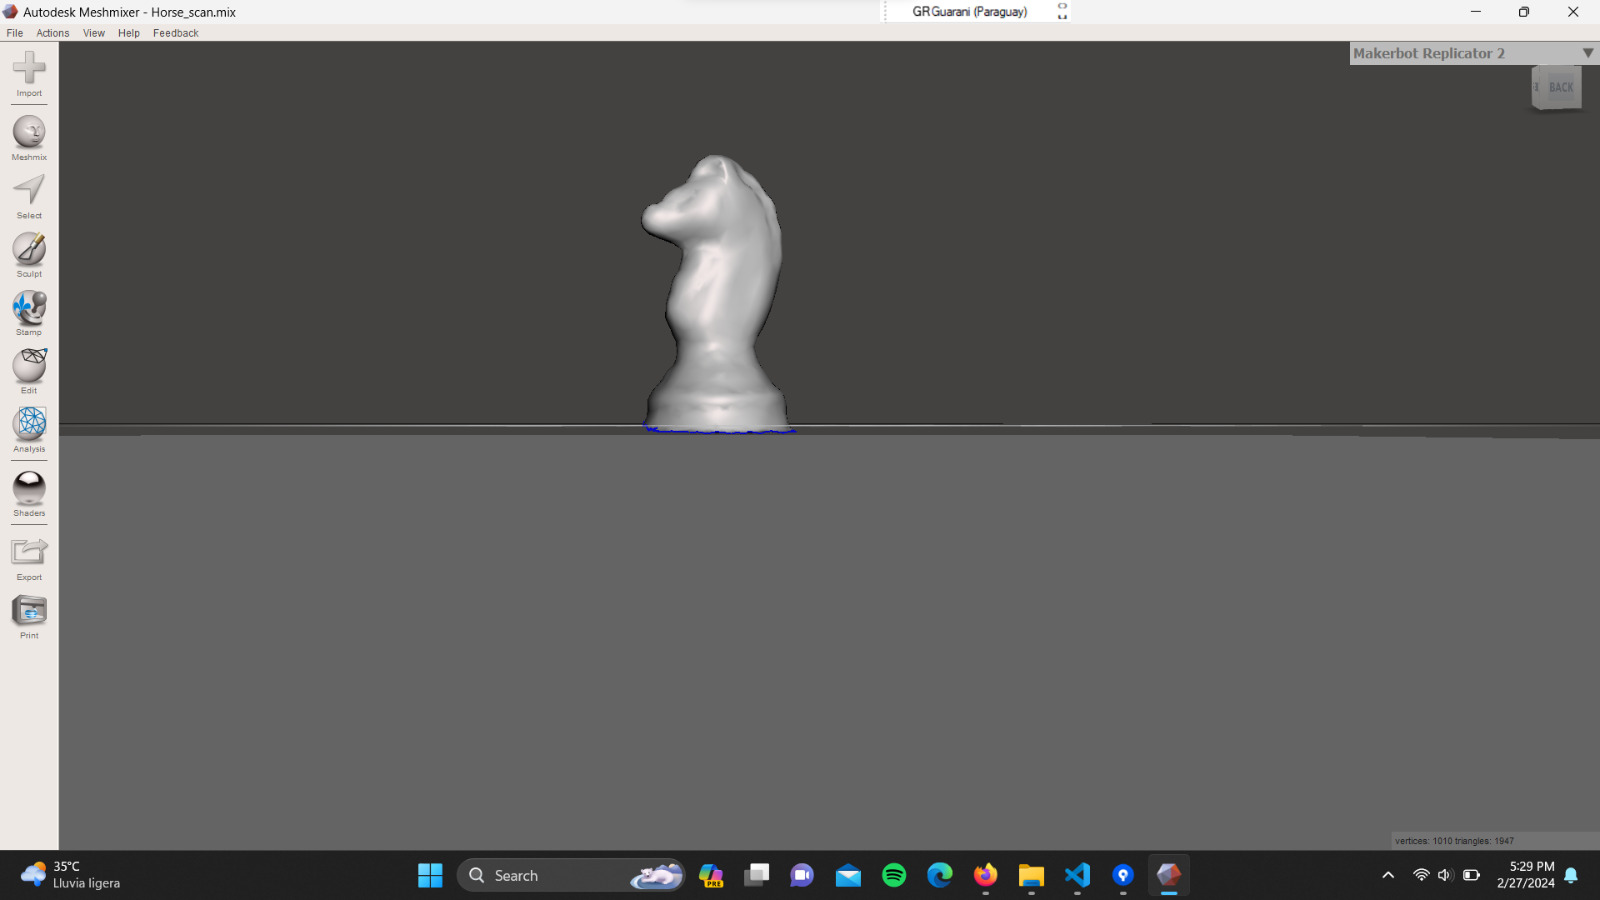
Because the object was very heavy and my laptop couldn't handle it, I reduced the number of triangles. Then, I cut off the base to make it flat, and this is the final result of my scan.
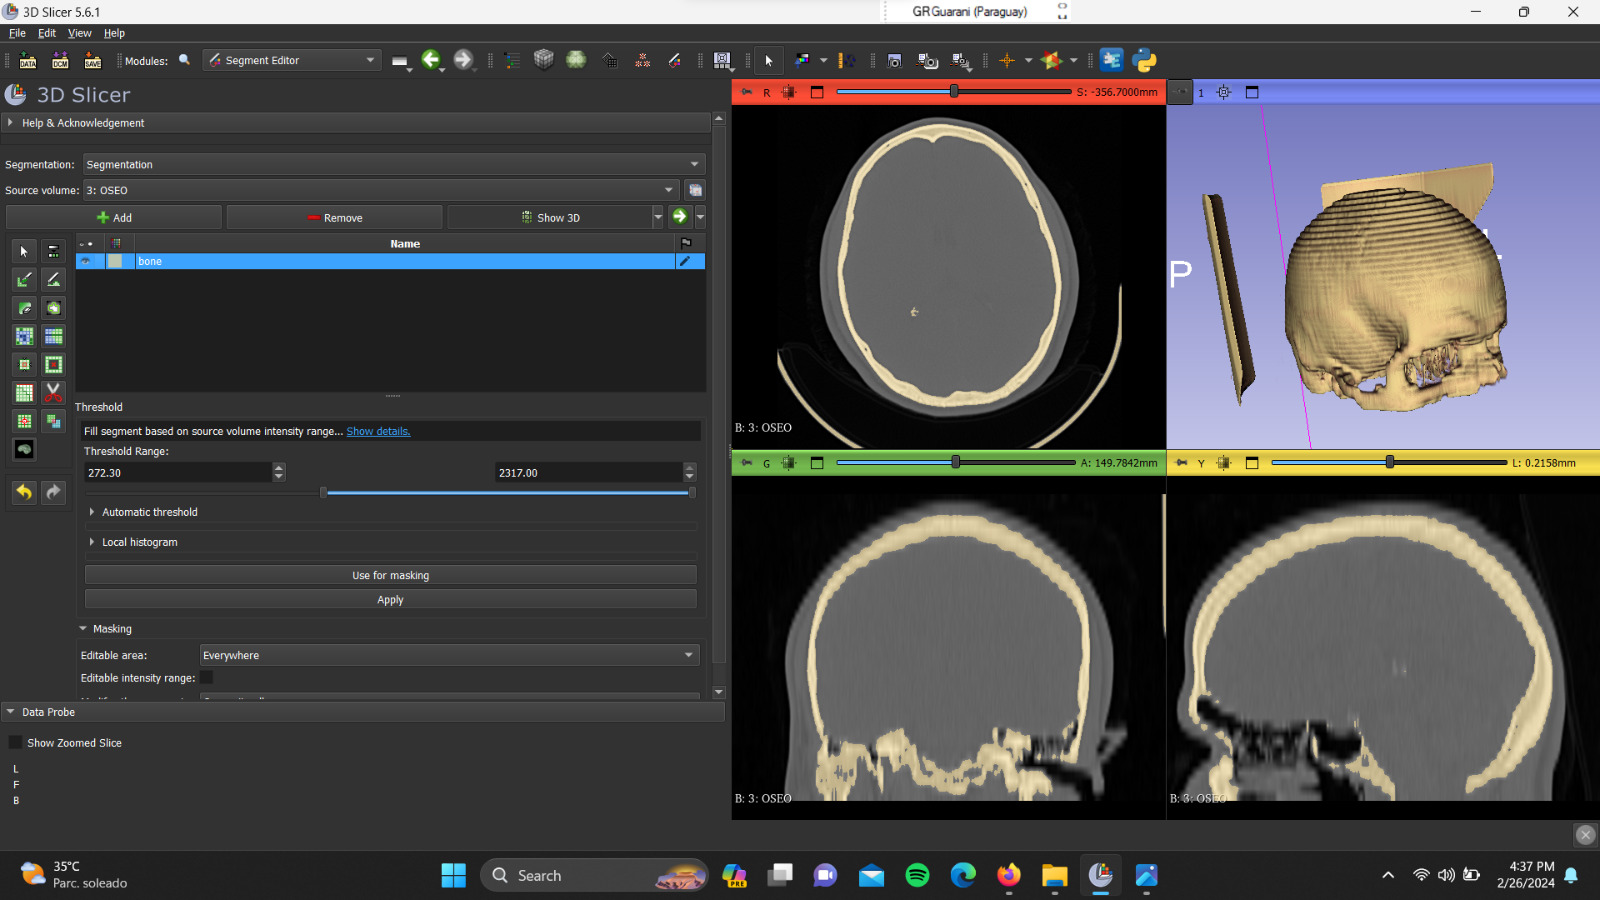
My skull - Memory of my memory loss
For this assignment, I also decided to use a computed tomography scan of my skull to 3D print it. In 2020, during one of my adventures, while descending a hill on my bike, I fell, hit my head, and lost my memory for approximately 12 hours, meaning I couldn't retain anything that was happening despite being awake and conscious. I have very few memories of that experience, so I decided to print this tomography as a "memory of my memory loss".To accomplish this, I used the 3D Slicer software, which allows you to select a layer from the tomography (from a DICOM file), model it in 3D, and export it in various file formats. In this case, I exported it as an .stl file. I followed the steps outlined in a video tutorial for guidance.
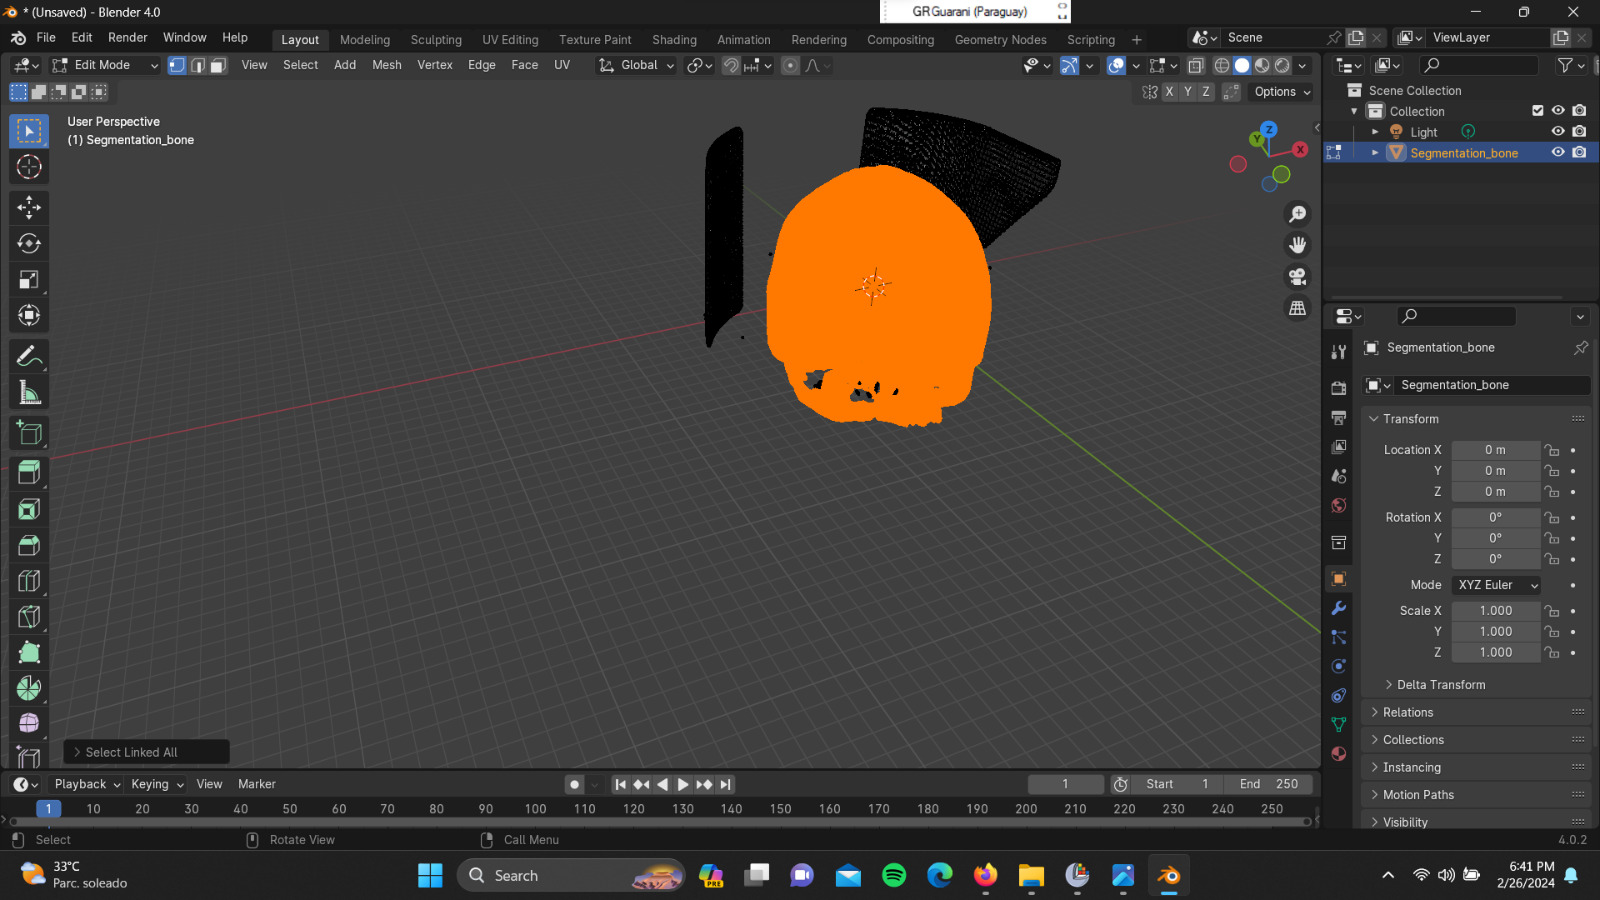
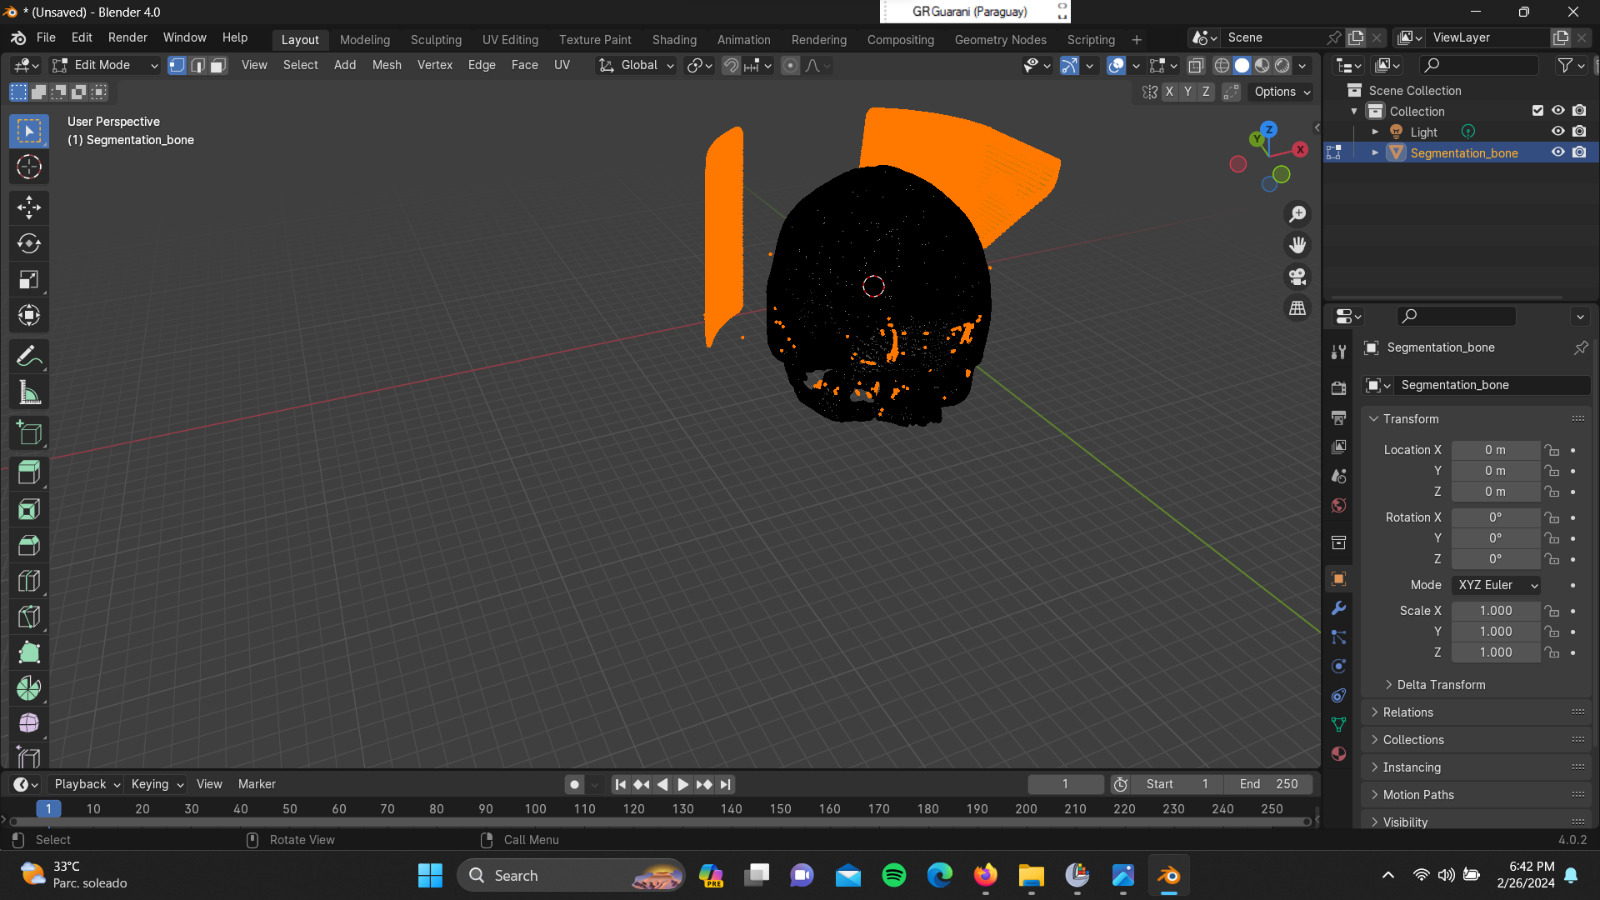
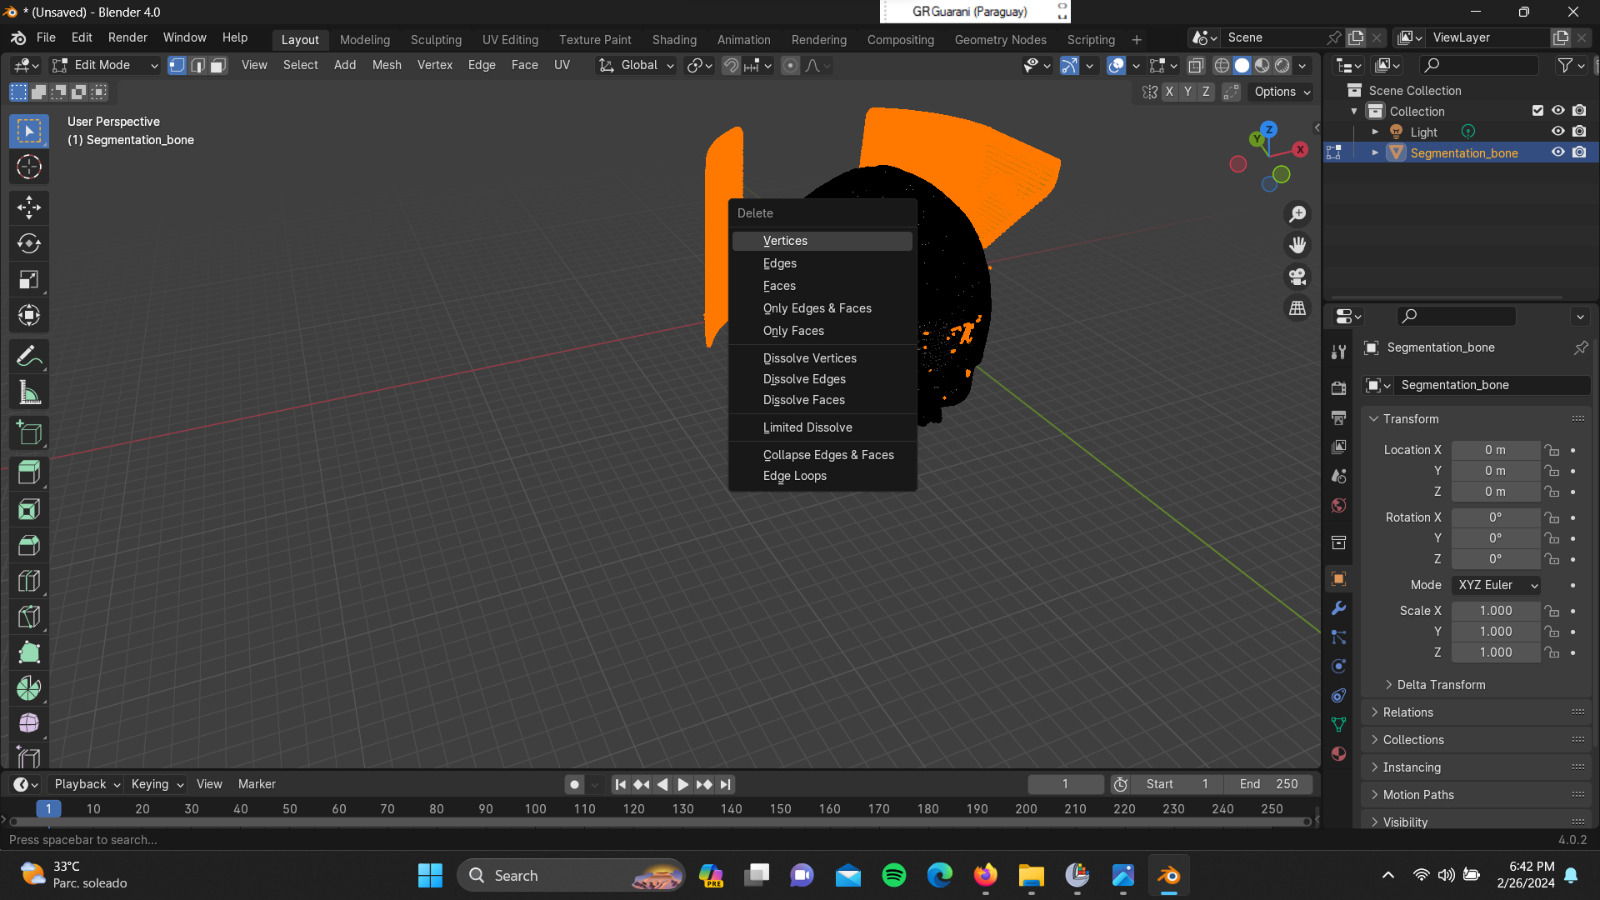
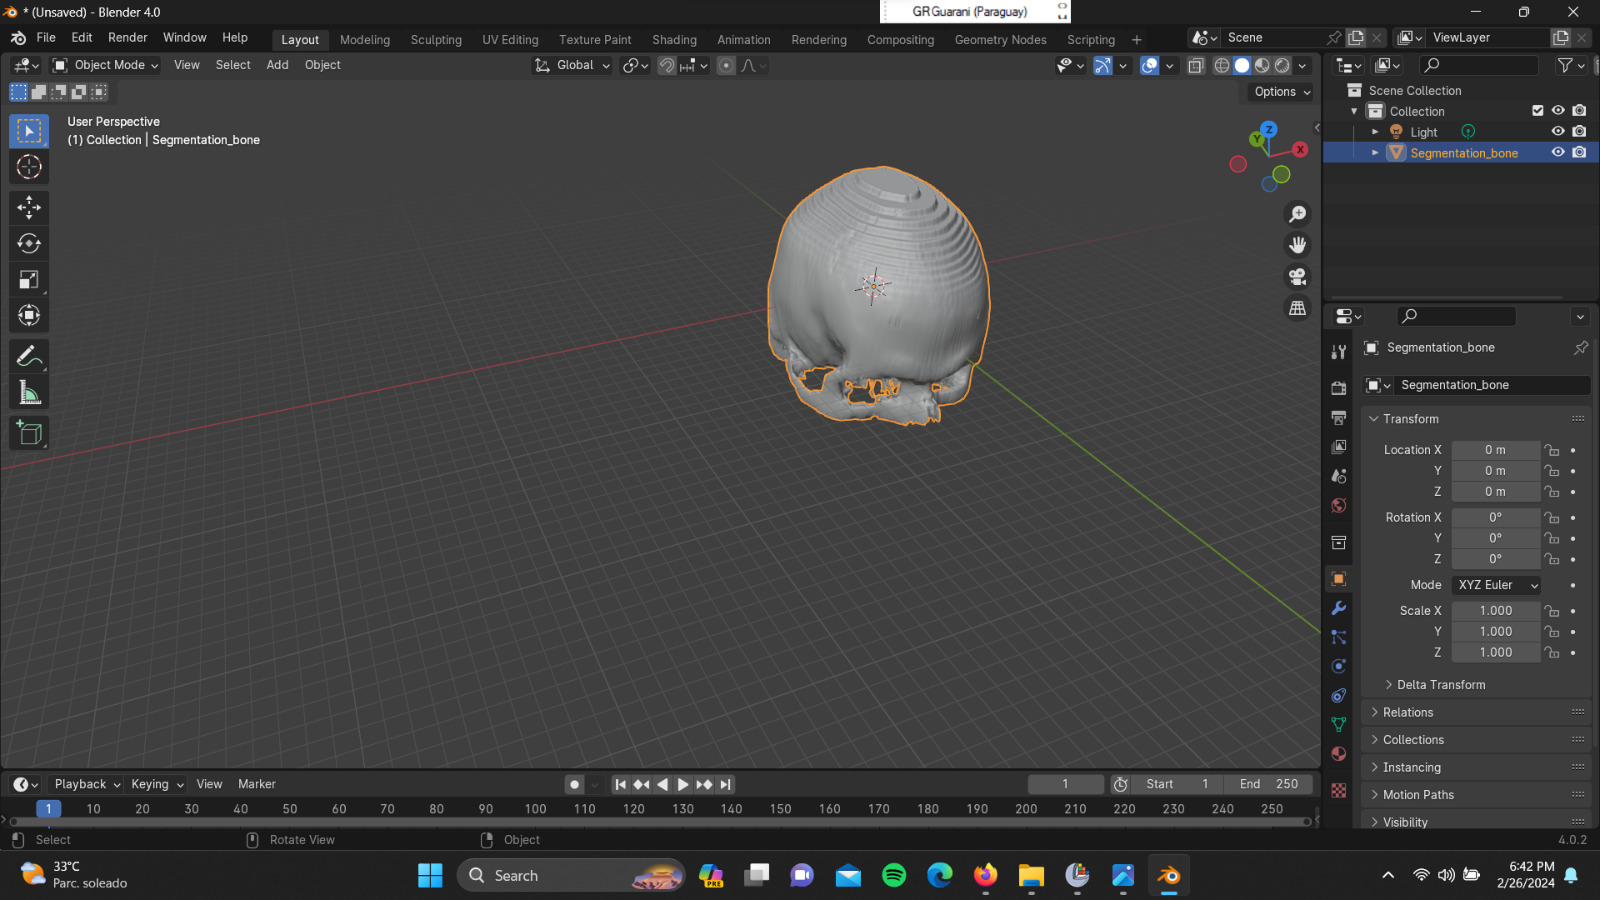
For the initial adjustments, I used Blender. I imported the .stl file, placed it at the center of the axes. In Blender, I used Ctrl + L to select connected objects, then Ctrl + I to invert the selection, and finally 'delete vertices.' This way, all the loose objects that do not belong to the skull are removed. In my case, I also managed to eliminate the area where my head was positioned during the tomography using this method. The result was as follows.
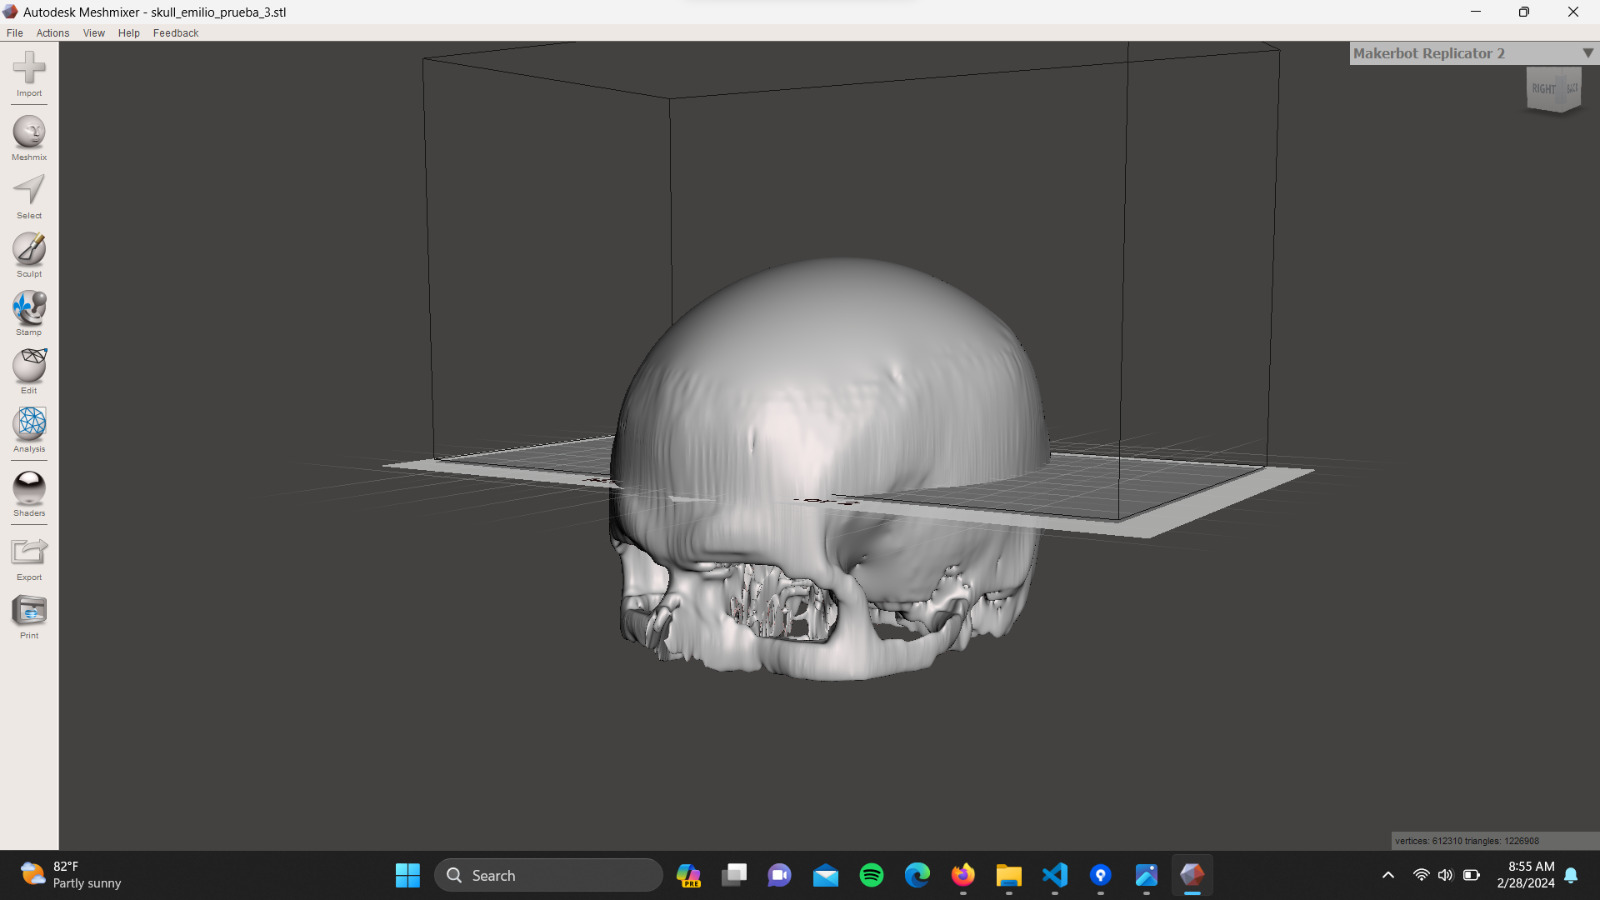
Again, I exported the file in .stl format to make the final adjustments in Meshmixer. As seen in the previous image, many vertices were generated on the top of the skull due to the scan quality during the computed tomography. To fix all these irregularities, I used the 'Max Smoothness' function in Meshmixer, and the result was as follows.
Printing
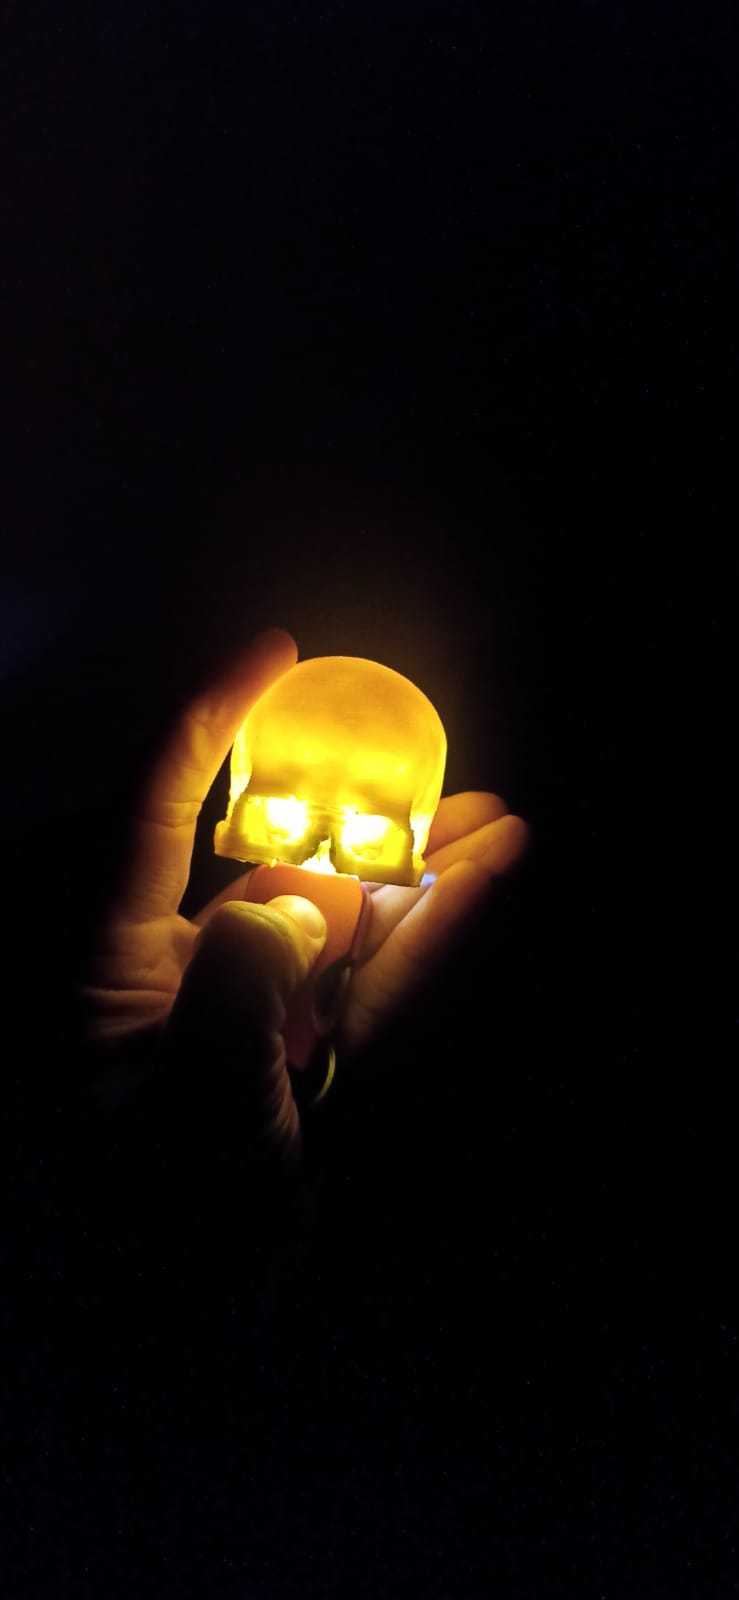
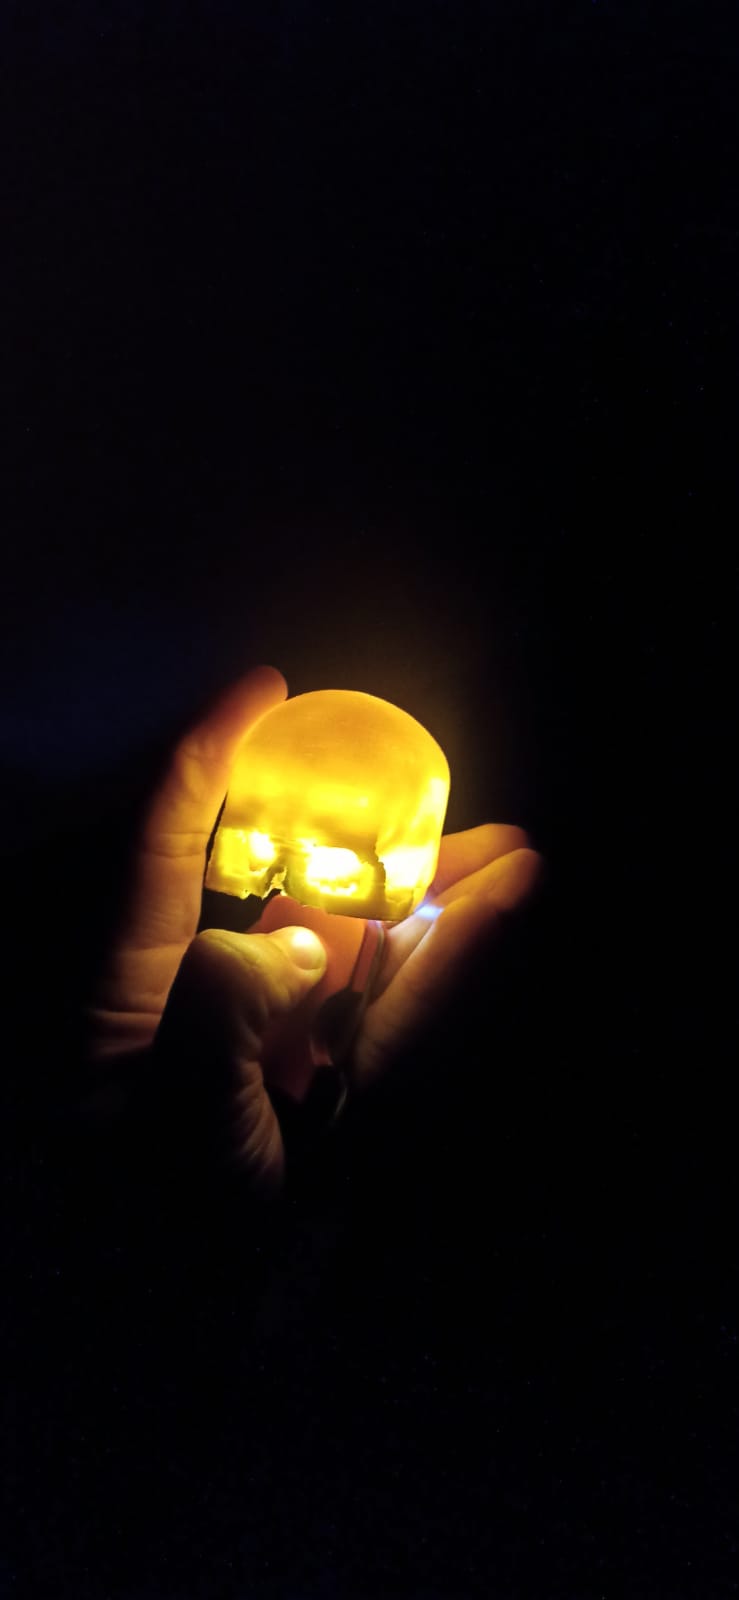
In the FabLab CiDi, we have the Flashforge Dreamer 3D printer. To print my skull, after a lot trial and error, the final settings was (we use the software FlasPrint 5):The printing time was of 3 hour 30 minutes, the final result was
Group Assignment
Design
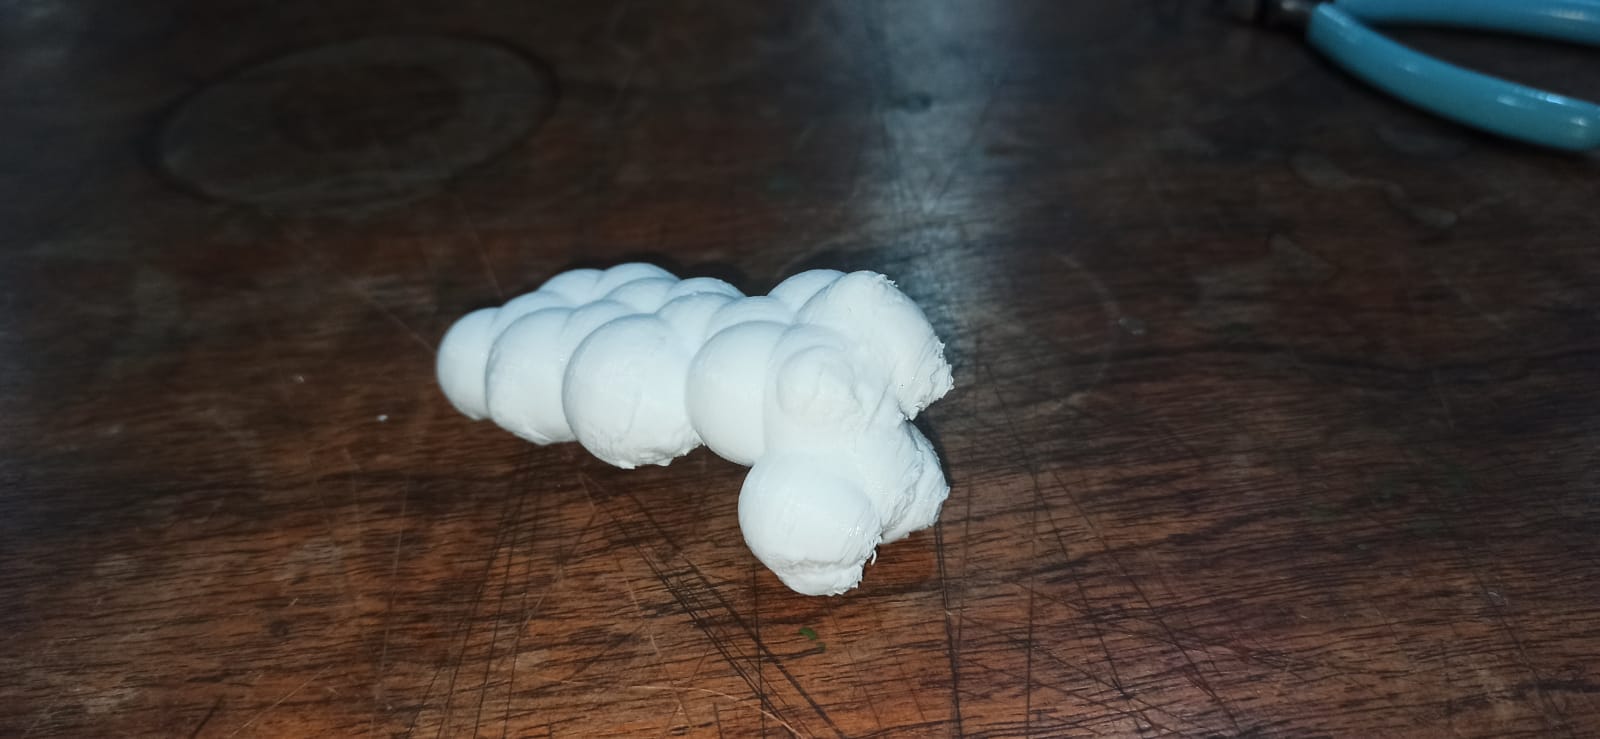
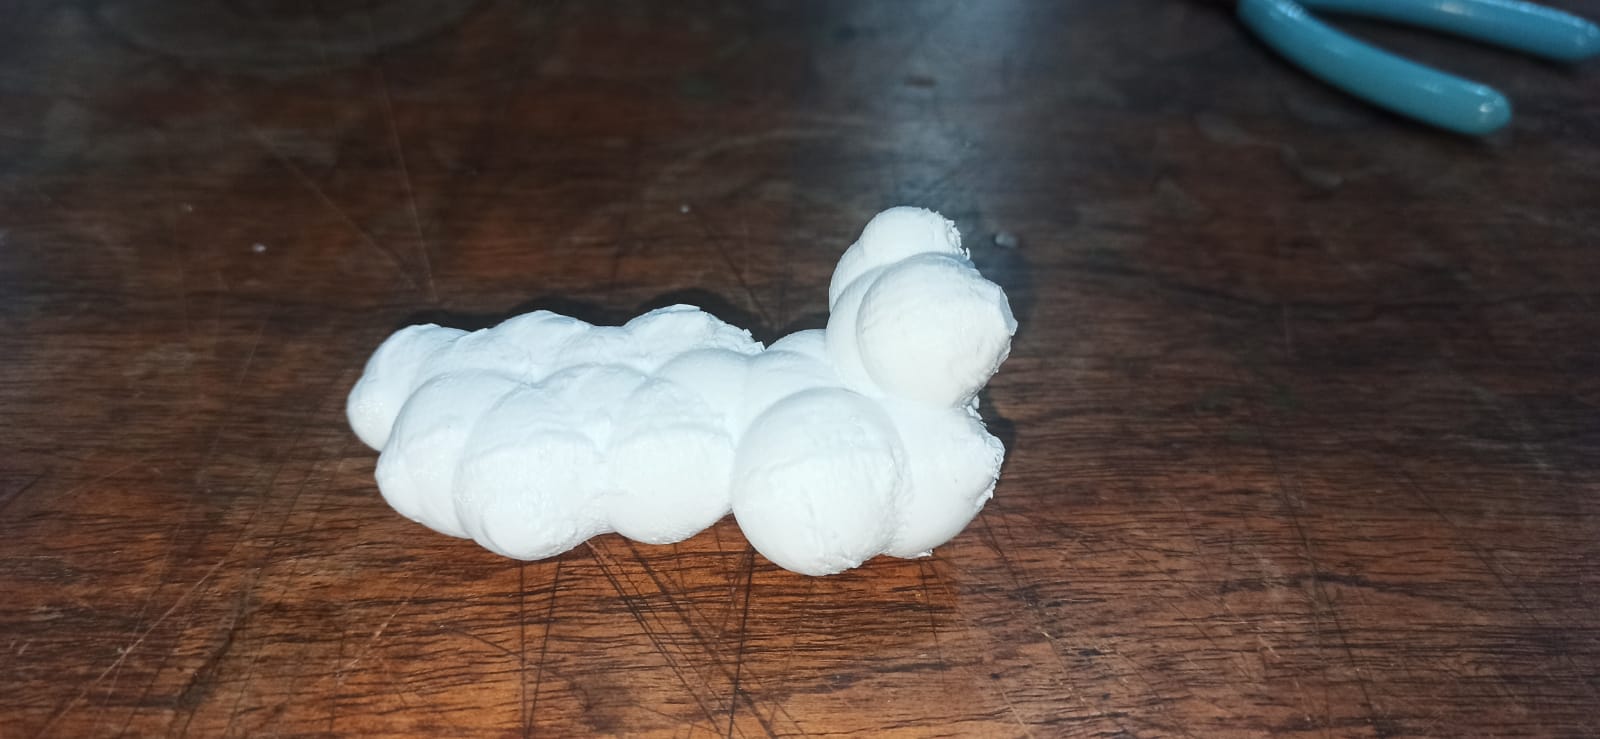
For the design task, I attempted to prepare a 3D model of the molecule D-luciferin. This molecule is responsible for generating bioluminescence in fireflies through an oxidation reaction catalyzed by the enzyme luciferase, forming oxyluciferin. To stabilize the reaction, energy is released in the form of light.At some point, I would like to create a lamp in the shape of this molecule. I would like that the switch to turn on the lamp will be adding an oxygen instead of the carboxyl group, essentially transforming luciferin into oxyluciferin.
Considering this concept, I decided to create a miniature prototype to learn how to model a molecule for 3D printing. Additionally, this allows me to understand potential obstacles or issues that may arise in the design process.
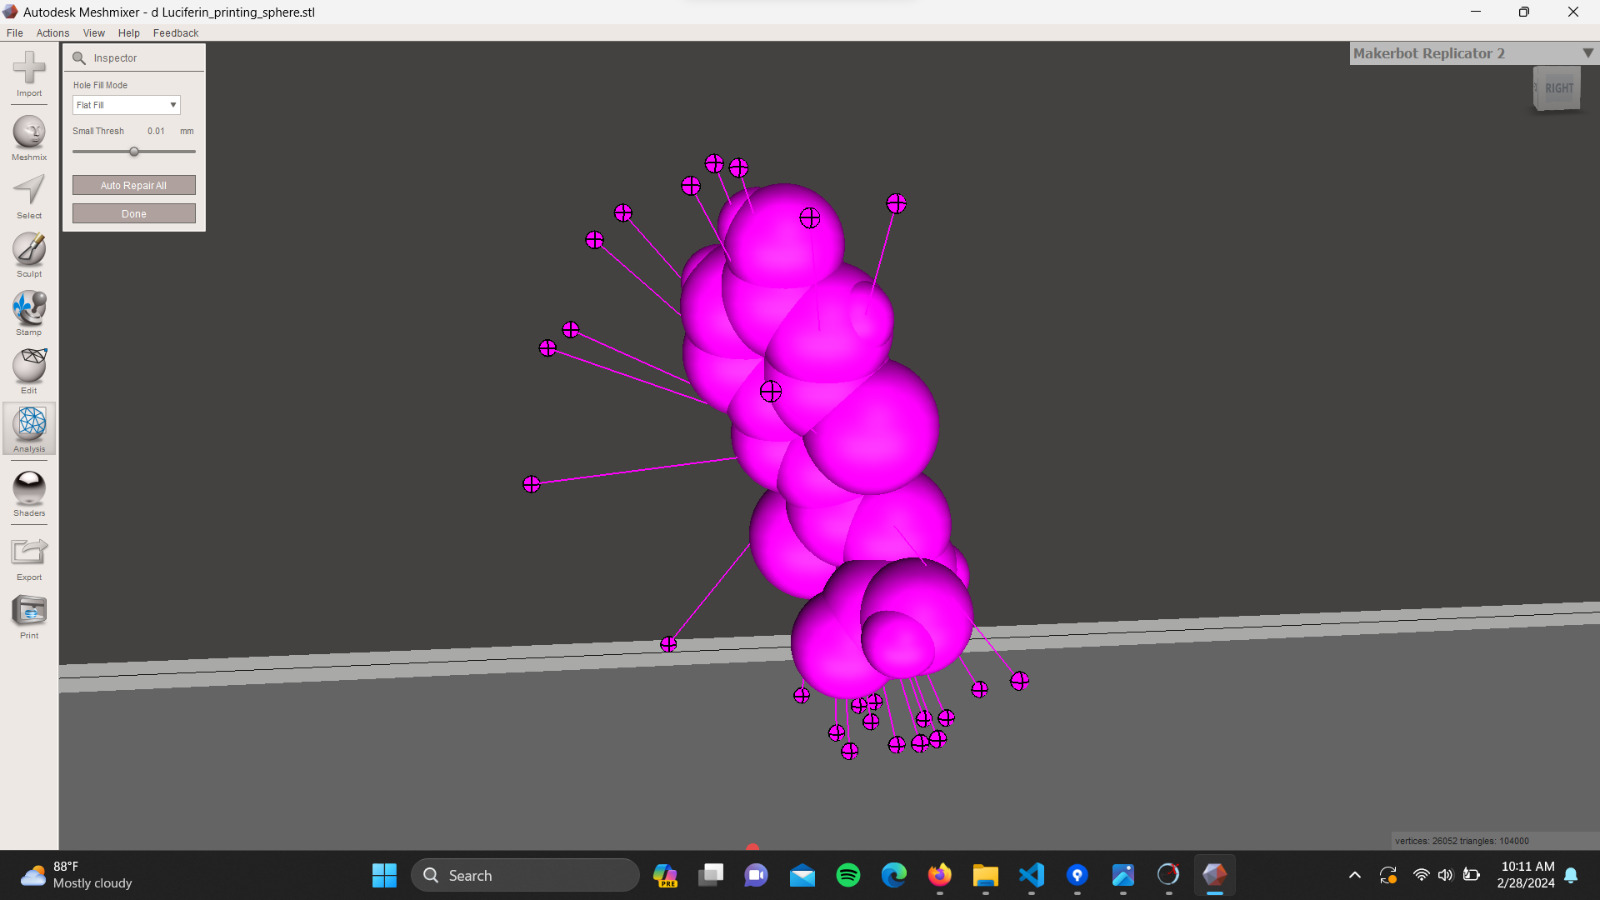
To obtain a 3D model of the luciferin, I used the software ChimeraX. To begin with, I downloaded the X-ray crystallography data of the molecule in .cif format from the National Institute of Health database. I opened this file with Chimera X, where the software interprets the data and generates a 3D model. In my particular case, I used the "Sphere" model, which calculates the volume occupied by each atom in the molecule.

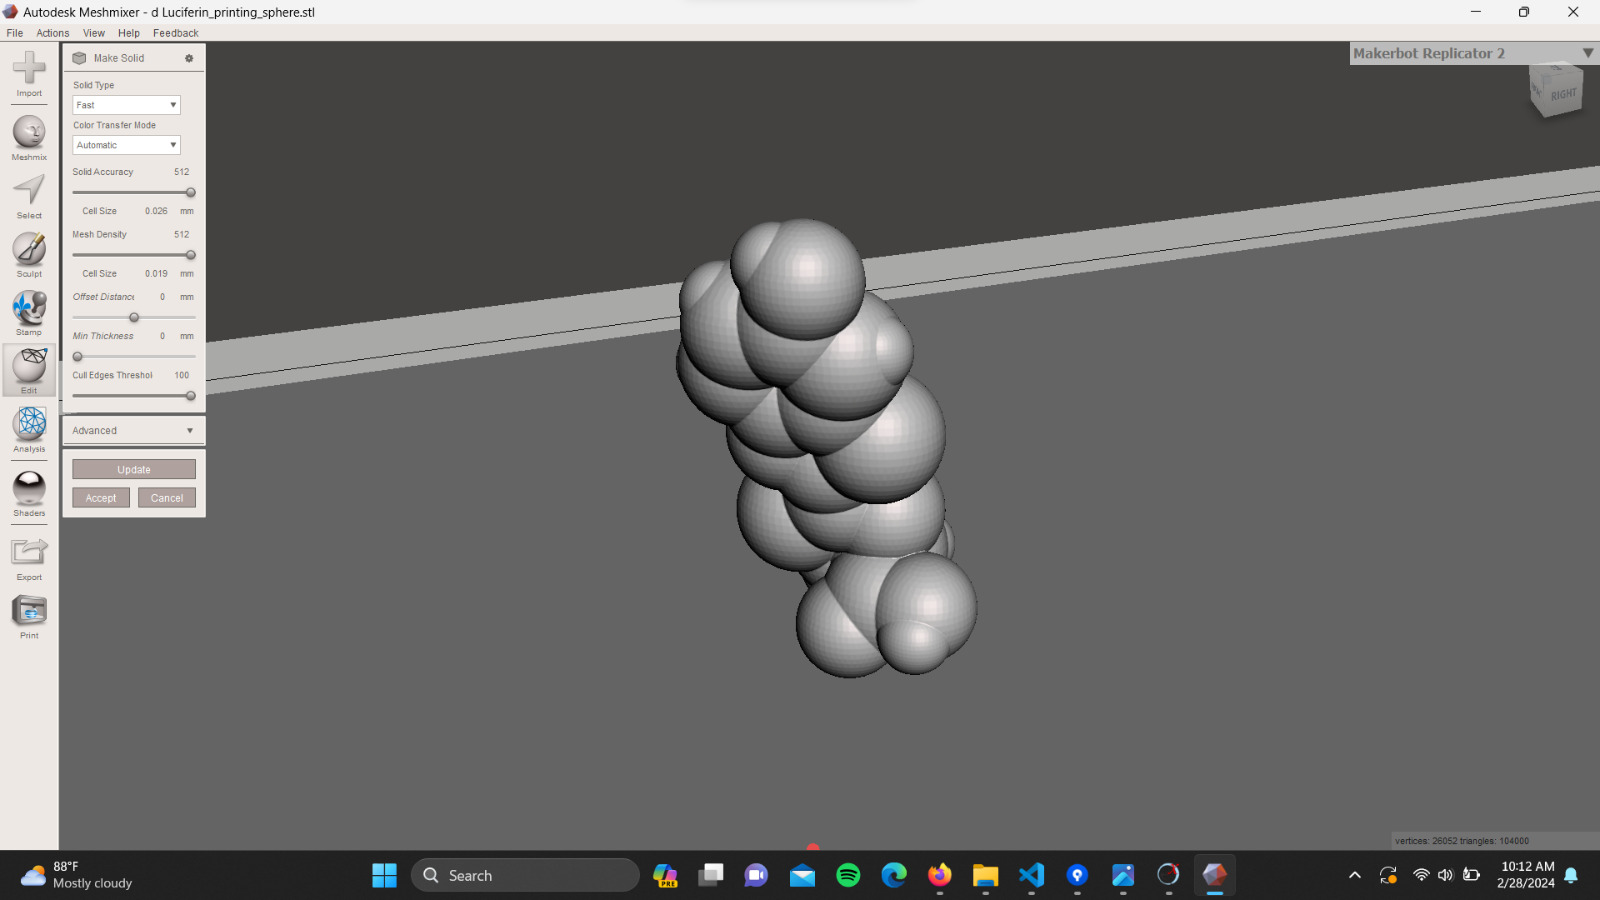
I exported the 3D model in STL format and then opened it in Meshmixer to make adjustments. I conducted an inspection to identify any errors in the model and found several. Due to this, I used the 'Make Solid' function, configuring the sharpness and density to the maximum. The obtained result was used for 3D printing.

The final result was not very satisfactory. If I want to continue with my idea for the lamp, I will need to refine the design further using Blender or Fusion 360. This way, I can also parameterize it and incorporate my switch idea.
Printing parameters