Mkdocs Documentation
2. How to manipulate your website?
Learning outcome (What should be achieved)
- Explore and use website development tool(s)→ Mkdocs
What is MkDocs?
It is a tool reccomanded by Neil and instructors, to build rapidly a documentation website, using markdown language to format texts.
As I mentioned in the git documentation, to build our own Fab’Academy’s documentation website, we have to clone the git repository, make modifications on it, then push it to synchronize the changes.
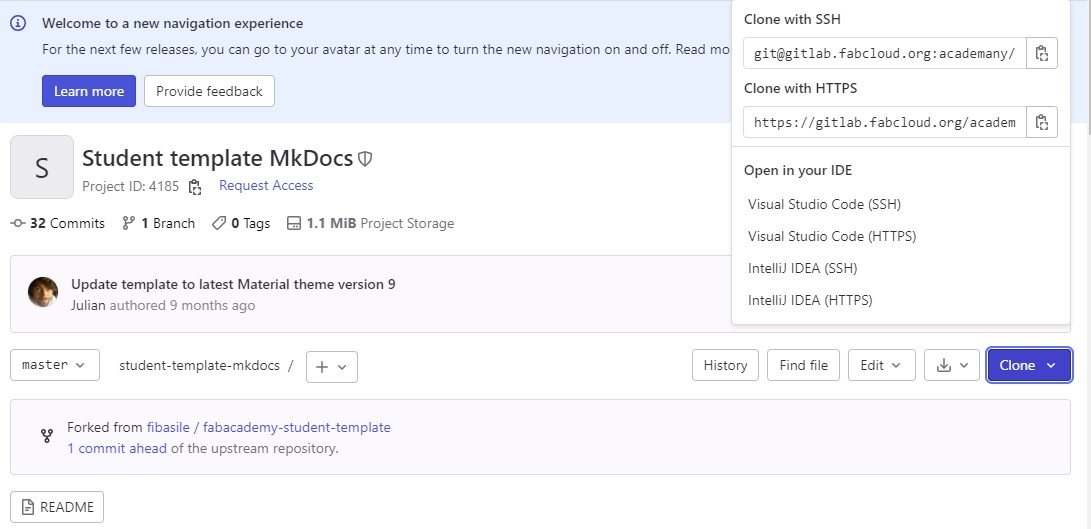
Get Student’s Website Template
The Fab’Academy 2023 template was a html template. Stephane shared in the Mattermost channel the 2022 template, based on mkdocs. If you have your Fablab loggin account, this is the template that I’m using.
Fab’Academy Student Website Template
MkDocs Installation
MkDocs allows you to make modifications to your website quickly.
pip install mkdocs
python -m pip install mkdocs
Using mkdocs
In Terminale of your folder
mkdocs
Usage: python -m mkdocs [OPTIONS] COMMAND [ARGS]...

  MkDocs - Project documentation with Markdown.

Options:
  -V, --version  Show the version and exit.
  -q, --quiet    Silence warnings
  -v, --verbose  Enable verbose output
  -h, --help     Show this message and exit.

Commands:
  build      Build the MkDocs documentation
  gh-deploy  Deploy your documentation to GitHub Pages
  new        Create a new MkDocs project
  serve      Run the builtin development server
Here is some web articles that helped me a lot:
To know more about extra features
LITTLE HACK:
if you are a Notion user, it’s really helpful to begin writing on a page Notion.
Because you can export your Notion Page as Markdown
Using mkdocs serve to preview the website locally
In the student-template folder right-click and open in the terminal
Then tape
mkdocs serve
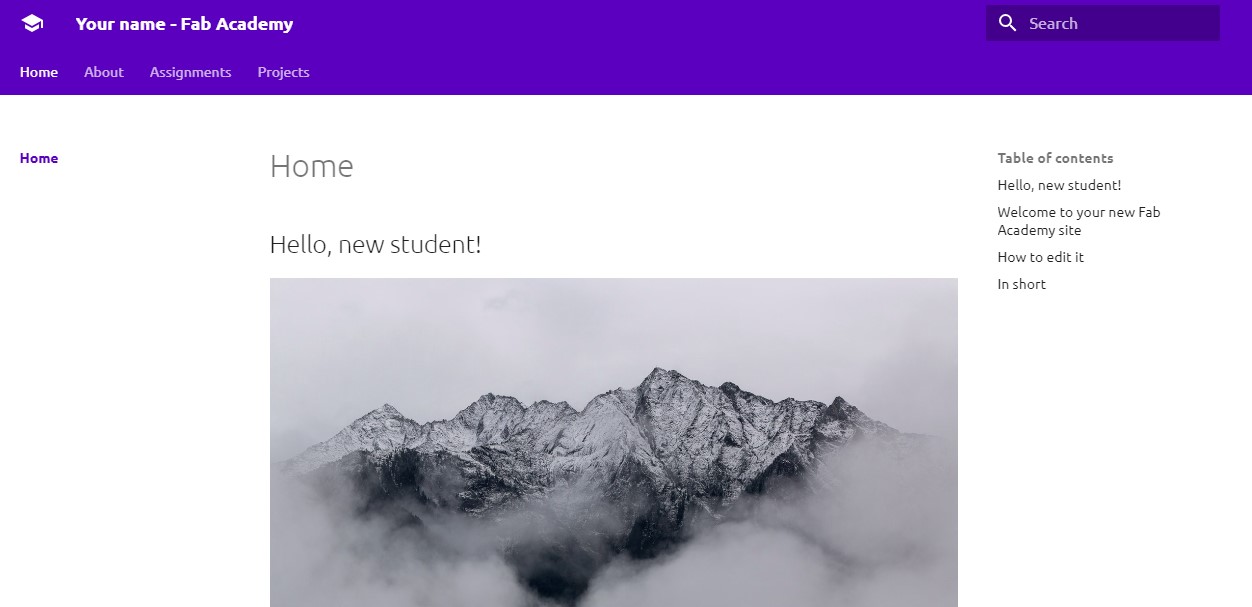
The output:

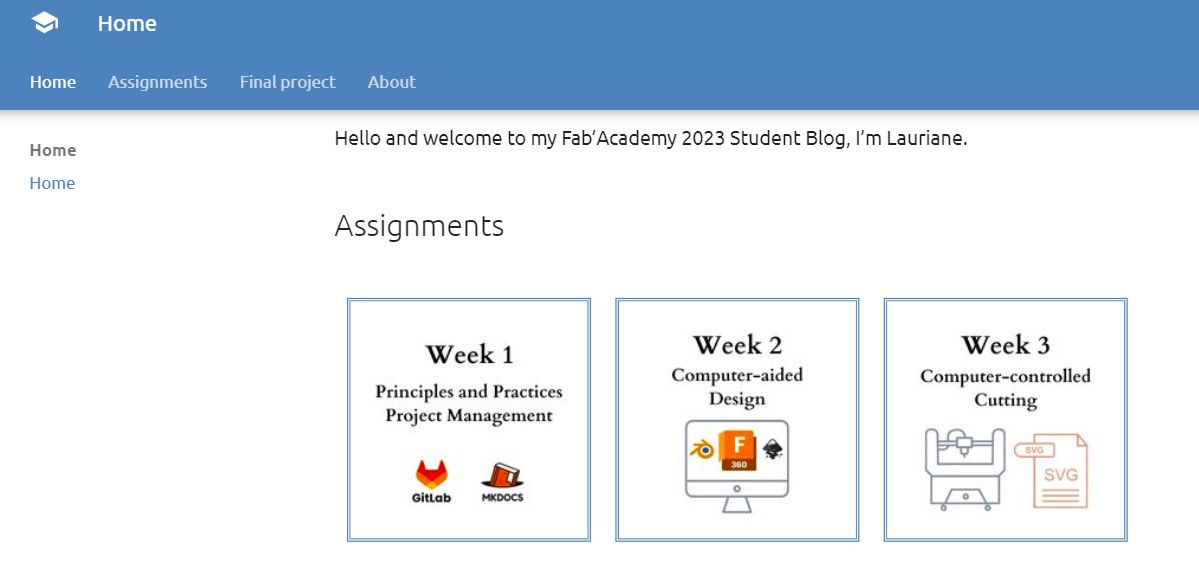
The student template site looks like this
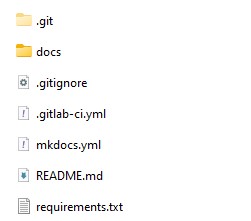
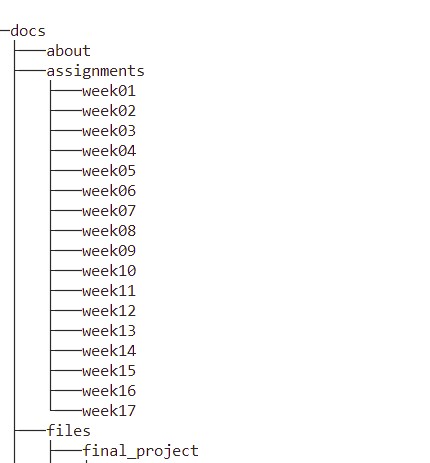
In the docs folder, we have a folder called assignments, by modifying the markdown file, we can edit the website.
I started by defining a content template. For more color and pictures, I used Canvas to design the covers and banners.
You can access to my canvas’s page using this link:
- Covers for Fab’Academy made by Lauriane: https://www.canva.com/design/DAFZOtsu2JE/pUEbmi1Kmddt_PYcB9JUkg/
- Banners for Fab’Academy made by Lauriane: https://www.canva.com/design/DAFaMKN0luM/jC7L7ae2ki9PCv6KeLqYcA/
To edit the theme, change the primary color of the website, change the image propreties of the website, we need to:
- Create a folder “stylesheets” in the “docs” folder
- Create a file named “extra.css” in “docs/stylesheets”
- Add this code at the end of the file mkdocs.yml
extra_css:
  - stylesheets/extra.css
In extra css:
- I modified the color of the website theme by adding
:root {
    --md-primary-fg-color: #408cb5;
}
I also defined a class page_banner and cover for the images I designed
.page_banner {
    width: max-content;
    height: max-content;
}

.cover {
    width: 200px;
    height: 200px;
    display: inline-block;
    vertical-align: middle;
    margin: 10px;
}
To apply the style to the images, I used HTML code to add images:
- class=”page_banner”: means we apply the style of page_banner in extra.css to the image
- src=”../../images/week01/banner.jpg”: indicates the source(path) of the image
<img class="page_banner" src="../../images/week01/banner.jpg"></img>
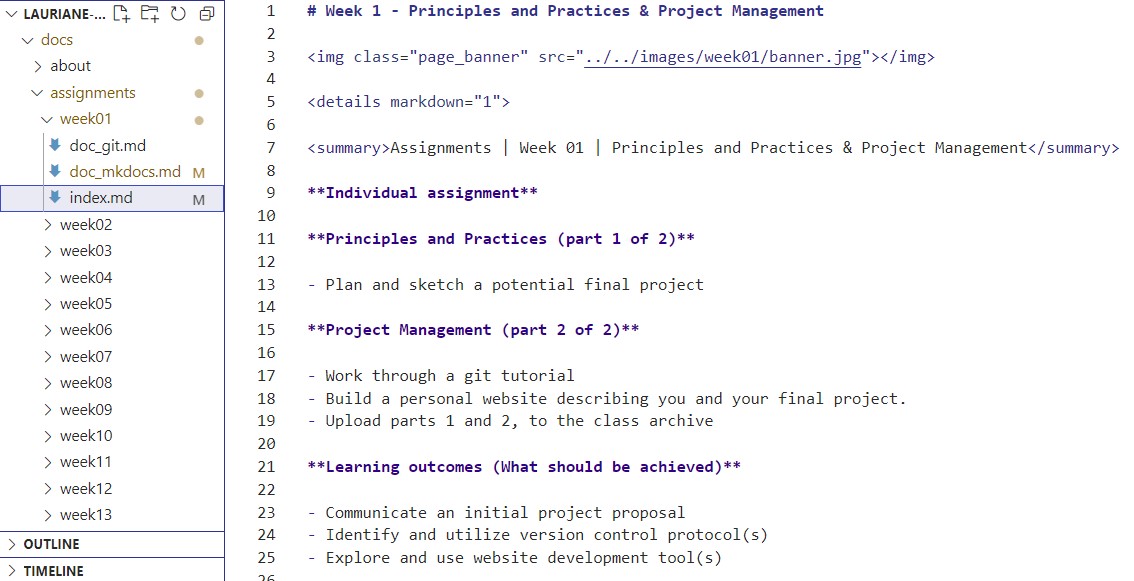
After tests and modifications the template became the following markdown code:
# Week 1 - Principles and Practices & Project Management

<img class="page_banner" src="../../images/week01/banner.jpg"></img>

<details markdown="1">

<summary>Assignments | Week 01 | Principles and Practices & Project Management</summary>

**Group assignemnt assignment**

- ...

**Individual assignment**

- ...

**Learning outcomes**

- ...

</details>

[TOC]

## Introduction
  ......
## Evaluation
  ......
## Documentation
  ......
## Conclusion
  ......
Customize Theme
Source https://squidfunk.github.io/mkdocs-material/customization/
Button Source: https://squidfunk.github.io/mkdocs-material/reference/buttons/
Input
[button tutorial](https://squidfunk.github.io/mkdocs-material/reference/buttons/){ .md-button }
{:target=”_blank”}
see right corner
| Name | Output | syntax in markdown page | syntax in mkdocs.yml | Link to Source |
|---|---|---|---|---|
| copy to clipboard button | see above | theme: features:- content.code.copy |
Embed a video
Install the package with pip:
$ pip install mkdocs-video
Enable the plugin in the mkdocs.yml file:
plugins:
    - mkdocs-video

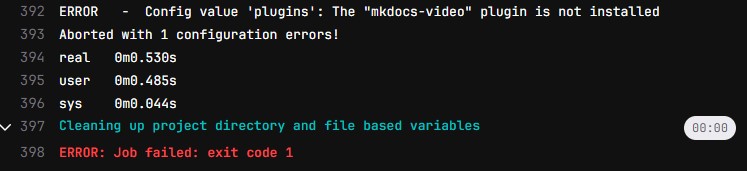
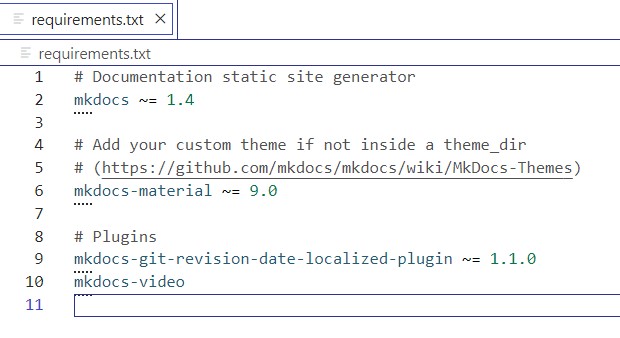
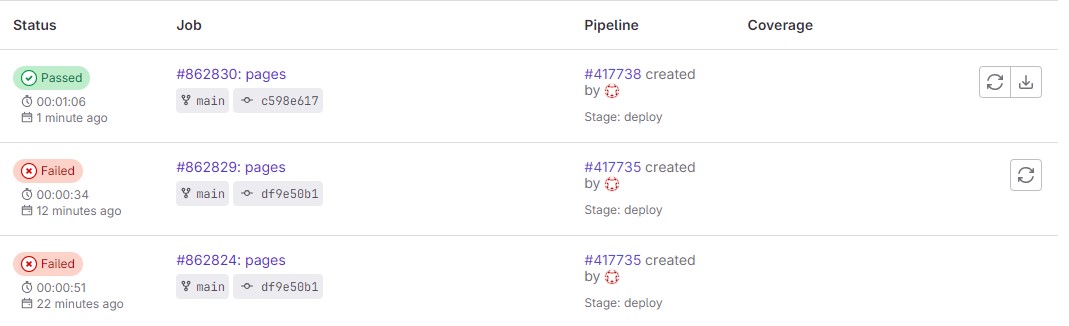
When I pushed to the main directory, to deploy the site, there is an error that indicates I didn’t install mkdocs-video. But I’m sure I installed mkdocs-video with pip on my pc, because when I deploy it locally with mkdocs serve, it works. I notidec that this Gitlab script uses python to run code. I think maybe I can add a line of code in the script to install mkdocs-video. So I find the requirements.txt file in the root of my folder, and added “mkdocs-video” in the “Plugins” section. And this time, it works!!
source: https://pypi.org/project/mkdocs-video/
https://fabacademy.org/2022/labs/kannai/Instruction/tips/embed_videos/
The time goes, we are in week 8. and I’m back to this doc. Why?
I feel necessary to add an image carrousel in my documentation page since I take more and more photos. So that the images of a same topic won’t take too much place in the page, and it’s more confortable to read.
I tryed to copy the solutions existing on the first pages of a google search, but it doen’t work.
Me : “hi, how to add a image carrousell in my webpage build with mkdocs? maybe we need to use html, css, and js. But I wish it can be the most simple as it can.”“
GTP: ” To add an image carousel to your webpage built with MkDocs, you can use a lightweight JavaScript library like Swiper.js. Here are the steps to do it:
Download the Swiper.js library from their website and include it in your project directory. Add the following code to your HTML file where you want to display the image carousel:
<div class="swiper-container">
  <div class="swiper-wrapper">
    <div class="swiper-slide"><img src="path/to/image1"></div>
    <div class="swiper-slide"><img src="path/to/image2"></div>
    <div class="swiper-slide"><img src="path/to/image3"></div>
    <!-- add more slides as needed -->
  </div>
  <div class="swiper-pagination"></div>
</div>
  .swiper-container {
    width: 100%;
    height: 100%;
  }

  .swiper-slide {
    text-align: center;
  }

  .swiper-slide img {
    display: block;
    width: 100%;
    height: auto;
  }
Finally, initialize the Swiper.js library by adding the following code to your JavaScript file:
Copy code
var mySwiper = new Swiper('.swiper-container', {
  autoplay: {
    delay: 5000,
    disableOnInteraction: false,
  },
  pagination: {
    el: '.swiper-pagination',
    clickable: true,
  },
});
This will create a simple image carousel with automatic slideshow and clickable pagination. You can customize the styles and options as needed.
Here is the link to swiperjs.com:
I followed the documentation of this site
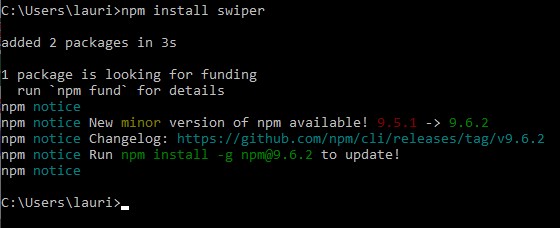
In Terminal:
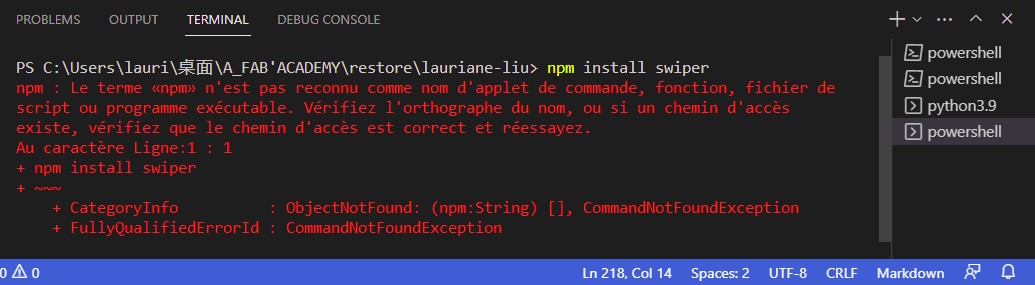
npm install swiper
Output:
It seems like my windows system don’t know what is npm, and neither do I…

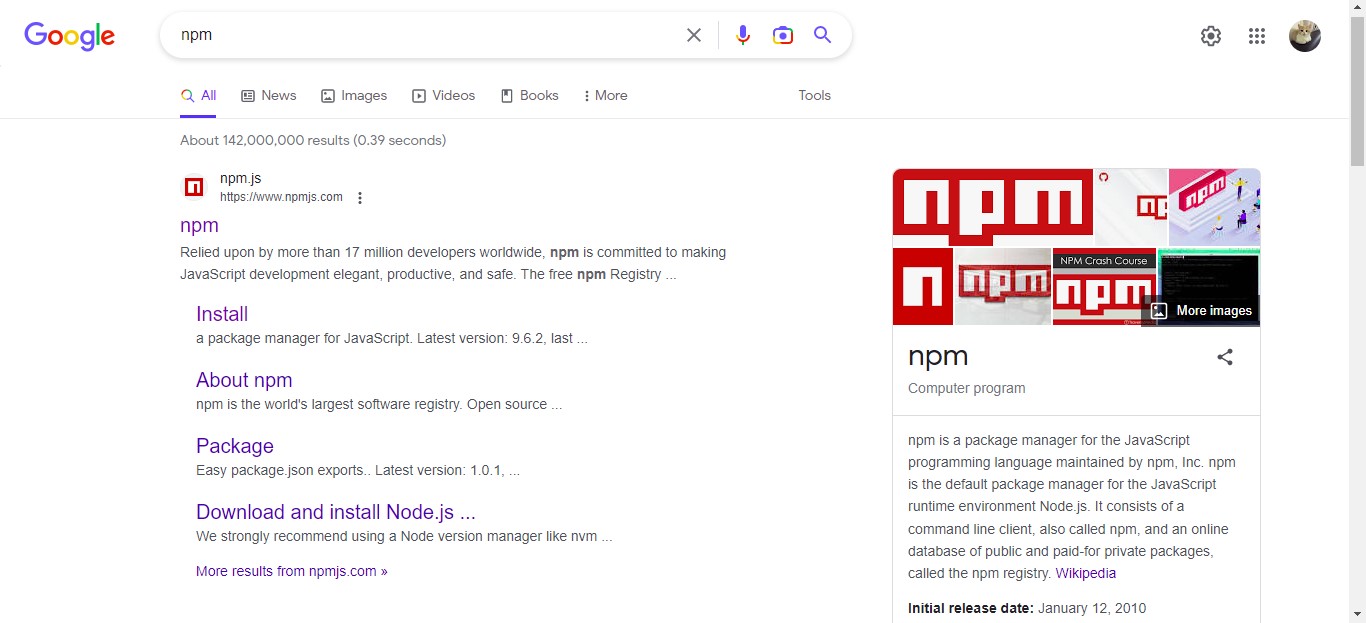
Searched on Google and click Install for installation instructions
To meet the requierments, I downloaded the latest version of Node.js (19.8.1) for Windows (32 bits), it’s a .msi. Then I installed it with all the default settings.
Run in terminal:
curl -qL https://www.npmjs.com/install.sh | sh
And it did’nt work.
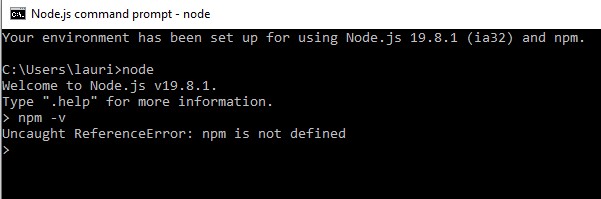
I saw on the page that the downloaded package Node.js includes npm in it. I also realized that I didn’t start a new terminal after installing. So I start a terminal and verify the version again. It works!
Run in terminal:
node -v
npm -v
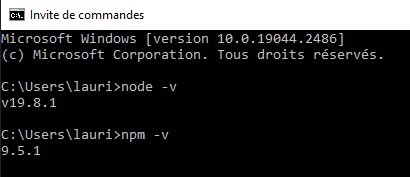
Run in terminal:
npm install swiper
Now I am going to follow the installation guide in https://swiperjs.com/get-started
Then I discovered a super documentation about creating an image carousel by Camille Barot: https://class.textile-academy.org/2023/camille-barot/assignments/week00/#adding-a-picture-carousel[https://class.textile-academy.org/2023/camille-barot/assignments/week00/#adding-a-picture-carousel]
I copied exactly the same code on her page. But seems like I lost something. I don’ have the dynamic result as it shows on her page.
<!-- Slider main container -->
<div class="swiper">
  <!-- Additional required wrapper -->
  <div class="swiper-wrapper">
    <!-- Slides -->
    <div class="swiper-slide">
        <img src="https://source.unsplash.com/1280x720/?turtle" alt="Image Slider">
        This slider is reactive and changes size dynamically based on screen dimensions. Pictures can be navigated by clicking on the previous/next arrows, on the pagination dots below, or even by grabbing/swiping.
    </div>
    <div class="swiper-slide">
        <img src="https://source.unsplash.com/1280x720/?chameleon" alt="Image Slider">
        I think this will be very convenient to document processes (with pictures in chronological order), writing tutorials (one step at a time), listing projects I'm interested in, etc. without making the page too busy.
    </div>
    <div class="swiper-slide">
        <img src="https://source.unsplash.com/1280x720/?snail" alt="Image Slider">
        The only issue is that I'll have to write directly in HTML and won't be able to use markdowns in captions. Ideally if I had more time I could write some code that would interpret custom markdown but this has much lower priority than writing the actual content of the documentation!
    </div>
  </div>
  <div class="swiper-pagination"></div>
  <div class="swiper-button-prev"></div>
  <div class="swiper-button-next"></div>
</div>

<script src="https://cdn.jsdelivr.net/npm/swiper@8/swiper-bundle.min.js"></script>
<script src="https://cdn.jsdelivr.net/npm/swiper@8/swiper-bundle.min.js"></script>
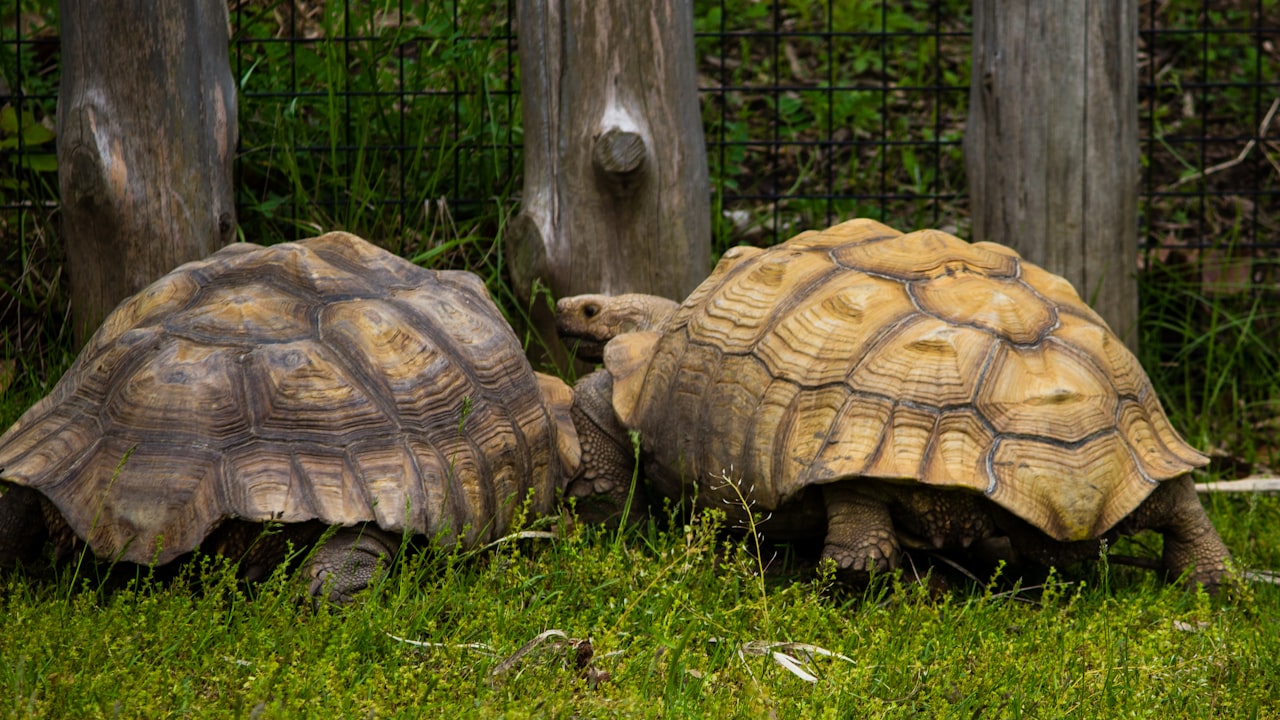
I found a way to generate random image from unsplash
<img src="https://source.unsplash.com/1280x720/?turtle" alt="Image Slider">
In google I searched: This slider is reactive and changes size dynamically based on screen dimensions. Pictures can be navigated by clicking on the previous/next arrows, on the pagination dots below, or even by grabbing/swiping.
At the end I found a lighter way to arrange images:
<div class="carousel" markdown="1">

<img src="https://source.unsplash.com/1280x720/?turtle" alt="Image Slider">
</div>

Markdown Text and extentions
- pymdownx.critic
- pymdownx.caret
- pymdownx.keys
- pymdownx.mark
- pymdownx.tilde
Image caption - Image Align left / right
documentation site: https://squidfunk.github.io/mkdocs-material/reference/images/#left
Embed from other source
### Vimeo

<iframe src="https://player.vimeo.com/video/269013987" width="640" height="480" frameborder="0" webkitallowfullscreen mozallowfullscreen allowfullscreen></iframe>
<p><a href="https://vimeo.com/269013987">Ricardo O Nascimento- prototyping movement</a> from <a href="https://vimeo.com/fabricademy">Textile Academy</a> on <a href="https://vimeo.com">Vimeo</a>.</p>

### Youtube

<iframe width="560" height="315" src="https://www.youtube.com/embed/jjNgJFemlC4" frameborder="0" allow="autoplay; encrypted-media" allowfullscreen></iframe>