WEEK 3
COMPUTER CONTROLLED CUTTING
Group assignment :
- Characterize your laser cutter’s focus, power, speed, rate, kerf, and joint clearance.
To see our group assignment click here
Individual assignments :
-
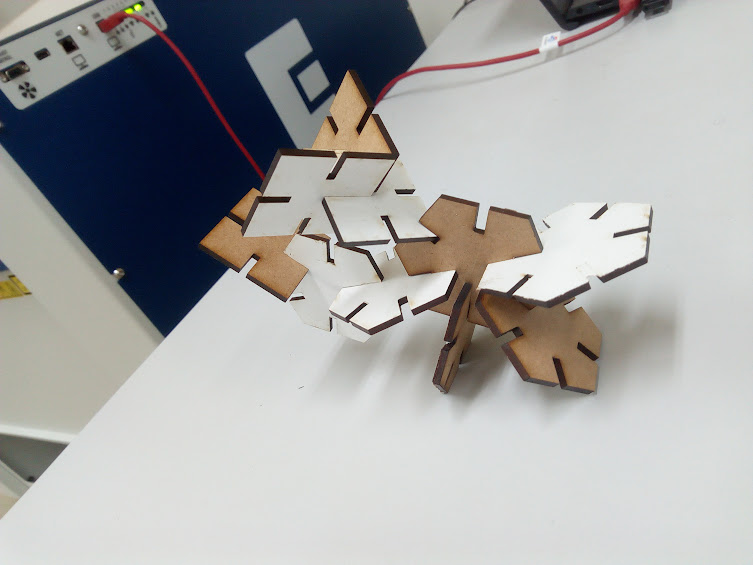
Design, lasercut, and document a parametric press-fit construction kit, which can be assembled in multiple ways. Account for the laser cutter kerf.
-
Cut something on the vinyl cutter.
LASER CUTTING
1. Parametric design
Parametric design makes it easy to change the size and certain dimensions of our design without distorting our design. That’s why we use it to build our press-fit kit. As design software we chose Fusion 360.
- Open Fusion 360; create a new sketch then Set your user parameters.
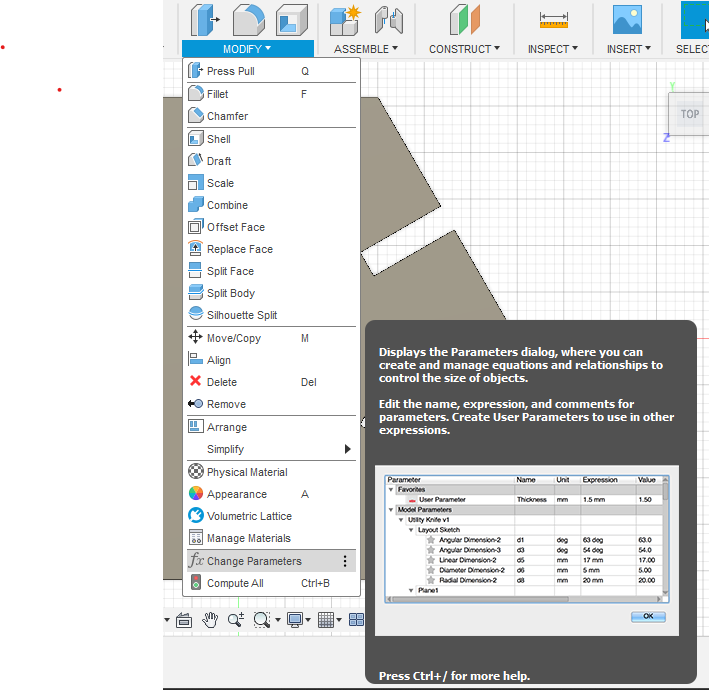
Go to the parameters window: In the Design workspace > Modify> change parameters as shown below.
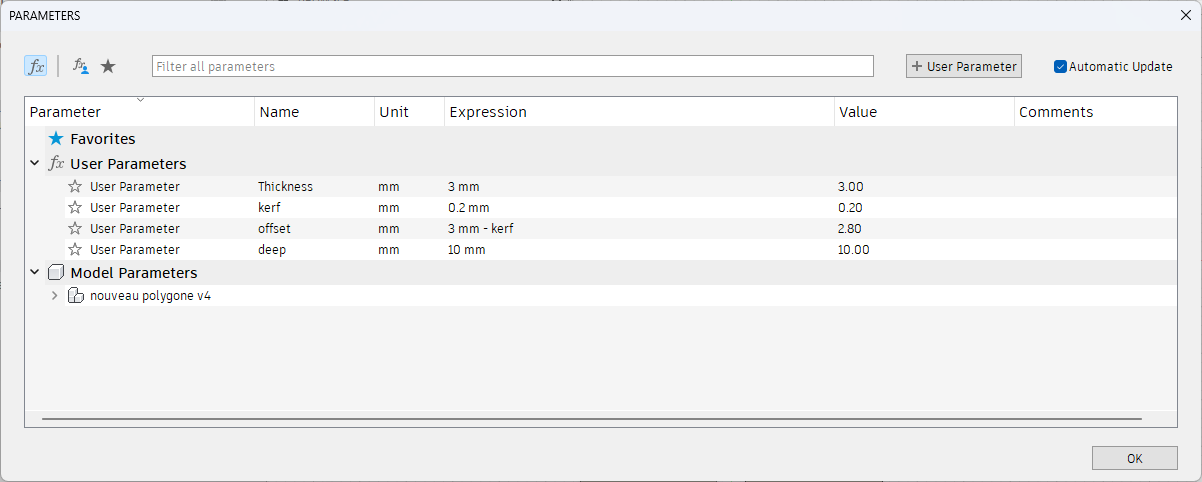
As you can see below, those are my parameters
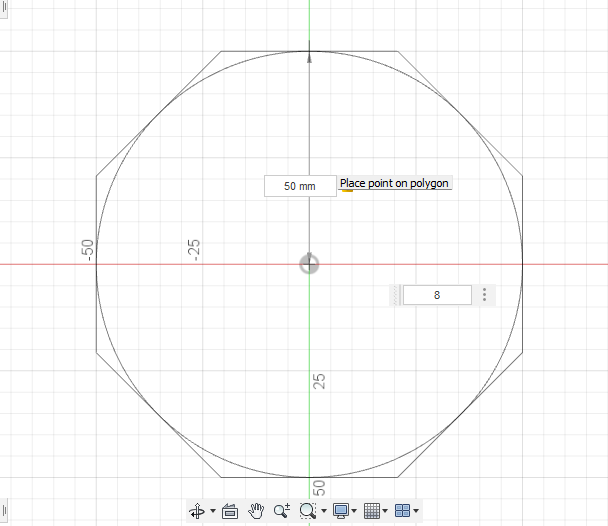
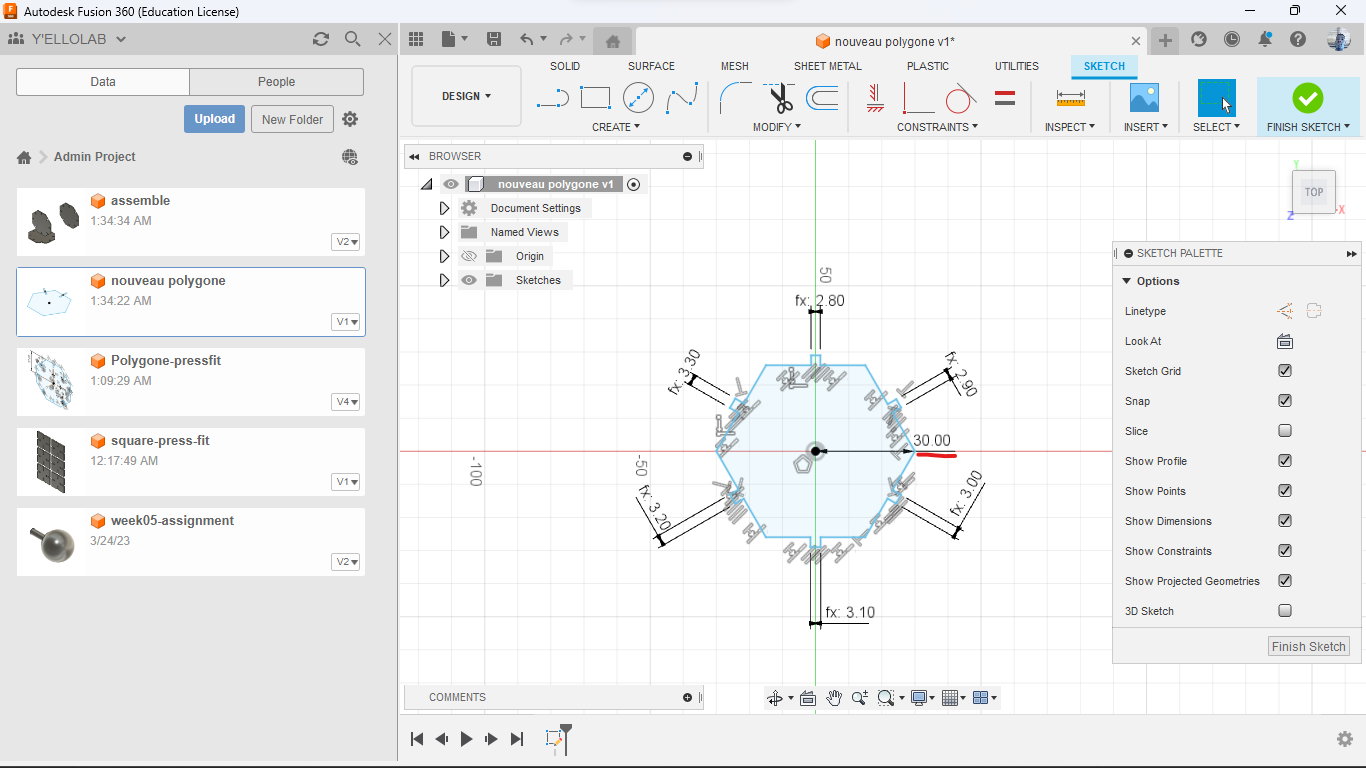
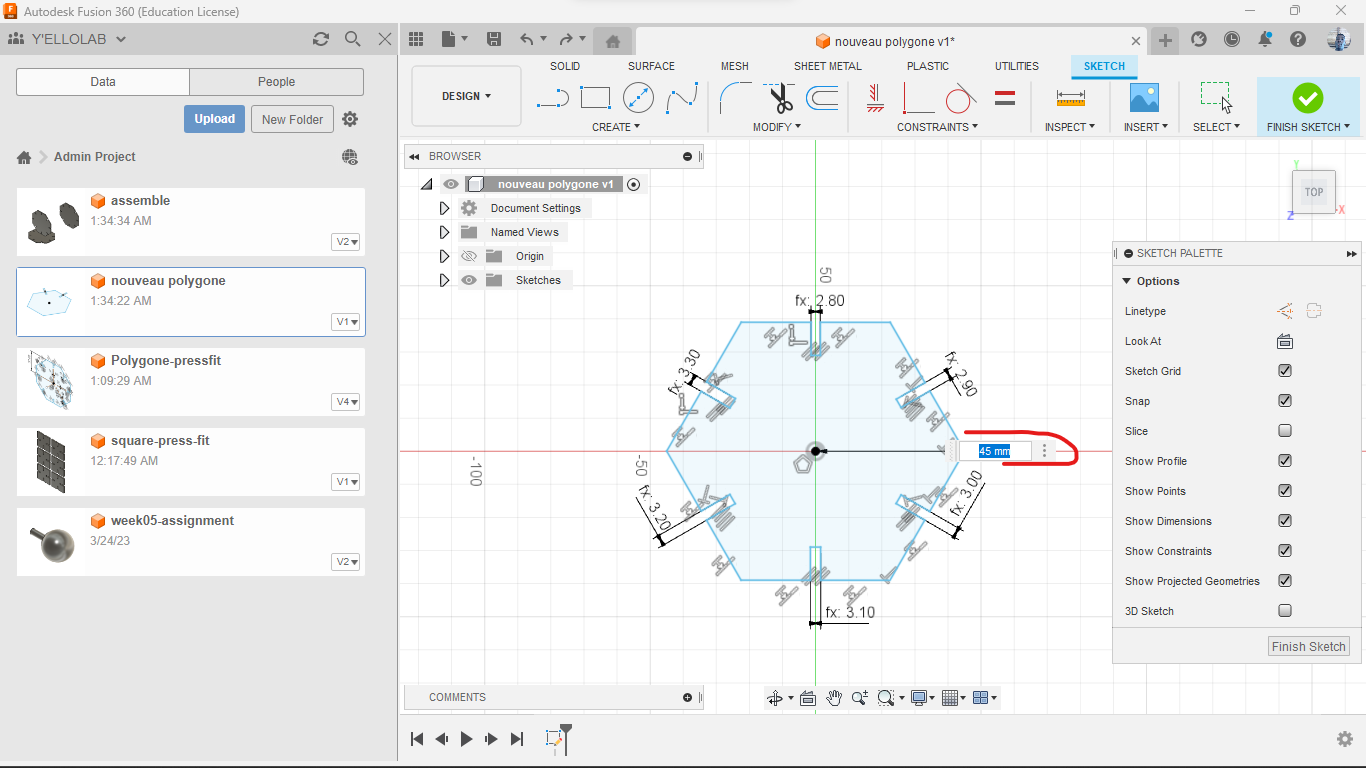
- Open and create sketch : Draw polygon using circumscribed polygone
- Draw rectangle using center rectangle as shown below
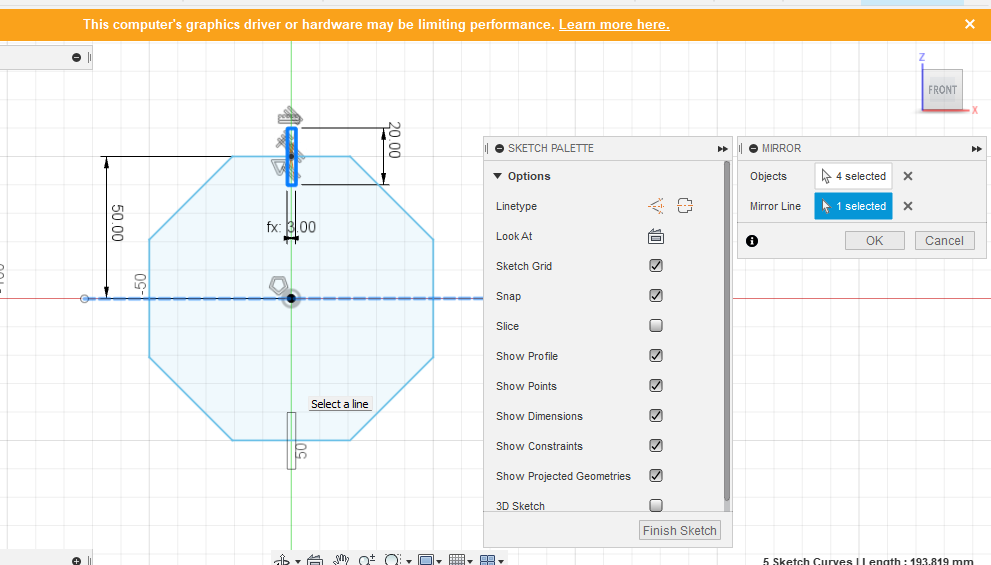
- Draw other rectangles until obtain the following render
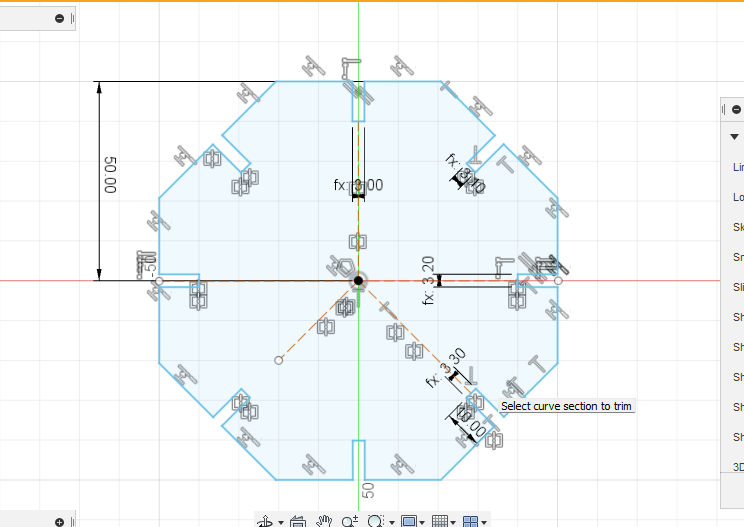
- I finally tried to modify the shape but I encountered difficulties cause I didn’t establish a relationship between certain parts of the shape.
To fix it I create “deep” parameter to keep the deep of rectangles
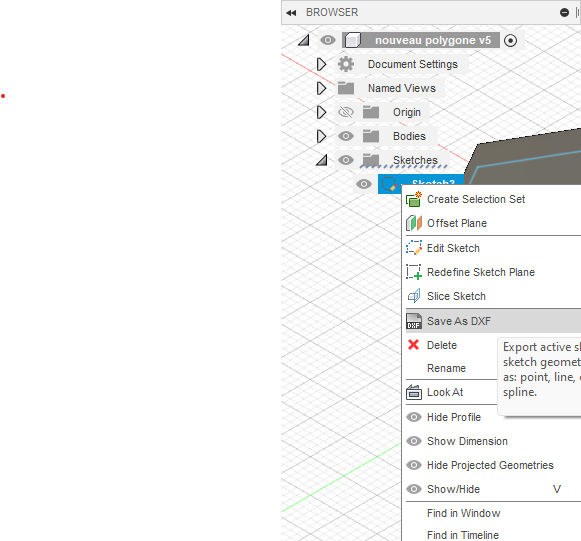
Important
When you’re exporting DXF files in fusion 360 make sure you selected the sketch of the part you want, right click on this sketch As shown below
2. Laser cutting with EPILOG
I Go to Inkscape software with my DXF files. Inkscape : Files > import > choose your files
You can modify your design if you want and then print with ctrl+p command or files > print.
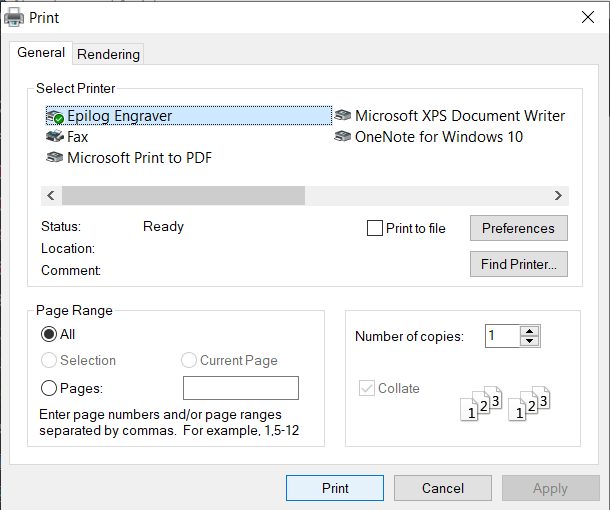
In Epilog software
.png)
Set the values at the right as follow :
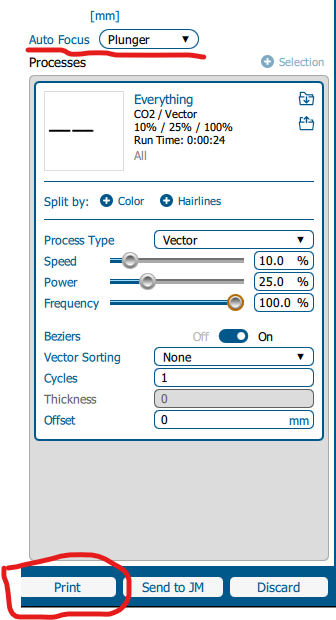
these are the cutting parameters :
| Parameters | Values |
|---|---|
| Materials | MDF |
| Process Type | Vector |
| Speed | 10 % |
| Power | 25 % |
| Frequency | 100 % |
| Cycles | 1 |
| Auto Focus | Plunger |
All is set Cut now.
VINYL CUTTING WITH ROLAND CAMM-1 GS-24
1. Preparing something to cut
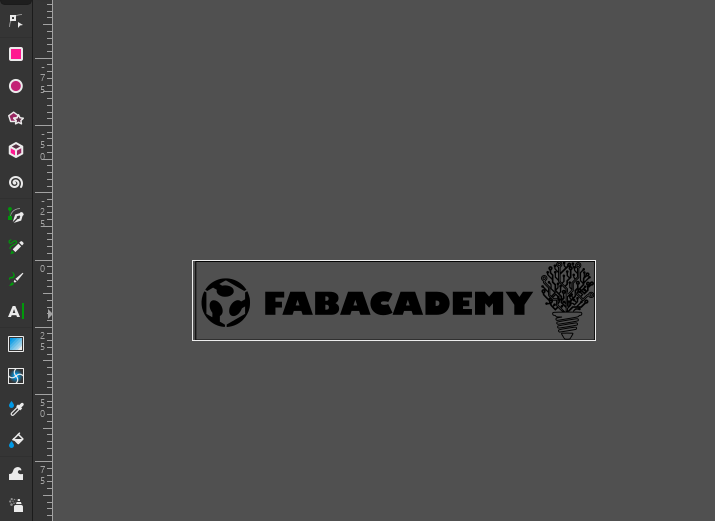
We will use inkscape to have something ready to vynil cut.
Thus in inkscape we imported fabcademy logo and write fabcademy as shown below
But first I tried to use the image below to vectorize it for vinyl cutting but I had a lot of trouble transferring the resulting cutout to another surface.

This is what I got when I try to transfer the resulting cutout
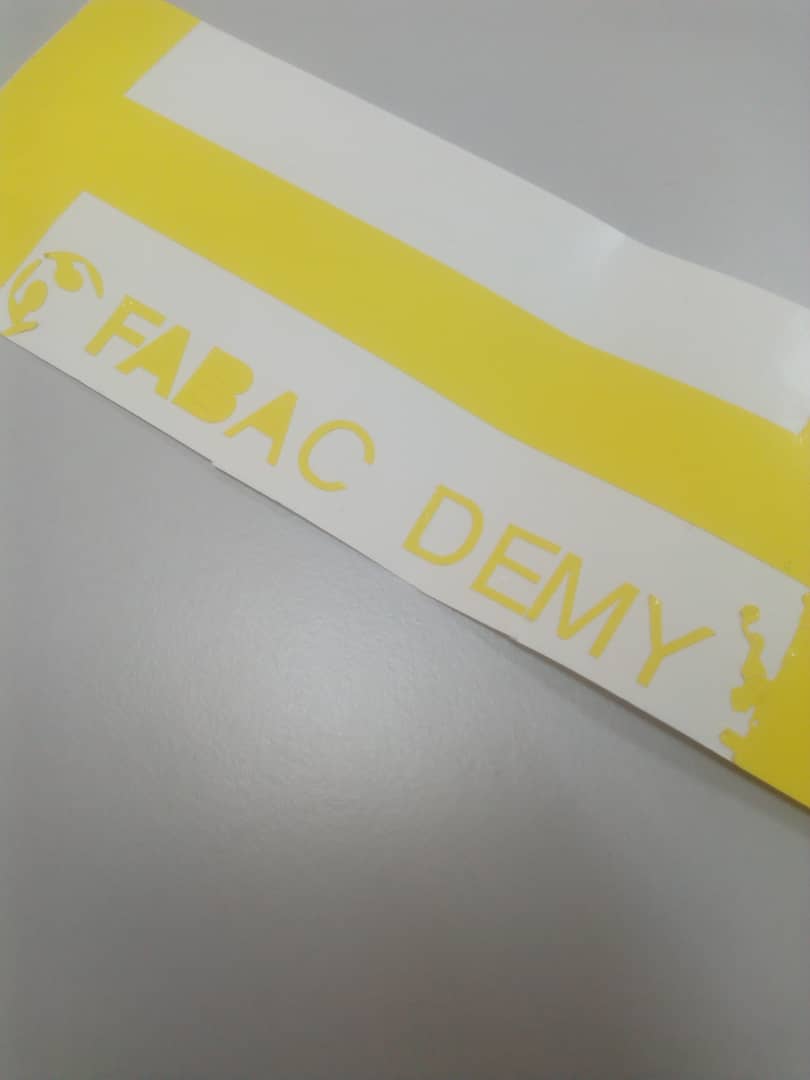
So I decided to import just the logo and write fabacademy by my own. finally I got the result below but I didn’t be able to cut properly the other image 😥.
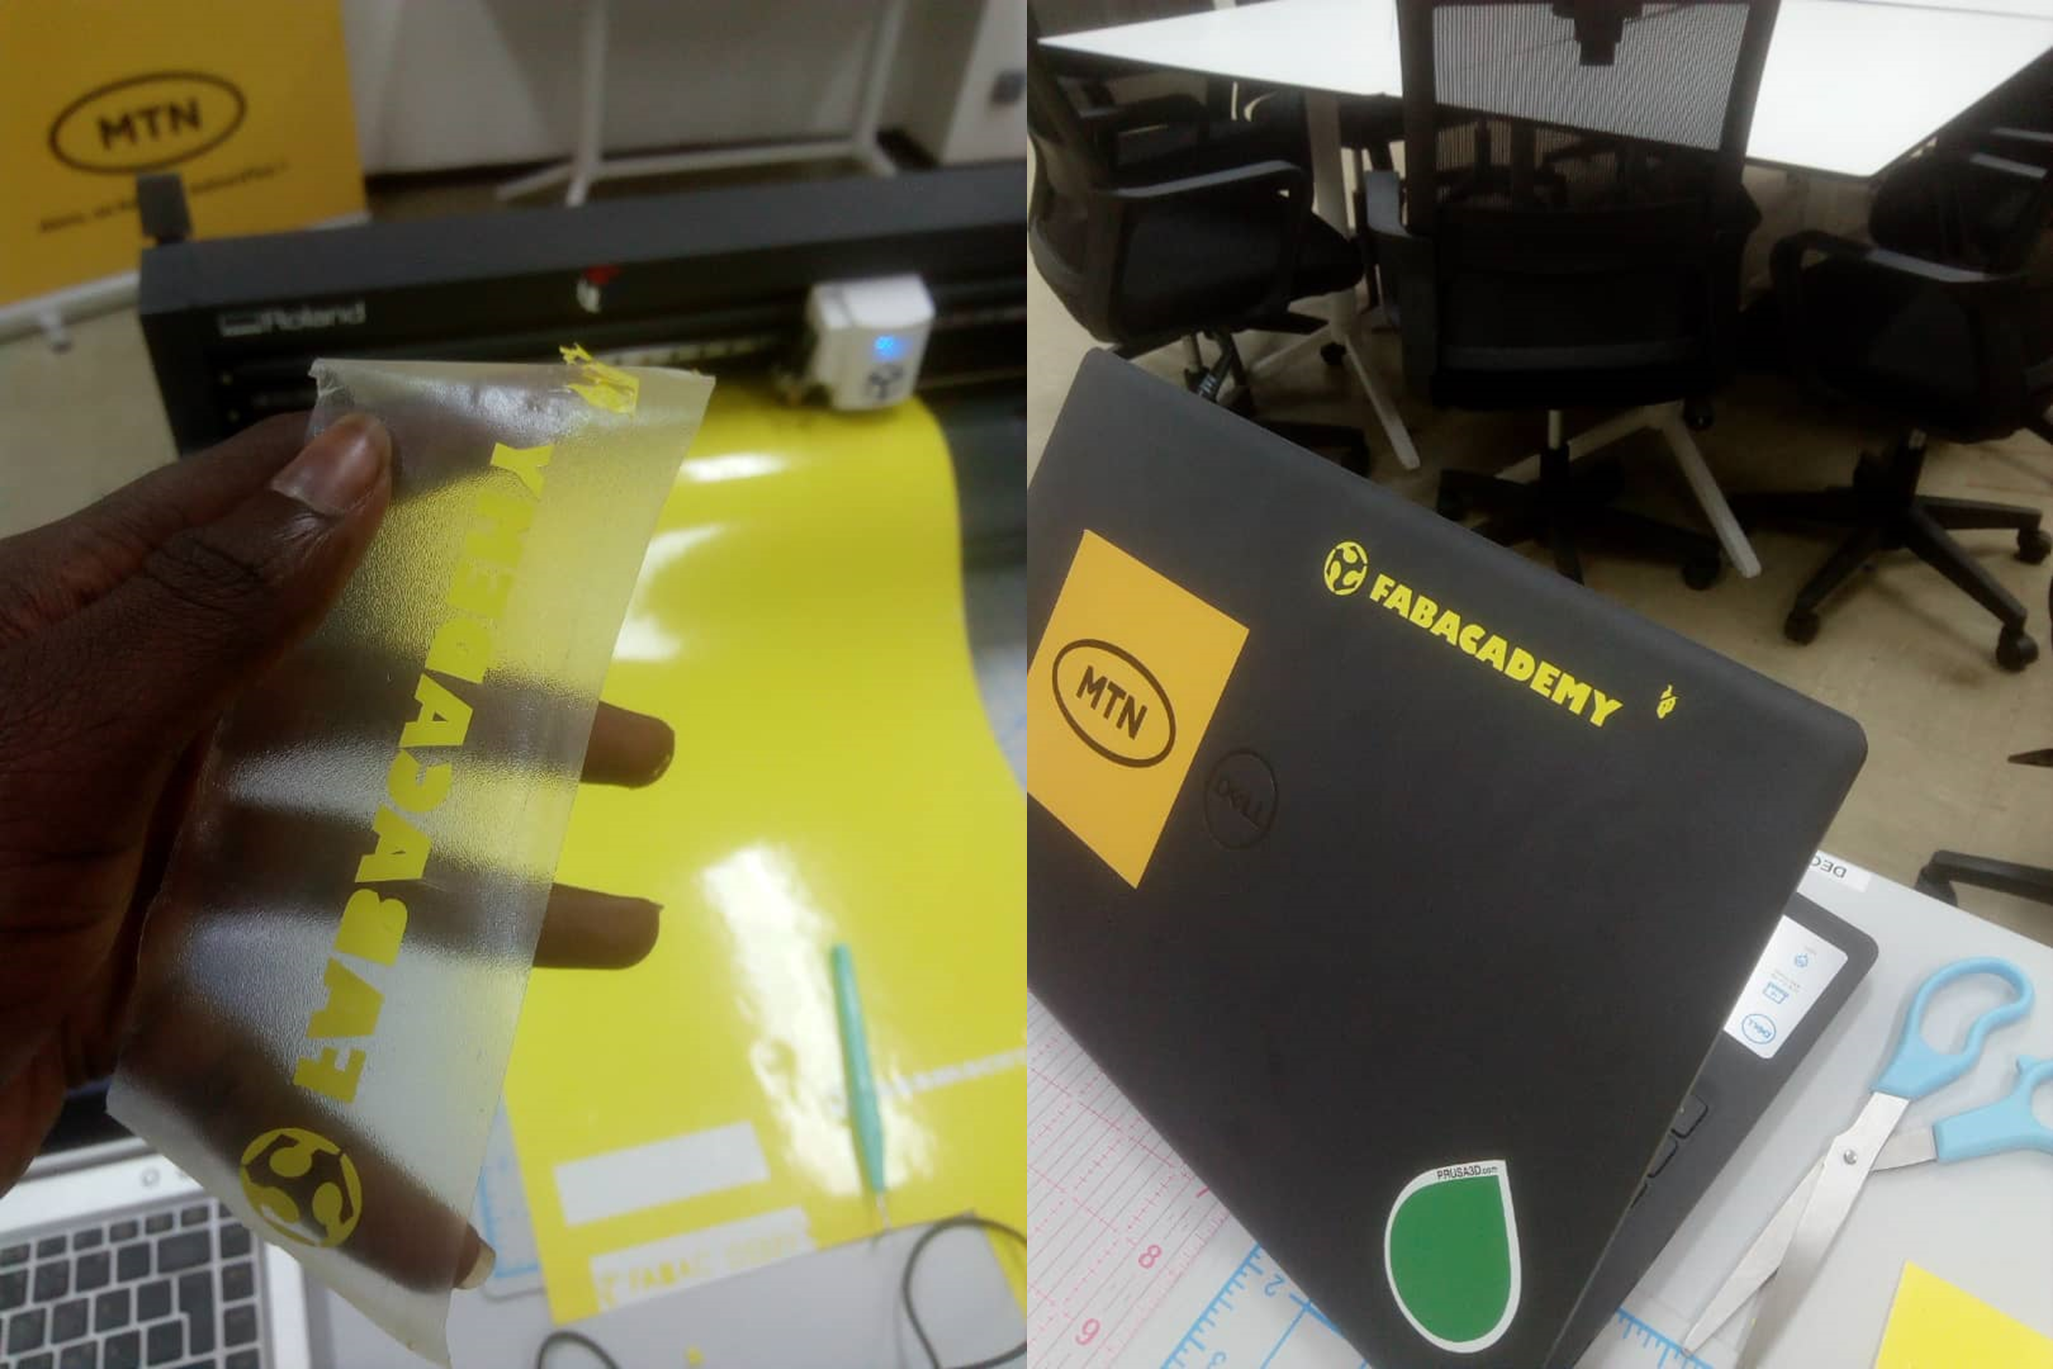
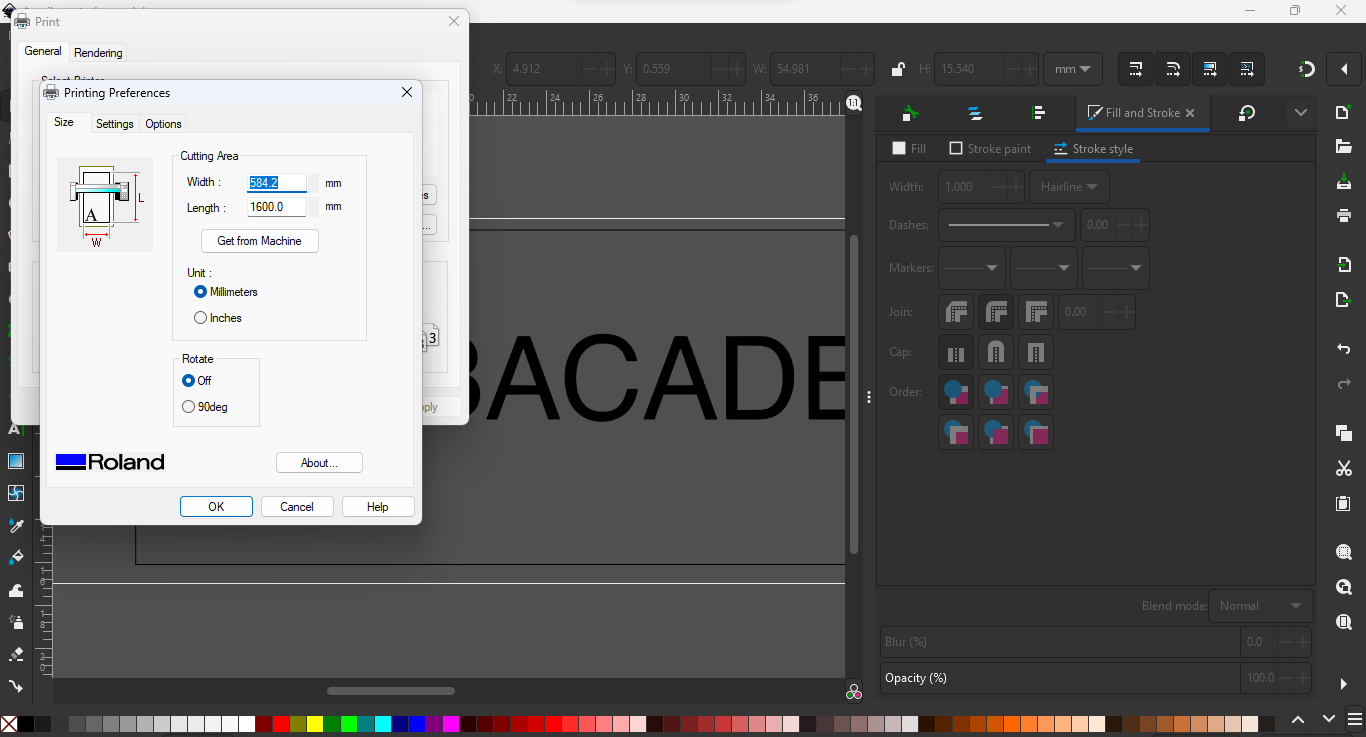
To do cutting I directly use inkscape to start printing. If you’re not able to use your vinyl cutter GS-24 this a link to help you.
This image below show the printing process.
my files are available here