WEEK 12
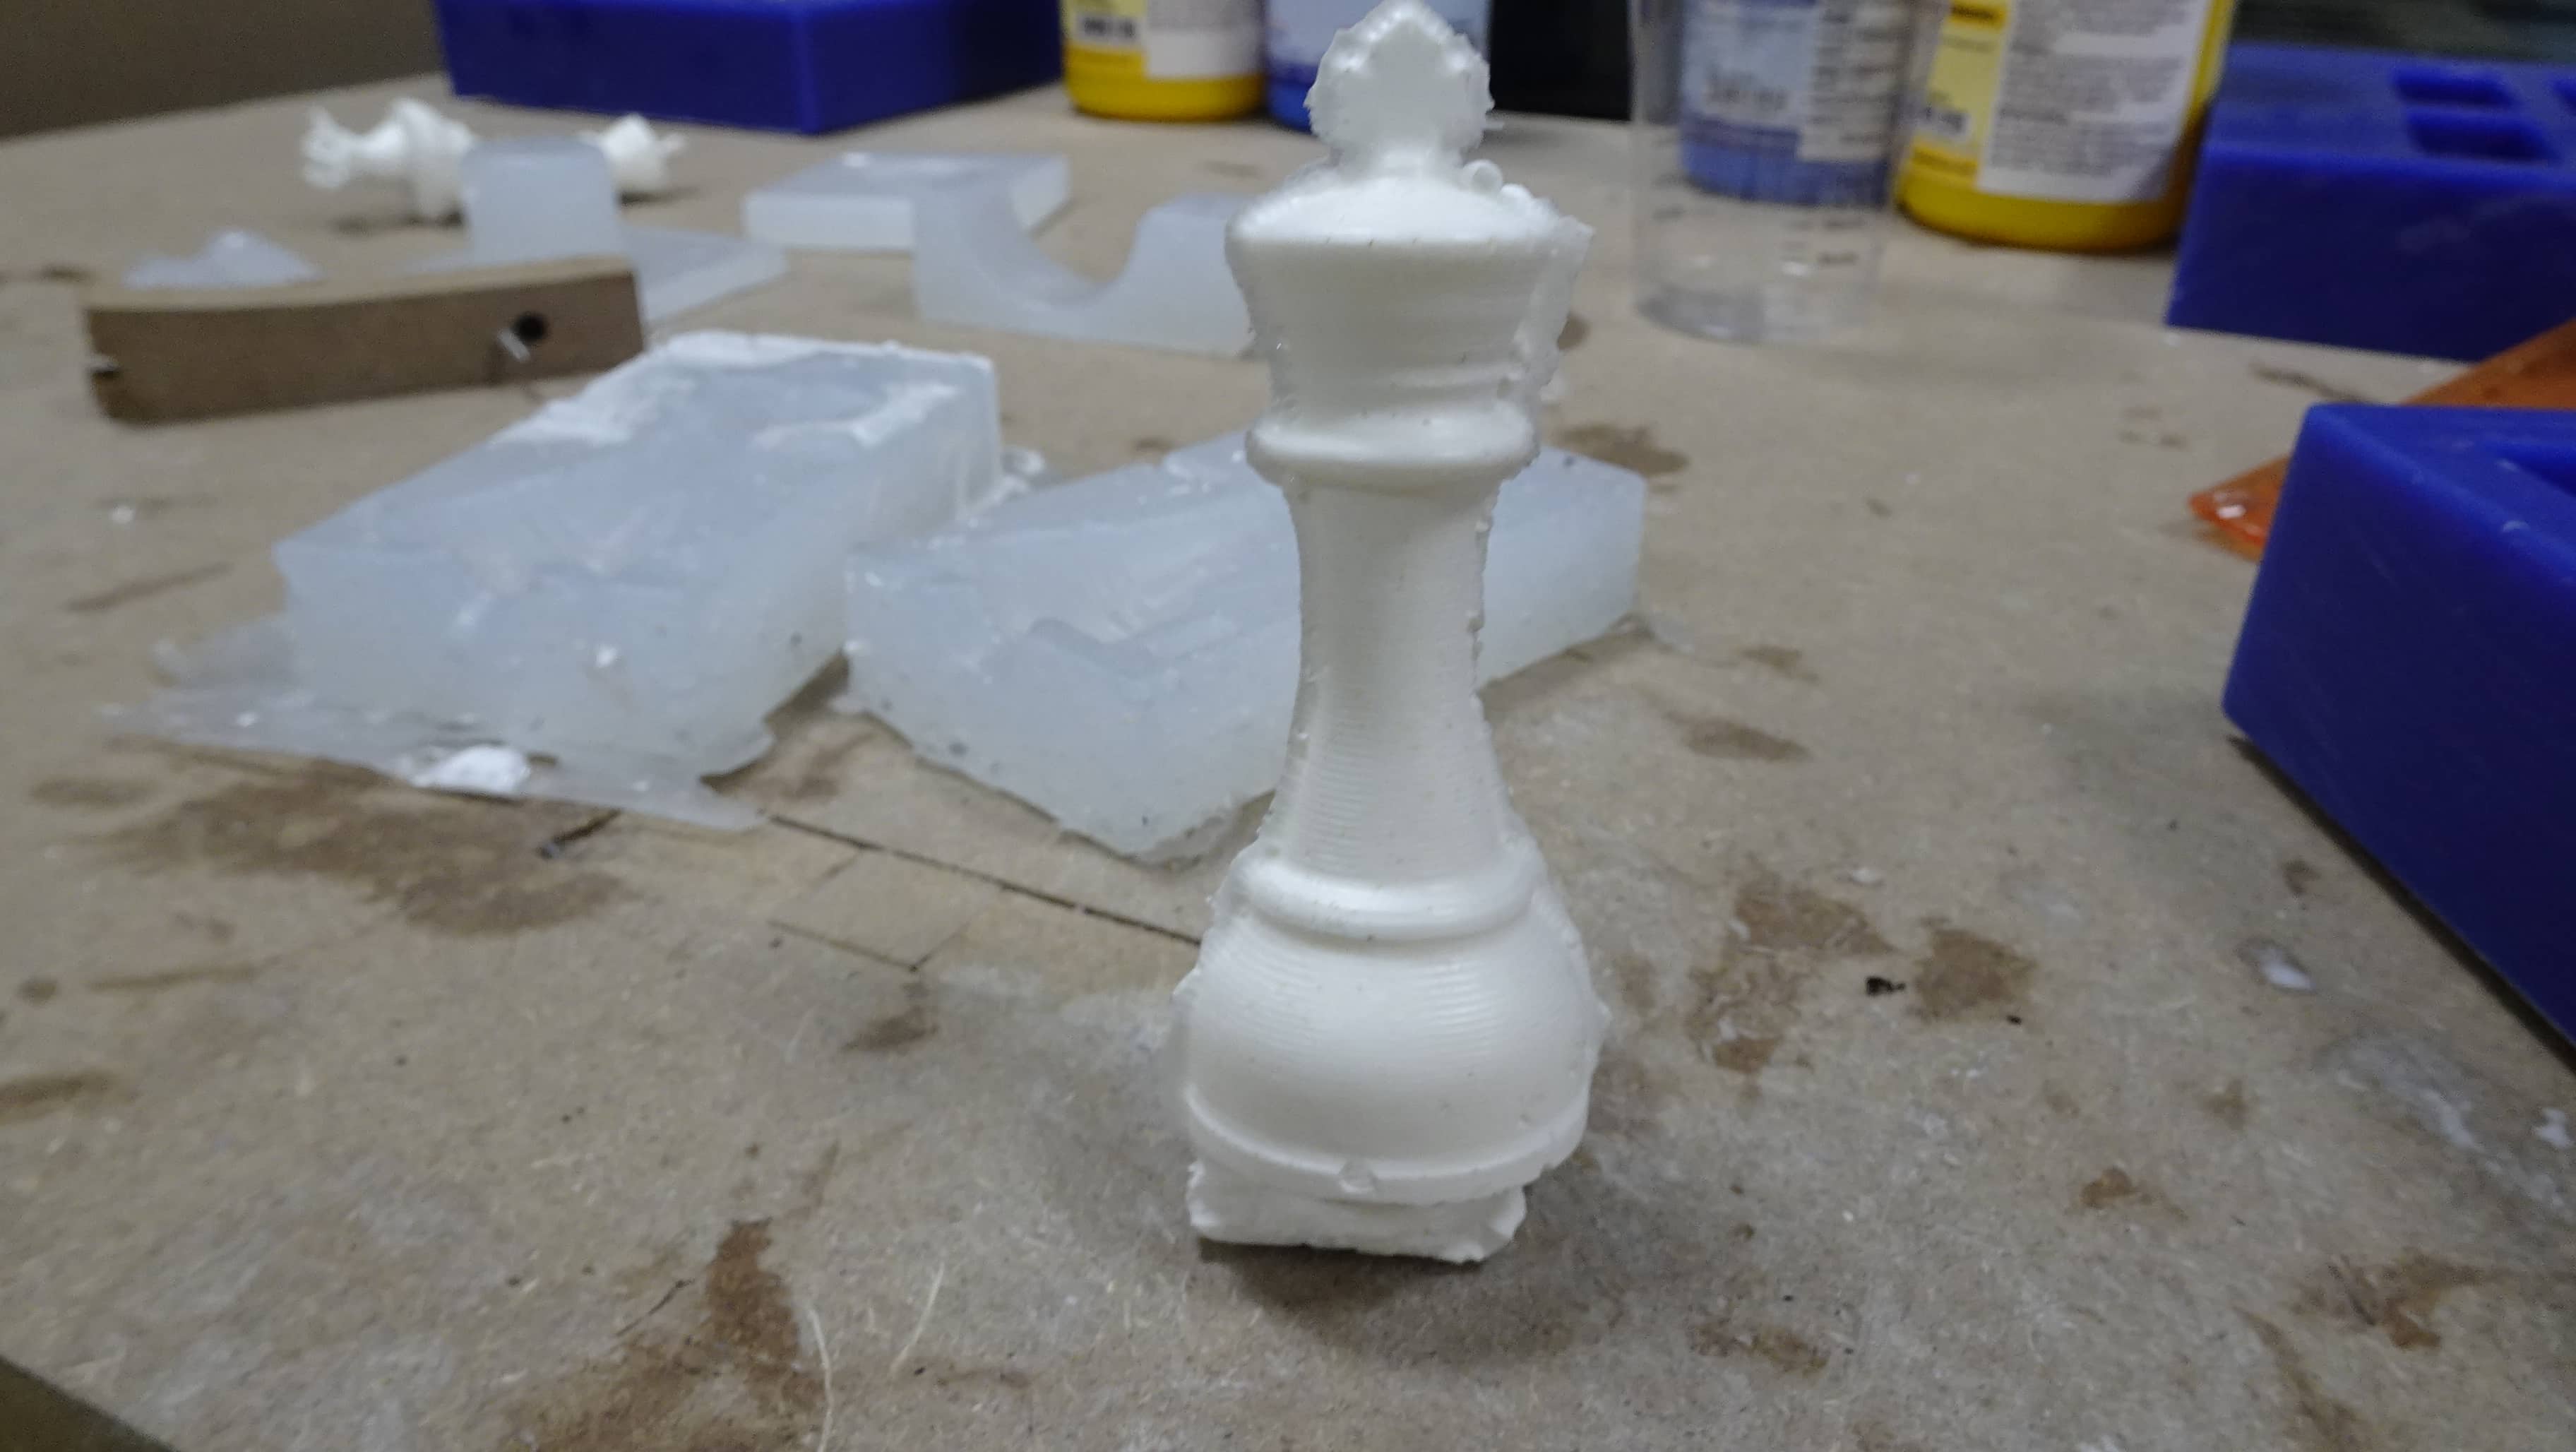
for this week I decided to make a chess piece using sillicone molding and casting.
MOLDING AND CASTING
Group assignment:
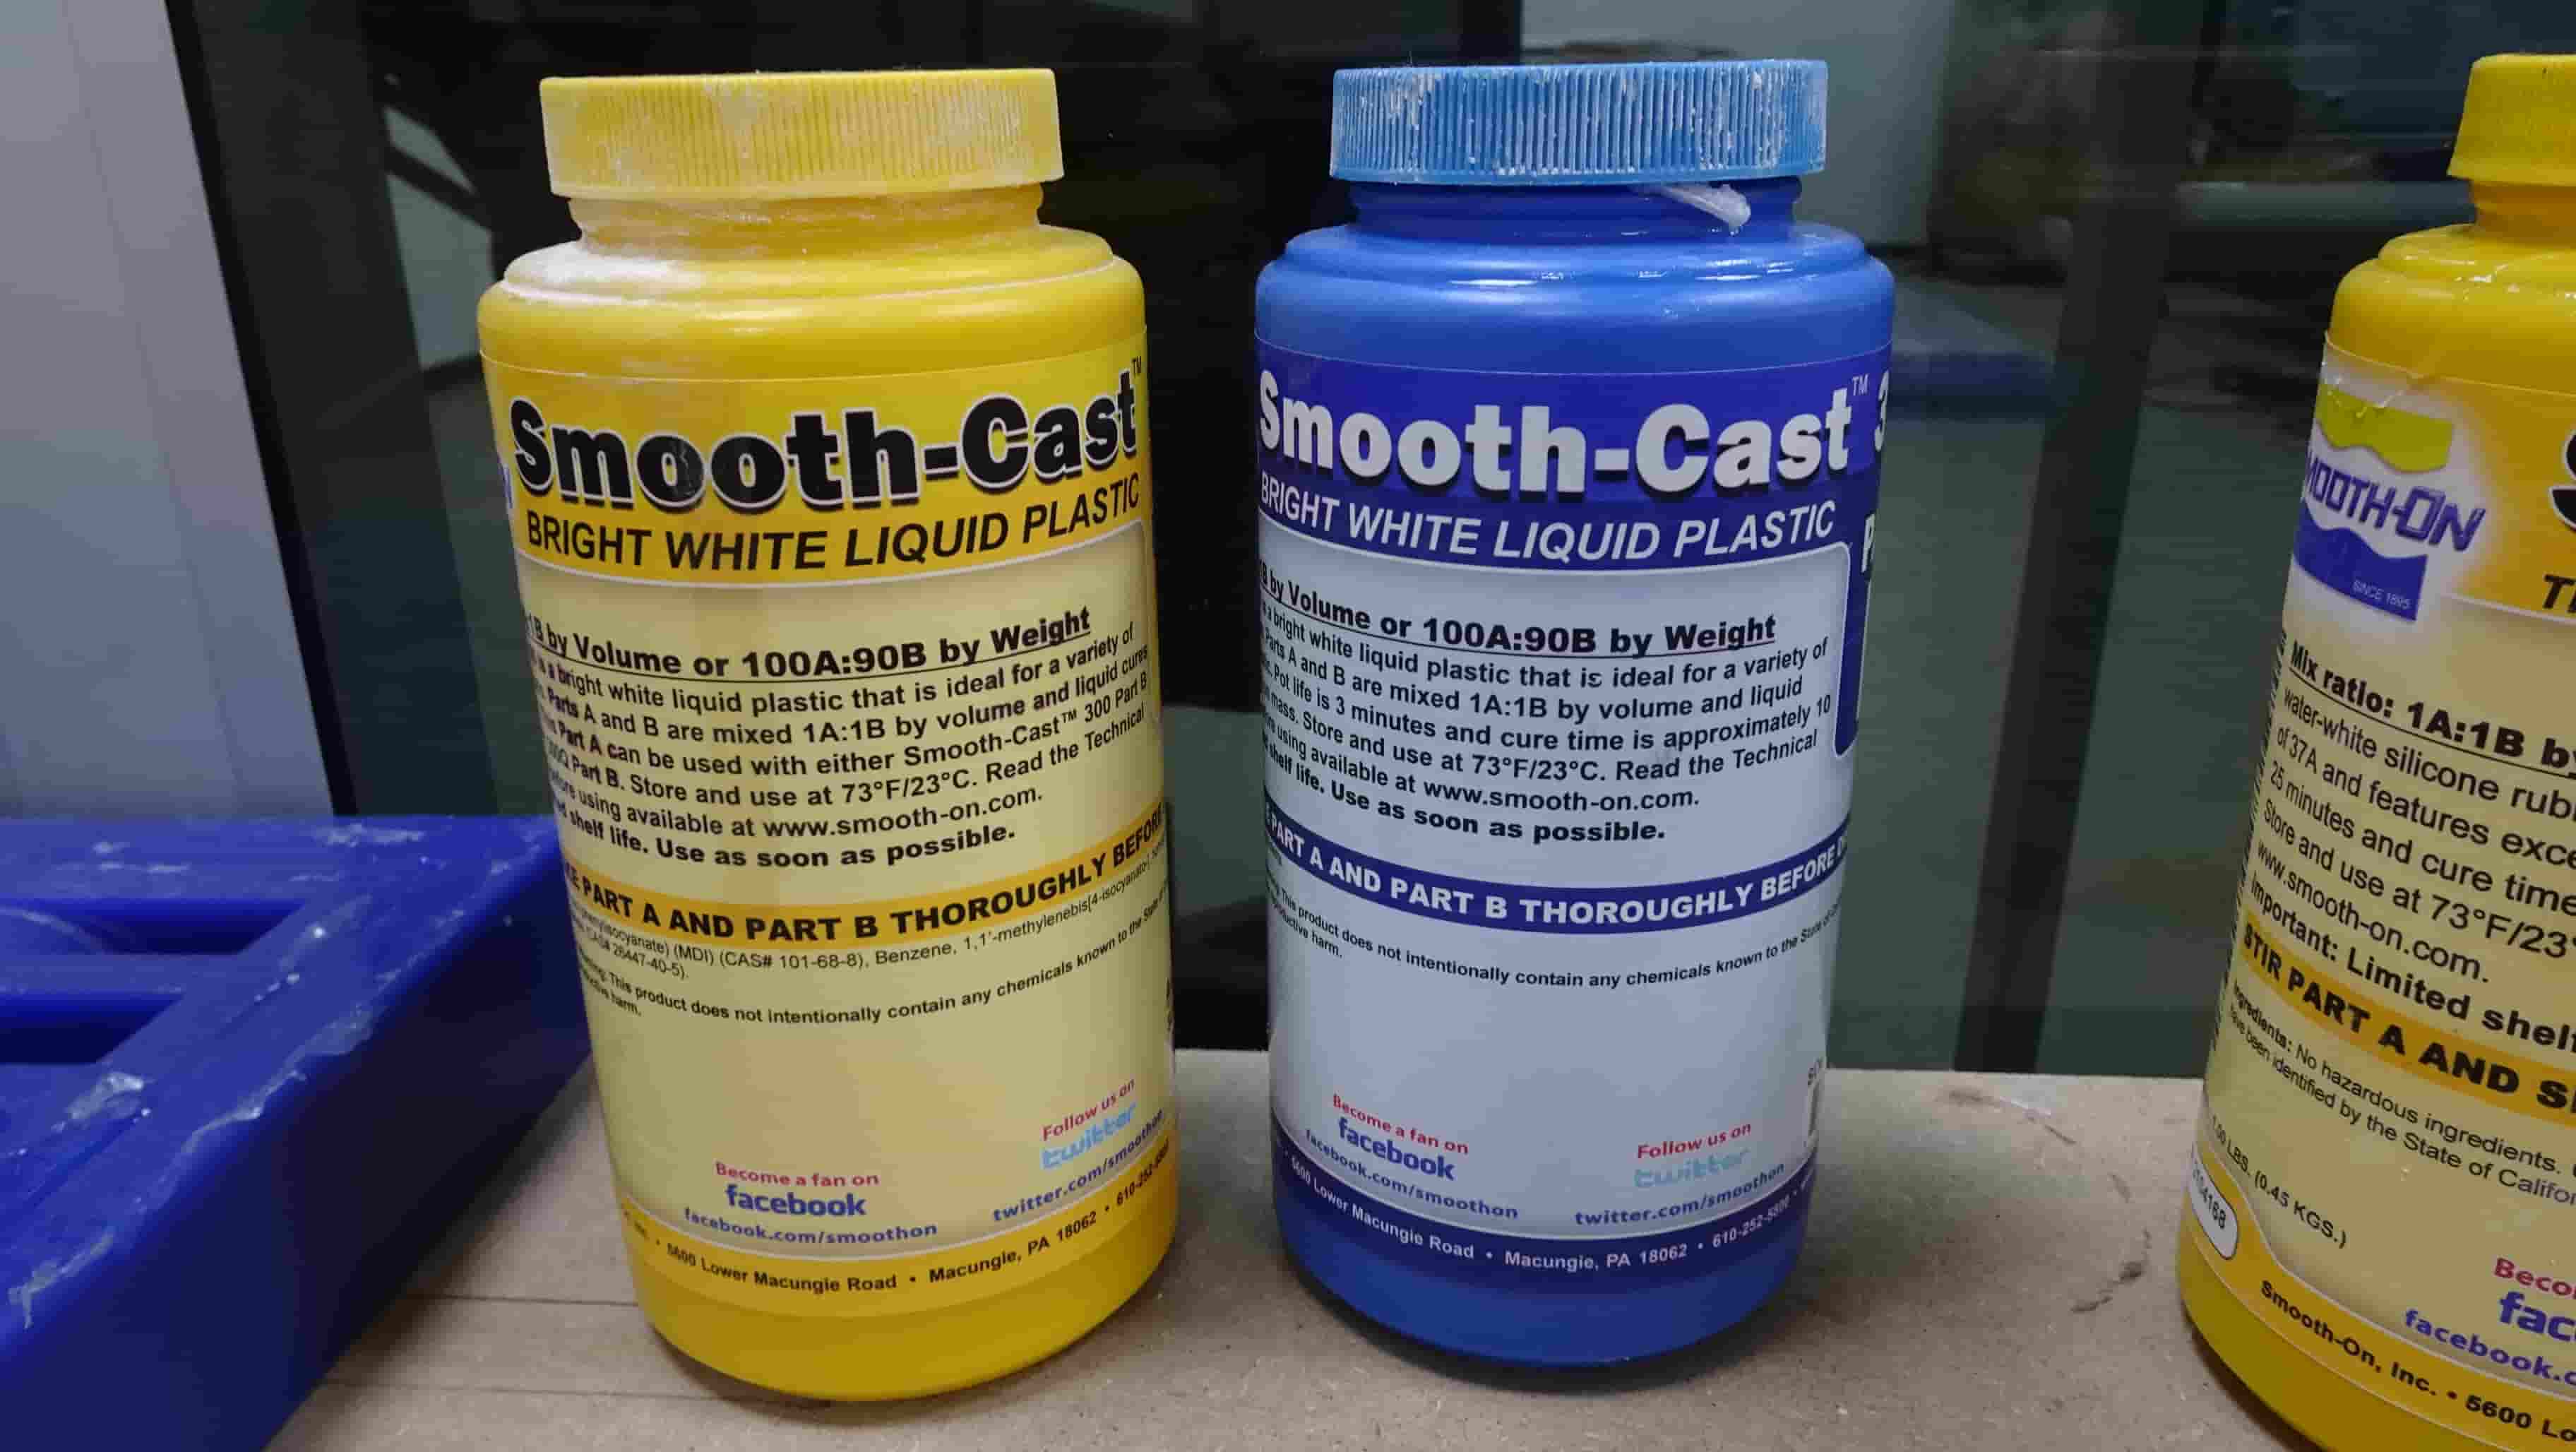
- Review the safety data sheets for each of your molding and casting materials Make and compare test casts with each of them.
Individual assignment:
- Design a mold around the stock and tooling that you’ll be using, mill it (rough cut + (at least) three-axis finish cut), and use it to cast parts.
Learning outcomes :
Design appropriate objects within the limitations of at least 3-axis machining Demonstrate workflows used in mold design, construction and casting
Before all, I was looking for what I’ll mold thus after a lot of research on google to find an idea I choose the chess piece what I think is good idea 👍👌😁
It wasn’t so hard to design my piece cause I choose to design the queen piece.
Designing
I use onshape as 3D software for the design process.
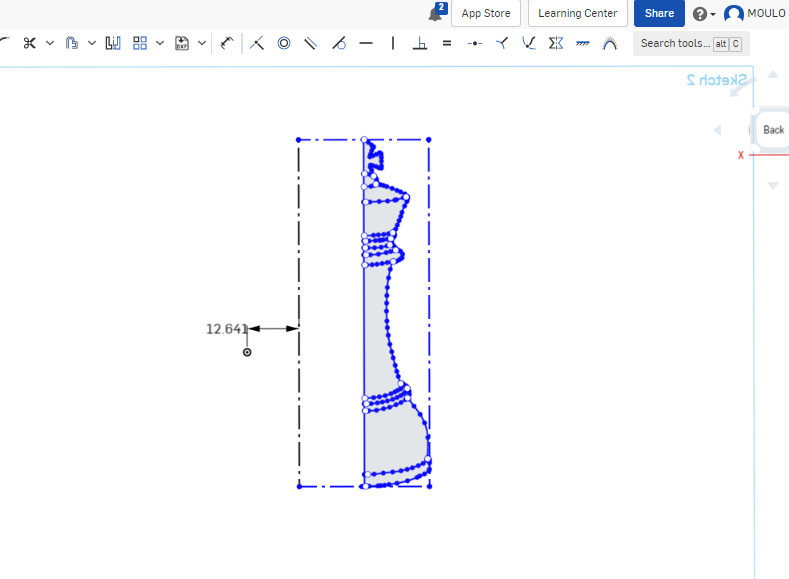
Hence to start I downloaded image as sketch support and used spline tool as shown in picture below.
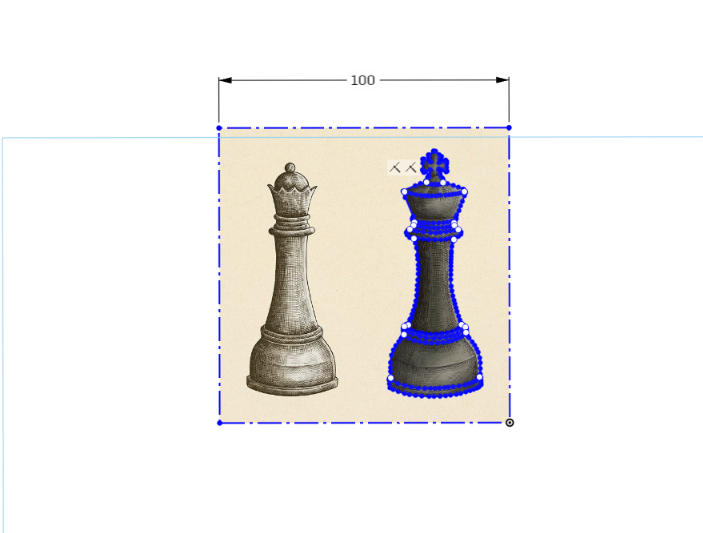
then I obtained it
what I extrude with revolution extrusion.
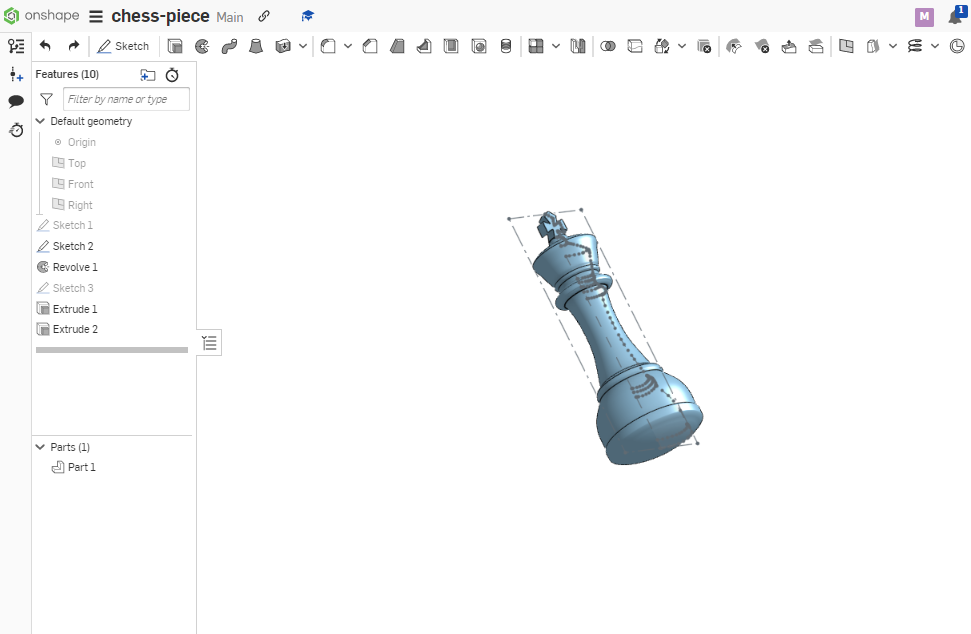
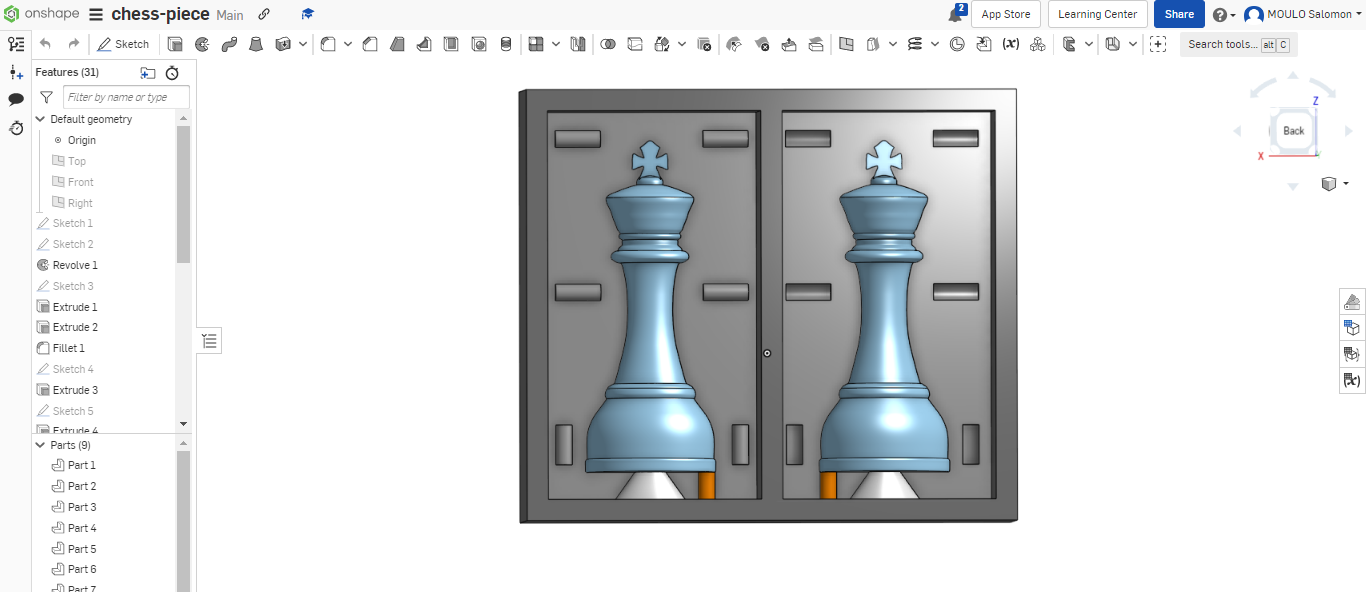
And after all things did, I finally obtained it.
Then I went to Vcarve pro software to generate the toolpath to make the mold.
So, when we go to Vcarve, we set all parameters we need. Globally we need to set the workspace dimensions necessary the width, the length and height.
Important also to choose the right tool and set the characteristics of that. this a youtube link to help you complete your setting.
After all set this what I obtained :
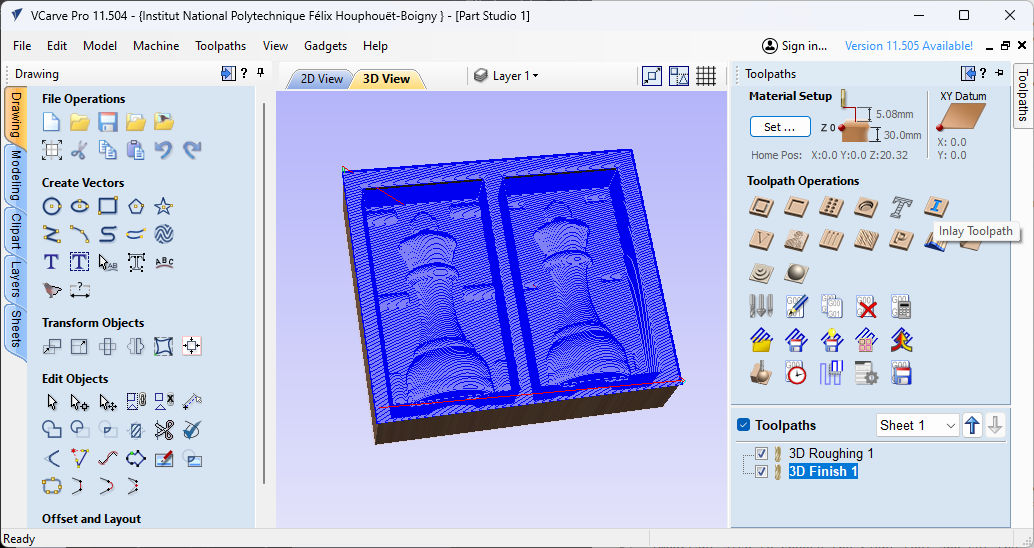
So according to me the tool used is 1/8” ball nose
Note
More your project incorporate thin or a complex details more your tool you use must have small diameter to make the details. In my case the choice of the tool depend essentially on the simple shape I had to mill with basic shape. Also know that if you use tool with big diameter your milling process will be more fast on the other hand use tool with small diameter will make your milling process slower.
Important
Pay attention to not have some shape in your design more thin than the tool you use.
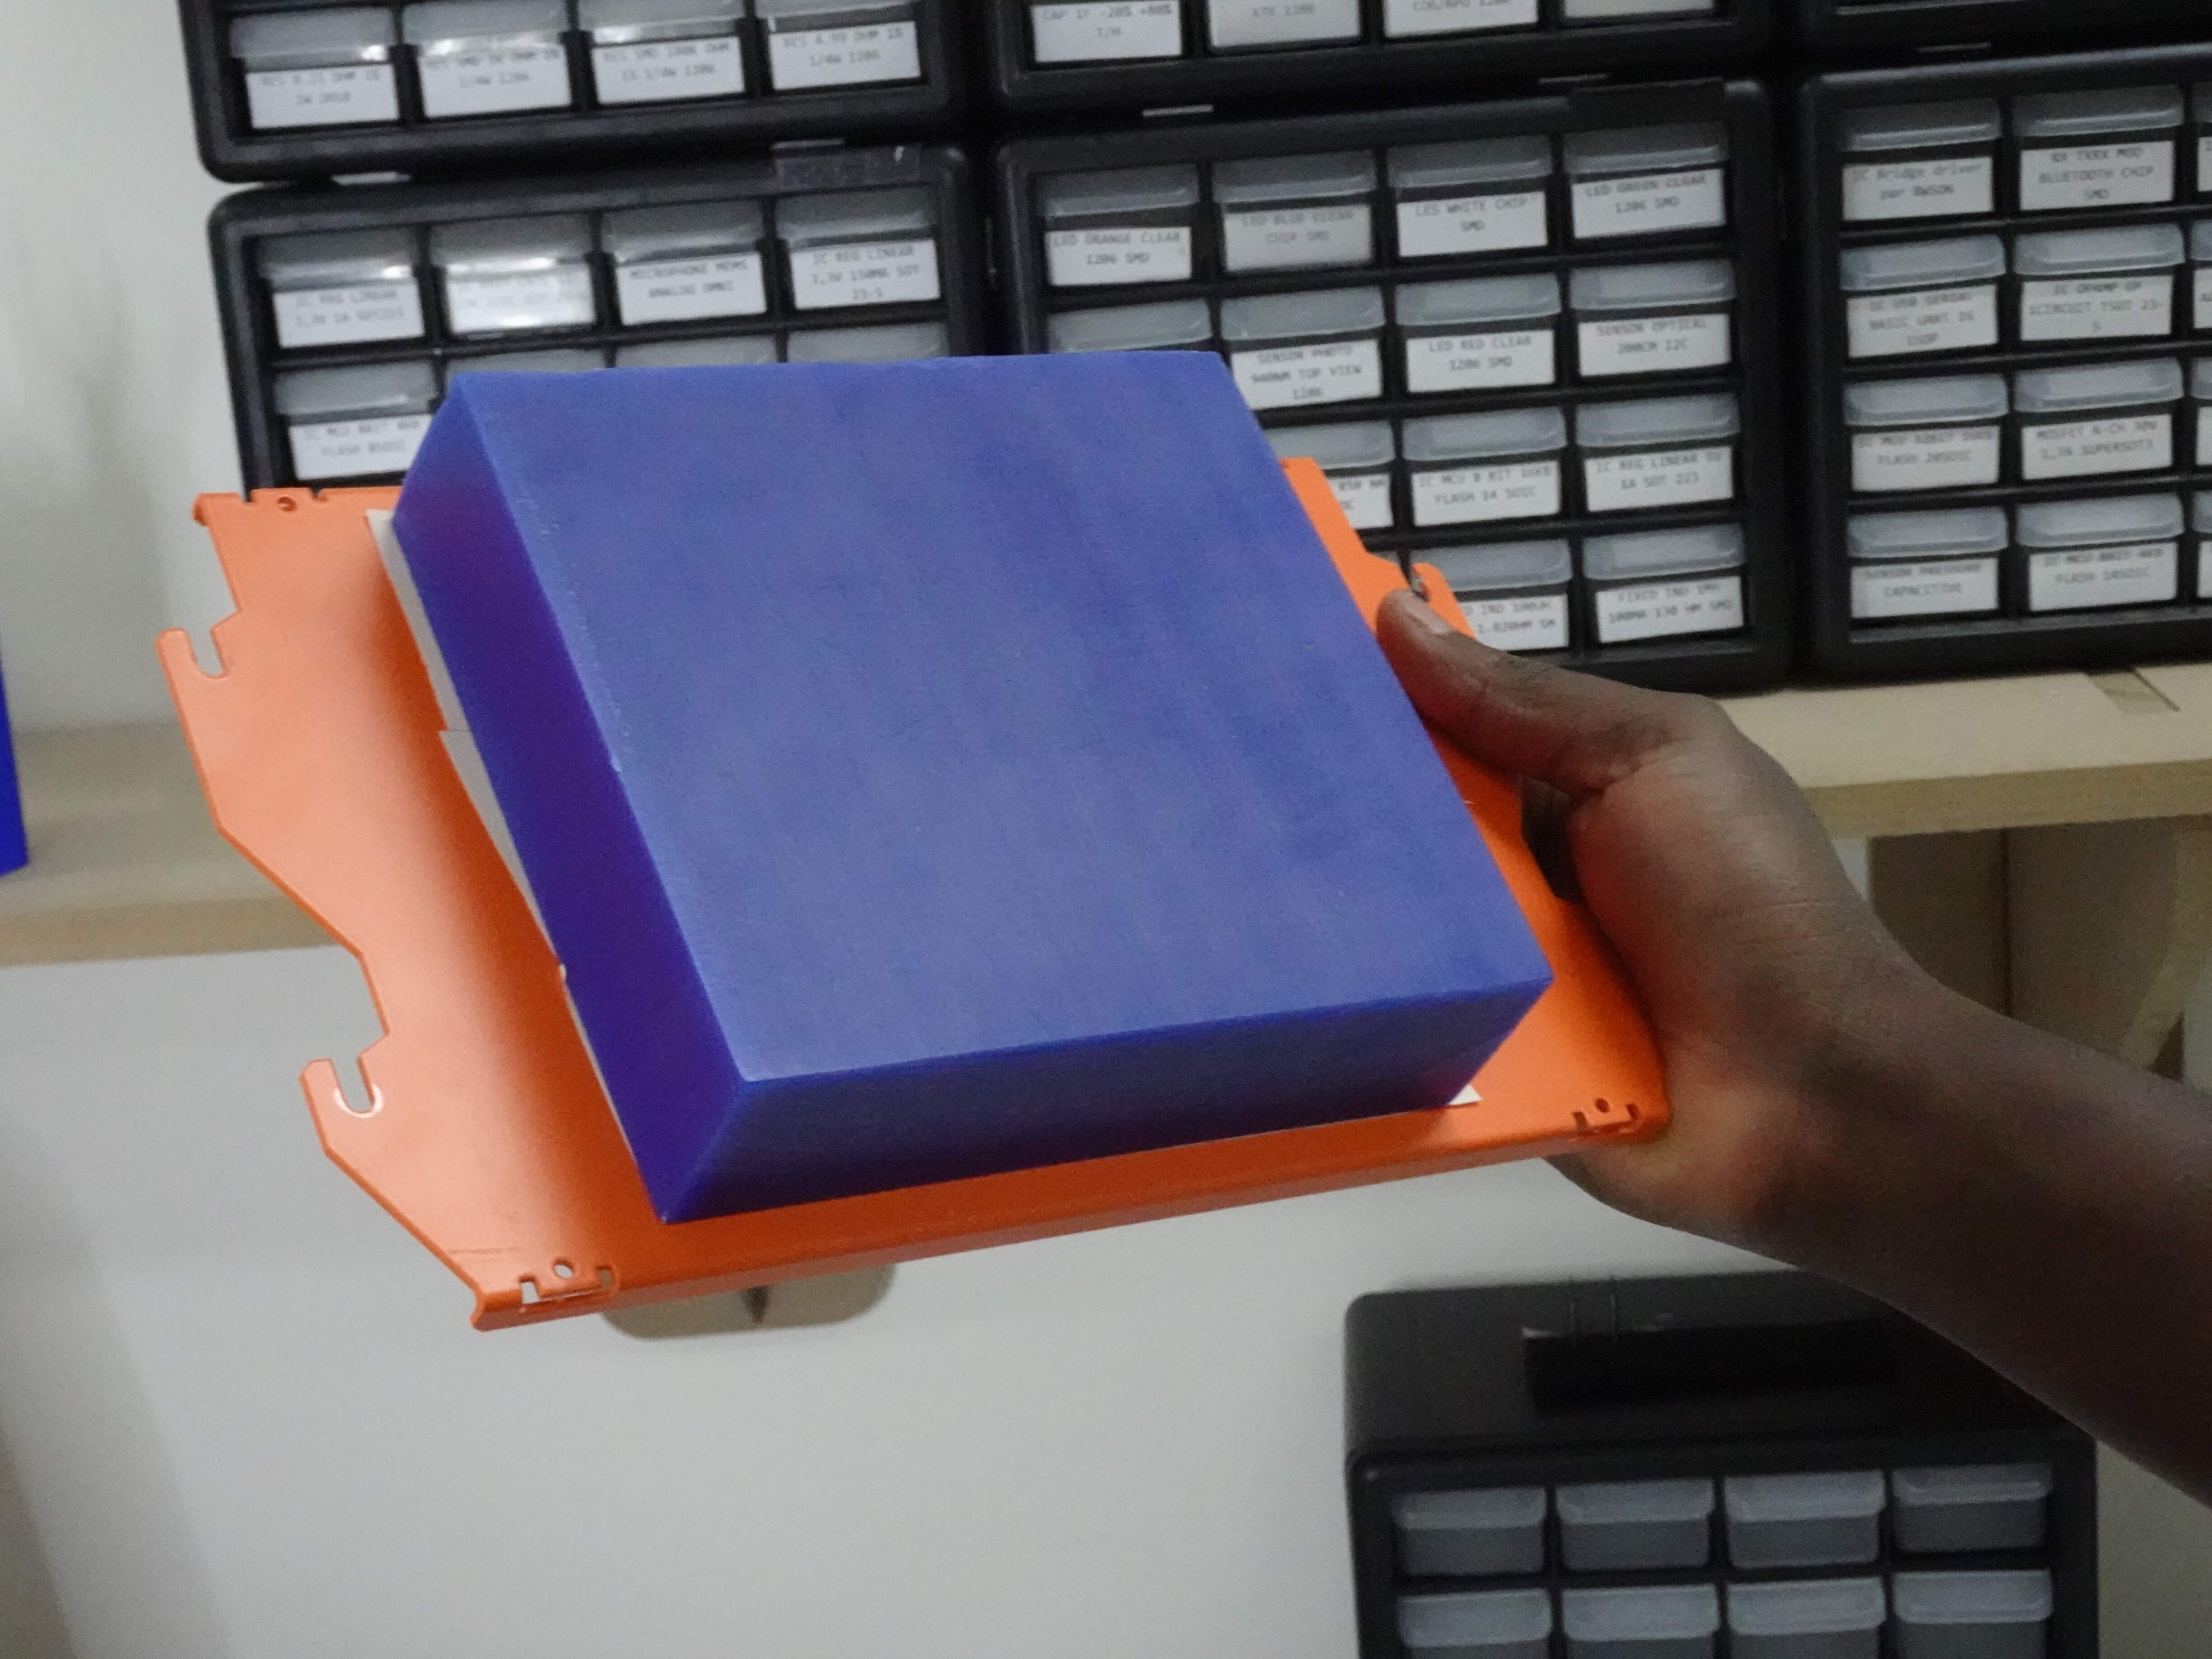
this our material
 And below we have a picture show the mold
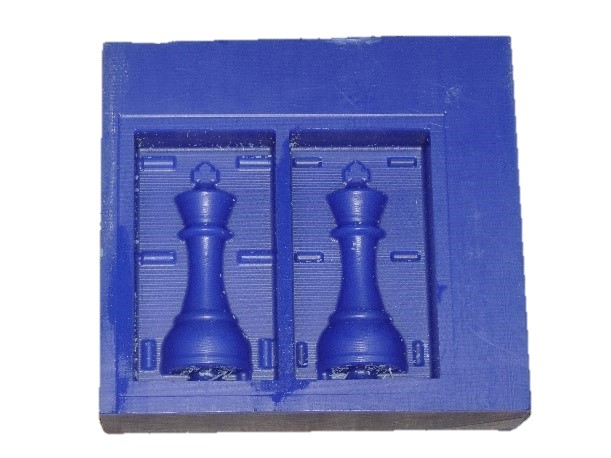
I inserted in the design of the mold a blowhole for casting i.e when I will spill in the mold the sillicon to cast my chess piece. I also made something like bump in the design to enable the two parts of the mold hooking themselves.
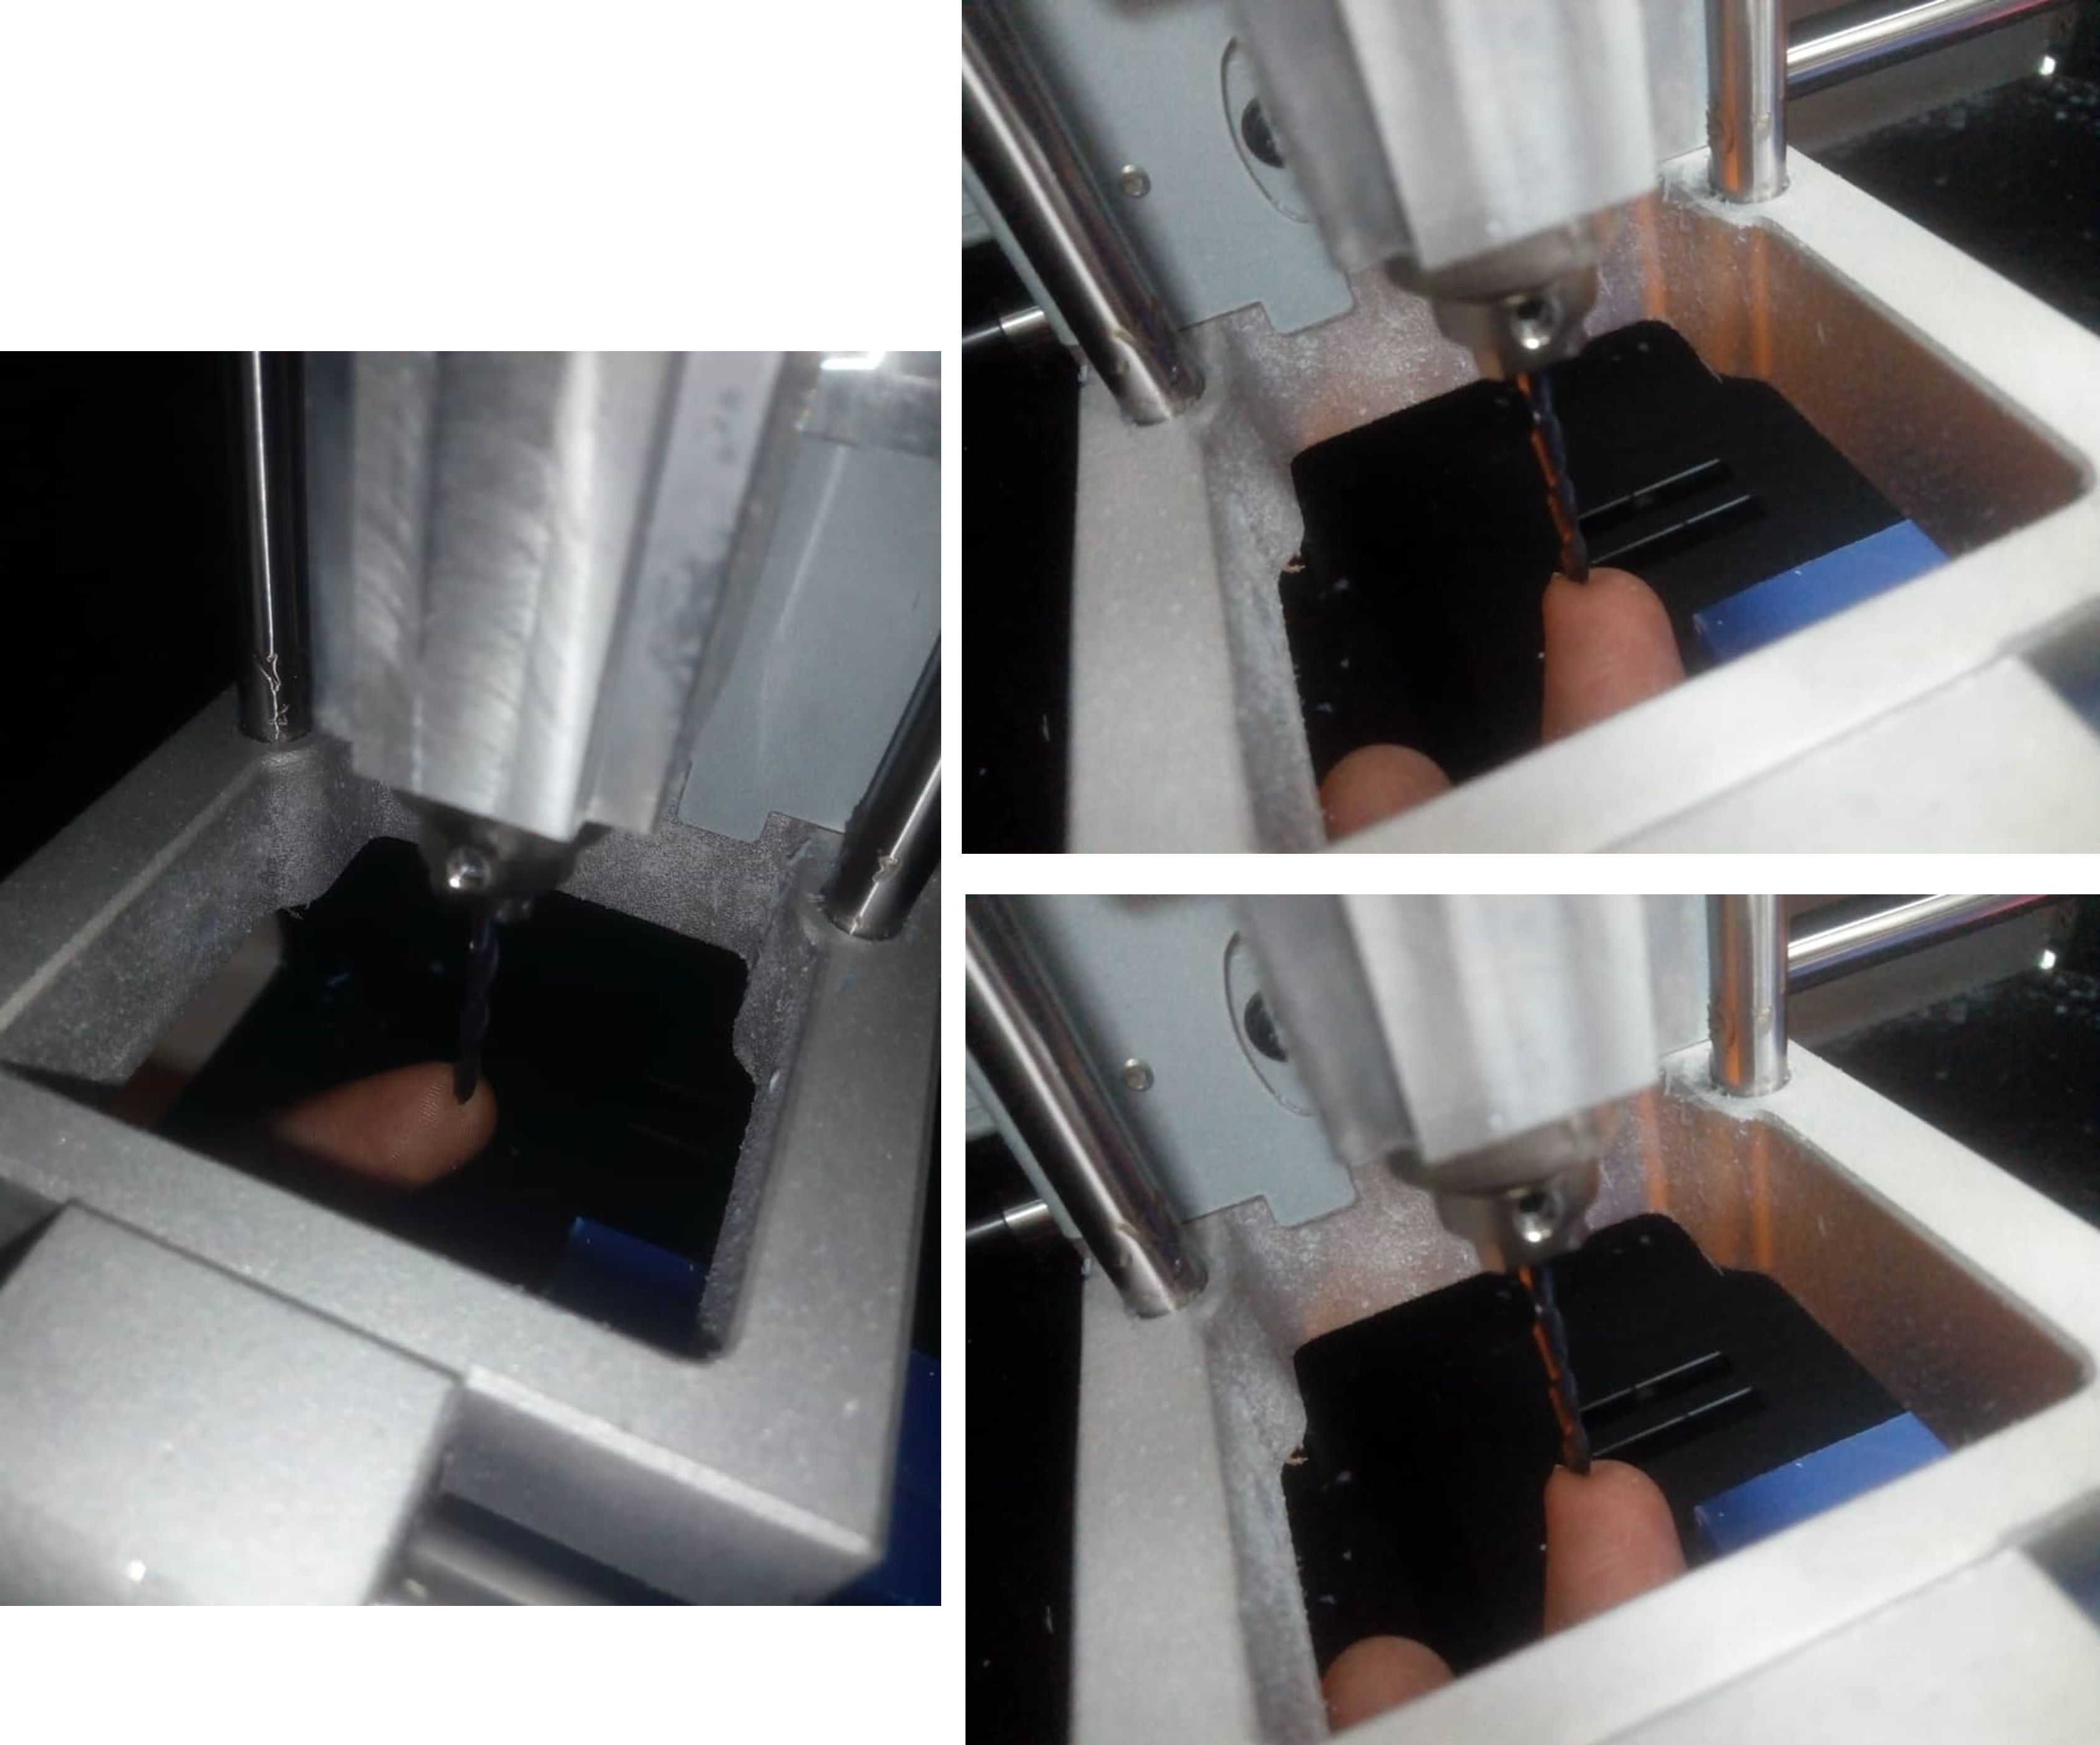
I use this both for molding
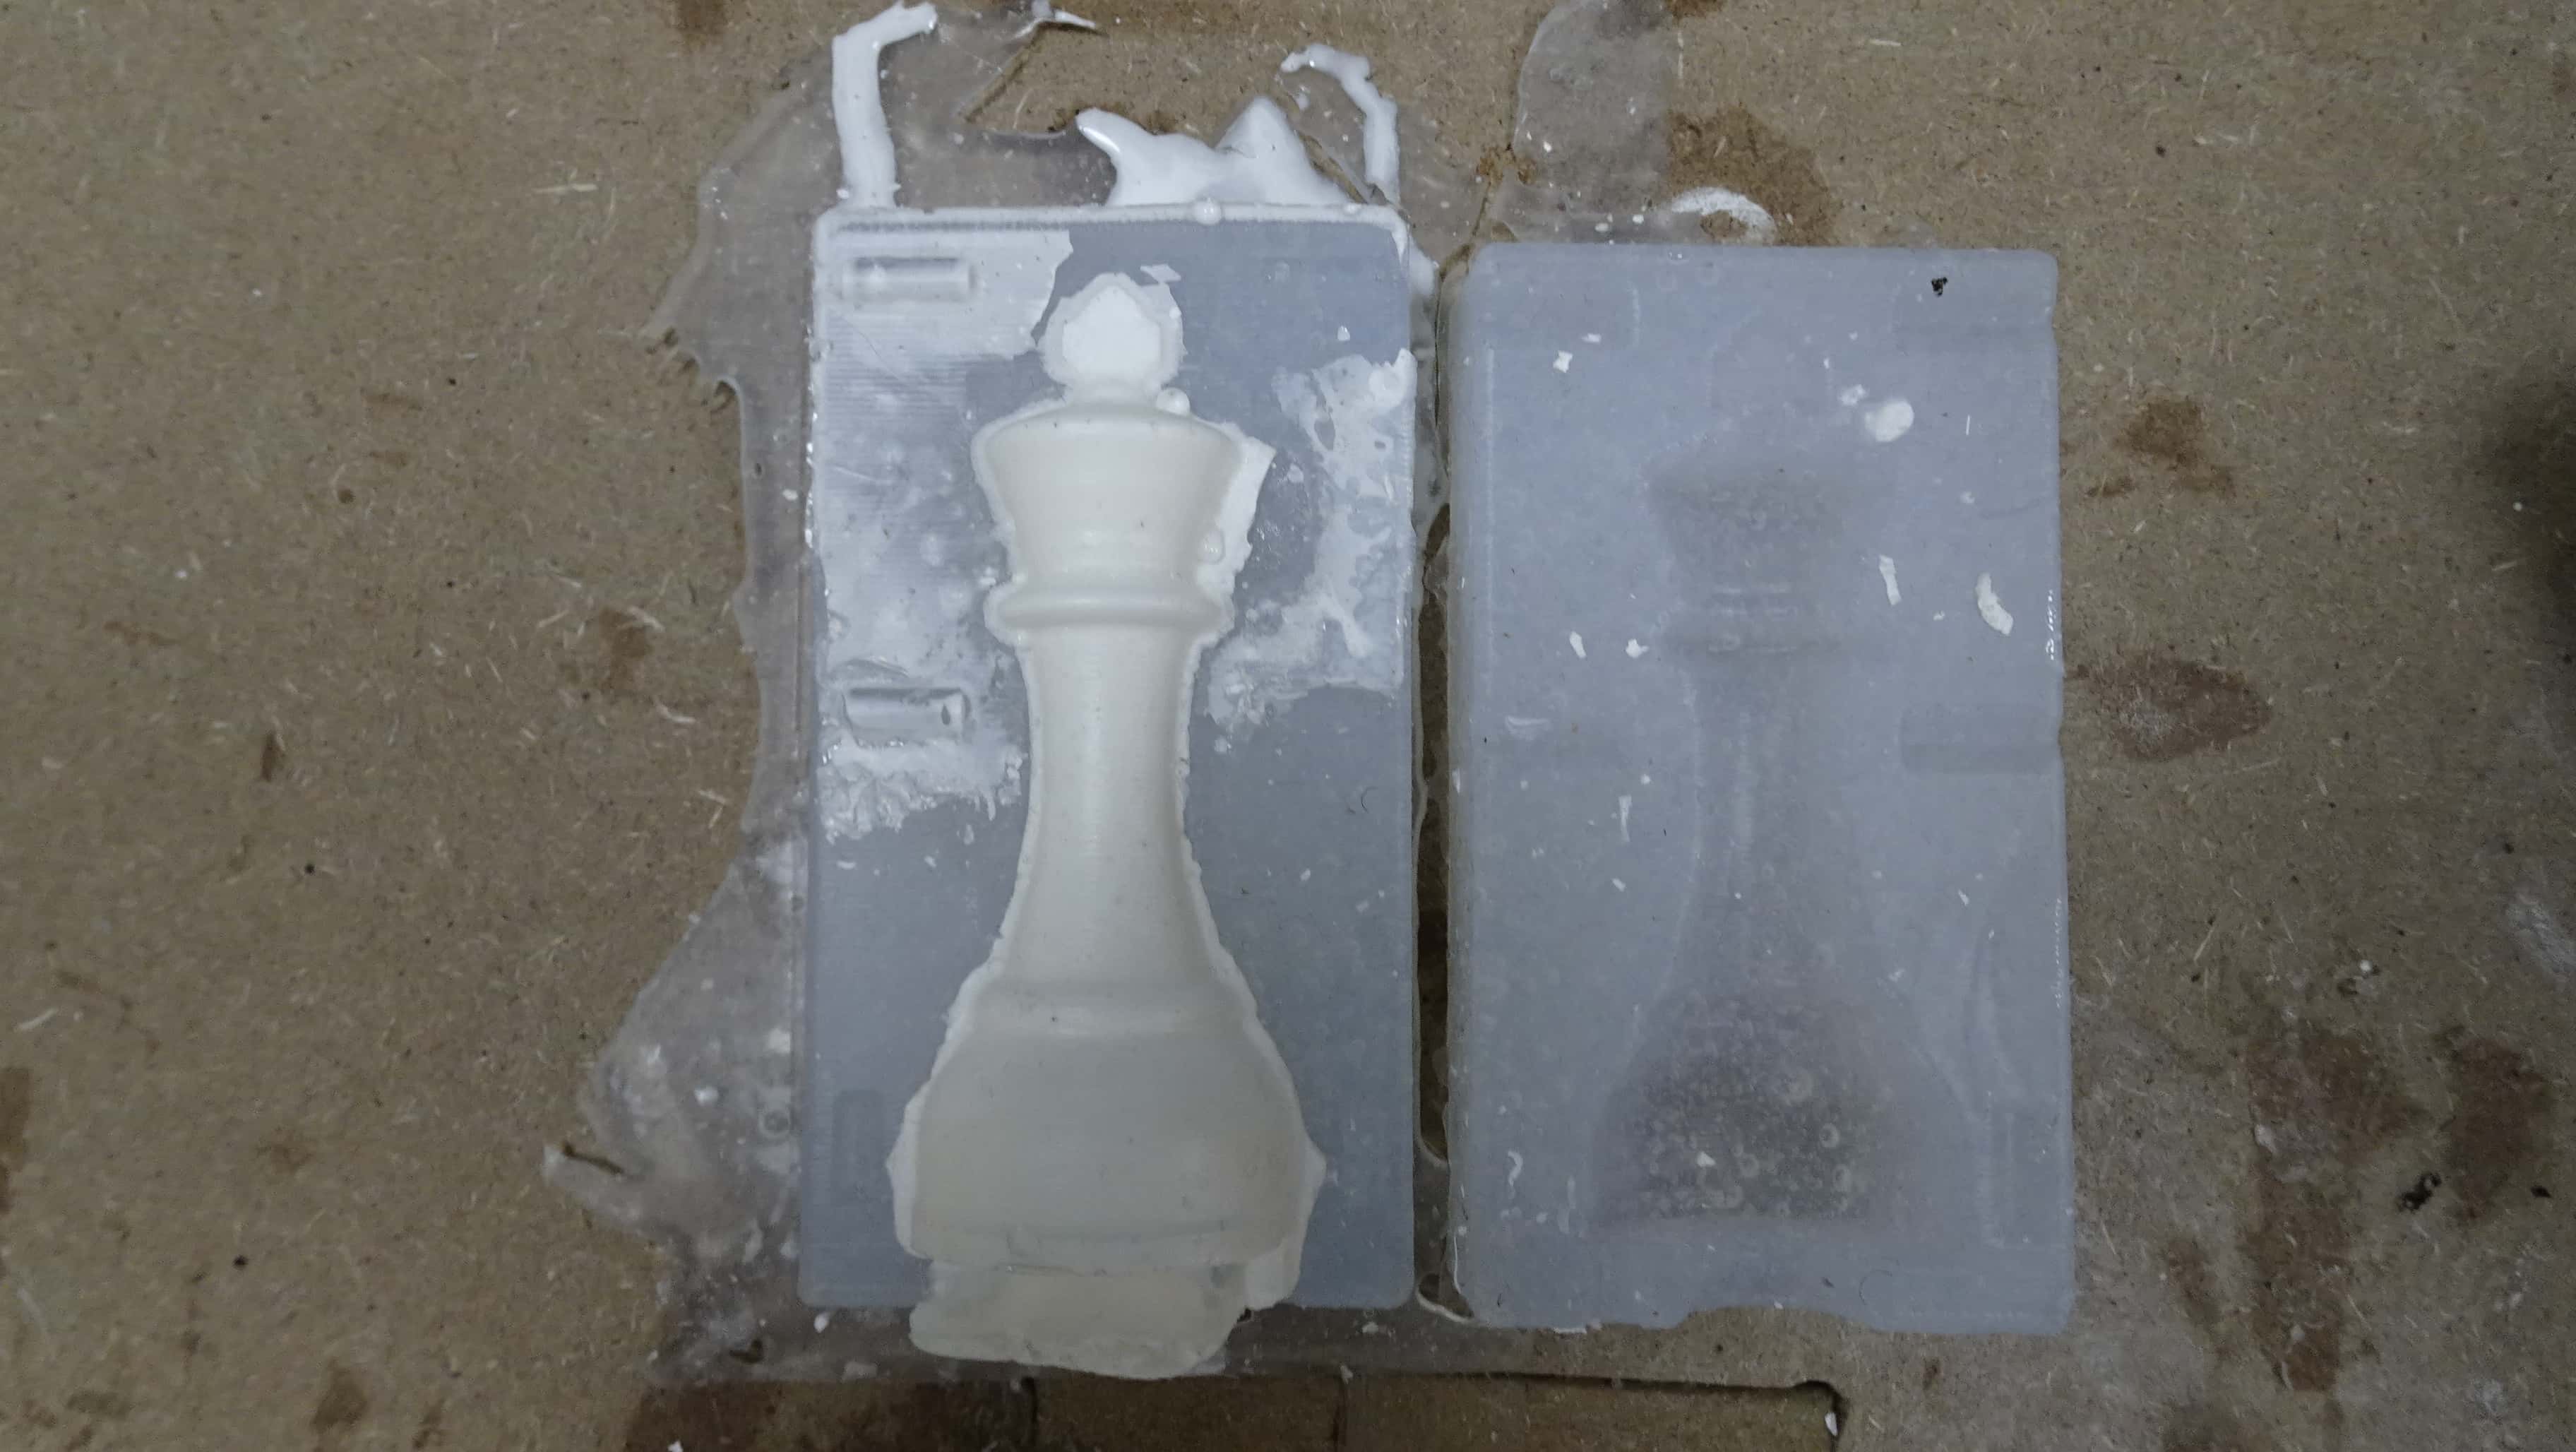
 I made sillicon mold like this
I use this both for casting
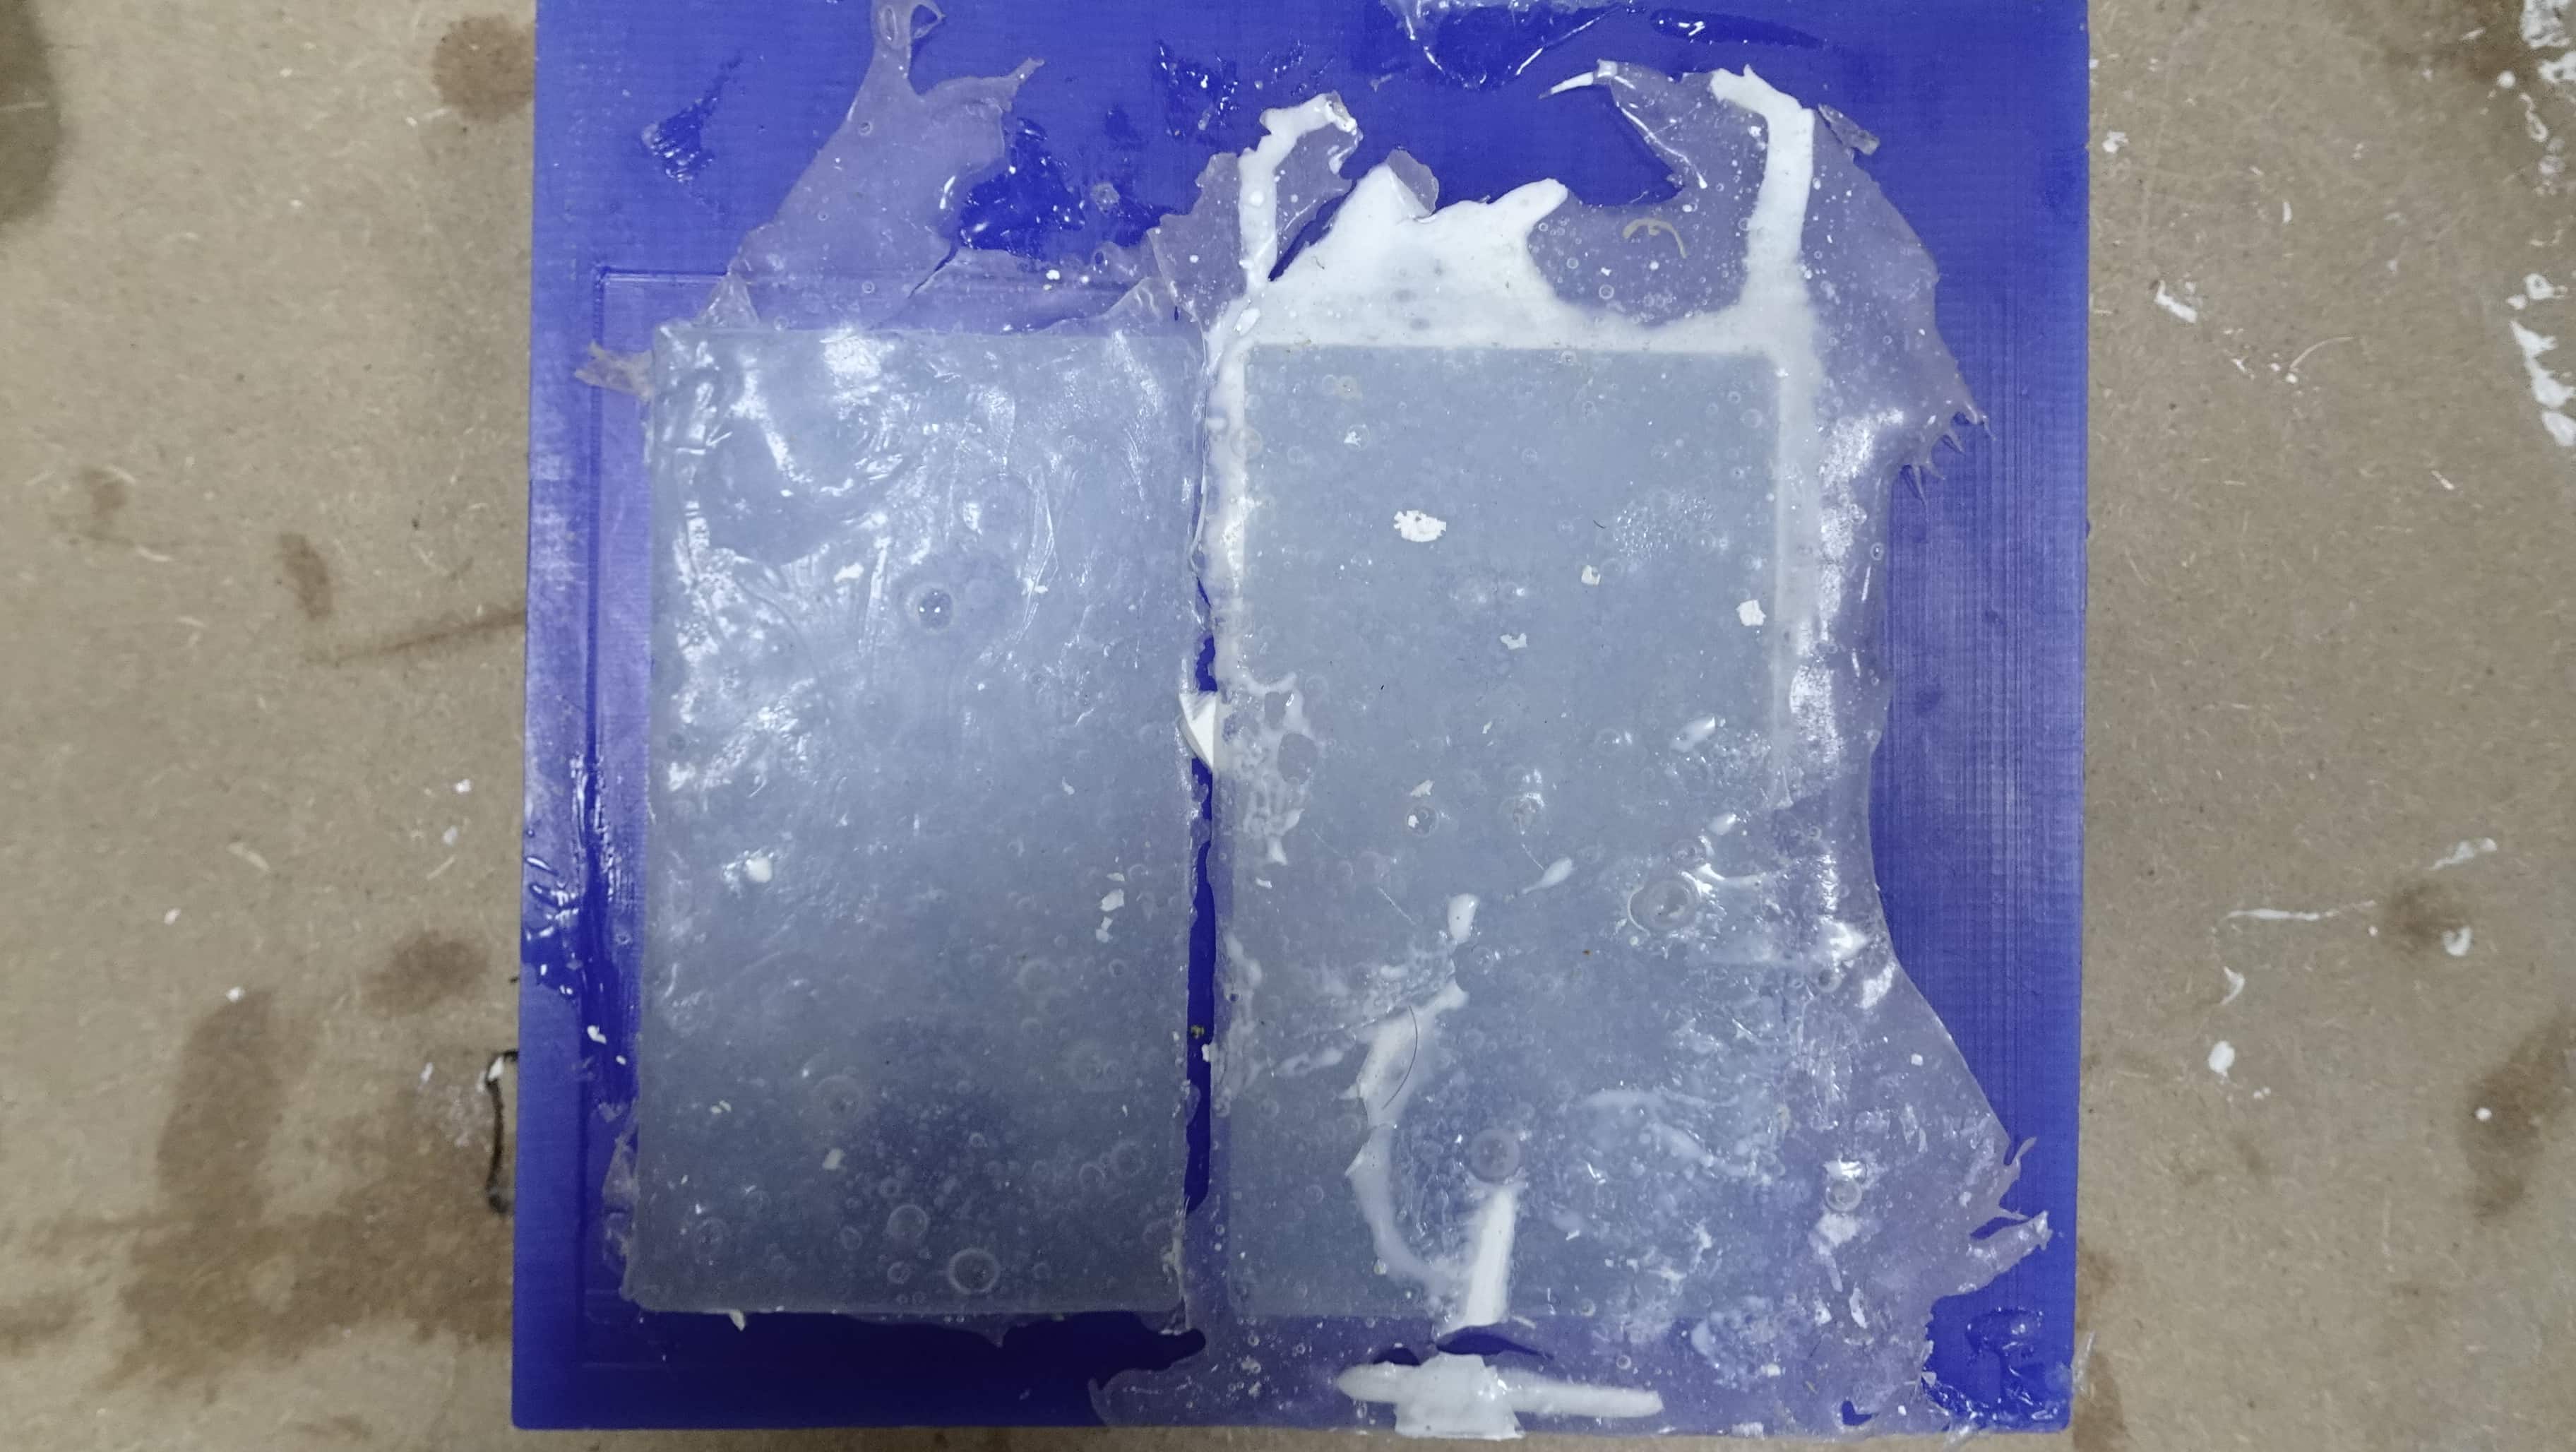
 Then I cast the sillicon for casting
Note
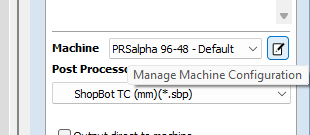
In Varve you can download a post processor to generate the toolpath for roland SRM-20. *So if you go to toolpath tab and then in save toolpath you must click on manage machine configuration and you will open the preprocessor manager window where you will find
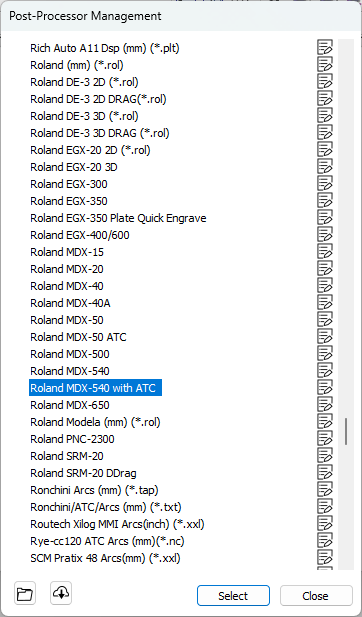
After you clicked on it you should see a new window where you should go to associated post processor section then cick on + symbol to open the post processor manage. search for Roland MDX-540 with ATC as shown below.
Make sure you add new machine before.
Why do positive and negative
Positive Form: The positive form, also known as the master or original model, is the object that you want to reproduce or create copies of. It serves as the basis for creating the mold. The positive form can be made from various materials such as clay, wax, wood, plastic, or even 3D printed.
Negative Form: The negative form, also called the mold, is created by taking an impression or casting of the positive form. The mold captures the shape, texture, and details of the positive form in reverse. It is typically made from materials such as silicone, rubber, plaster, or metal.
The reasons for creating positive and negative forms are as follows:
Reproducibility: By creating a negative mold, you can reproduce multiple copies of the original positive form. The negative mold allows you to make replicas that retain the shape and details of the original object accurately. This is particularly useful in mass production or when you need multiple identical copies of an item.
Preservation of the Original: Making a negative mold protects the original positive form from potential damage during the casting process. Instead of working directly with the original object, you use the mold for casting, minimizing the risk of altering or destroying the original model.
Complex Shapes and Undercuts: Creating a negative mold enables the production of objects with complex shapes, intricate details, and undercuts. The mold captures the intricate features of the positive form, including overhangs, indentations, or protrusions that would be challenging to reproduce directly without a mold.
Material Selection: The positive form can be made from a material that is suitable for the desired appearance, texture, or functionality of the final object. For example, you might create a detailed sculpture out of clay or a prototype with specific dimensions using 3D printing. The negative mold, on the other hand, can be made from a material that is flexible, durable, and suitable for the casting process, such as silicone or rubber.
In summary, the positive form represents the original object, and the negative form (mold) is created to replicate the positive form accurately and produce multiple copies. The use of positive and negative forms in molding and casting allows for reproducibility, preservation of the original model, and the ability to produce complex shapes and undercuts.
You can download my files here