WEEK 7
COMPUTER CONTROLLED MACHINING
Group assignment :
-
Complete your lab’s safety training
-
Test runout, alignment, fixturing, speeds, feeds, materials and toolpaths for your machine
-
Document your work to the group work page and reflect on your individual page what you learned
To see our group assignment click here
Individual assignment :
Make (design+mill+assemble) something big
Designing In fusion 360
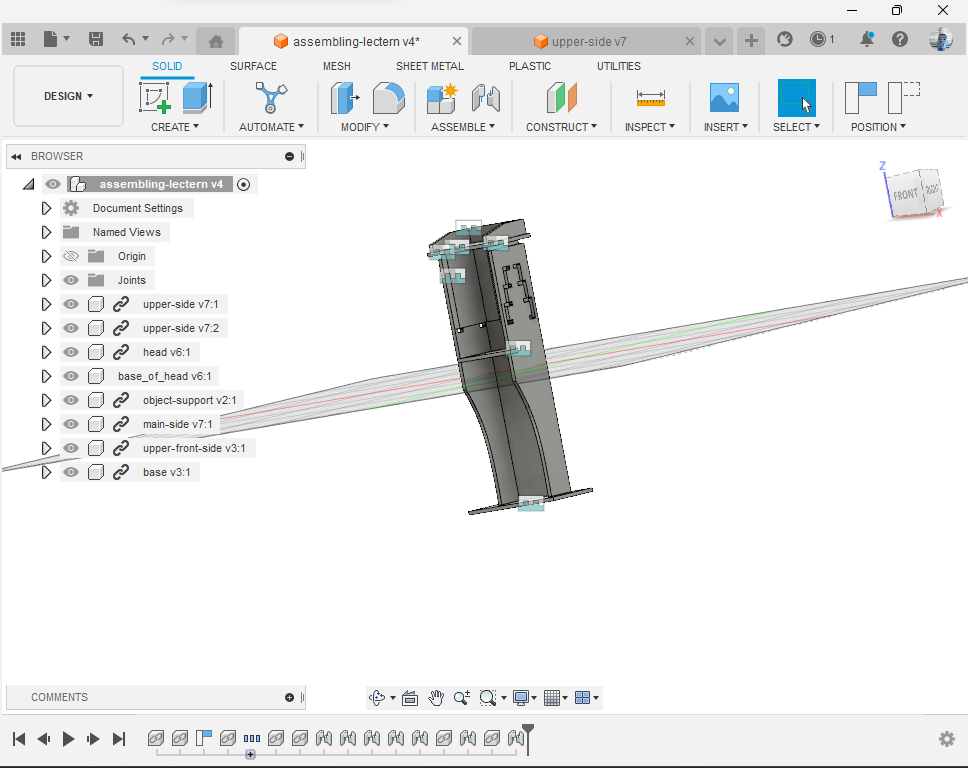
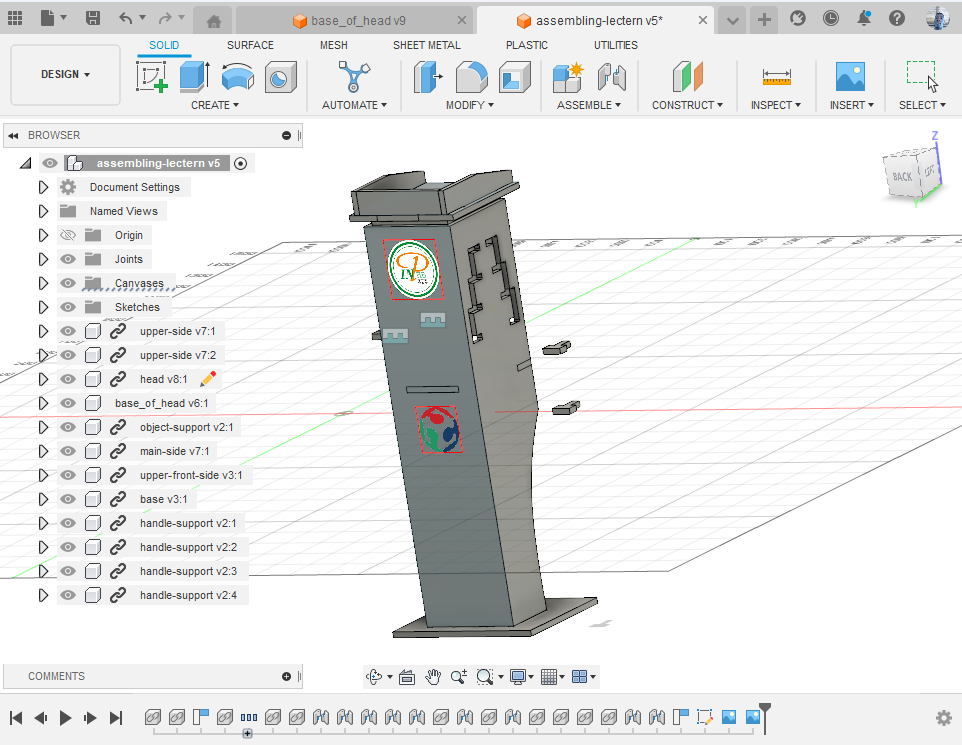
I decided to make a Wood lectern for our LAB events.
I design my model with Fusion 360
!!! Important to make dogbone
In my design I made dogbone by downloading a fusion 360 addin that creates dogbone joints for wood joinery at this github link
You can follow the github repo with this link https://github.com/tapnair/Dogbone
And follow the installation instructions here. Pay attention! Use this path instead if you don’t find the path specified in the installation instructions guide : C:\Users\User name\AppData\Roaming\Autodesk\Autodesk Fusion 360\API\AddIns
How I generate 2D files :
Next I generated DXF files for each part of my design.
 this picture show how I export one part of my wood lectern.
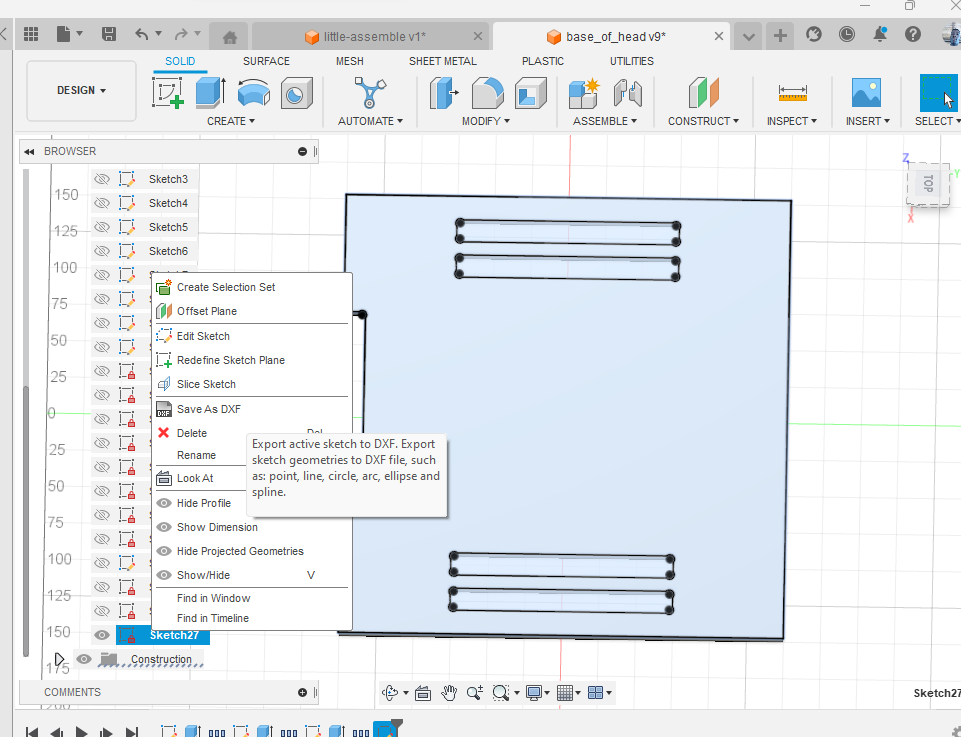
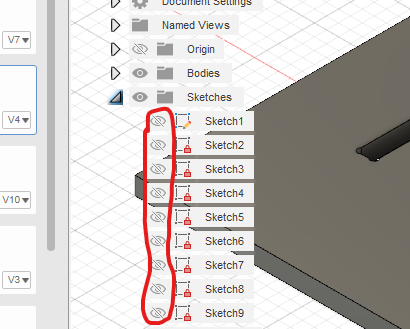
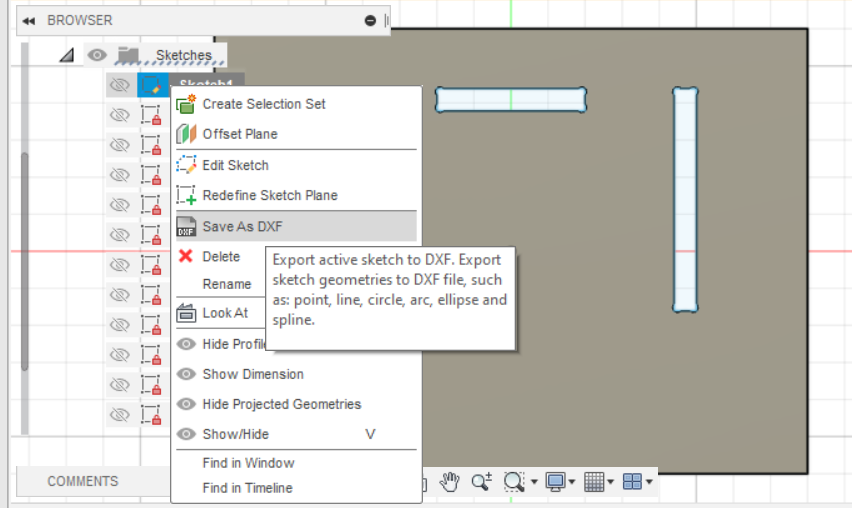
So to generate DXF files i.e go from 3D to 2D in fusion I go to the part I want in 2D files then I click on sketch you can allow view of the sketch as highlighted on the image below. That allow you to see if it’s the right sketch you want in 2D file.
Then right click on the sketch if you find sketch you want to save in DXF file and choose save as DXF file as shown below
Next I import my DXF files to vcarve.
Generate toolpath with vcarve
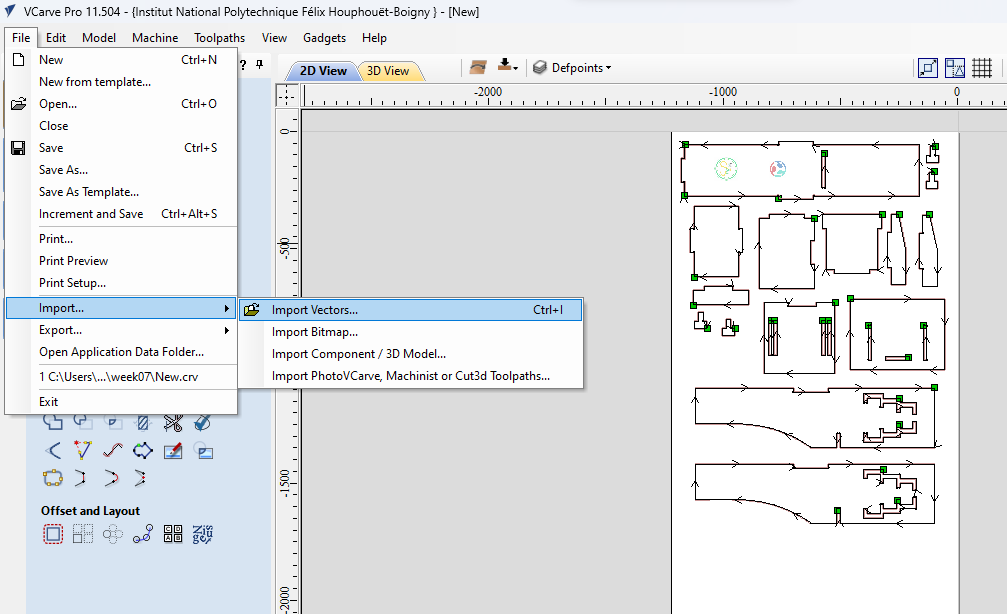
In Vcarve we must generate toolpath.
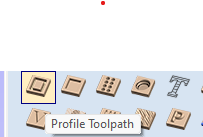
To do so select vector then select profile toolpath as following :
I use these different settings to prepare the files for milling
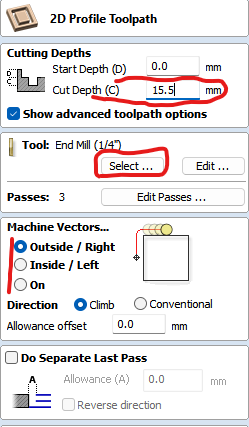
When all is set click on calculate to generate the tool paths
Now you should save file to send to the machine.
Click on save toolpath then you should have it
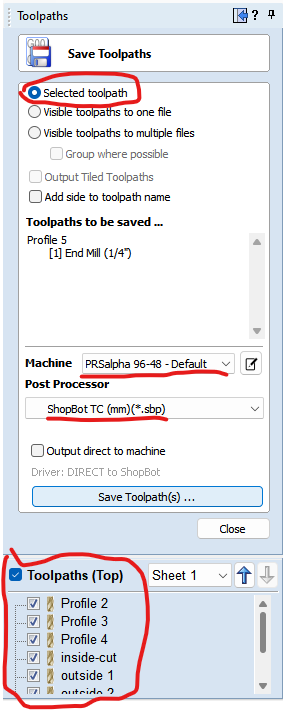
set the parameters as highlighted on the image above. When all is set click on save tool path. you should have .sbp files.
proceed to Milling
.png)
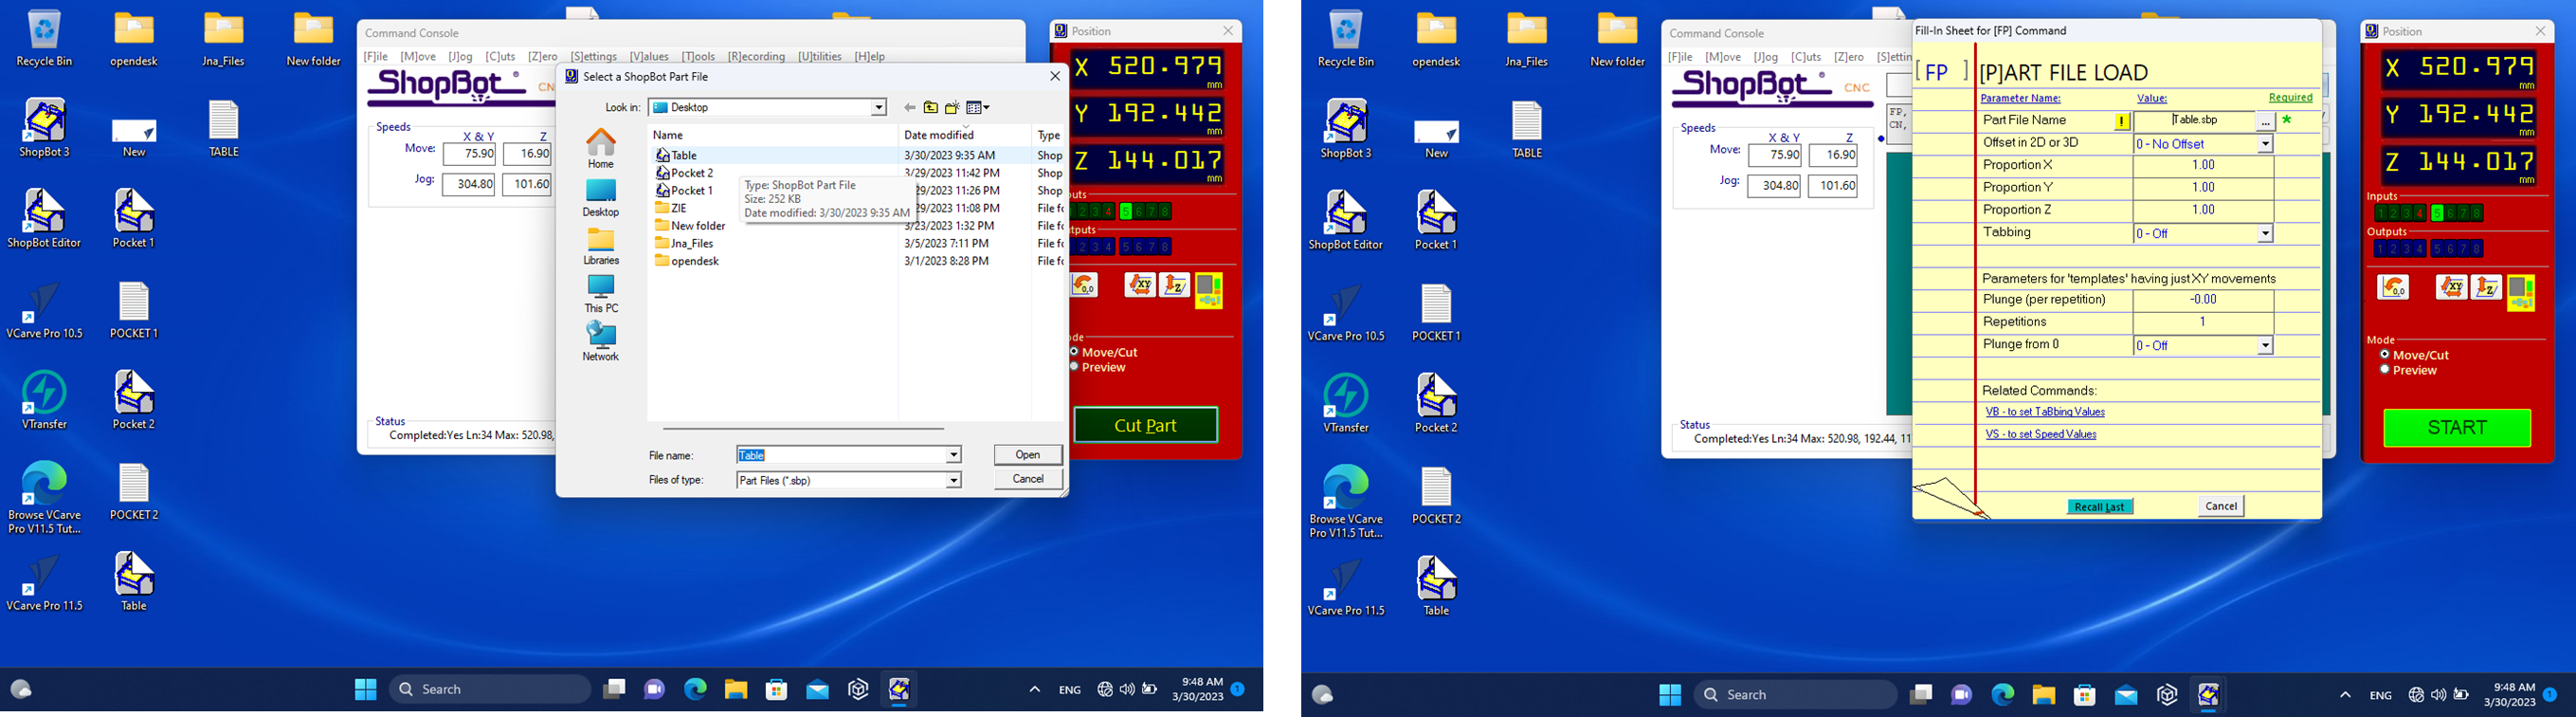
open your .sbp files in shopbot software But before opening your files in shopbot software set the different axis origin.
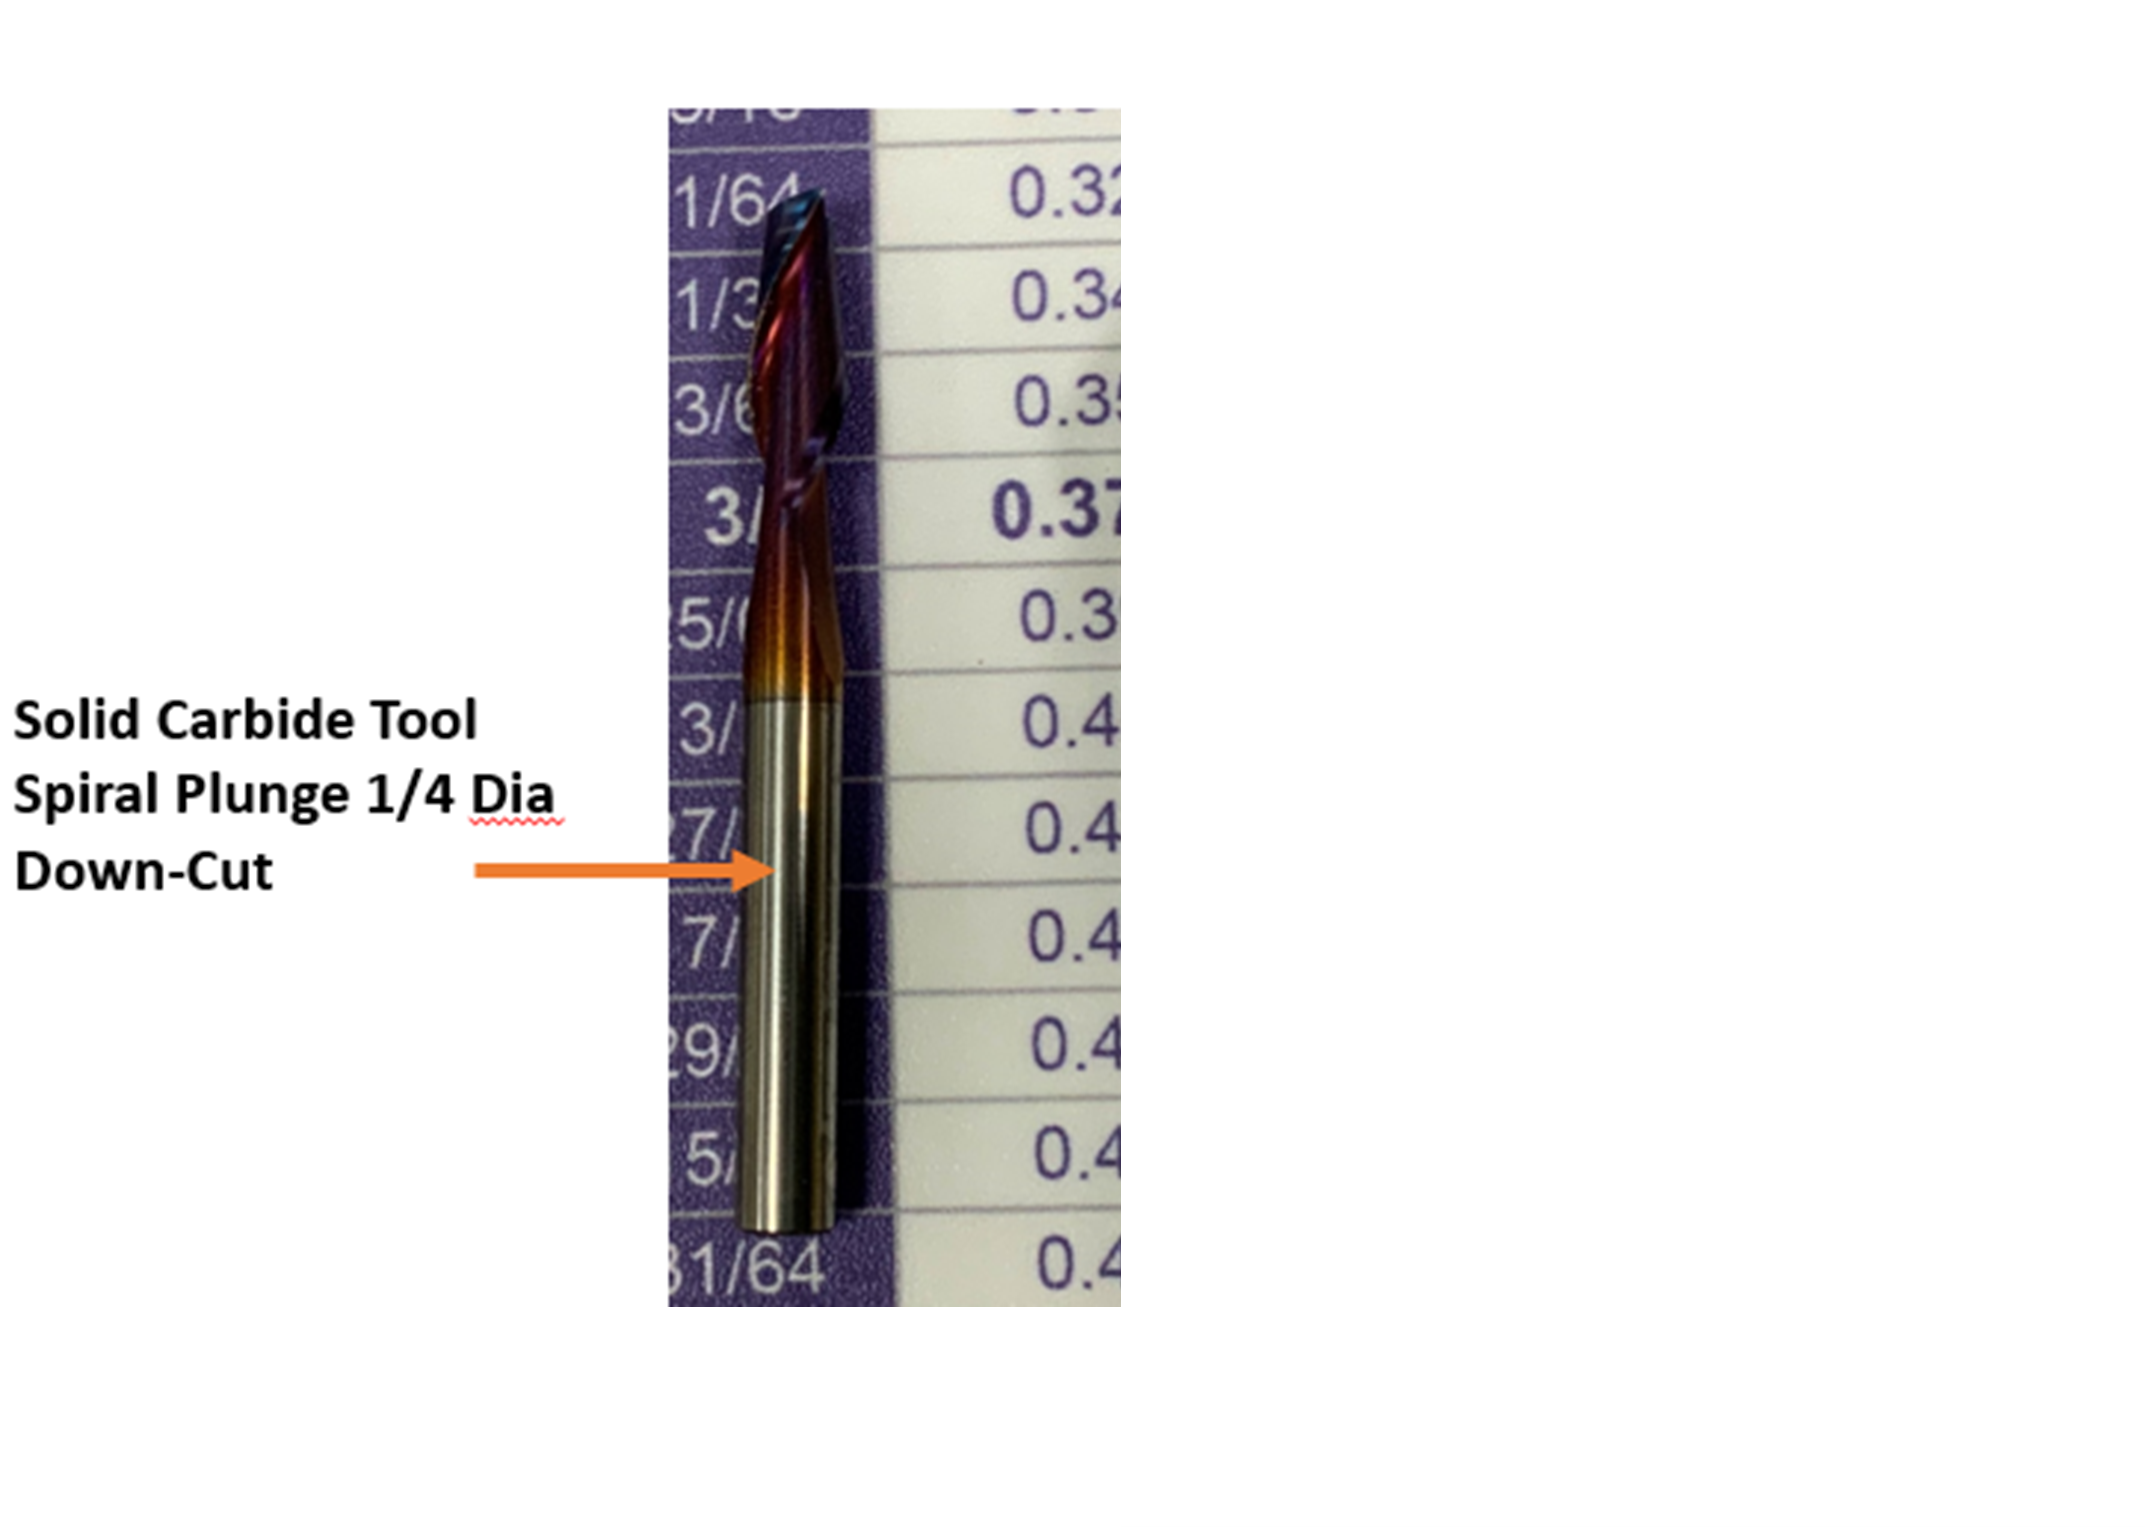
Choose your tool : END MILL 1/4” I used.
### Cutting parameters :
Set the different parameters with settings available in mods. I use the presettings in the mods for thd cutting parameters:
| Cut speed | plunge speed | jog speed | spindle speed |
|---|---|---|---|
| 20 mm/s | 20 mm/s | 75 mm/s | 10000 RPM |
In general,
-
the cut speed refers to the rate at which the cutting tool moves through the material during a cutting operation.
-
The jog speed refers to the speed at which the machine moves between different locations without cutting.
-
The plunge speed refers to the rate at which the cutting tool descends into the material for drilling or other operations.
-
The spindle speed refers to the rotational speed of the spindle, which holds the cutting tool and determines the speed at which the tool cuts through the material.
To determine the specific values for these speeds on a particular Shopbot machine, it is best to refer to the machine’s documentation, user manual, or contact Shopbot directly.
But in my case I think it was useful to use directly the defaults parameters set in mods program.
Then upload your files. pay attention to starting the router or spindle without working for a while before milling.
If all is set start milling
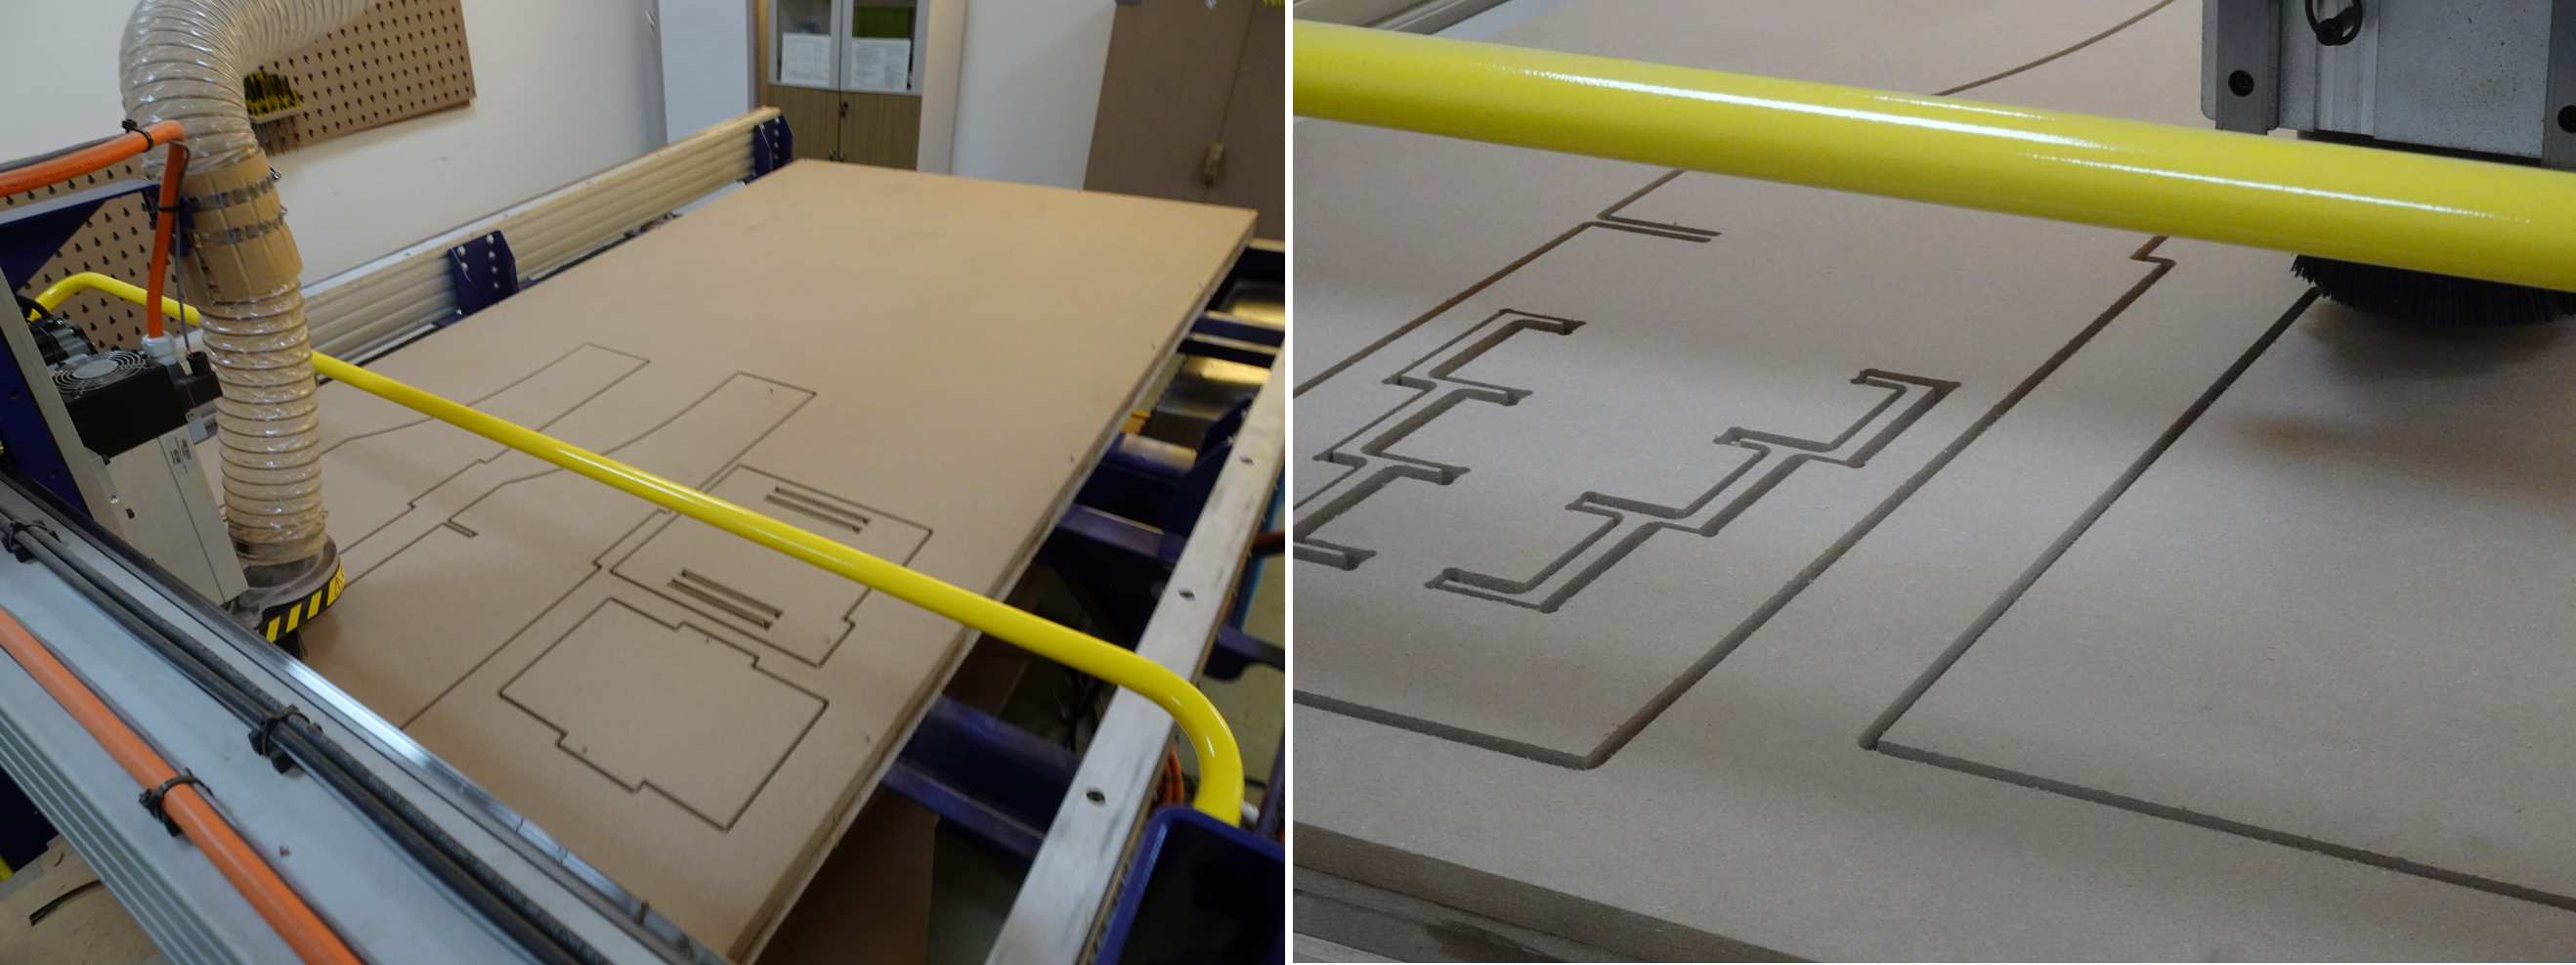
finishing :
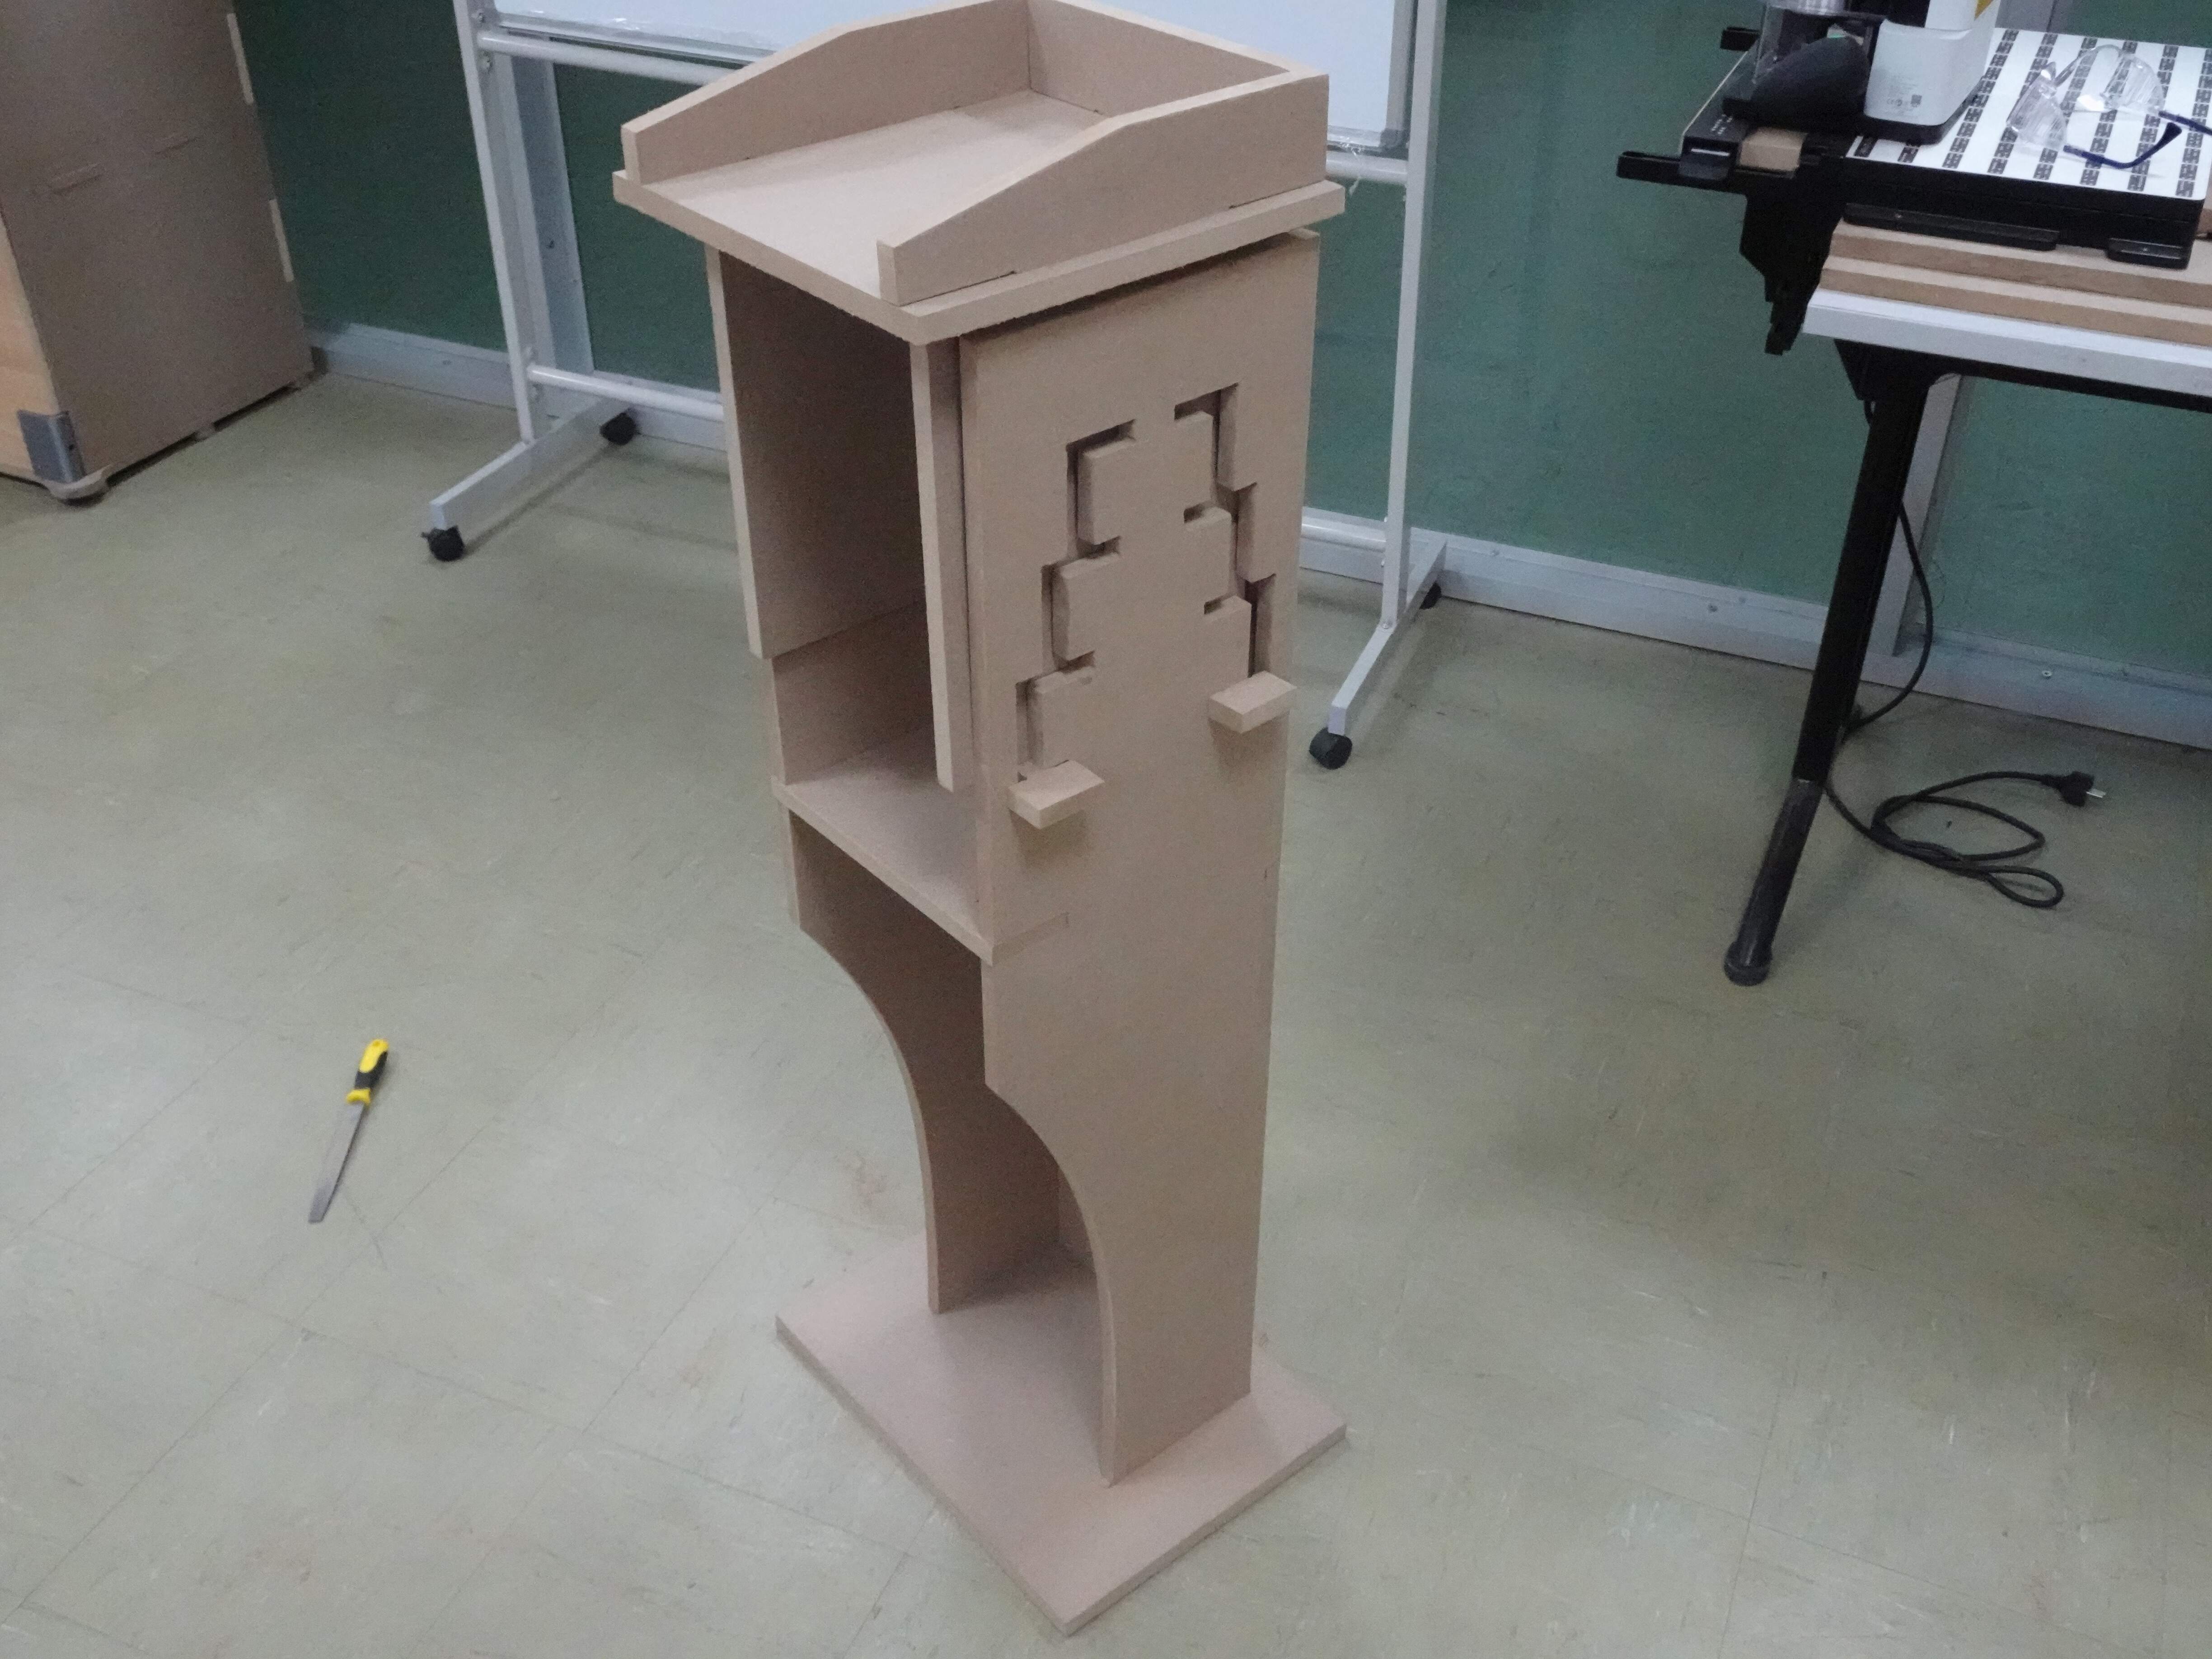
My funny lectern😁👍
Below I put a video showing me being demonstrate how my lectern work.
In the Video I tried to highlight the errors I made and you can see that when I adjust the height of the lectern the head tilts to the other side.
In fact I should do the same design as on the one side on the other side.
Problem I Encountered and how I try to fix them !
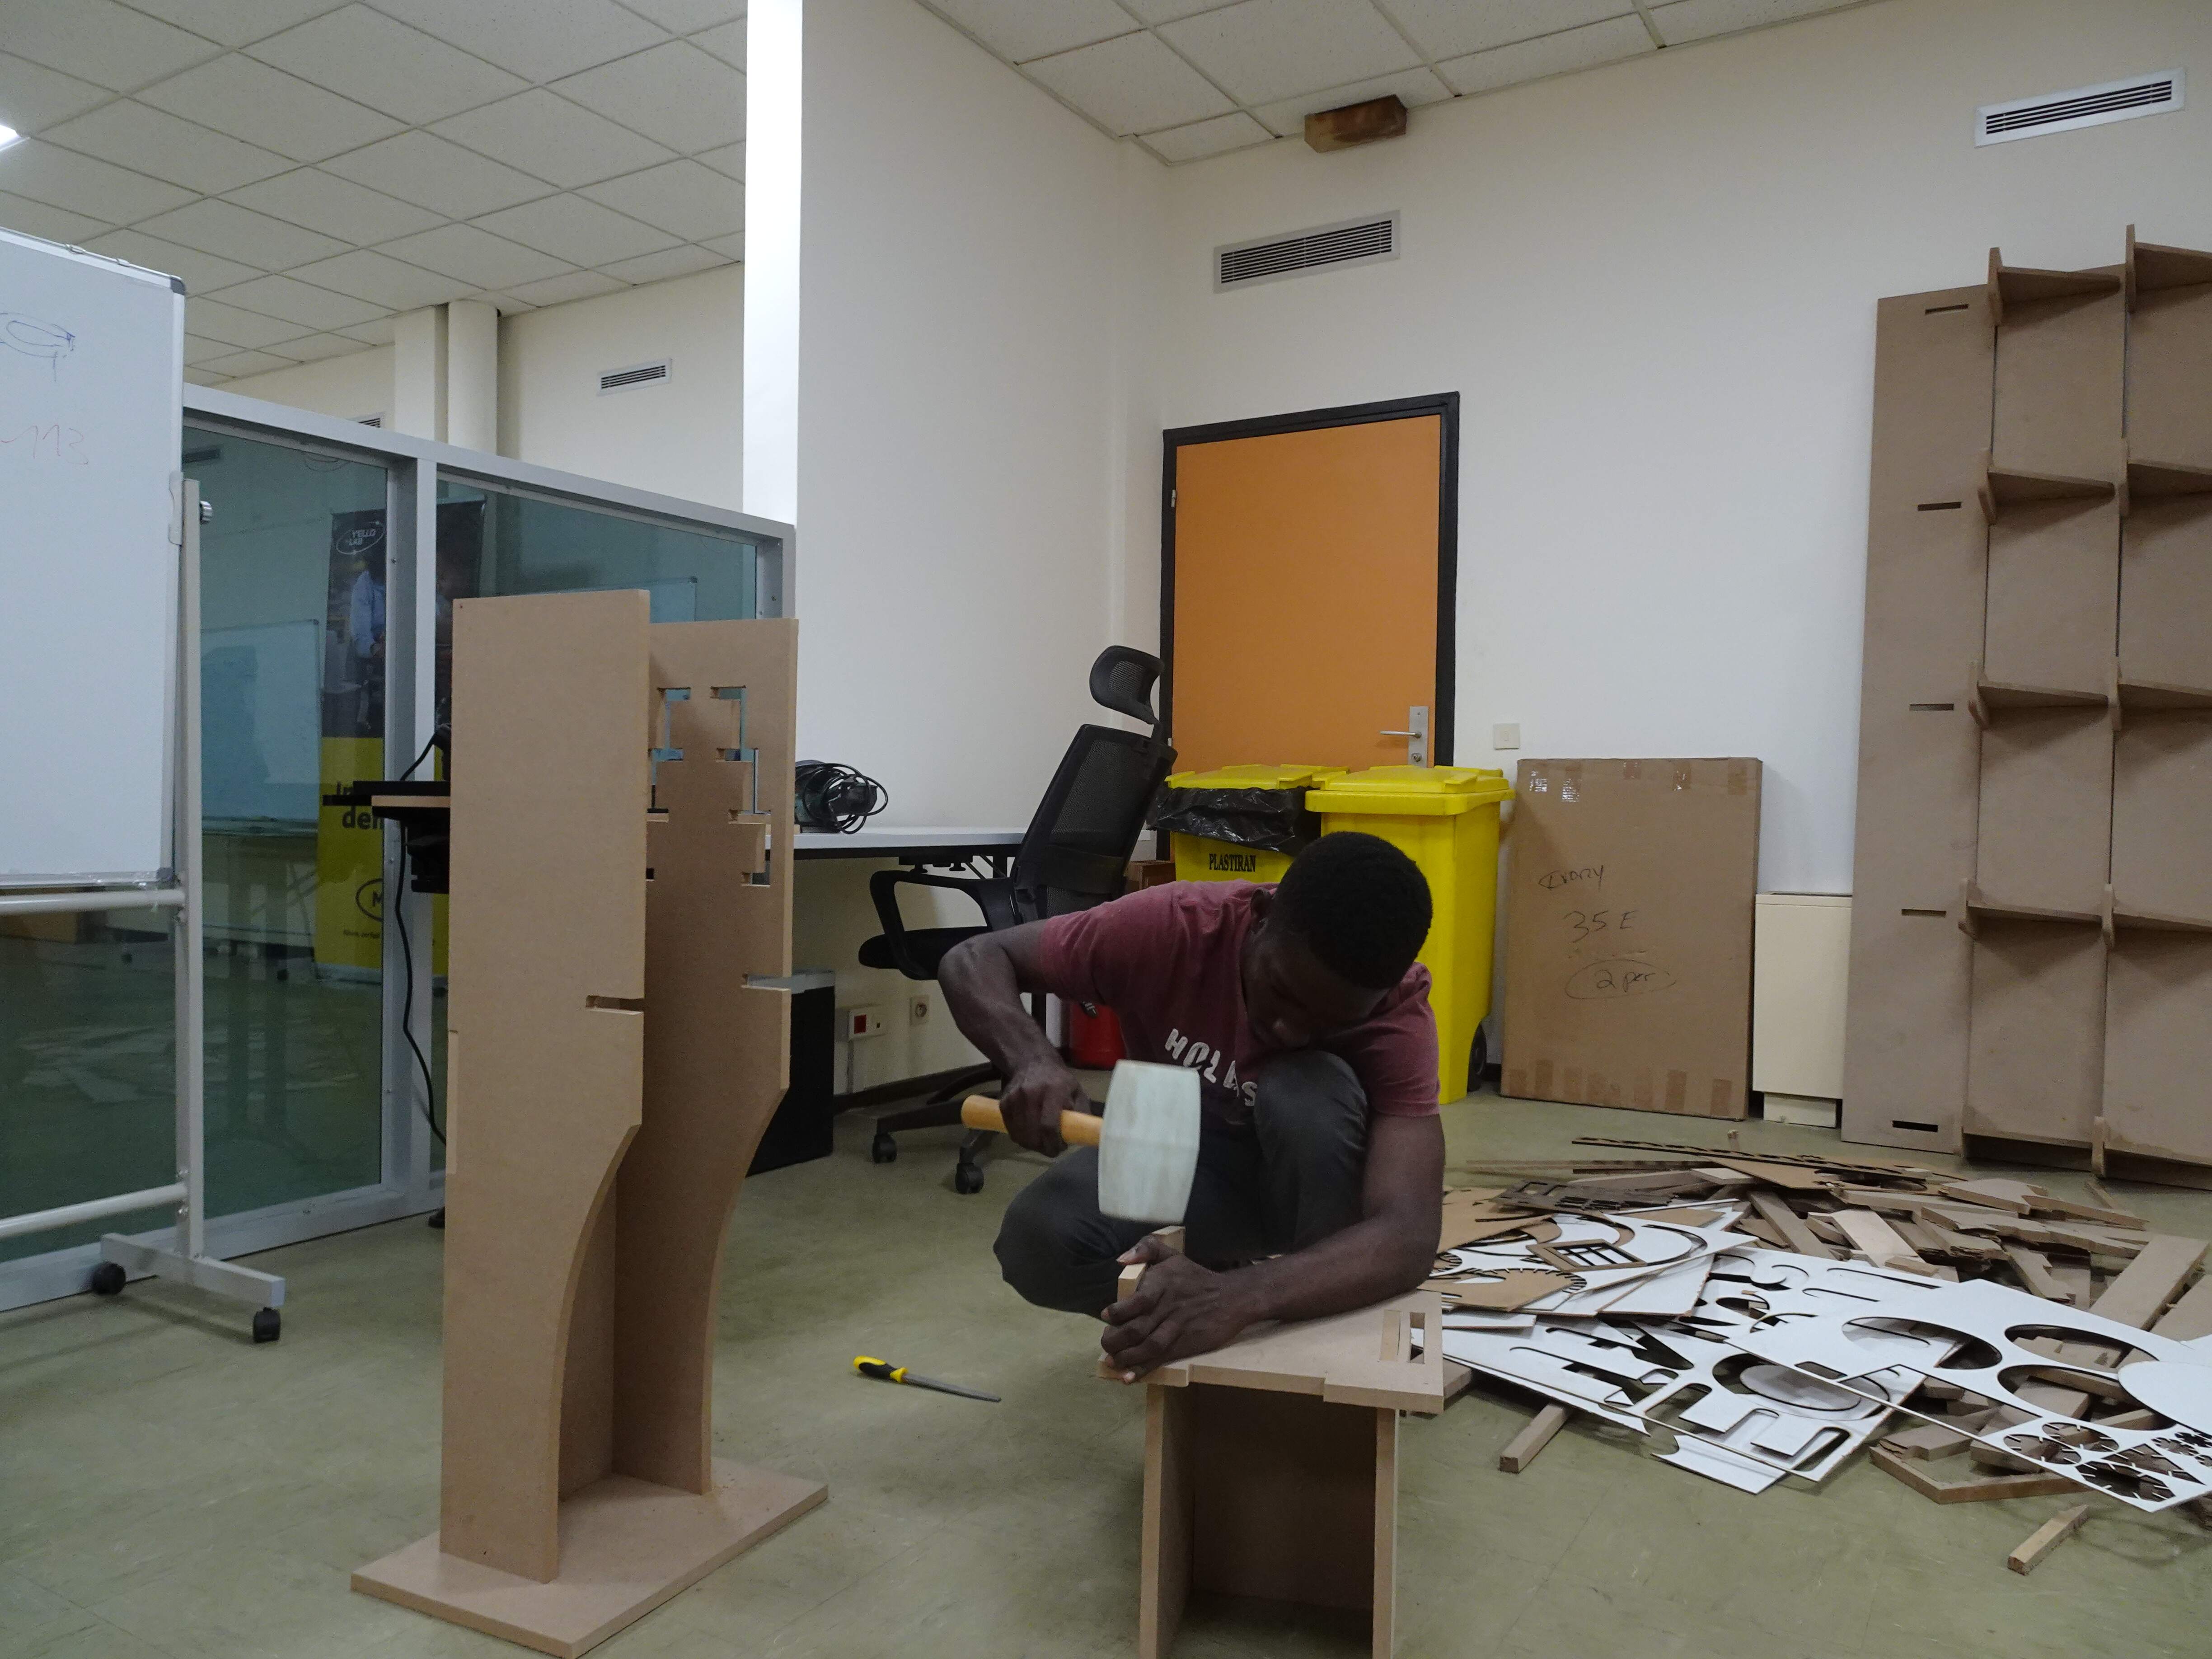
effectiely, I encountered a pile of problem during the milling and also for assembling cause when I design my work I didn’t think about tabs design. Maybe I think I could anyway avoid tabs design and the problems I got by arranging my toolpath files properly as put fisrtly the inside shape to mill then after the outside. So when I was I milling I was obliged to stop milling then put some screws in the part I’m milling then continue So I do this for maybe all the process of milling and that’s was somewhat annoyed, somewhat fustrating and boring.
Always I can said anyway pay attention to put screws for fix your material correctly before milling. And In my case I fix the material by putting screws on the extremities at all sides.
Another problem I got is during the assembly. When I did it, it was with a bit of difficulties because it was tight.
And as you can see on the picture below it was’nt easy at all and the wood got a quite of troubles😁

download my files here