2. Computer Aided design
This week I tested work in 2D and different 3D modeling programs, aslo developed structure of my final project idea. After local lessons and introduction to arrange of different program softs, I choosed the most professionaly pespective for me: InkScape, Fusion 360, Blender, also decided to explore Grasshopper next week, which I have been familiar with. I am already using Rhinoceros, thats why probably I will compere tested softs with it. So I decided check video tutorials for this softs and make notes for most important and userful hotkeys and usage principals.
Unfortunately during prossesing assignments did not save the files, that is why they are not here. Planing use Rhino for final project creation anyway in order to save time, so will add Rino file for assignment of this week.
Documentation
InkScape
- Chose this and this tutorials for familiarizing with this 2D soft.
- "+"/"-" ; "CTRL" + "scroller" - zoom
- "CTRL" + "SHIFT" + "A" - align and distribute - parameters of alignment of objects relative to each other and the work area.
- "CTRL" + "+" / "-" / "*" - union / substract / intersection (there is few more) boolean operations.
- "S" - select and transform
- "N" - edit nodes (often used for usage of other tools).
- "CTRL" - ortho.
- "CTRL" + "SHIFT" + "F" - fill and stroke.
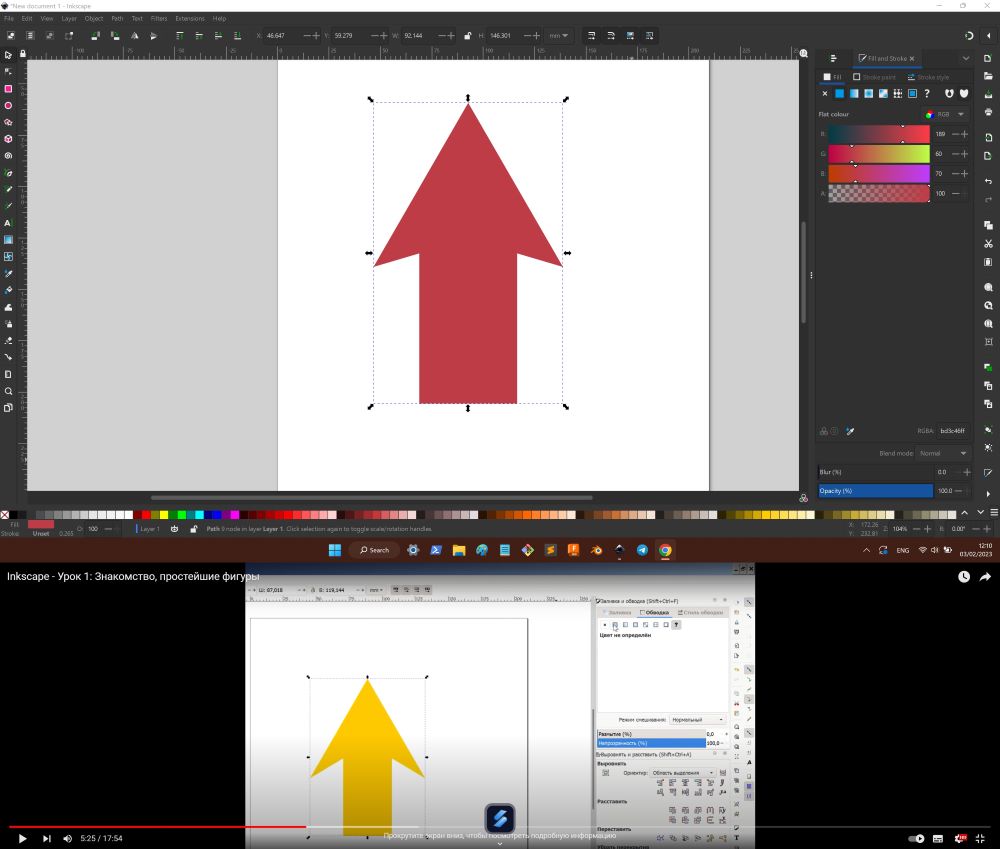
- There many filter effects, if after its name "...", means it have settings.
- As follows from tutorial in previous versions of InkScape effects may overcross object area, but in version on my computer they did not, just extend object area.
- Decided to use another filter than in tutorial.
- "B" - curves Bazier and atraight lines, "ALT" + "click" - add node on curve.
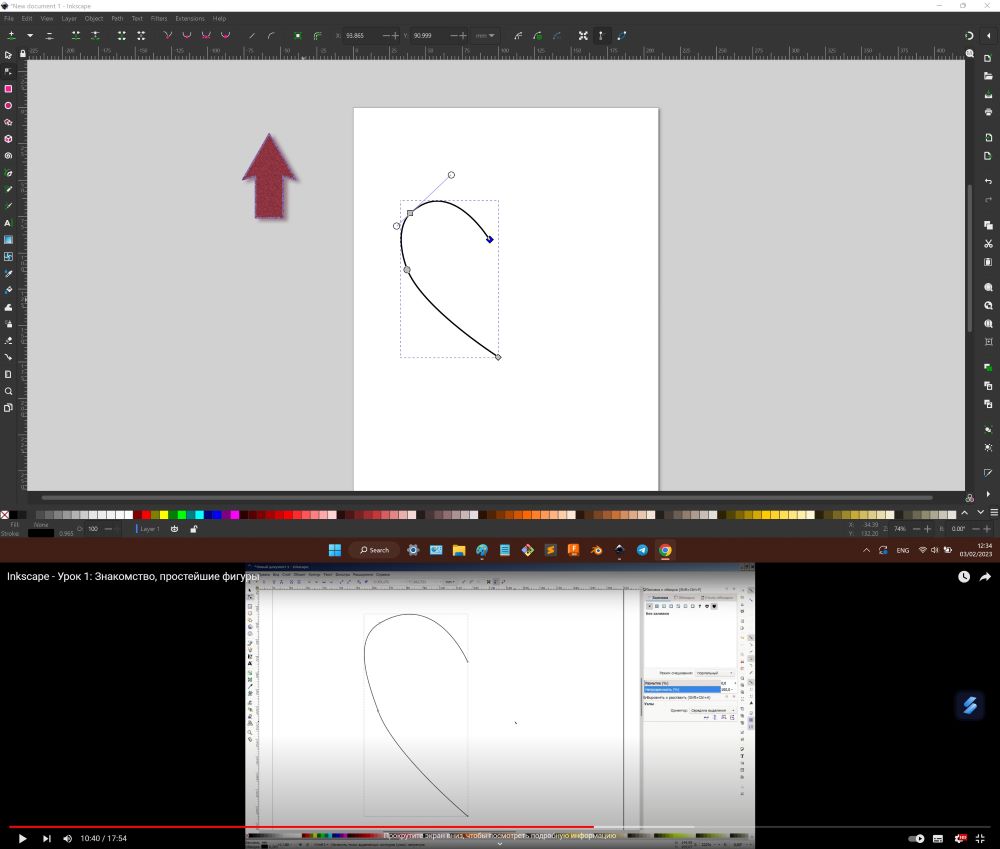
- "CTRL" + "D" - dublicate.
- In align and distribute window there is button in right-bottom corner for placing bounding boxes of objects not overlaping.
- All variation and settings for used tool on the top of window panel.
- Setted shaping.
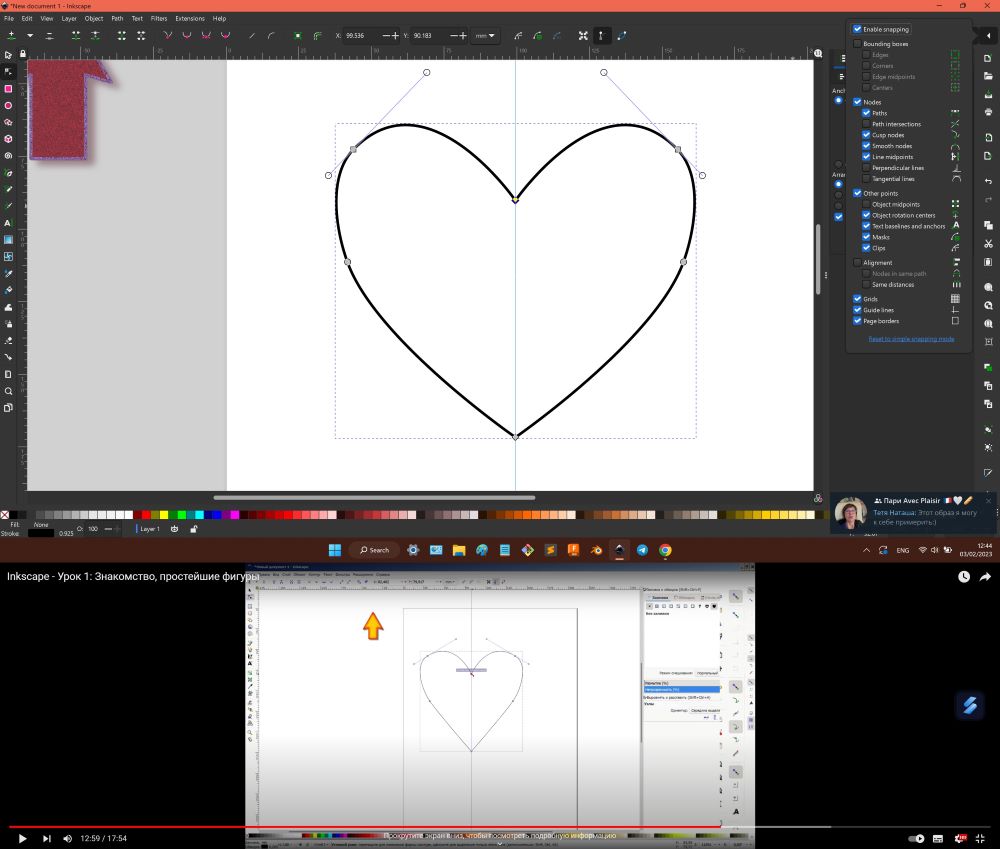
- For gradient editing need "N" mode to see gradient setting nodes. Center node of gradient and nodes to each colour.
- "CTRL" + "SHIFT" + "C" - edit contour, "N" mode for editing.
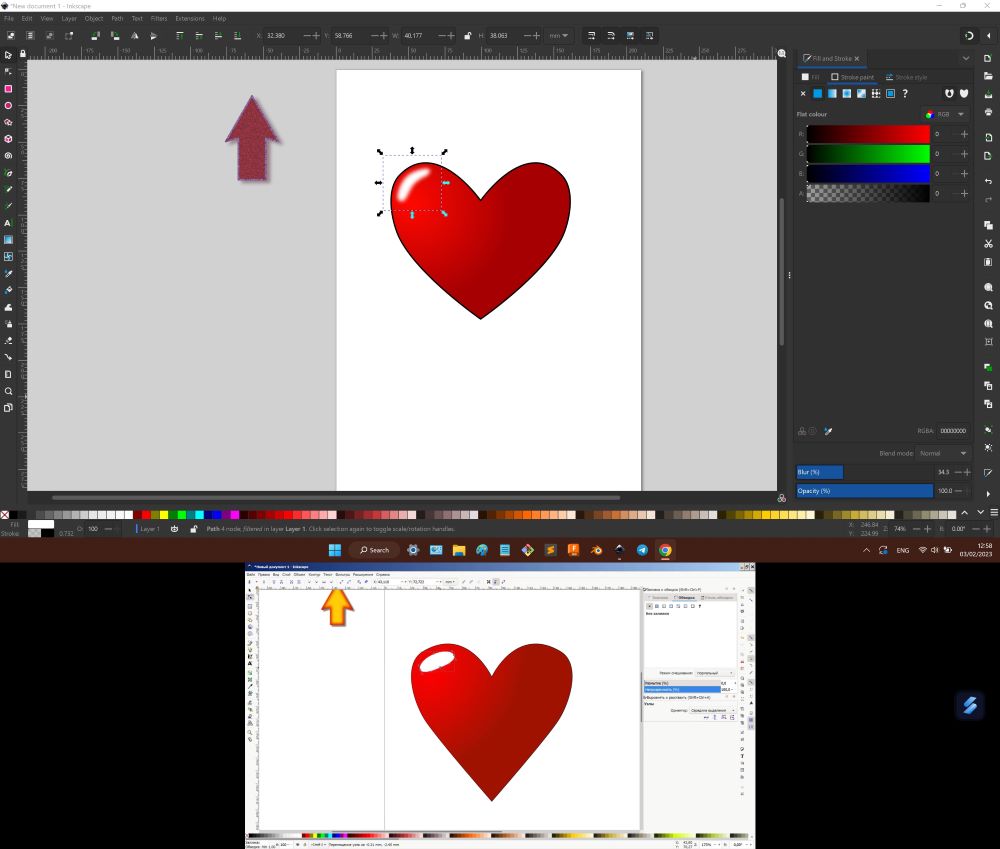
- "CTRL" + "G" - group.
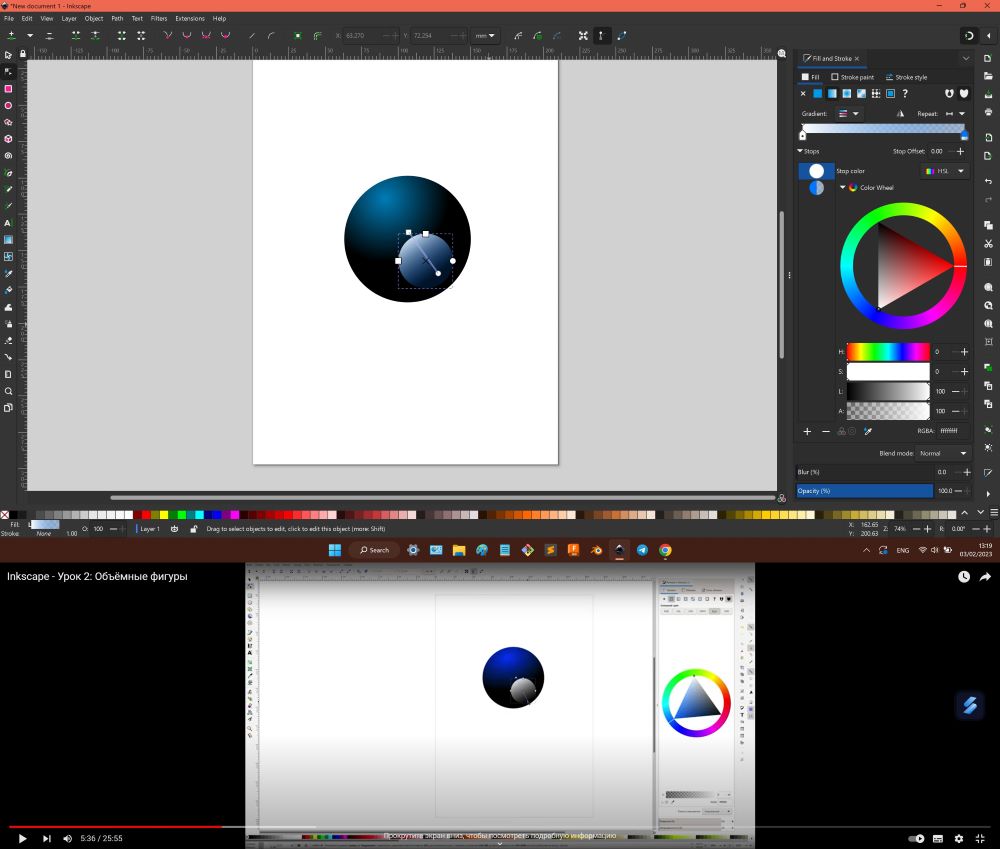
- "T" - text.
- "SHIFT" - add to selection / symmetry transformation.
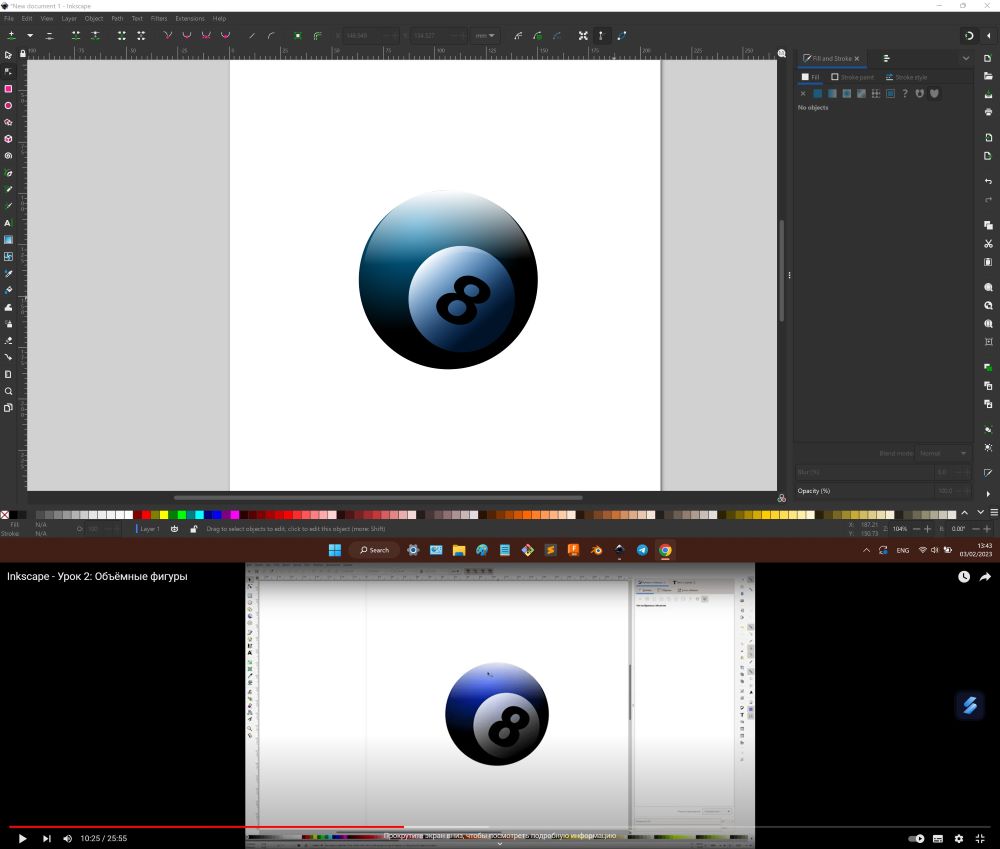
- On my computer "Fn" + "arrows" - for objects organisation.
- For rectanguls one of three nodes (circle) is for fillet corners.
- "CTRL" + "K" - combine.
- Had problem with "B" tool, did not make lines, only shapes, but reason was that I swiched off "stroke of paint".
- Used posibility to add control point for gradient.
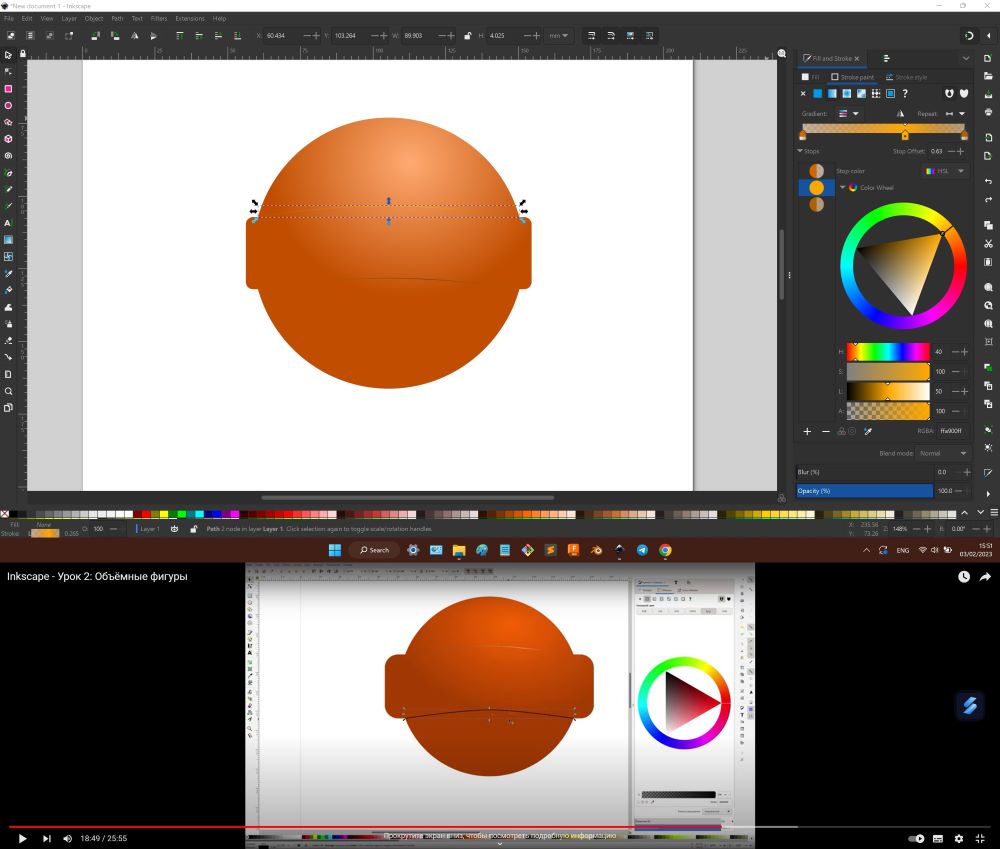
- "Backspace" to delite added gradient point.
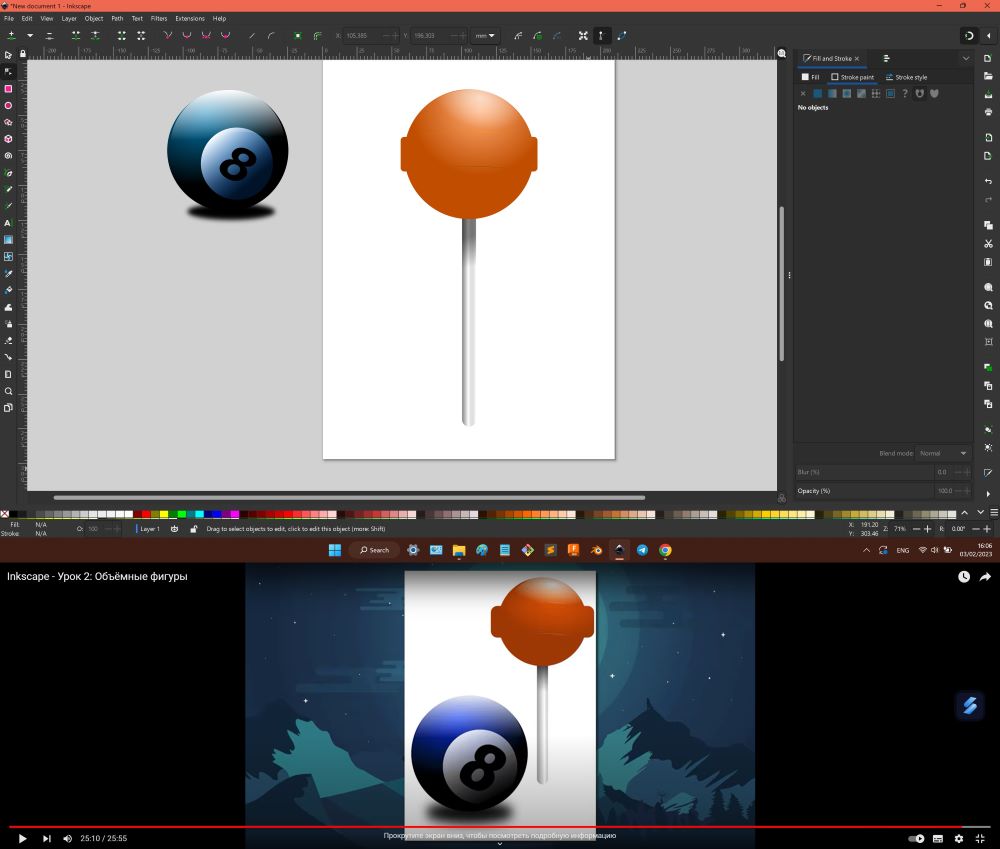
Summary
Nice soft, good alternative to Adobe Illustrator, which I used, generaly because Inkscape is free. Userful for illustrations and freeshaped patterns, but in frame of final project, most likely for creation of 2D vectors I will use Rhino.
Fusion 360
- Chose this tutorials for familiarizing with Fusion 360, because it is quite extensive.
- Select few history operations + "Right MB" - creation of history operations group, for stucturising history.
- What is realy nice, possible make changes for in past made sketches and than just back to last itteration with saved changes.
- Above history located view and grid settings panel.
- Cube in right-top corner convinient tool for switching between ortho views.
- "Middle MB" - to move view, "SHIFT" + "Middle MB" - for 3D rotation.
- "Right MB" on "Named view" - to save new custom viewport.
- "CTRL" / "SHIFT" - for multiselection.
- Choose few details, select, "Right MB", "Create Selection set" - save set for easy selection.
- "A" - appearence, settings of material, colour and other parameters of objects.
- Modeling start with sketch, need to choose plane (global or other surfaces).
- "TAB" - switch between metric parameters of tools during creation.
- Selection by mouse same as in Rhino.
- Possible to make line constructional (helping) by "Linetype" in sketch creation menu.
- "X" - normal / constraction line.
- "L" - line.
- "R" - rectangale.
- "C" - circle.
- "D" - dimentions.
- "P" - project.
- Blue colour - free geometry, black colour - constrained geometry.
- Click dimention on two (depand on constrain) elements to constrain.
- Text may be used for constructing.
- "T" - trim.
- "O" - offset.
- All constraines can be selected and delited.
- "E" - extrude.
- "H" - hole.
- Possible to create 3D sketch.
- "M" - move / copy.
- "F" - fillet.
- For assembling need choose geometry and make it "New component" in Assemble menu. Creation of components also convinient, because their histories are separate.
- "J" - joint for components interacion, than motion study.
- Models created by sketches.
- Each details constrained to new plane, so princip of work consist of sketch-model cycles.
- Missed how to use symmetry constrain, point was that need click on elements and than on axis.
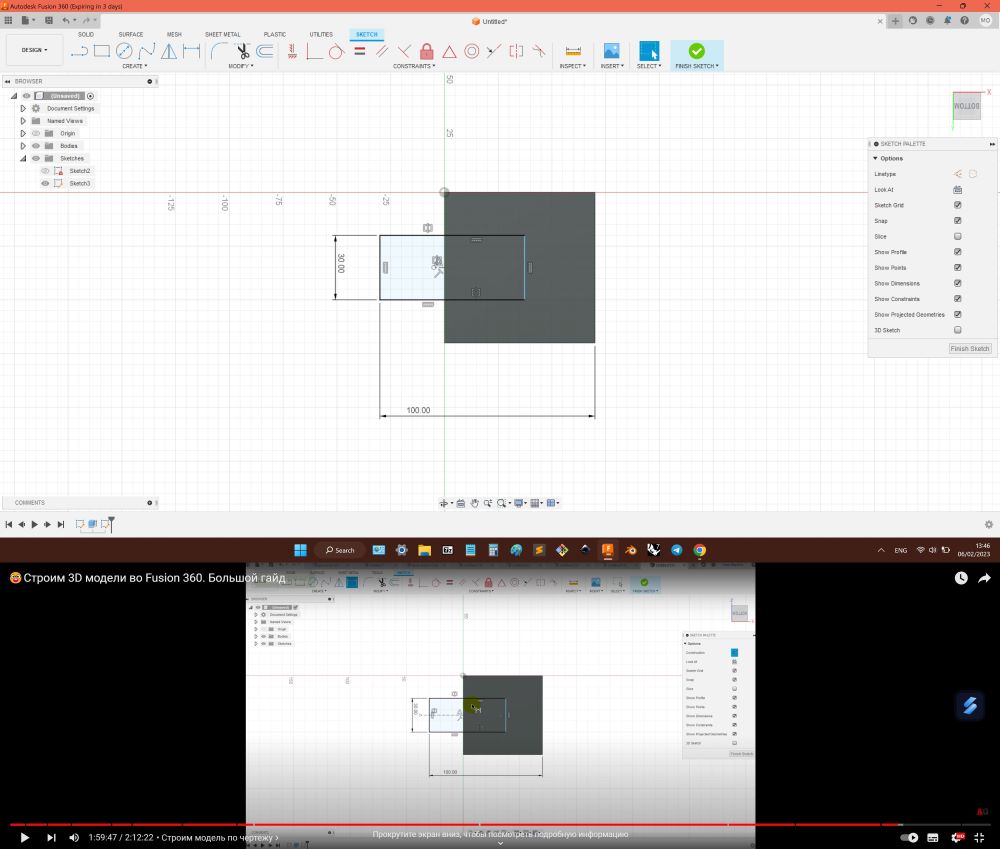
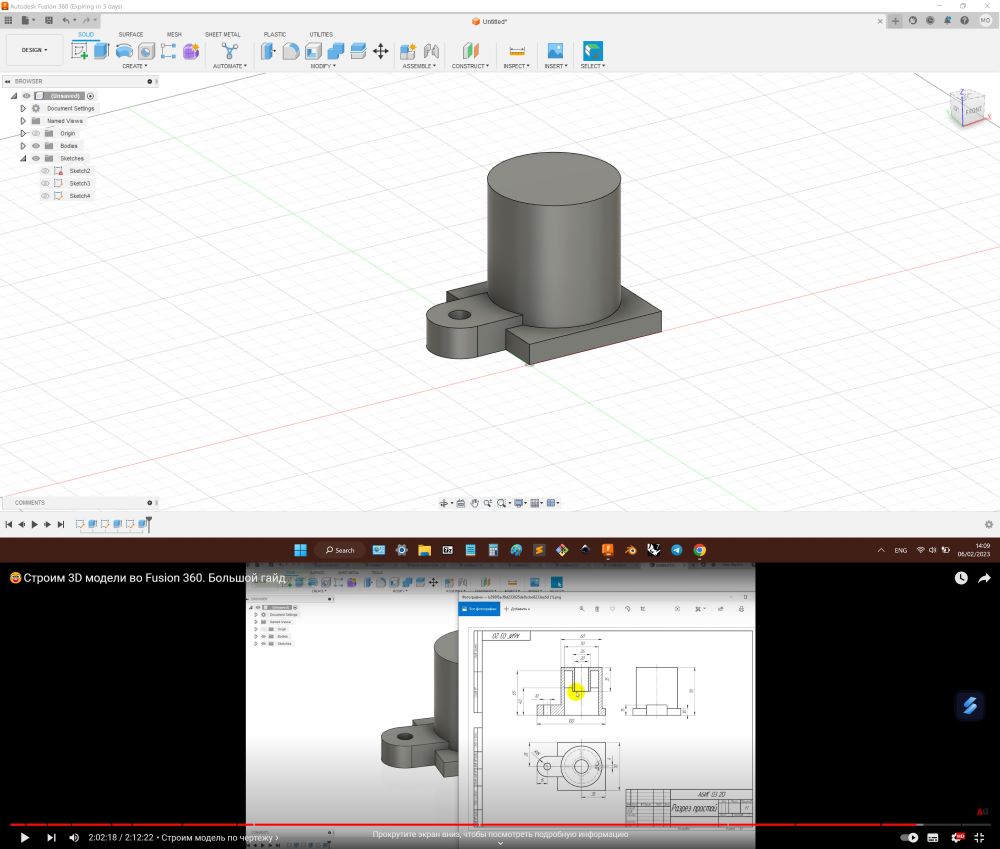
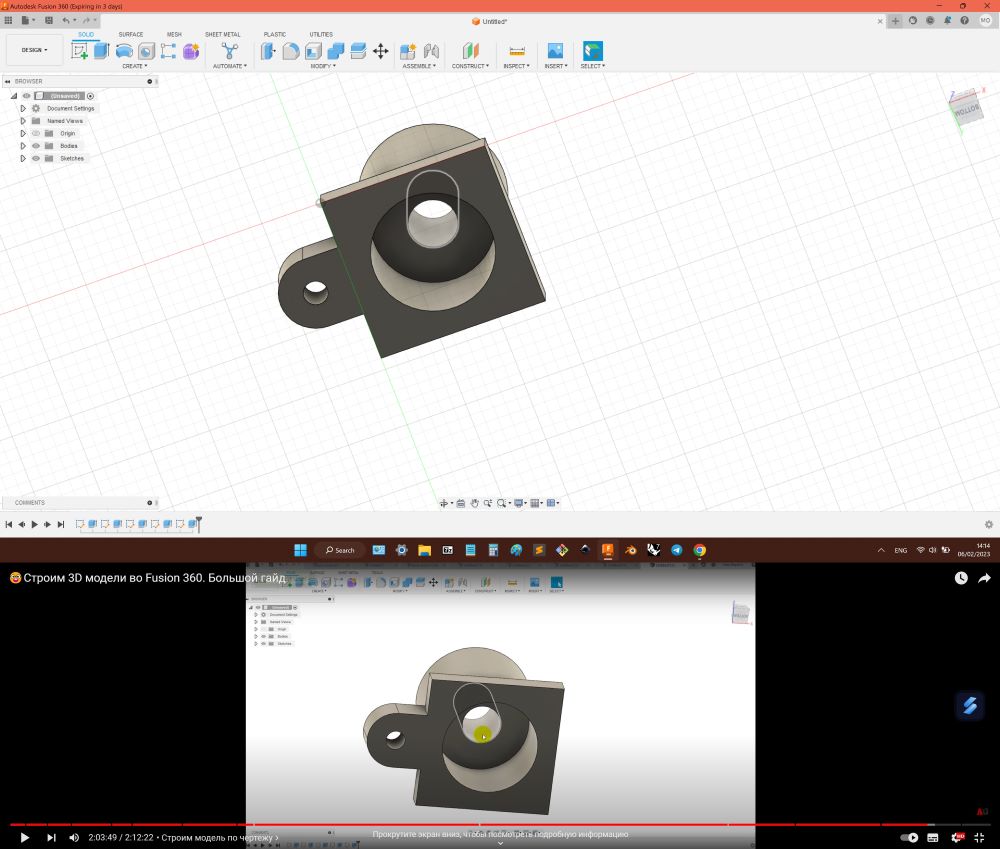
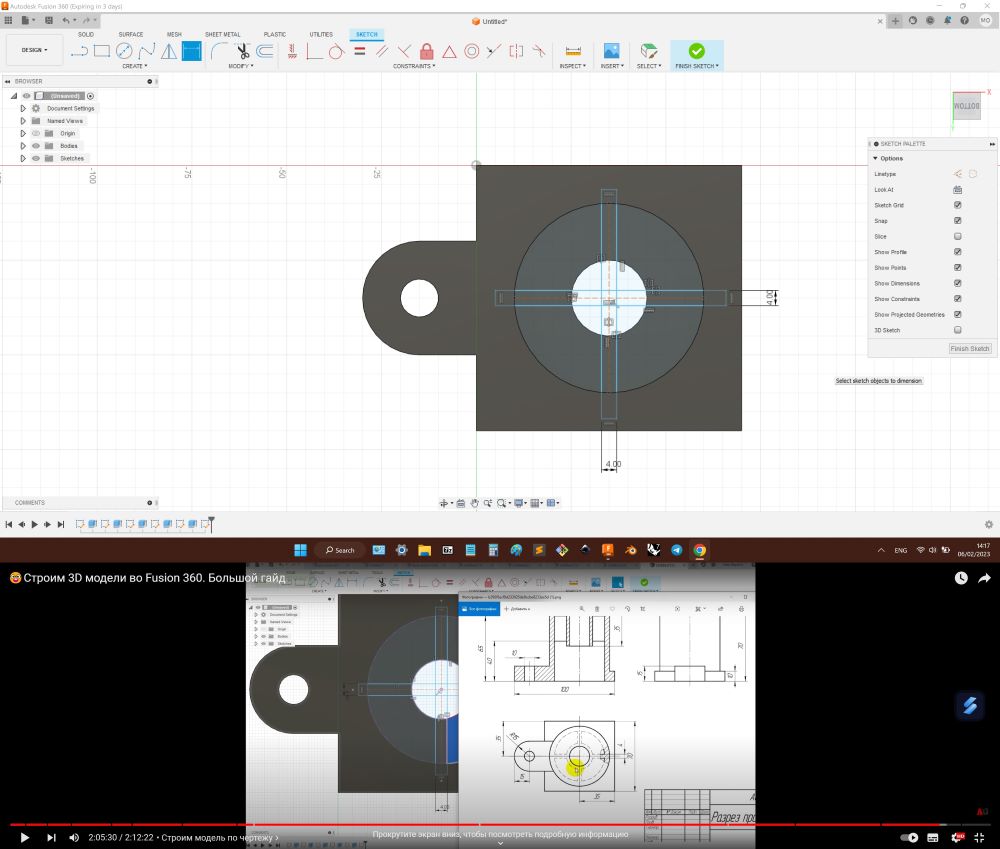
- Sketch can be moved in history, it may loose its snap plane, but it can be redefined by "Right MB" on icon in history.
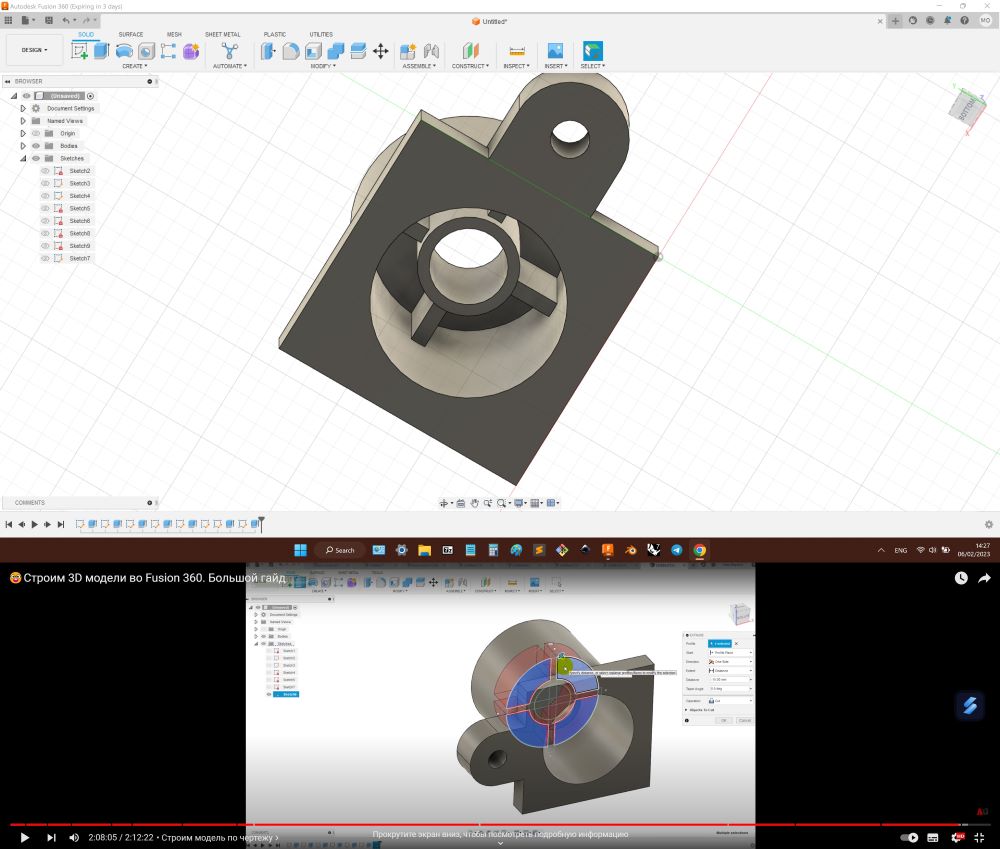
- Possible easy create drawing and other things by tools in Drawing mode.
Summary
Realy cool soft, besides it have many abilities as mechanist animation, load simulation and others, one of main advantages to Rhino is parametric constructioning, possibility easely change dimentions of product, because on stage of phisical production need to change some details always occurs. I planing to invest time in further exploration of this wonderful soft.
Blender
- Chose set of tutorials for familiarizing with Blender, because it is quite extensive, such as soft conducting association to Maya.
- Rotation by "Middle MB" + "CTRL" / "SHIFT".
- "Middle MB" + "ALT" / "NUM" - for plane views.
- "File" -> "Append" - for import of Blender objects to scene, "Import" for exterior files.
- "File" -> "Eternal data" - to save all linked files to Blender project.
- "File" -> "Defaults" - to save Blender custom settings and windows structure.
- Left-top corner have Mode drop-down list, each mode have presets.
- "Right MB" + cursor between windows or on corners - split / delite area for windows organisation.
- Most windows have different modes with different tools and settings.
- On top menu "+" - for creation of own window format.
- "ALT" + "Z" - for X-ray view mode (Ghost in Rhino).
- "NUM"
- "0" - render camera view.
- "1" / "1" + "CTRL" - front / back.
- "3" / "3" + "CTRL" - right / left.
- "7" / "7" + "CTRL" - top / bottom.
- "5" - perspective / orthographic.
- "." - frame selected.
- "/" - show selected, hide other objects.
- "Fn" + "Home" - see all objects.
- "2", "4", "6", "8" - ortho rotation view.
- "9" - opposite view.
- "+", "-" - zoom.
- "Left MB" on drop-down setting sector and pulling mouse through few of them possible open / close them by all.
- "CTRL" + "Left MB" - open clicked and close all other setting sectors in window.
- "CTRL" + "Scroller" on drop-down list - allow switch positions without opening list.
- "Z" - round menu for view modes.
- View modes and settings in right-top corner above axis-cube.
- "SHIFT" + "A" - Add menu. Possible choose menu positions by entering underlined letters, or by NUM according to the ordinal number in the list.
- "Q" - quick favorites, for often used commands, specialy without hotkeys. To add in Q-list need click "Right MB" on needed menu position. Q-list formed separatly for each mode.
- "T" - show / hide Toolbar (manipulation tools).
- "SHIFT" + "Spacebar" - hotkey for Toolbar.
- "N" - show / hide Sidebar (parameters).
- "Right MB" - context operations menu.
- "TAB" - object / edit / other modes.
- "F12" - quick render
- Object mode - for whole object and its center manipulation (object - container for data), Edit mode - for object data (for mesh it is vertex, edge, face) manipulation.
- "W" - different types of selection.
- "G" - move. Same as "R".
- "R" - rotate. "X","Y","Z" / "SHIFT" + "X","Y","Z" - choose axis / exclude axis.
- "S" - scale. Same as "R".
- "S" + "2/..." - scale x2/...
- Last selected object is active (orange), if few selected information displayed about active object (others red).
- Top-middle of scene window - settings of pivot, globality, snaps, proportionsl editing.
- "CTRL" + "P" - set Parent.
- 3D cursor need for creation of new objects displacement, for change of object center (orange dot, if few selected in center between them), may be choosed as center of rotation.
- "SHIFT" + "Right MB" - to place 3D cursor.
- "SHIFT" + "C" - 3D cursor to origin.
- "SHIFT" + "S" - selection round menu.
- In Overlay settings in Edit mode possible show / hide normals (used for some tools, in general for material setup) and displayment of face orientation (useful for checking when modeling finished).
- "A" - select all. -
- "CTRL" + "A" - Apply menu.
- Apply menu -> Location / Rotation / Scale - for reparametrization (for example: x2 scaled obgect with parameters 2x2x2 will become 1x1x1, that is IMPORTANT for correct culculation of modificators and limiters).
- "ALT" + "S", "R", "G" - reset to original (reparametrized) parameters.
- Better to open menu of Last action, in left-bottom corner, because possible to see and use all functions for tools.
- Face component may be Tris (3 vertex), Quads (4 vertex), N-gons (5+ vertex). Vertex with 5+ edges called Star, it is unbreakable for organic forms.
- Ideal topology - topology consisted from gons of one type. But all depends on modeling process and aim.
- Main advantage of Tris, that it always plane, that means that topology will be constant for any export.
- Main advantage of Quads, that they behave better, when surface deformed or subdivied.
- Main advantage of N-gons, that they create less data (need less polygons, easier to culculate), userful for plane, distant and not complex objects.
- "Select" + "SHIFT" + "Lrft MB" + "TAB" - analog to Rhino "SHIF" + "CTRL" - selection of exact elements.
- Wrench symbol for Modificators - one of to main lists for modeling.
- "CTRL" + "J" - join. In Object mode.
- "P" - selection, sepataion menu. In Edidt mode.
- "SHIFT" + D - dublicate object. In Edit mode (for example parts of mesh copy).
- "ALT" + D - linked dublicate objects (change syncronised). In Object mode.
- "CTRL" + "C" / "V" - clipboard add.
- Psossible change data for object in green triangle Data setting (for exampal make object linked dublicated).
- "X" - delite menu.
- Select vertex + "Right MB" - Vertex contect menu.
- "M" - creation of (object) Collections.
- In Outliner possible setup layers for Collections visability.
- "H" - hide objects.
- For Modificators order is impotrant, may change it. "Apply" - for reparametrasation, order important.
Grasshopper
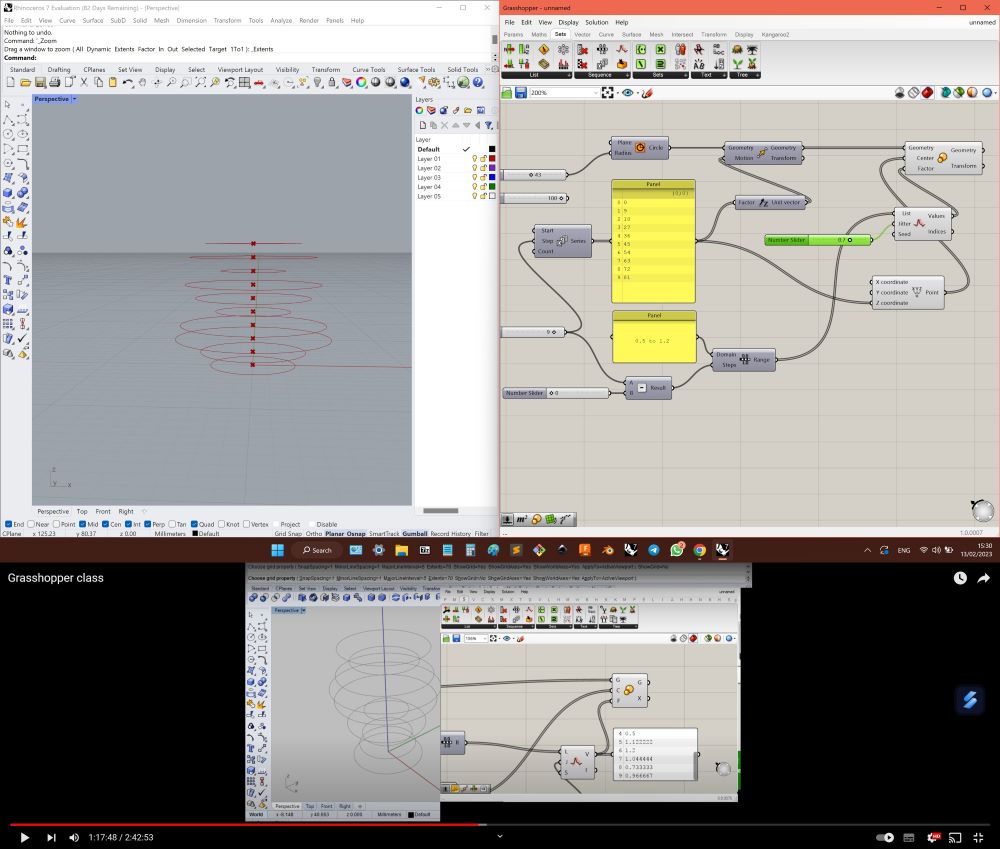
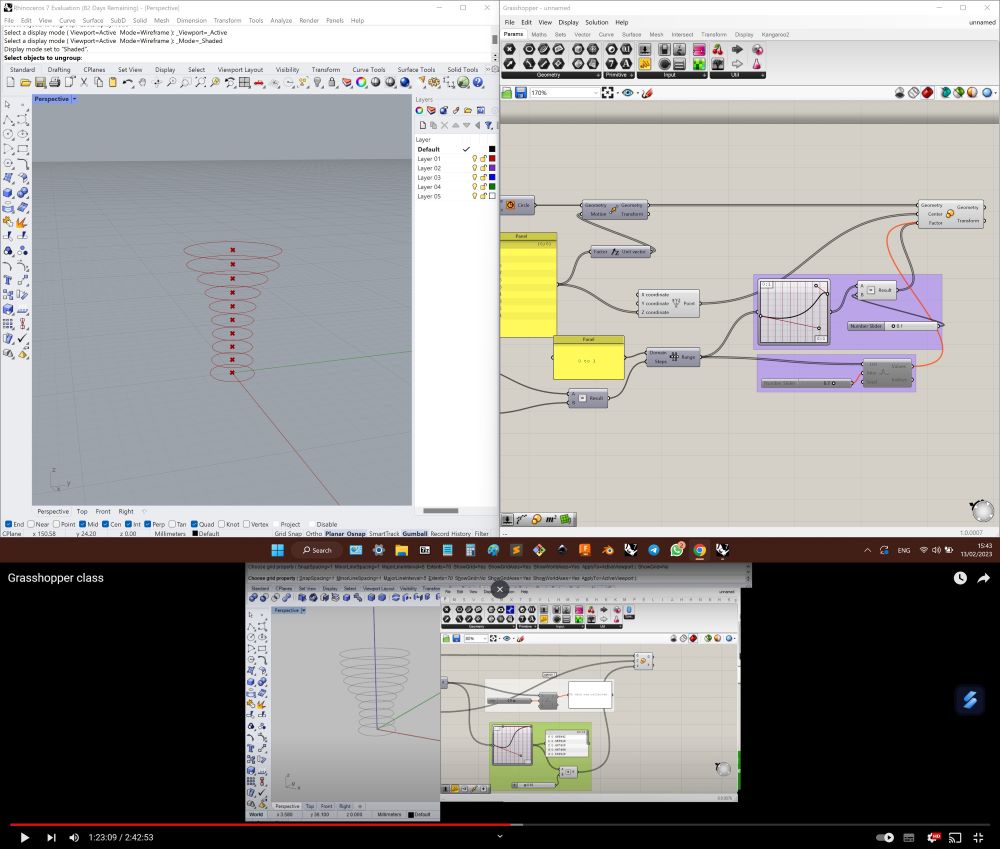
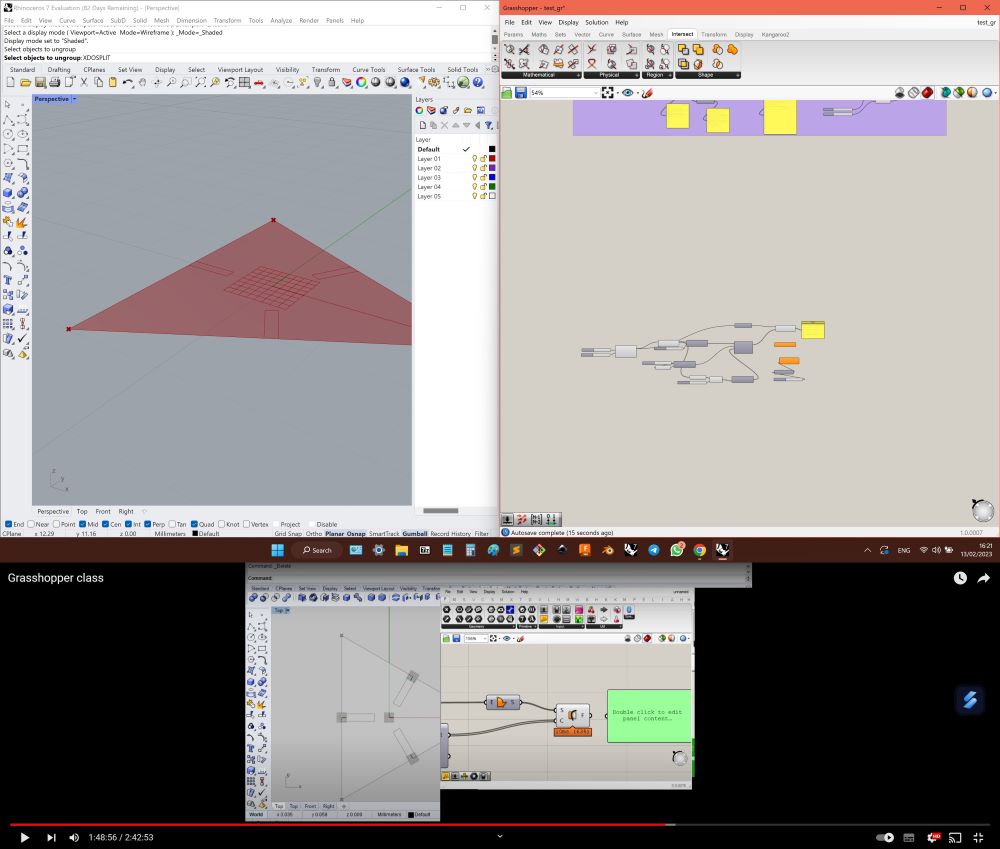
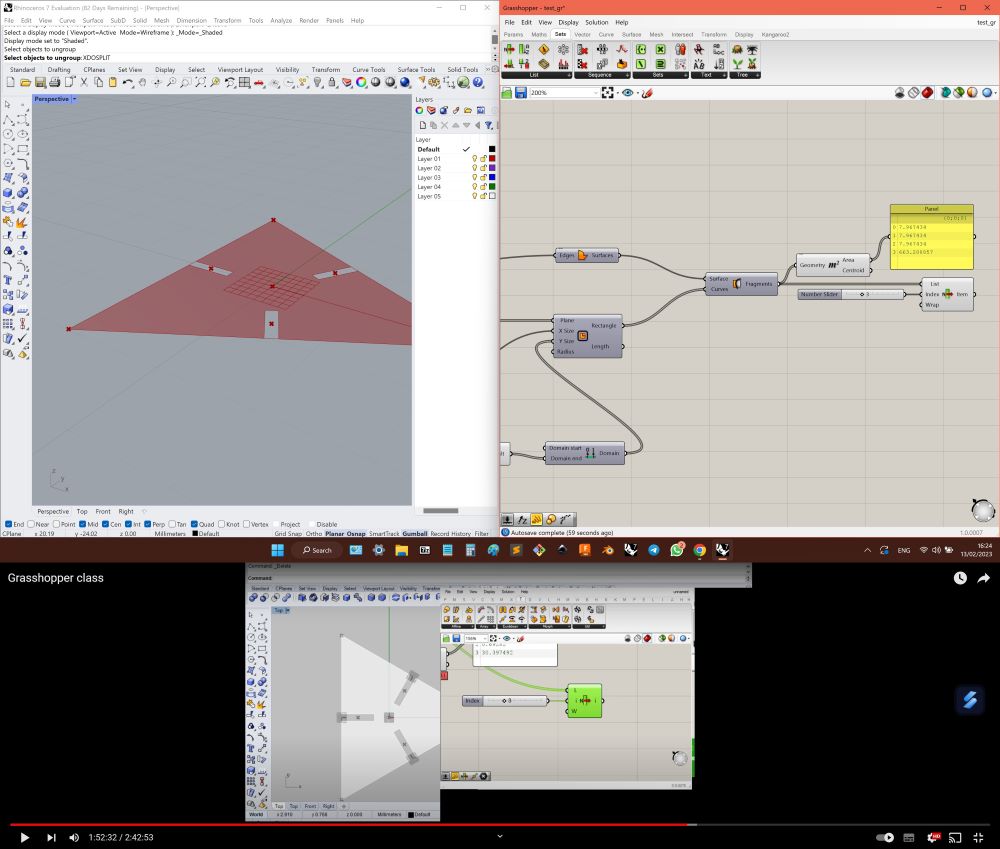
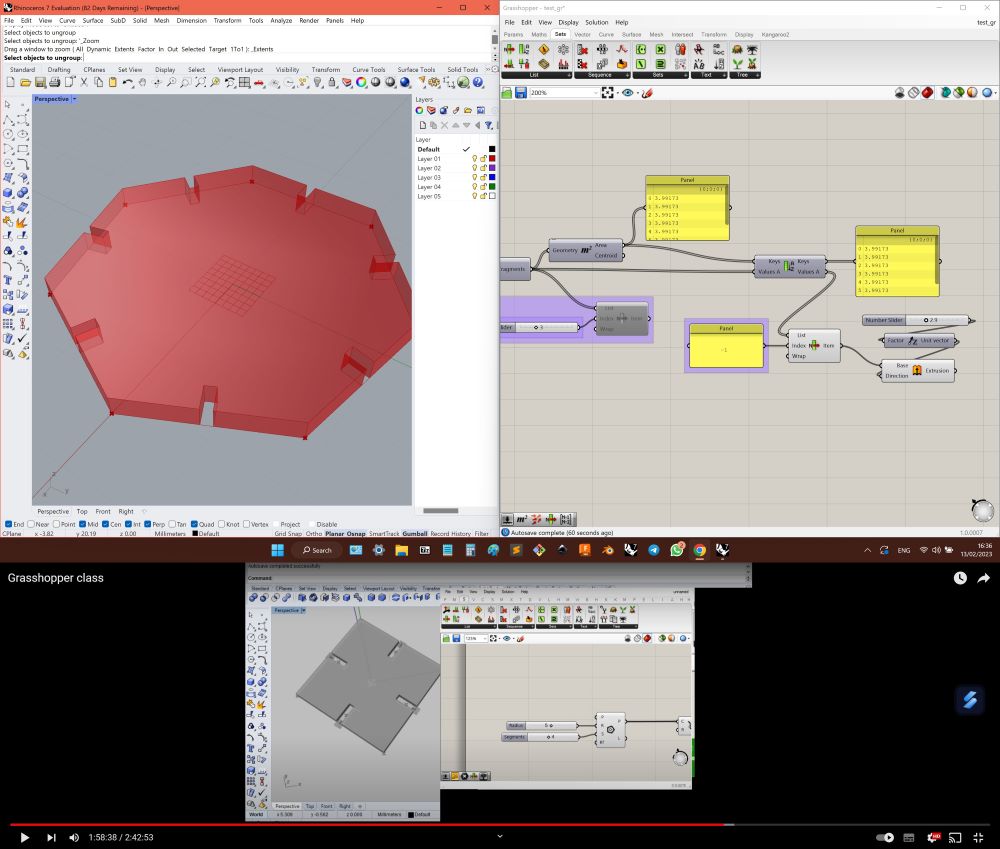
- Chose recommended tutorial for familiarizing closer with Grasshoper, also showing another way of class tutorial detail creation.
Files
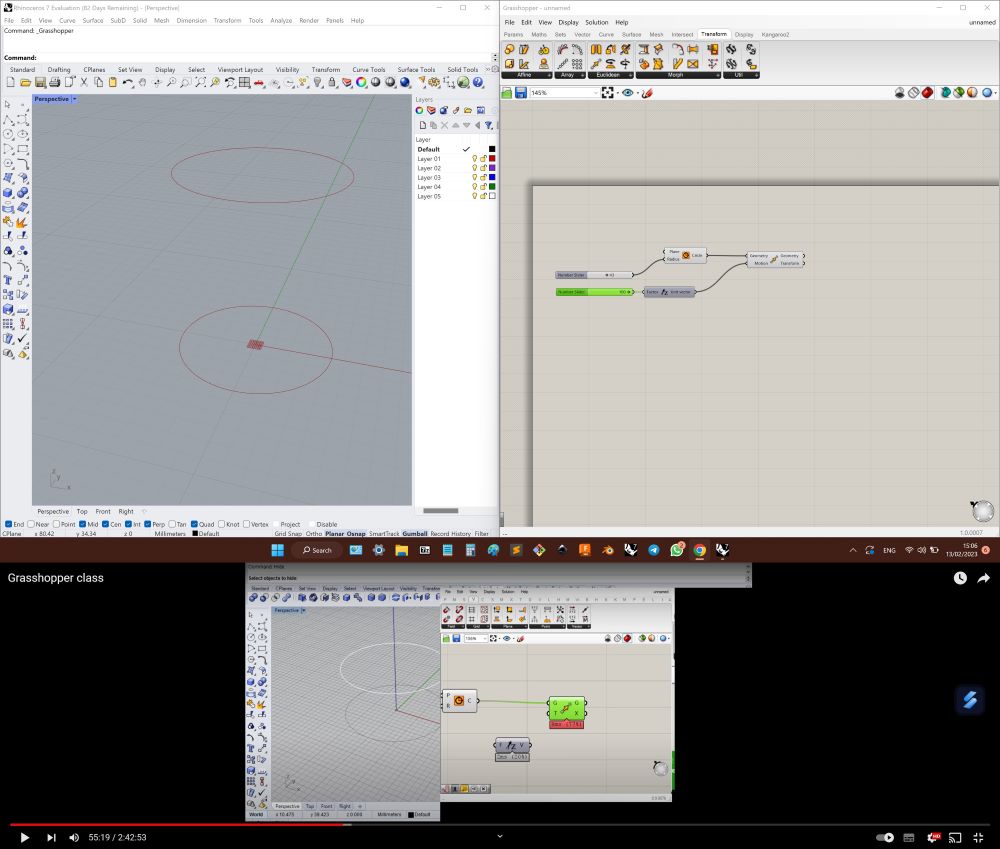
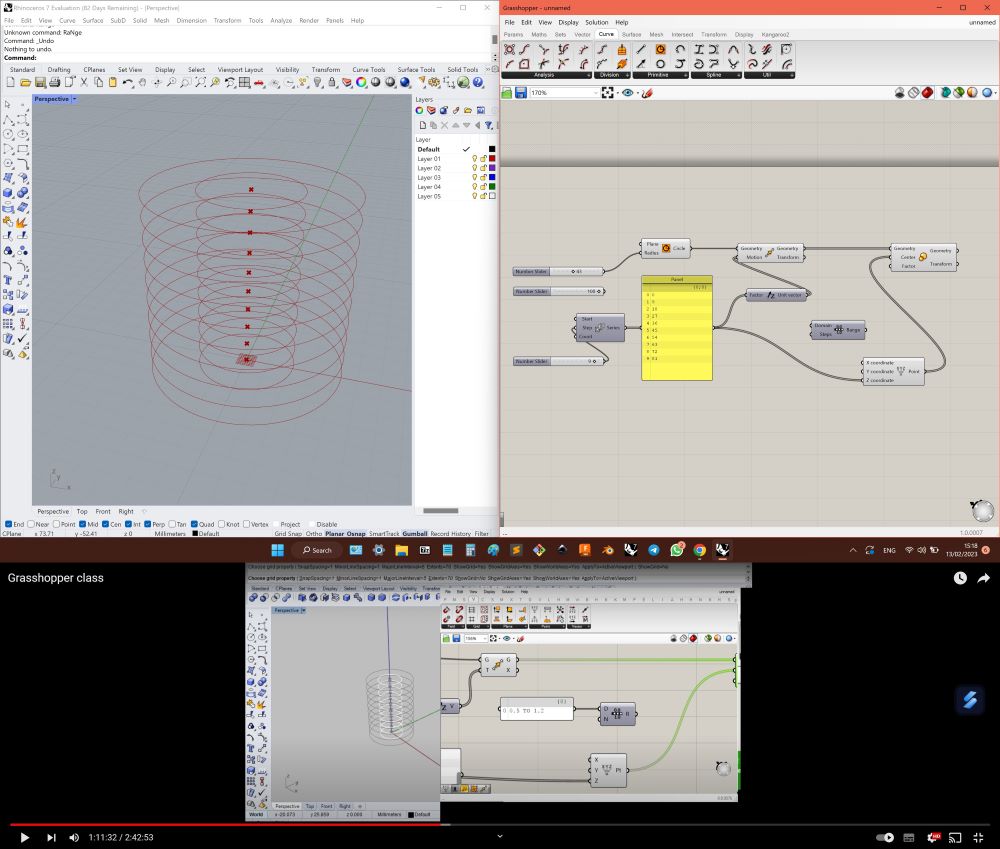
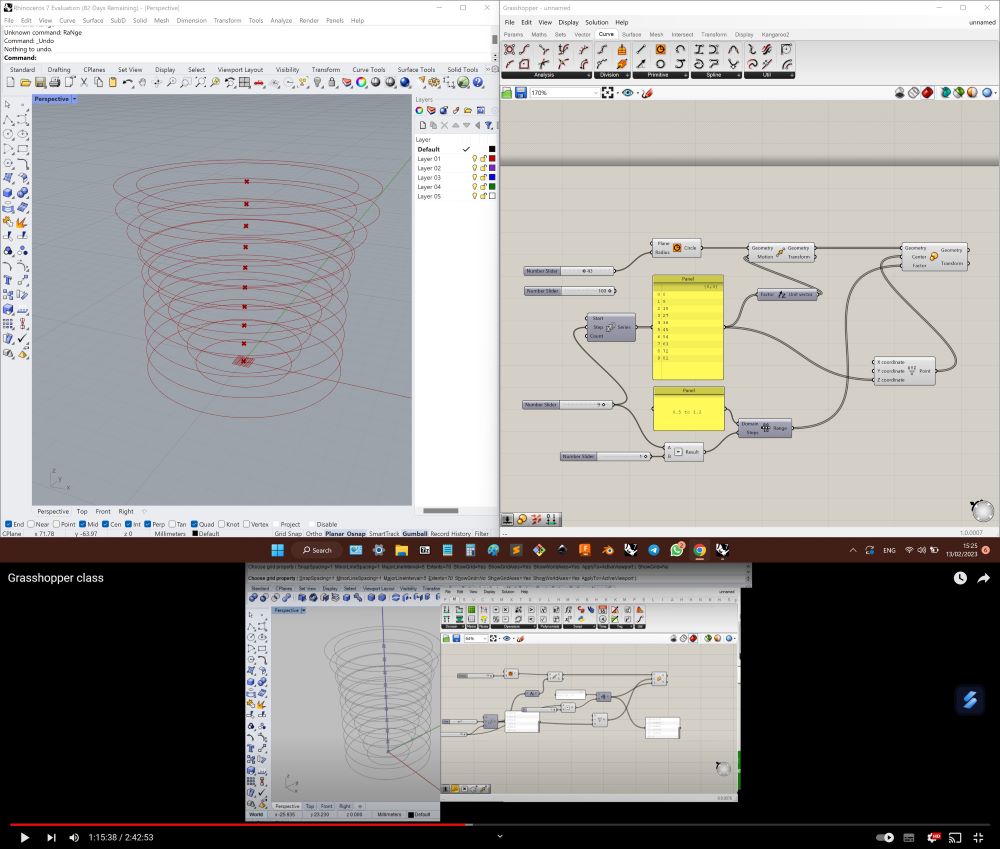
Summary
For sure will invest time in further exploration. Realy powerful "factor " tool.