Week 9. Output Devices
Assignments
Group assignment:
- Measure the power consumption of an output device
- Document your work on the group work page and reflect on your individual page what you learned
Individual assignment:
- Add an output device to a microcontroller board you’ve designed and program it to do something
Learning Outcomes
- Demonstrate workflows used in controlling an output device(s) with MCU board you have designed
Group Assignment: Measure Power Consumption - Group assignment
Useful links
Code Example
As a short introduction, I detail the codes that work with Arduino software and hardware and that I will describe later.
Gallery
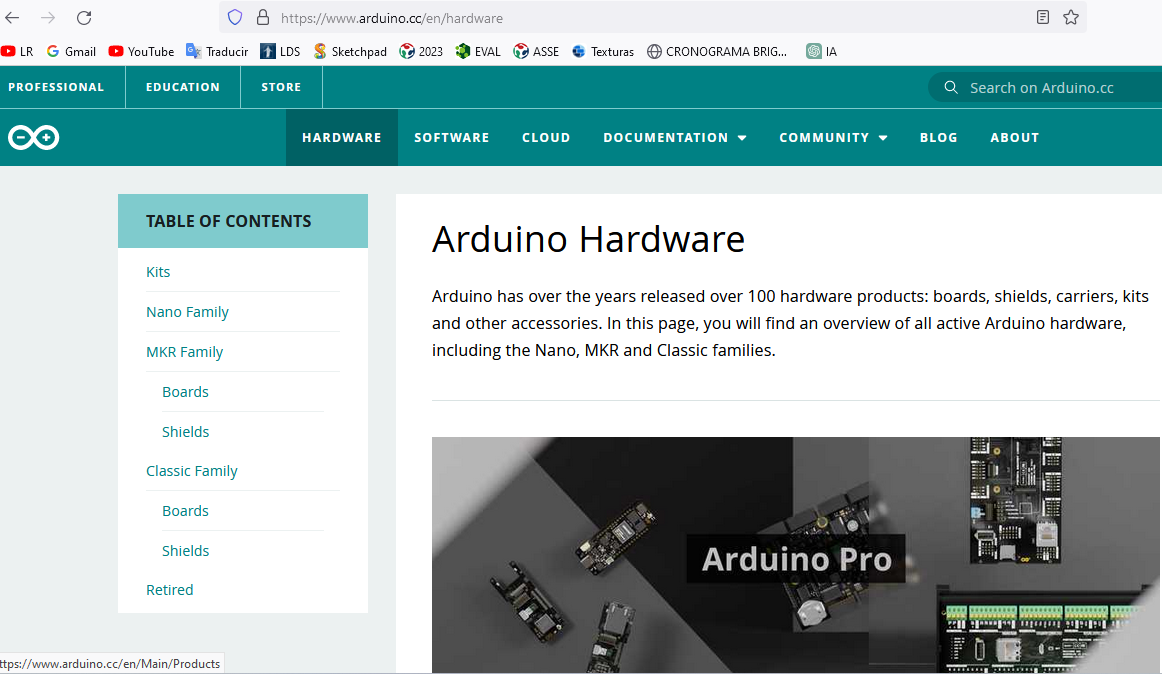
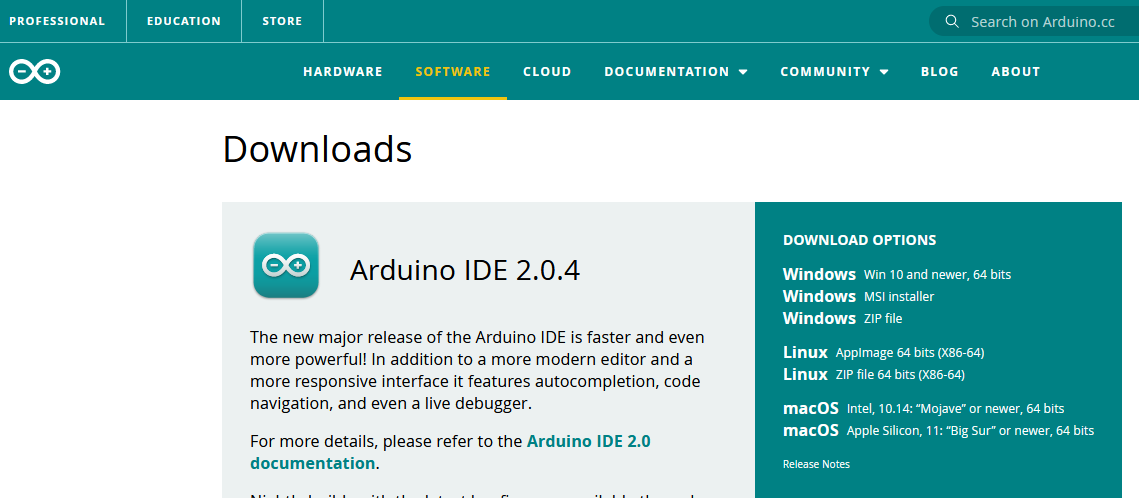
First of all visit the arduino website to browse the topic of software and hardware that this good application offers.
Then visit the area of the classic family of the arduino where you can see from the arduino uno, mega, etc.
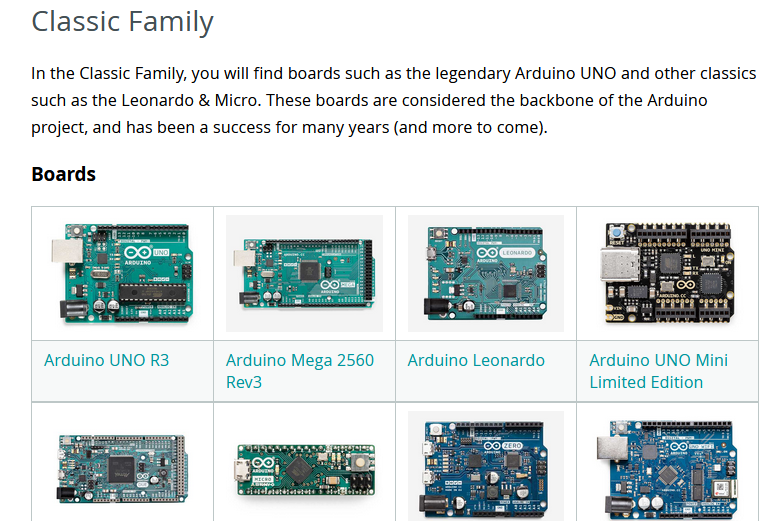
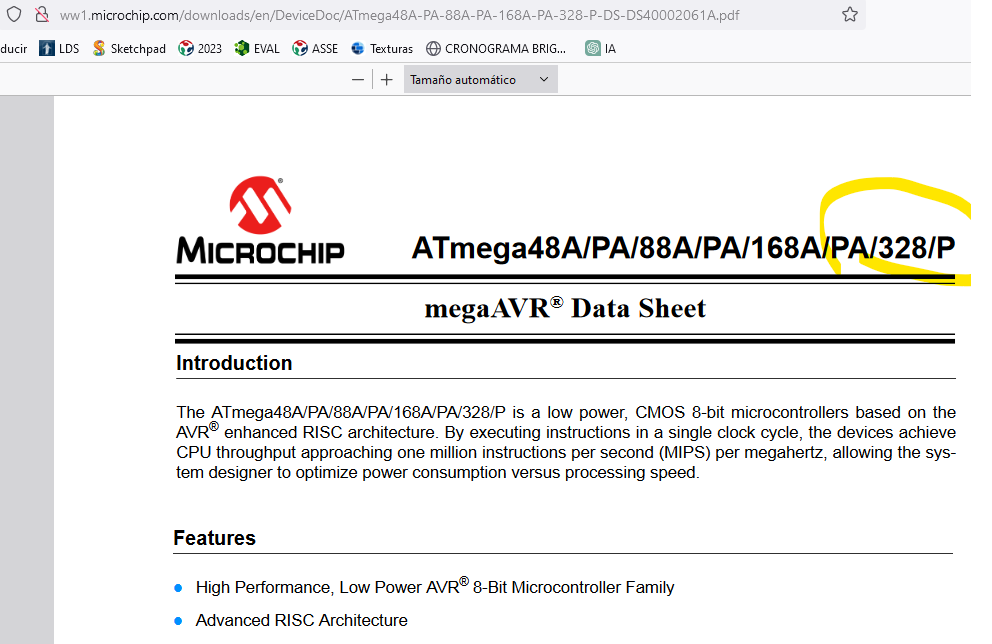
The following image shows the arduino uno that I chose to see its description.

The figure shows the technical specifications where it can be seen that it works with the ATmega328p architecture.
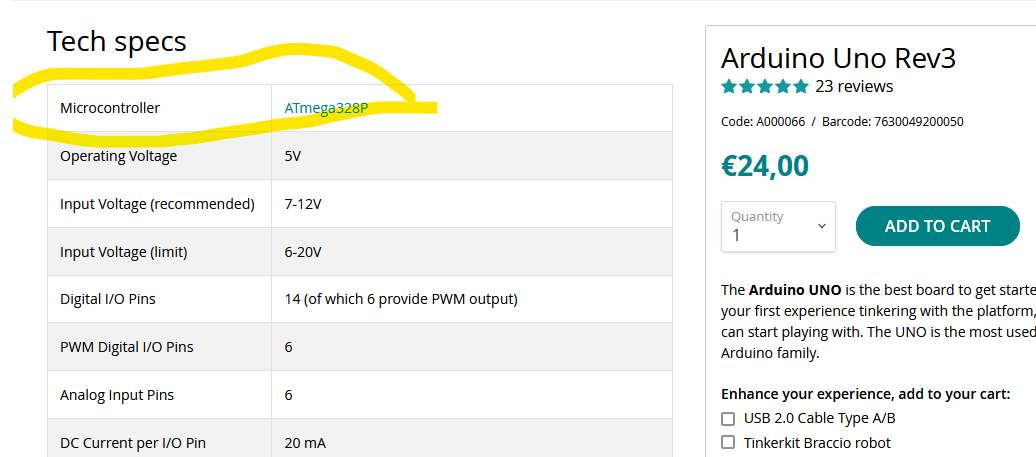
That link takes me to see the ATmega328p manual where the architecture of how this microcontroller works is described.
This section discusses the AVR core architecture in general. The main function of the CPU core is to ensure correct program execution. The CPU must therefore be able to access memories, perform calculations, control peripherals, and handle interrupt

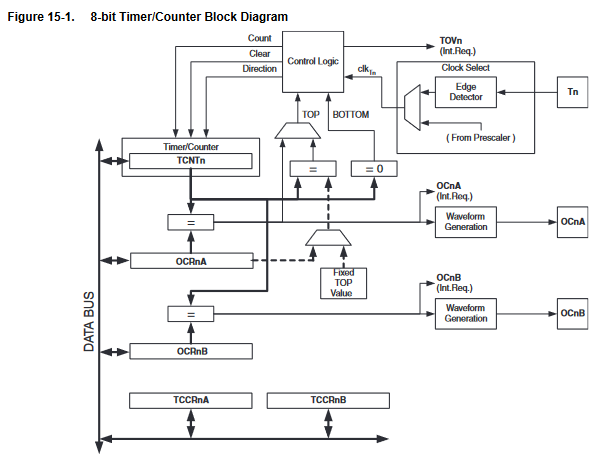
Here the characteristics of the microcontroller are shown.

Timer/Counter0 is a general purpose 8-bit Timer/Counter module, with two independent Output Compare Units, and with PWM support. It allows accurate program execution timing (event management) and wave generation.
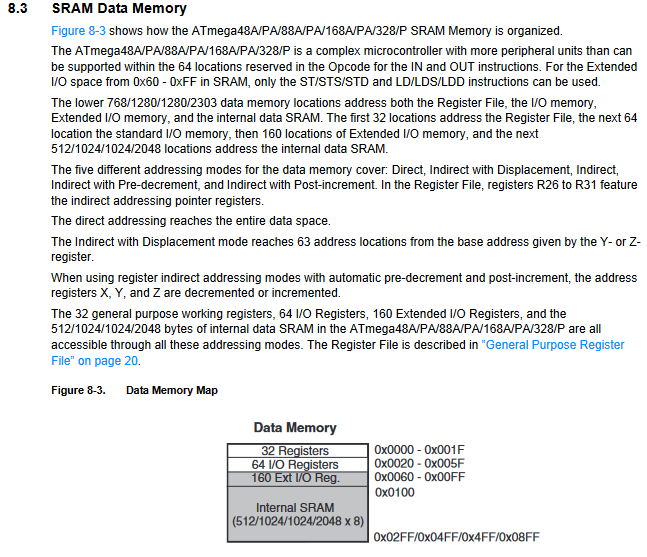
Here the SDRAM main memory is described.
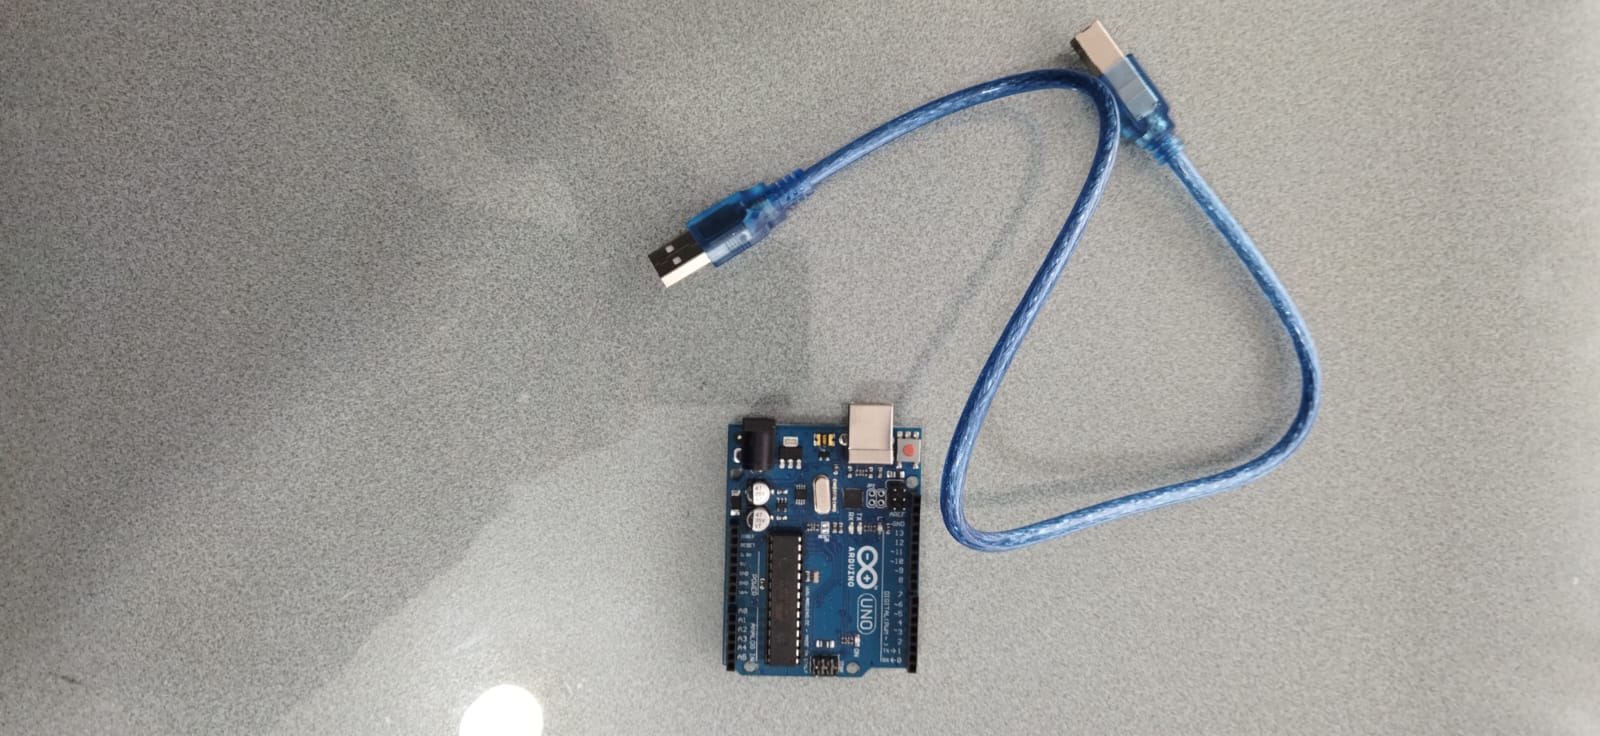
Next I will begin to describe the practice of using the arduino uno hardware with its respective cable.
Then visit the arduino page in the software category to download it.
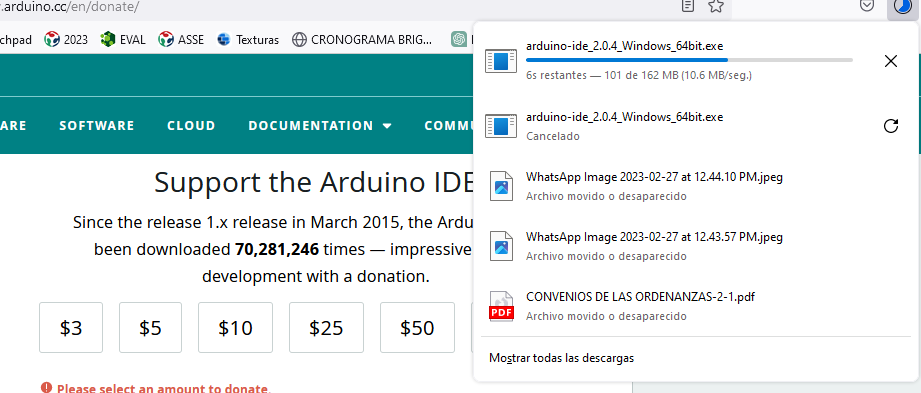
If you wish, you contribute voluntarily since this program is free.

Here waiting for the download of the program to finish.
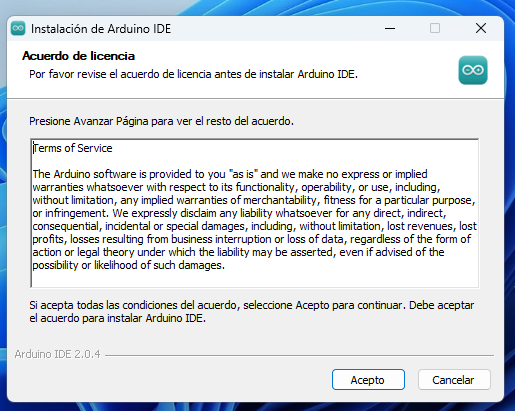
Now it’s time to start the installation in the windows operating system.
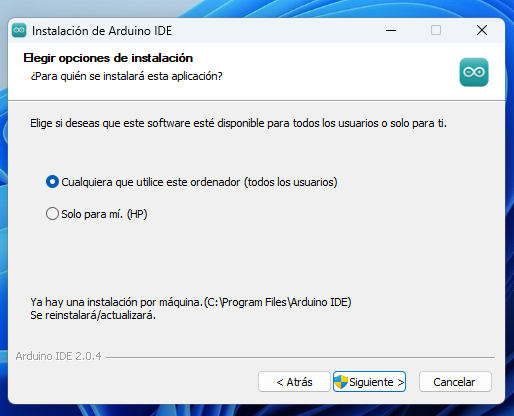
Choosing that anyone who uses this computer can use.
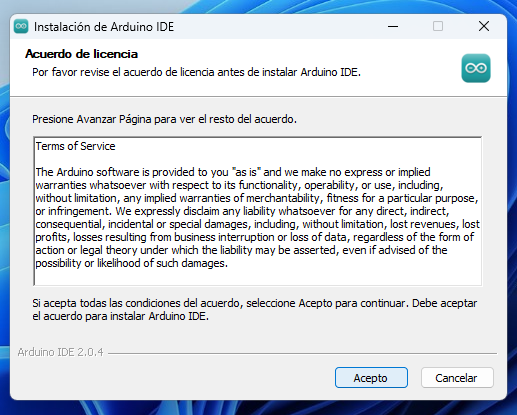
Accepting the conditions established by the program.
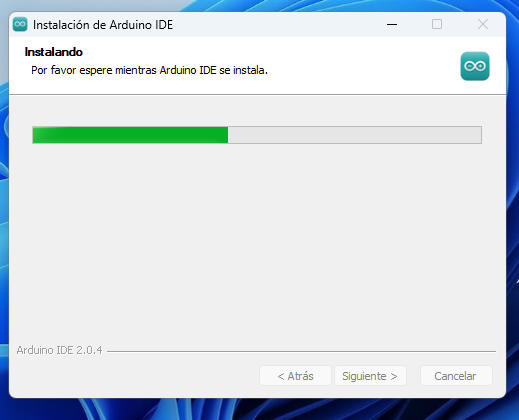
Waiting for windows to install the necessary files for the use of the arduino IDE.
Finally finished the installation and then run the program.

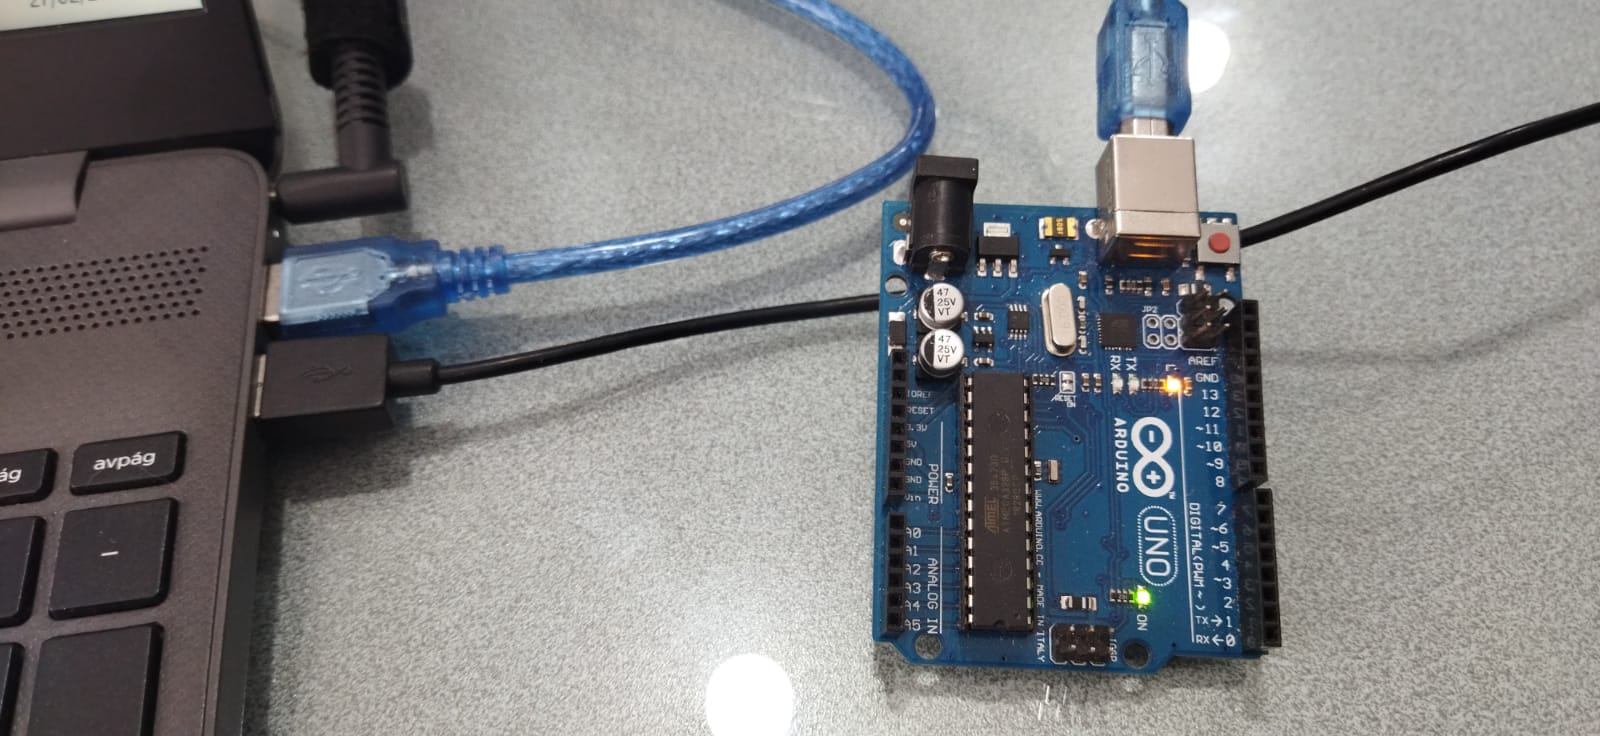
Connecting the arduino one to the laptop
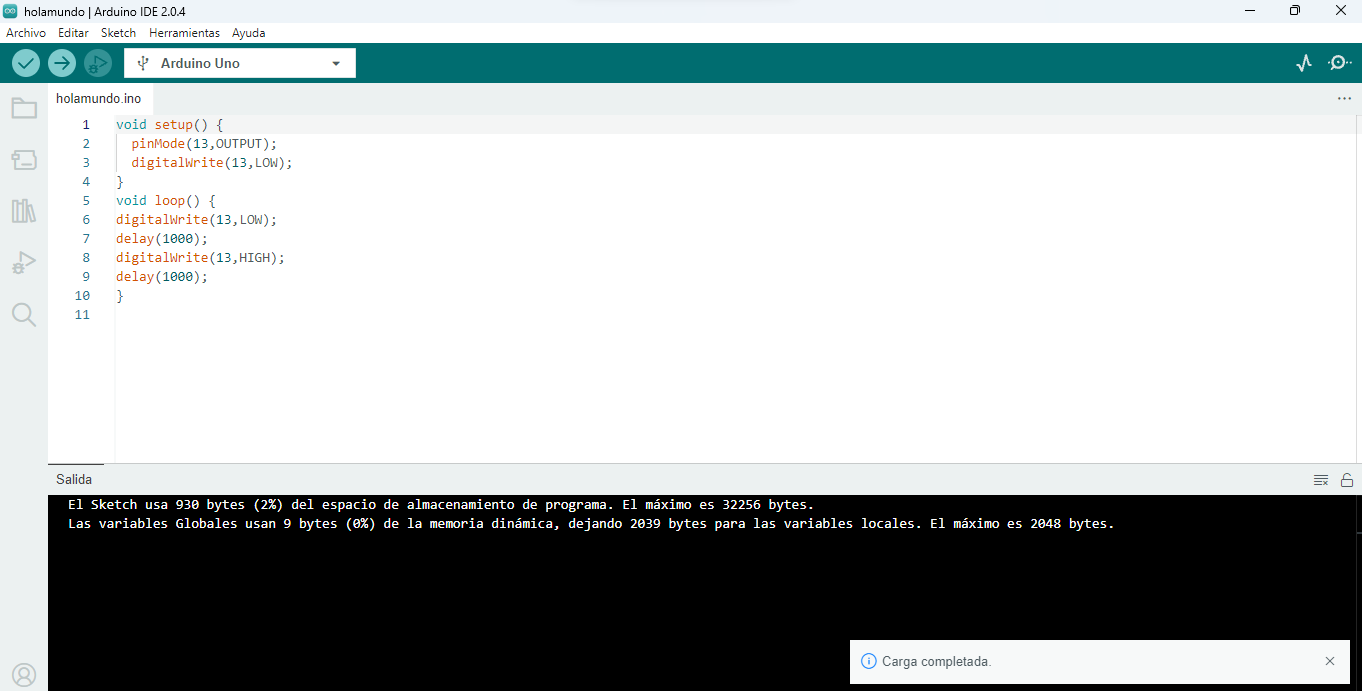
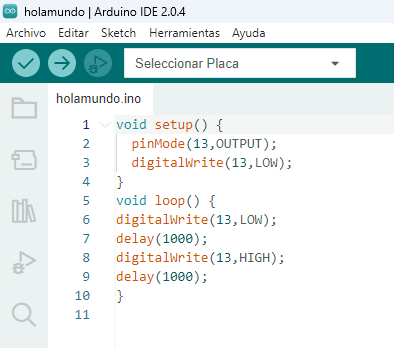
Programming in the arduino in the C language the Hello world with pin 13 on and off with a wait of 1 second.
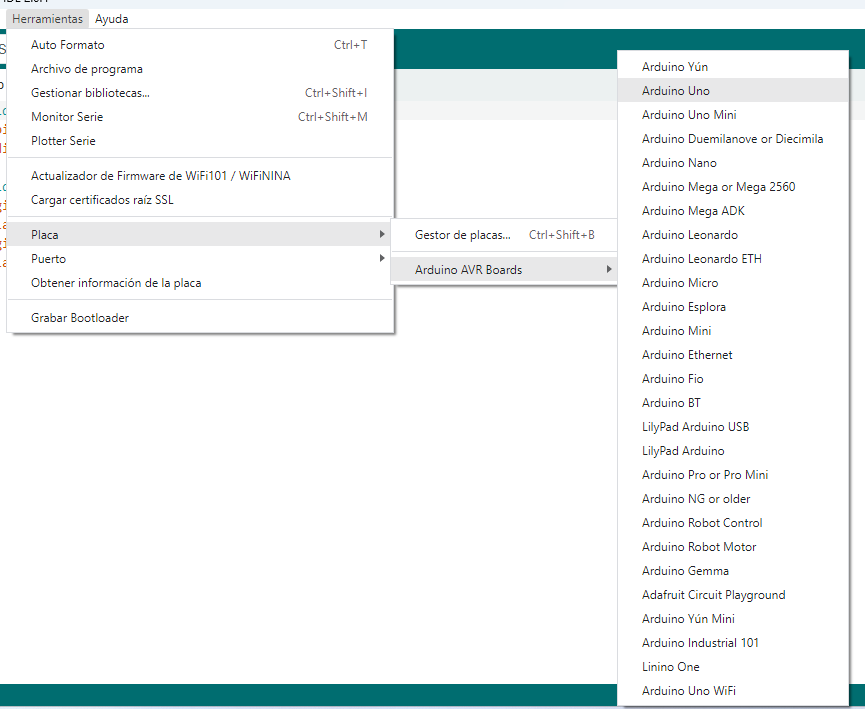
In the arduino IDE configuring the board that is being connected.
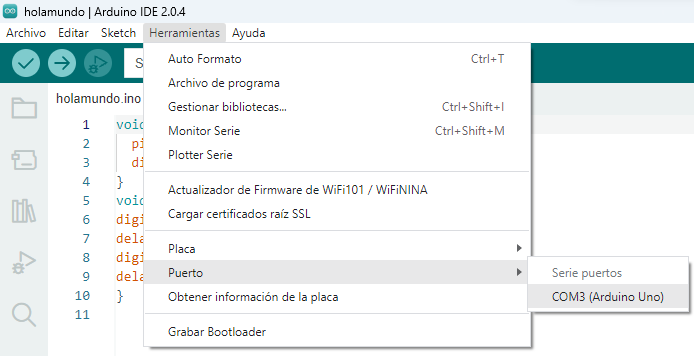
Then configuring the COM3 communication port for the arduino one.
Uploading the code to the arduino and receiving confirmation without errors.