Week 1. Principles and practices, Project Management
We start this week having an idea of the final project, I show the first description of my final project that could be modified as the weeks progress.
Assignments
Practices and Principles (part 1/2)
- Plan and sketch a potential final project
Project Management (2/2):
- Work through a git tutorial.
- Build a personal website describing you and your final project. Refer to the lecture material for examples.
- Upload parts 1 and 2, to the class archive.
- Sign and upload the Student Agreement Student Agreement
Learning Outcomes
- Communicate an initial project proposal
- Identify and utilise version control protocol(s)
- Explore and use website development tool(s)
Final Project Idea
This image shows my initial idea which is:
-
I need to control from a remote control the switching on and off of the luminaire and control the ventilation speed of the room indicated by means of the ambient temperature.
-
For the theme of the light I will need an emitting device and another receiver through bluetooth signal in the same way to control the fan.

Project Management (2/2)
Continuing with the work of the week, I have begun to update my website. For this, I have defined the method of how to organize myself to process all the information.
Organization:
Organization is part of success before starting the studies, so we will use the spiral model which means that the processes are repeated until the finished product can be delivered. Spiral development is also known as incremental development or model.

What is version Control? Version control is the management of the various changes that are made to the elements of a product or its configuration. A version, revision or edition of a product is the state in which it is at a given time during its development or modification.
We can classify version control systems based on the architecture used for code storage: local, centralized and distributed.
Local:
Changes are saved locally and are not shared with anyone.
Centralized:
Each user has their own repository. The different repositories can exchange and mix revisions with each other. It is common to use a repository, which is normally available, which serves as a synchronization point for the different local repositories. Examples: Git and Mercurial.
Distributed:
-
You do not need to be logged in to save changes.
-
Ability to continue working if the remote repository is not accessible.
-
The central repository is freer of testing branches.
-
Fewer resources are needed for the remote repository.
-
More flexible by allowing each personal repository to be managed as desired.
It is interesting for me to be able to experience the latter of distributed version control, working on my computer and then updating it on the web, and in this way centralizing the requested information.
Among the many possibilities of working on websites, HTML is a language known to many, which is why, at the suggestion of my evaluator, I decided to use the Mardown language, a simple language that is used to create rich text (for example, HTML) with a plain text editor. It allows you to give a basic format to the text, using symbols that are known and accessible on all keyboards.
Ghostwriter is a distraction-free text editor for Markdown that displays a live HTML preview as you type, topic creation, focus mode, full screen mode, real-time word counter, and document navigation in a writing environment. aesthetic.
Step for Use Ghostwriter

Once the application is open, we go to the file to open a web page in development.

Then we choose the file to design.
Once the file is open we can see the area marked in red where we will design with the reserved words of the ghoswriter in the markdown language. When we do so we will see the preview of the web page on the right side.
This area shown in red is the preview of how the web page will look.
Use of Git
For the correct development of the assignments that will come week after week, I have prepared myself by installing the basic programs that will allow me to prepare and publish my corresponding tasks, in this case I am referring to the Git application. Git is version control software designed by Linus Torvalds with the efficiency, reliability, and compatibility of application versioning in mind when applications have a large number of source code files.
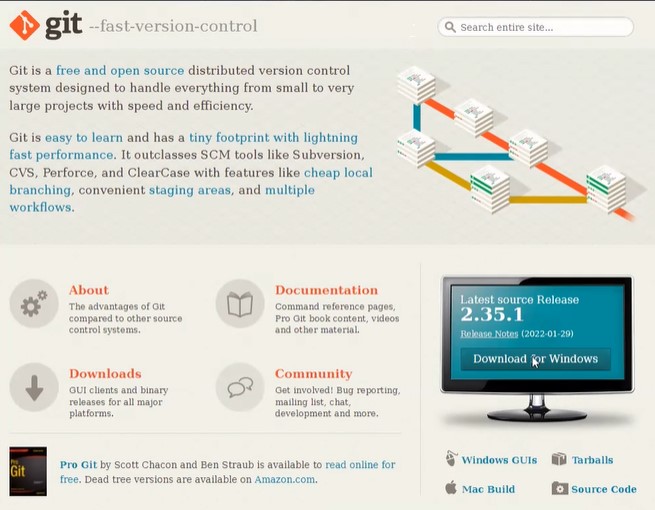
Installing the Git app to later clone it from local storage to the cloud.
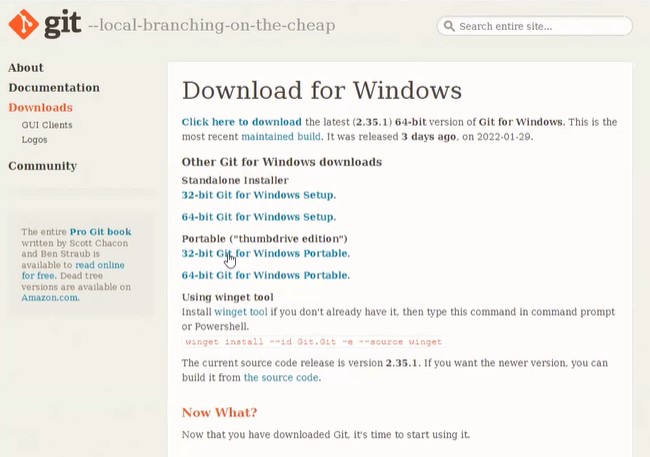
Installing Git application for windows 64 bit operating system installed on desktop computer.
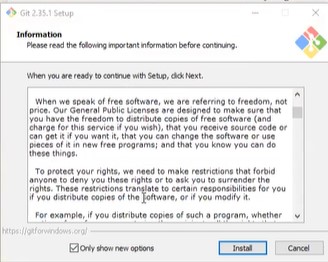
Following the installation process guided by the wizard.
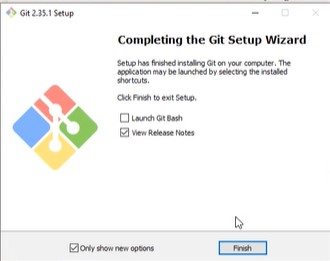
Window indicating that the installation process has finished.
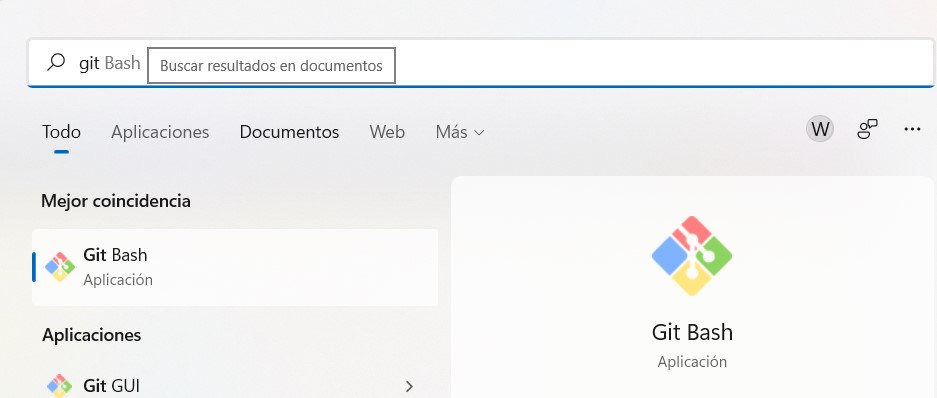
In this image we can already see that Git Bash is already installed and ready to be used in the windows environment.
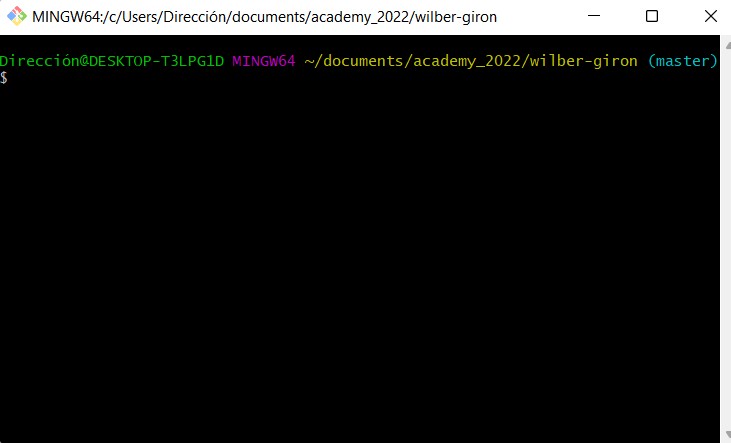
Once the program is executed, we can observe the application environment that will allow us to execute the commands below. For this, custom folders such as academy_2022 and master wilber-giron had already been created.

As you can see, this is the process to first access the folder, documents, academy_2022 and finally the master wilber-giron folder.

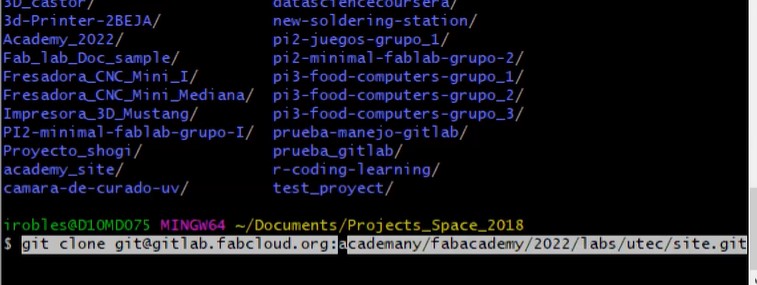
Now we see the steps to clone the local desktop of the PC with the cloud where the published information will be hosted.
Copying from clipboard from SSH clone to Git app.
Running the SSH clone code in Git.

Once successfully logged into gitlab, we choose the preferences option to access the alternatives that the system indicates.

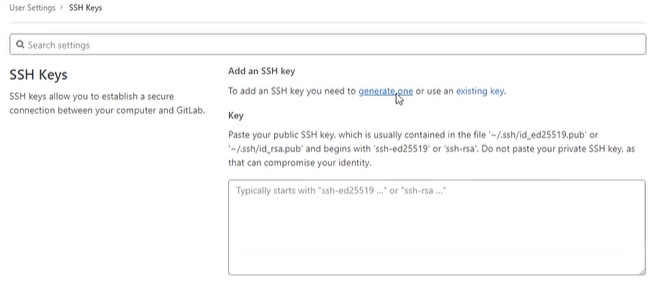
Here we see the choice of the SSH keys option.
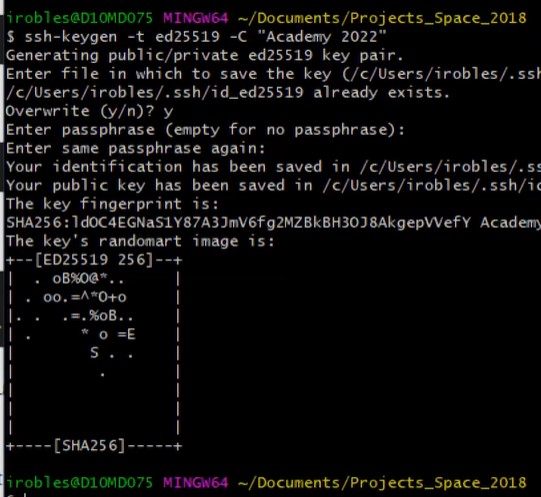
The image shows that we are generating a new encrypted security key.
 Making a copy of the key.
 We paste the copied code into git.
From the Git it can be seen that the system has correctly generated the encryption code between the user and the system in the cloud.

We are now copying from gitlab to the git app.

Pasting the generated key from the clipboard and then applying changes.
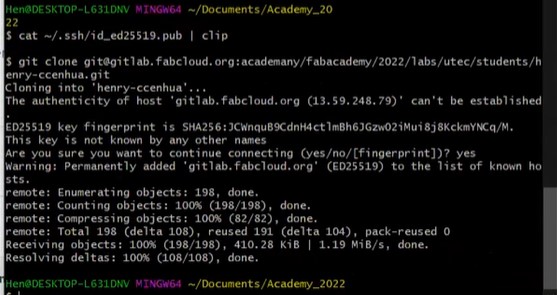
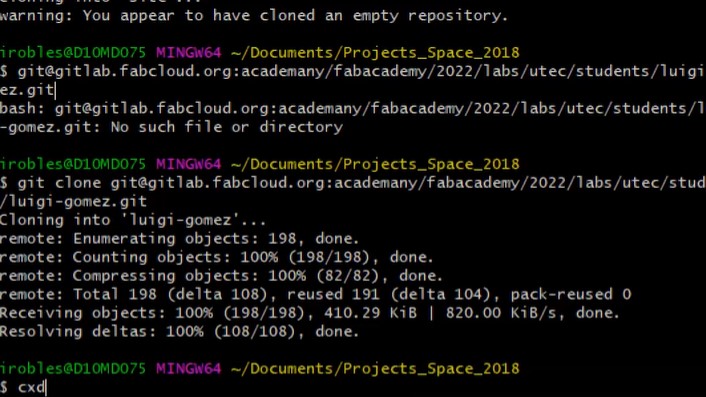
In this image we can see that the cloning has been successful, let’s go.

Now when we want to publish changes from the cloud desktop we need to use these 4 steps. Step number 1: apply the command (git add .)
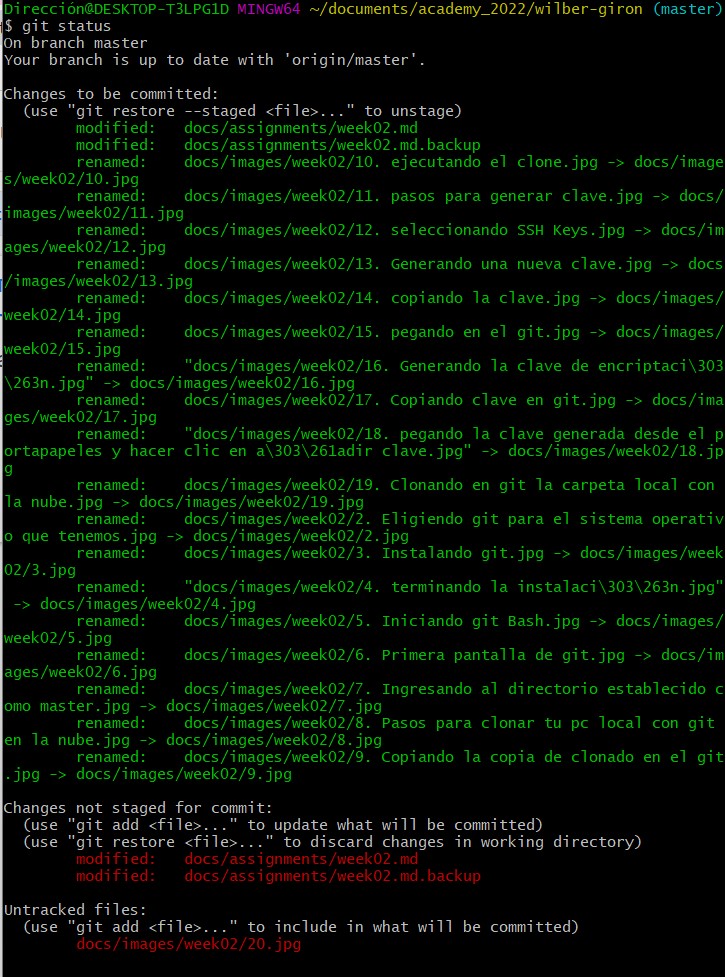
Step number 2: apply the command (git status)

Step 3: Apply the command (git commit -m “updated”).
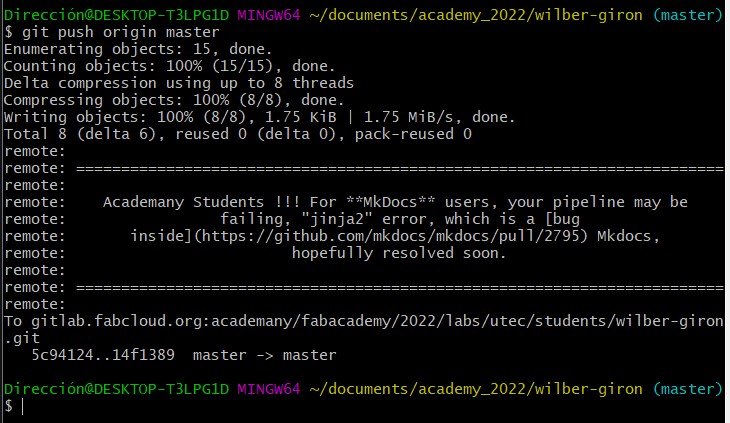
Step number 4: apply the command (git push origin master).