Week 2. Computer Aided design
In this present assignment I have been learning about computer-assisted design for 3d design, for this I have used the onshape and Inkscape applications for the experimentation of the box that corresponds to the emitter and receiver of the signal of my project.
Assignments
The task for this week consisted of:
- Model (raster, vector, 2D, 3D, render, animate, simulate, …) a possible final project, compress your images and videos, and post it on your class page
Learning Outcomes
- Evaluate and select 2D and 3D software.
- Demonstrate and describe processes used in modelling with 2D and 3D software
Software 2d
Inkscape:
Downloading and using the inkscape program for the 2d design of a design.
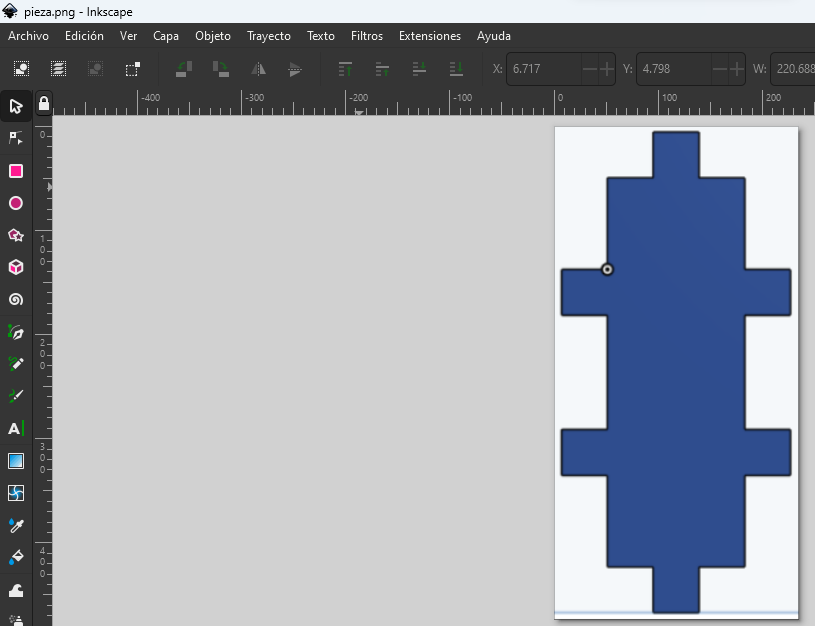
Inserting in the inkscape program the figure designed in onshape in jpg format.
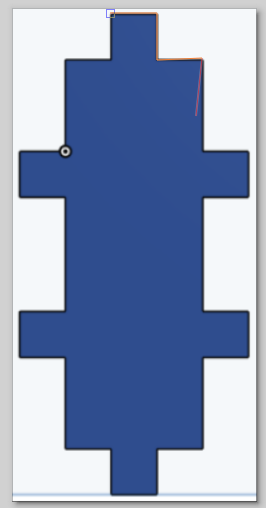
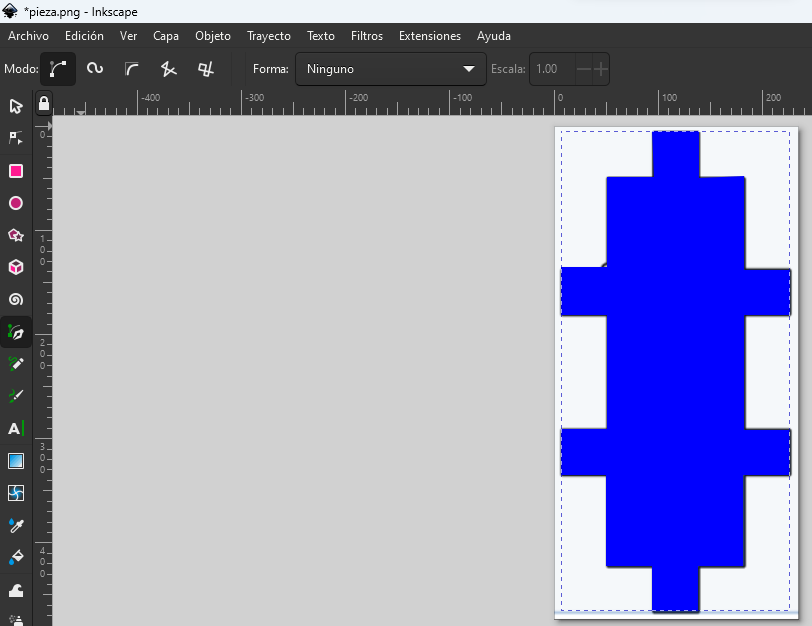
Using the bezier tool to outline the edges of the figure using the control key to have straight lines.
Finishing the tour in the Inkscape program with the bezier tool.
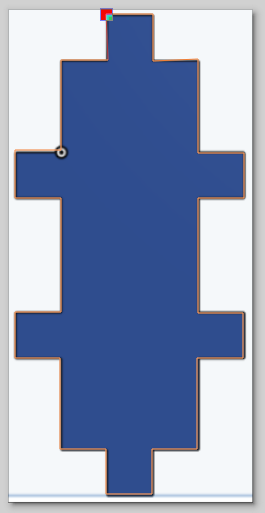
Once the design is finished, we can quickly change the background color as well as the borders.
Using the inkscape program for the 2d design of a decorative text.
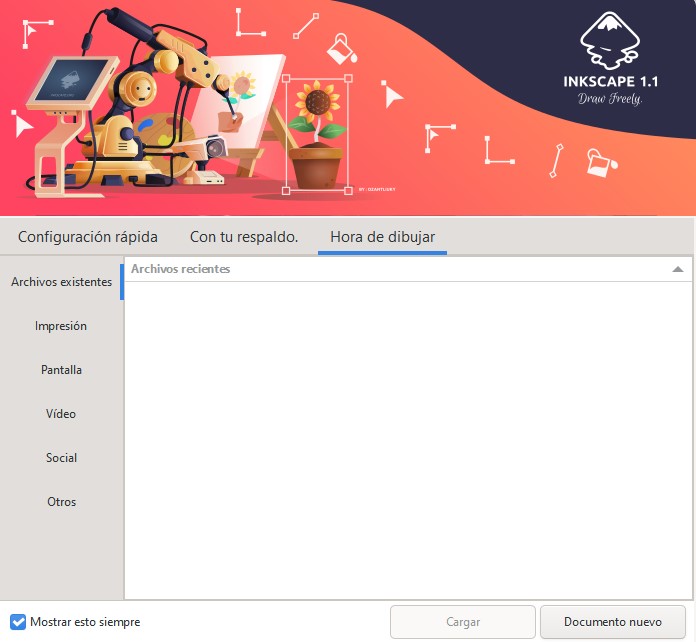
Entering the latest version of the inkscape program for windows 64-bit platform.
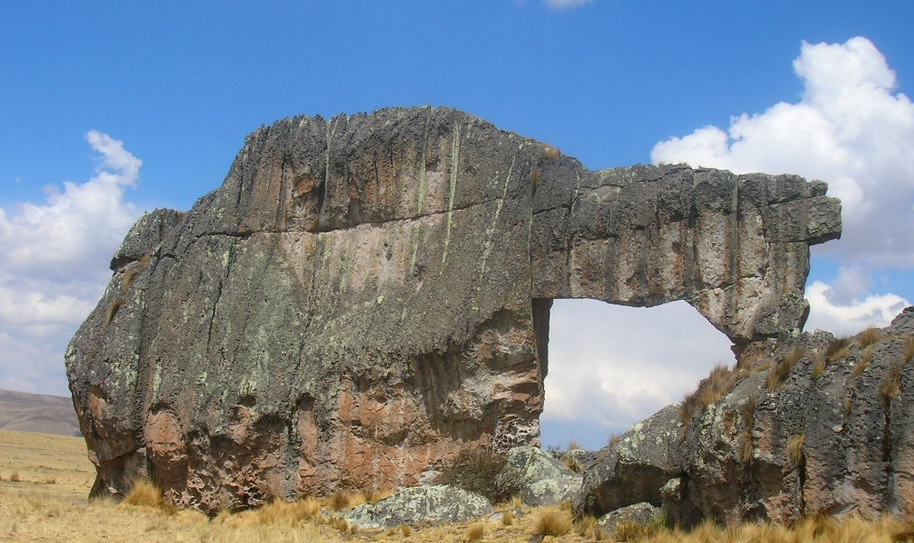 Downloading an image of the city of cerro de pasco for use in this little project.
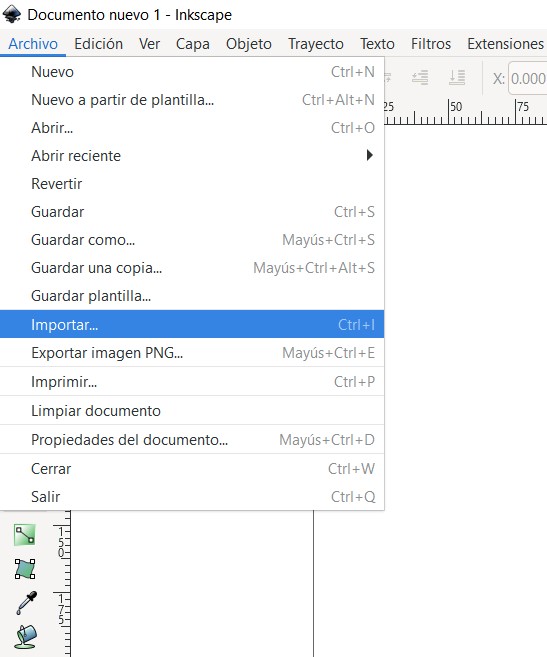 Choosing to import from the inkscape program.
 After importing the downloaded image we can see it in the inkscape document.
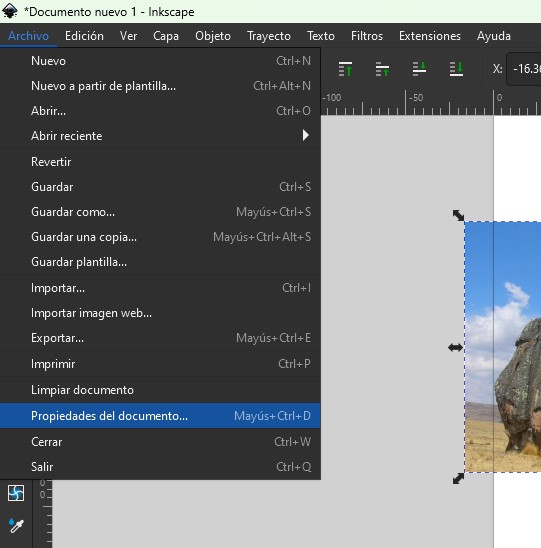 To change the orientation of the inkscape page we enter its properties.
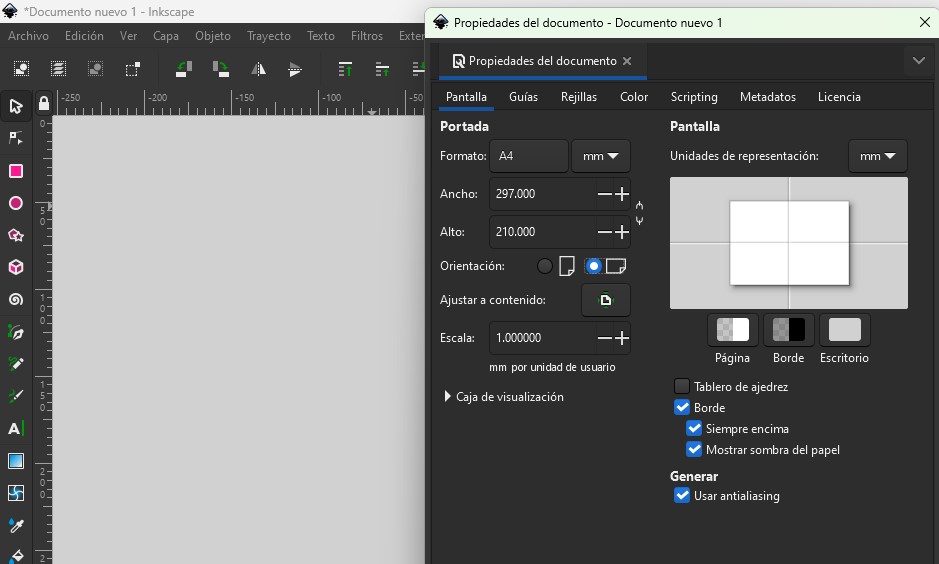 Changing the sheet orientation to landscape.
 With the text tool we insert the personalized text with which we will work.
 Changing the type of text and its size to carry out the activity.
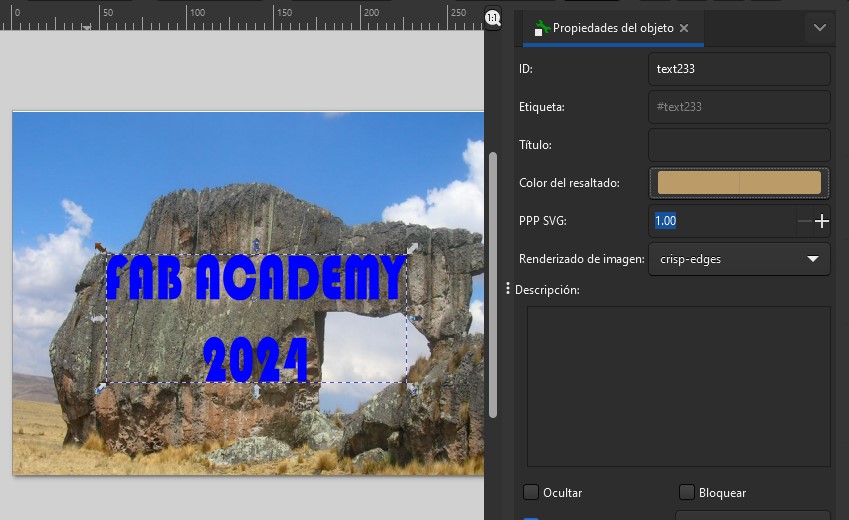 Changing the opacity of the image to show the background.
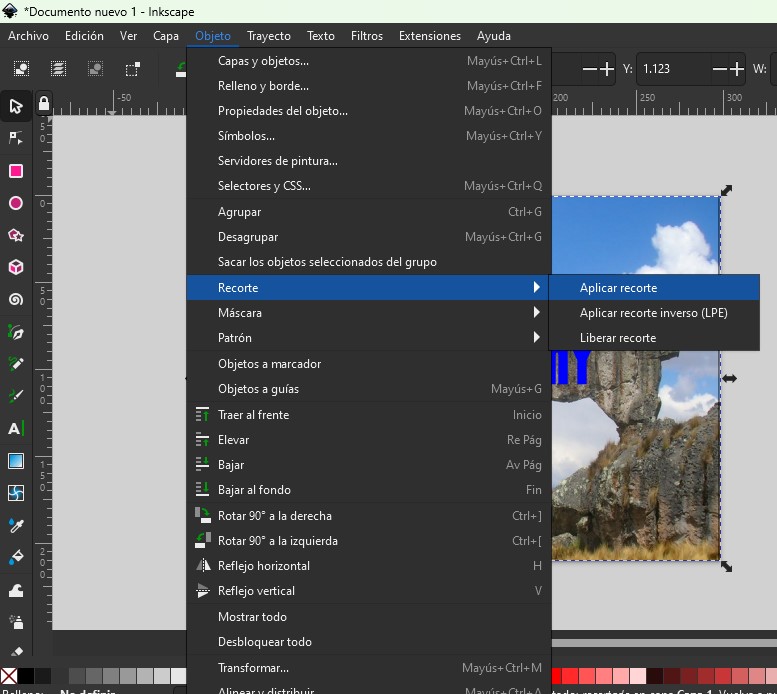 Once selecting the two objects (the image and the text) we choose object, cut and apply.
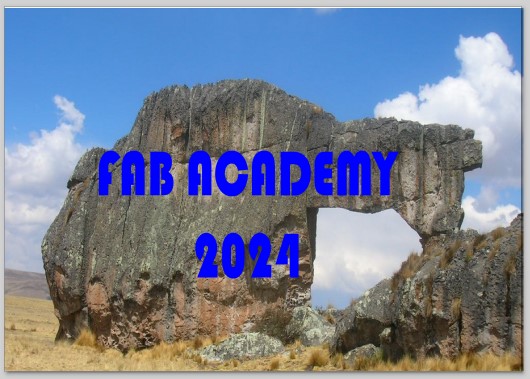
 Once the image with the text is cut, we can see the result.
Gimp
- Make montages, cartography and infographics.
 Opening the gimp application for 2d design.
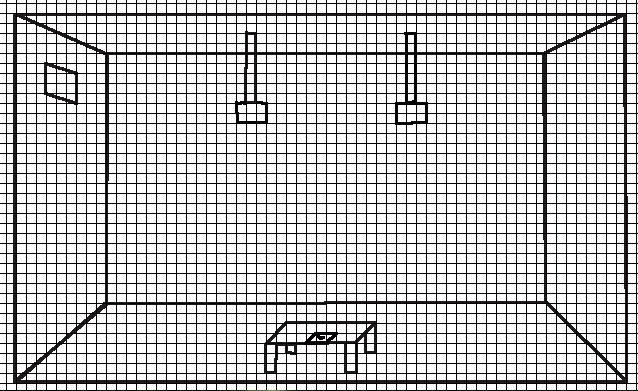 Activating rules for the layout of a room with a remote control on the coffee table.
 Giving color to the room to the design.
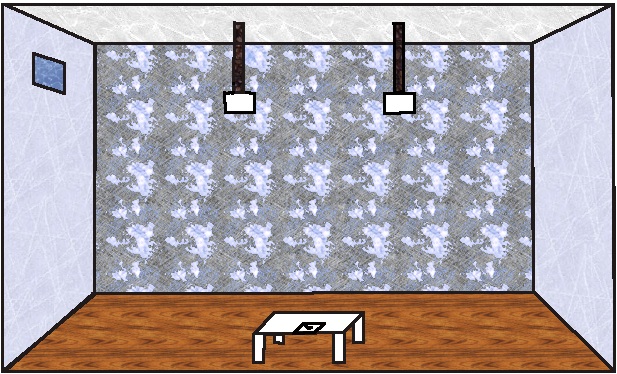 Deactivating the rule by observing the layout of the room.
Software 3D

Onshape was the application chosen for the design.
 In the following figure it is the end of the first face of the box.
 Then this is the presentation of the designs of the three figures in 3d.
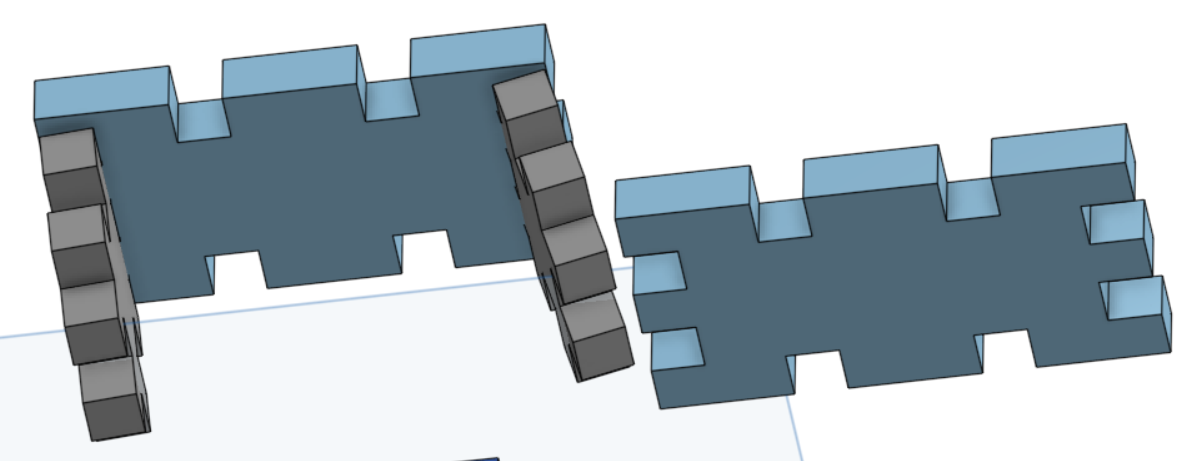
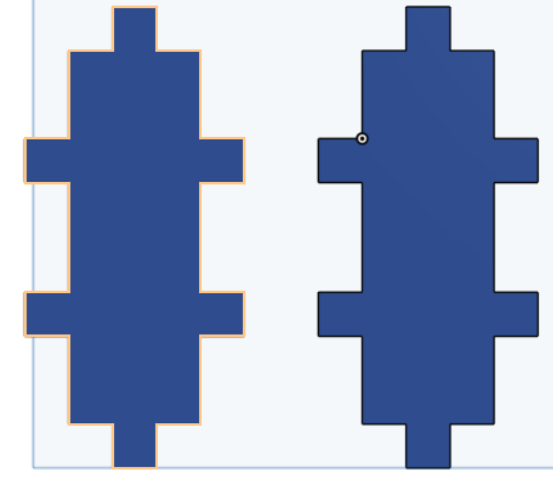 The following is the presentation of the 2 figures that would form the design of the control box.
 Already almost in the final part the design of all the figures for armed elk is shown.
 Here is the top view of the designs made in this design.
Blender
3D design program logo.
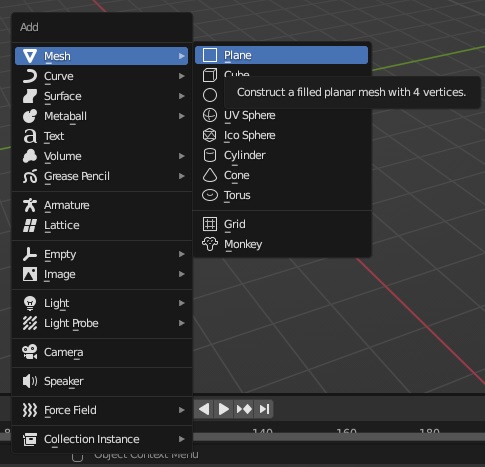
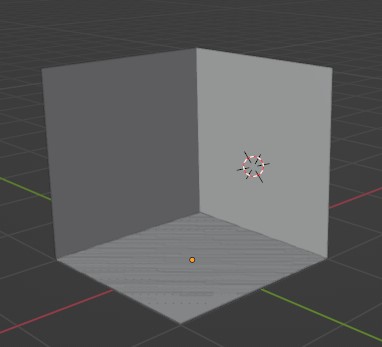
Inserting a plane into the work area.
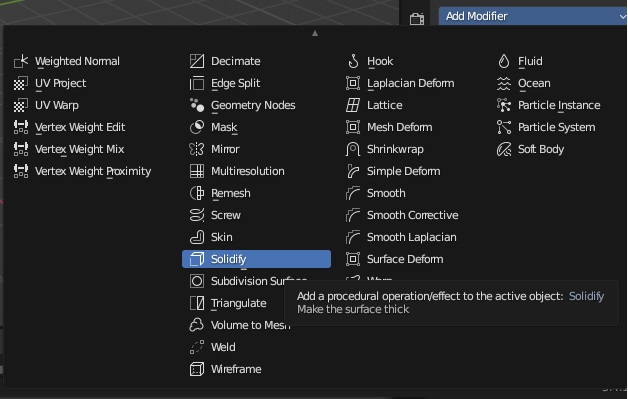
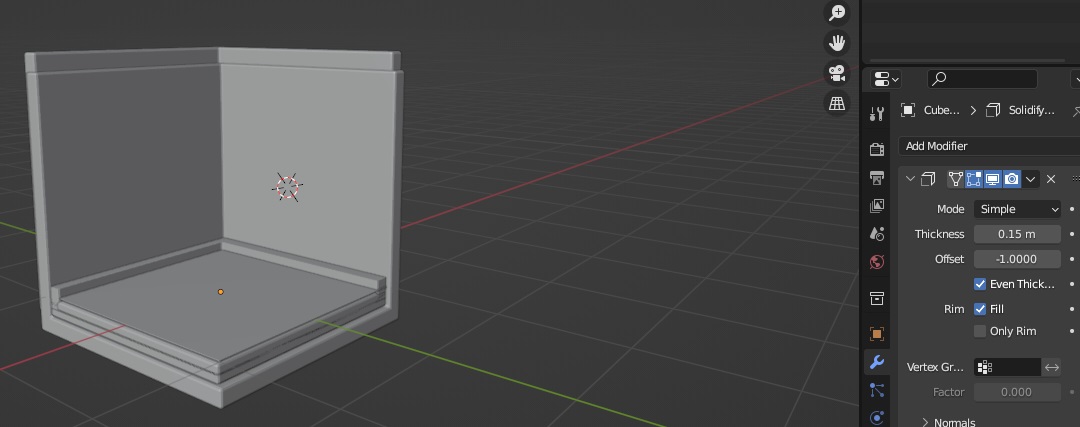
Adding Solidfy modifier.

Cube removed two of its faces next to the plane at the bottom
Fitting the two objects into the base

Expanding the thickness of the objects that are going to be the walls and floor
Extruding objects from the floor
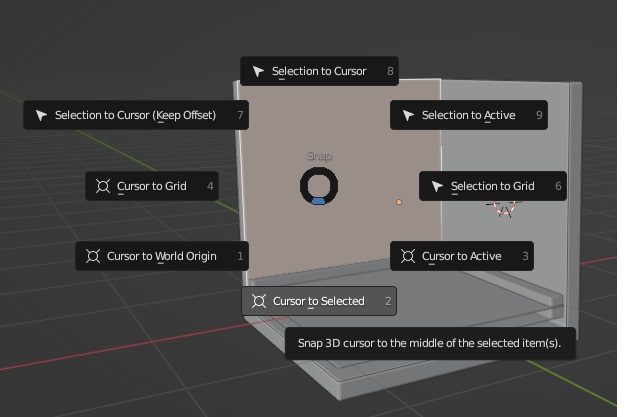
Preparing with the cursor to selected option to create the windows
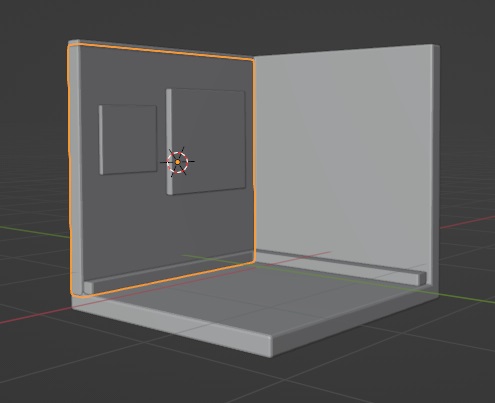
Inserting the second window
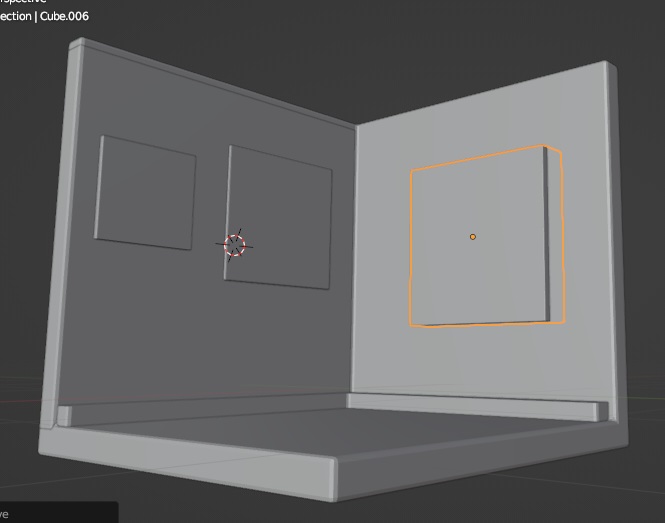
Completing the window on the other wall
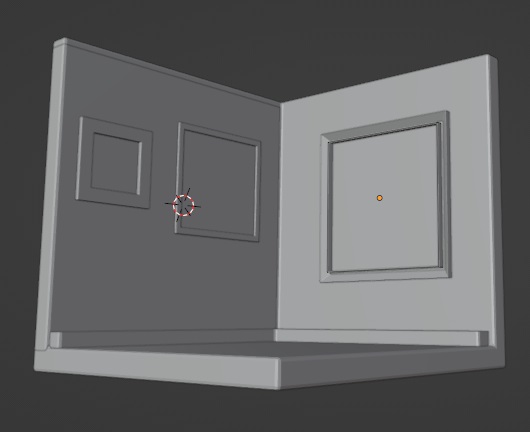
Finishing the window finishes with extrusion
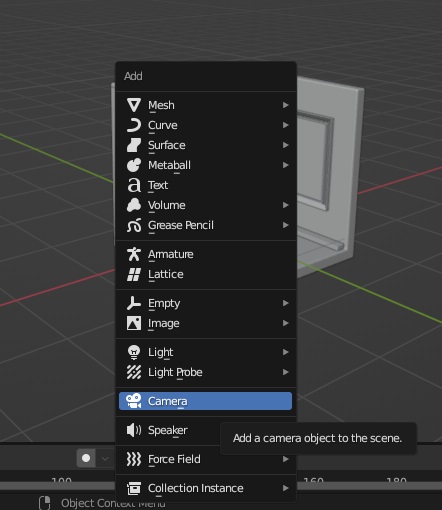
Inserting the focus camera preparing the render
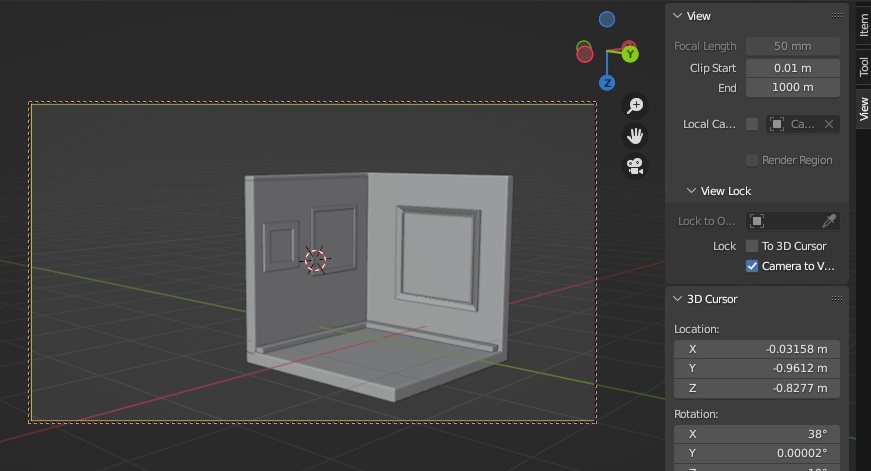
Setting the camera focus
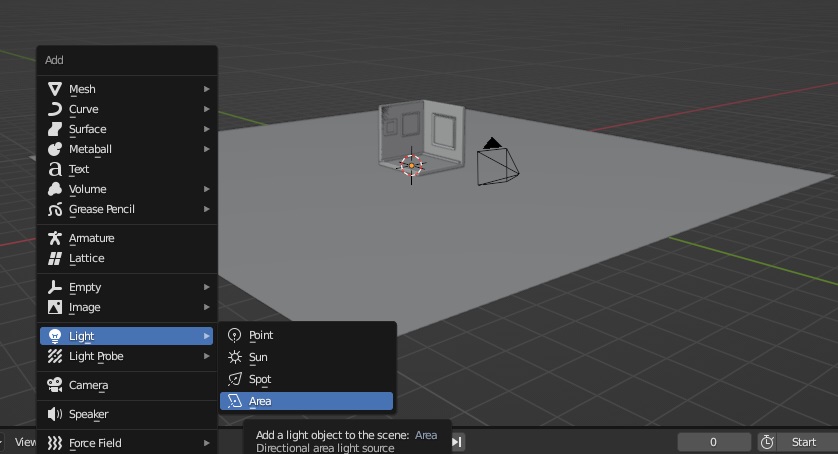
Inserting an area light

Applying color and materials
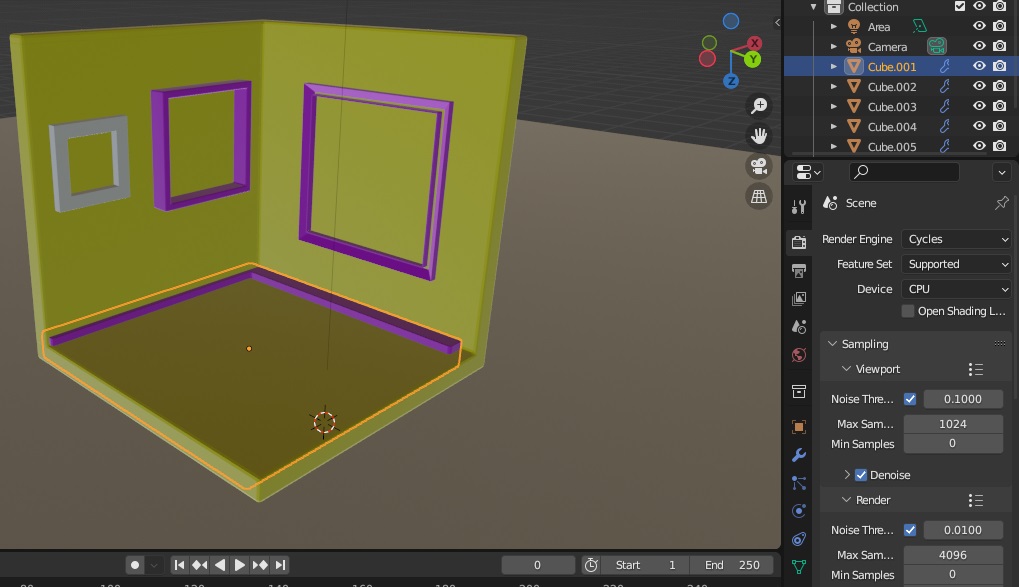
Setting up rendering

After a few seconds finishing the rendering
Comparison
InkScape
1) Design quality images, basic or complex.
2) Create and edit diagrams, lines, graphs, logos, comics, brochures, among others.
3) Use shapes, strokes, text, markers, clones, and other design tools.
4) Work in layers.

Gimp
1). Create, edit and retouch still or animated pixel images.
2). Treat images in flat or layered format.
3). Use a wide variety of tools such as brushes, patterns, filters and effects.

Conclusion:
Due to the time it takes to complete and be more intuitive, the inkscape program is friendlier for making 2D projects.
_______________________________________________________________________

Onshape
1) Integrated PDM system.
2) Collaboration in real time.
3) Cloud CAD and simulation.
4) Automation and customization tools.
5) Images and 3D modeling.
6) Library of components and contents.

Blender
1) It is a fully integrated 3D content creation suite, offering a wide range of essential tools, including Modeling, Rendering, Animation and Rigging, Video Editing, VFX, Compositing, Texturing, and some types of Simulations.
2) It's cross-platform, with an OpenGL GUI that's consistent across all major platforms (and customizable with Python scripts).
3) It has a high-quality 3D architecture, allowing for a fast and efficient creation workflow.
4) It is actively supported by the community, visit blender.org/community for an extensive list of sites.
5) It has a small executable, which is optionally portable.

Conclusion:
For the time I have been using it, the Onshape online application is the one I know the most and that is why I am moving forward to carry out the final project there.
Useful links
-
onshape Website to start the online application upon presentation of credentials
-
Markdown Link all about markdown
-
Inkscape All the information about Inkscape
-
Gimp Gimp official page with many resources
Files Link
Files ONSHAPE
Files ONSHAPE
File GIMP
File BLENDER
File InkScape
Web site Onshape Link of file