Week 5. 3D Scanning and printing
Thanks to 3D scanning we can collect the necessary data to generate a three-dimensional image of an object, an environment, or a body. Some of these devices simultaneously collect data on shape and color, which allows a record of the texture of the scanned object to be obtained.
There are several types of 3D scanning technologies, each with its advantages and limitations. Today, we explore 5 fundamentals.
Advantages:
- The revolution that it supposes for the manufacture of products.
- A single 3D print is capable of making countless different products.
- Much of today’s manufacturing is done with specific machines whose function is limited and if the product changes, the machine must also be retrofitted or changed.
- Flexibility and rapid prototyping. It allows easy prototyping of products, which can lead to improved design.
- Cost reduction. Production can be done from home.
- Personalization. The possibility of making your own garments, objects, products… in a personalized and exclusive way.
- New industry and sector. It will create new jobs, and new forms of business.
- Multiple applications yet to be discovered.
- In the field of medicine we find surprising applications, such as: the creation of prostheses or even the printing of organic tissues. 3D printing has a long way to go and more and more fields will be applied.
- Many businesses will be greatly favored, such as jewelers, since the 3D printer can print in wax, when making rings, they simply make the mold in a file and the technological device prints them.
- For industrial designers to create an industrial object, they can see it in a plastic prototype.
- Make replicas of objects that we need. For example, designing a mechanical product to sell, and we have a nail, but we need another one just like it, we can create it. If we have broken a piece of an object, we can create it to fix it.
- Objects can now be made with plastic, wax and rubber, probably in time other materials will be involved and the range of products that can be made will change the way of life as we know it.
- Companies, instead of having an automation system to carry out a commercial product, will be able to use 3D printers to reduce costs in terms of machinery, and so that the products do not have errors in terms of design since they can correct with computer.
Disadvantages:
- Job reduction. The own elaboration of the products, and the reduction of machinery can lead to fewer jobs in manufacturing.
- Copyright infringement. The replication of copyrighted objects will be difficult to control as 3D scanners allow the replication of any object.
- Malicious uses of technology. Unfortunately, there is the possibility of creating items such as firearms, and the danger of generalizing such items.
- Increase of useless products.
- The prices are very high.
- Many companies are going to benefit, many are going to be harmed since their business could be lost. For example, companies that design and produce toys, or items for home decoration.
- An item or prototype will be produced or printed in 3 dimensions in about 2 hours.
Group assignment:
Test the design rules for your 3D printer(s). Document your work on the group work page and reflect on your individual page what you learned about characteristics of your printer(s).
Performing design tests for 3D printing is essential to validate and optimize designs before printing. These tests help identify potential problems when setting up and reduce errors and costs, improve the efficiency of the printing process, and facilitate continuous learning in designing for 3D printing. Ultimately, they are essential to ensure quality, precision, and efficiency throughout the 3D printing process.
As a group, we met to discuss printing and the parameters we should consider when using our printers, as well as the care necessary to keep them in optimal condition. To perform tests, we downloaded the STL files for the class available at the following Link
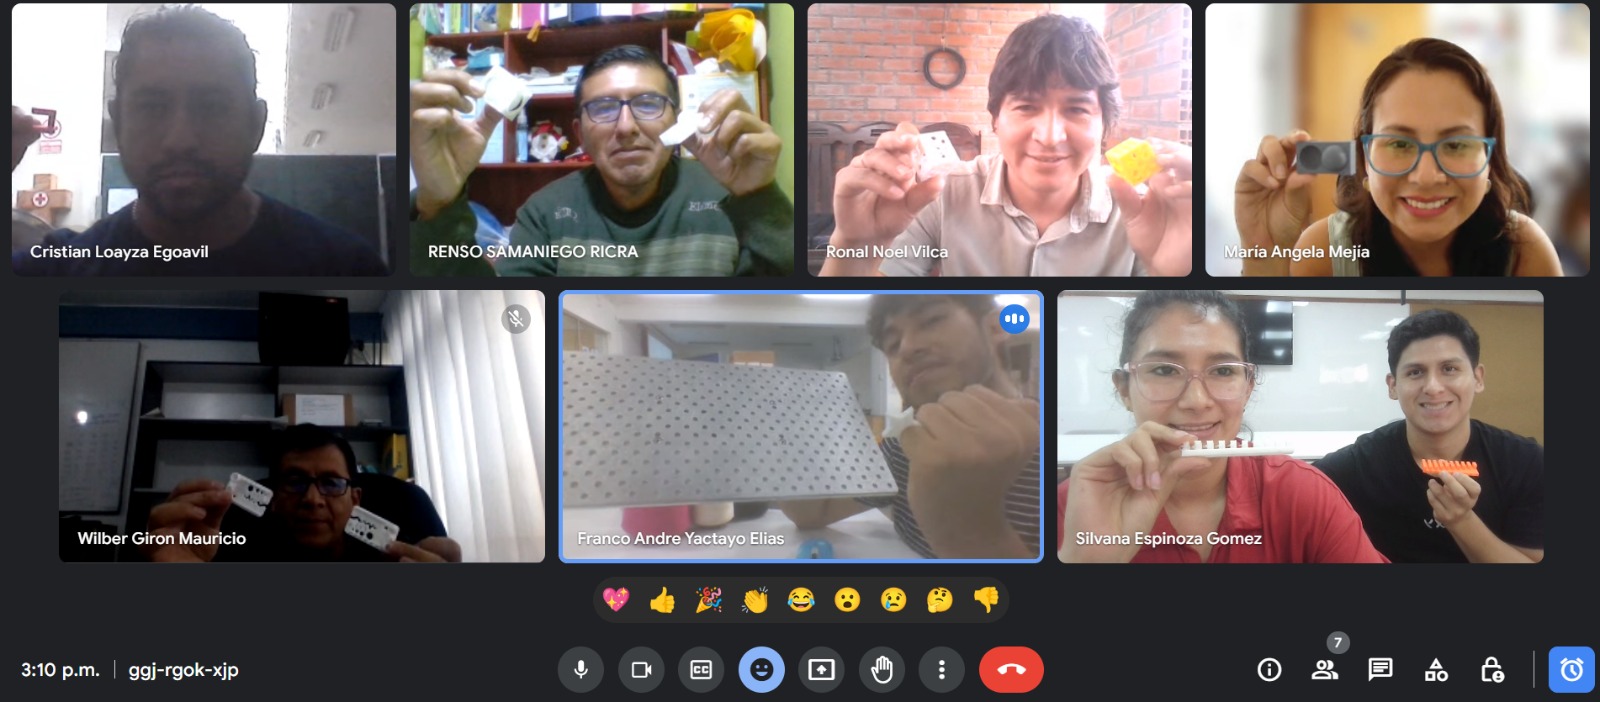 The entire group gathered together sharing design experiences after the printing machines, configuration values and models that were printed.
What I learned
- Before printing the printer bed we must heat the bed to about 60 degrees Celsius
- The extruder must heat to about 200 degrees Celsius
- We must level the extruder 1 millimeter from the bed
- When we work with elevated images, we have to configure a support in the Cura software.
- Provide us with enough material, in this case PLA to be able to print, check in Ultimaker Cura how much PLA we are going to use.
Individual assignments
Design and 3D print an object (small, few cm3, limited by printer time) that could not be easily made subtractively. 3D scan an object (and optionally print it).
Group assiggnment: 3d printing equipment testing and calibration
In this procedure we will do the following: We are going to search a website for ready-made designs to download and then open in a program and then print, the objective is to find errors that can be seen.
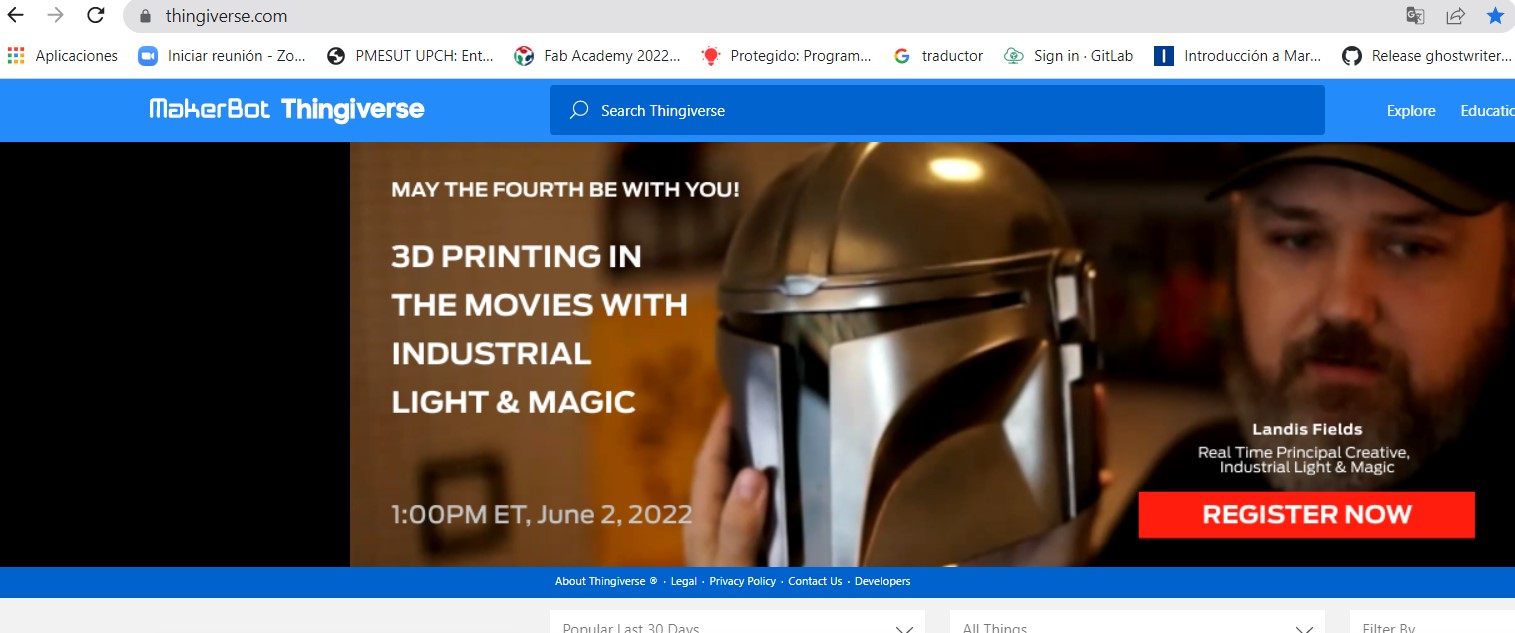 The figure shows that the page thingiverse.com has been visited.
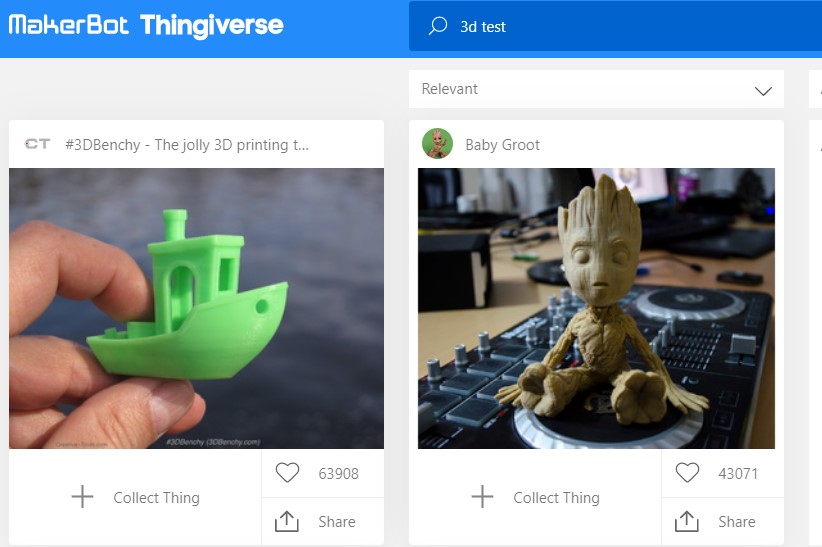 In the search area we write test in 3d.
 We search and choose one of the several options that we have as a result.
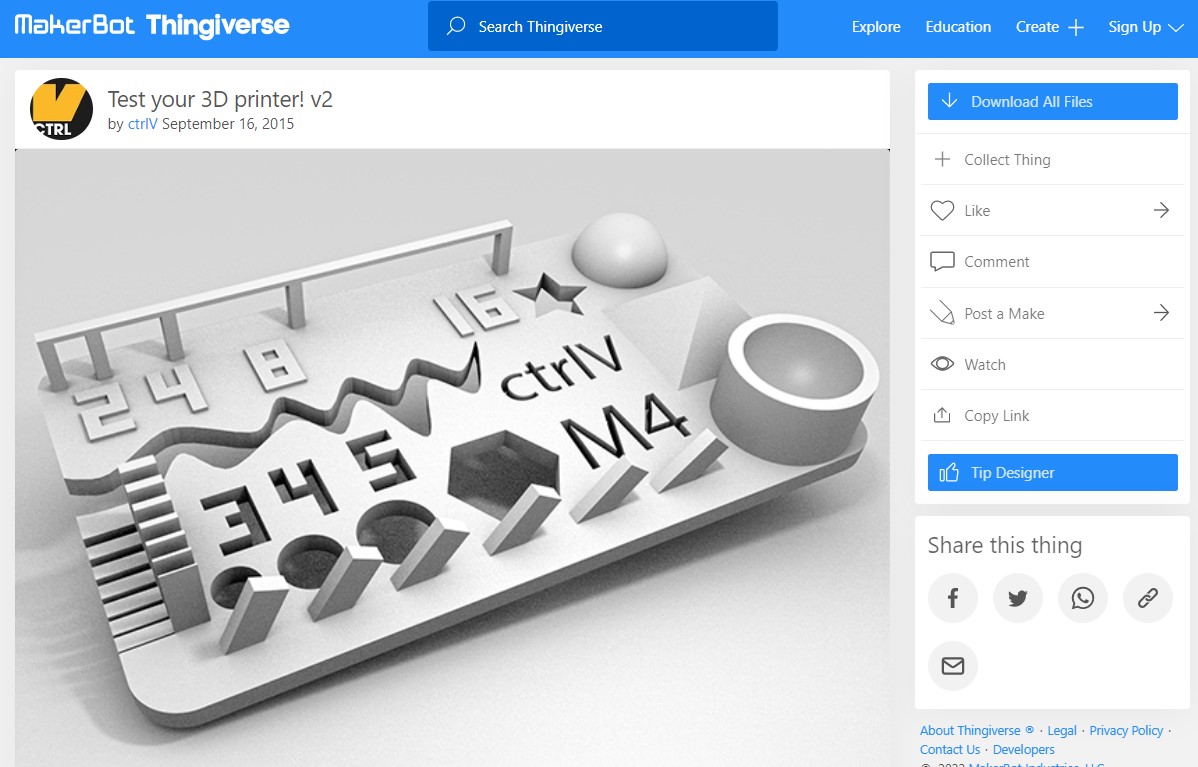 Once chosen, the following image shows us the options to download.
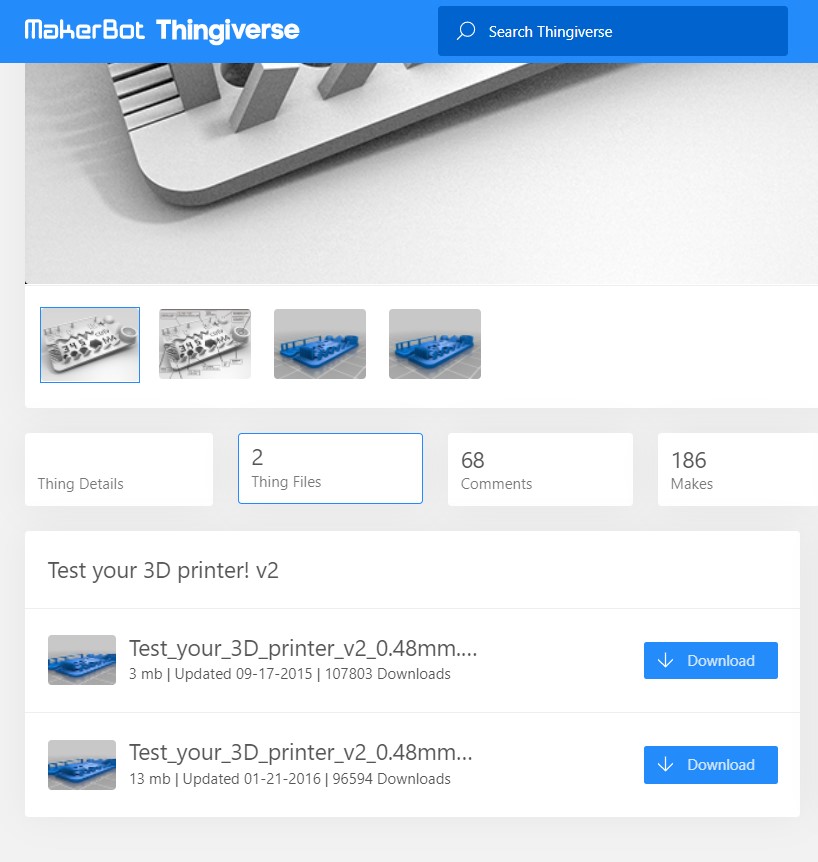 We can also see that we have two types of the same file whose difference is the size.
For the printing tests, the Bestgee T300S pro printer has been used with the following characteristics:

-
Set the z axis with 1 millimeter spacing between the bed and the extruder.
-
The x and y axes were configured automatically.
-
The material was used 1.75 millimeter Leon brand PLA.
-
The bed was waited to heat to 60 degrees and the extruder to 200 degrees.
-
The work area was 20 x 25 centimeters.
-
File stl
-
Regarding the software used, it was Cura, having to search among several printer options to the one it was connected to.
 The first figure shows the first finish where you can see small details that could not be captured in the print.
 This second print shows a small improvement in small details that were able to be shown in the final print.
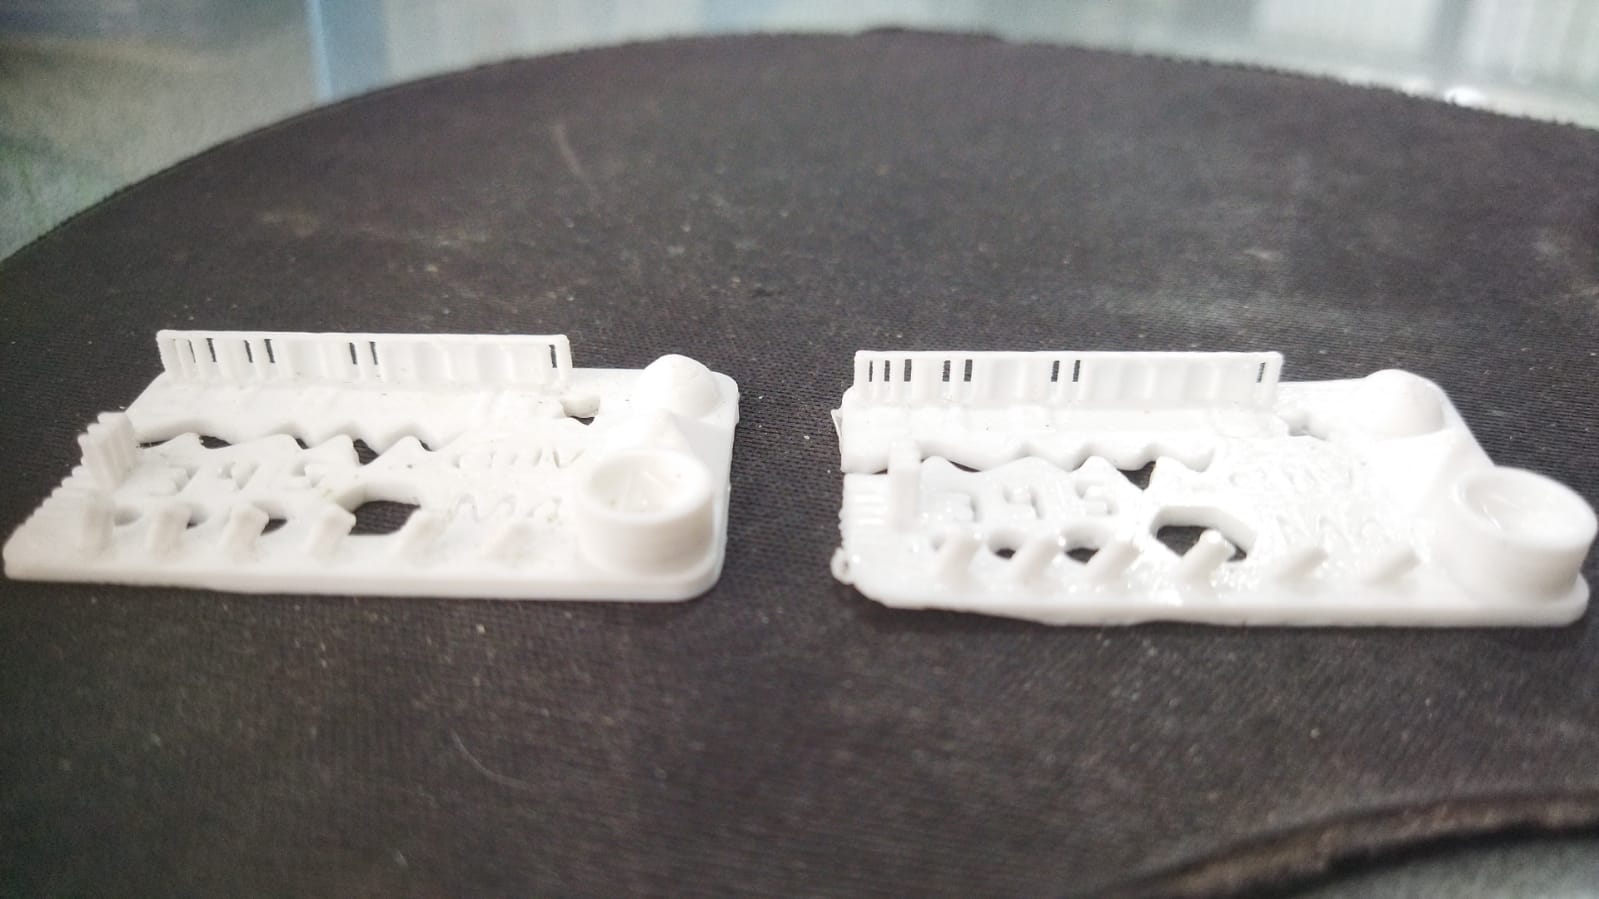 Comparison of the two printed models with slight differences in the final finish.
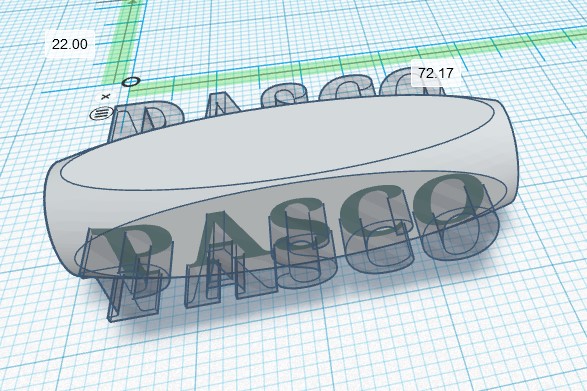 The text PASCO is crossed from one side to the other on the shape designed as a base.
 After selecting both we make a subtraction taking into account that the text must have a hollow property
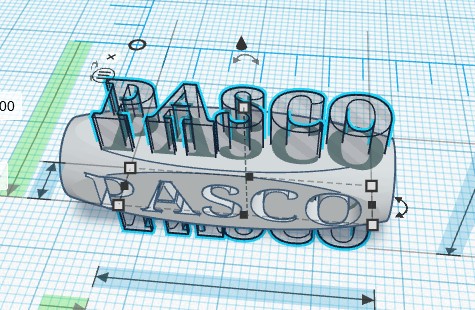 Then we do the same for the other side with the same PASCO text
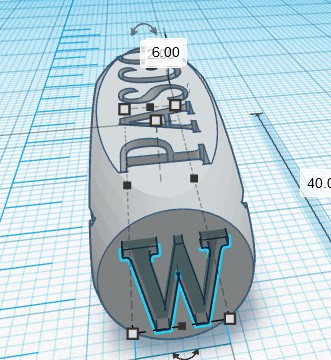 And finally we go through the text W from one side to the other with the same gap property to do the Subtraction by selecting both
 In this second experience I have used the tinkercad program to design a first object that served as a base and then a text that then allowed me to subtract from the first object on two different sides and finally a third text that I subtract from the first object from the side.
 Subtraction of the first object from the side view.
 Viewed in the meeting program, ready to print.
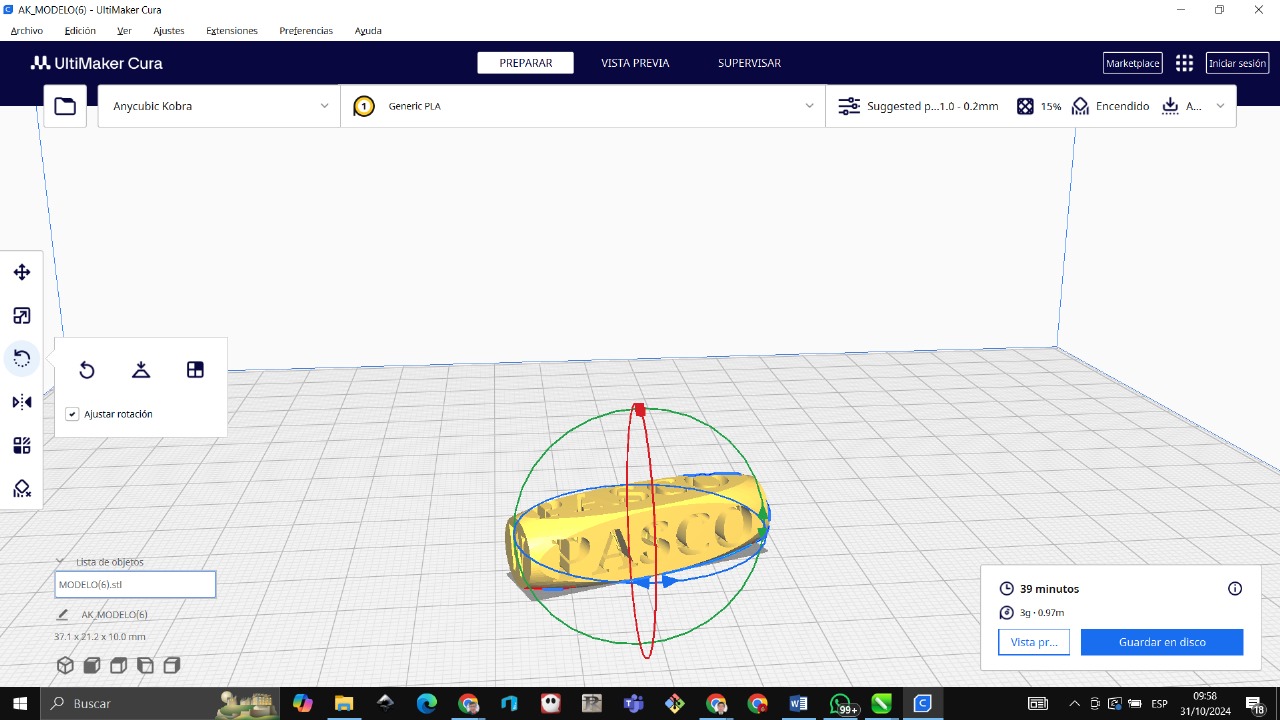 Preparing the file in the Cura program in position 0 the design with dimension of 37.1 mm x 21.2 mm x 10 mm
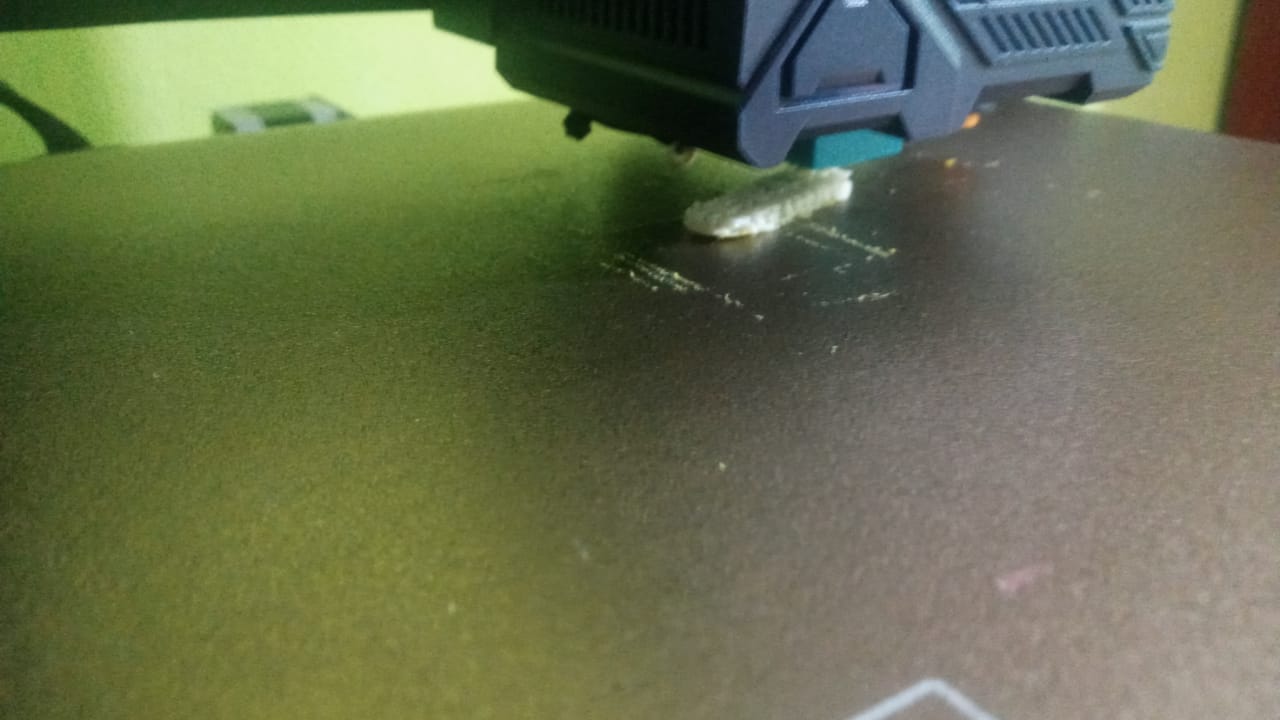 The image shows a moment of the printing of the 3d design.
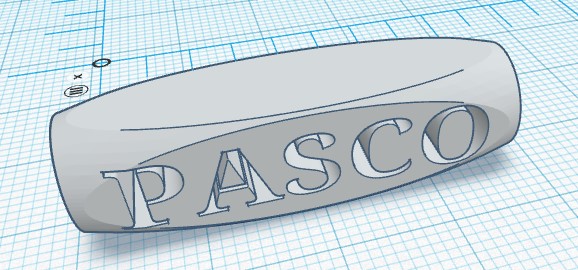
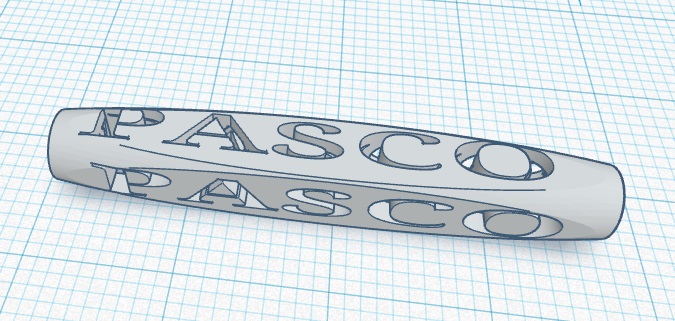
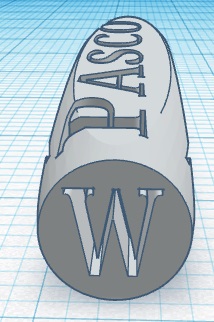
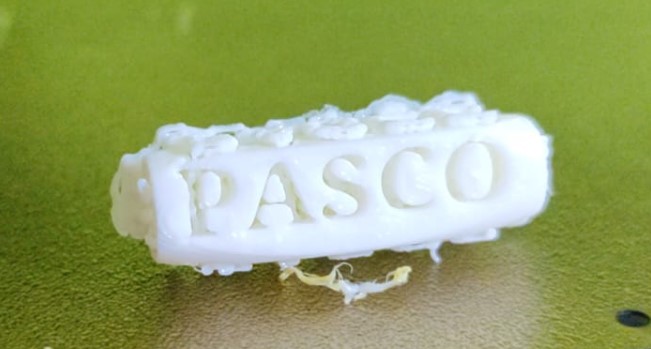 Once one of the faces of the design has been cleaned, the finished design can be seen by subtraction from the main object by three texts as observed previously. The final design has various cuts inside it that have been made by crossing the three texts and from a precise angle the text can be read clearly. Otherwise it could not be designed in a normal way.
Scanning of the 3d object
Calibrating the scanner
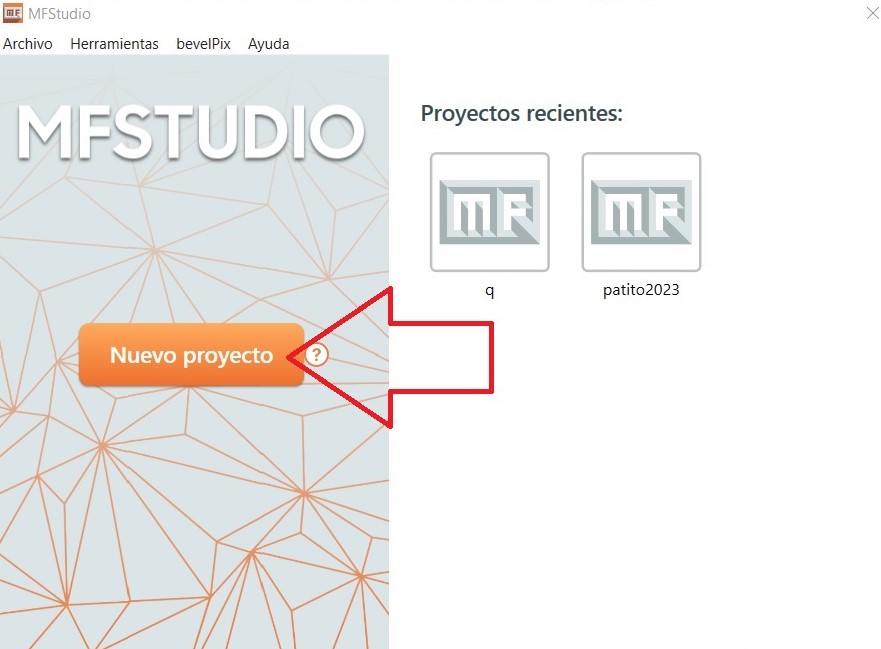 Open the program that allows us to communicate with the hardware in this case with MFSTUDIO and choose new project.

Next we must have the scanner ready, connect it to the power supply and connect it to the laptop in my case through the USB cable.
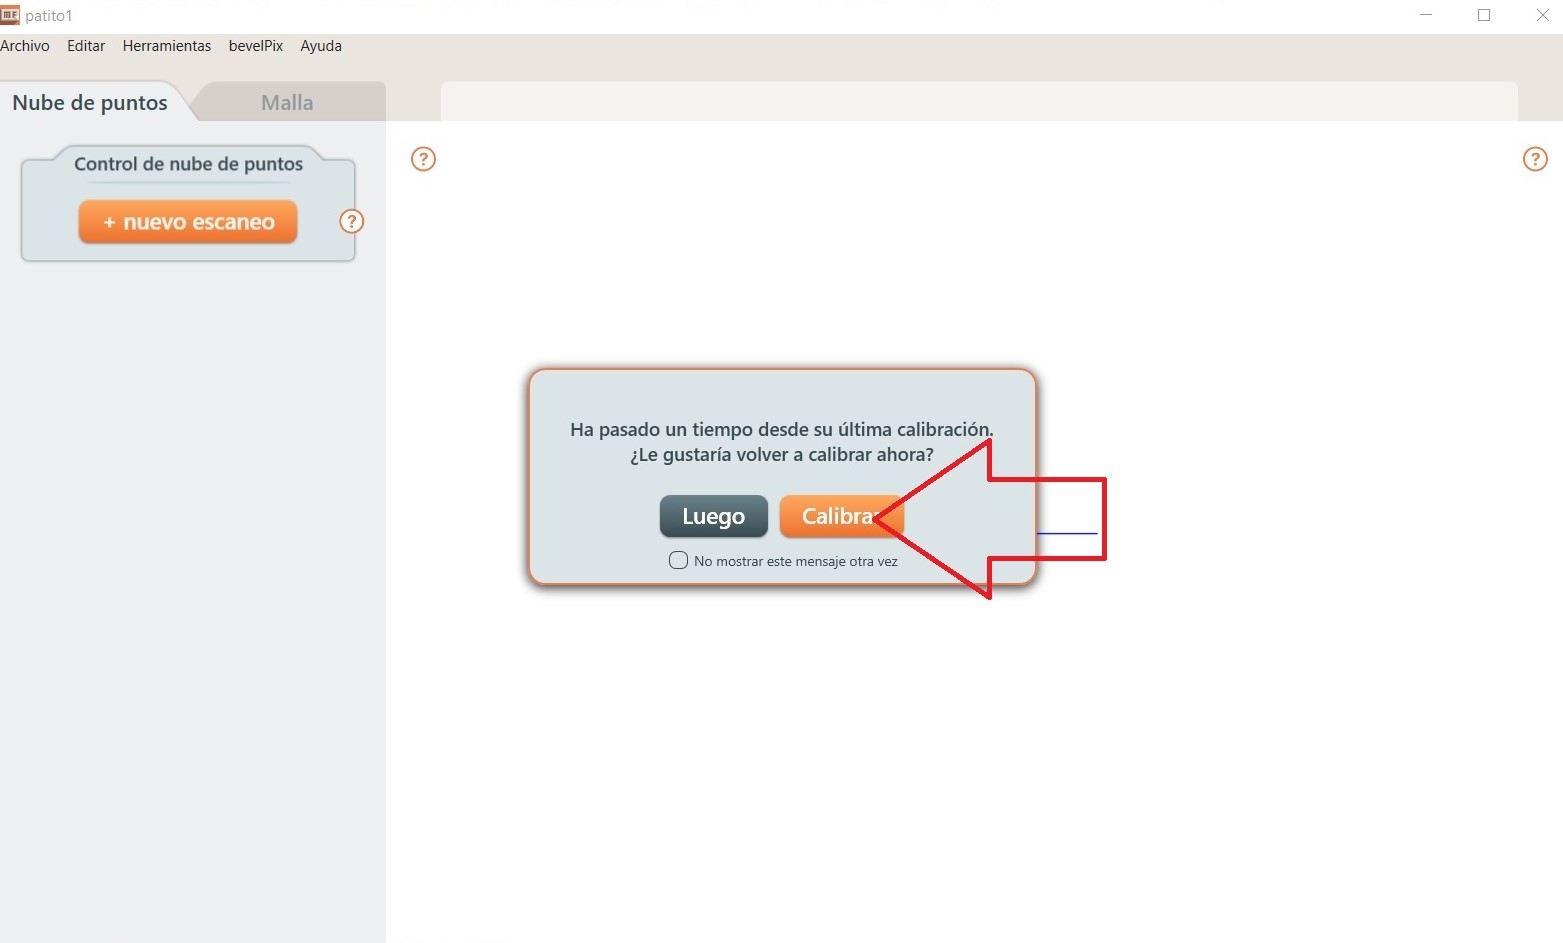 Then select calibrate so that the scanning result is the most appropriate.
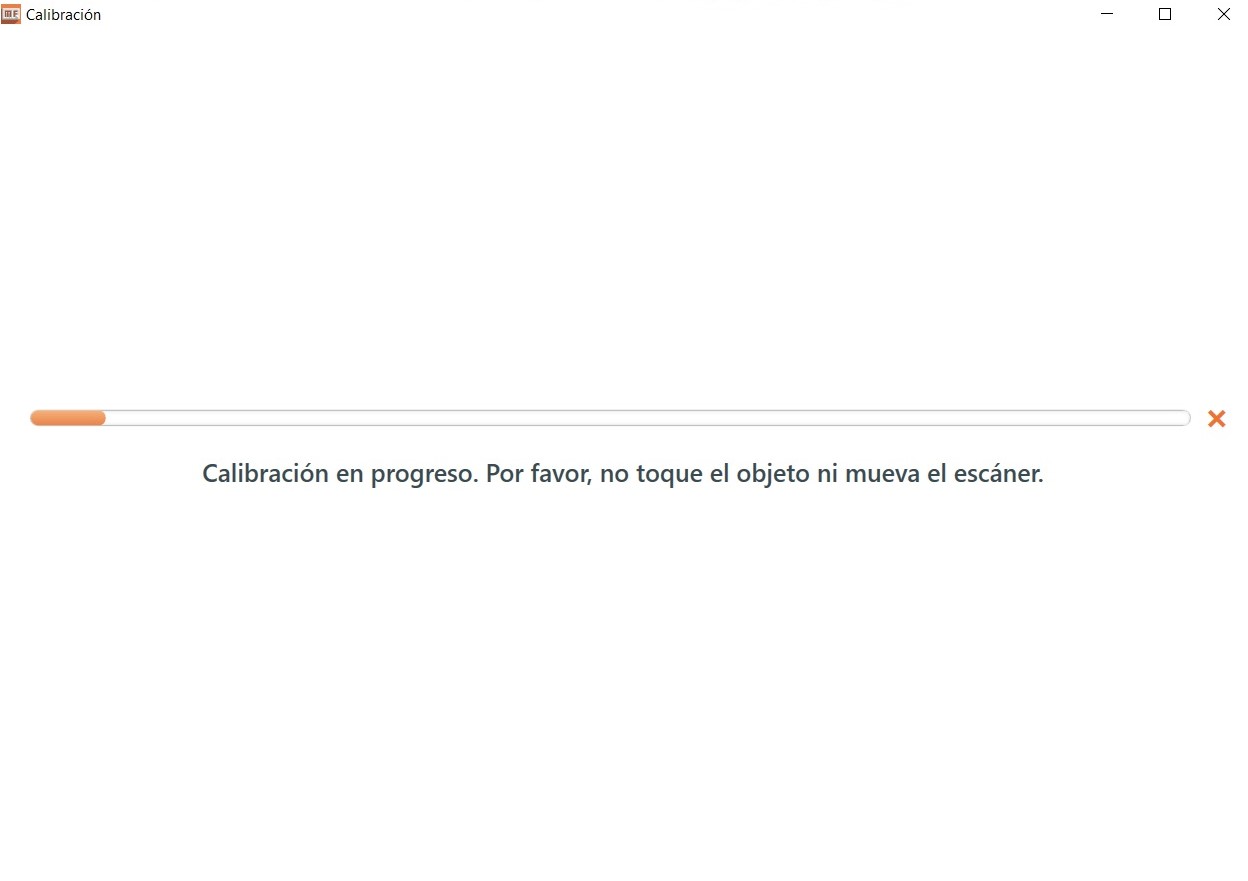 Then we wait for the automatic calibration process to run. To do this we should have placed the board of small black and white boxes as shown in the following figure.
 The board is shown placed in front of the scanner to be automatically configured.
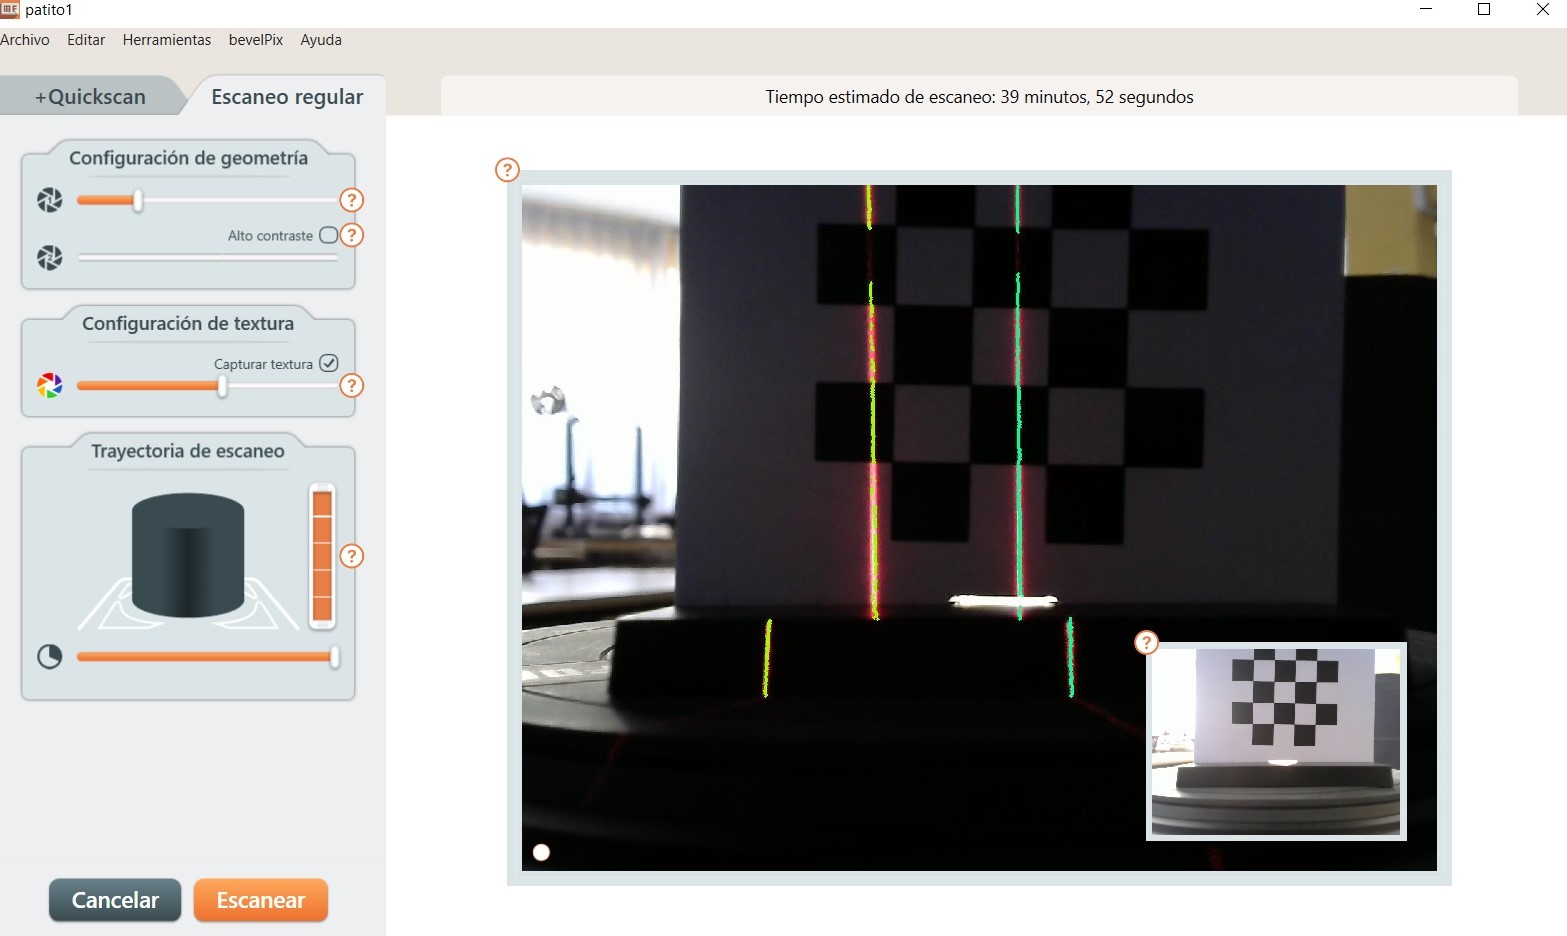 The image shows how the scanner light calibrates by passing through the board horizontally and vertically.
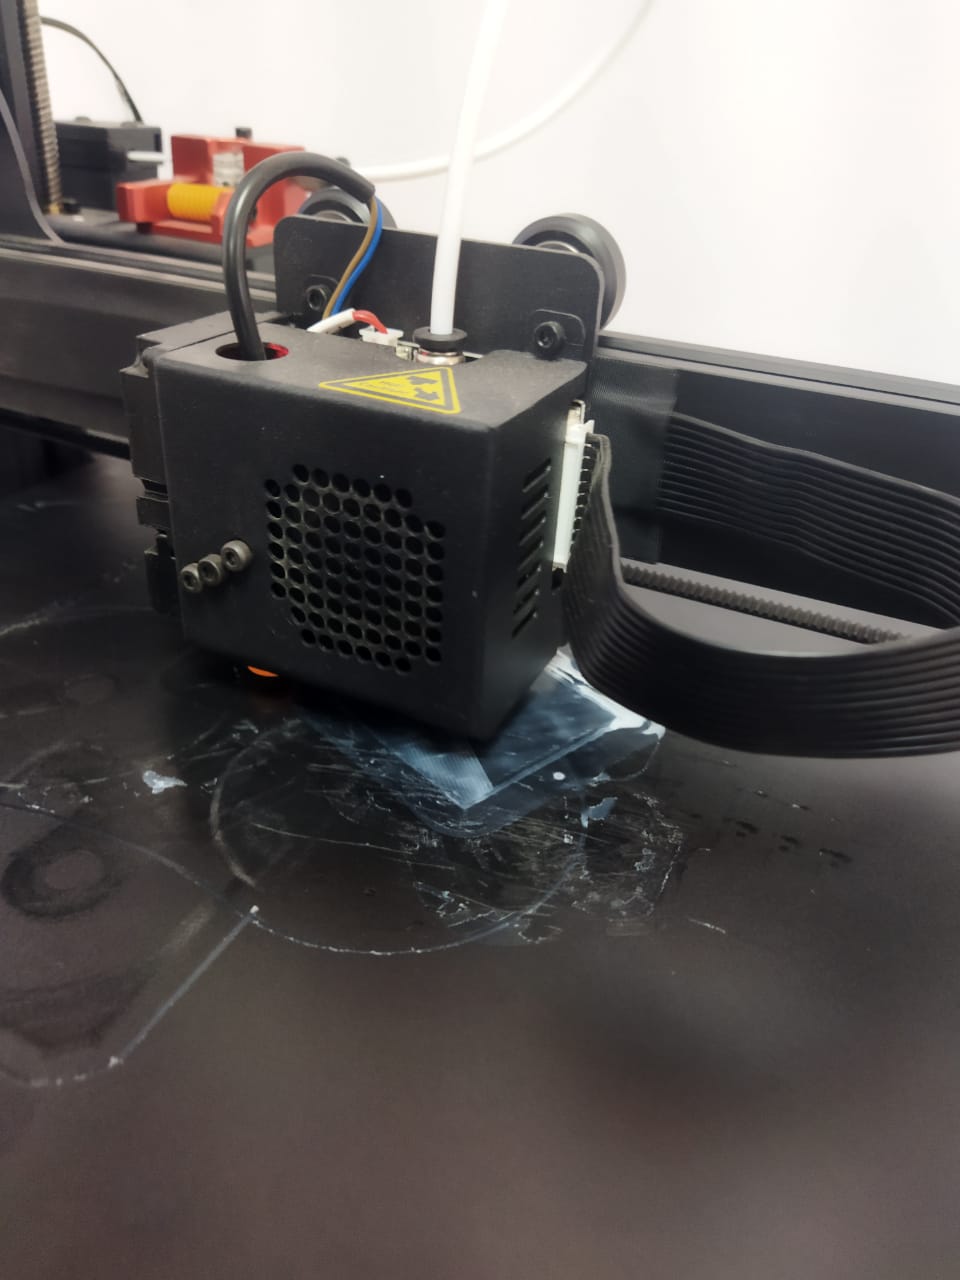
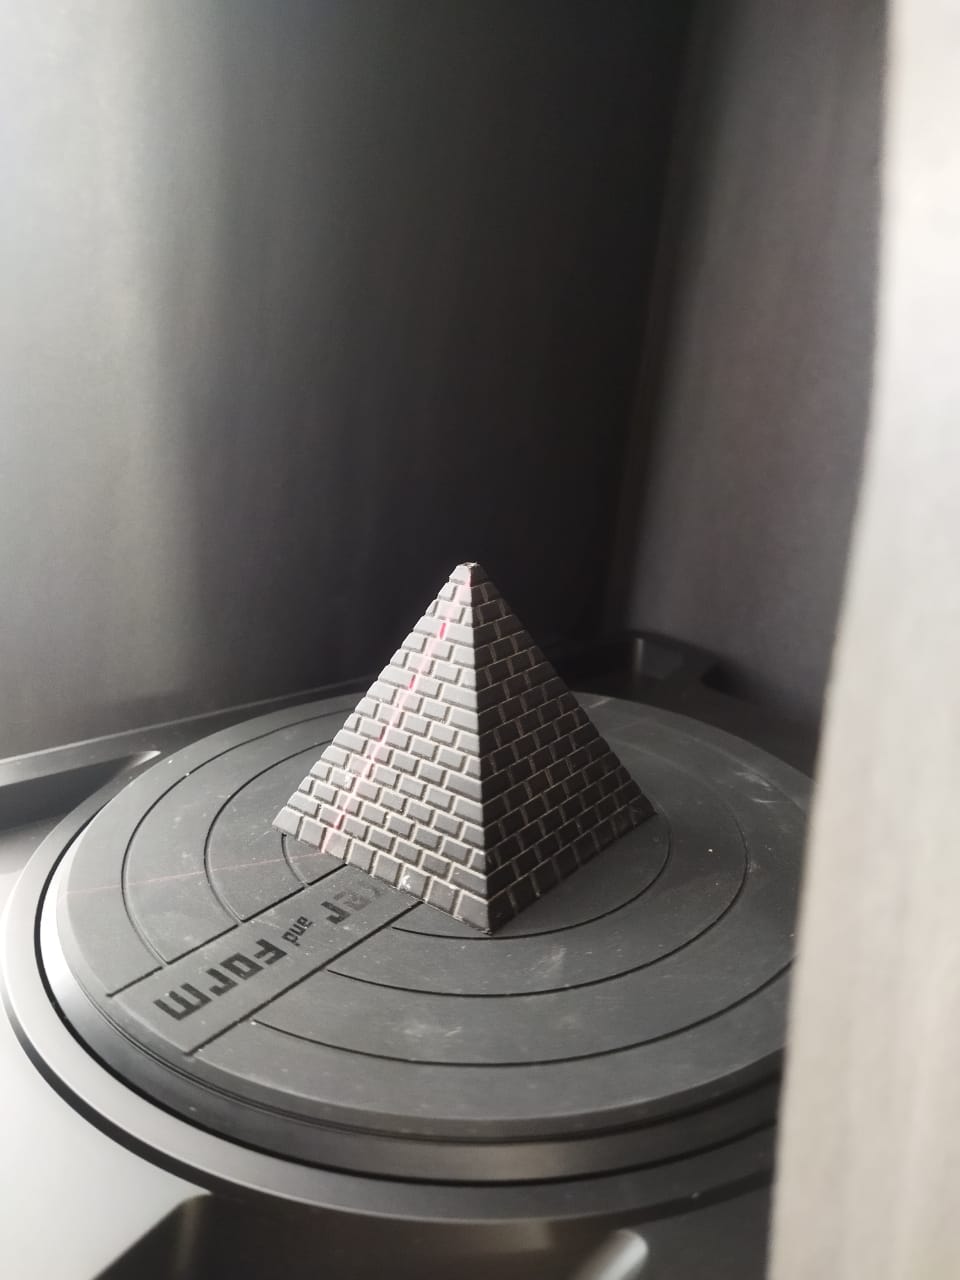 The image shows a black pyramid-shaped figure to be scanned for printing.
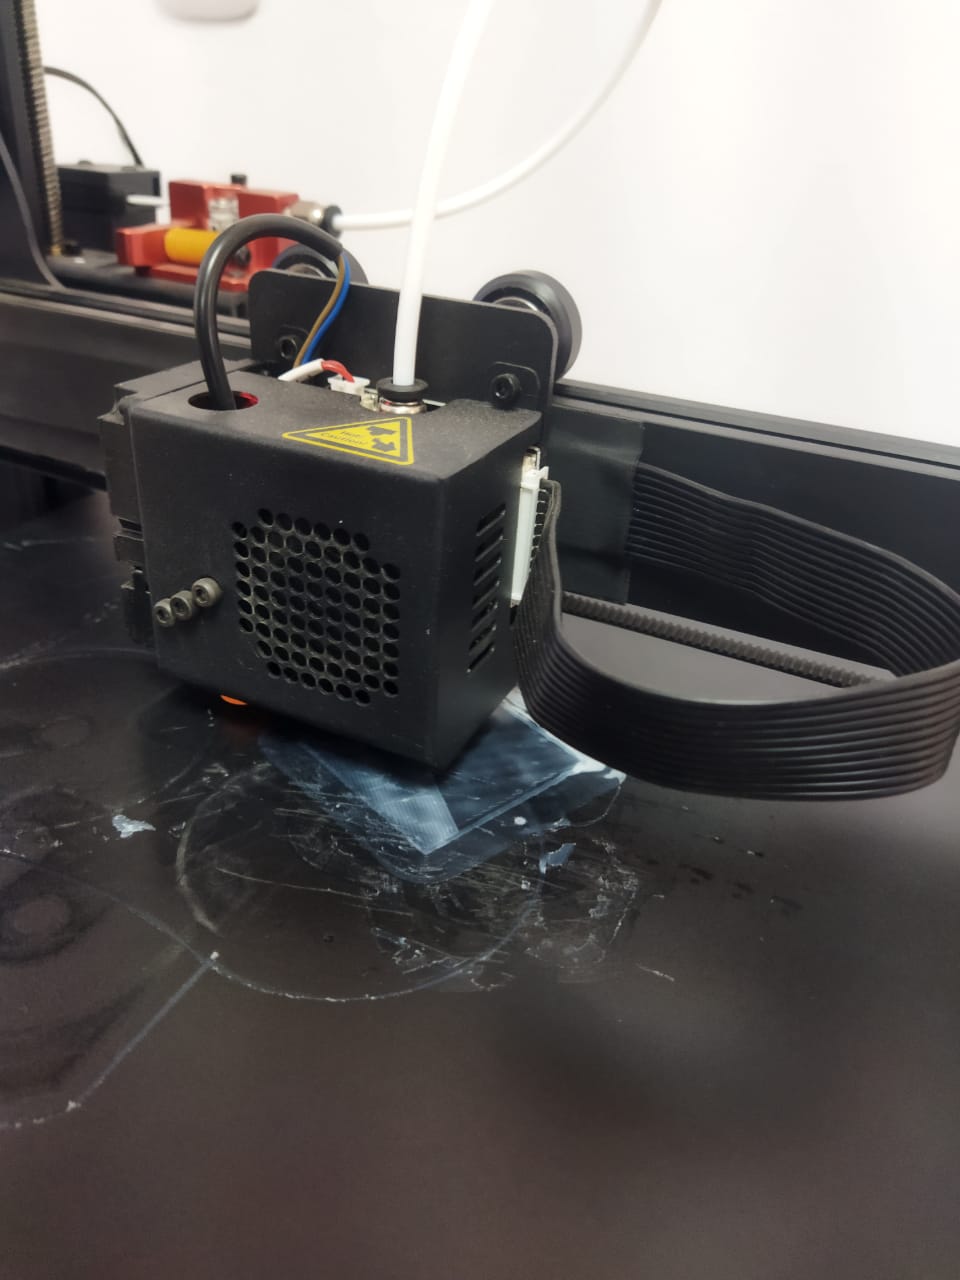
 For the scanning of the following figure we had to configure the scanner since the lines of the pyramid were coming out misaligned.
 Next we are observing how the 3D impression of the pyramid is going.
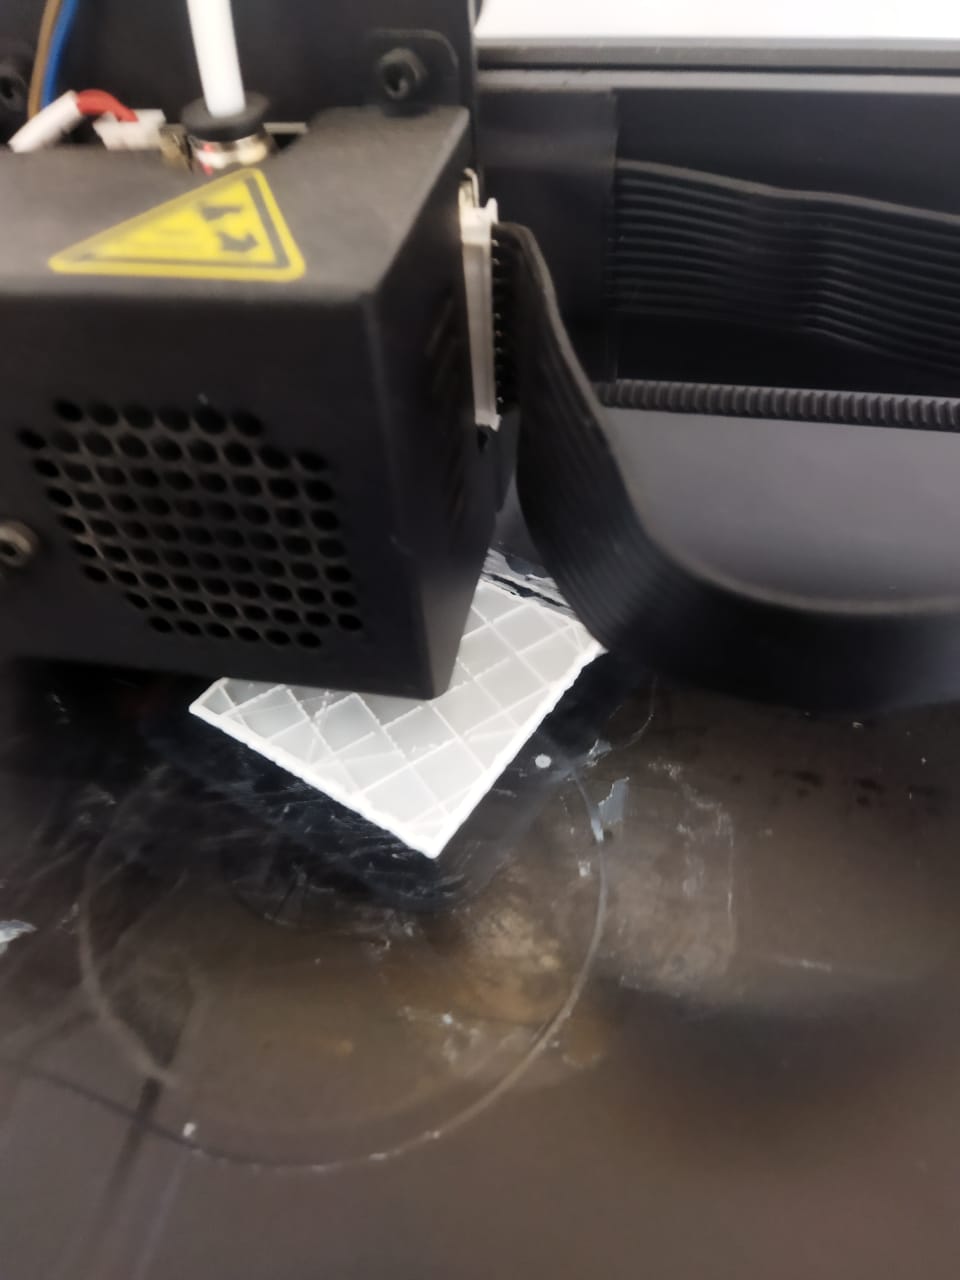 Below is the impression of the base of the pyramid.
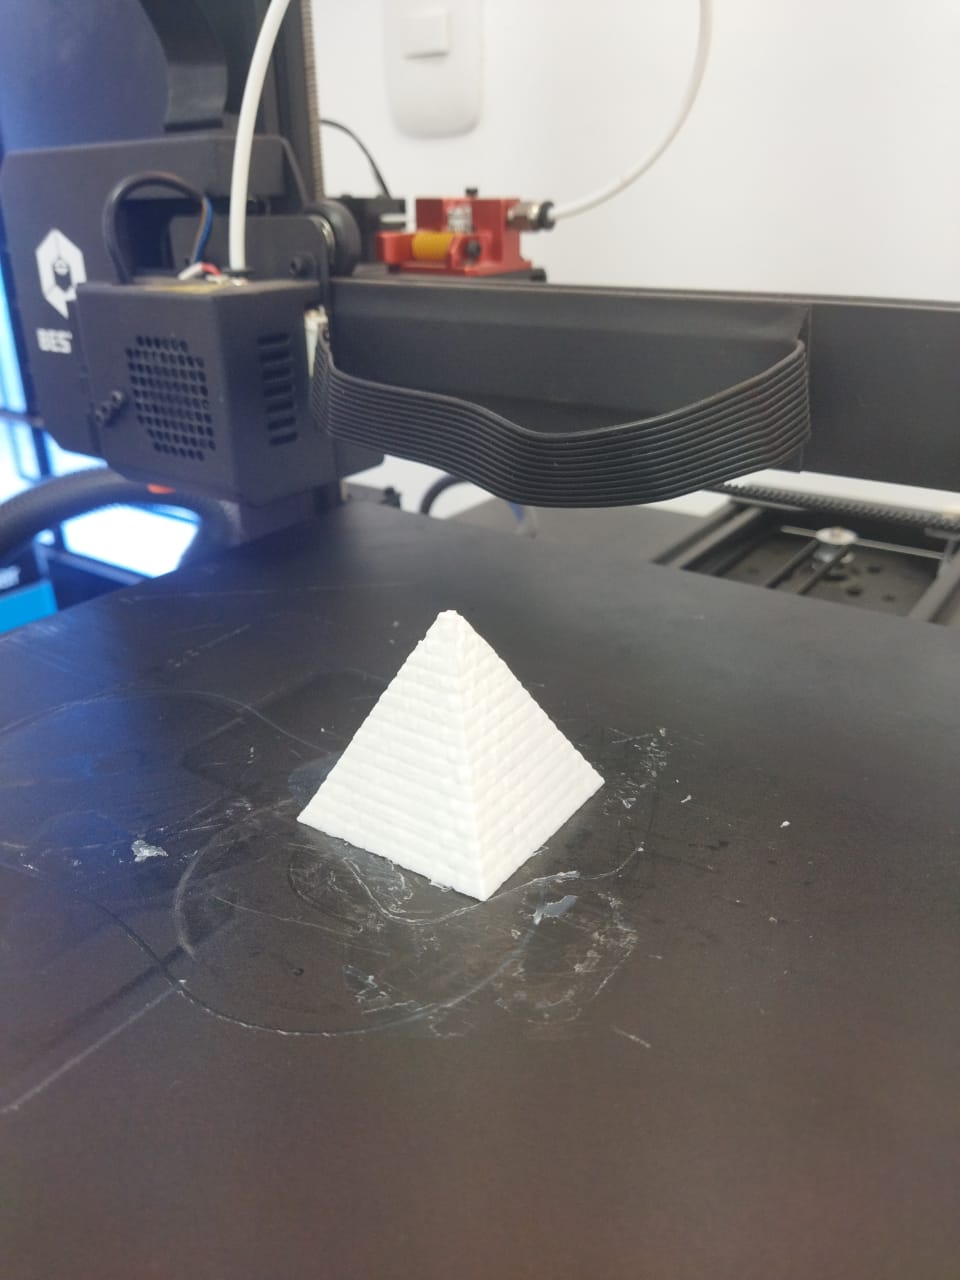 Already in the final figure we can see when the printing is finished.
 In the figure you can see the comparison of the origin with the scanning and printing
For the experimentation of scanning in 3d I have used the KIRI application.
How does KIRI work?
KIRI Engine is a fast, easy, and affordable 3D scanning app based on photogrammetry technologies. It’s free for iOS and Android users, and the app offers an affordable premium version for users who want a more powerful and advanced app.
What can you do with KIRI Engine?
KIRI Engine provides a clean, high-quality 3D model that you can import into your 3D modeling app and use as a basis for your designs.
KIRI Engine offers several ways to import 3D models. The easiest way is to use the built-in importer, which will automatically convert the model into a shape that can be imported into your app.
You can import 3D models in other ways, such as from an image file, the app’s built-in importer, or from a link to a website that provides the model. You can also import models that you’ve created using your own computer.
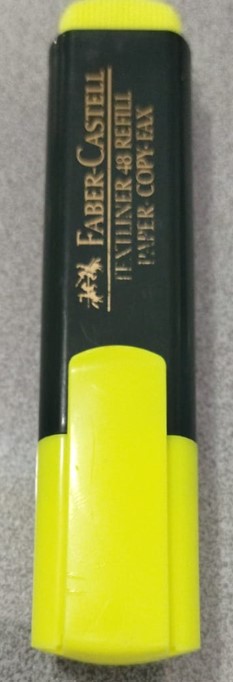
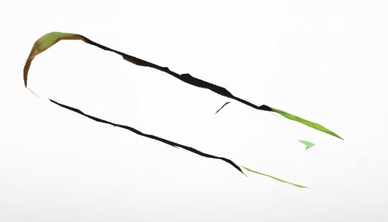
This is the image used to scan through different shots.
Scanning with application
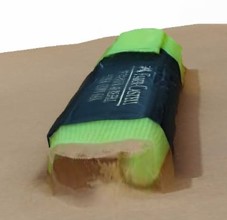
After taking 70 shots from different angles, the application has processed the resulting image. Once finished after approximately 8 hours through the KIRI application, download the resulting file.
The same file from direente takes
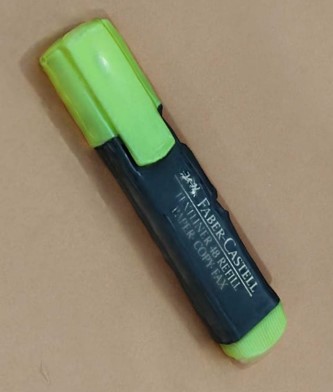
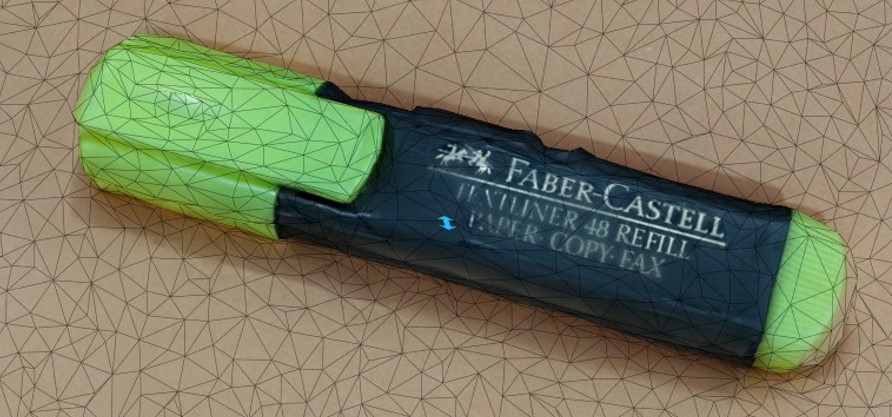
From another angle the view of the pen
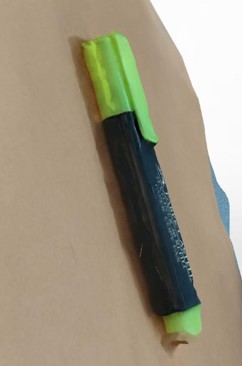
Sample of the scan of the lower part where the photographs were not taken.

Showing the final file from 3d builder
 Next view from 3d builder
3D Builder
3D Builder, developed by Microsoft, is a modeling software and simultaneously a free pre-installed application on Windows 8.1 and Windows 10 that allows the user to create and print three-dimensional models and objects in a relatively simple and fast way.