10. Molding and casting
This week I worked on defining Molding and Casting
Research
Following a molding tutorial, I have designed my mold.
Useful links
In molding, you have to create a tool to mold. I start by scketching my tool in solidworks.
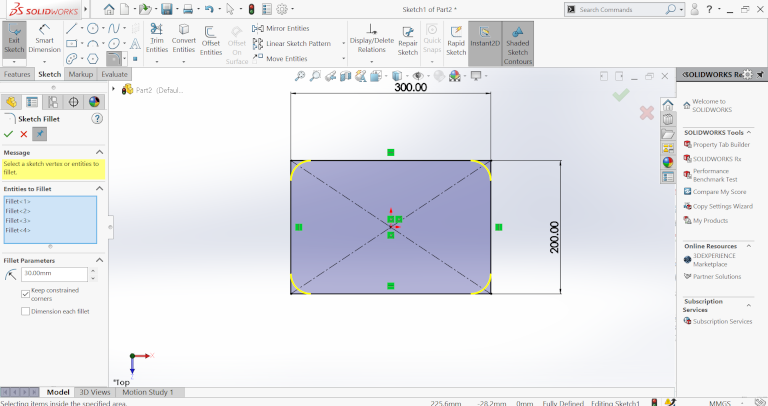
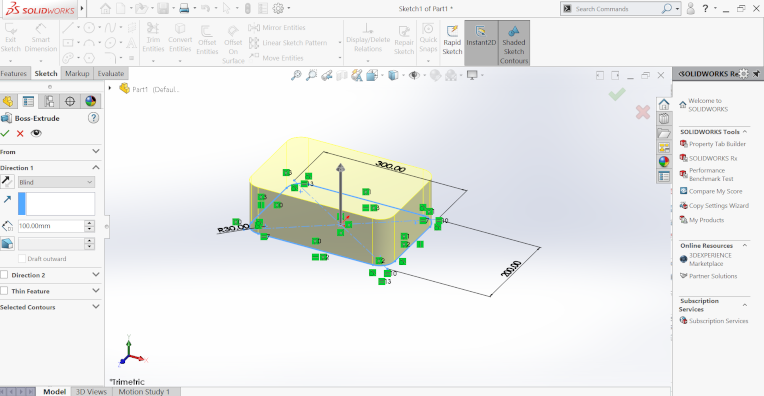
Below, is extruded , reversed and have a draft angle of 5 degree
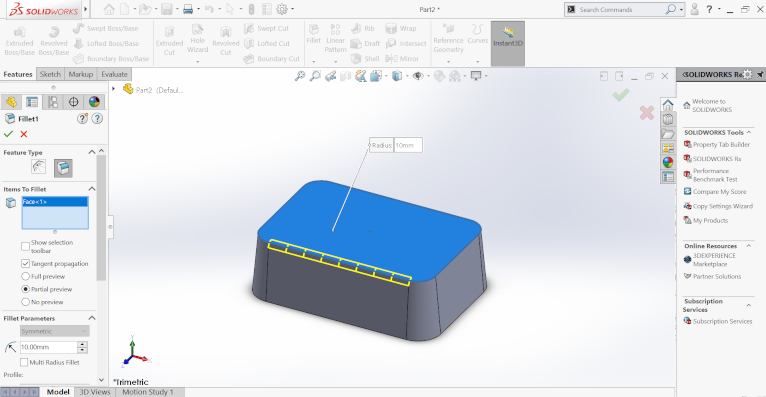
Below, I putted on a fillet of 10mm
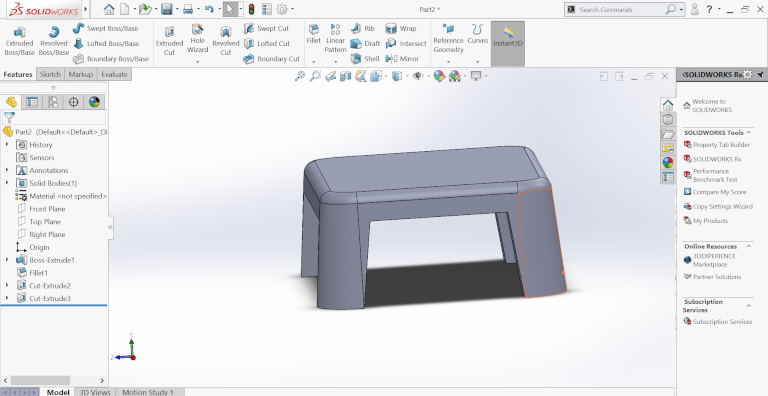
Below, I was trying to cut out those parts with yelow parts

Below, is my tool after cutting its both sides
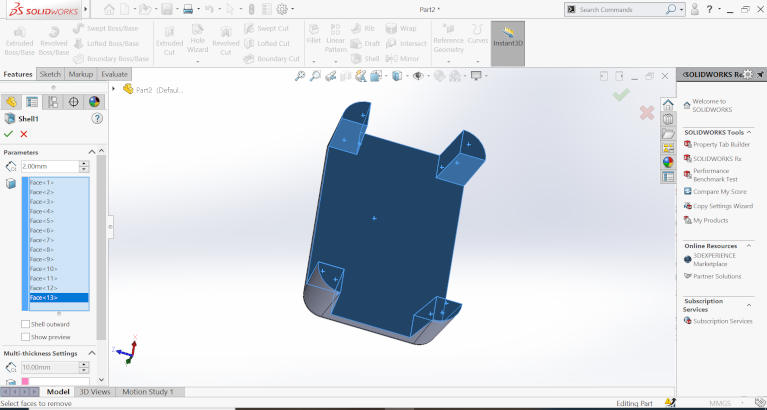
Below, the volume of my tool was reduced using Shell Command tool.
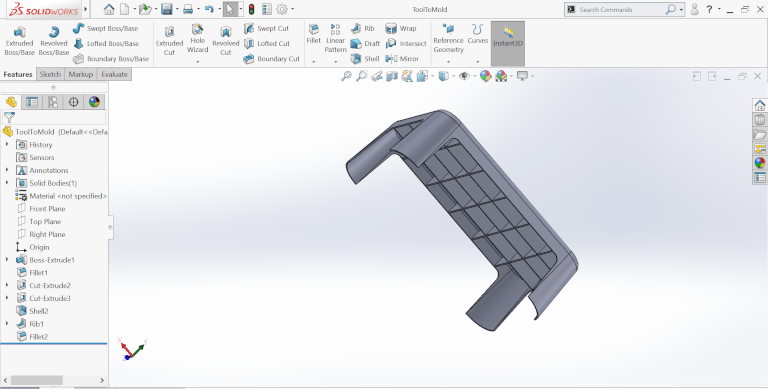
Below, using lines I created squares under my tool
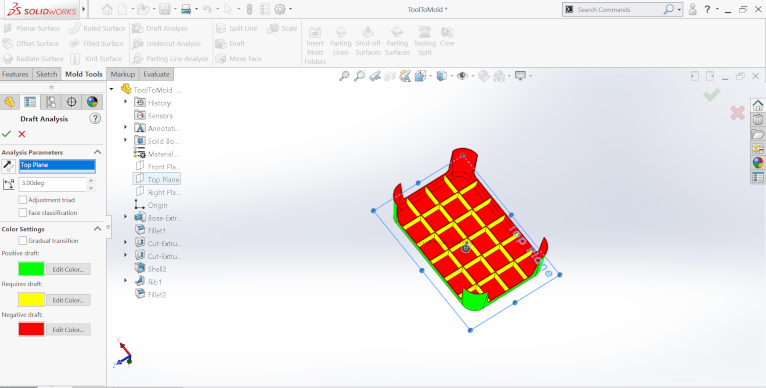
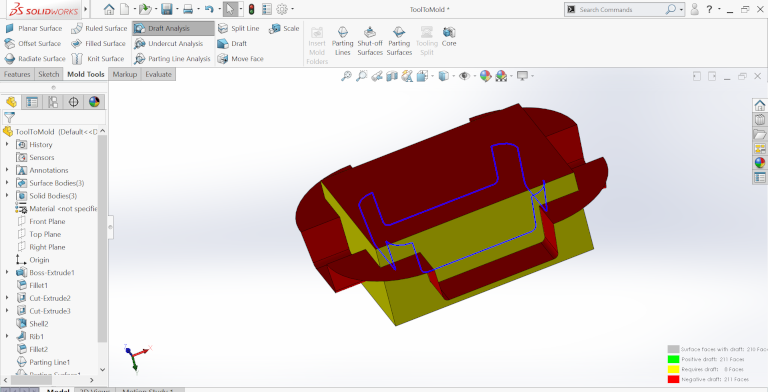
Below, is the draft analysis to verify if my tool is ready to mold, if you found a Yellow color means that part requires draft. .
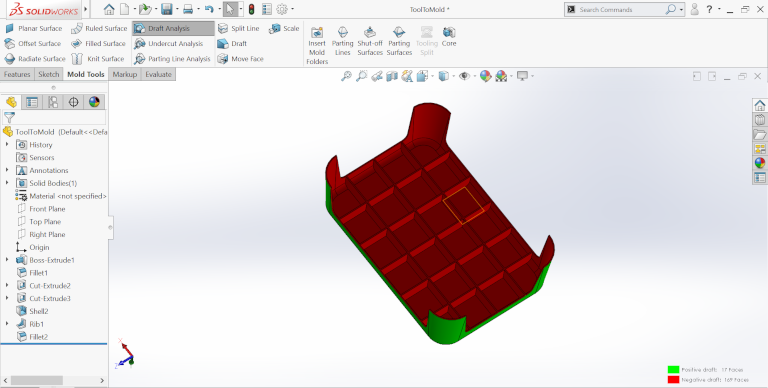
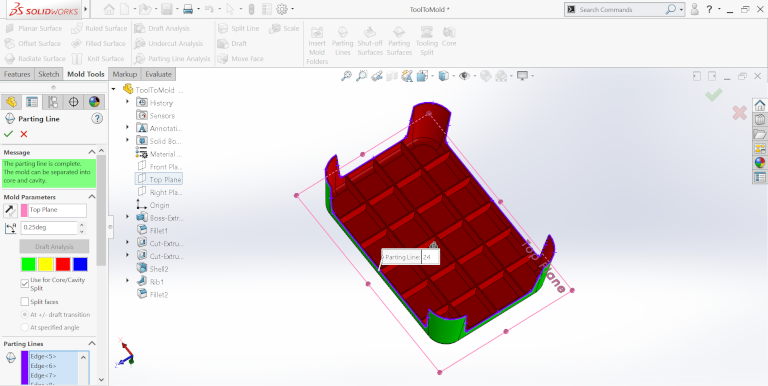
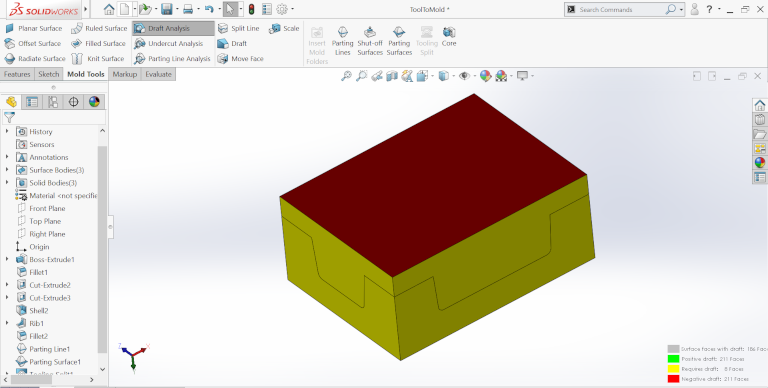
On my tool the angle was too big I reduce it to 0.25 degree then the Yellow color gone, and my tool remain with only two colors : Green for Positive draft and Red for Negative draftwhich means that it is ready for mold.
Below, Blue color line is the Parting Line created by choosing Parting Line–>Choose Top plane–> leave the angle as setted for draft analysis(0.25 deg)—> click darft analysis then yo will see the parting line which will going to separate the core and the cavity of my tool.
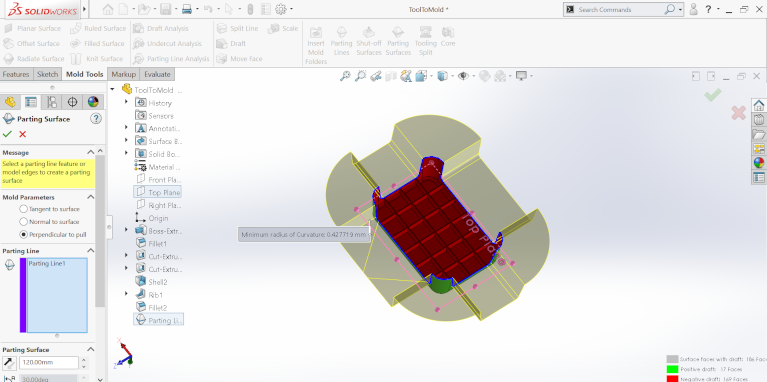
Now, It’s time to create the parting surface on the parting line, perpenducular to pull and I use 120mm which will going to fix my tool Core and Cavity.
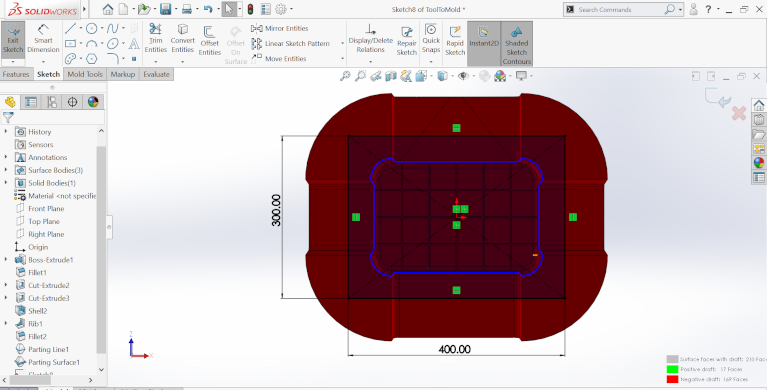
Below, I draw a rectangle of 400mm of Length and 300mm on parting surface.
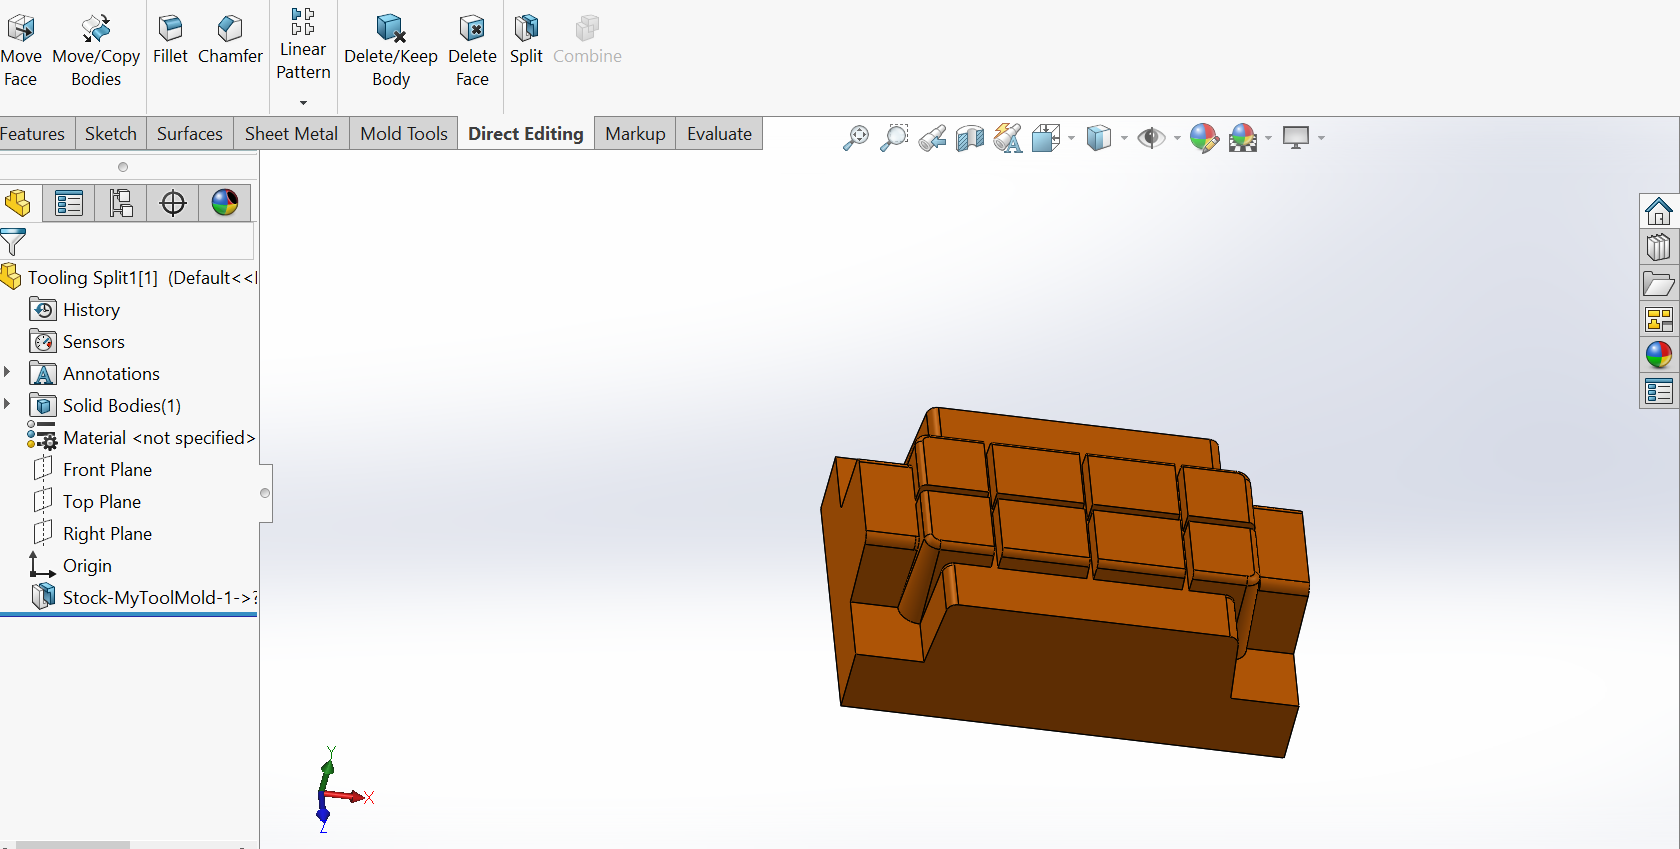
Now, I choose Tool Split to separate tool parts I use 130mm and 40mm Box size or leave as default.
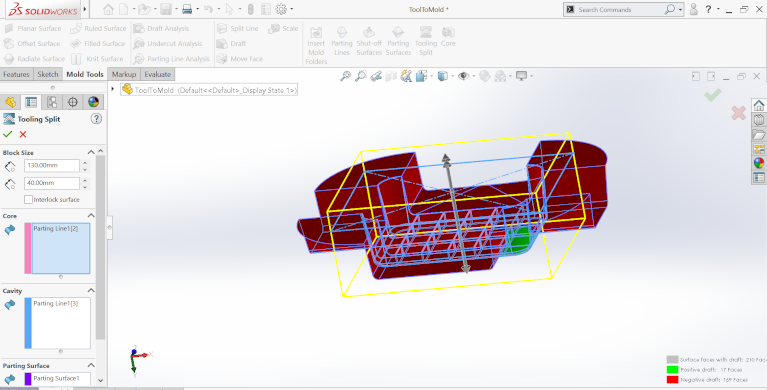
Below, the tool parts are separated
Below, Parting line and Parting surface are hidded.
Now, It’s time to save all your bodies
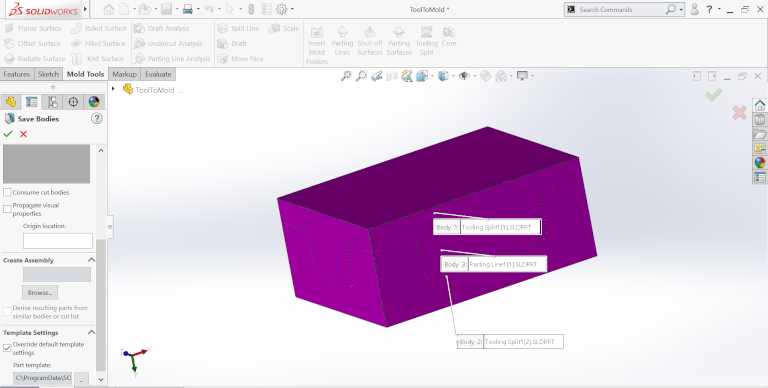
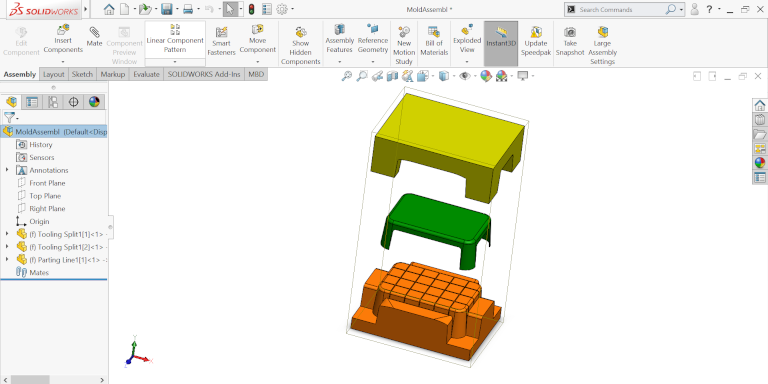
Below, I choose Exploded View to align all my 3 bodies as you see
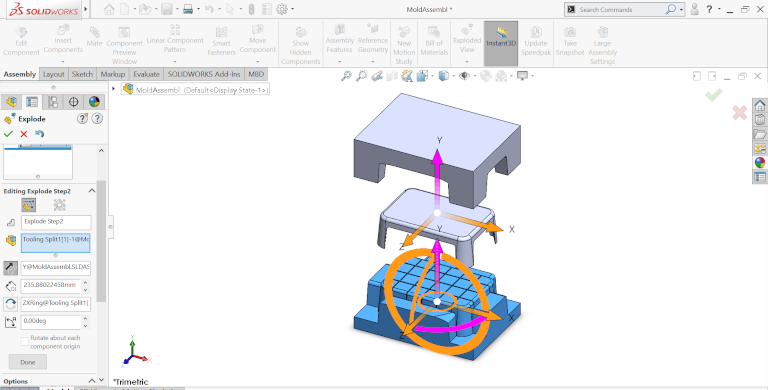
Now, It’s time to change my bodies color to look nice. I start with my tool and assign it a green color.

Below, is the core part assigned a yellow color
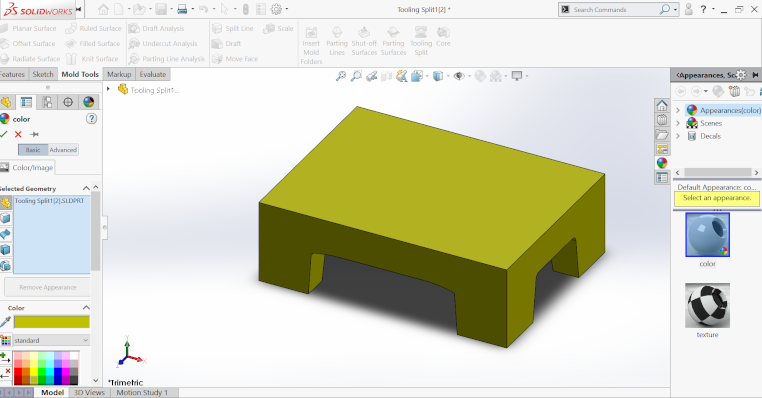
Finally, the Cavity part assigned an orange color
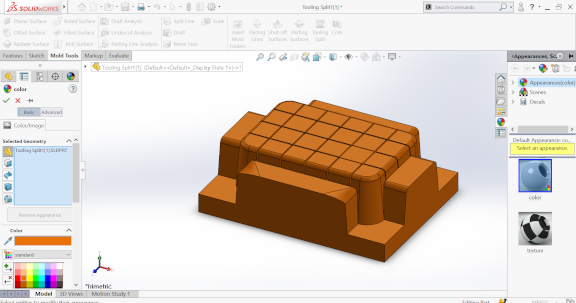
Below, are all the bodies with their respective color and through Right clicking MoldAssembl—>Animation Controller you may see how the bodies come togather or how can be apart each other. And this is the produced mold as design.
3D Printing
My tool to mold is a plastic tool and I need to use 3D Printer; The 3D printer is small it can only afford 180mm design to print and mine has 300mm; I edited my design and below are corrected parts of my mold.
Below, is the corrected core part of my mold
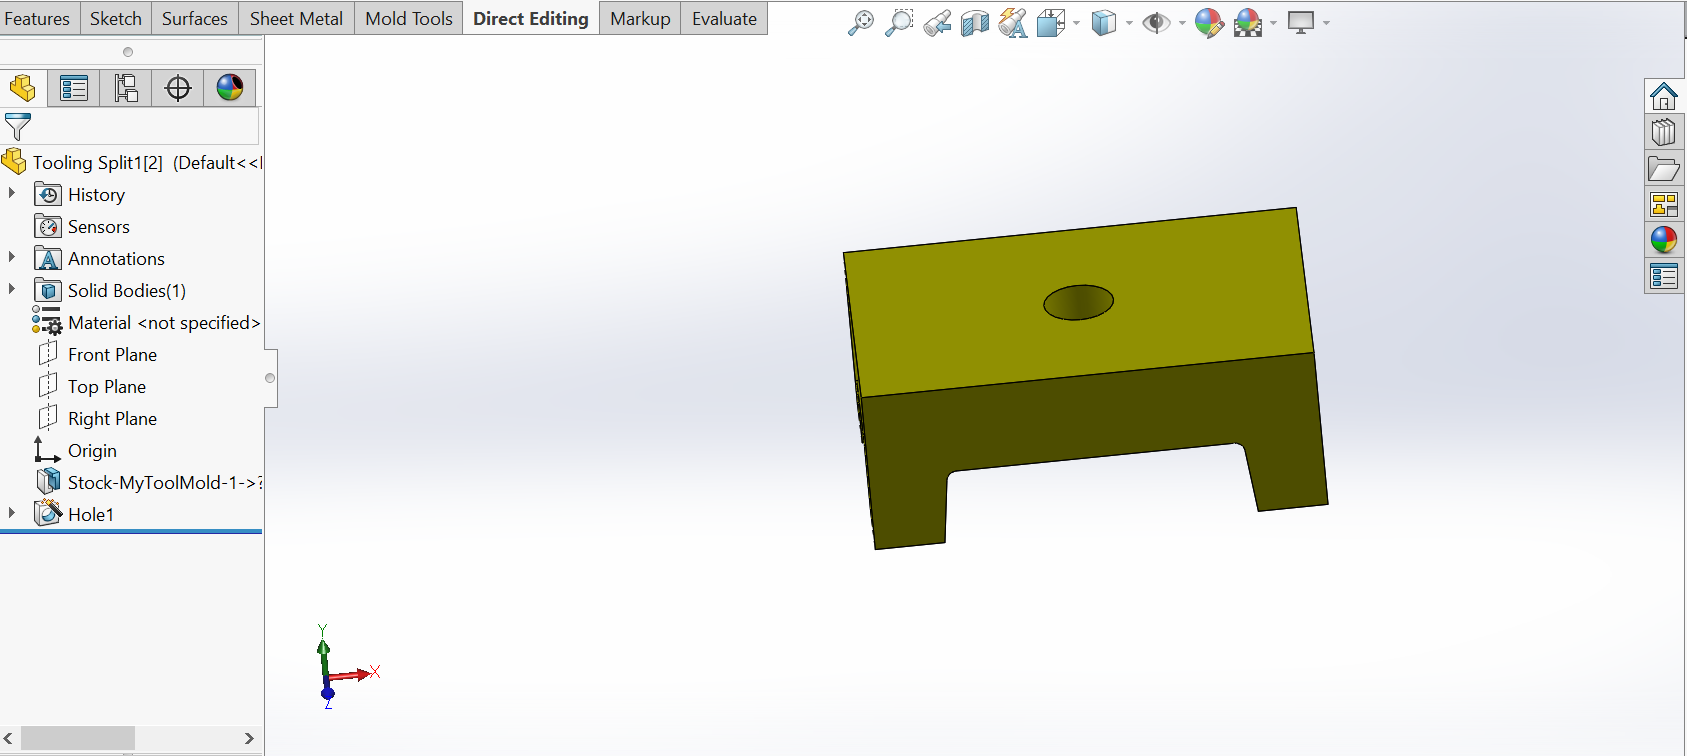
Below, is the corrected Tool to mold
Below, is the corrected cavit part of my mold
Below, is the core part in cura software(Slicing software) to generate an STL file to be printed by Ender3.

Below, is the cavit part of my mold in cura

Below, is printed parts to use in molding.

Below, is the printed core part.
