8. Computer controlled machining
assignment:do your labs safety training test runout, alignment, fixturing, speeds, feeds, materials, and toolpath
make(design+mill+assemble)something big(~meter-scale) extra credit: donot use fasteners or glue. extra credit:include curved surfaces.
DESIGNING A STOOL CHAIR To carry out the task, the first step that i have followed has been the study of the files of the weekly respiratory.so i look for more information on internet. then i got chair inspired me to design. Before starting designing my stool chair i have to indicate two views top and side views.
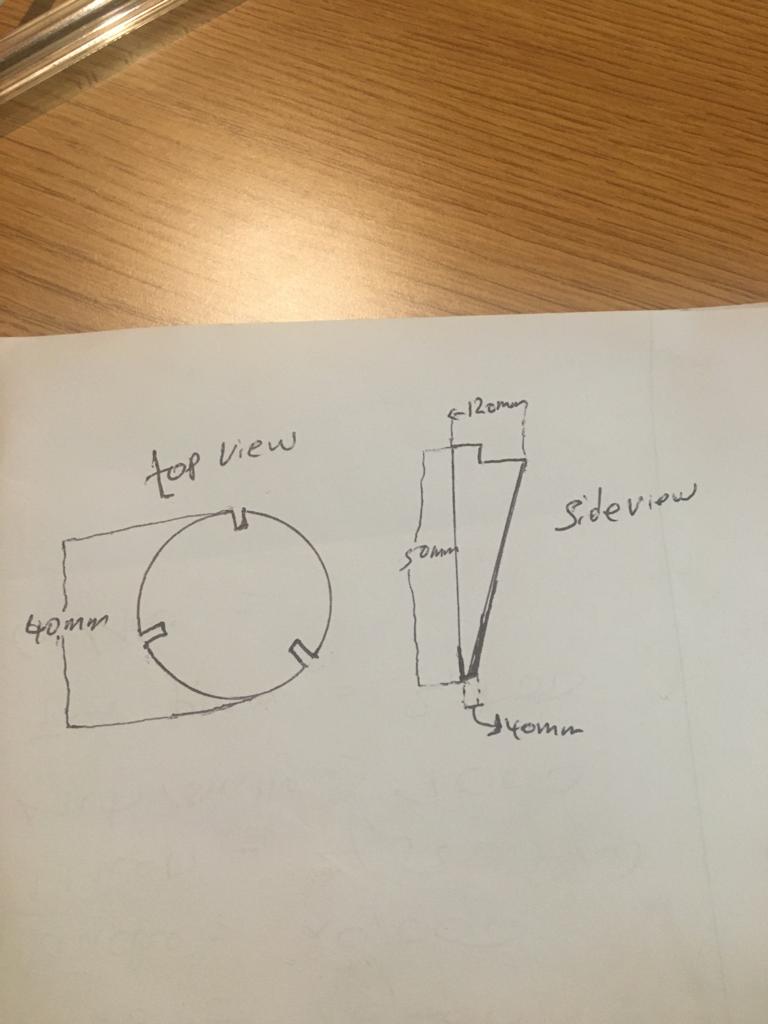
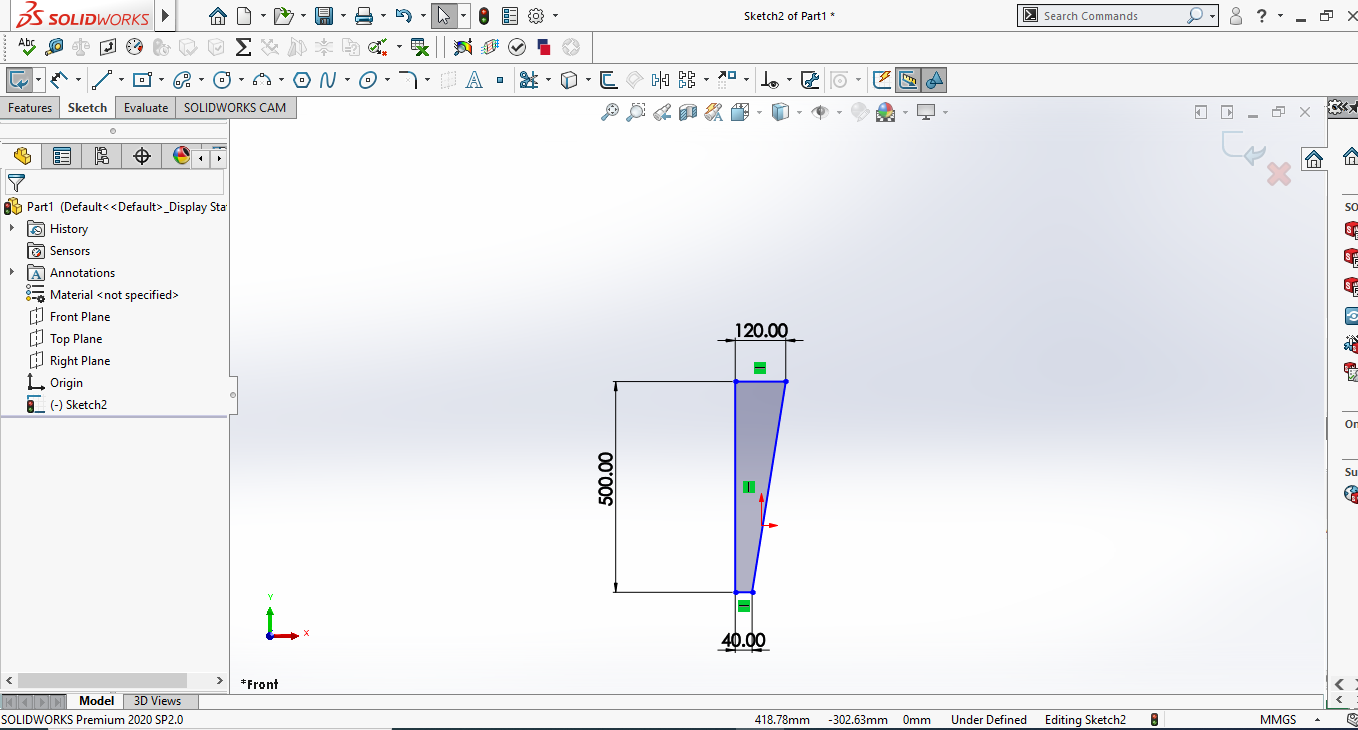
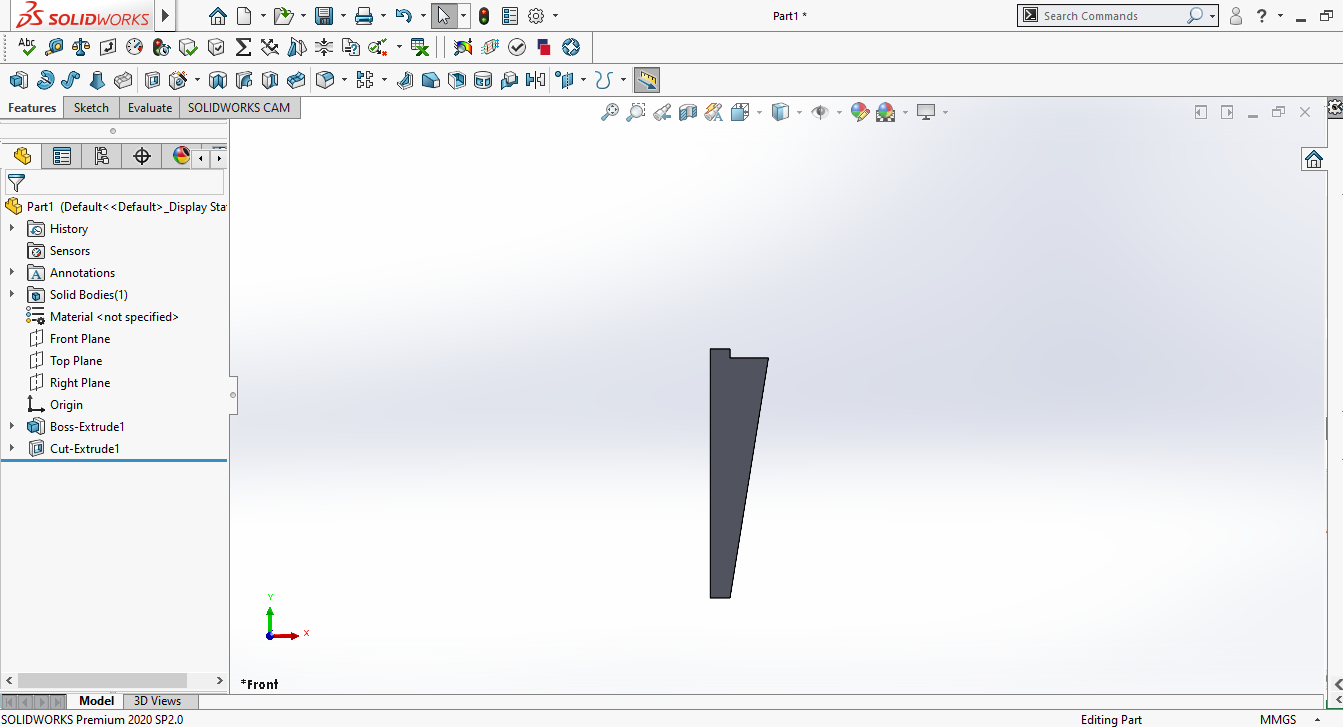
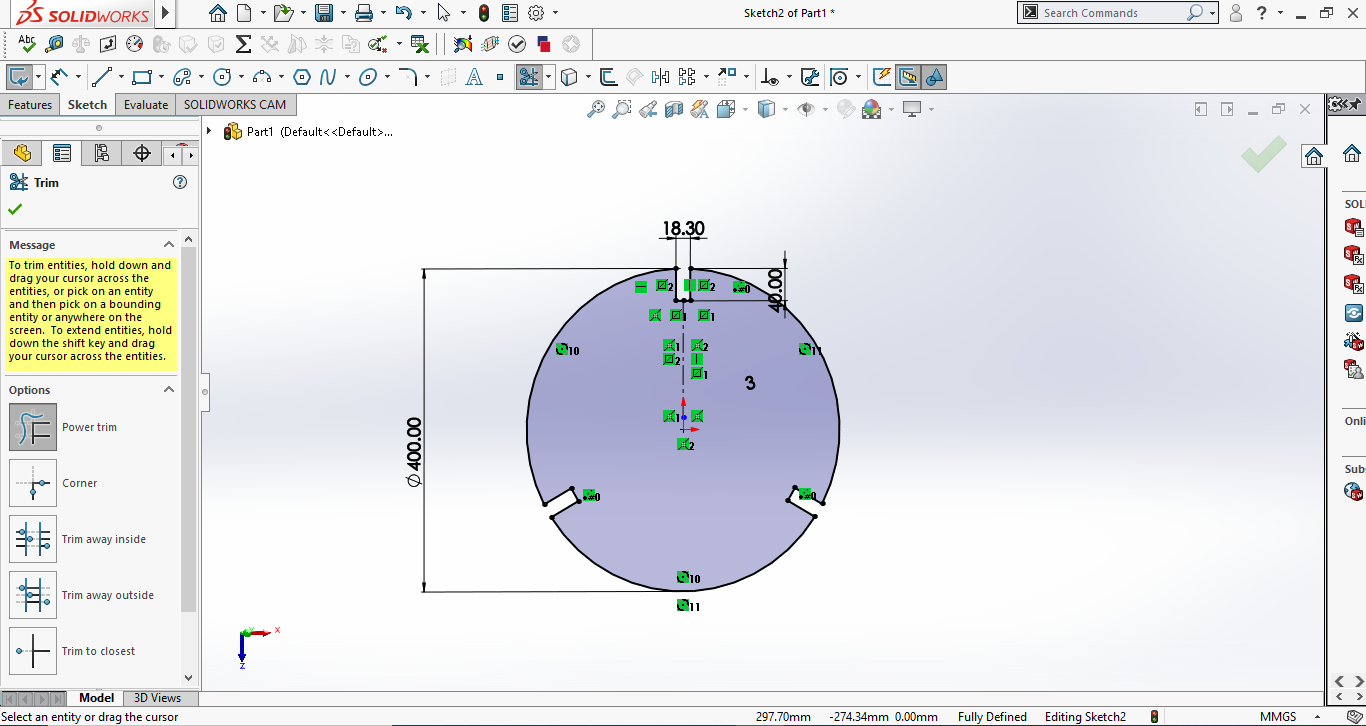
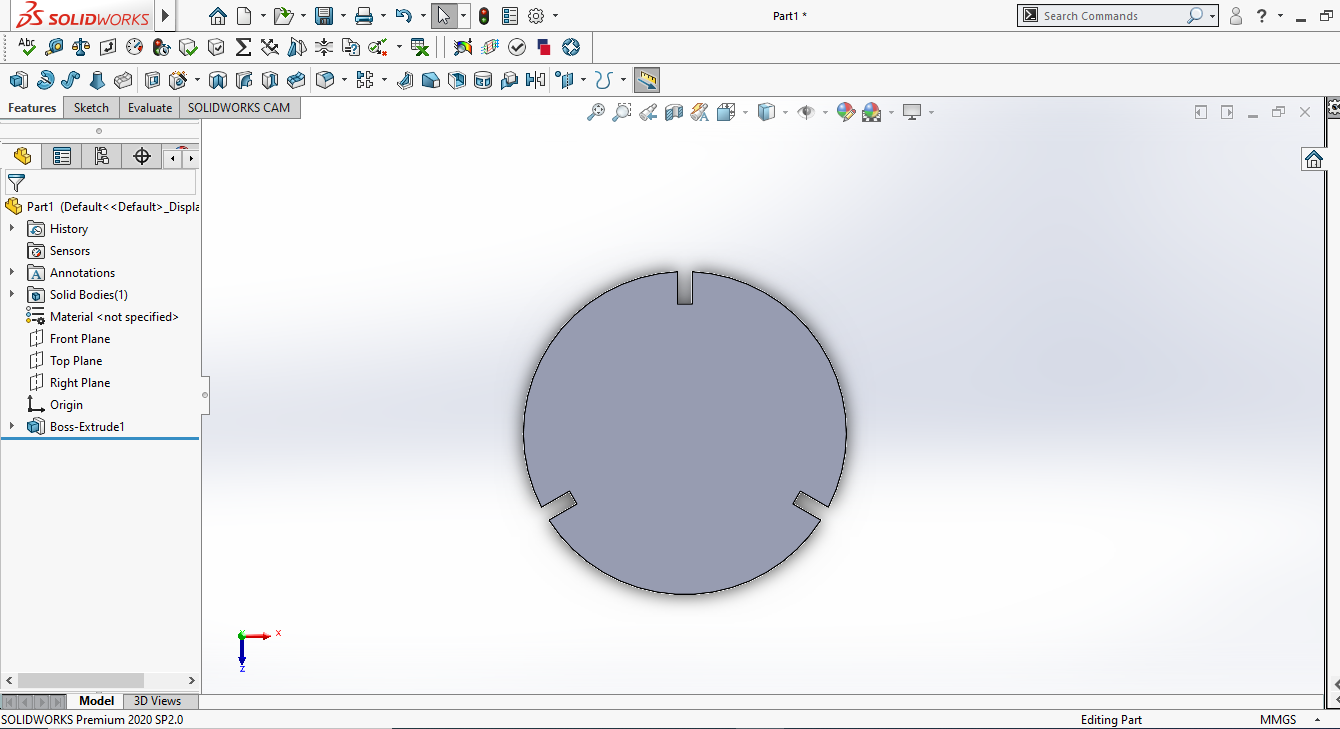
After sketching my ideal of a stool chair.I started designing starts with side view and then top view i used solid works software.
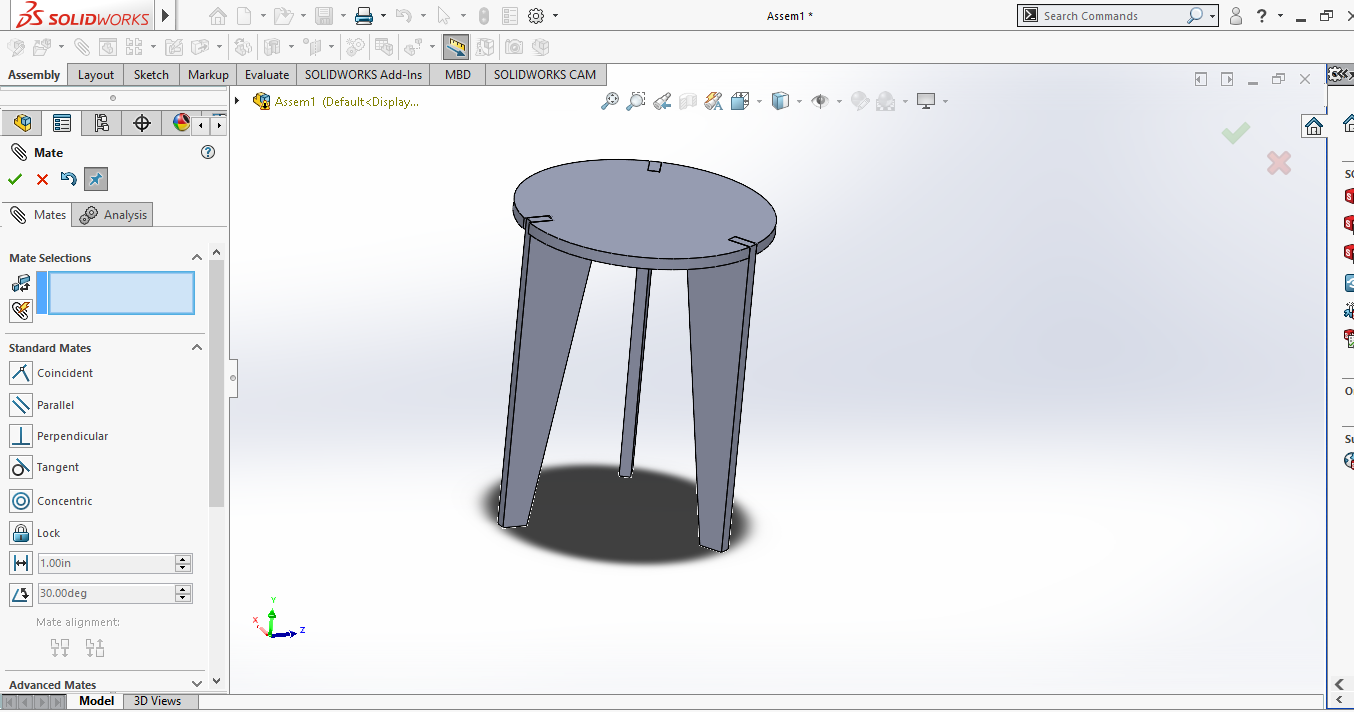
 After designing i made assembly
After these steps i export files in DXF format
vCarve - convert 3D models into gCode for CNC Router
To perform the milling after having done the parametric drawing and 3-dimensional modeling,i’m going to download vcarve pro software.using link
it is logical that to make the file for milling, several steps have to be carried out.
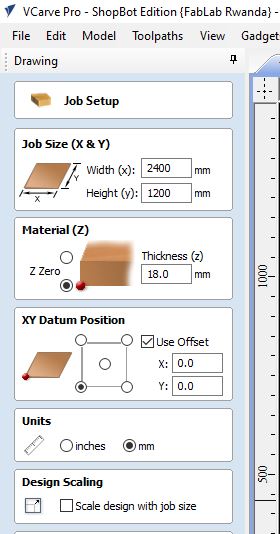
Step 1) Setting up the sheet size, thickness and Origin Set size of sheet 1200mm by 2400mm or whatever the side of material you are using as well as its thickness. I used 18mm . Make sure origin in bottom right.
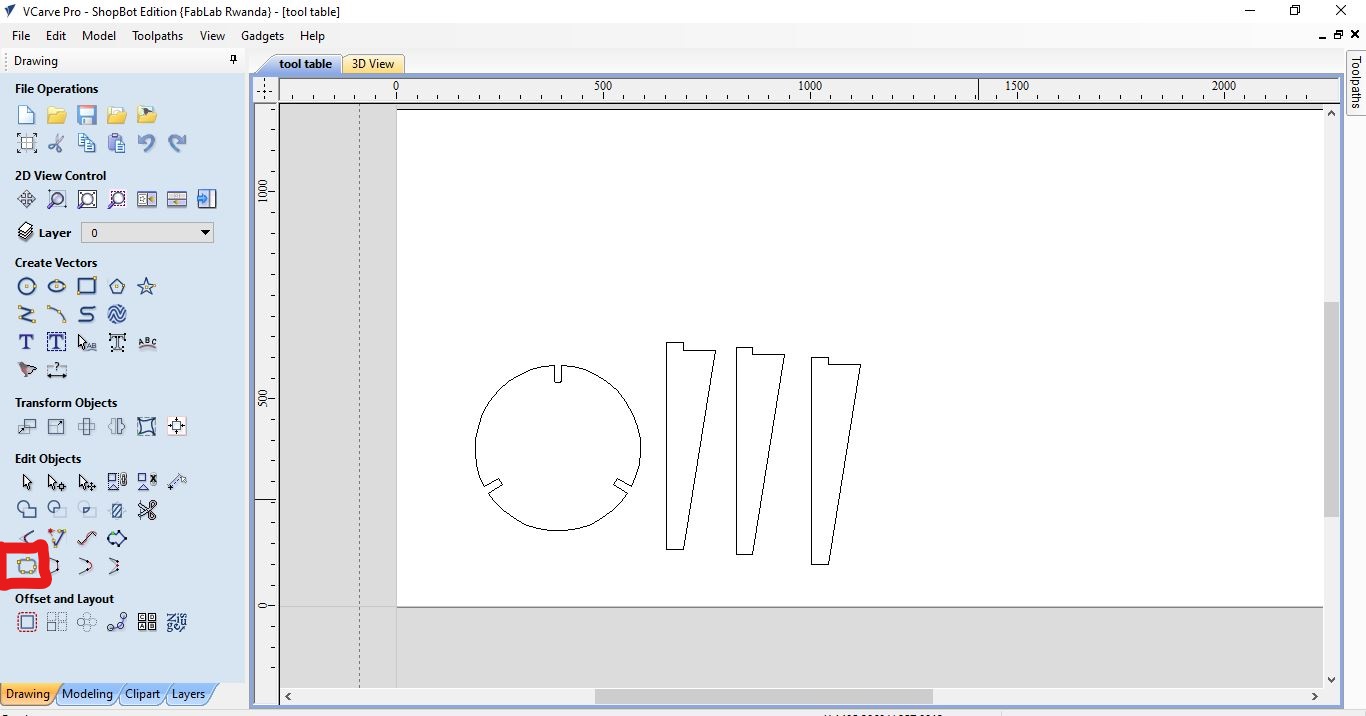
2) Import DXF files
Open up drop down File menu. Then select import and select import vectors. If importing several files, Select M to move them otherwise they’ll import on top of each other. Before you copy and paste all the pieces you want to cut on the CNC. Import one of each piece. When you have joined an unjoined vectors, filleted the edges and grouped the vectors together then copy and paste each piece. Trimmed away any unwanted lines.
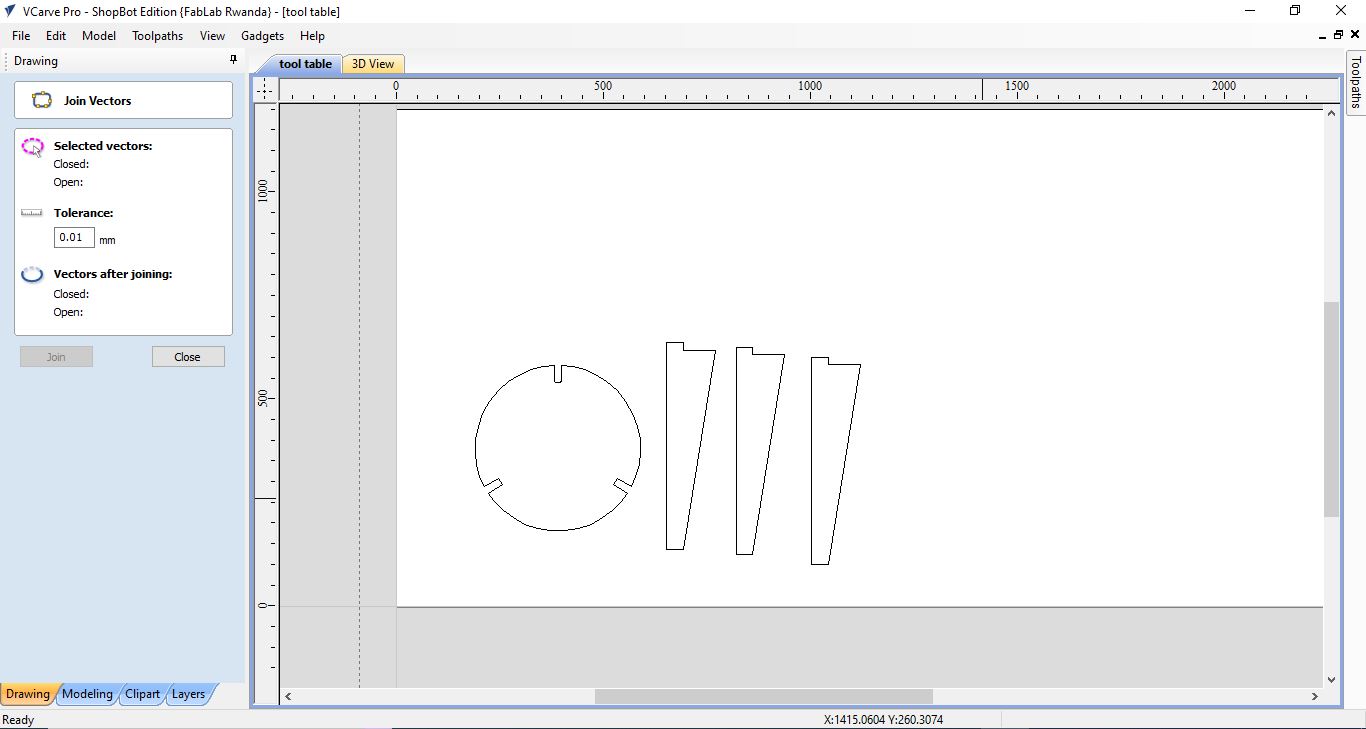
3) Joining Lines
Sometimes there can be lines that aren’t joined even though they visually looked joined. You need to
select everything and then join these. (As long as you want them joined and they are closed shapes.)
make sure all the pieces have no open lines (use the joining Tool)
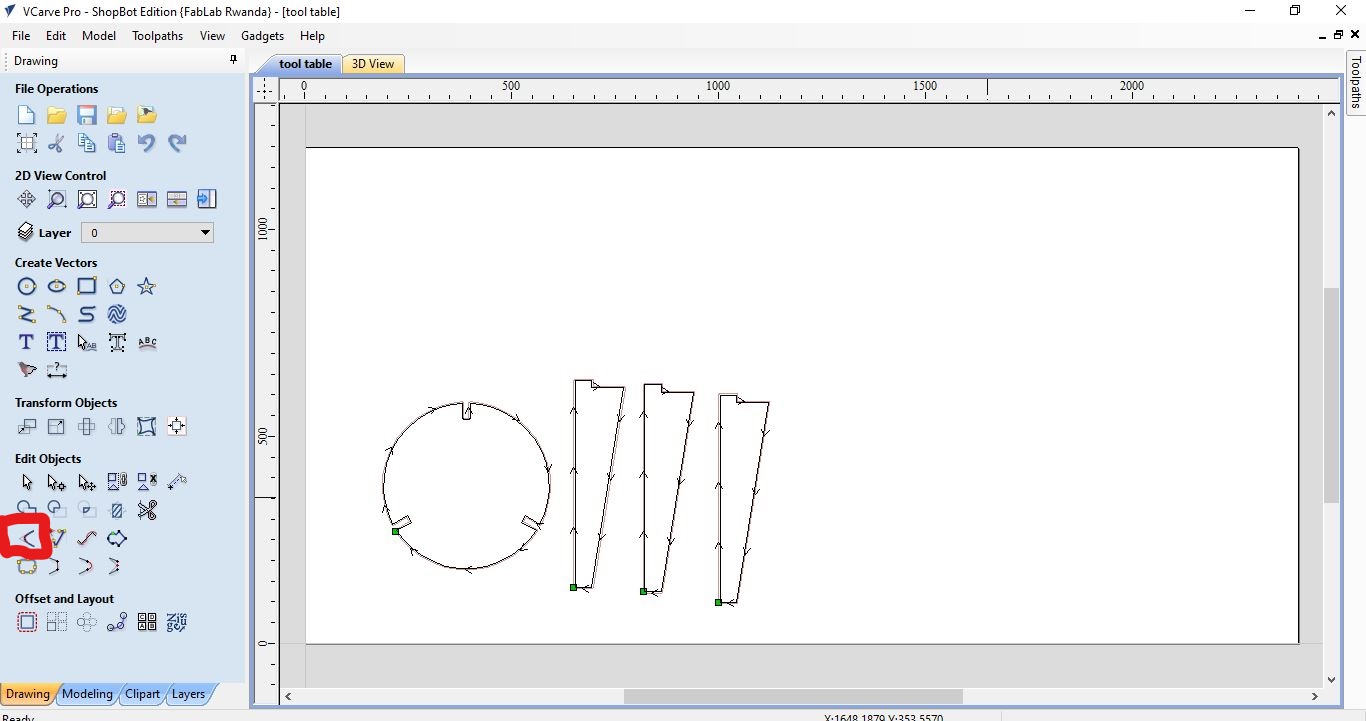
4) Fillet the Corners
Add the fillets so the tool piece will cut into the Corners (internal corners that join together. Otherwise if you have piece locking together like I do in the stool they won’t slot together.) Make sure the fillets are half the size of the tool bit. Fillet the corners of the pieces to match the size of the tool bit
Use dog-bone bite
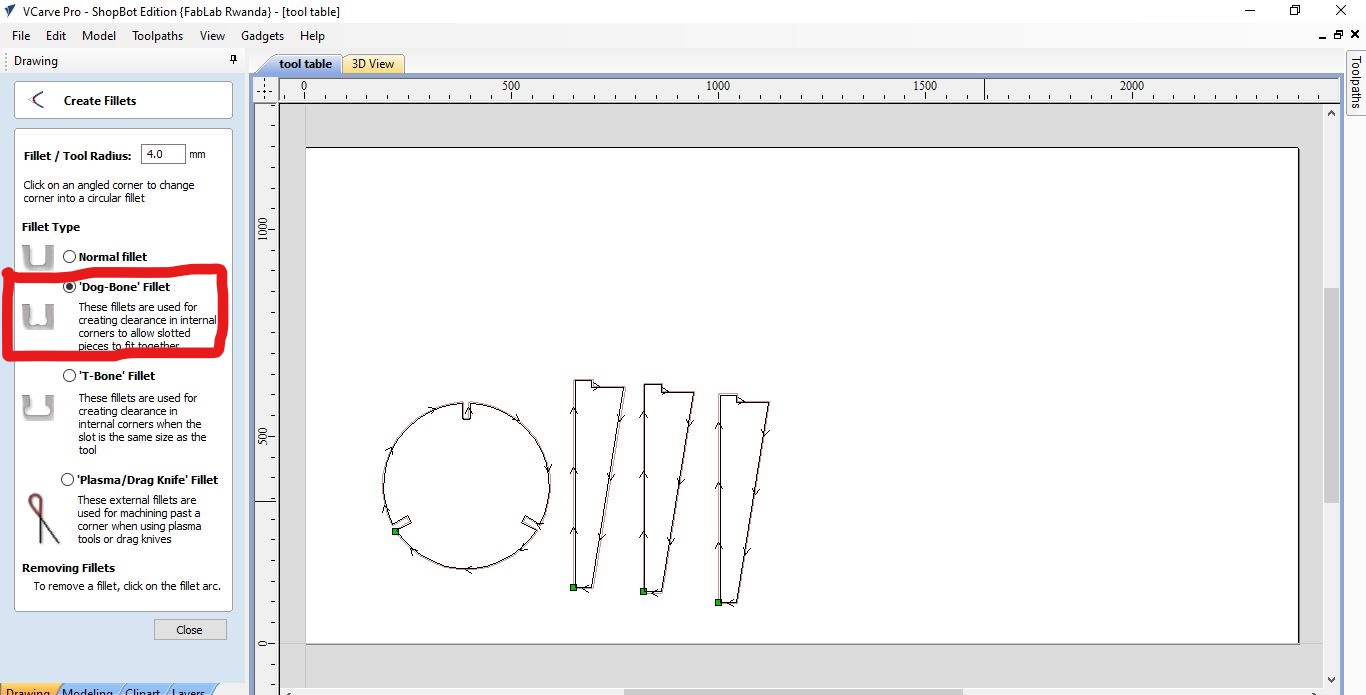 Notice after filleting the tool bit will now cut into the wood more at the corners where I have joints
that fit together.
Notice after filleting the tool bit will now cut into the wood more at the corners where I have joints
that fit together.
Step5:Another step is to add the chamfers in some corners. Not all the corners need them,only where the angles are interior and the proca is unable to leave them challenges.them milling and engraving.
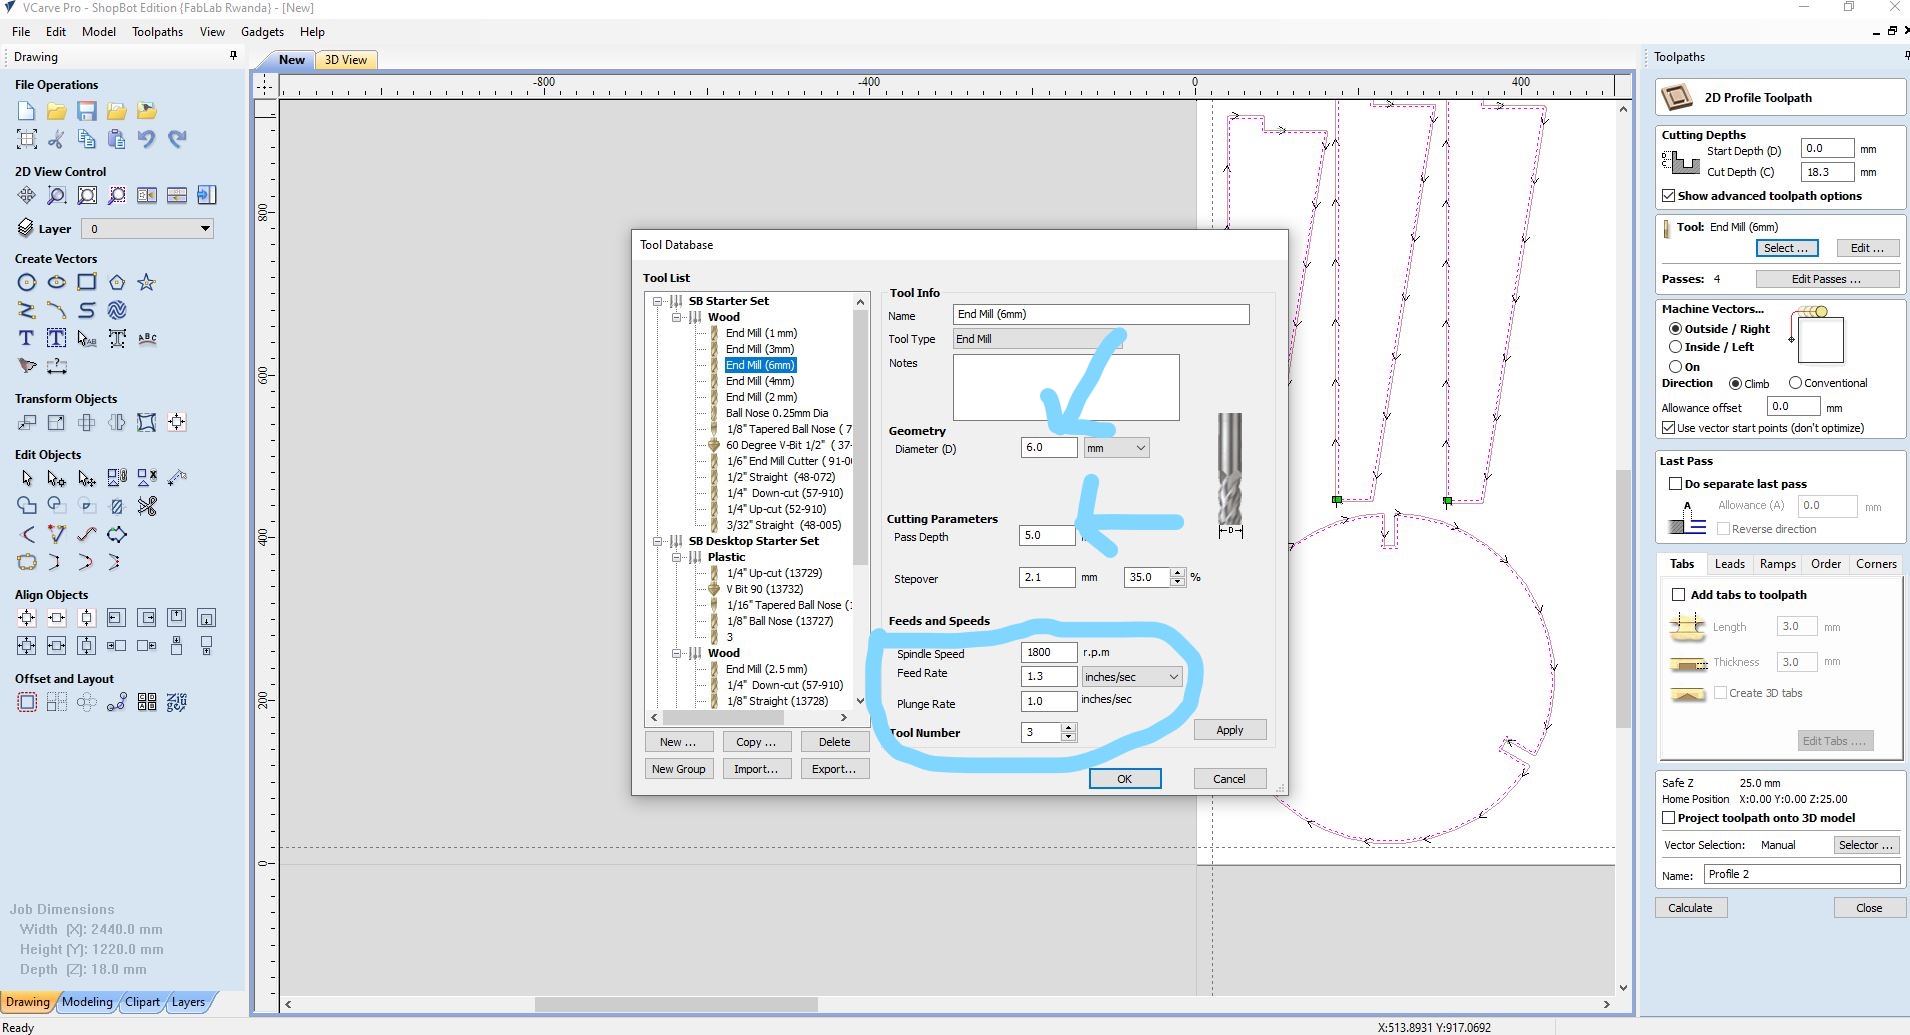
Tool database
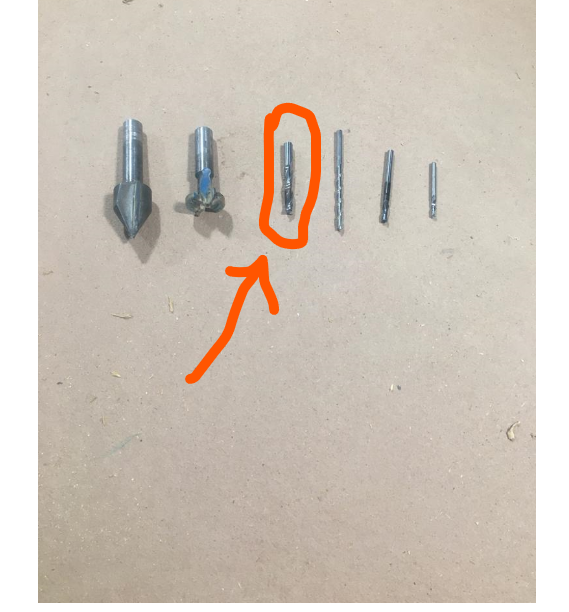
-Mill bit used is 6.0mm diameter
-stepover is 2.1mm
-path depth is 5.0mm
-Feeds and speeds
Thip speed calculation is done based on the following formula:
Feed Rate (mm/min) = # of flutes · Chip Load (mm/flute) · Spindle (rpm)
Recommended plywood chip loads can be found online, for example in a manufacturer’s site. For a 6mm, single flute mill, a recommended chip load could be of 0.011in/flute, and with the traditional 18000rpm, this gives:
Feed Rate (mm/min) = 1 · 0,2794 · 18000 = 5029 mm/min
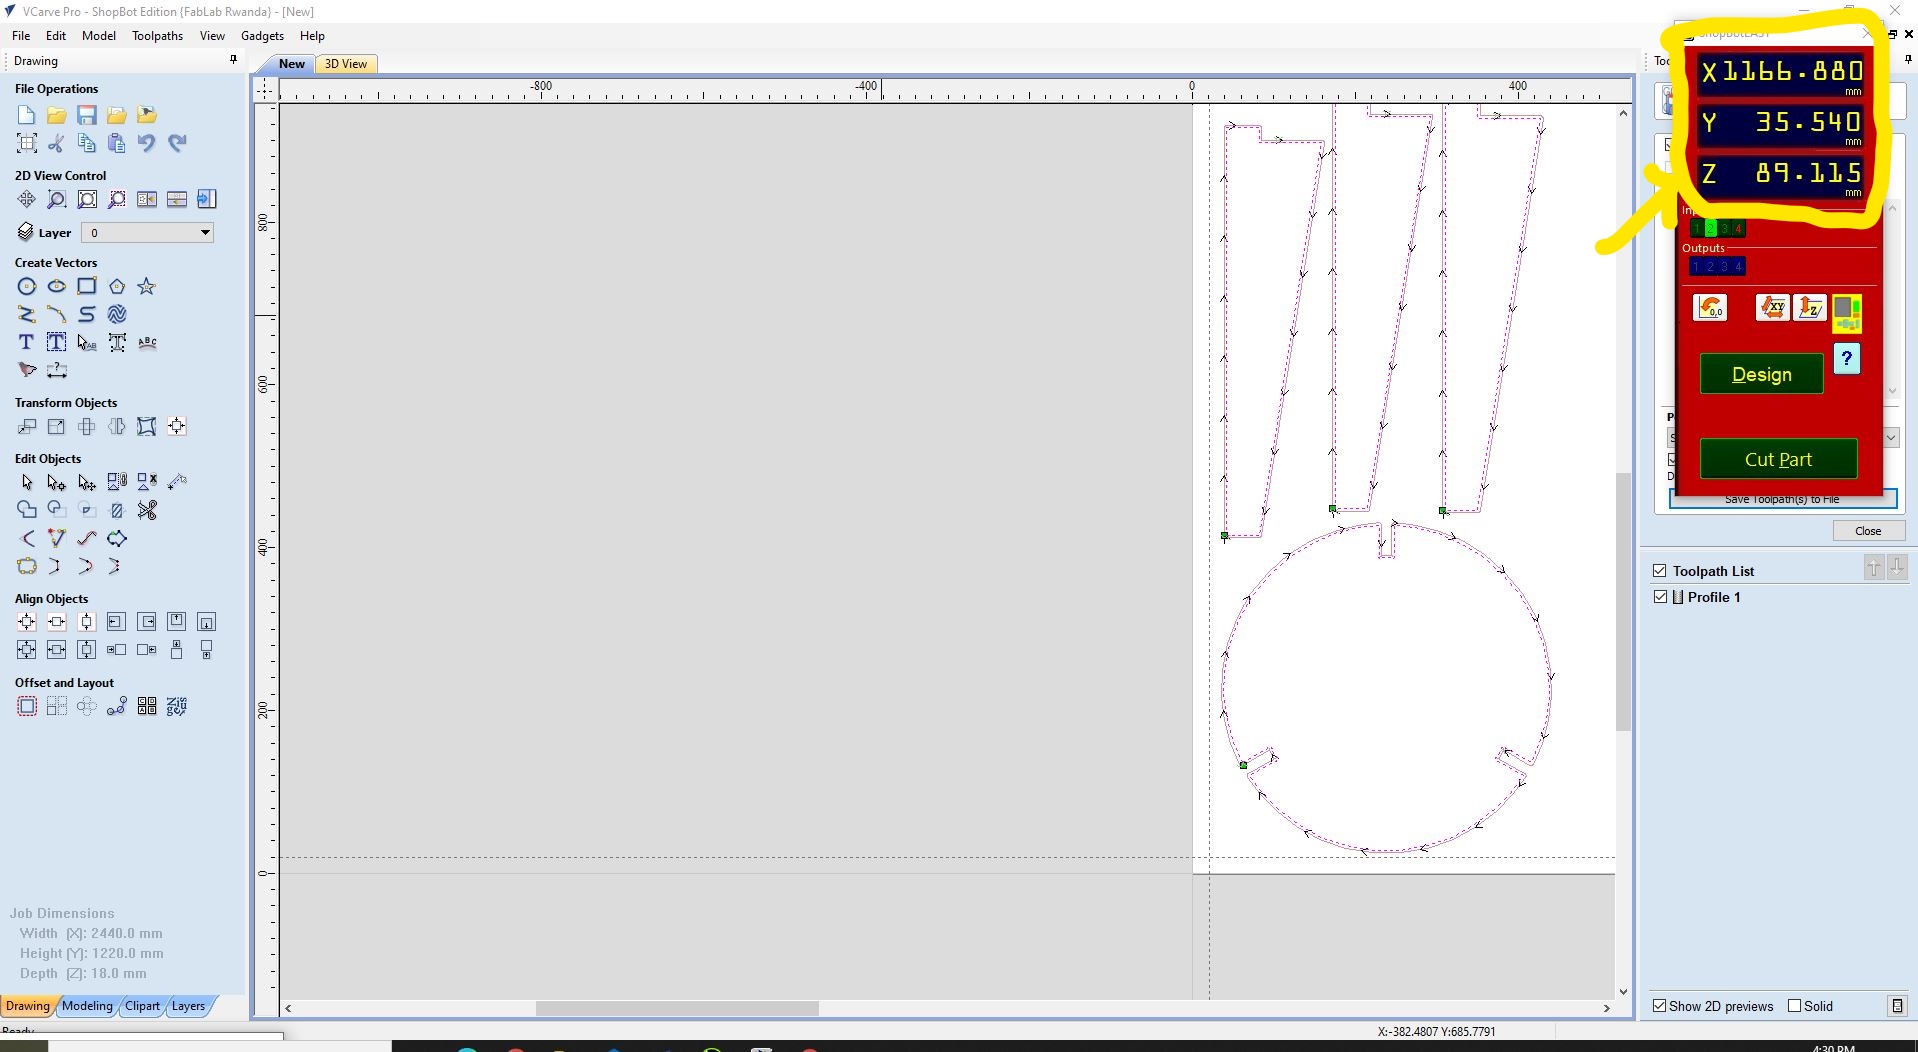
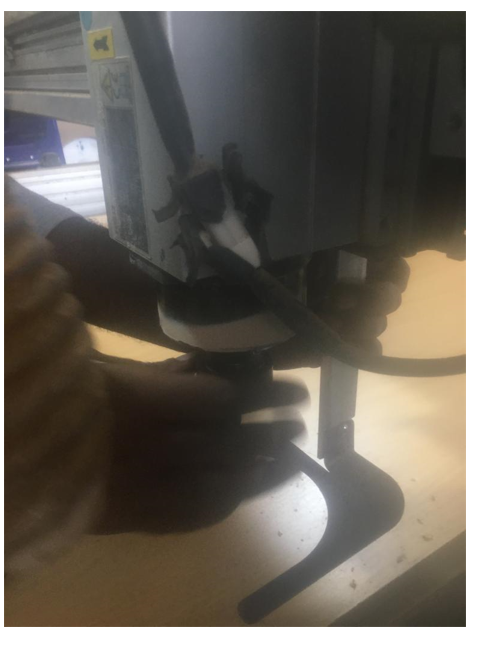
Below,I have to set origin of mill beat on the board and In the right hand side, in red, we have the position controller. In here, we have several options, and we can see where the machine is at the moment. In the Output area, we can click 3 and we will fit the tool. For this, we need to hold the tool by hand in the spindle and press at the same time. The pneumatic system will hold the tool in place and it should rotate freely without effort.
Zero Axis
We first find the end switches from the machine by going to the ShopBot Console and hit Cuts > C3- Home X Y axes using Prox Switches.
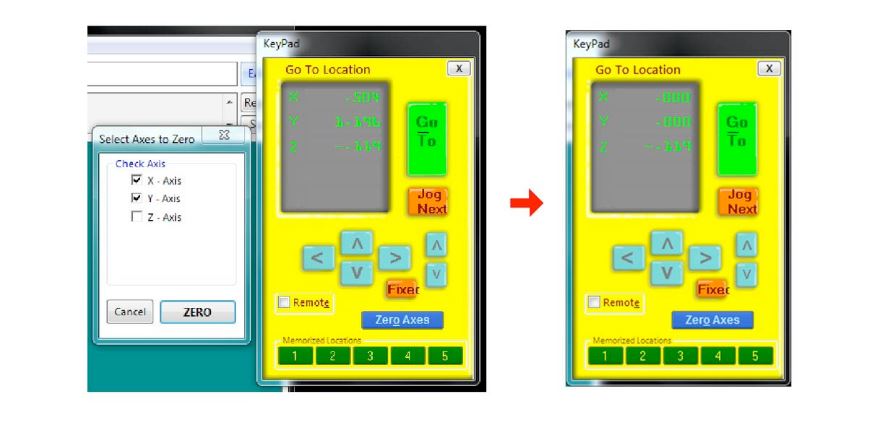
Now, in order for the machine to know where the zero of our piece is, we will use the yellow keypad in the picture below:
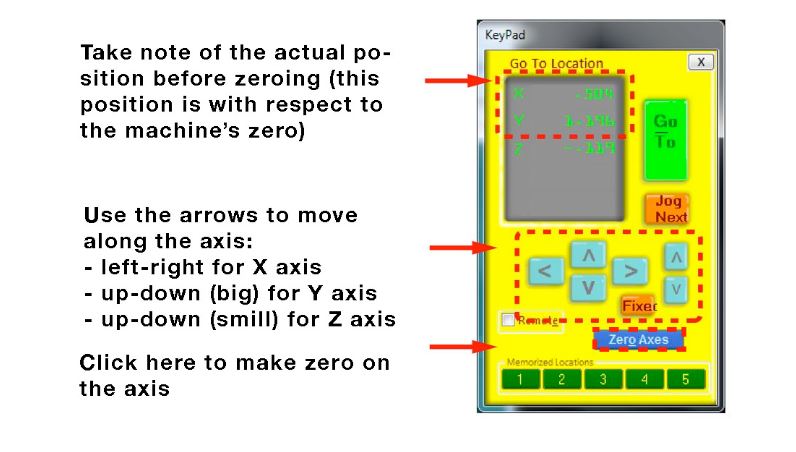
We will use this keypad to make zero in the X and Y axis:
The Z-axis is done with the help of a conductive plate that the machine will seek to touch the plate by moving down the Z axis slowly and hit plate.
I have to fix board with nails using
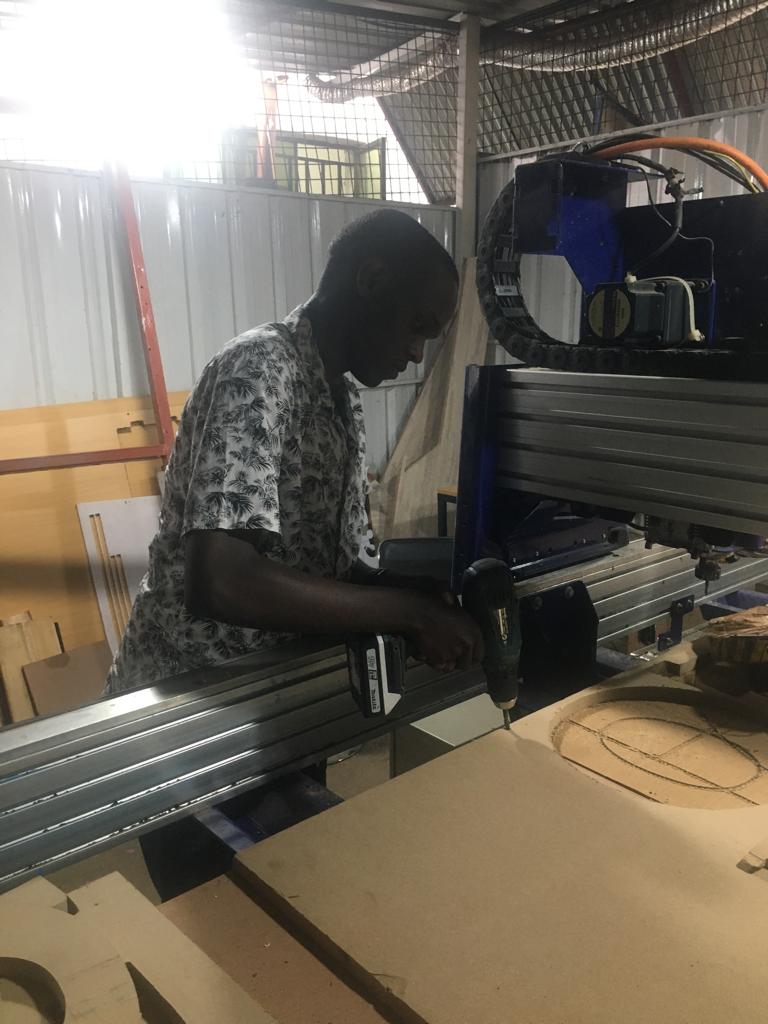
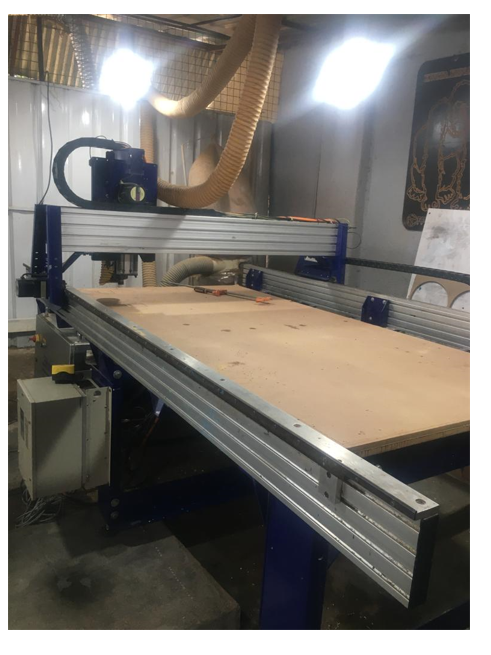
This is type of CNC Machine to use is called ShopBot
I have to check the origin of mill bit and fix mill bit
Cutting Once we have this setup ready, we can perform the marks for the screws to go in and drill the material down, without moving it! (otherwise we would loose the x-y axis homing). In order to do this, in the ShopBot Control System, we follow the next sequence:
.Check the spindle speed at our desired value (18000rpm in my case)
.Hit the green button in the control to start the spindle
.Put on safety glasses
.Skip the error that appears (apparently is normal)
.Press OK and start cutting
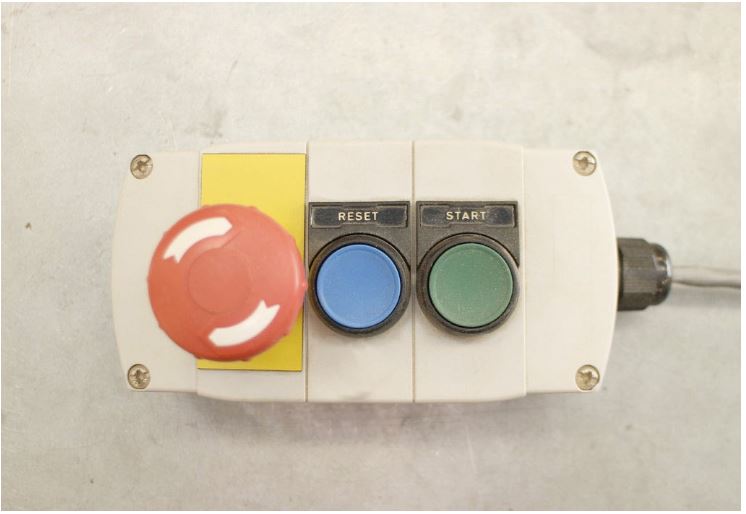
Finally, we should know where the safety knobs for the machine. The controls also for the spindle and the global switch should look something like this:
I have used mill bit of 6mm diameter
We have to fix mill bit
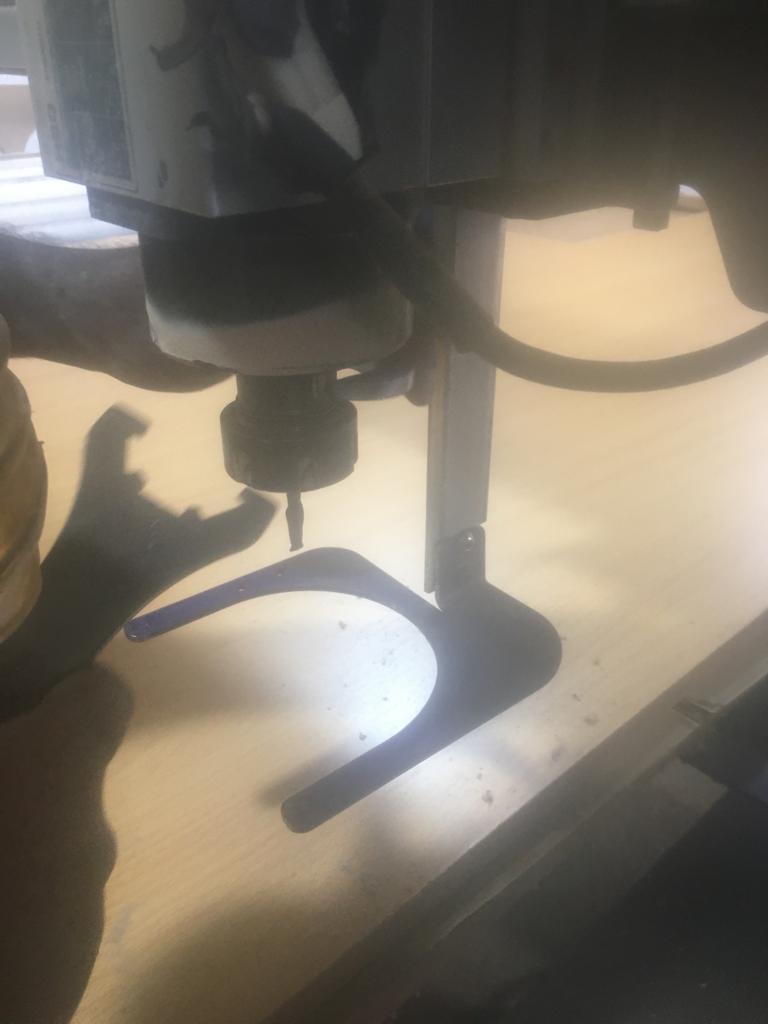
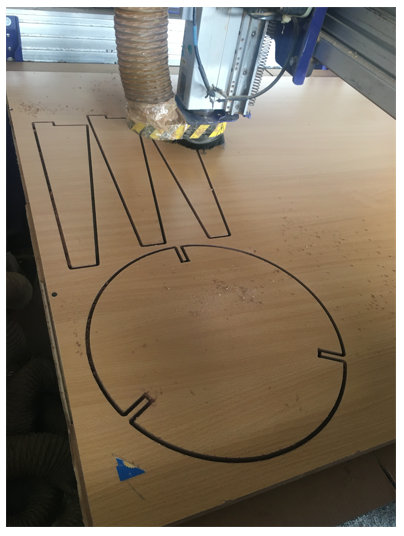
CNC machine starts cutting wood
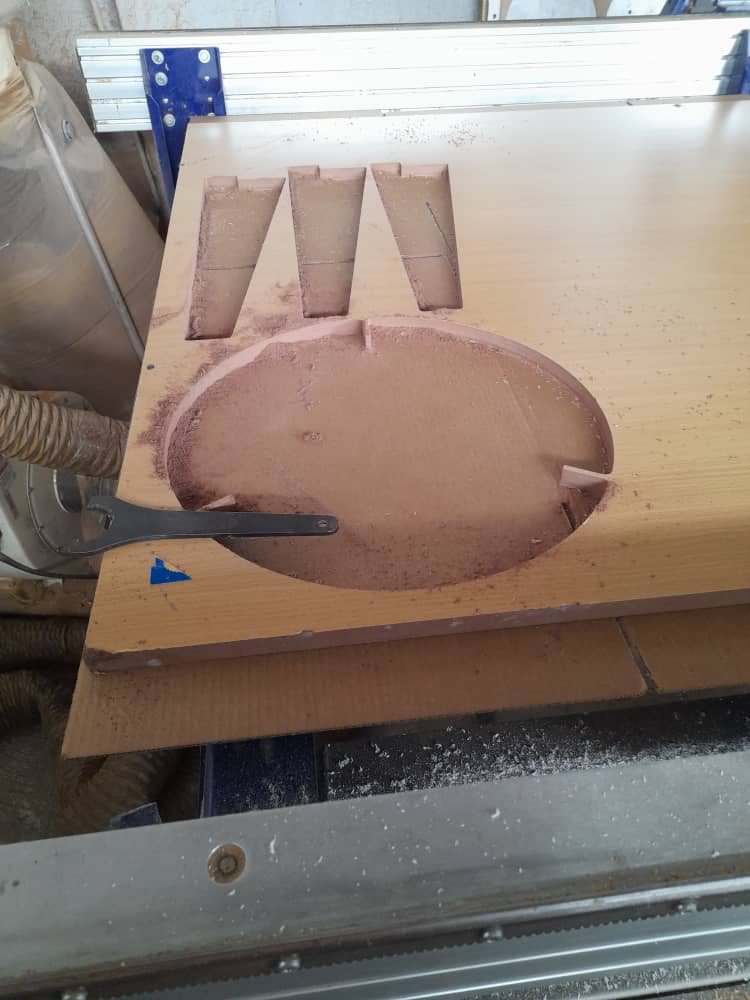
we have to poshing the cut parts

I have to assemble all parts after cutting
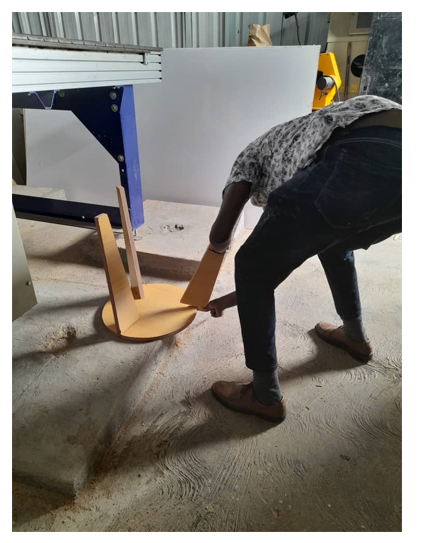
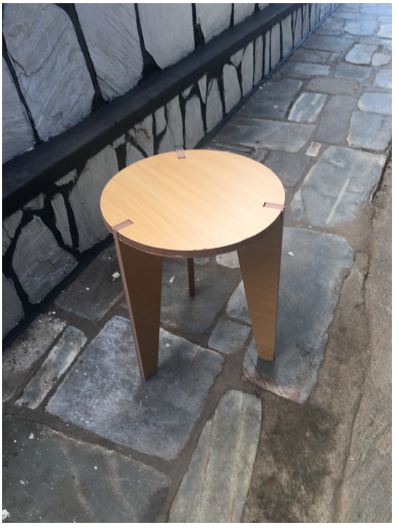
the chair is finished

MY FILES
Here iam uploading the files that i have been making this week