6. 3D Scanning and printing
Group assignment :
-Test the design rules for your 3D printer(s).
Individual assignment:
-Design and 3D print an object (small,few cm3,limited by printer time) that could not be made subtractively.
-3D scan an object (and optionally print it).
Group assignment
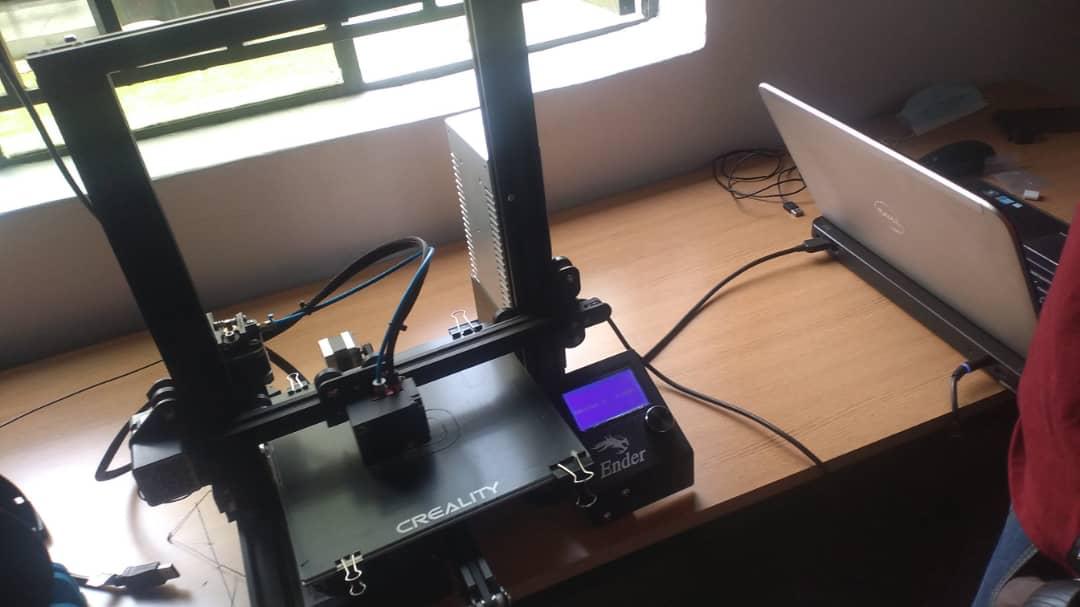
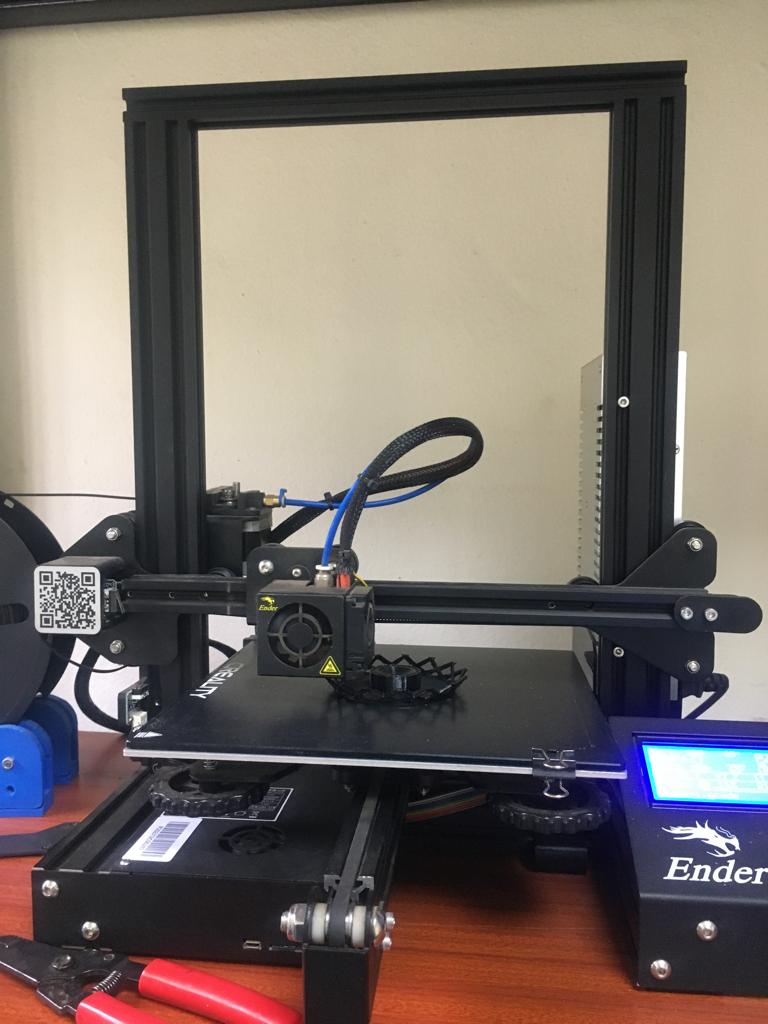
This week we worked on the characterization of the creality Ender 3D we use of the ultimaker cura software to design and manufacture of volumetric objects with additive techiniques.
Specifications of creality Ender 3D:
-Nozzle Temperature for PLA material:200 0C
-Bed temperature for PLA material: 60 0c
-Nozzle Diameter: 0.4mm
-Bed size:
-Filament diameter:1.75mm
-printer software supports .stl and obj files via USB or SD card
-Volume of printed object 220x 220 x 250 mm
-Accuracy +0.1mm to -0.1mm
-Recommended working time: <72hrs
NB: -Enough filament must be considered
-Bed must be well leveled
Individual assignment:
Advantages and limitations of 3D printing technology
Generally speaking it’s a wonderfull technology and already changed a lot in the industies. It’s fast tool for prototyping and creating realistic models (with a combination with 3Dscanning) e.g for architecture of medicine purposes. It’s relatively cheap and haghly available (RepRap concept).
Though there are some limitations as well. The printing process is very often “glitchy” and one has to repead the jobs many times. On the personal level it can be also time consuming becouse of it’s dependance on the electricity and long duration. For example if I’mprinting something that tooks 5 hours and there is a power going down in electrical line (happening often in fablabs) just 30 mind before finishing…The machines are requiring constant maintainance since parts are being overheated, melted, burnt…etc.
Design and 3D print an object (small, few cm) that could not be made subtractively
Subtractive Process
In subtractive process, a block of material (plastic or nonplastic and their composite) is used to carve or machine a desired part.
Additive vs. subtractive manufacturing
The adjective ‘subtractive’ means ‘tending to or able to remove or subtract.’ If something is subtractive, it takes things away.
The adjective ‘additive,’ on the other hand, means ‘tending to or able to add.’ If something is additive, it means that it adds things on.
Additive manufacturing
Additive manufacturing means creating three-dimensional objects by adding layer after layer. Since the turn of the century, additive manufacturing technology has advanced significantly. 3D printers today can even create jet engine turbines.
3D printing is a type of additive manufacturing.
Subtractive manufacturing
Subtractive manufacturing or ‘machining‘ involves cutting, hollowing, or taking parts out of a block of something.
Sculptors go through this process when they make statues. They start with a big block of stone or wood and gradually chisel away at it. Eventually, they have a statue of a man, woman, child, head, animal, etc.
Put simply; additive manufacturing involves adding layer (or bits) after layer (or bits). Subtractive manufacturing, on the other hand, involves taking away layer (or bits) after layer (or bits).
In manufacturing: with ‘subtractive,’ the object gets smaller as you progress. With ‘additive,’ it is the other way round – the object gets bigger as you progress.
Subtractive processes are very widely used in manufacturing, in which material (usually metal) is removed from a crudely-shaped initial part (perhaps a bar or slab, or a forging or casting with a more complex shape) to achieve the final shape and dimensions. Lathe-turning, milling, drilling, sawing, thread-cutting and gear-cutting are some examples of subtractive processes
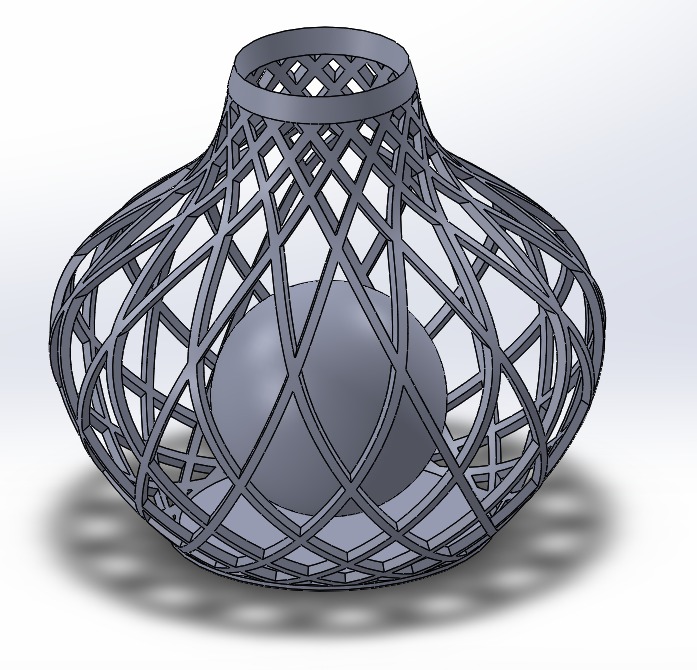
For this I wanted to print an object contained inside another, they are objects that are chained together so that they have to be manufactured one inside another.
Parameters of the chain:
Layer height: 0.30 mm
Number of Shells: 2
Extrude Temperature: 200?C
Infill: 10%
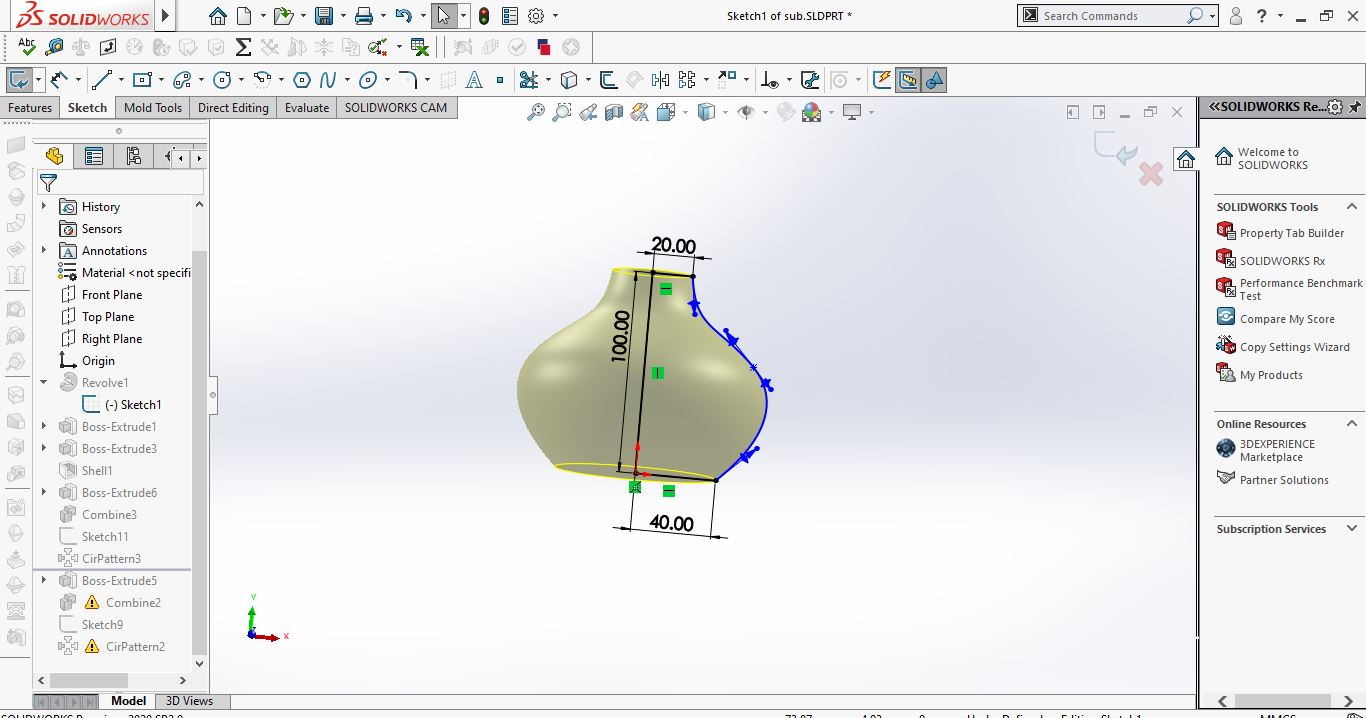
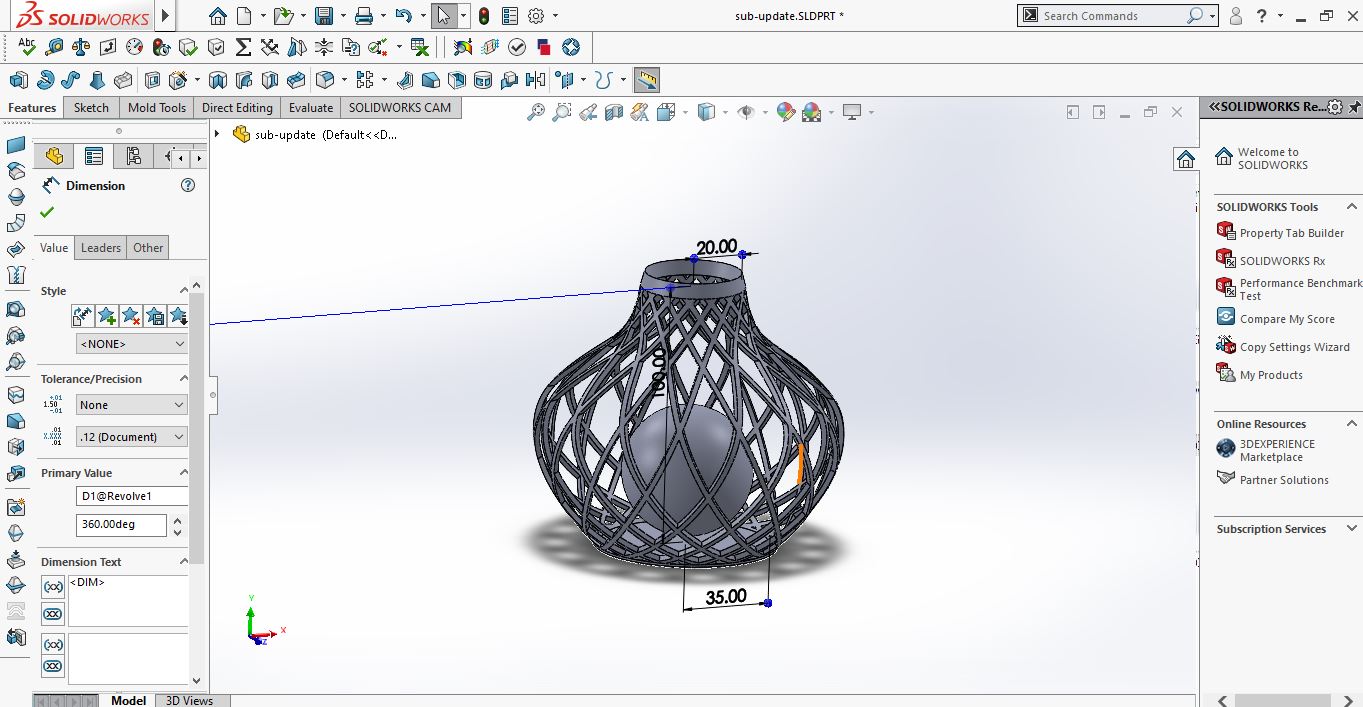
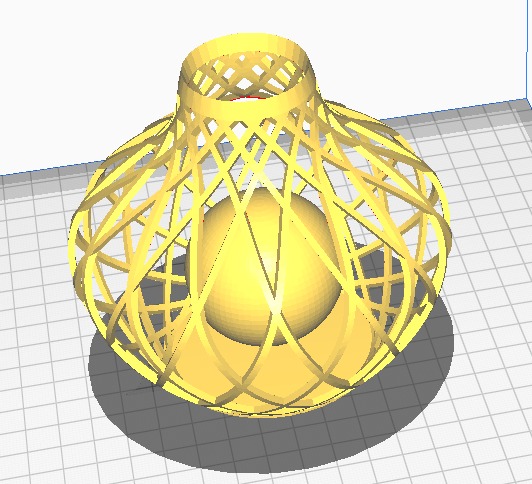
For this activity, i design Lampshade and ball inside using Solidworks software.
I started by drawing top radius of 20mm bottom radius of 40mm and height of 100mm and i made revolved bass around axis
below i made extruded bass

Below i made extrude bass 15mm on top and 20mm on bottom and shell of 2mm.
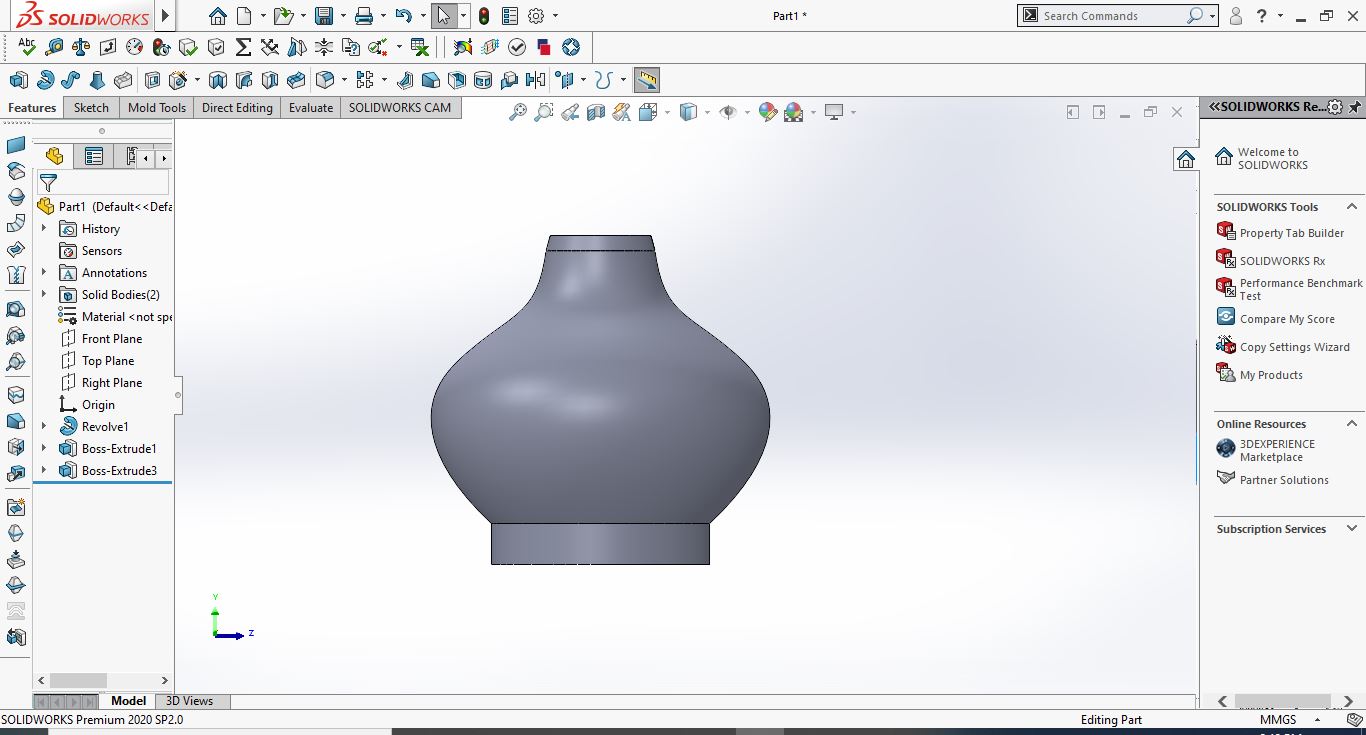
I have to supress top extruded bass and bottom extruded bass
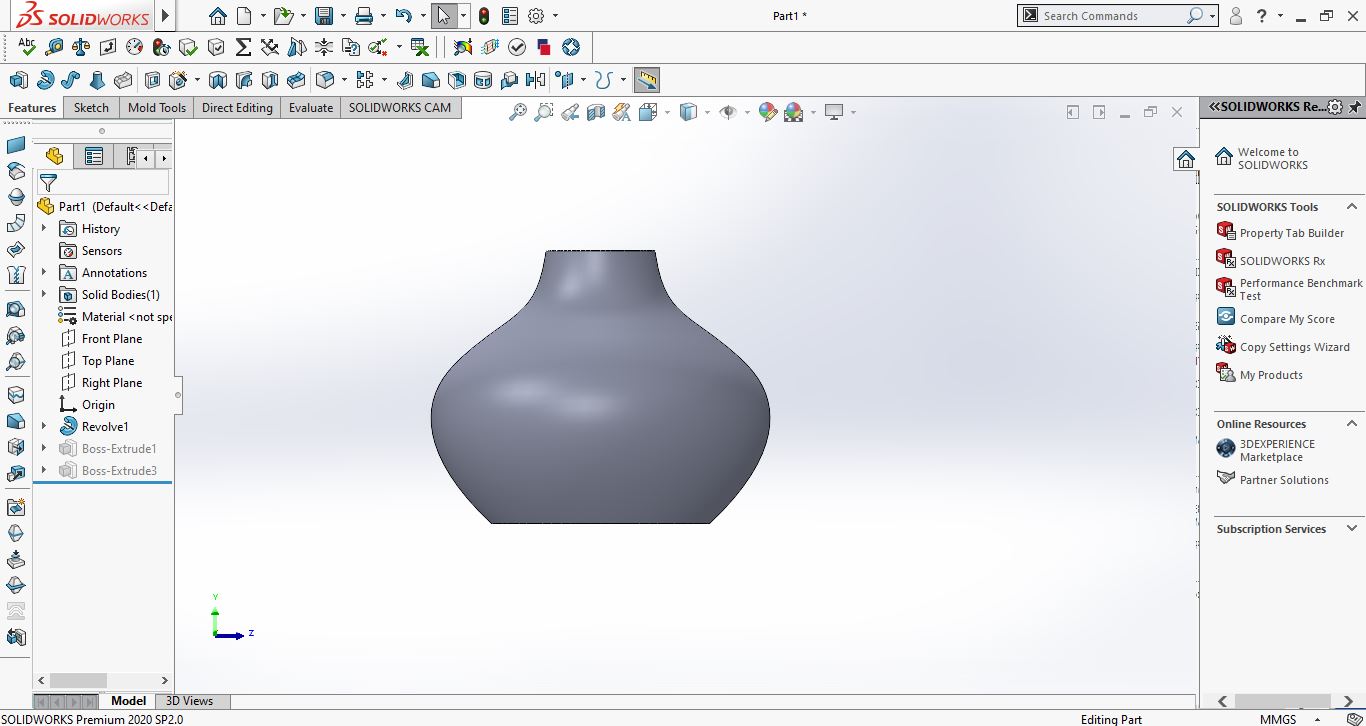
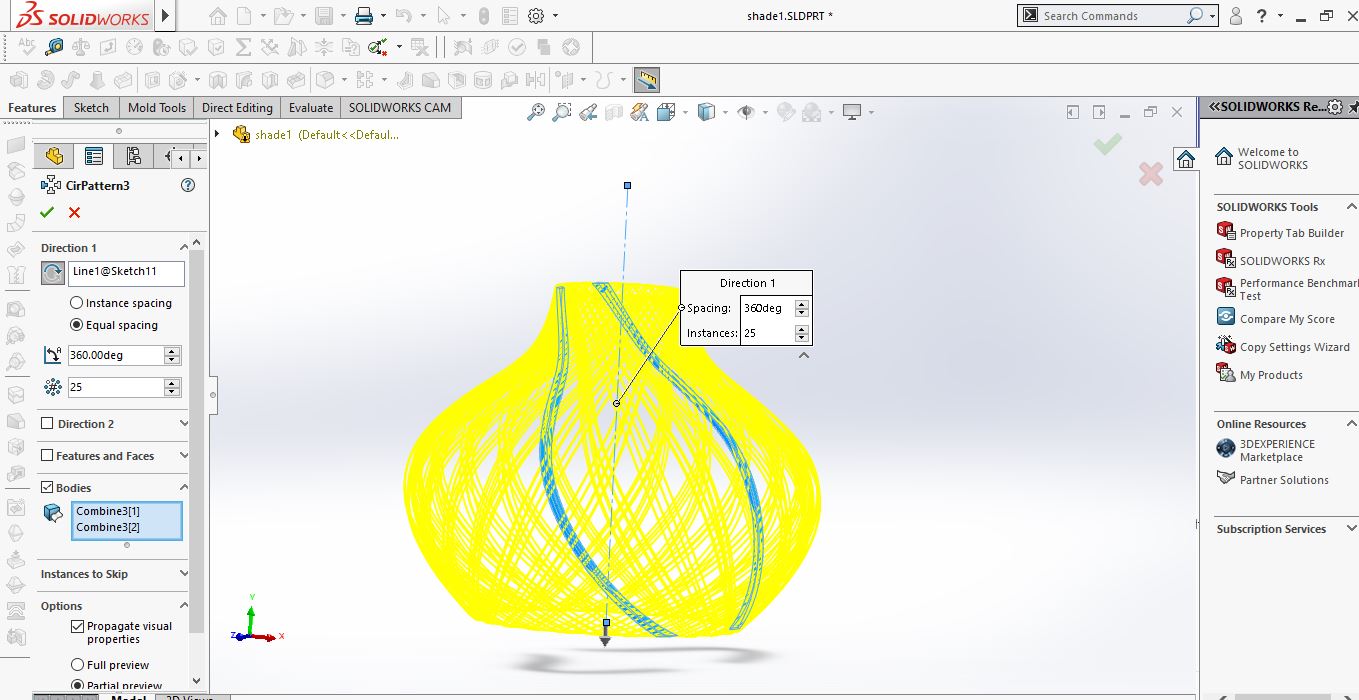
I combine sketch and make linear circular partern by around circle to fix lampshade by creating 25 instances and around 360 degrees.
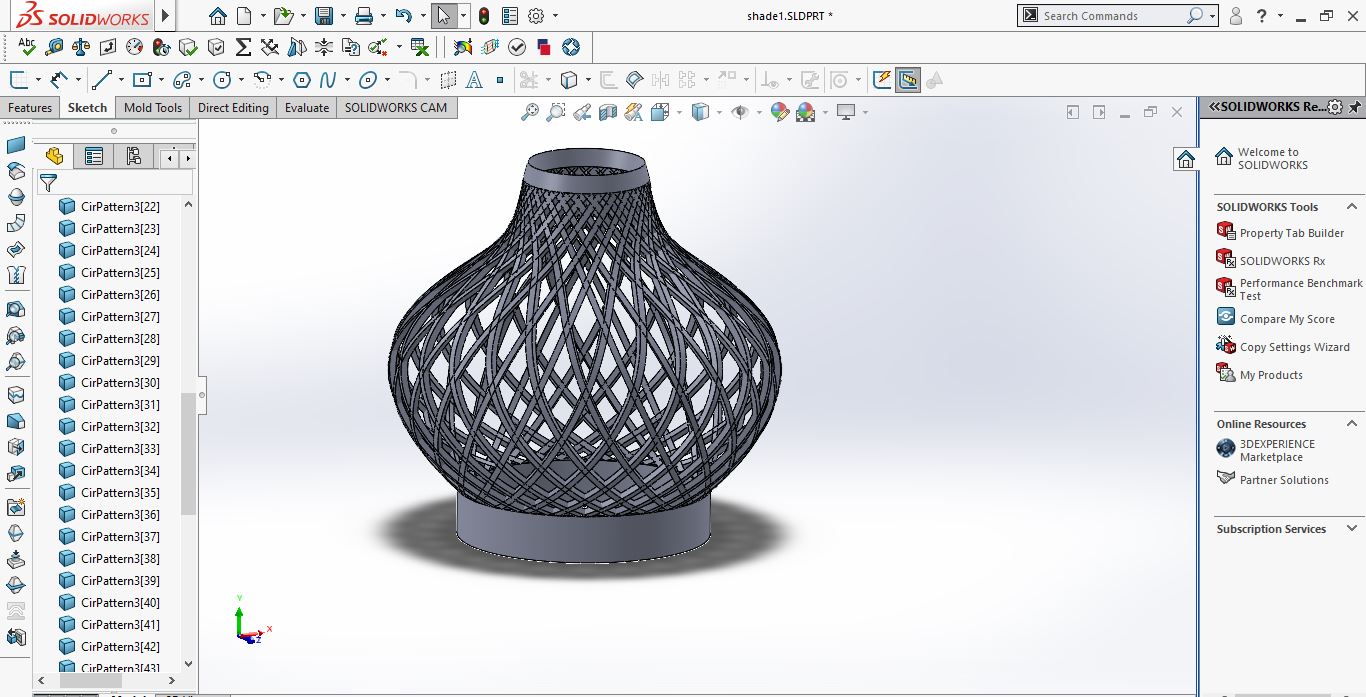
I bring back supress top extruded bass and bottom and lampshade obtained
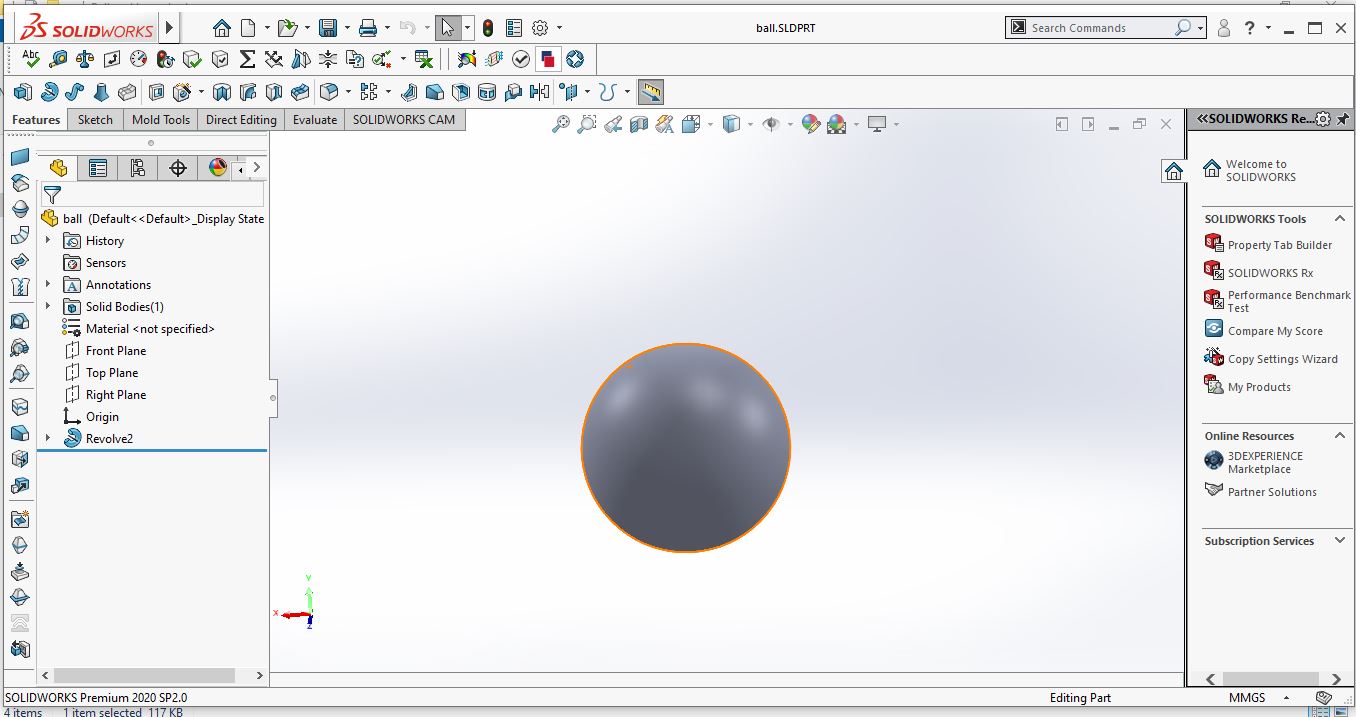
I draw a ball with radius of 22mm and revolved around axis
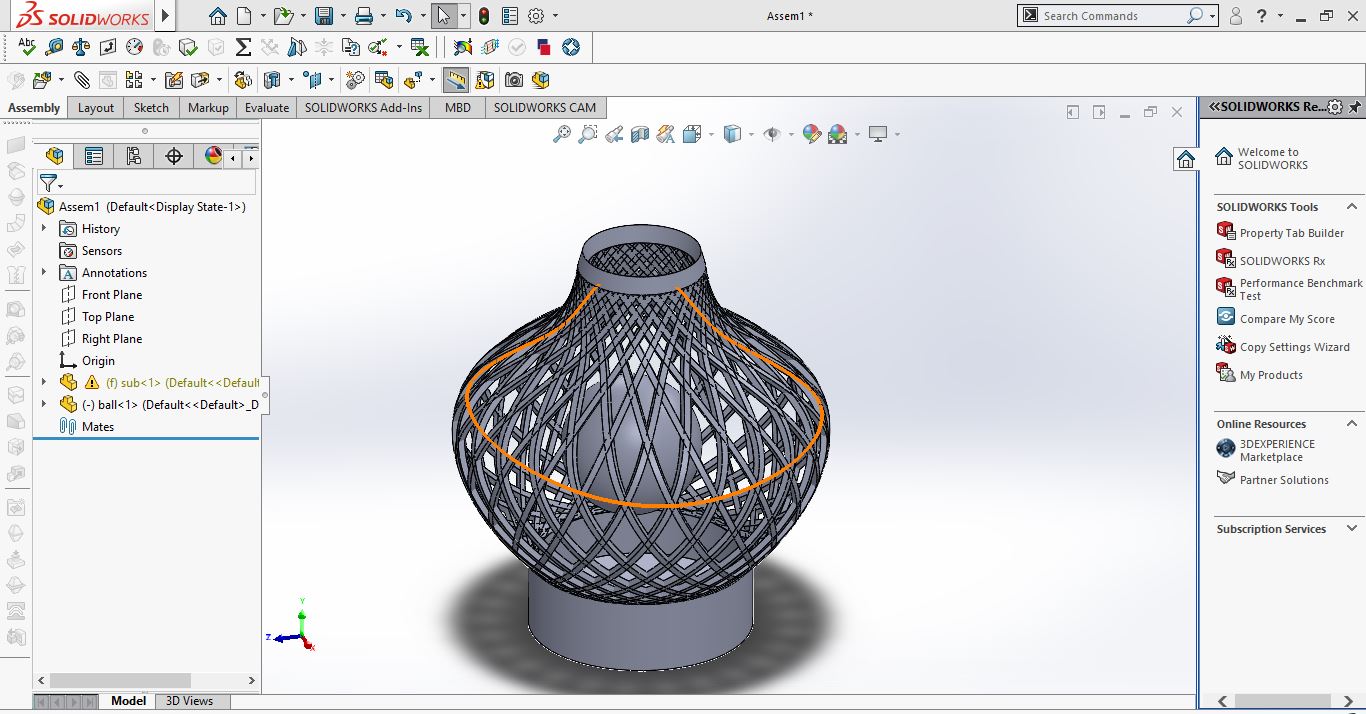
Below i made assembly of lampshade and ball.
after i export file in .stl extention format
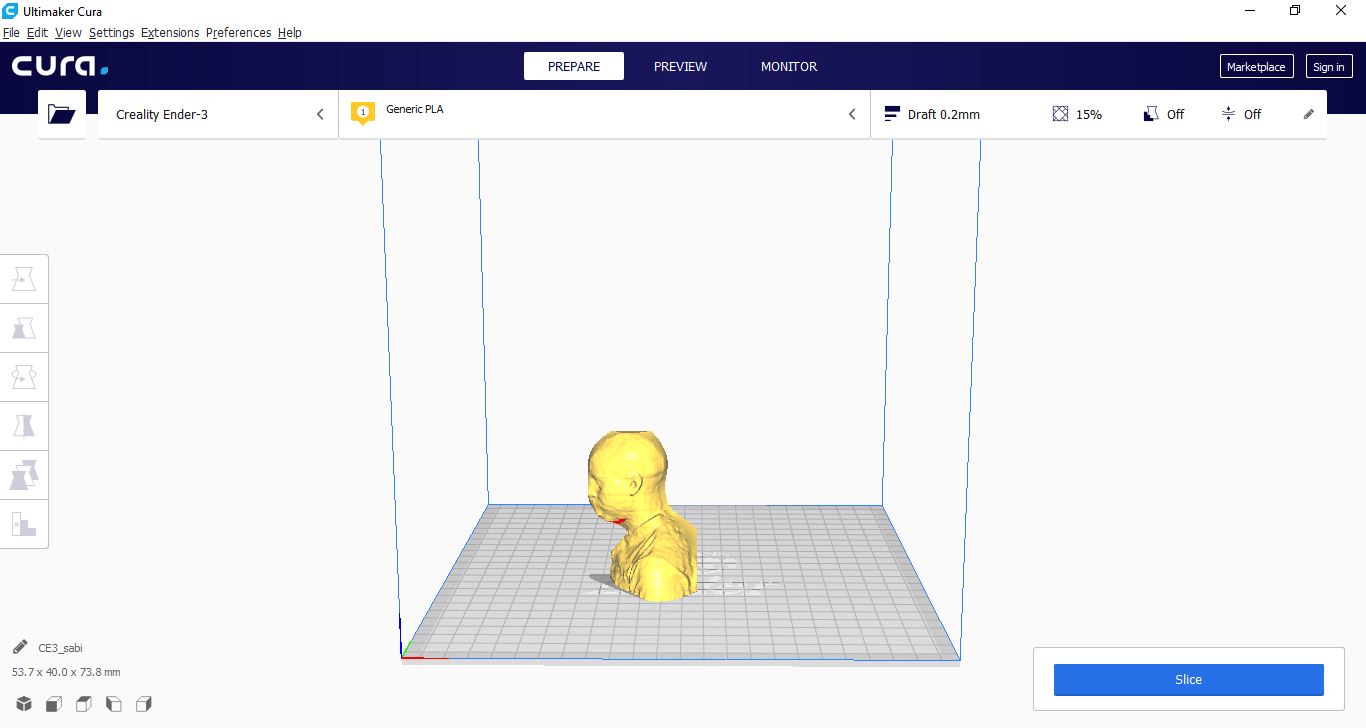
Download and install cura ultimaker software using link click here.
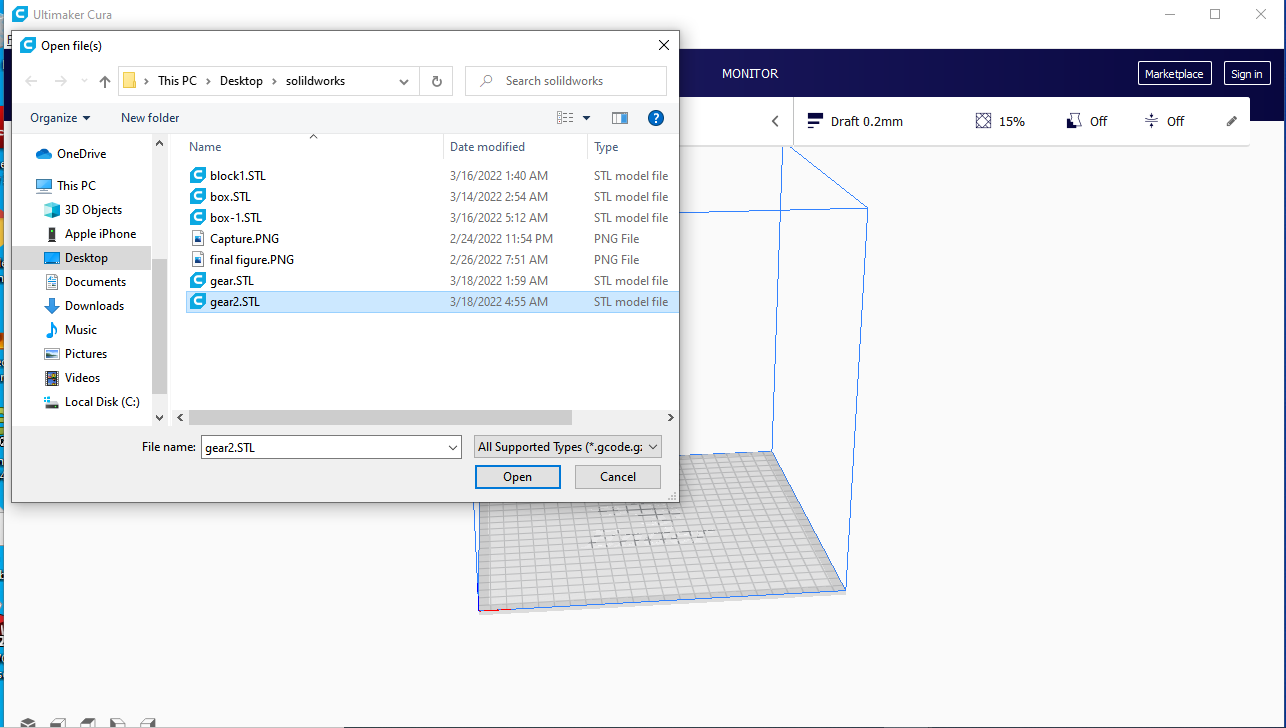
Then import file in .stl extention format
After generating the STL file i start to setup quality,wall, shell, speed for software.
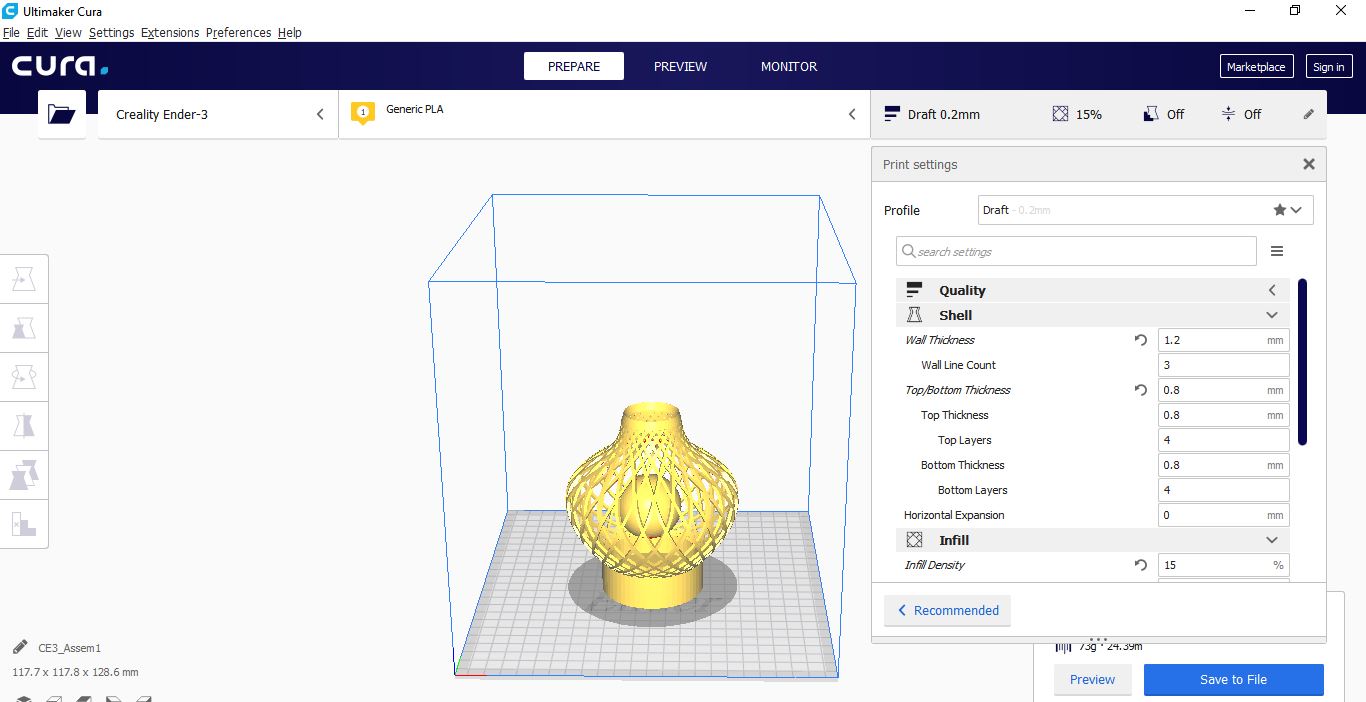
After ifound the sketch is to big it will take more time to print in 3D printer. i have to collect sketch by reducing time.Now it can take 9hrs 21minutes
Below to reduce time i have to minimise bottom extruded bass from 20mm to 3mm.
I have to change circular pattern from 25 instances to 15 instances.
Below is lampeshade with ball inside time has reduced from 9hrs 21minutes to 3hrs 40minutes.
Save and export file in .gcode format
do the following settings
-Check if filament is enough
-Leveling Z
-Bed must be well leveled
Then plug SD in printer machine press print and wait.
Here the machine is printing the object.
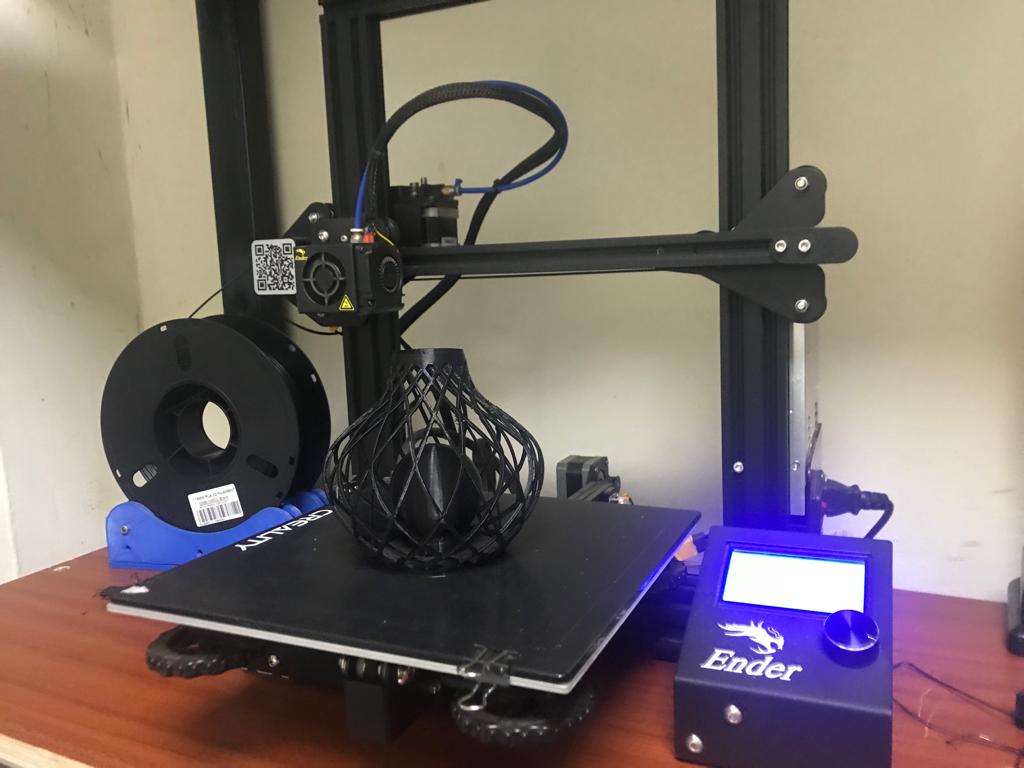
After printing wait for some minutes object to cool down and remove object from stand
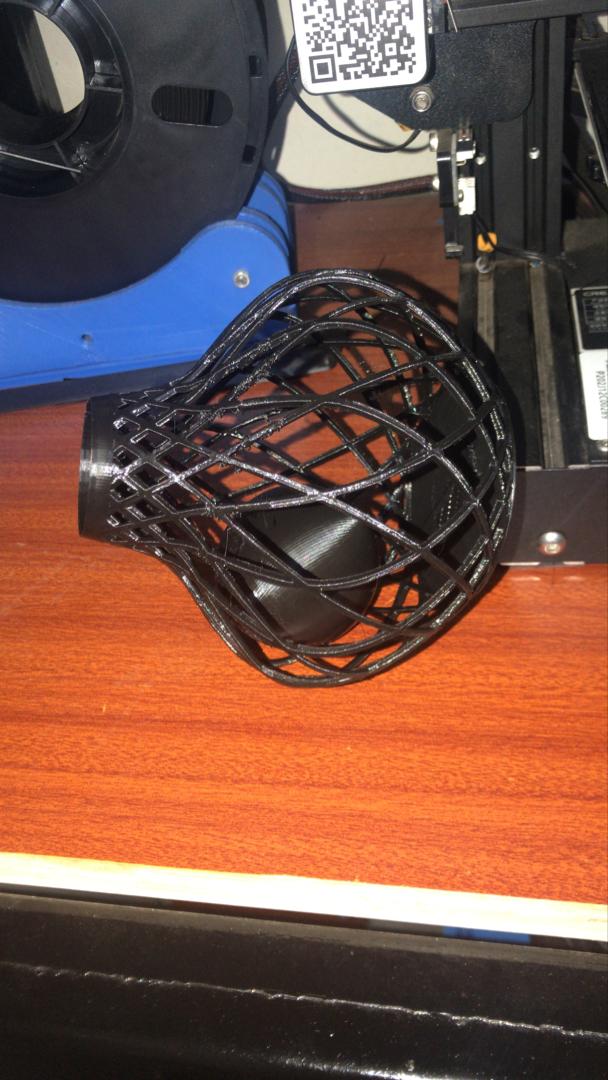
Below is final object lampshade and ball inside.
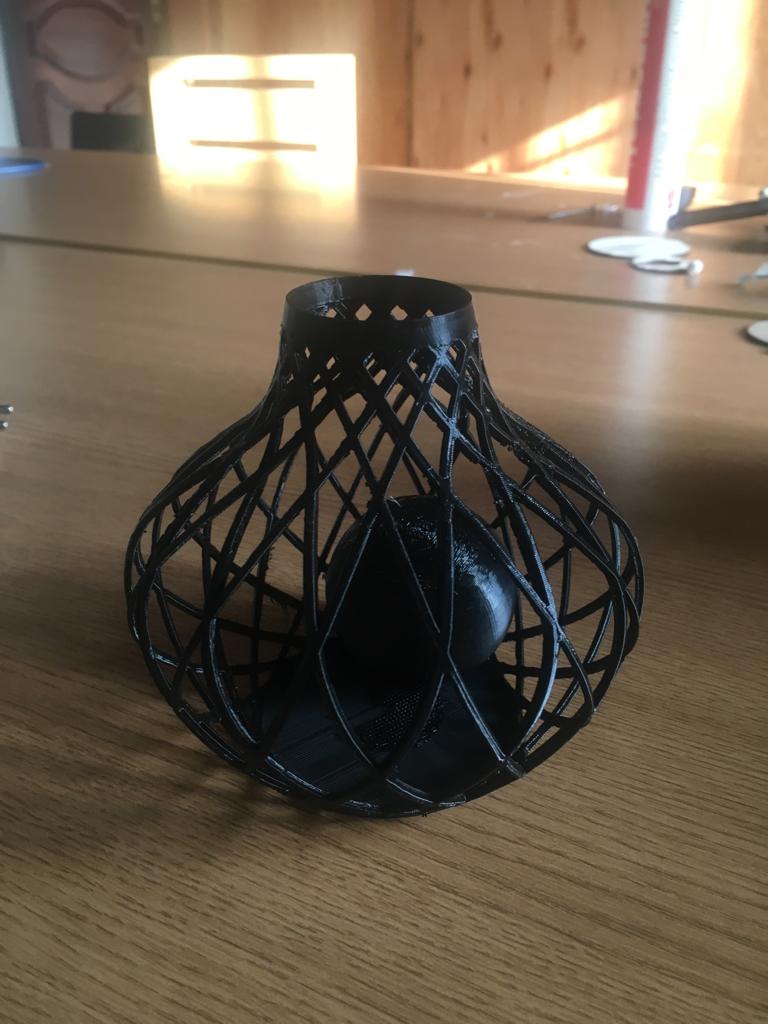
This is an object that can not be done subtractively, the reason is that one object is contained inside another, it has one piece inside another that can not be pulled the axis of a tour inside the other.
Therefore it can not be done subtractively, to make it would have to resort to making the pieces separately, cut and then welding to obtain one object contained inside another.
3D Scanning
I first went for 3d scanning and I used a 3d sense scanner within the 3D Scanner I used 3D sense scanner to scan my classmate
Sabiti
Stages to go through while scanning
.Connect your scanner to your PC
.Open sense software
.Choose what you want to scan either a person or an object and start scanning by clicking to start.
.If a person you have to choose full body or just the head,If an object you have to choose either small object or large object.
.share you scanned model or either save it and print
I used the sense 3D scanner for the 3D scanning.
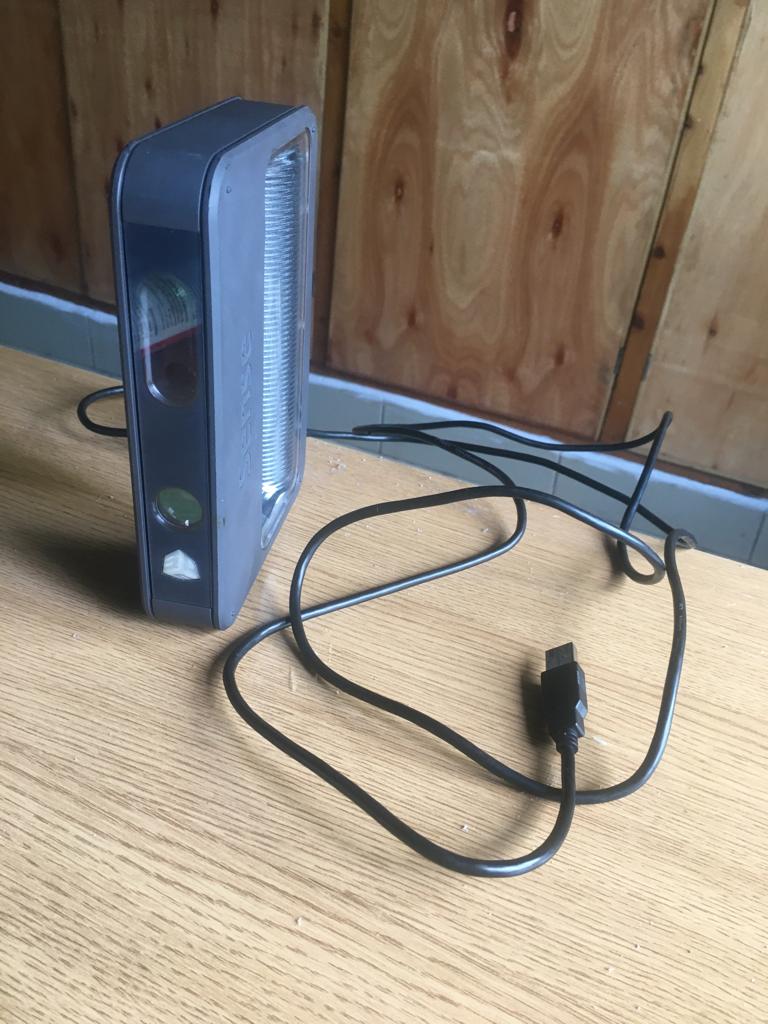
I down loaded 3D sense scanner using link here
I installed 3D sense scanner in my computer
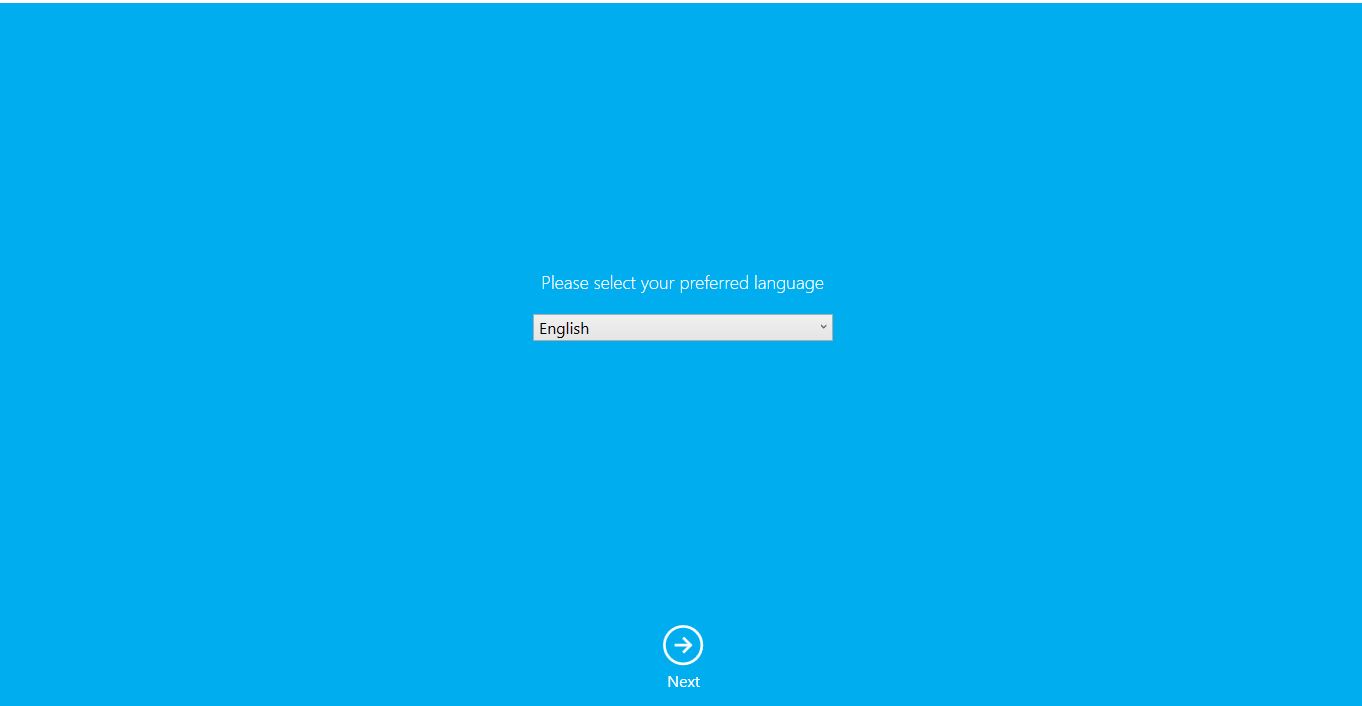
Below i have to select preferred language.
The scanner makes sure its a person or object

It also makes sure its full body or just the head

I have scanned human, to carry out this assignment i scanned my fellow studet in FabLab.
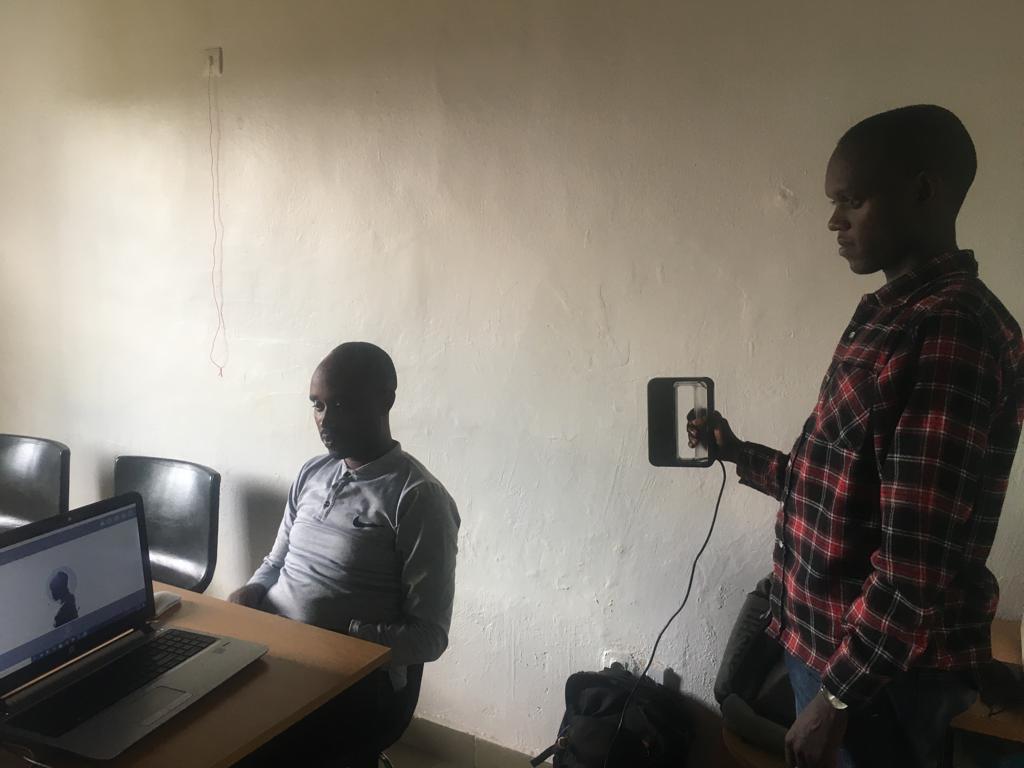
Durring scanning, there is side i couldnot capture, in the picture below i captured left side by the sense scanner.
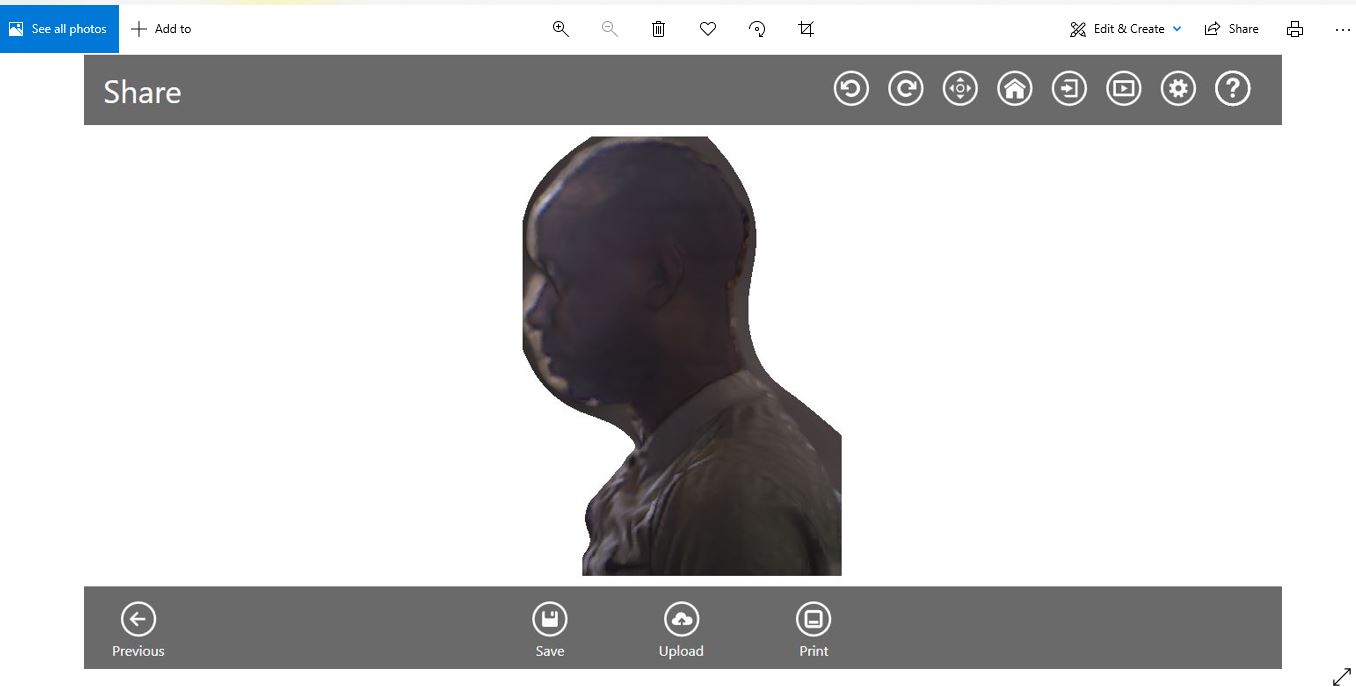
The assignment of scanning was successful done you can see what i scanned and recognised it.At begging scanning the light intensity was high what i did i changed location.
Below i exported scanned file into STL file.
MY FILES
Here iam uploading the files that i have been making this week