Week Ten
MOLDING & CASTING
I.Assignment of the week
-Design a 3D mold around the stock and tooling you will use, mill it (rough cut + (at least) three-axis finish cut) and use it to cast parts.
a.INTRODUCTION:
Molding consists of making a mold for a part whose shape is well defined, then pouring a liquid material into the mold to obtain our part. It is one of the processes used to obtain a 3D object.
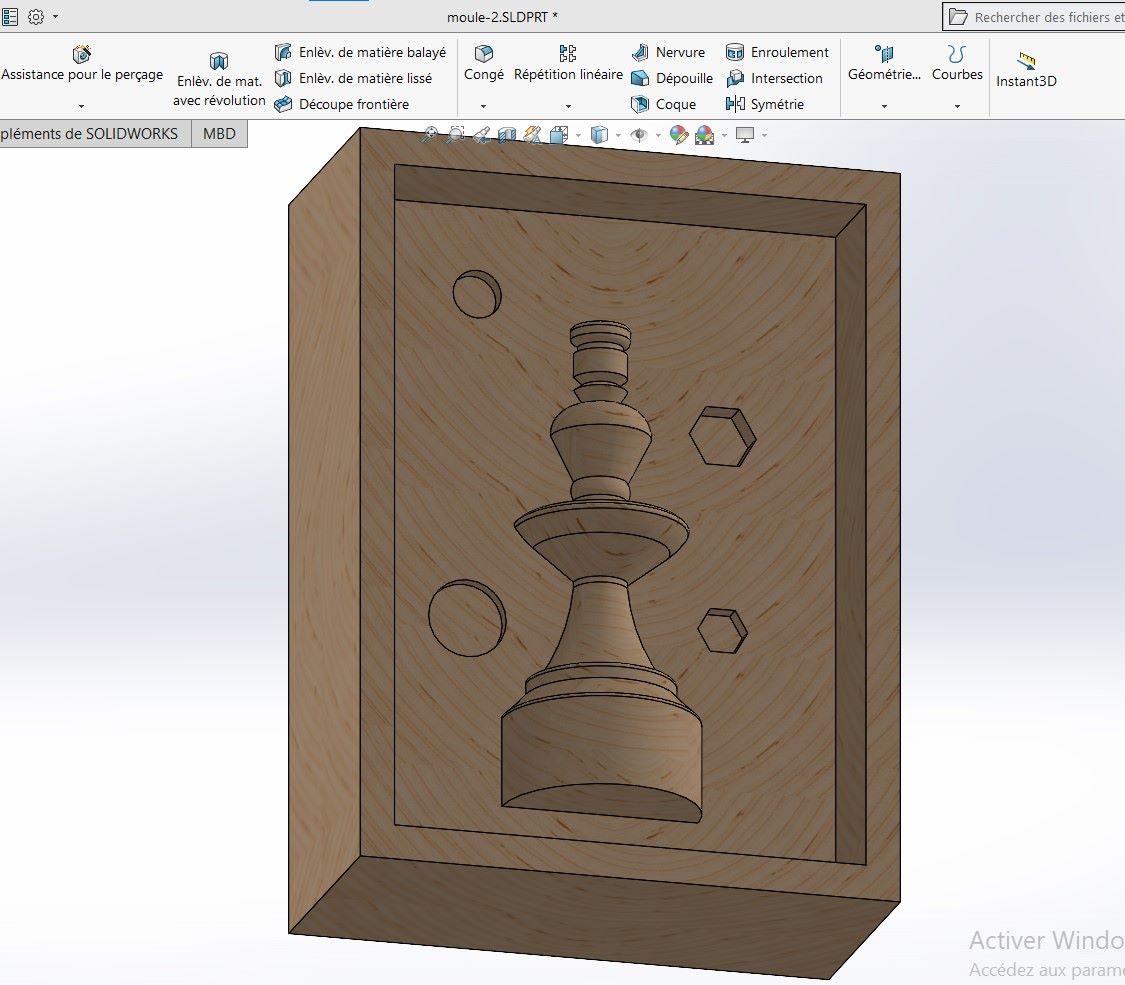
b.My Mold Design
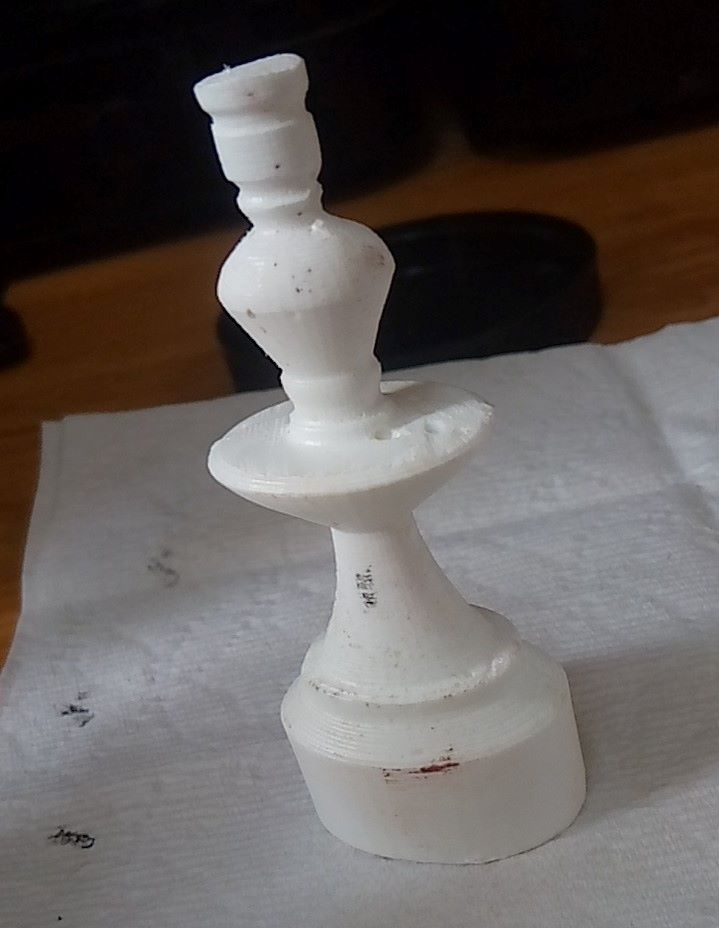
Since the molding does not integrate my final project, I took the liberty of using a 3D model that I designed myself. It was a model of a chess pawn.
II.Group assignment
Molding consists of making a mold for a part whose shape is well defined, then pouring a liquid material into the mold to obtain our part. It is one of the processes used to obtain a 3D object.
a.Casting test
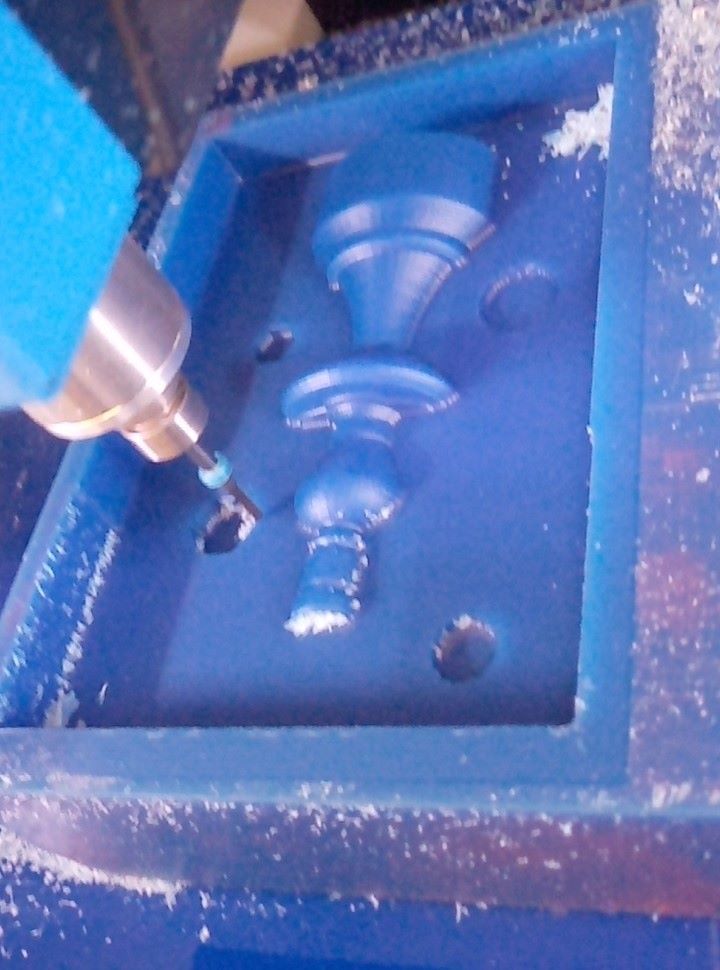
For the design of the mold we used Modela MDX50 with a 3mm Ball Nose bit for roughing and then another 1.5mm for polishing. For the configuration of the machine I use the software aspire. First we start with roughing. We enter the 3D window then we import the model by entering Model then we select import a 3D model. Then through the software, the machining block is dimensioned. We position the model on the right side then we mark the z zero.
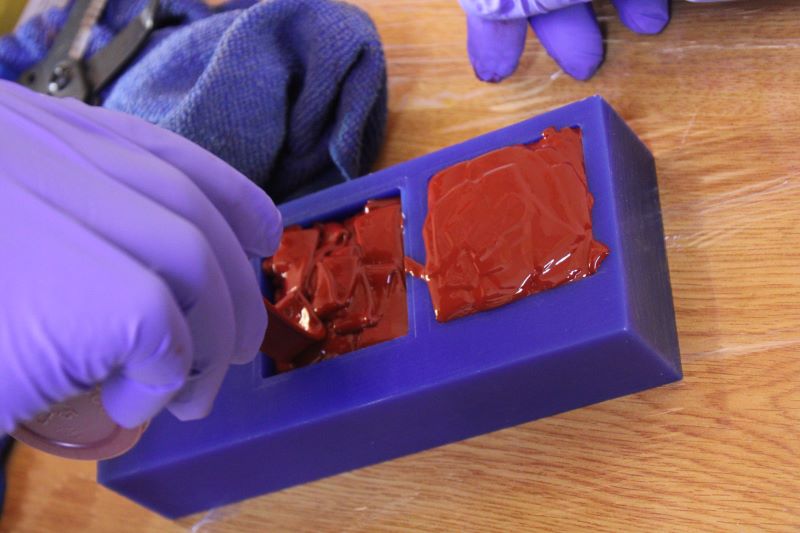
My casting components
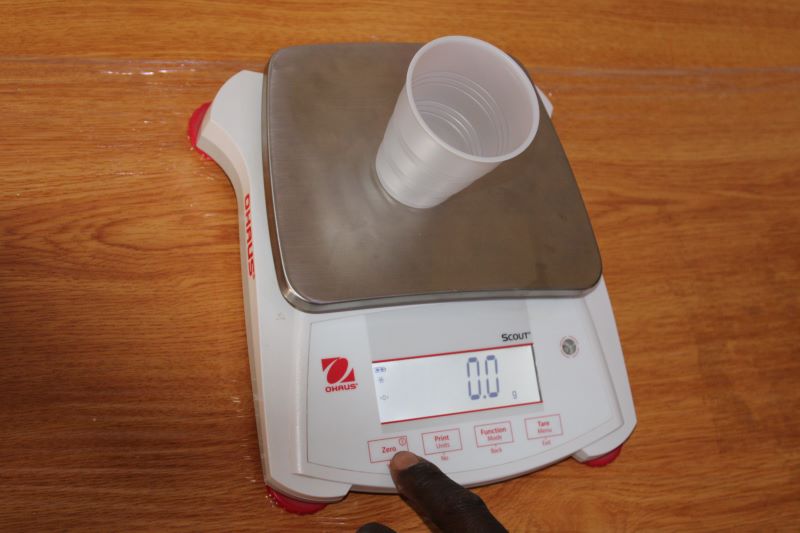
To begin with, we did some test use of our materials by making a mold and then molding an object with our coach. We deemed this step really necessary because we were not going to have the same temperature conditions, which would make handling rather complex. We had also learned how to prepare the table to avoid burning or staining it, and the use of appliances and also to handle the molding components because in Burkina Faso, we have a temperature that varies around 30 degrees Celsius. This caused component B OOMOO 25 to solidify (this was our second mold making component to compare to Mold MAX 60). So we used the MOLD MAX 60 to mold our mould.

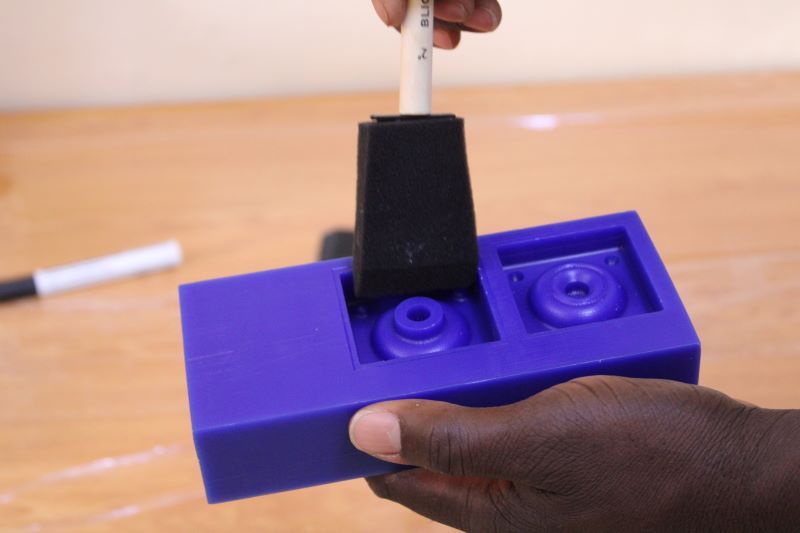
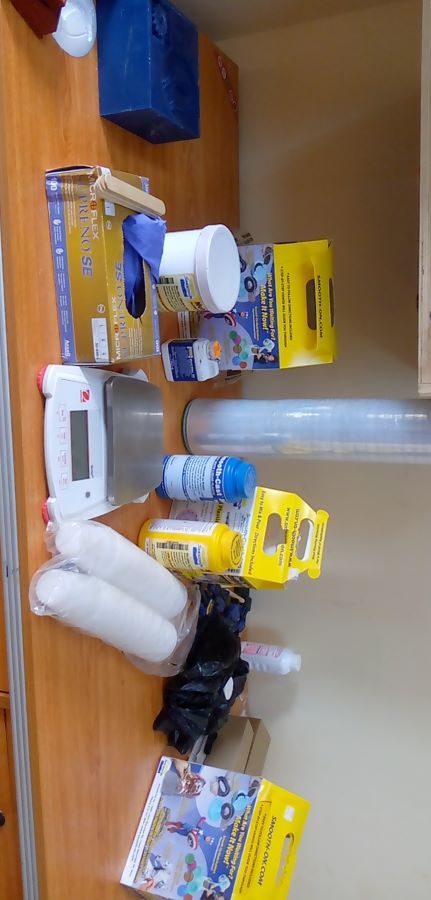

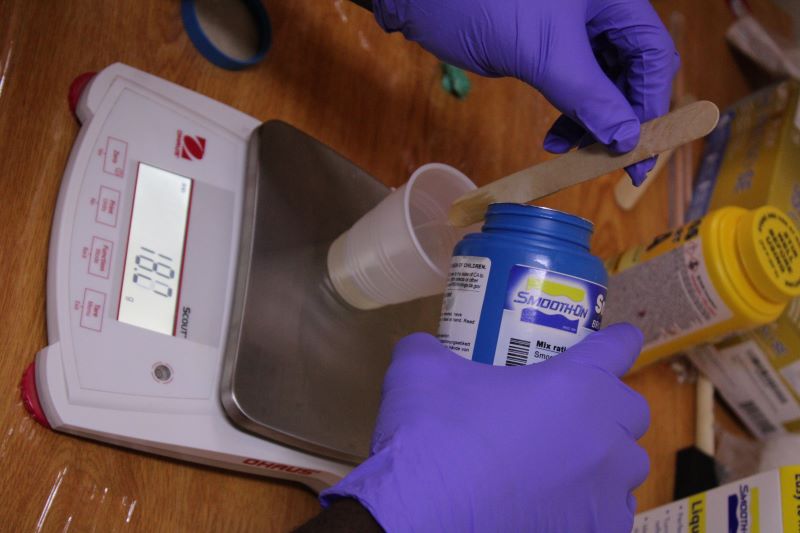
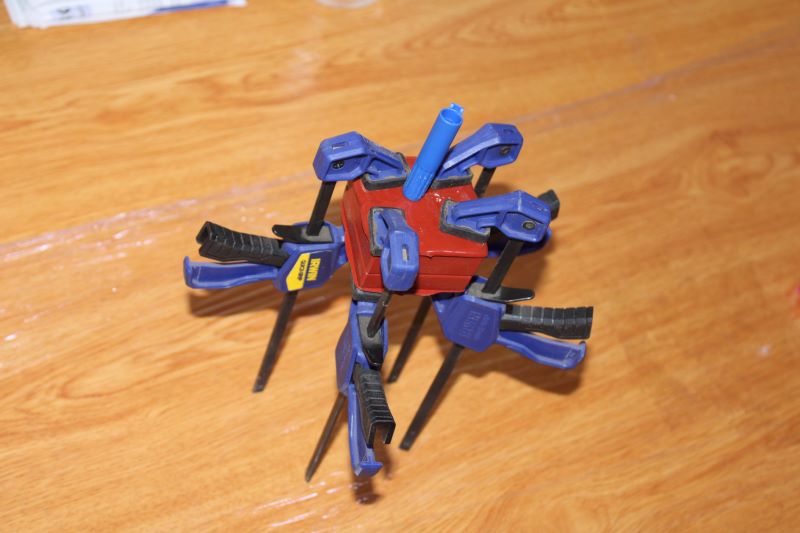
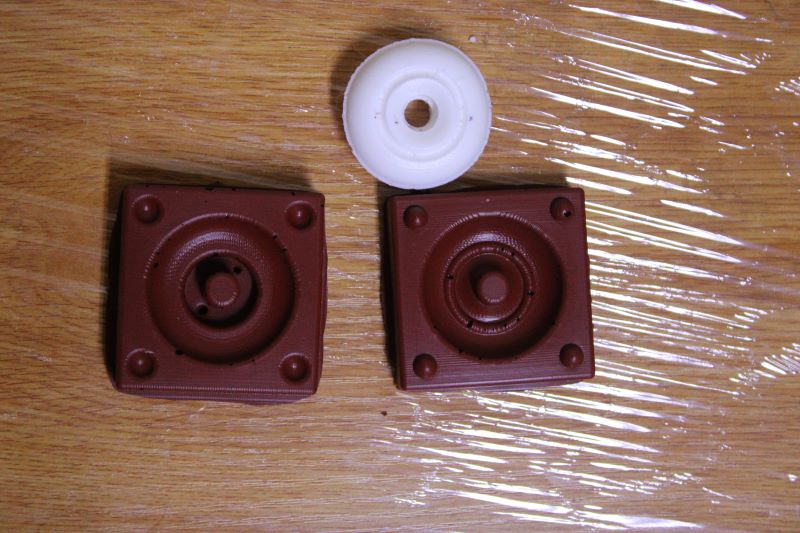
We made this choice because it is a material that is highly resistant to heat and in addition it is flexible, even despite this, the ambient temperature would impact the life time in the pot. According to the instructions for use indicated on the box of Mold MAX 60 to mix the two parts A and B, you must have 100g of A and 3g of B. We therefore made a mixture of 62g from which 60.14g of A and 1.86g of B. and after mixing for 2 minutes we inverted the mixture into our mold then tapped our contents against the ground to release the small air bubbles. Then we let it dry and after about 5 hours we had our mold. The size also has an impact on the hardening time. Then we removed the two molds that we have just made and then put them together and hold them with gaskets. Then depending on the size of our piece we made a mixture of 50g of Smooth-Cast 305, of which we mixed 25g of A and 25g of B. After 1 minute of mixing we began to see the mixture harden in the pot we placed a pen cap to make our mixture flow inside the mold and a small ventilation hole allowed to know if the mold was full. And finally after 7 minutes instead of 30 minutes as indicated we have our room.
•For more detail please enter here .
III.Individual Assignment
A.Making my mold
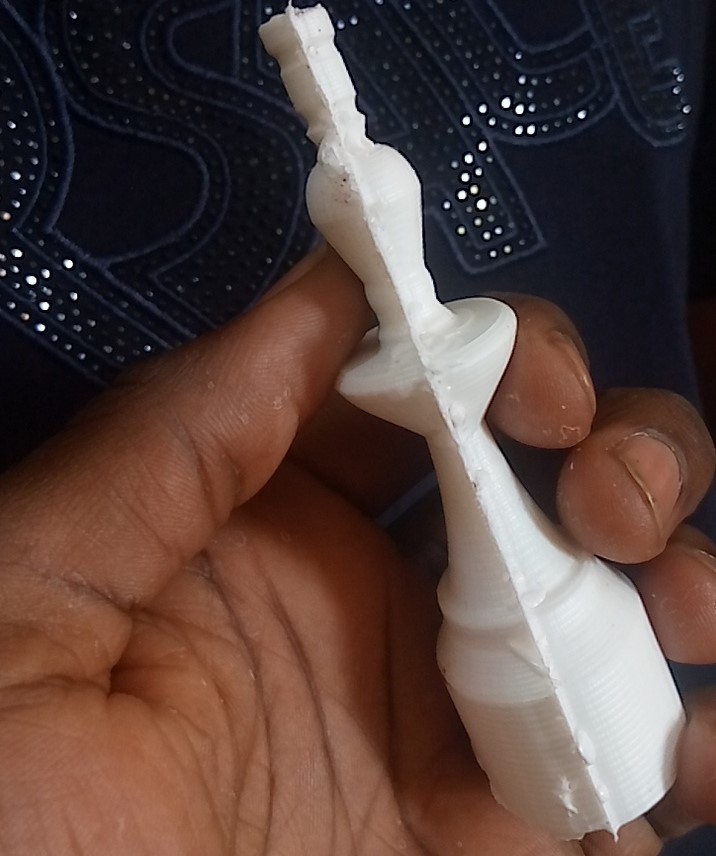
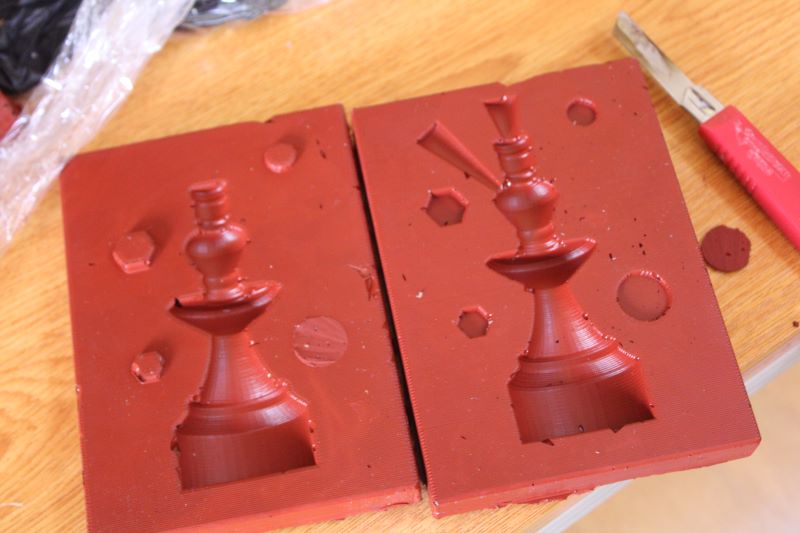
I continued to follow the process as the images below indicate. I started first by roughing my model then polishing. My final model was better than I would have hoped, but unfortunately. After a few hours designing my mold, I then mixed my MAX MOLD 60. My model consumed a lot more material than I thought. After 24 hours as indicated on the packaging box. I get a pretty good model.
see video
.JPG)
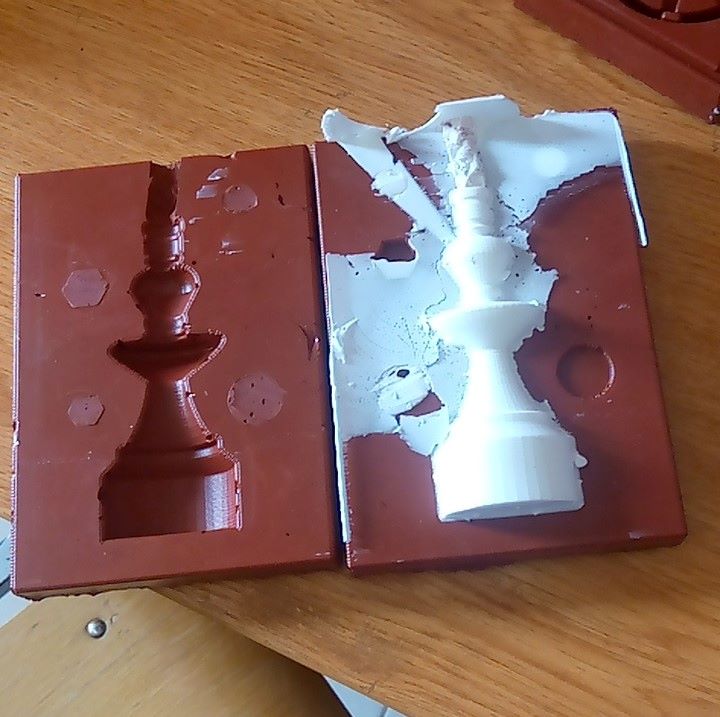
Then I tear off my marks because it didn't match, because I had missed this part during the modeling since my two models are not actually a symmetry. Then with the gaskets I hold my two parts of my mold in place so that the deviations are not too much. Then I spill my mixture inside and after 15 minutes I had my piece.
III.Problems encountered
First, before making my mold on modela, I made my piece oval because of a mistake I made in the Aspire settings. Which makes it rather different from the sketch model. Then because of the size of my mold I could not mix the model well enough because it was starting to harden in the pot, this had a great impact because in addition to the air bubbles which were left in the mixture despite the I had tried to get them out, it took that after 1 day of drying my mold, I came back to clean the parts that did not hold well and still had the sun. In total, I took two days to dry my molds.