3D Scanning & Printing
INTRODUCTION
This week's course focused on manufacturing techniques and also on the different 3D printers, as well as their advantages and disadvantages.
My Prints
Here are some pictures of different impressions. Some of them are my designs, and some are downloaded from Thingiverse or other STL files. What's fascinating is that since I got the 3D printer, it's being able to make my imaginations real, every print I've made so far never ceases to amaze me. This ability to be able to craft anything you need is just amazing.

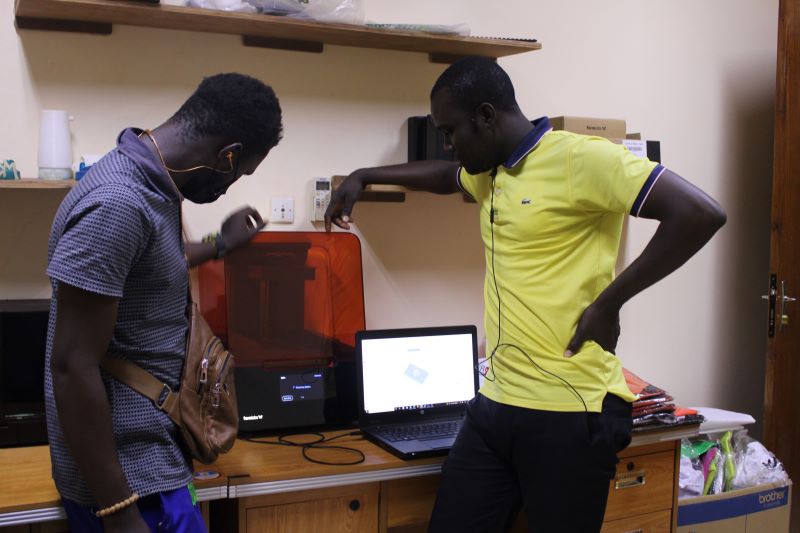
I. Group Assignment
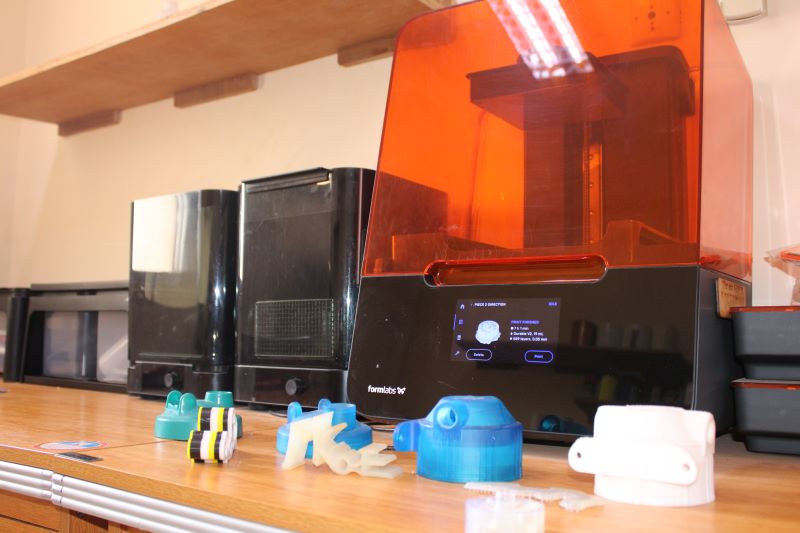
For this assignment, my group and I decided to perform accuracy and print quality tests on our two printers, which are the Form3 from formlabs and the 3DWOX1 from sindoh. Before starting the tests, we had to carry out maintenance on our two printers.
Form3
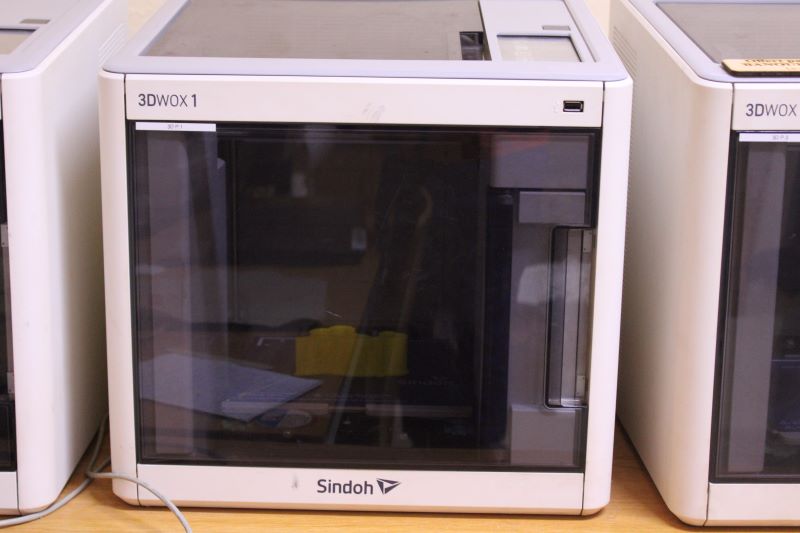
3DWOX1
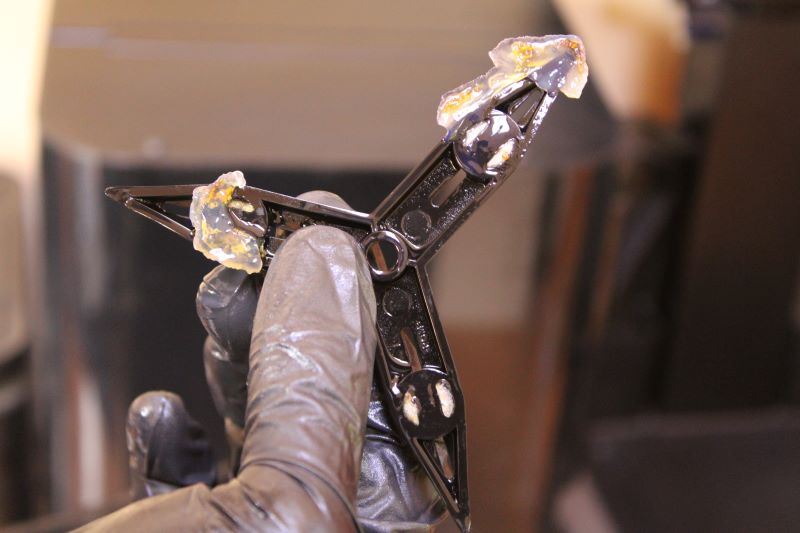
1. Maintenance Formlabs
Wanting to do our tests on the form3 which is a printer that works with resin, we started by cleaning its rinsing tank, in fact the alcohol that was inside evaporated leaving a deposit of resin at the bottom which prevented the rotation of the elices. We started by removing the alcohol receptacle then dismantling the elices, each with a magnet. It is these magnets that allow the rotation of the propellers by creating a rotating magnetic field with respect to another created by the device. It must have taken us a few minutes because when putting the magnets back on the elices, we had to reverse one of the magnets and on a bad pole which prevented a good rotation of the elices, which means that its handling must be done with great care in order not to place them on the wrong posts.
Thanks to the help provided by one of our managers Abu Adam and my colleagues BOUDA lamine and MARE Souleymane, we were able to carry out our mission.
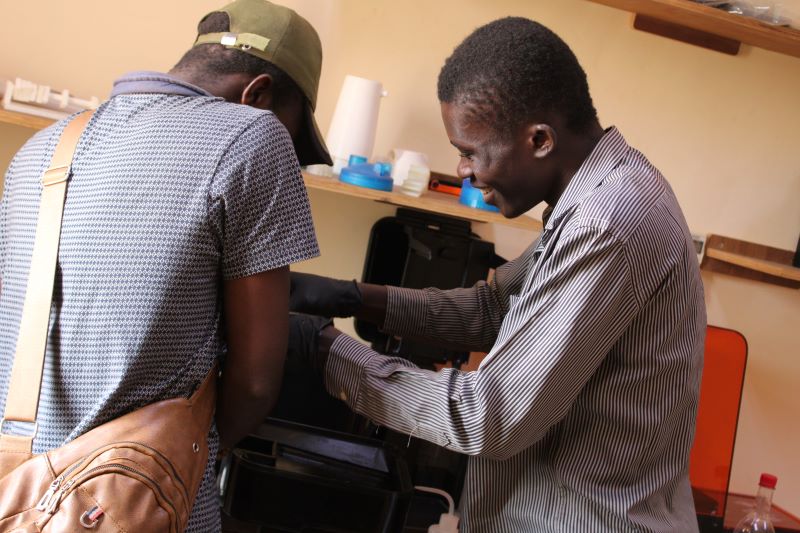
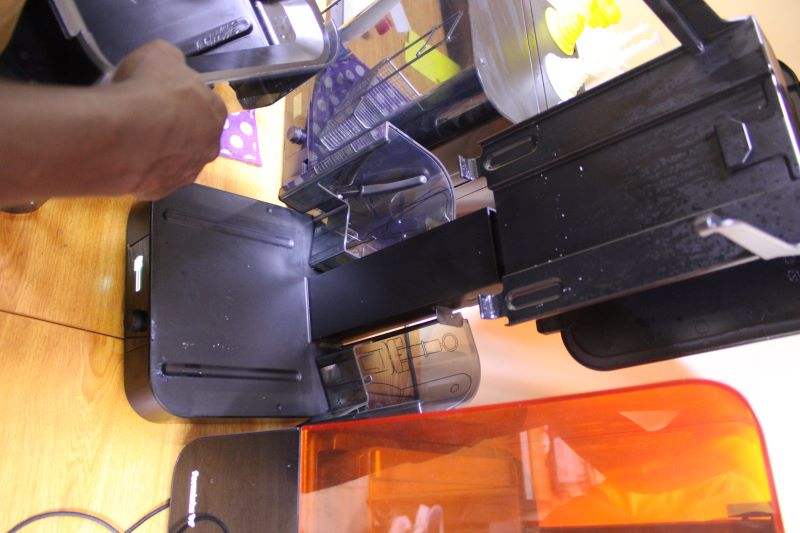
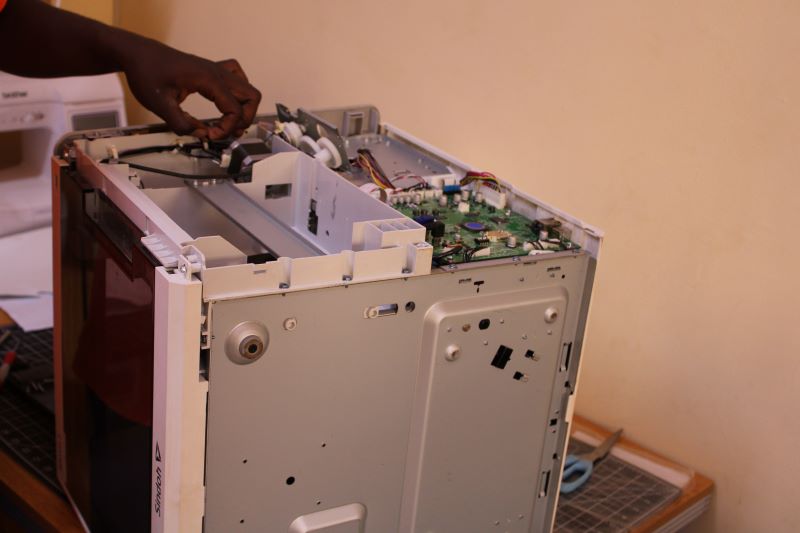
2. Mintenance 3DWOX1
The reason that led us to do this maintenance is that the gear system allowing the filament to circulate in the tube until the nozzle of the printer was blocked. My colleagues and I took this printer apart and greased its parts, it took us hours before putting it back together to start the various tests.


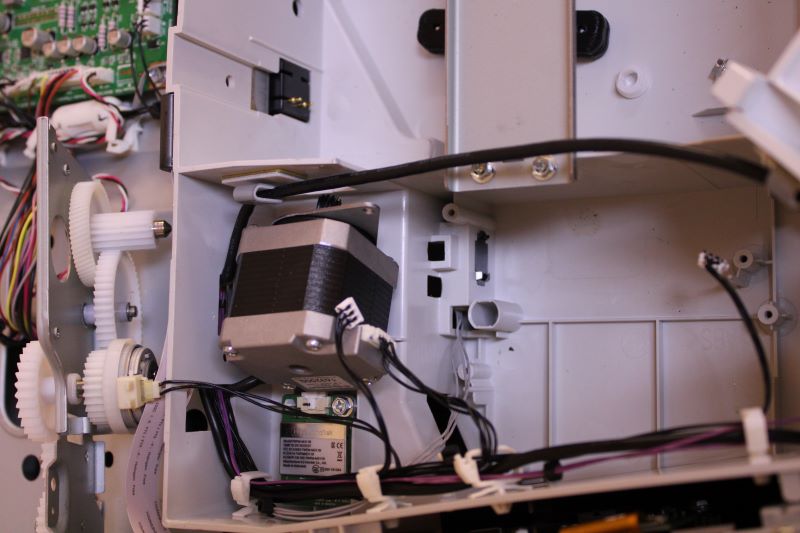
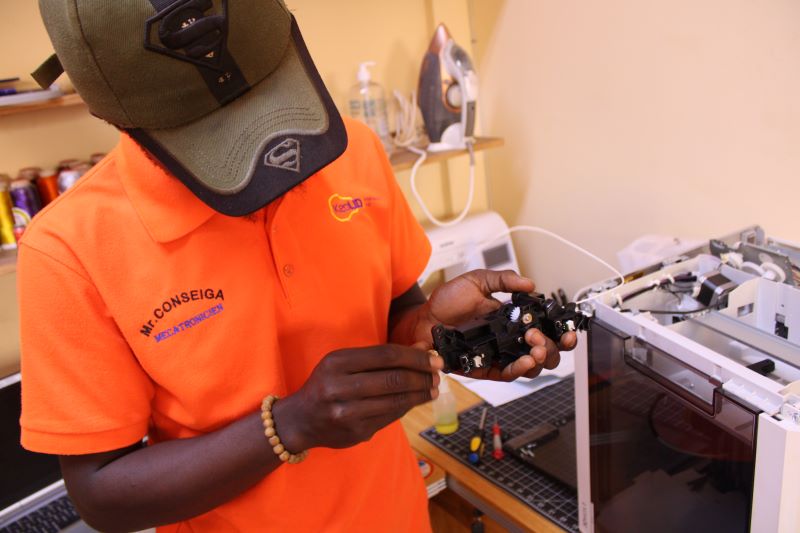
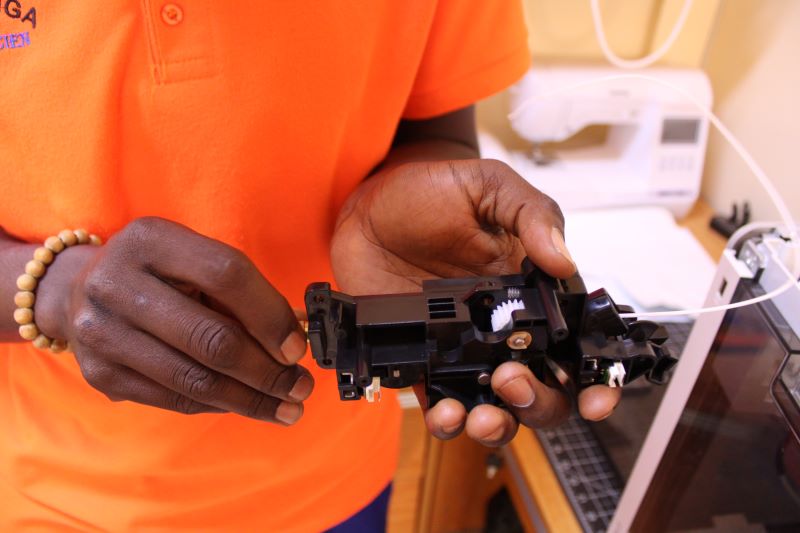
After spending hours dismantling the machine and trying to understand the cause of its malfunction, we ended up finding the faulty gear system.

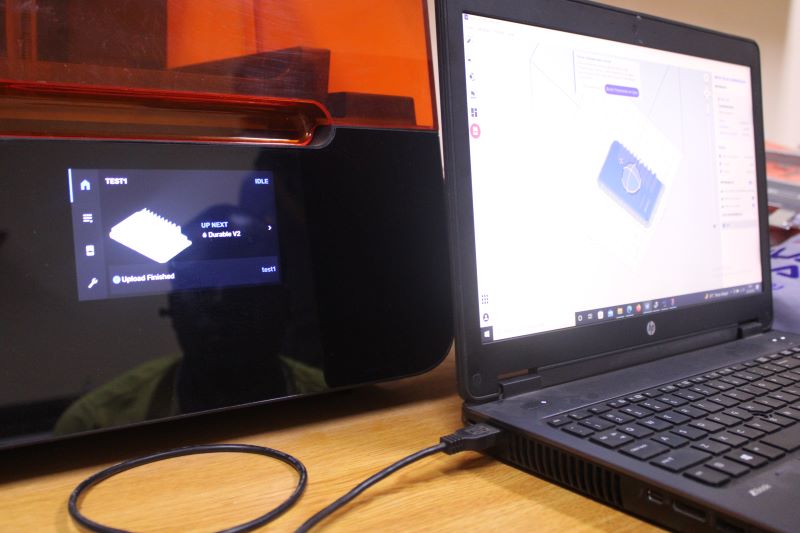
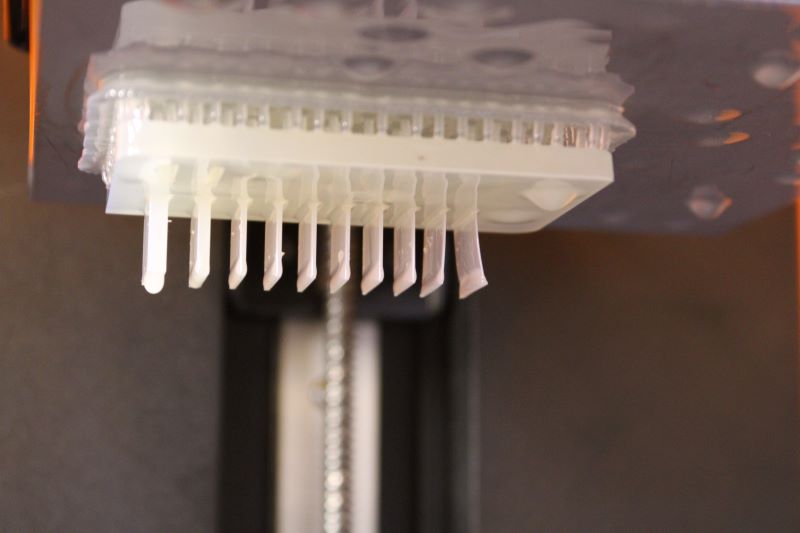
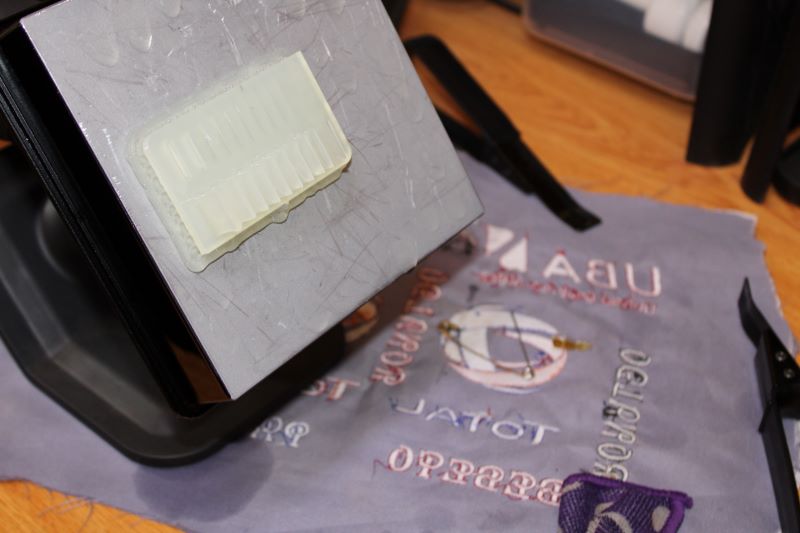
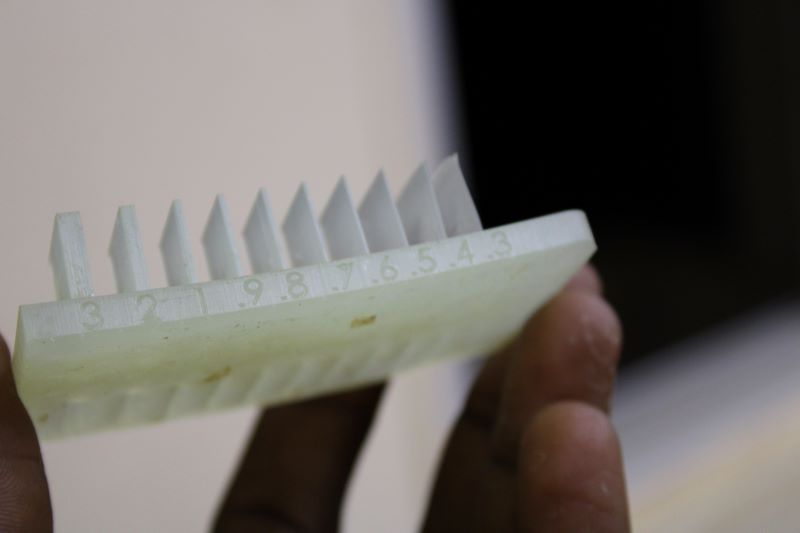
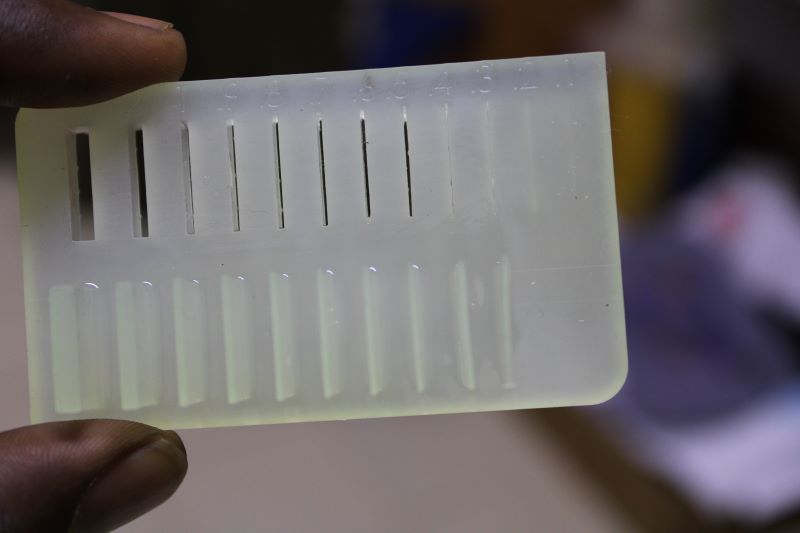
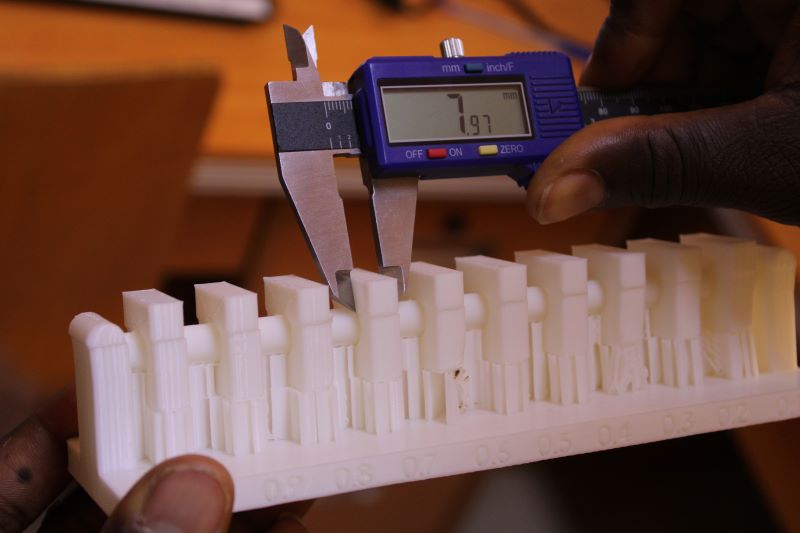
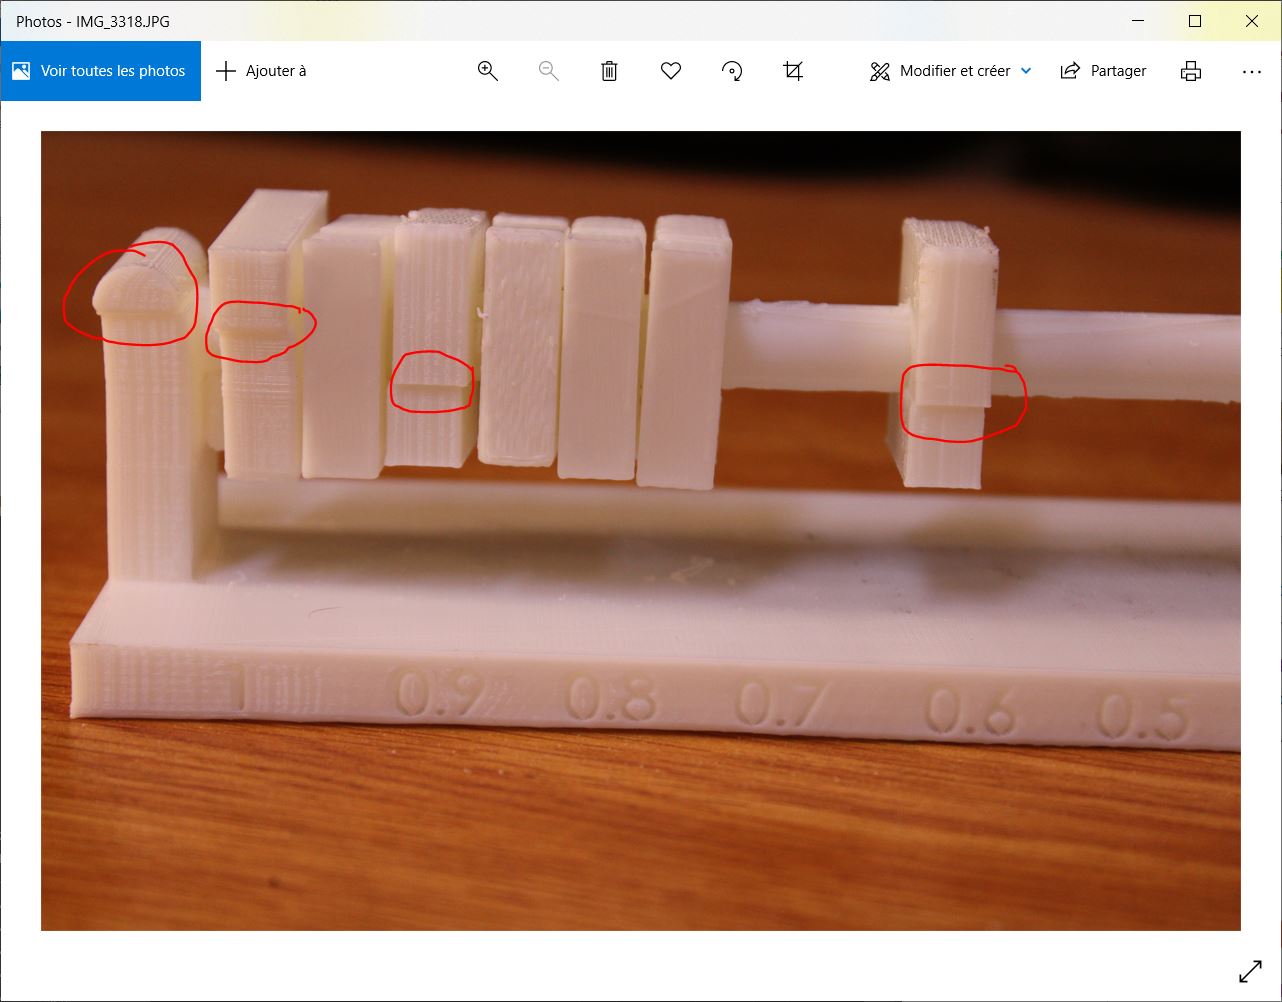
4. Printing test form3
This test consisted of evaluating the print quality ranging from 3 mm to 0.1 mm with the V2 Durable resin and a configuration of 0.05 mm per layer (lowest). But his print of the thickness did not drop below 0.3mm and that of the spaces did not drop below 0.5 because the resin filled those spaces so that below 0, 4 you could barely see the lines drawn by the laser.
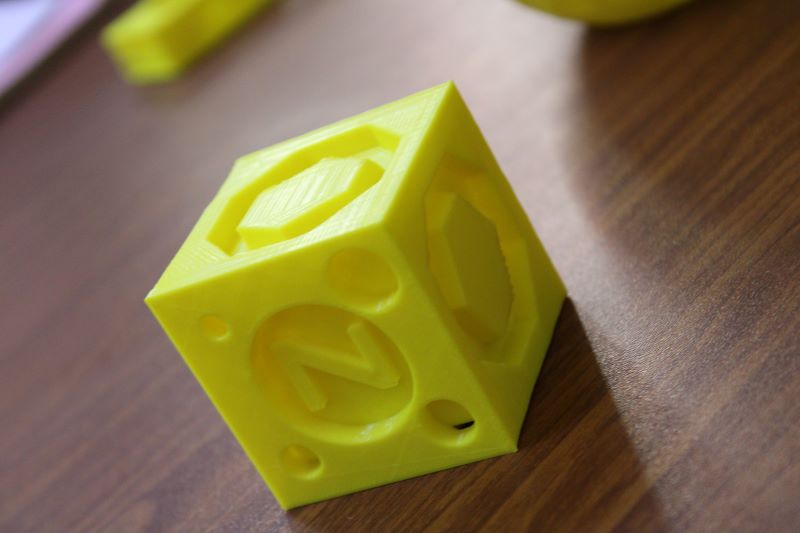
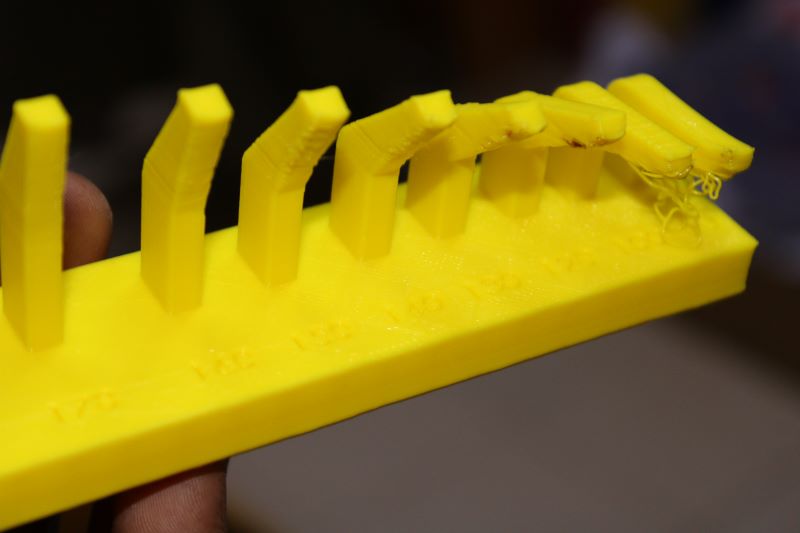
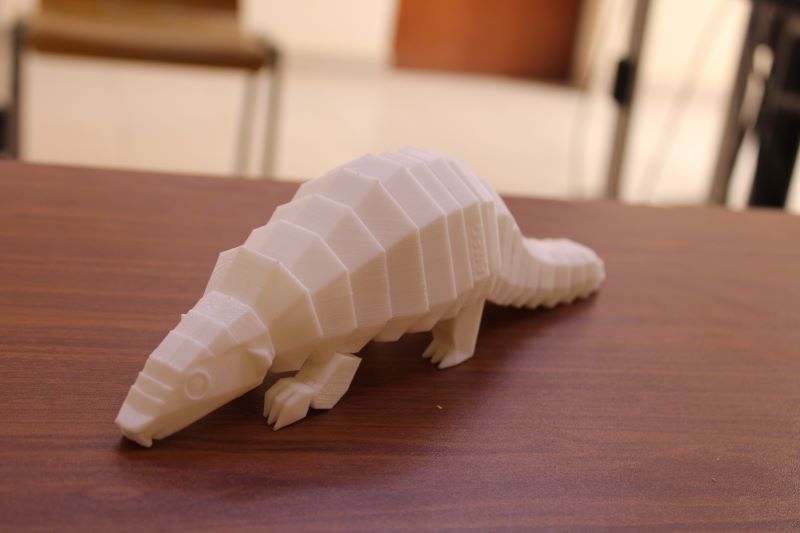
5. Test prints for 3DWOX1: The best angle that the printer
This test was to see the best angle that the printer can print without support. the configuration is 0.2mm by layer and the different angles chosen vary from 90 to 180 degrees. the best impression starts from 160 degrees.
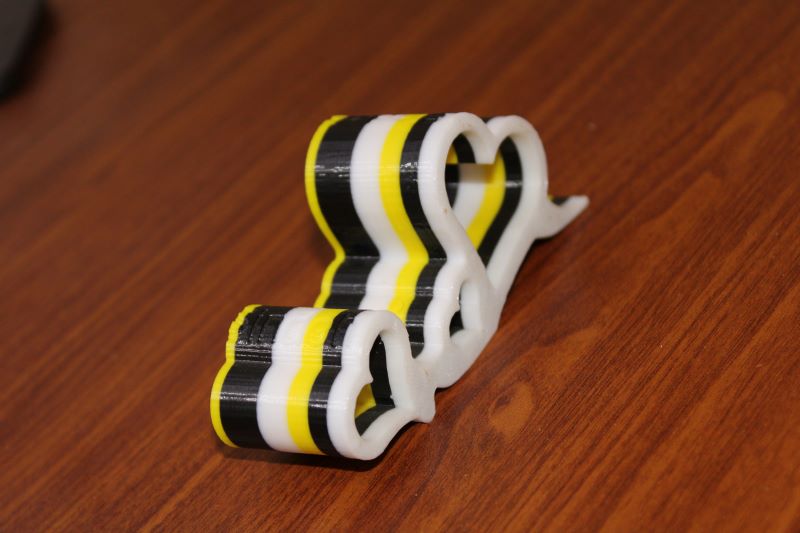
6. Test prints for 3DWOX1: Impression with several colors
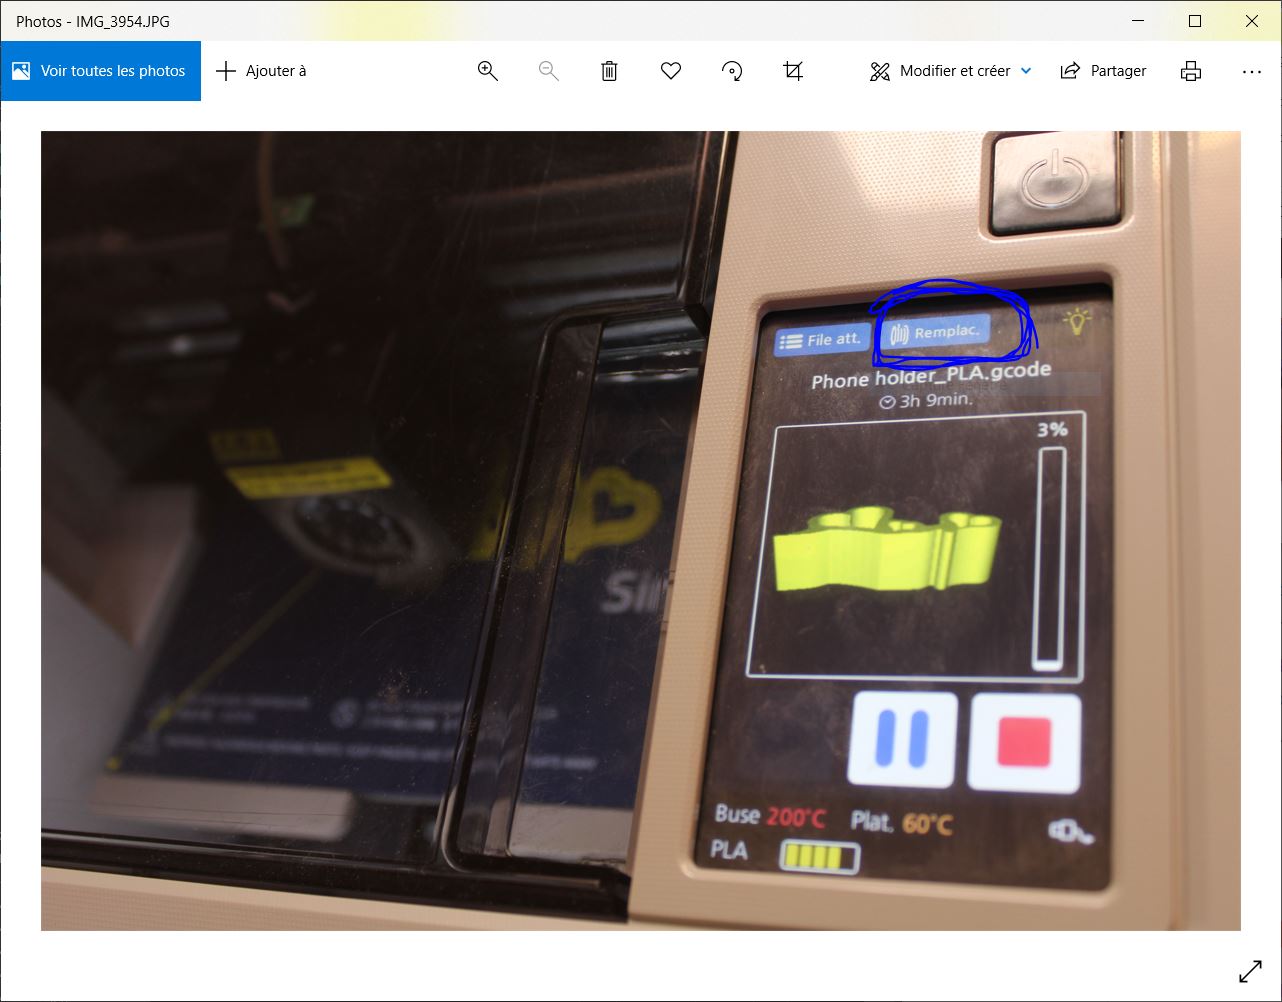
This test consists of creating an impression with several colors. like that of multi-nozzle printers. So for that with our printer which has only one nozzle and which allows us to replace the filament while pausing the job. So we had to follow the work closely to change the filaments.
7. Test prints for 3DWOX1: The different games
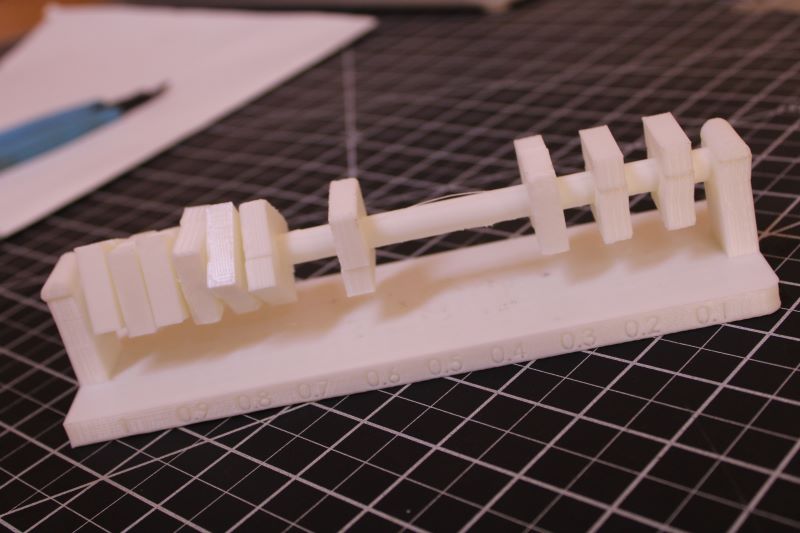
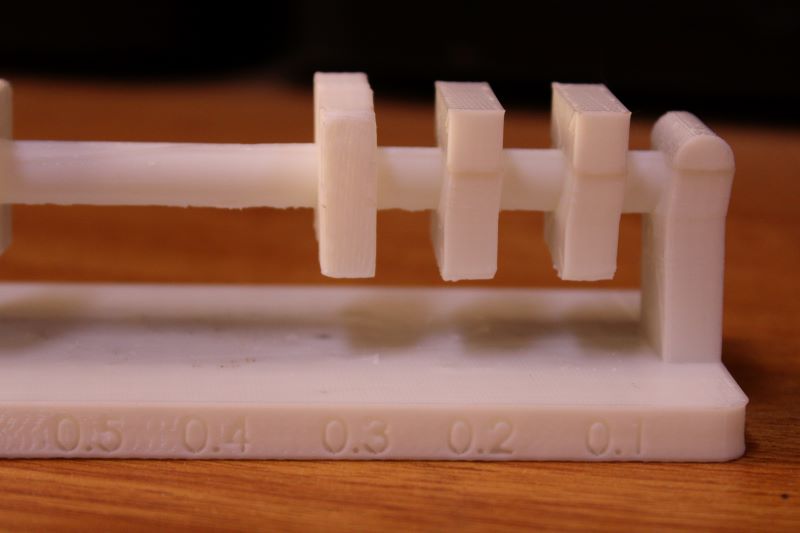
This test consists of checking the different games authorized to ensure pivot movement with respect to an axis. the clearance used varies from 1 mm to 0.1 mm. We note here that below 0.4mm the imposed play does not allow a better pivoting movement. play 0.2 and 0.1 mm does not allow rotational movement.
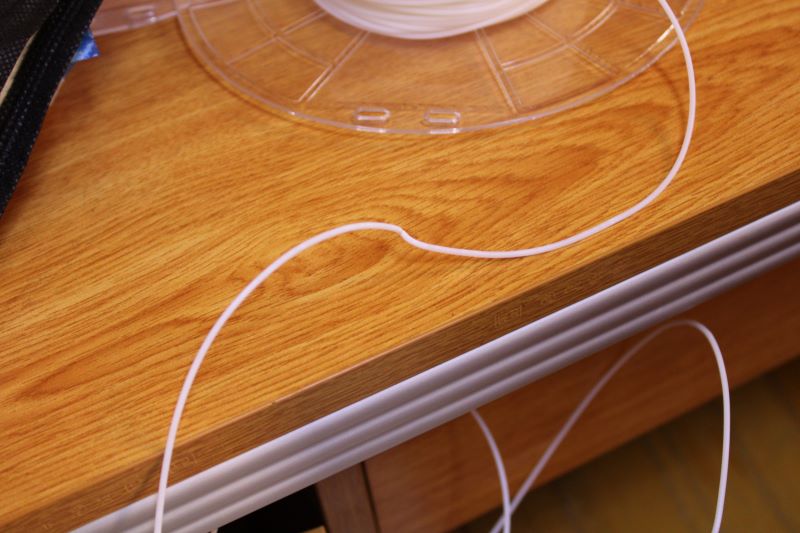
During its printing, there was a break in the filament and on restarting we noticed a certain shift when laying the layers. This shift also changed the dimensional values of my printing
Notice the lag after restarting the printer. this is the first time this has happened to me but I think it's due to the positioning of my model on the print bed, because I had already restarted unfinished prints several times but without noticing any slippage of the nozzle.
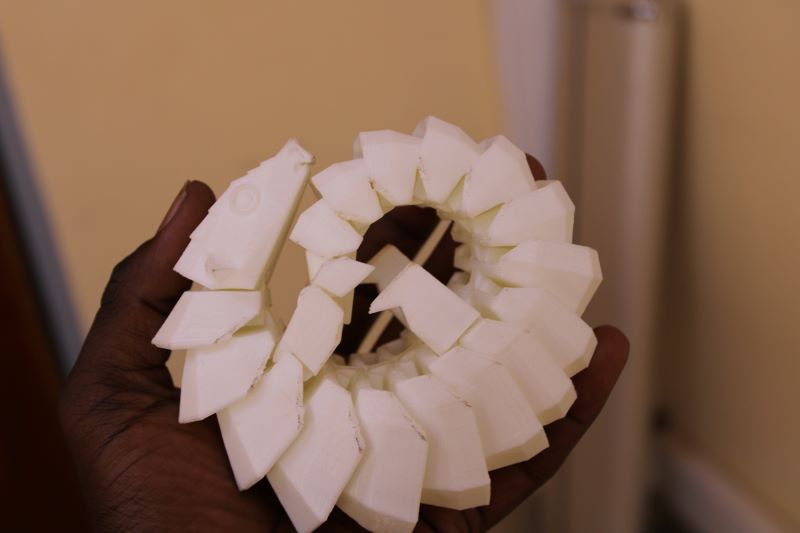
8. Test prints for 3DWOX1: Assembled model
This print was to print an already assembled model and it gave us results beyond what I expected. it is really beautiful
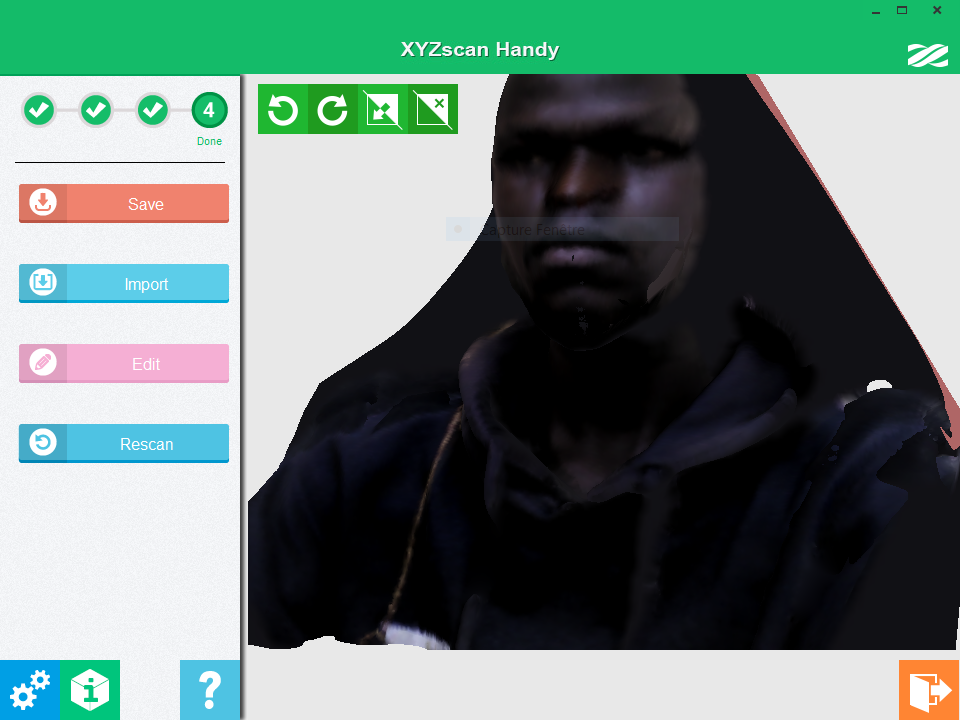
II. 3D Scannig
It was my first time using a 3d scanner. so I had trouble reproducing the different objects to aim for.
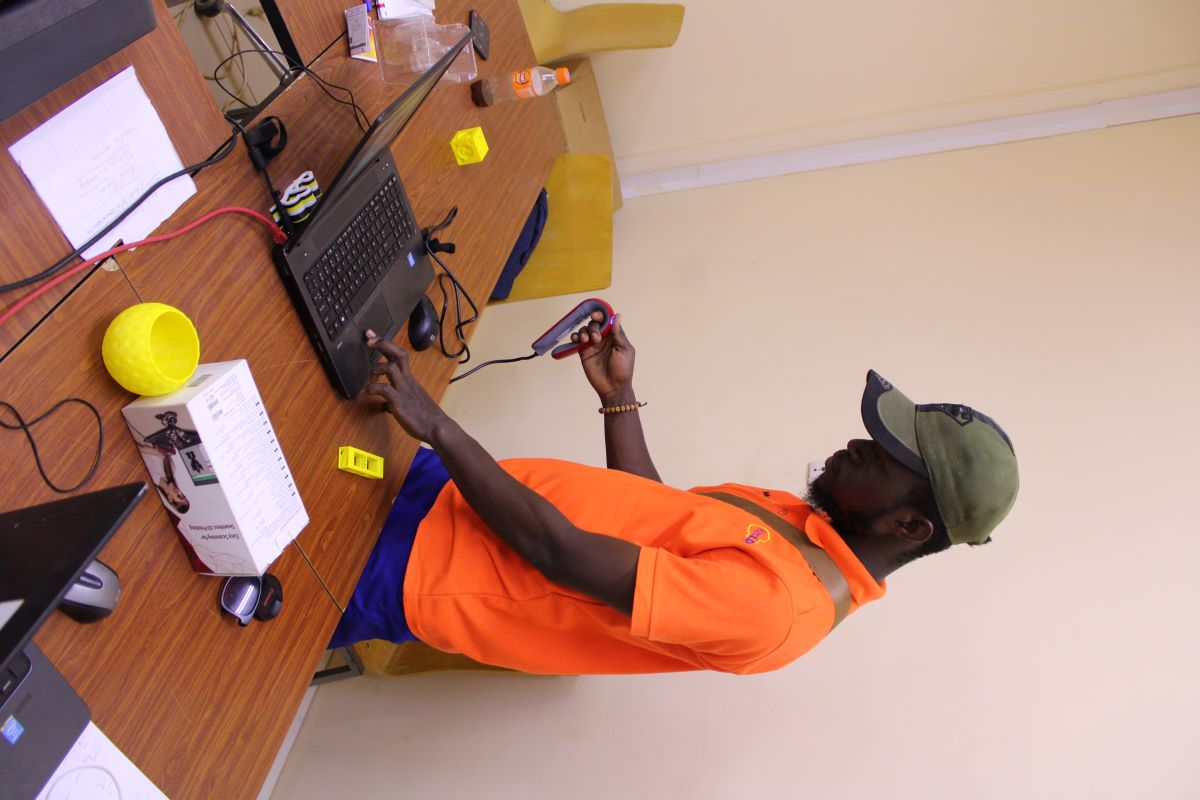
To start I downloaded the XYZscan handy software, but in reality I had to update because the software that was in the key was obcelette.
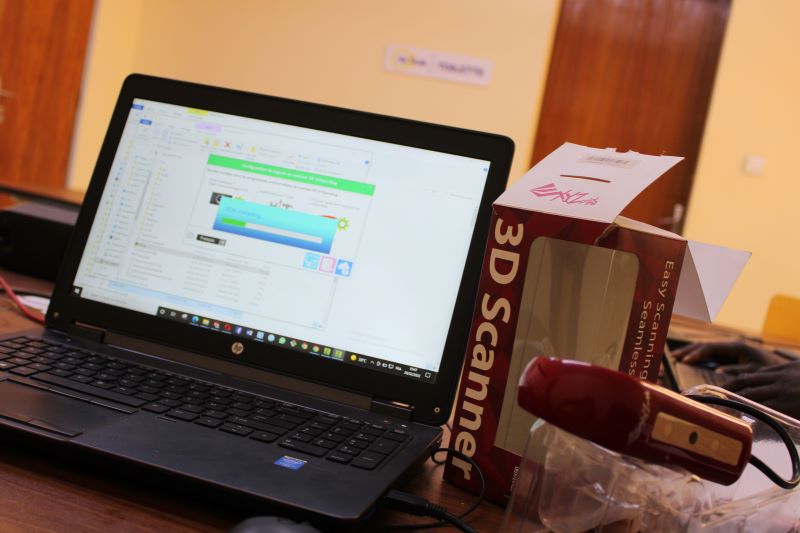
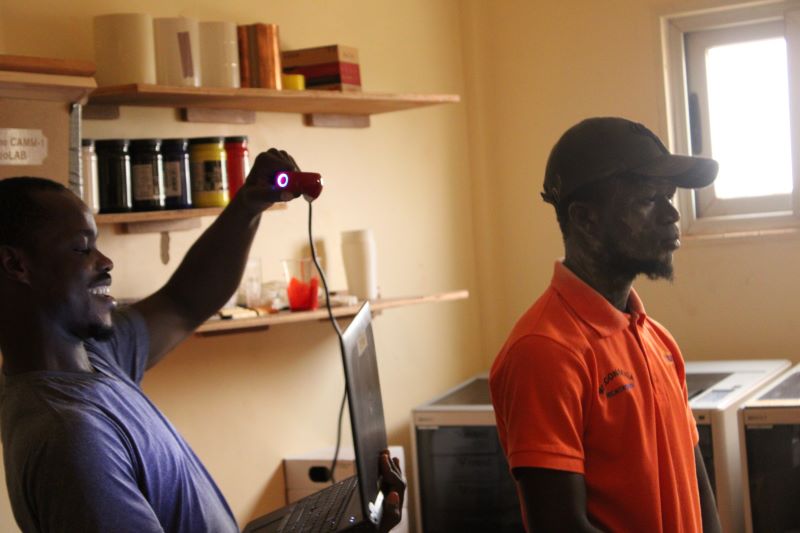
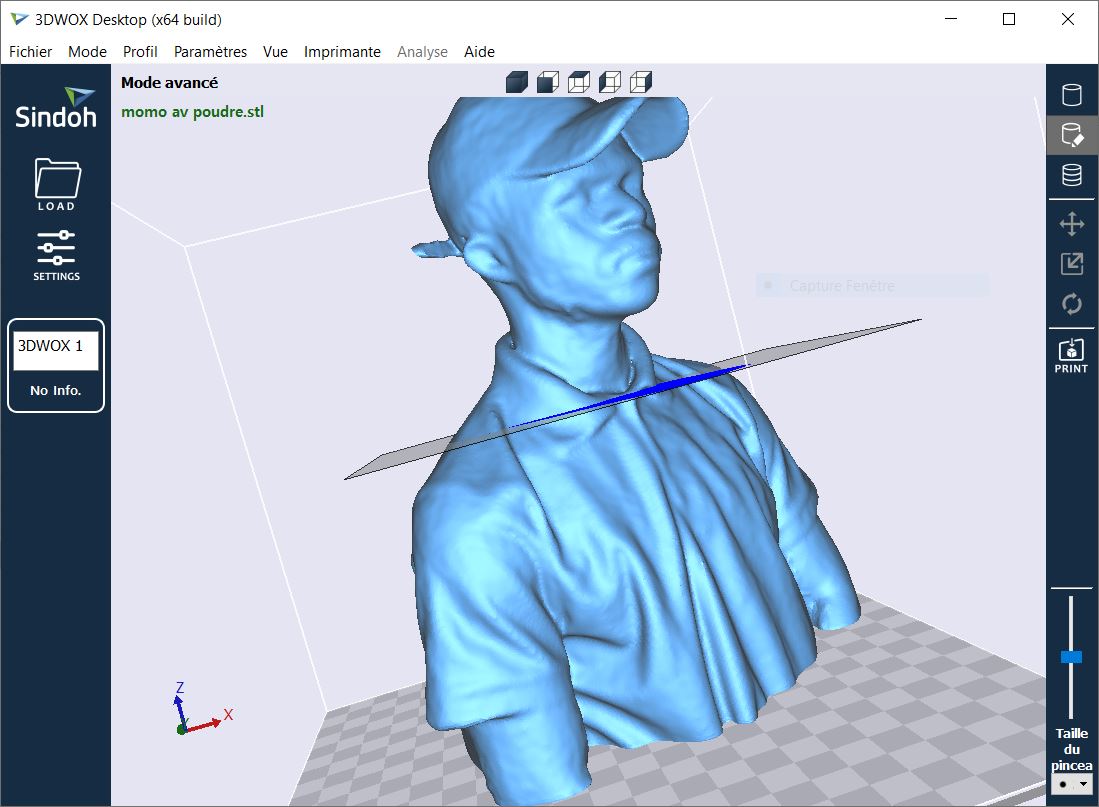
Then the scanning of the objects was really difficult because the lidart of my scanner did not detect them and that is when my manager abused my advice to powder the objects and even my face if I wanted to have it scanned correctly .
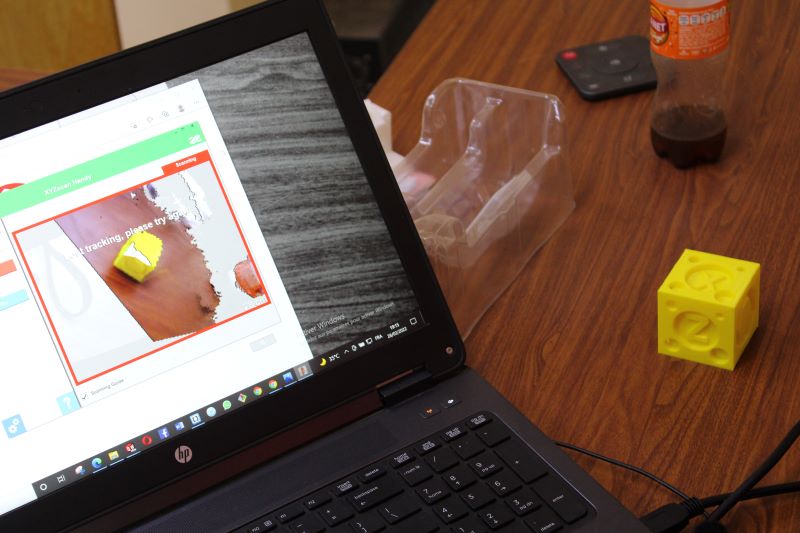
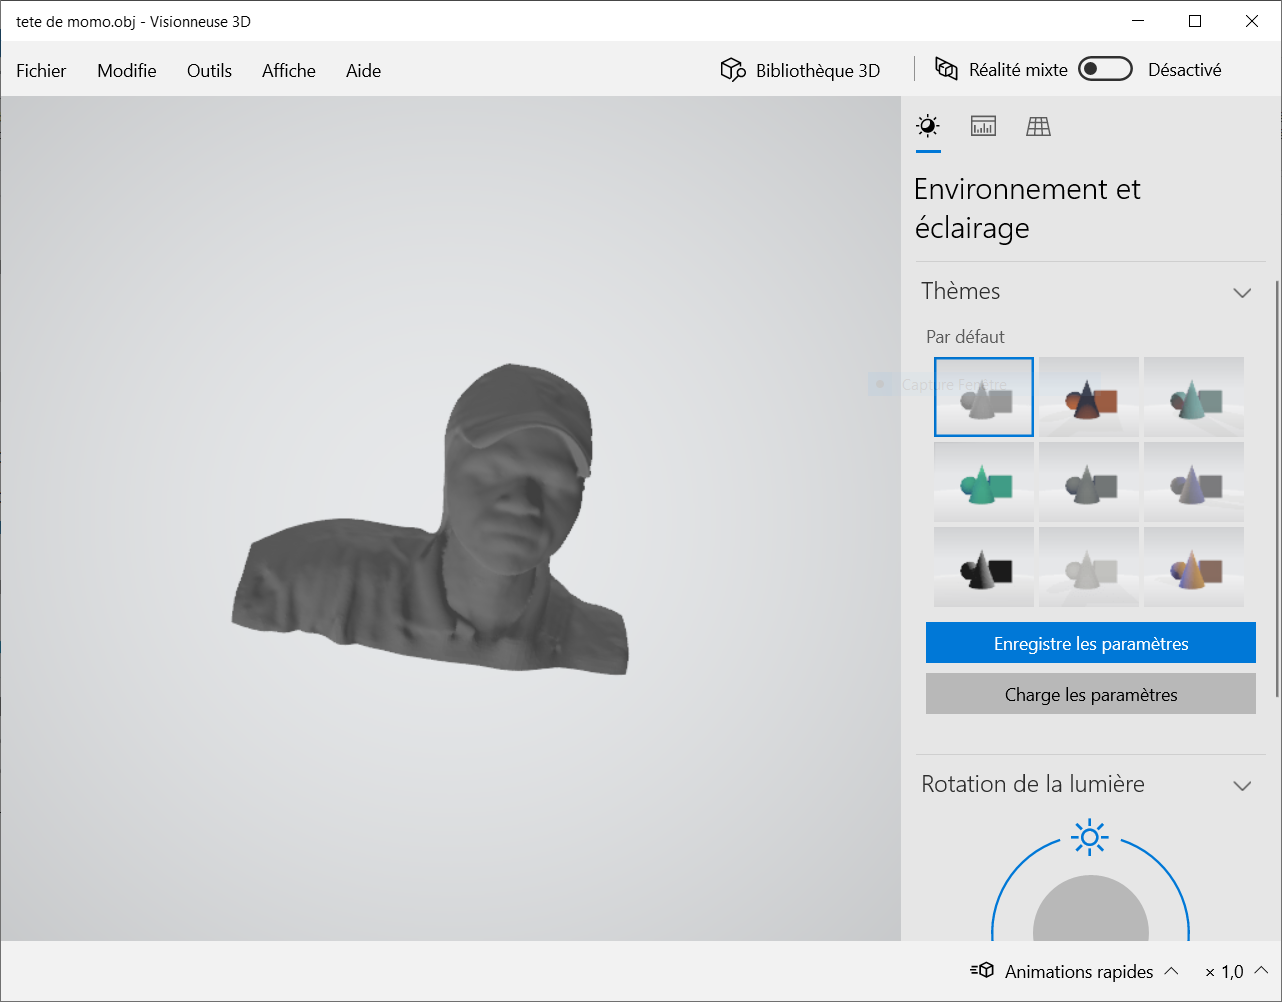
After several tries and some advice, I ended up reproducing some models.
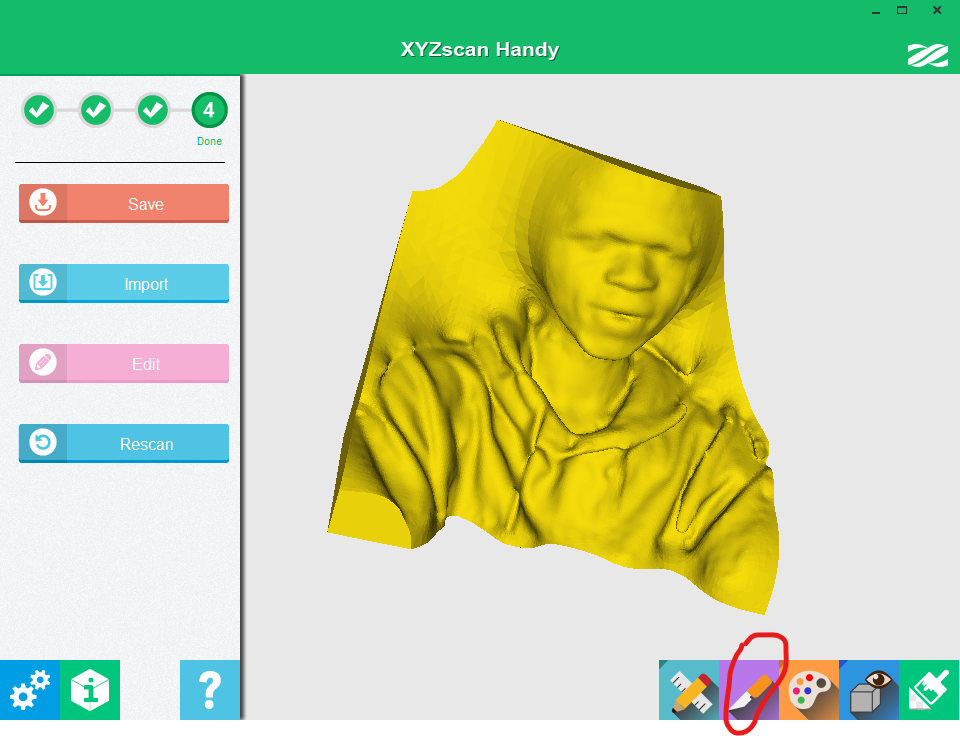
Tool for round off some bads items
For a better rendering I had to make up with white powder to scan myself. it was quite funny. the result was better than the previous ones, and thanks again to Abu Adam for your precious help
III. Individual assignment
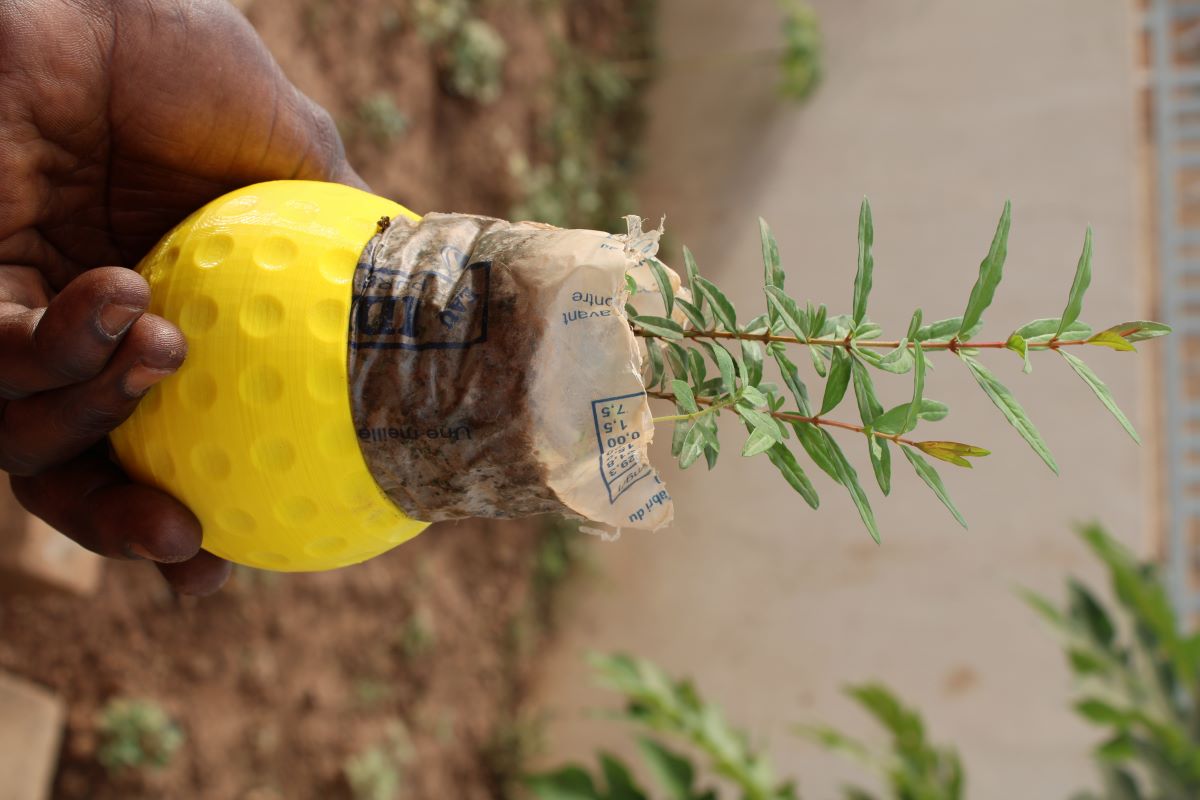
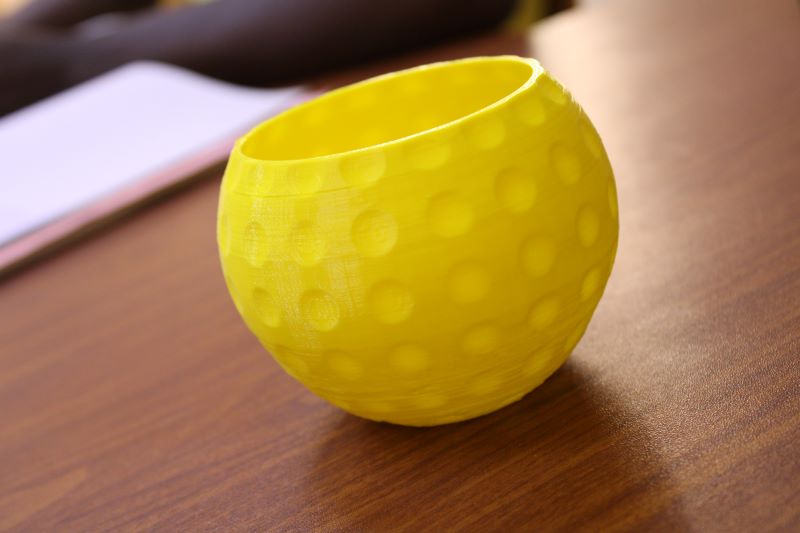
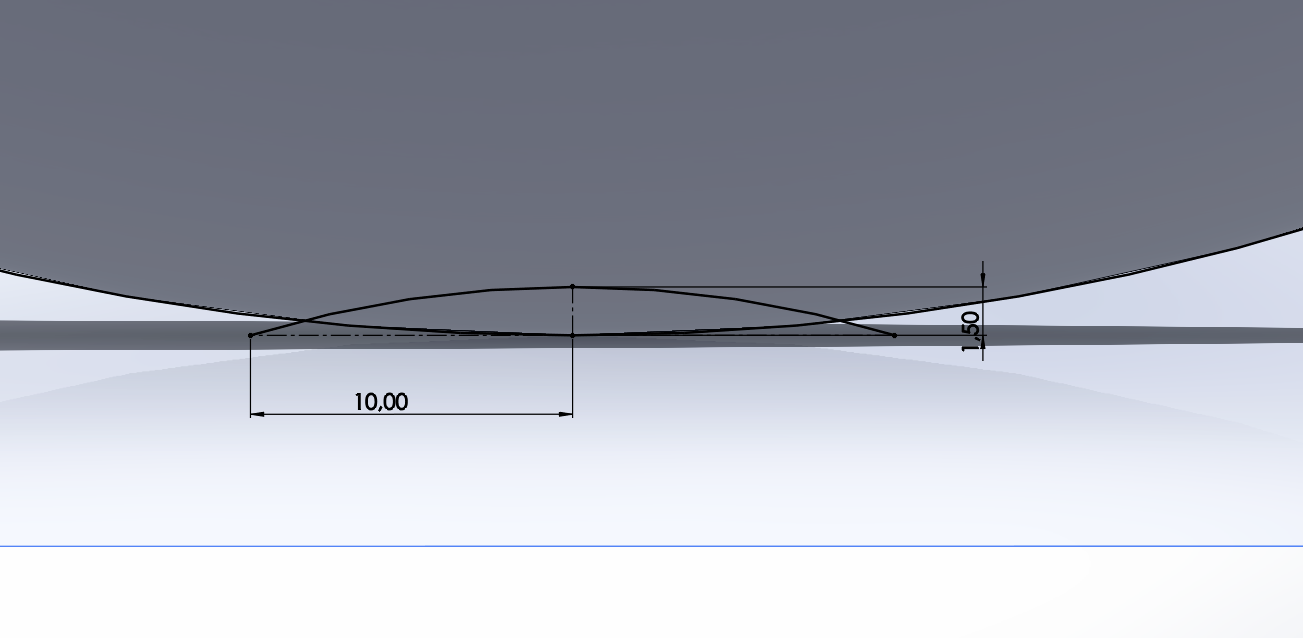
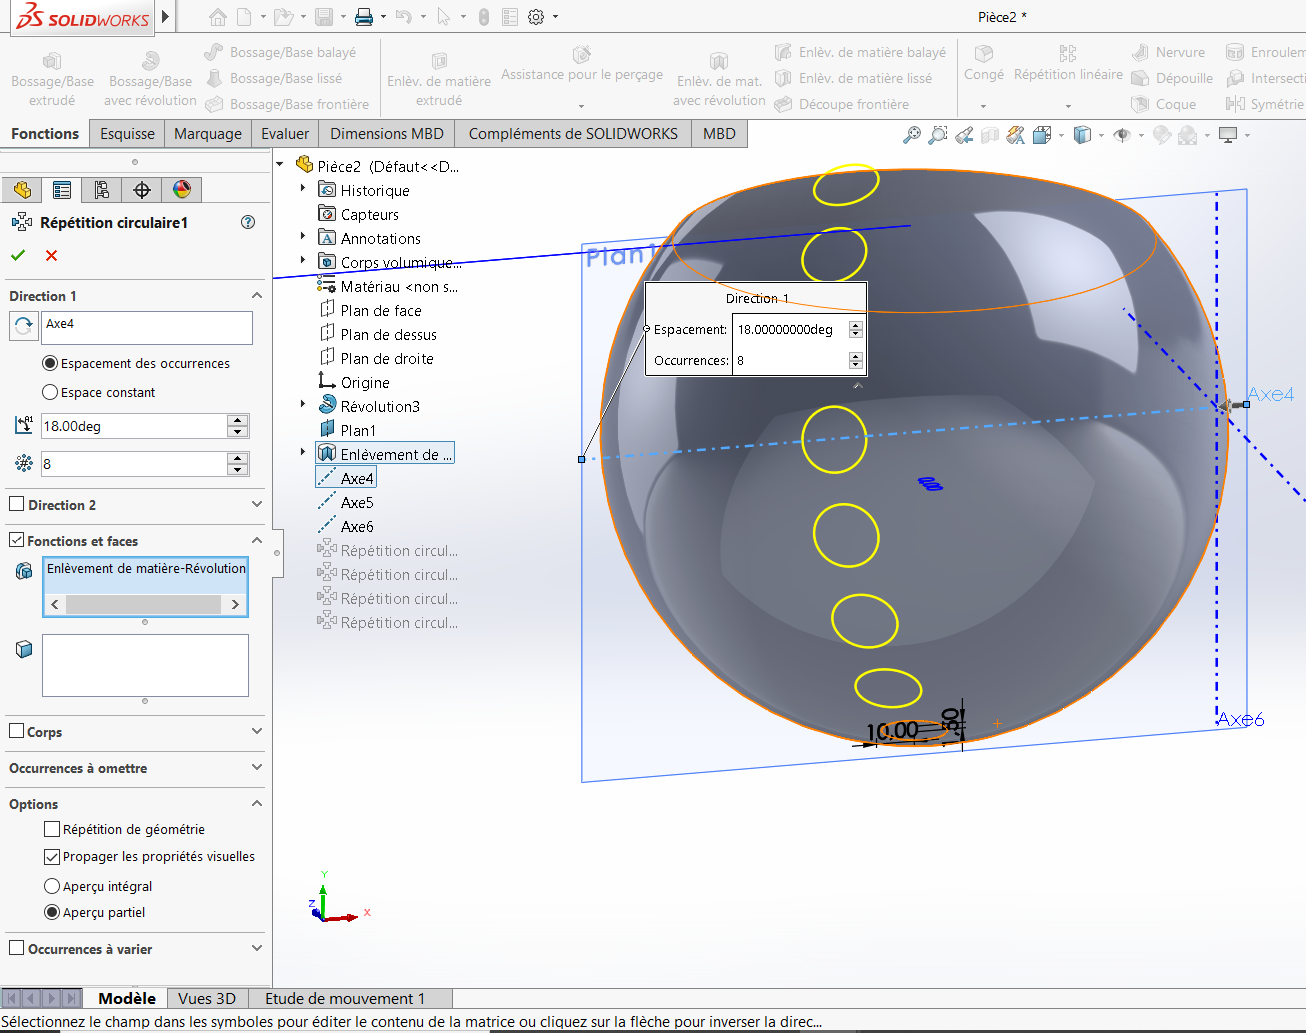
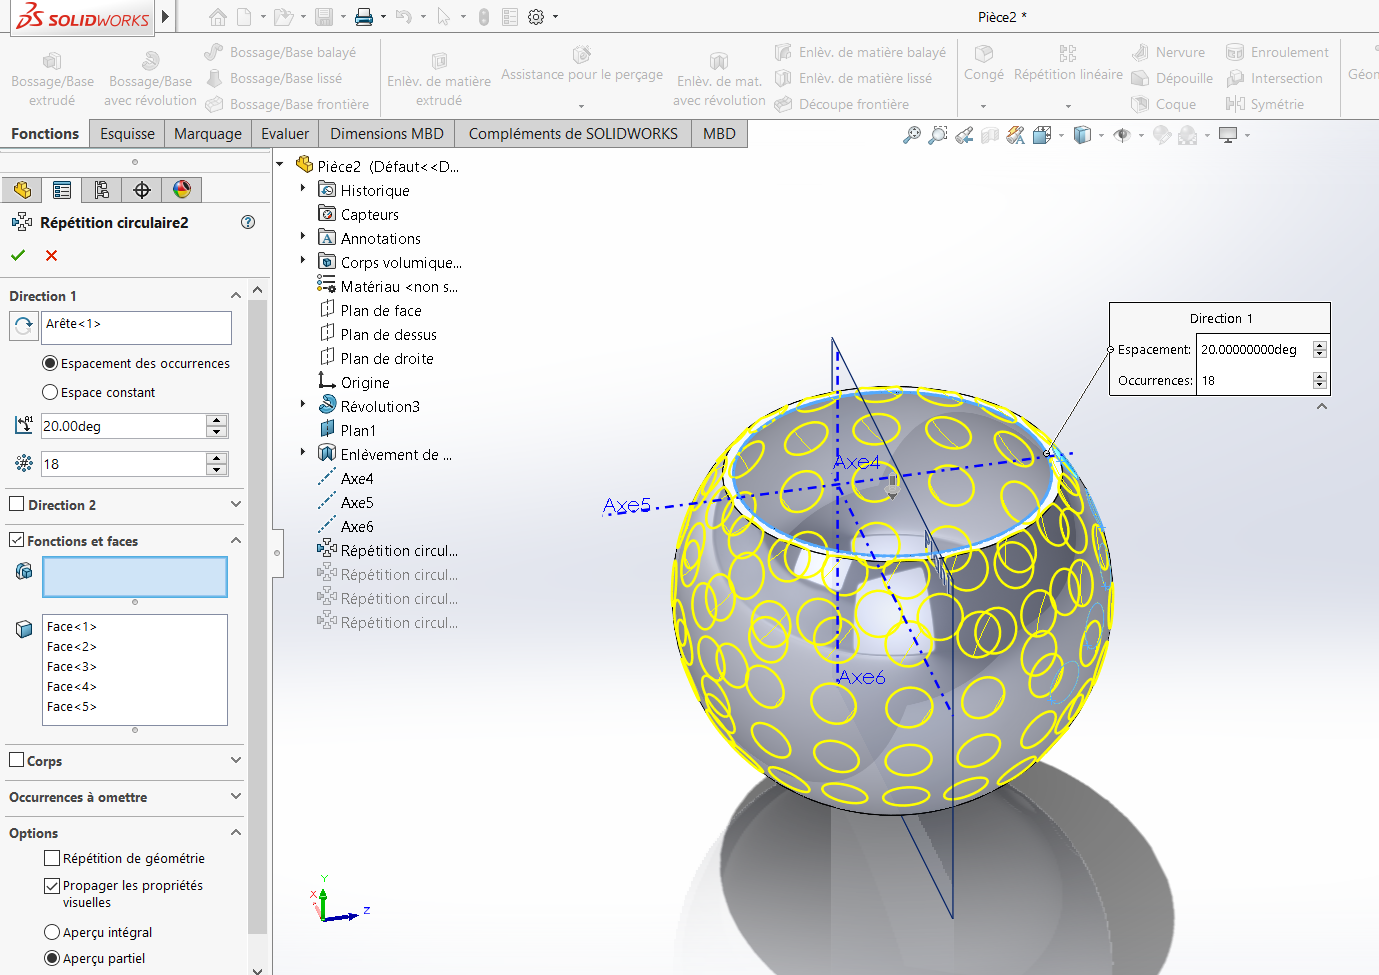
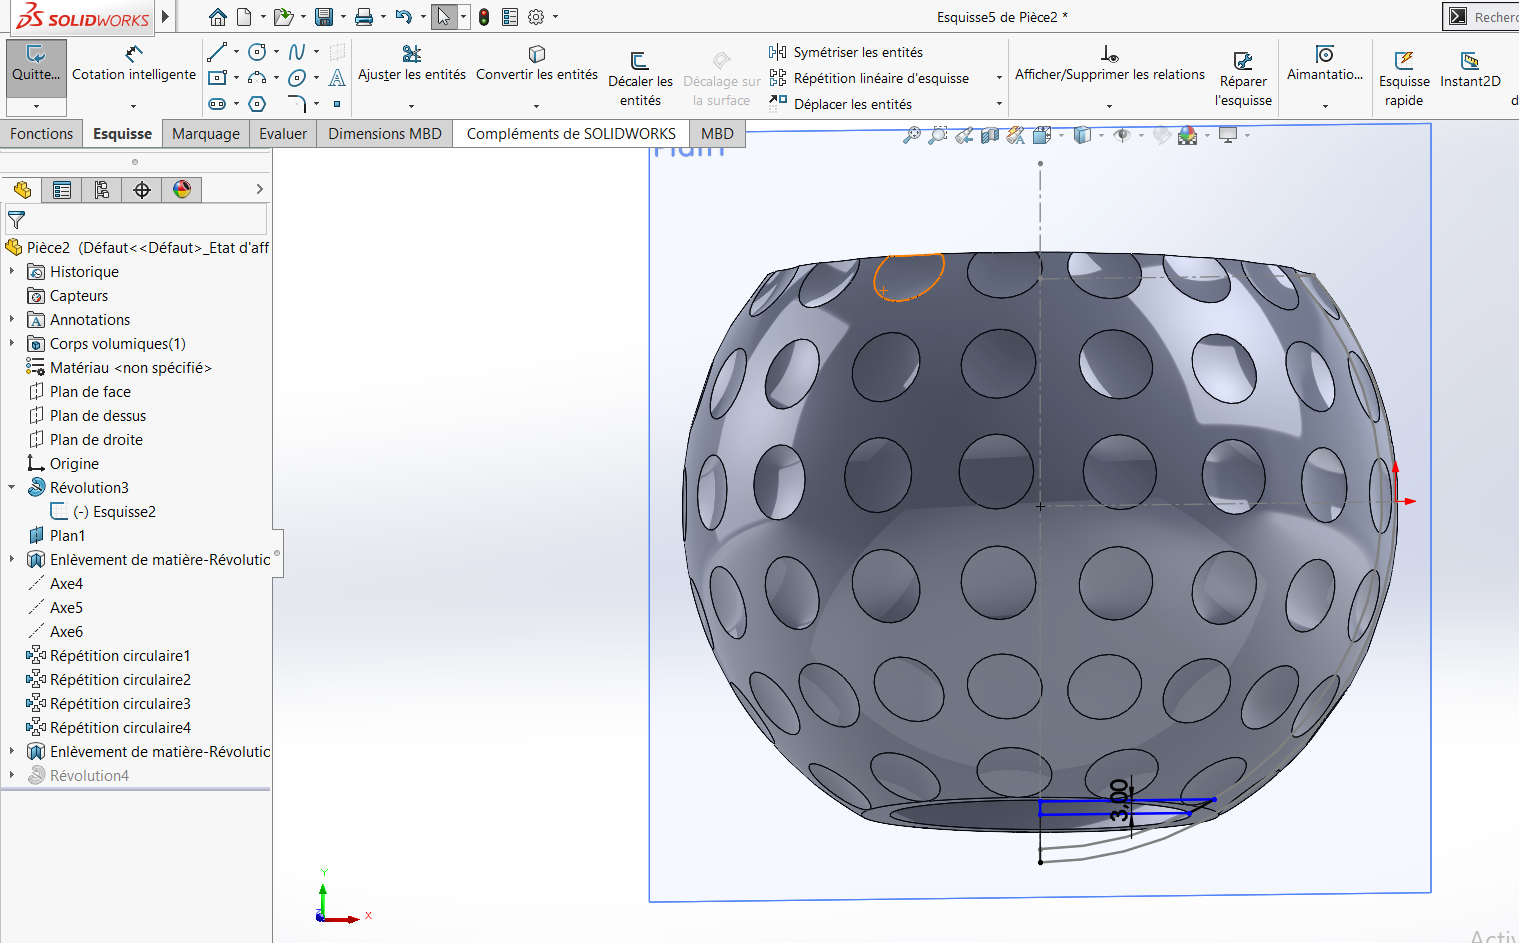
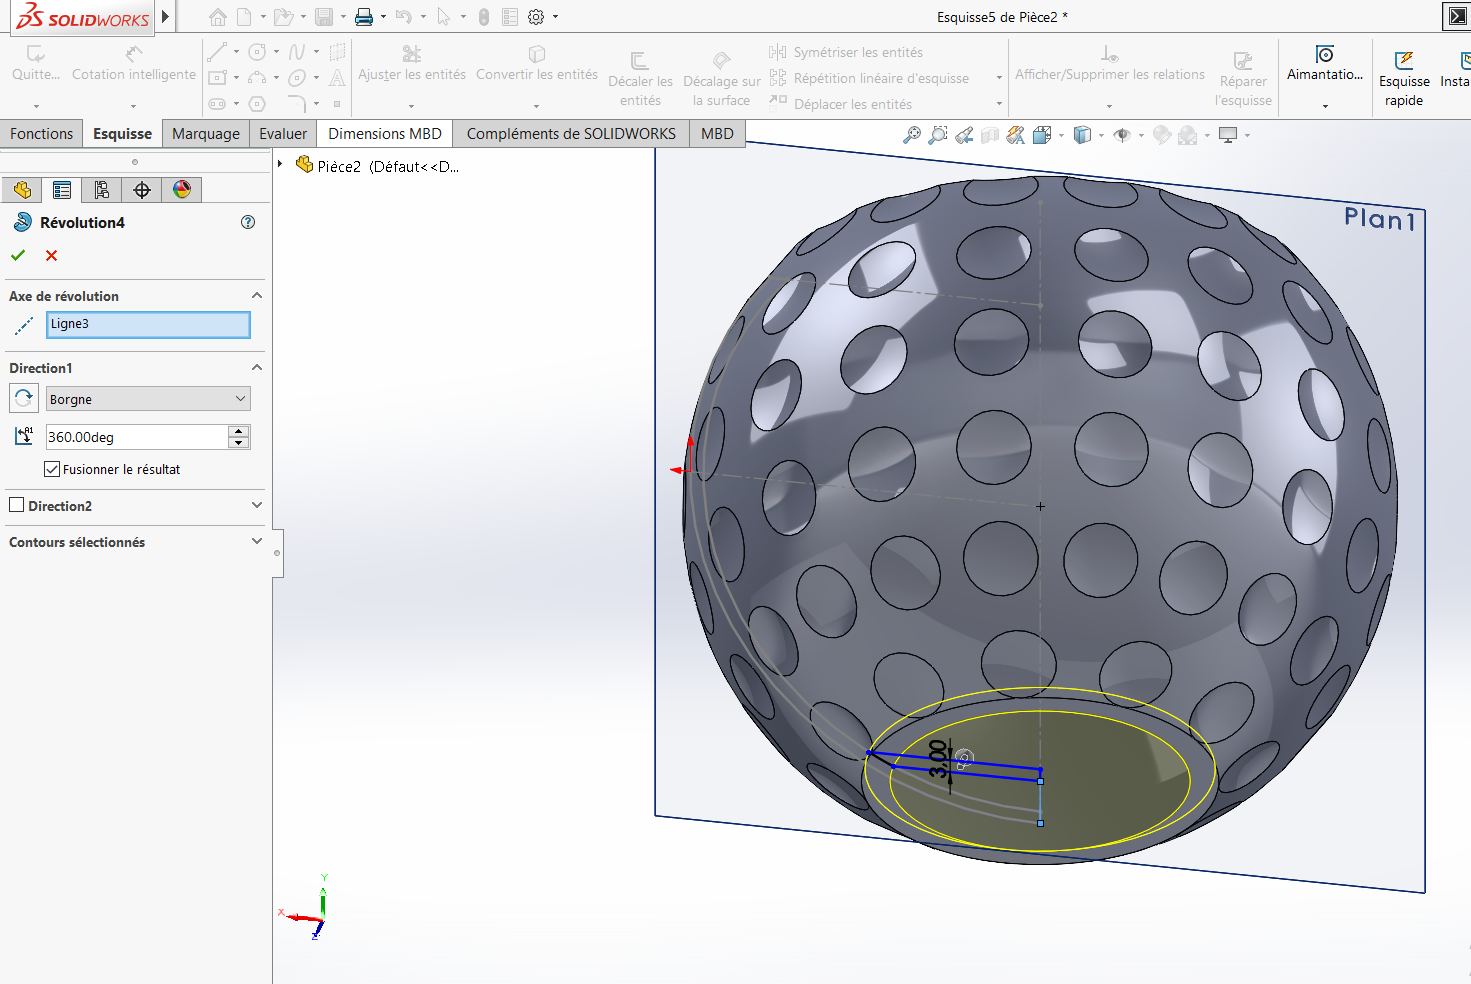
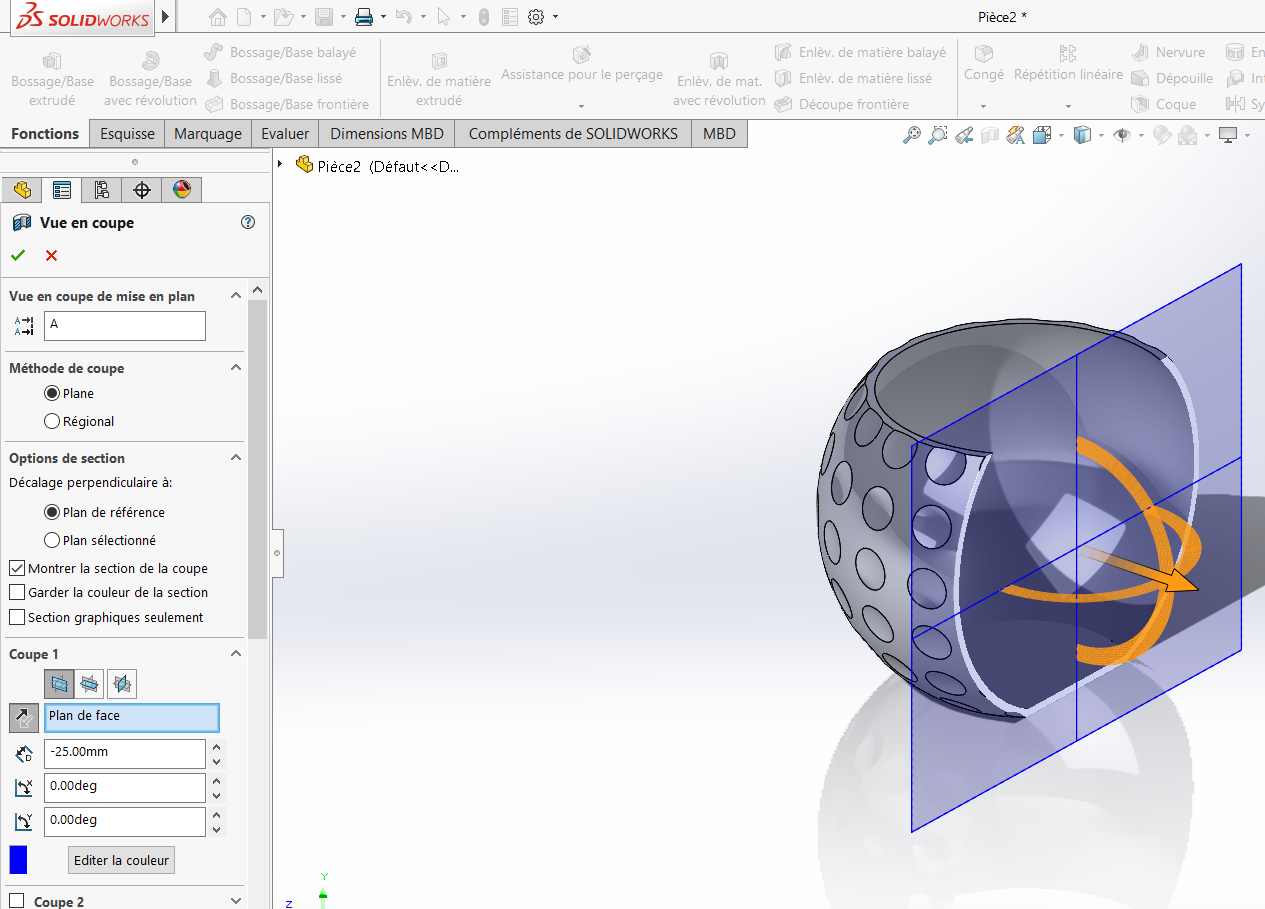
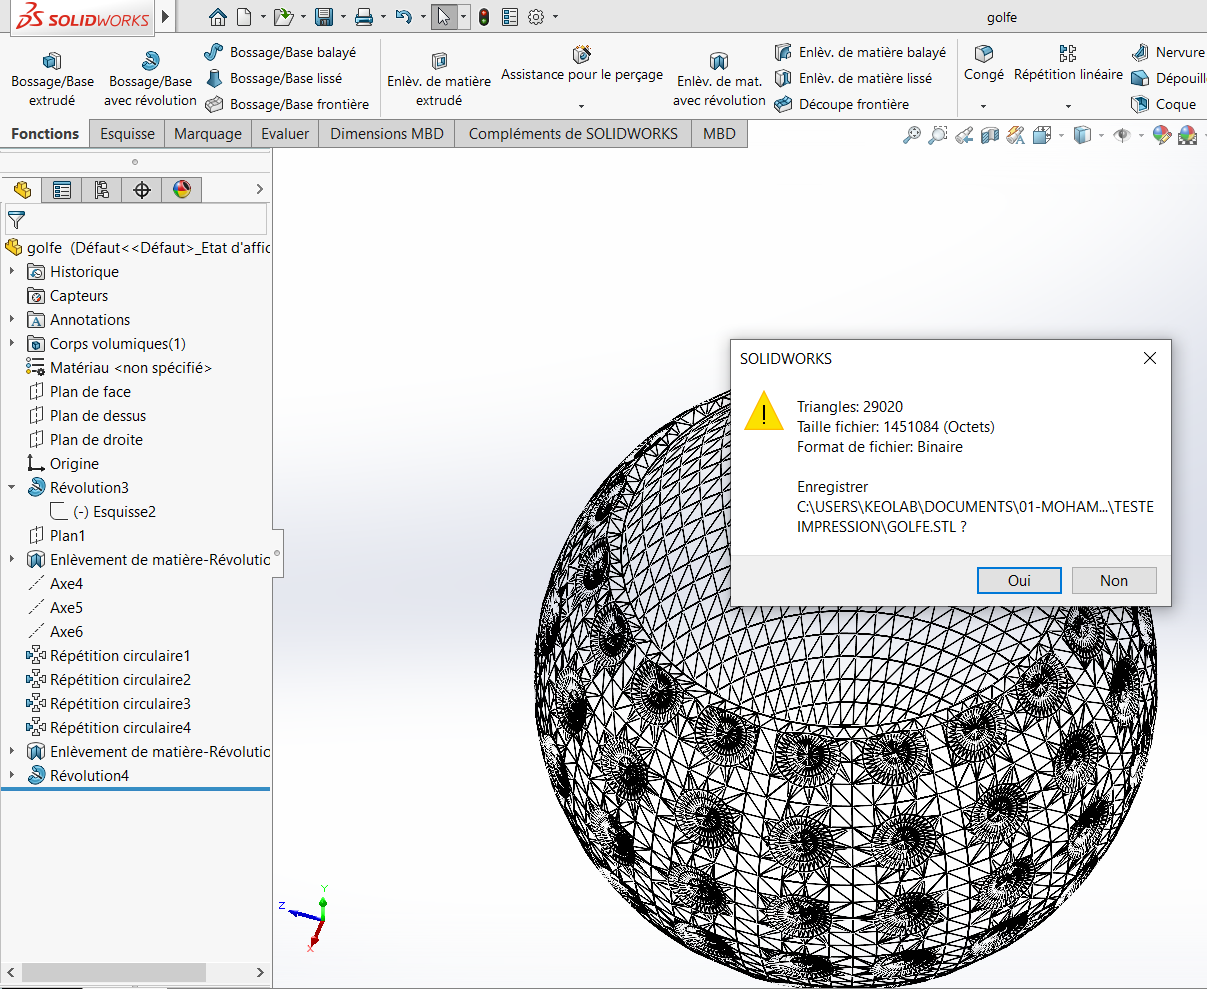
for my final print I thought of reproducing a flowerpot model in the shape of a golf ball.
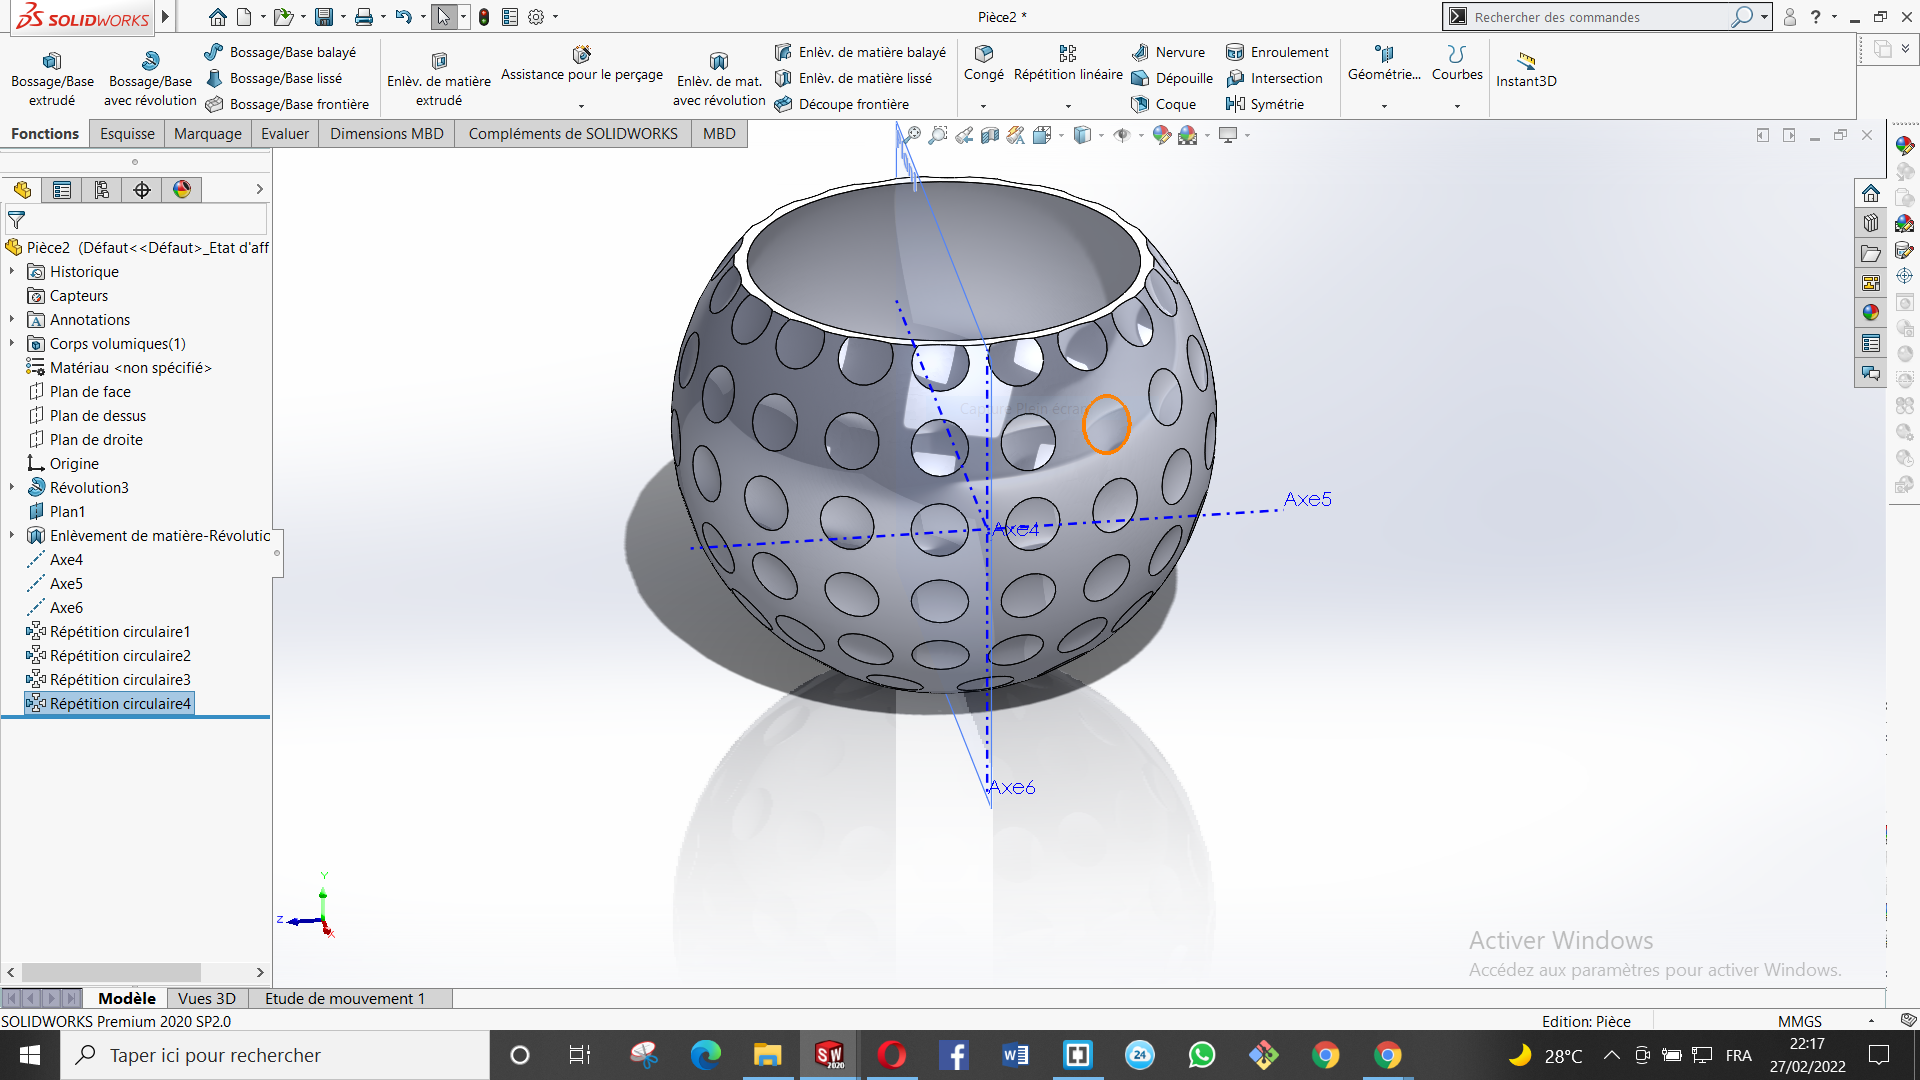
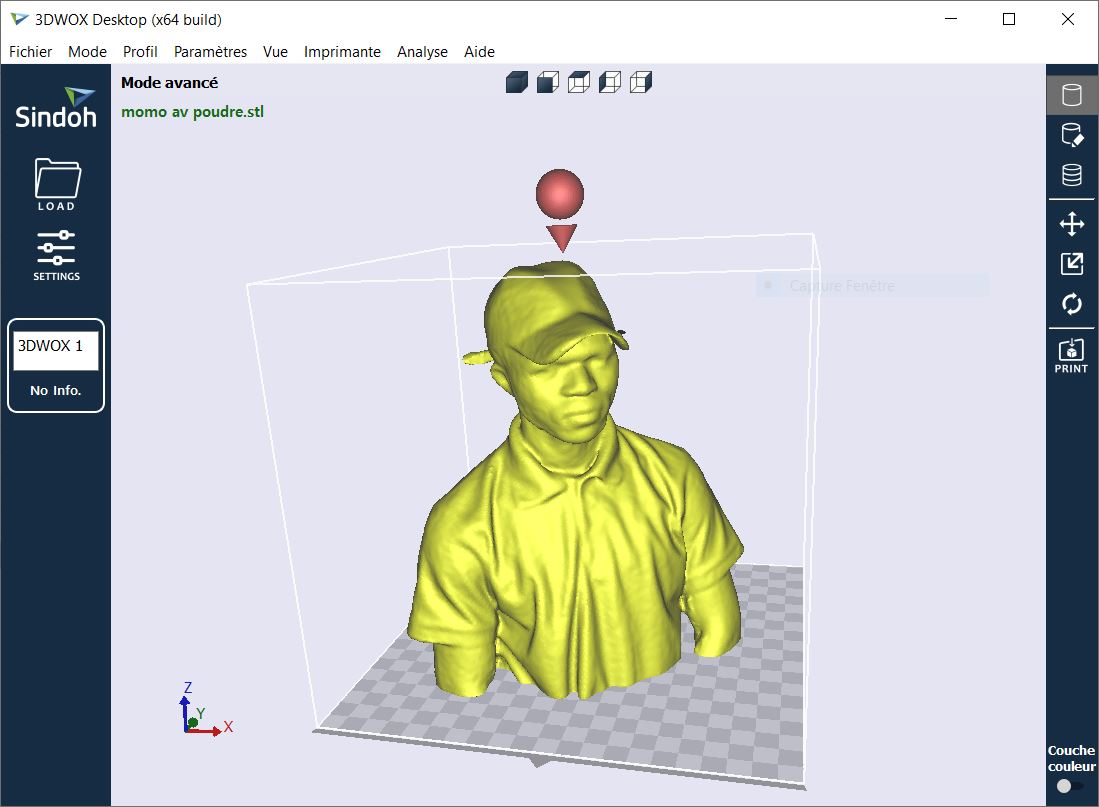
I use Solidworks for my modeling, I find it much more practical and simple to model.
Then I save all my files in stl format. for my printer.
Convert in G-CODE.
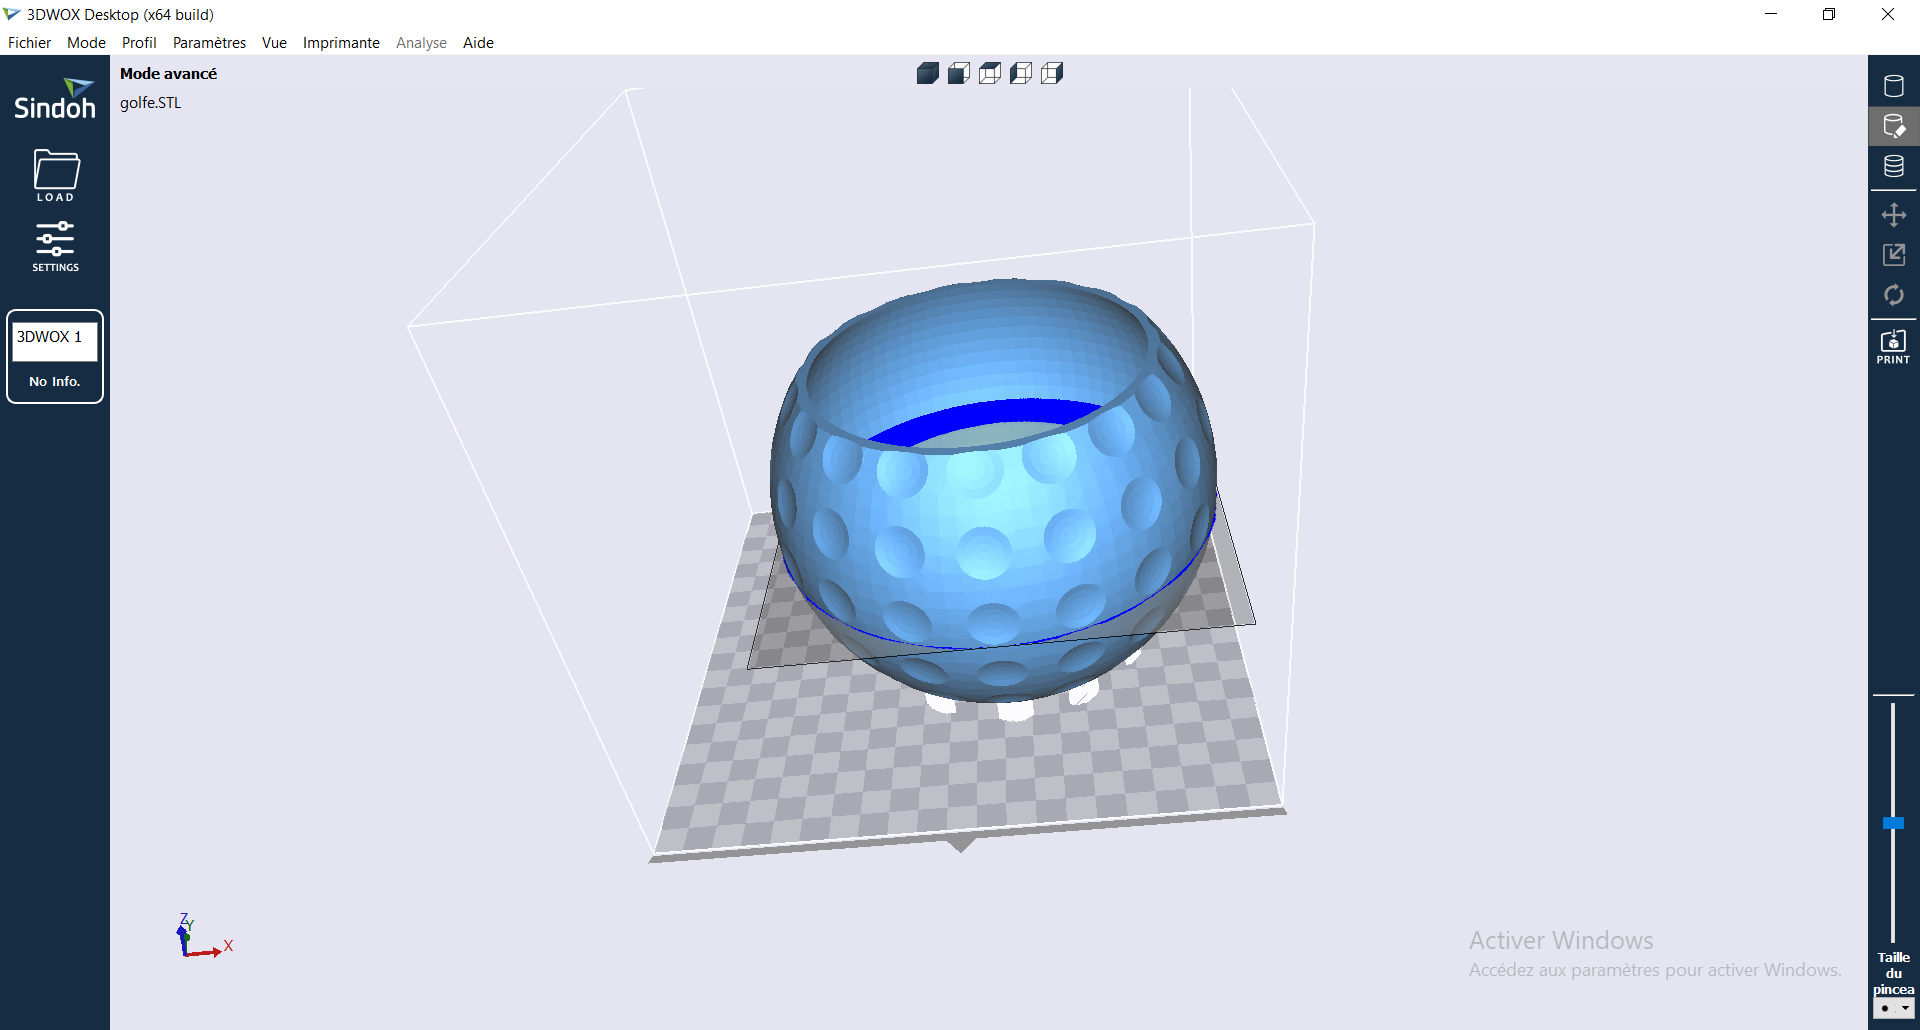
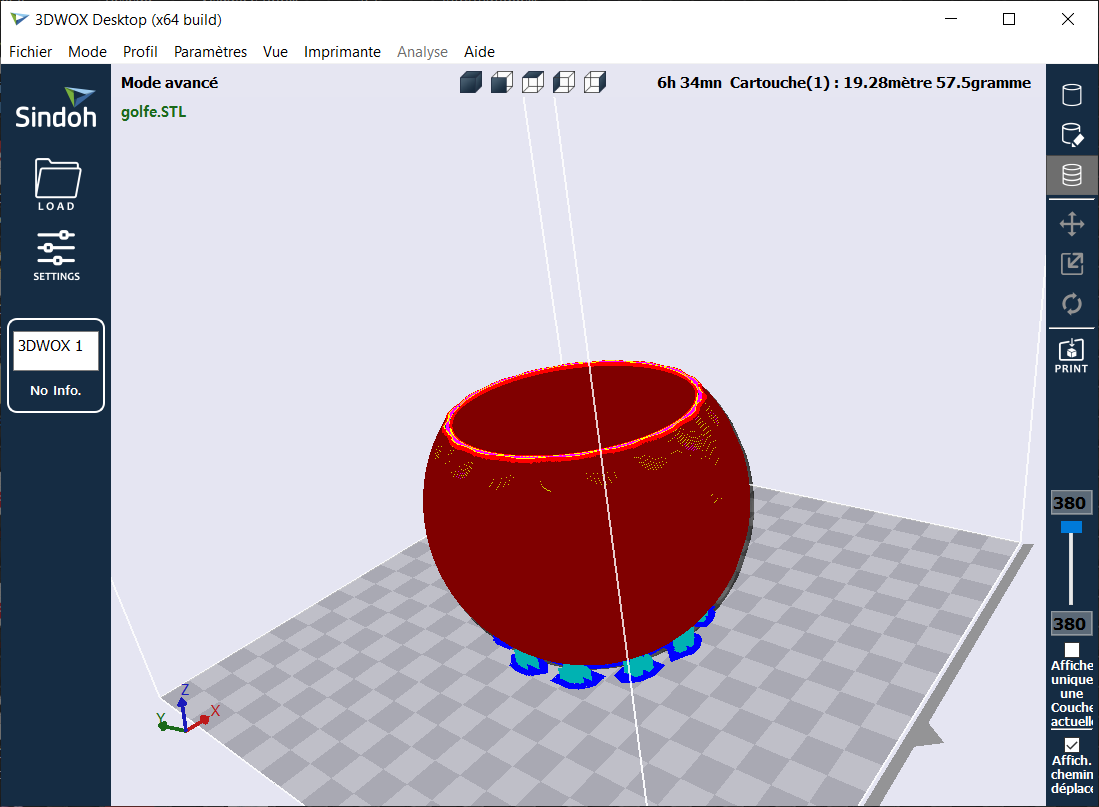
My final print