8. Computer controlled machining
This week I have been working on Computer Controlled Machining
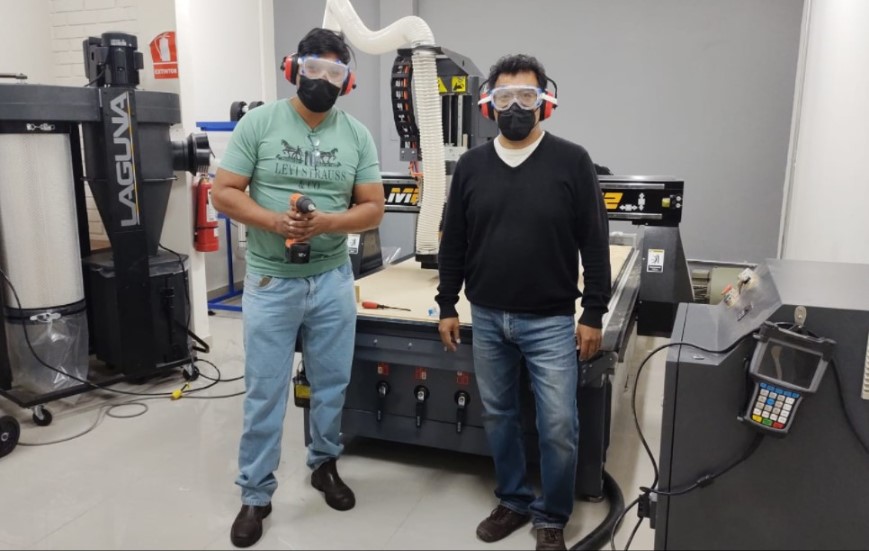
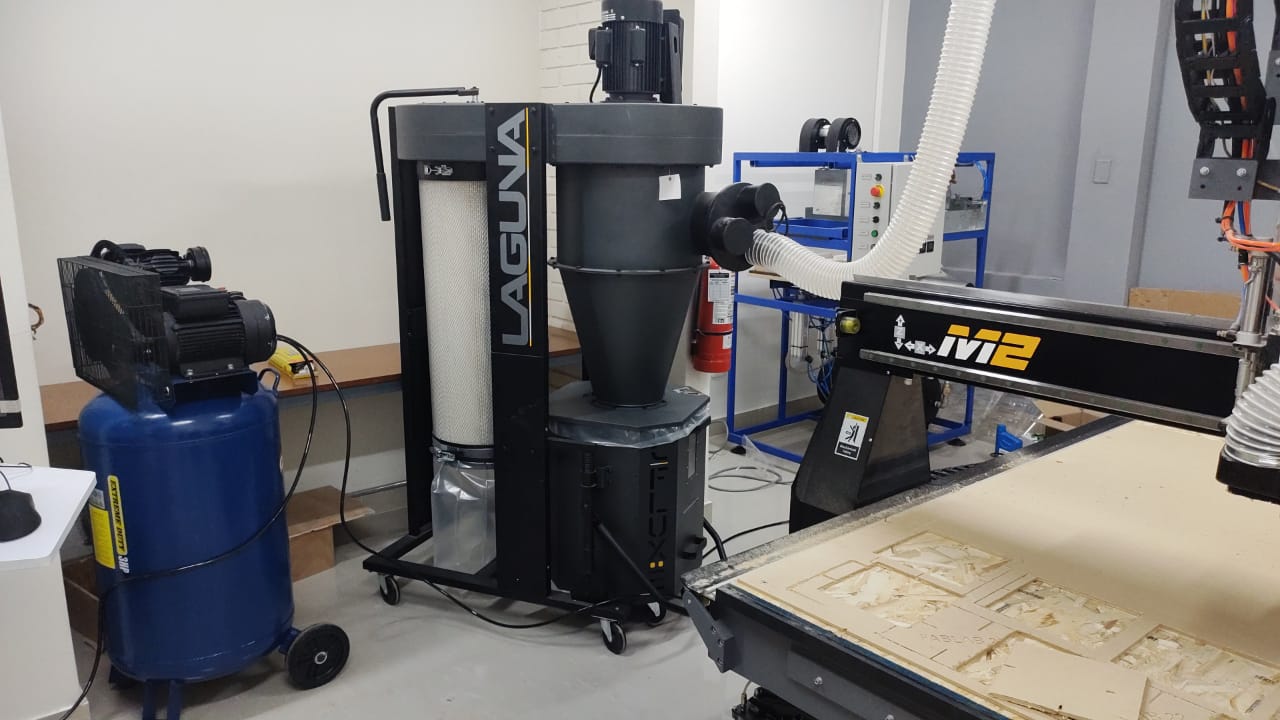
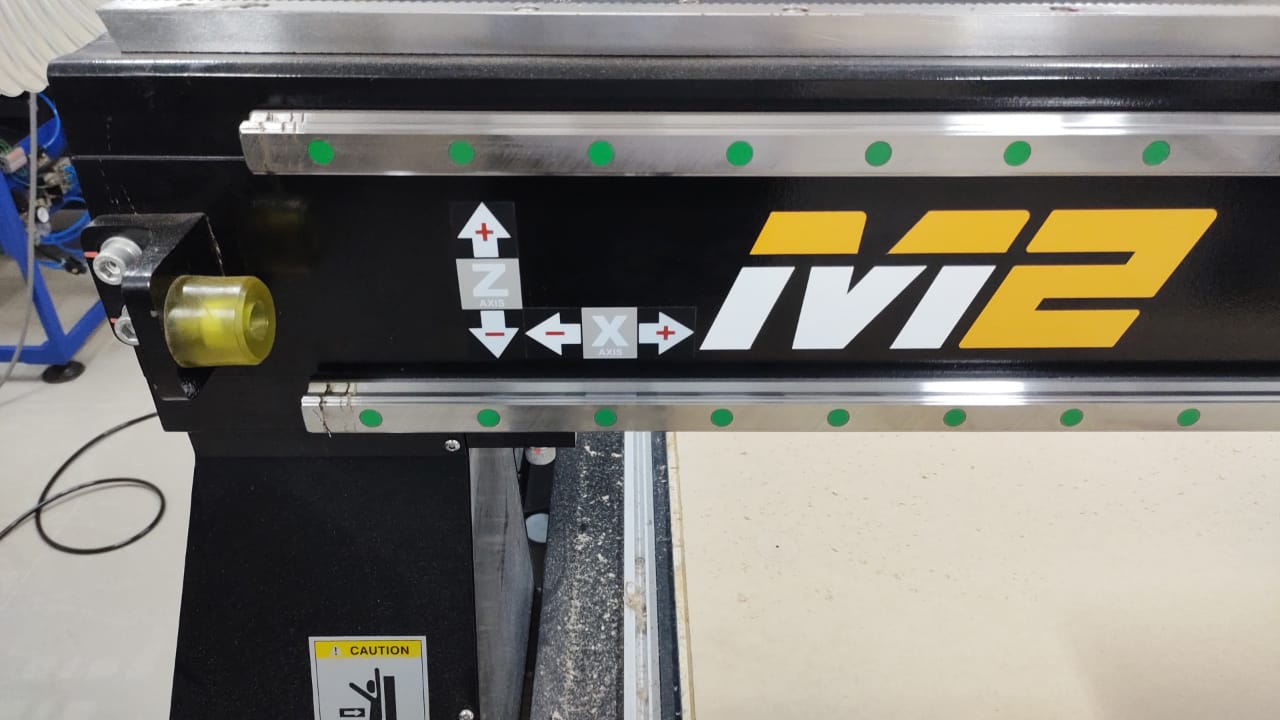
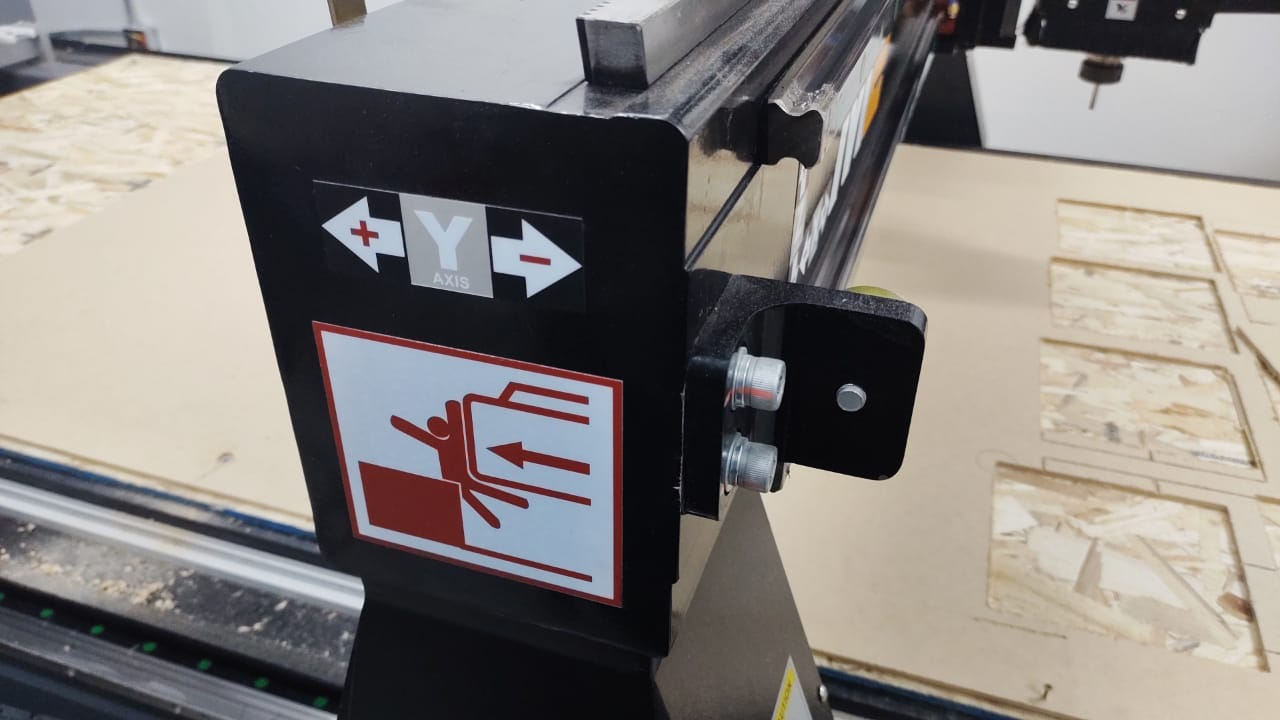
In the lab we have a LAGUNA SMARTSHOP M Router
Group Assignment
Doing the lab’s safety training
We did a little safety training by learning the Do’s:
- You must read the use and maintenance manual and have at least 6 hours training for the proper handling of the machine.
- You must wear protective goggles.
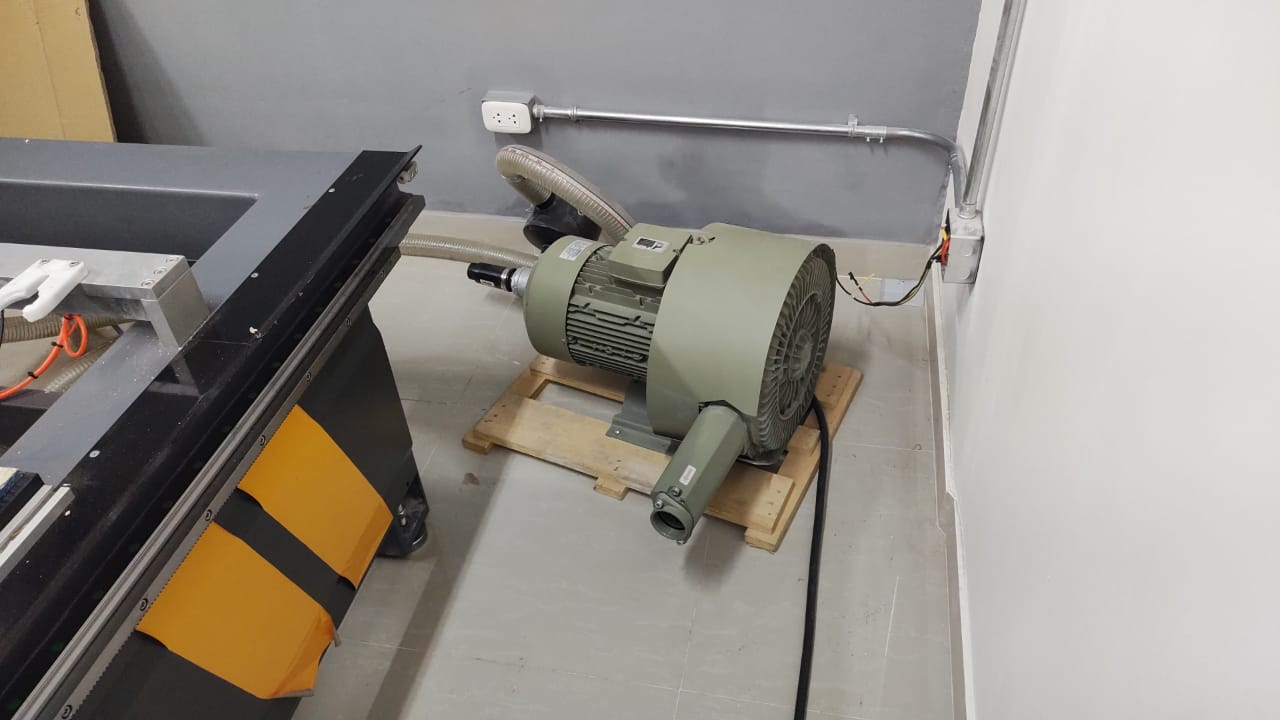
- You must wear protective ear muffs due to the noise generated by the vacuum motor and the dust extractor, as well as the CNC.
- You must check for good electrical connection and good ambient lighting over the workstation.
- You must check the operation of the emergency buttons on the mobile control and on the controller.

- You must check the function of the vacuum slaughter bed fixture and have the fasteners for the work material available.
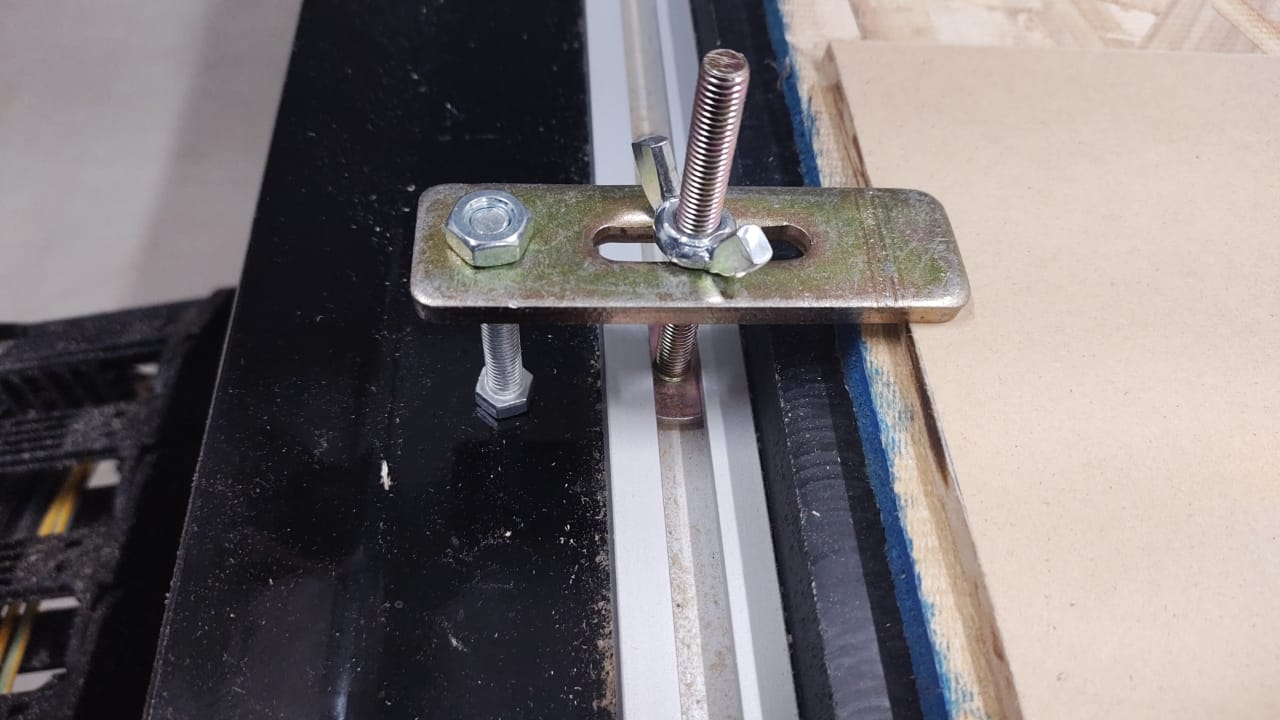
- You must check for the position of the coordinates and origin
And the don’ts
-
Do not wear clothes that are too loose. Working clothes should be comfortable but close enough to the body so that they cannot be caught by the machine.
-
Do not use long hair, it must be tied back and not loose.
-
Do not wear necklaces, ties or other accesories that can get stuck in the machine.
-
Do not leave the machine running without our presence and turn off the power supply to ensure that children can never start it.
Testing the machine
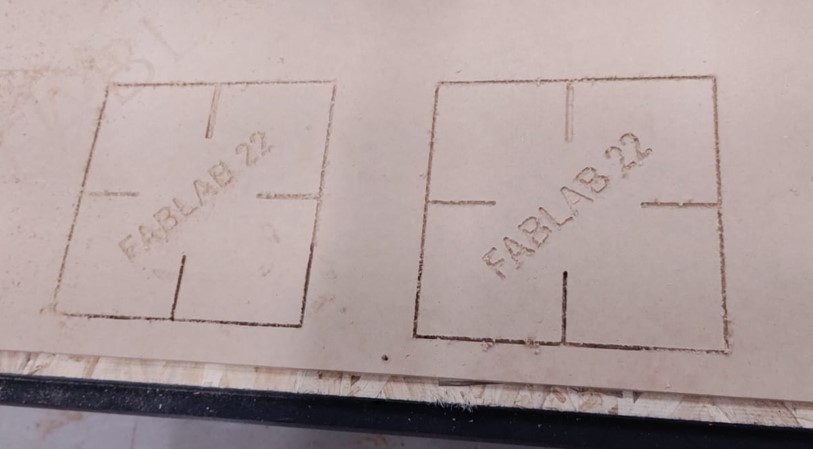
To test the runout, alignment, fixturing, speeds, feeds, materials, and toolpaths of the Laguna CNC We decided to test the 5.75mm MDF material to press fit it, for this we designed two parts to be friction and push-fitted together.

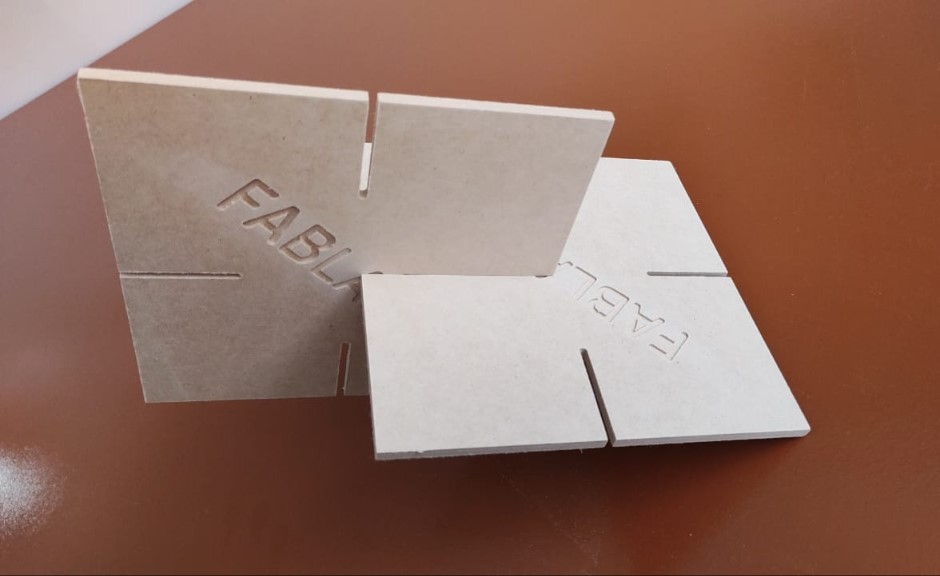
For the tests we chose 1/4” cut down ideal for straight cuts and for the chips to go down leaving less waste, and because the cutter has a diameter of 1/4’‘.
The recommended values for the SPINDLES AND SPEEDS are:
- Spindle feed rate: 12000 RPM (higher values heat up the end mill a lot).
- Feed rate: 3.0
- Plunge rate: 1.0
- Passes: 2 (1 pass could be placed because the end mill can go down to the same diameter each pass).
If you want to carry out a job where there are few joints and assemblies and you also want to fix the pieces without much movement, you can opt for the 5.55mm size. 5.45mm is very tight and difficult to remove again. 5.65mm fits well and is easy to handle. In the image below you can see the exploration of these measurements on some squares.
Individual Assignment
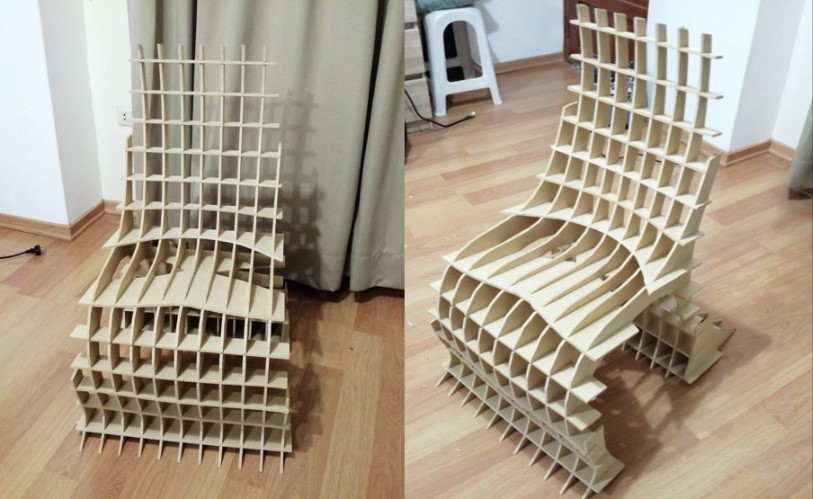
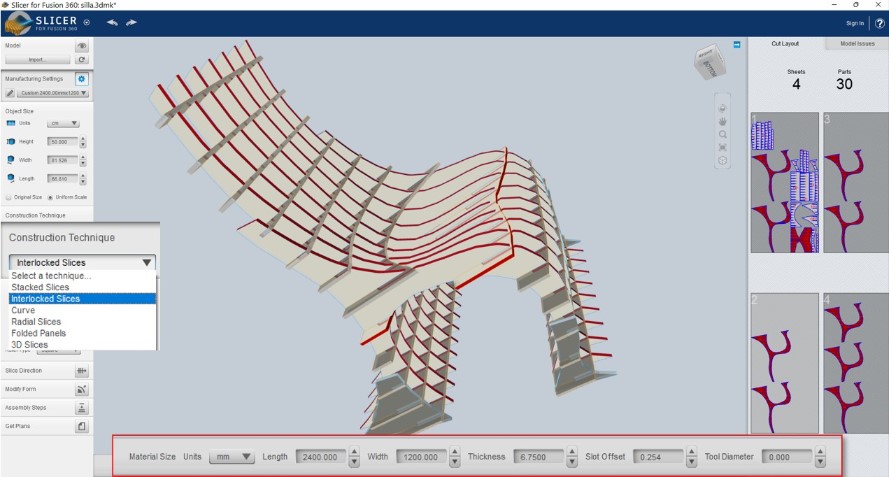
For my individual assignment I decided to fabricate a chair.
I used the Rhinoceros program to three-dimensionally design a chair.
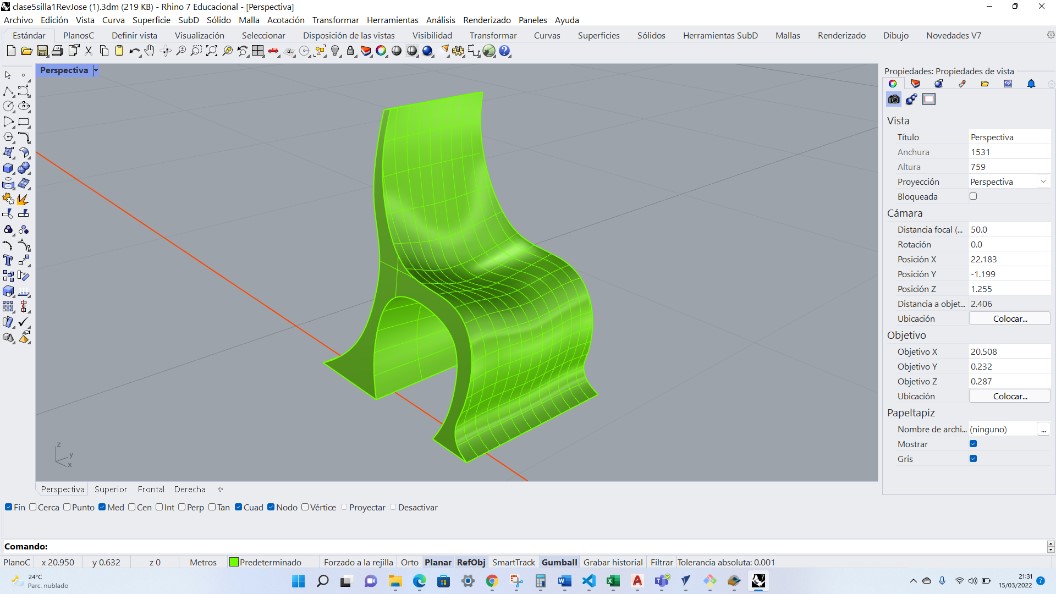 The 3D model was exported in STL format.
I then used the Slicer for Fusion program which allowed me to import the STL file and get the parts to build the chair.

The first thing you configure in Slicer is the format of the MDF material (1200x2400mm). When this is configured, the material thickness is also configured at the bottom of the interface.
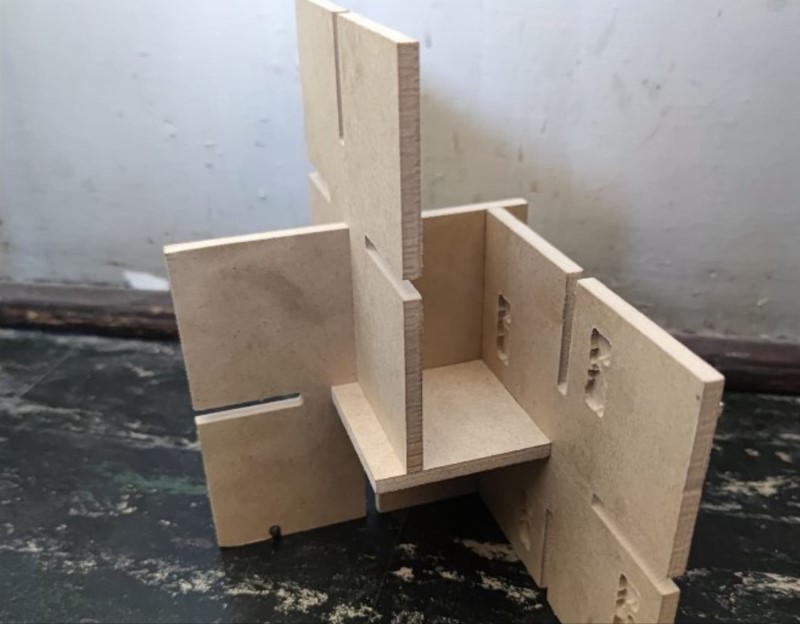
Then in Construction Technique the Interlocked Slices option was used because it was the one that would use the least material. A previous experience with the assembly of a cardboard piece alerted us to the need to give a clearance to the spaces for the press fit: we set the material thickness as 6.75 and not 5.75 mm, which was advantageous when assembling the chair.
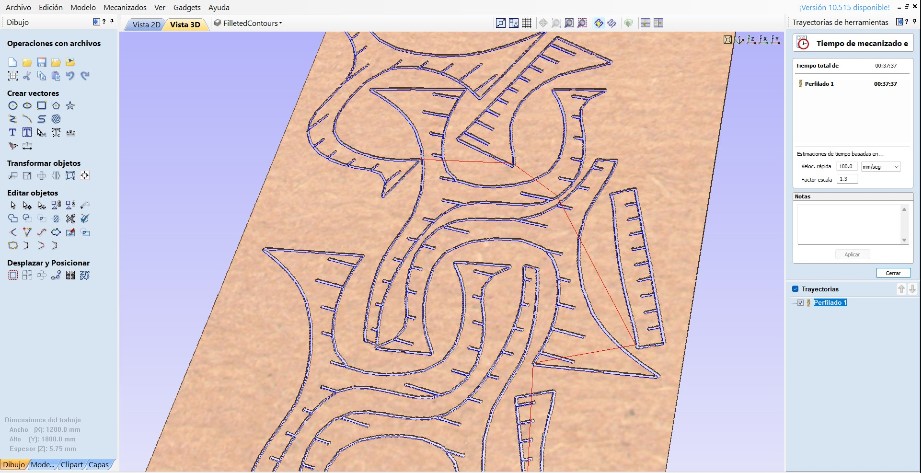
I manually arranged the parts exported in DXF using autocad. I imported the DXF files into the VCarve Pro program. In Vcarve Pro software, after setting the format and thickness of the material, the chamfers were configured.

Then in the right sidebar “Tool Path” the option “Profiling” was chosen.

In this option the following parameters were chosen:
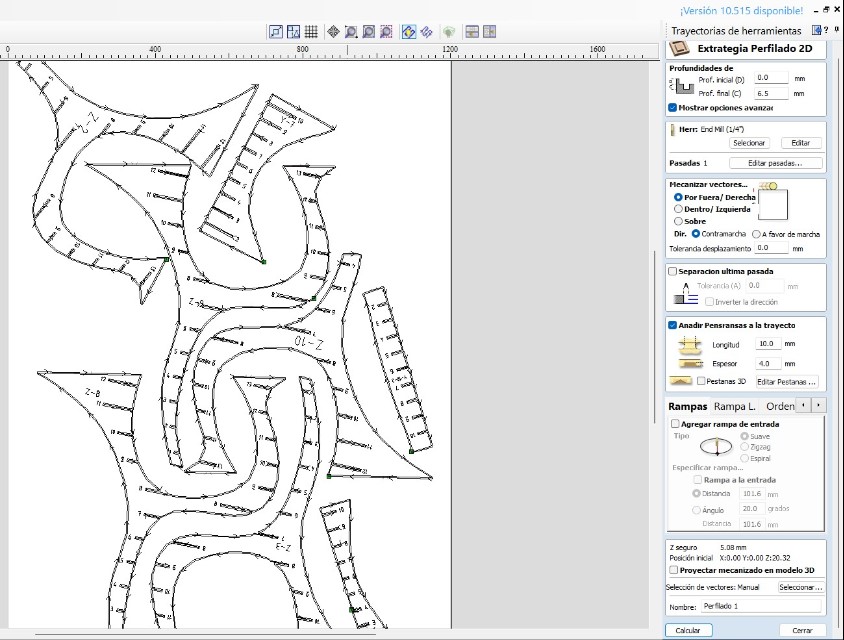
The estimated cutting time for the first plate was 37 minutes and 37 seconds. For the second plate it was similar.
To save the G-code, after simulating and determining the time, the save trajectory button is accessed. The selected trajectory is chosen, which in this case is “Profile 1”.
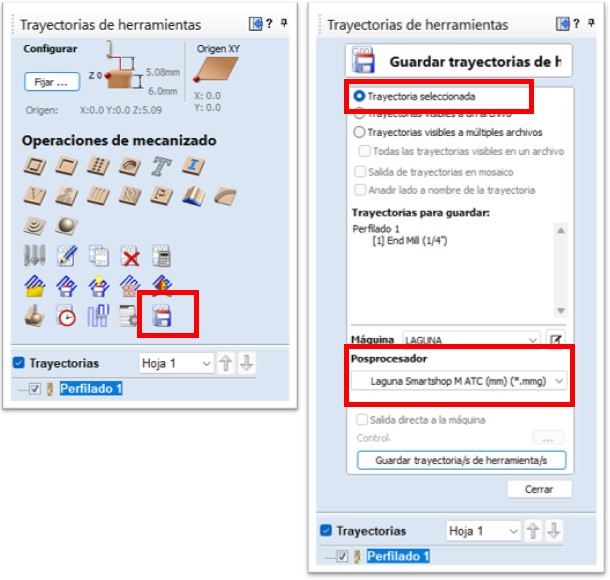
Then look for the Laguna Smart Shop M machine, which is in the Vcarve library, and save the tool path.
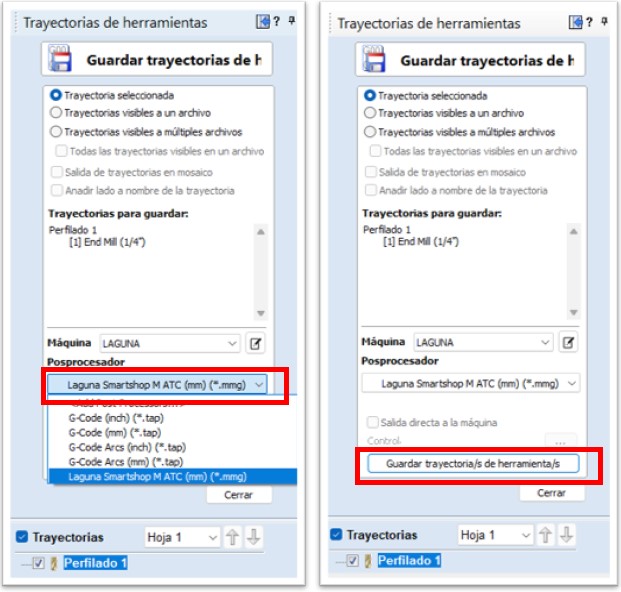
In this way you have the G code that is executed in the CNC machine.
After cutting the chair parts it was necessary to polish the edges. The assembly with the first pieces was loose and easy, but each time a piece was added it became more difficult even though I had given a clearance to the spaces for the press fit. A rubber hammer had to be used to fit the last pieces.
The finally assembled chair whitout usign glue is this one: