16. Wildcard Week
Assignment
Design and produce something with a digital fabrication process (incorporating computer-aided design and manufacturing) not covered in another assignment, documenting the requirements that your assignment meets, and including everything necessary to reproduce it.
Composites
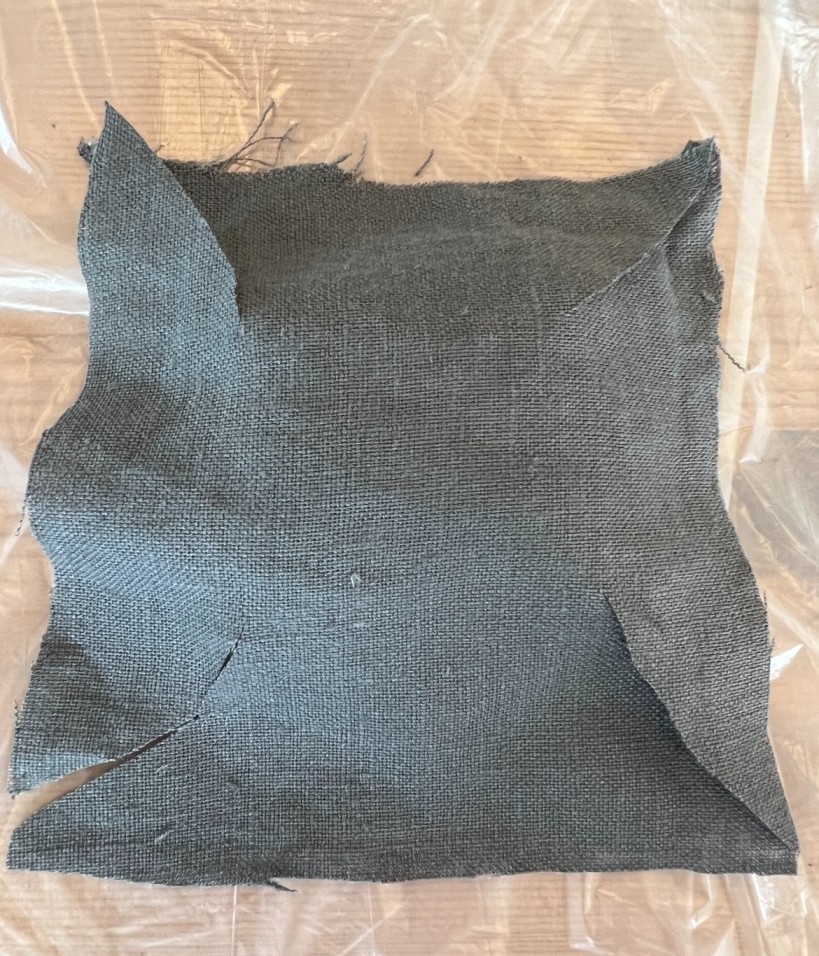
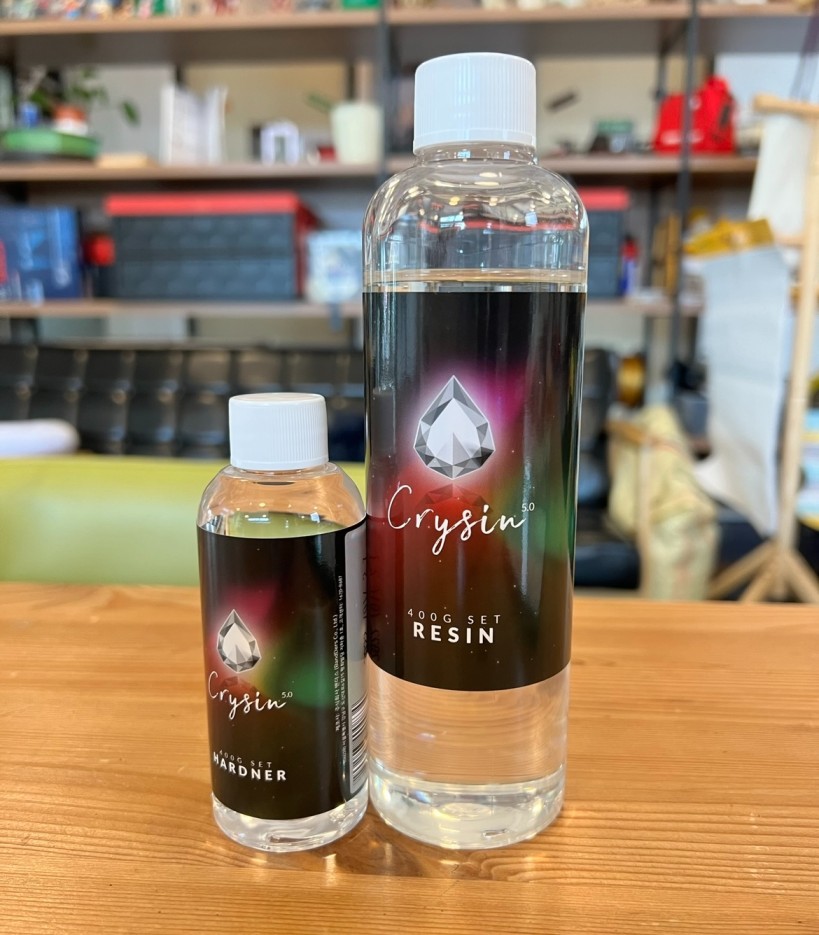
For the wildcard week, I explored composites and thought about how I could implement this week’s assignment for my final project. While researching, I learned that composites are a combination of fiber and a medium that hold the fiber together. The materials that I would use (which were available at BOLD Lab) were epoxy resin and linen fiber, as seen in the image below. Using these materials, I decided to create test samples, or coupons, to test out the layers and component factors.
Moreover, I came across leather wet molding, which is soaking up leather and drying it to create a mold; in the process of drying, the leather becomes stiff and sturdy.
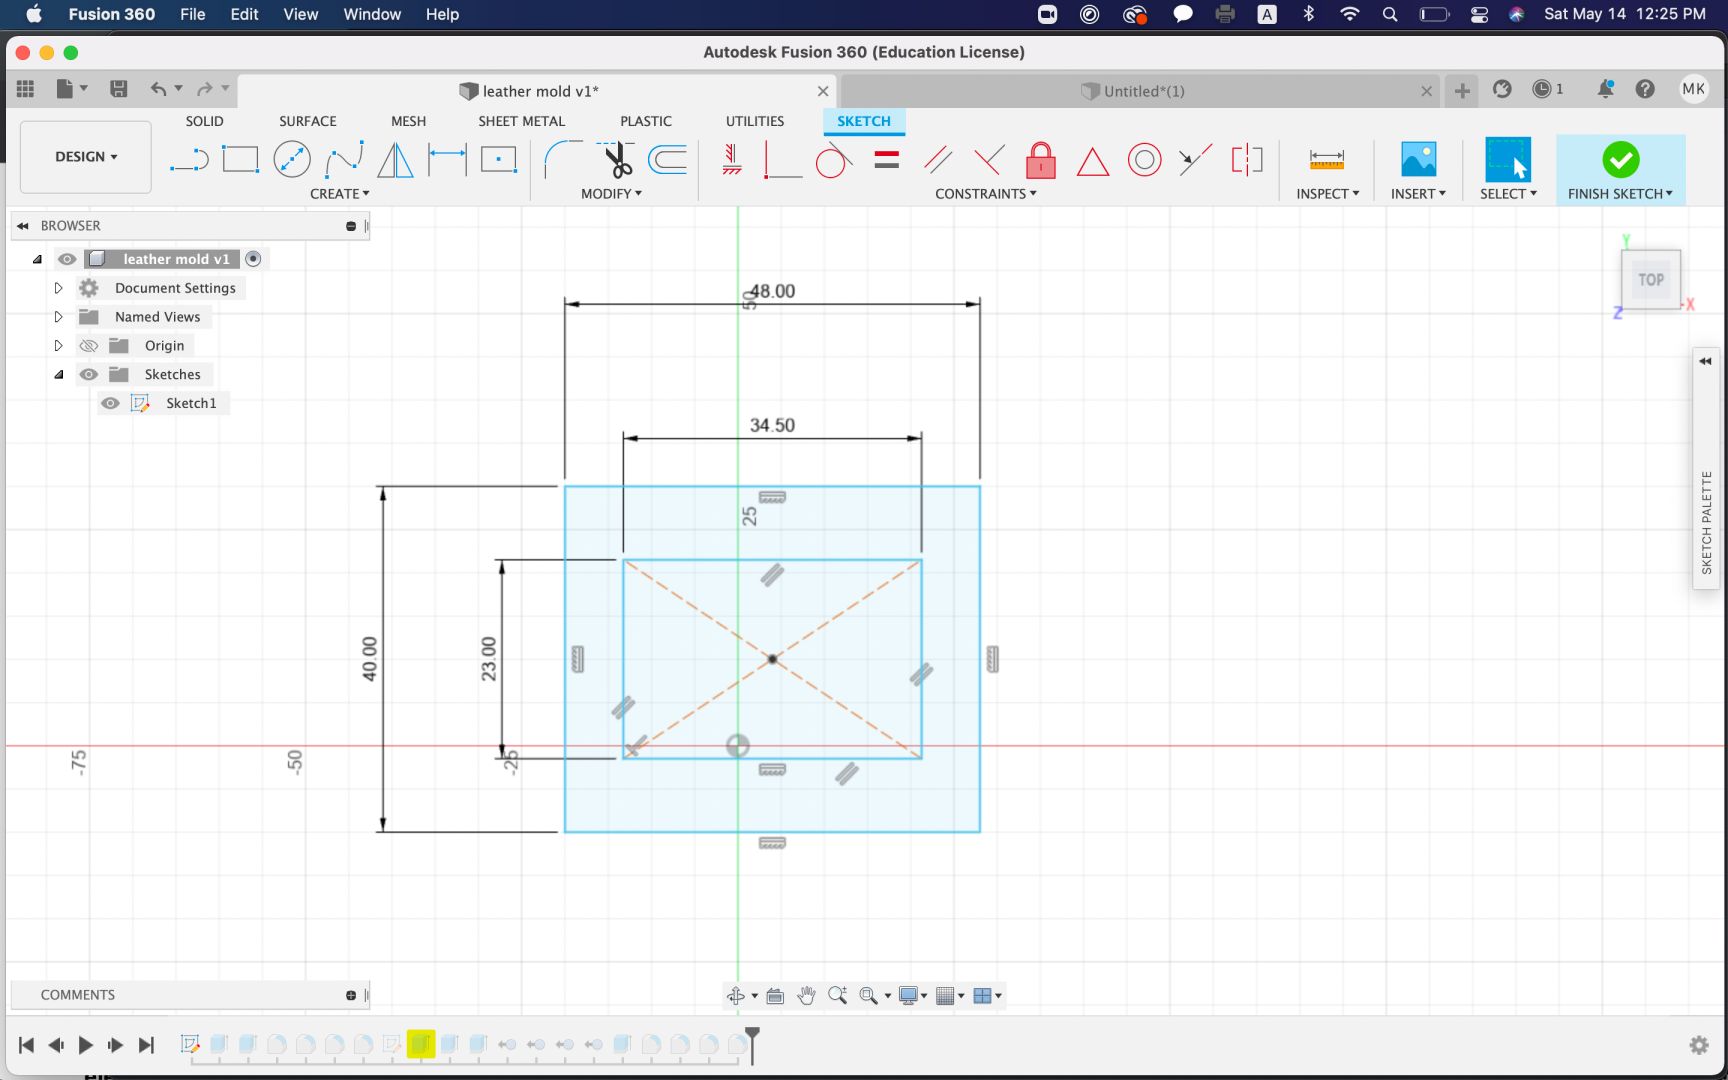
To incorporate composites with my final project, which would be a smart-watch with an OLED screen that monitors the heart rate, I decided to create a mold for the face of the watch (with the OLED screen). I decided to 3D print a basic design of the structure of the face of the watch using Fusion 360.
The dimensions of the OLED screen were the following: Diagonal Screen Size:1.30” Number of Pixels:128 × 64 Color Depth:Monochrome (White) Module Construction:COG Module Size (mm):34.50 x 35.00 Panel Size (mm):34.50 x 23.00 x 1.45 Active Area (mm):29.420 x 14.70 Pixel Pitch (mm):0.23 x 0.23 Pixel Size (mm):0.21 x 0.21 Weight (g):2.18 Duty:1/64 Brightness (cd/m2):100 (Typ) @ 12V
Therefore, I considered the “Panel Size (mm)” and designed the face of the watch to be 48 mm x 40 mm x 20 mm. Then, I sketched a center rectangle based on the sketch for the face of the watch for the OLED screen. The dimenstions were 34.5 mm x 23 m x 1.45 mm. Since I had extruded the face sketch by 20 mm, I extruded the OLED screen sketch by 21.45 mm to account for the height of the OLED screen.
I then downloaded an STL file of the Fusion 360 design and moved it into Prusa Slicer to visualize the 3D printing process; I used 0.20 mm NORMAL for the print settings and used Creality Ender-3 V2. I then exported the G-Code and moved it to the SD card of the 3D printer.
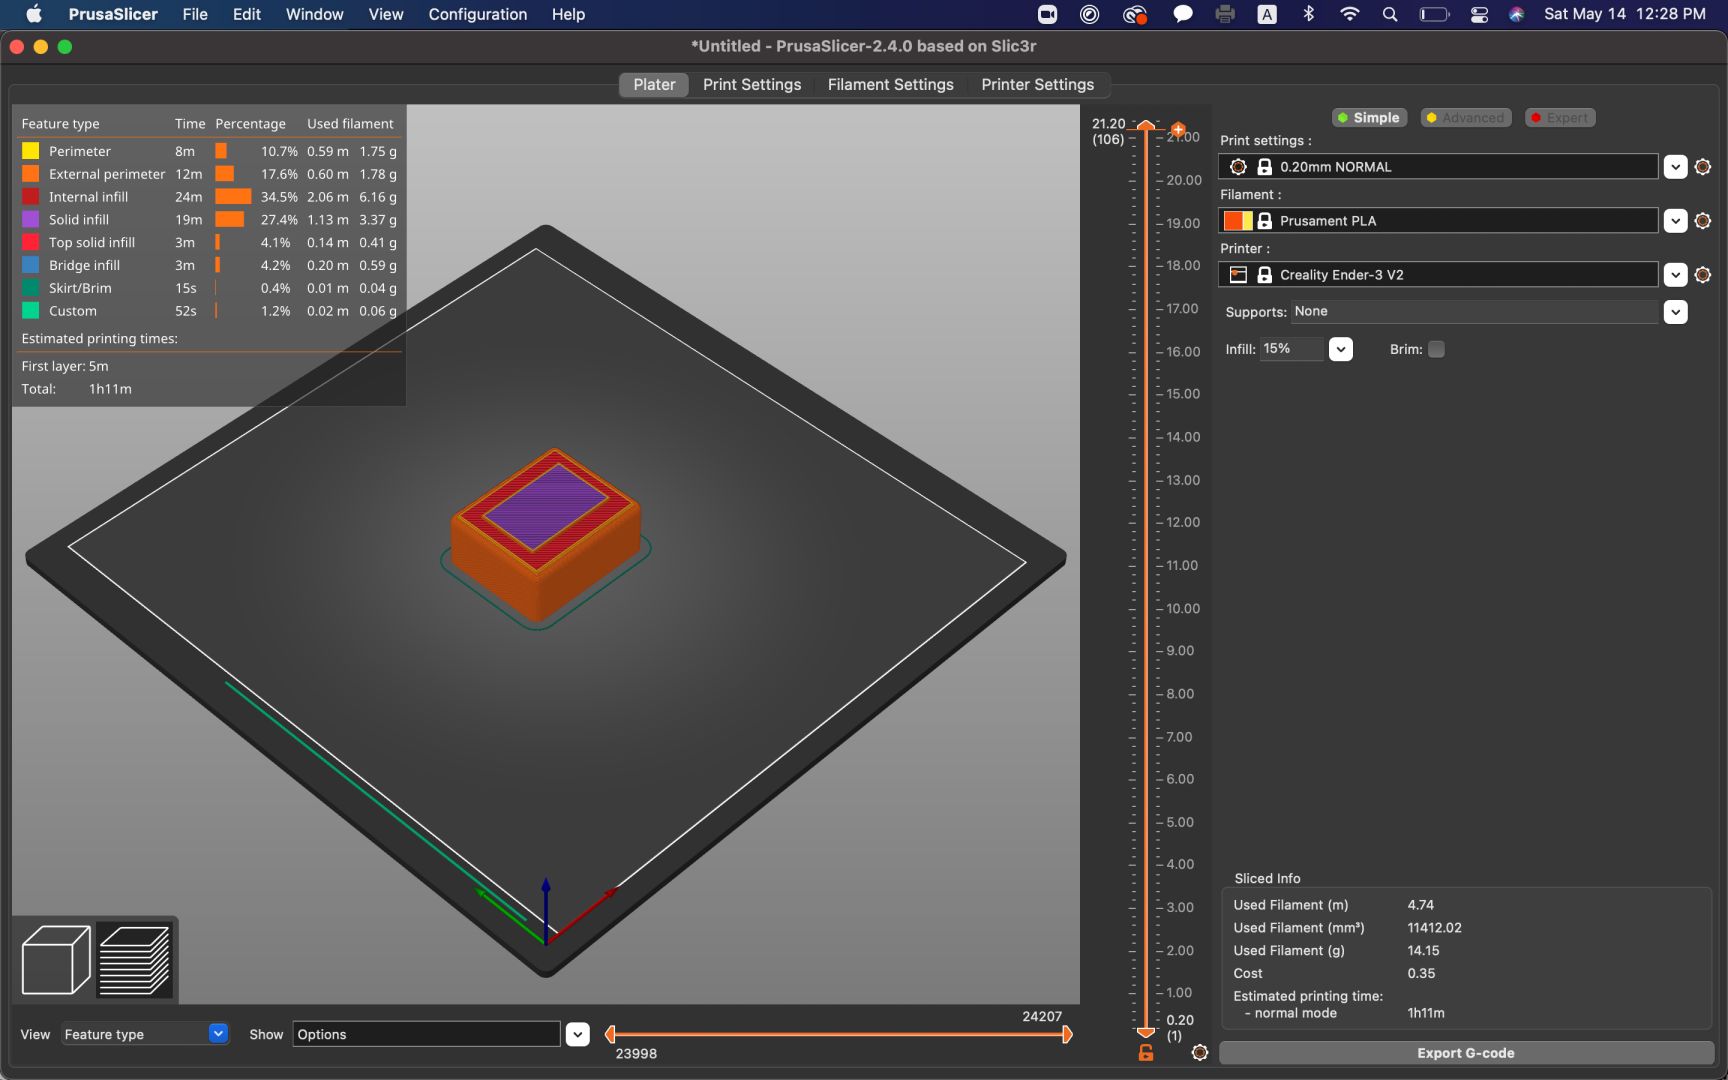 I first pre-heated the PLA Filament and then started printing the design.
 Then, I wanted to create a casing for the 3D printed object using linen.
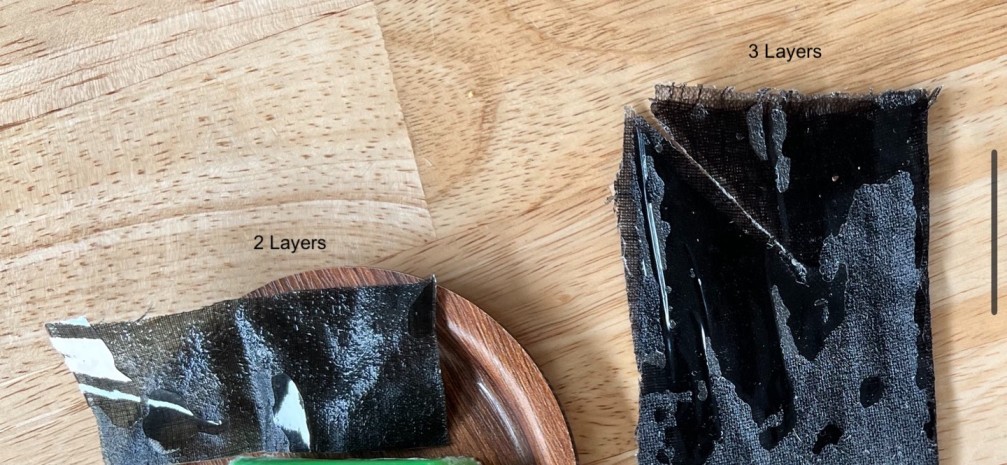
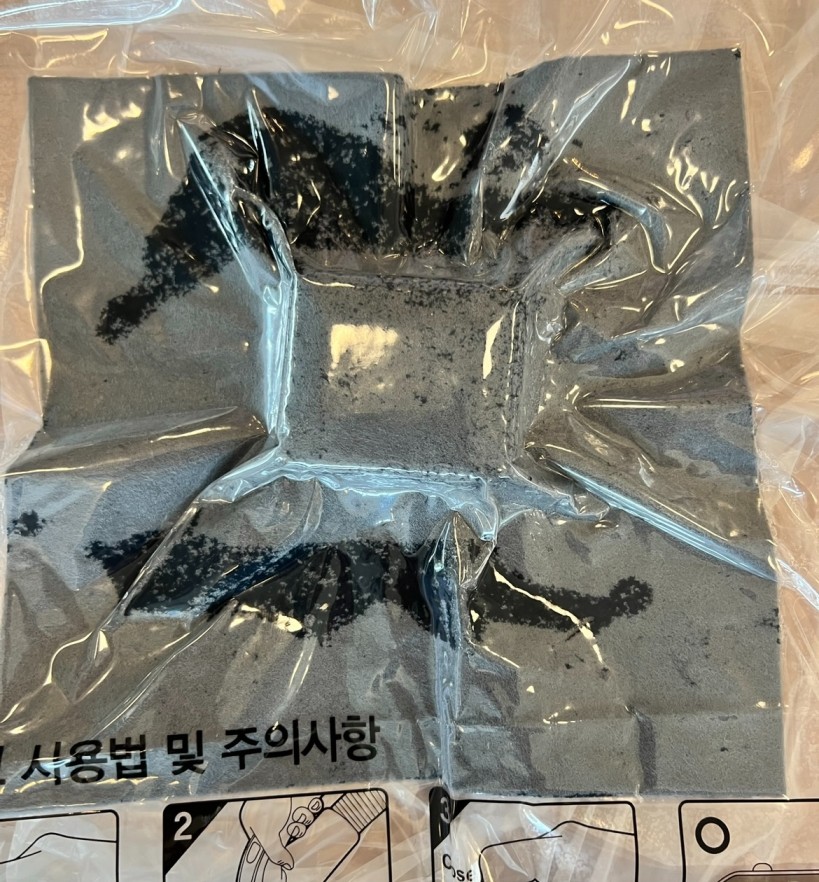
I first made coupons to test out how many layers I needed to get a hard cover, and I thought that 3 layers would be adequate. Some problems that I encountered was that the 2 layer coupon was slightly malleable while the 3 layer coupon was too hard so that I could not make cuts to adjust to fit as a case. Still, I thought that 3 layers would be better to protect the OLED screen, as the 2 layer was less rigid and would not completely protect the screen in the case of damage such as dropping.
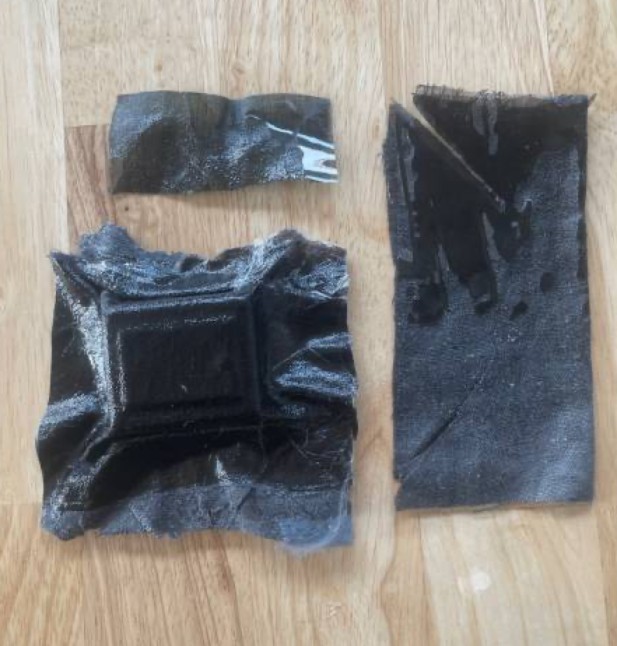 First, I created the epoxy resin mixture by mixing liquids A and B in a 3:1 ration. Then, I cut out linen and made cuts on all 4 corners. I put on layer of linen on top of the 3D OLED box and poured/applied the resin - then, I repeated the process for all layers.

After doing so, I used a vacuum to remove all air and let it dry to harden.
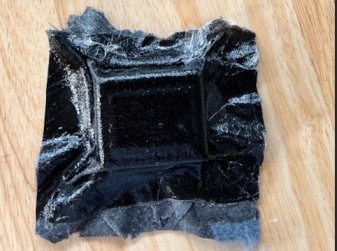
 Here is the final product! I did not trim/cut the edges, but I made sure that the casing fit the OLED!
 ![](../images/week16/
From this week, I was able to learn about using resin and linen to create a casing. Moreover, by making coupons, I was able to learn the importance of making samples before making the final product, as this could lead to the product becoming too hard or too malleable. This week was especially helpful for me, as I need a casing for my final project, which will require an OLED monitor. Therefore, by using the skills I learned from composites, I will likely create a casing using linen or other materials.
![](../images/week16/
From this week, I was able to learn about using resin and linen to create a casing. Moreover, by making coupons, I was able to learn the importance of making samples before making the final product, as this could lead to the product becoming too hard or too malleable. This week was especially helpful for me, as I need a casing for my final project, which will require an OLED monitor. Therefore, by using the skills I learned from composites, I will likely create a casing using linen or other materials.