10. Moulding and casting
Group assignment: review the safety data sheets for each of your molding and casting materials, then make and compare test casts with each of them extra credit: try other molding and casting processes
Individual assignment: design a mold around the stock and tooling that you’ll be using, mill it (rough cut + three-axis finish cut), and use it to cast parts extra credit: use more then two mold parts
Safety Data Sheets
For this week, my task was to mold and cast an object. Before being able to mold and cast, I had to read and review the data sheets for the materials that I would use and look at necessary factors such as cure time and pot time. I could find the information in the smooth-on.com website, which is where the Mold Star Silicone Rubber material I used was purchased from.
The link from the 31T Silicone Rubber Mold Star that I used is here, and there is information about necessary aspects to consider. - Product Sheet
Work
For this week, I decided to create a Fab coin based on my puppy, Coco, a bichon frise. In the beginning, I decided to make a two-part mold in which there would be 2 sides to the coin. However, I found it very difficult to design a 2 part mold - therefore, I changed my plans to work on a one part mold instead.
Some parts to consider for the 3D design for moulding and casting is that I would have to have variations in the 3D aspect (such as nose of the bichon frise design extruded out while the lips are extruded in, etc.) as well as to consider whether these small details can be managed when molding and casting (inaccuracies when moulding). Moreover, if I were to create a 2-part mold, I would have to design holes in which air would evaporate through and in which the material will be poured in through. Finally, for my 1-part mold, I needed a small dent in the front so that I could take out the final product after it was casted; without this dent, it would be hard to take the hardened silicon out.
I found an image of a bichon frise on google and used illustrator to make a path trace for the image. Then, I imported the dxf file to Fusion 360 to work on the files.
On Fusion 360, I created a circle and extruded it to resemble the coin that I would make. Then, I centered the dxf image on the circle and then placed it so that it would dig into the box. The box on Fusion 360 resembles the wax (rectangular box shaped) that I would use and would mill the design on.
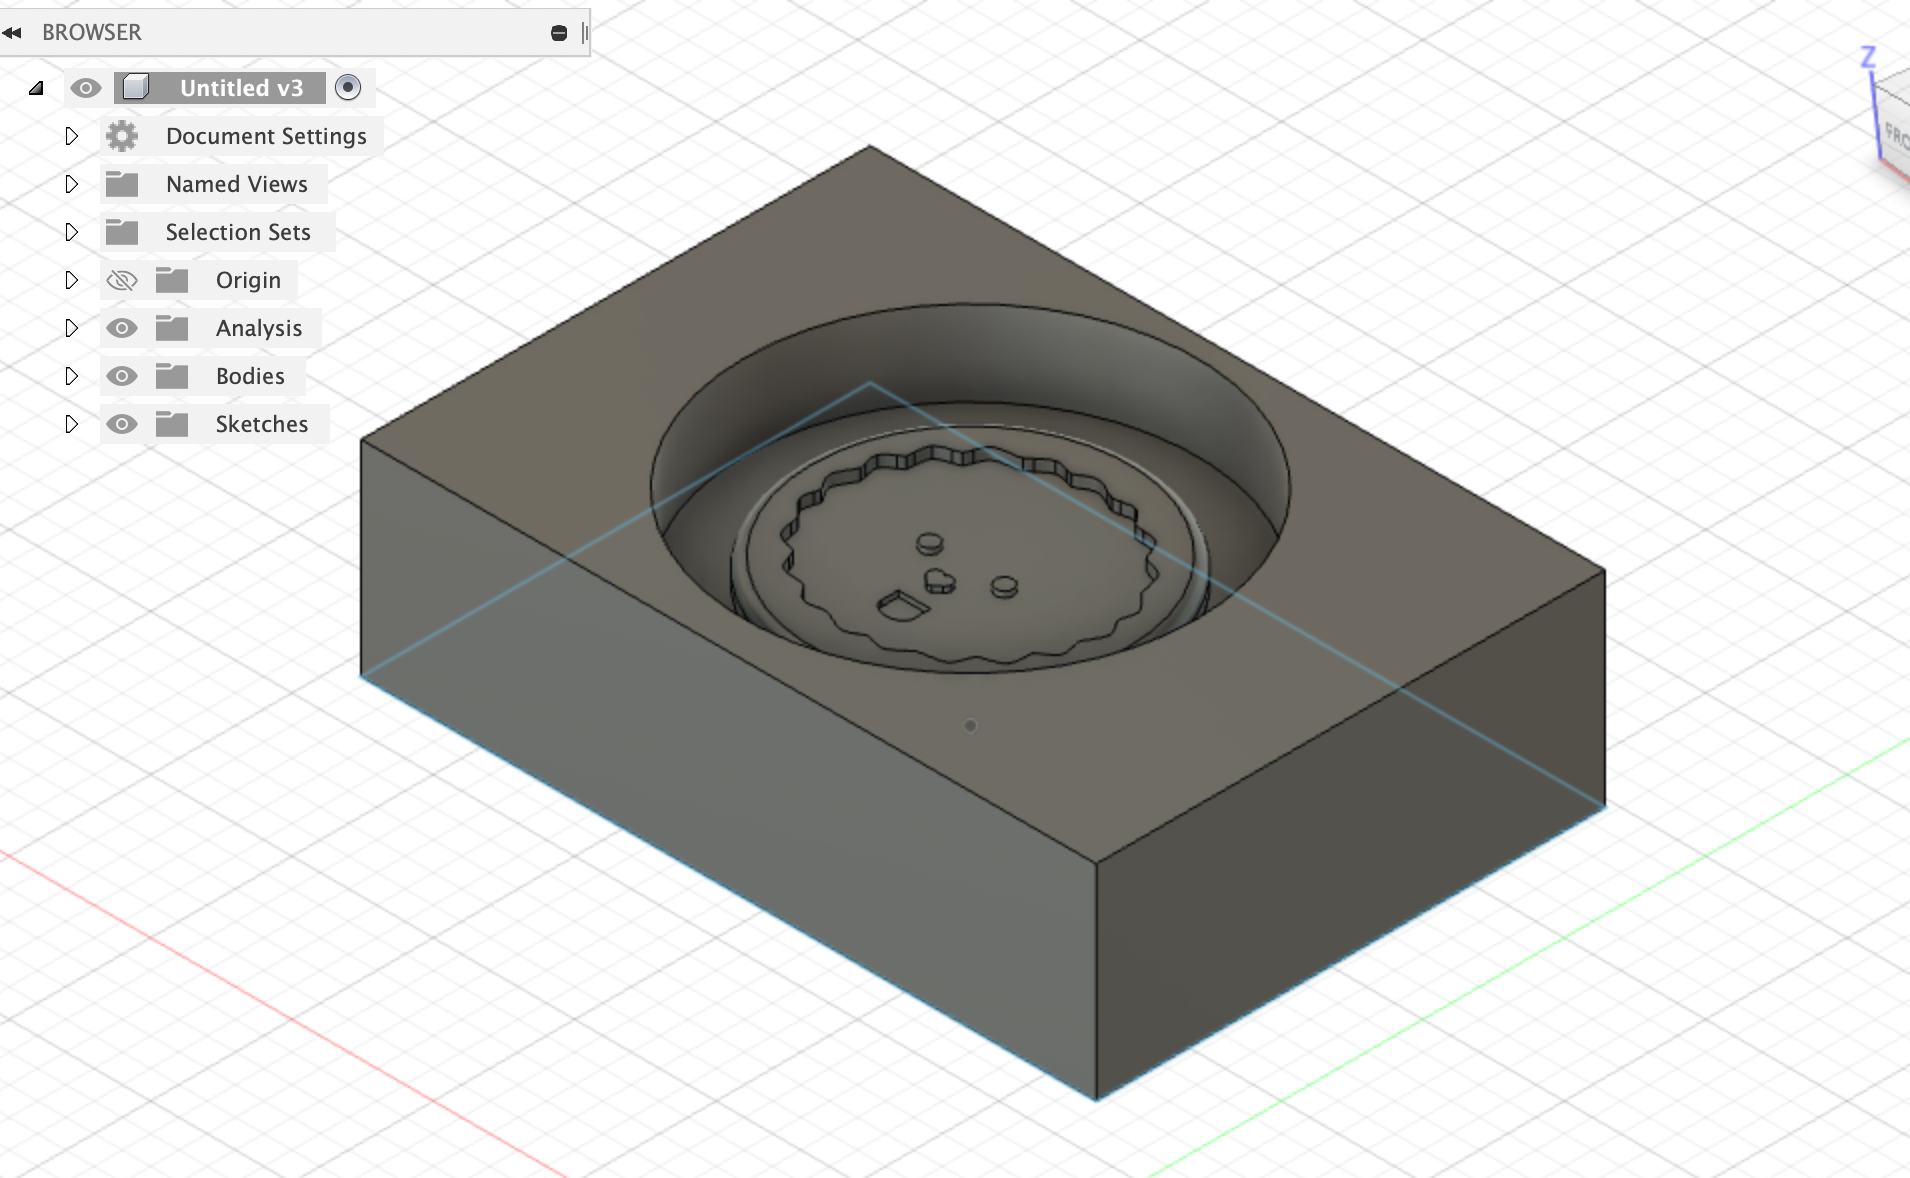
Here is the link to the design on Fusion 360: - File
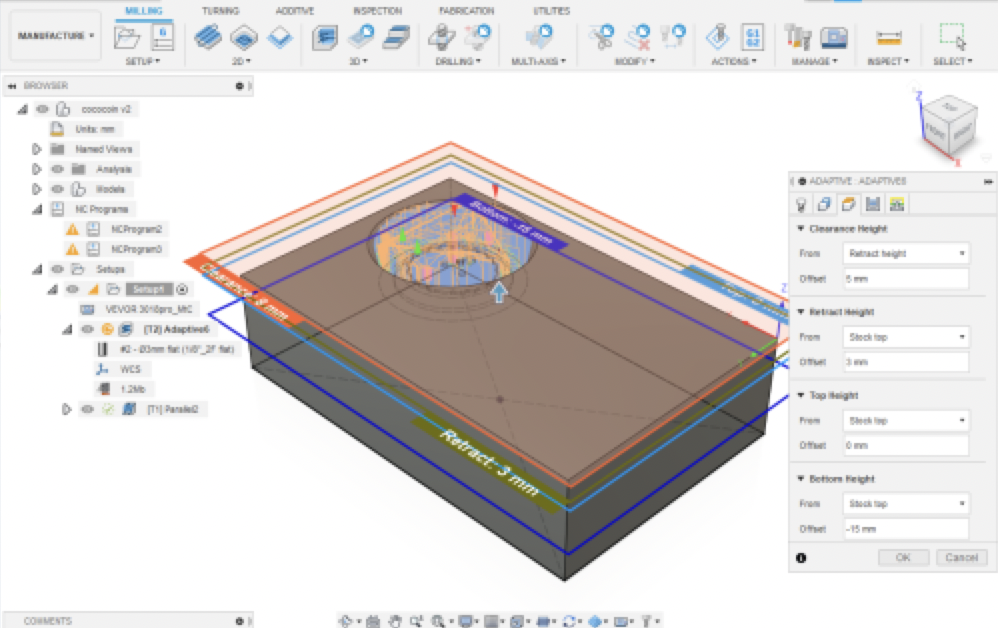
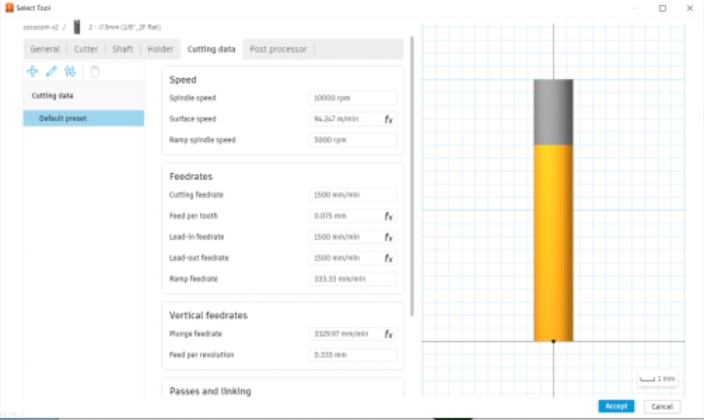
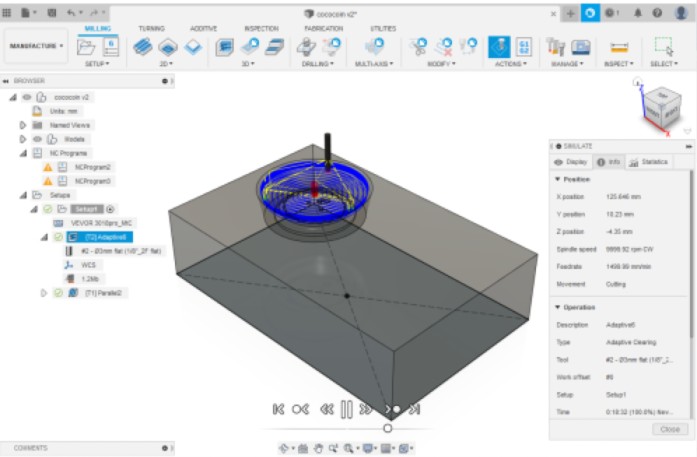
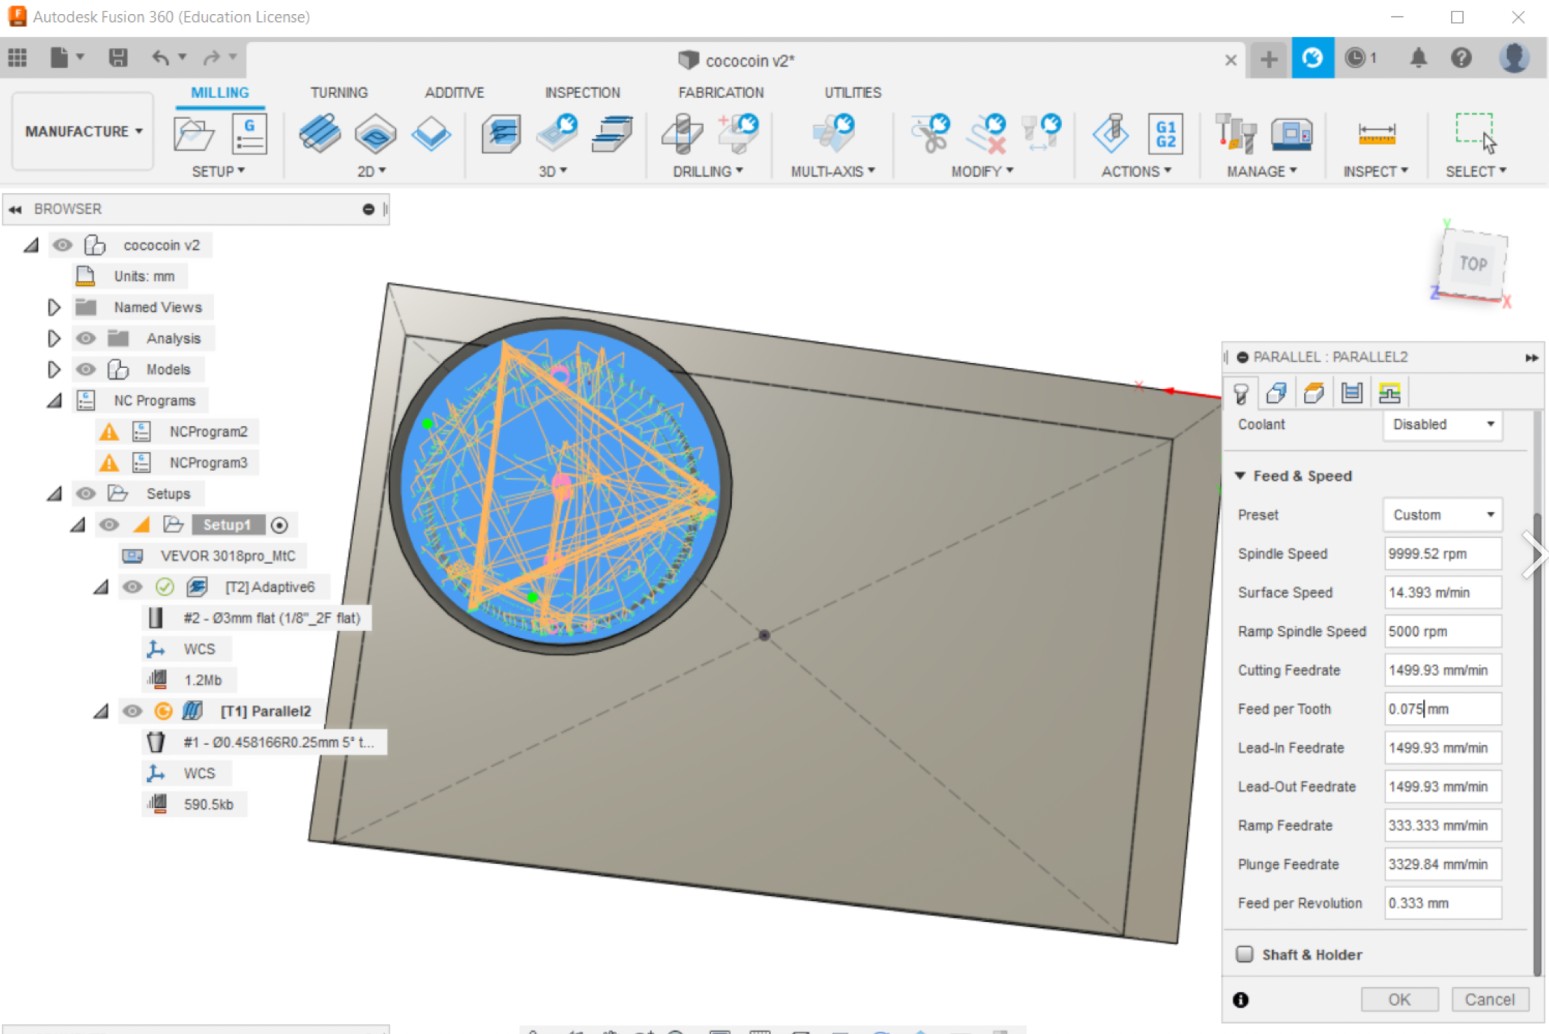
After finalizing the design, I went to the manufacturing mode of Fusion 360 and input the settings of my printer and endmill and obtained the G-code to use for the CNC and milled the wax using the design file. In the manufacturing code, I read about various tools and chose the milling option that I wanted/was suitable for my design. Then, I changed the options for the endmill based on the endmill I was using for my CNC and the speed. By running the manufacturing preview, I was able to see how the wax would be cut according to the design file and the settings.
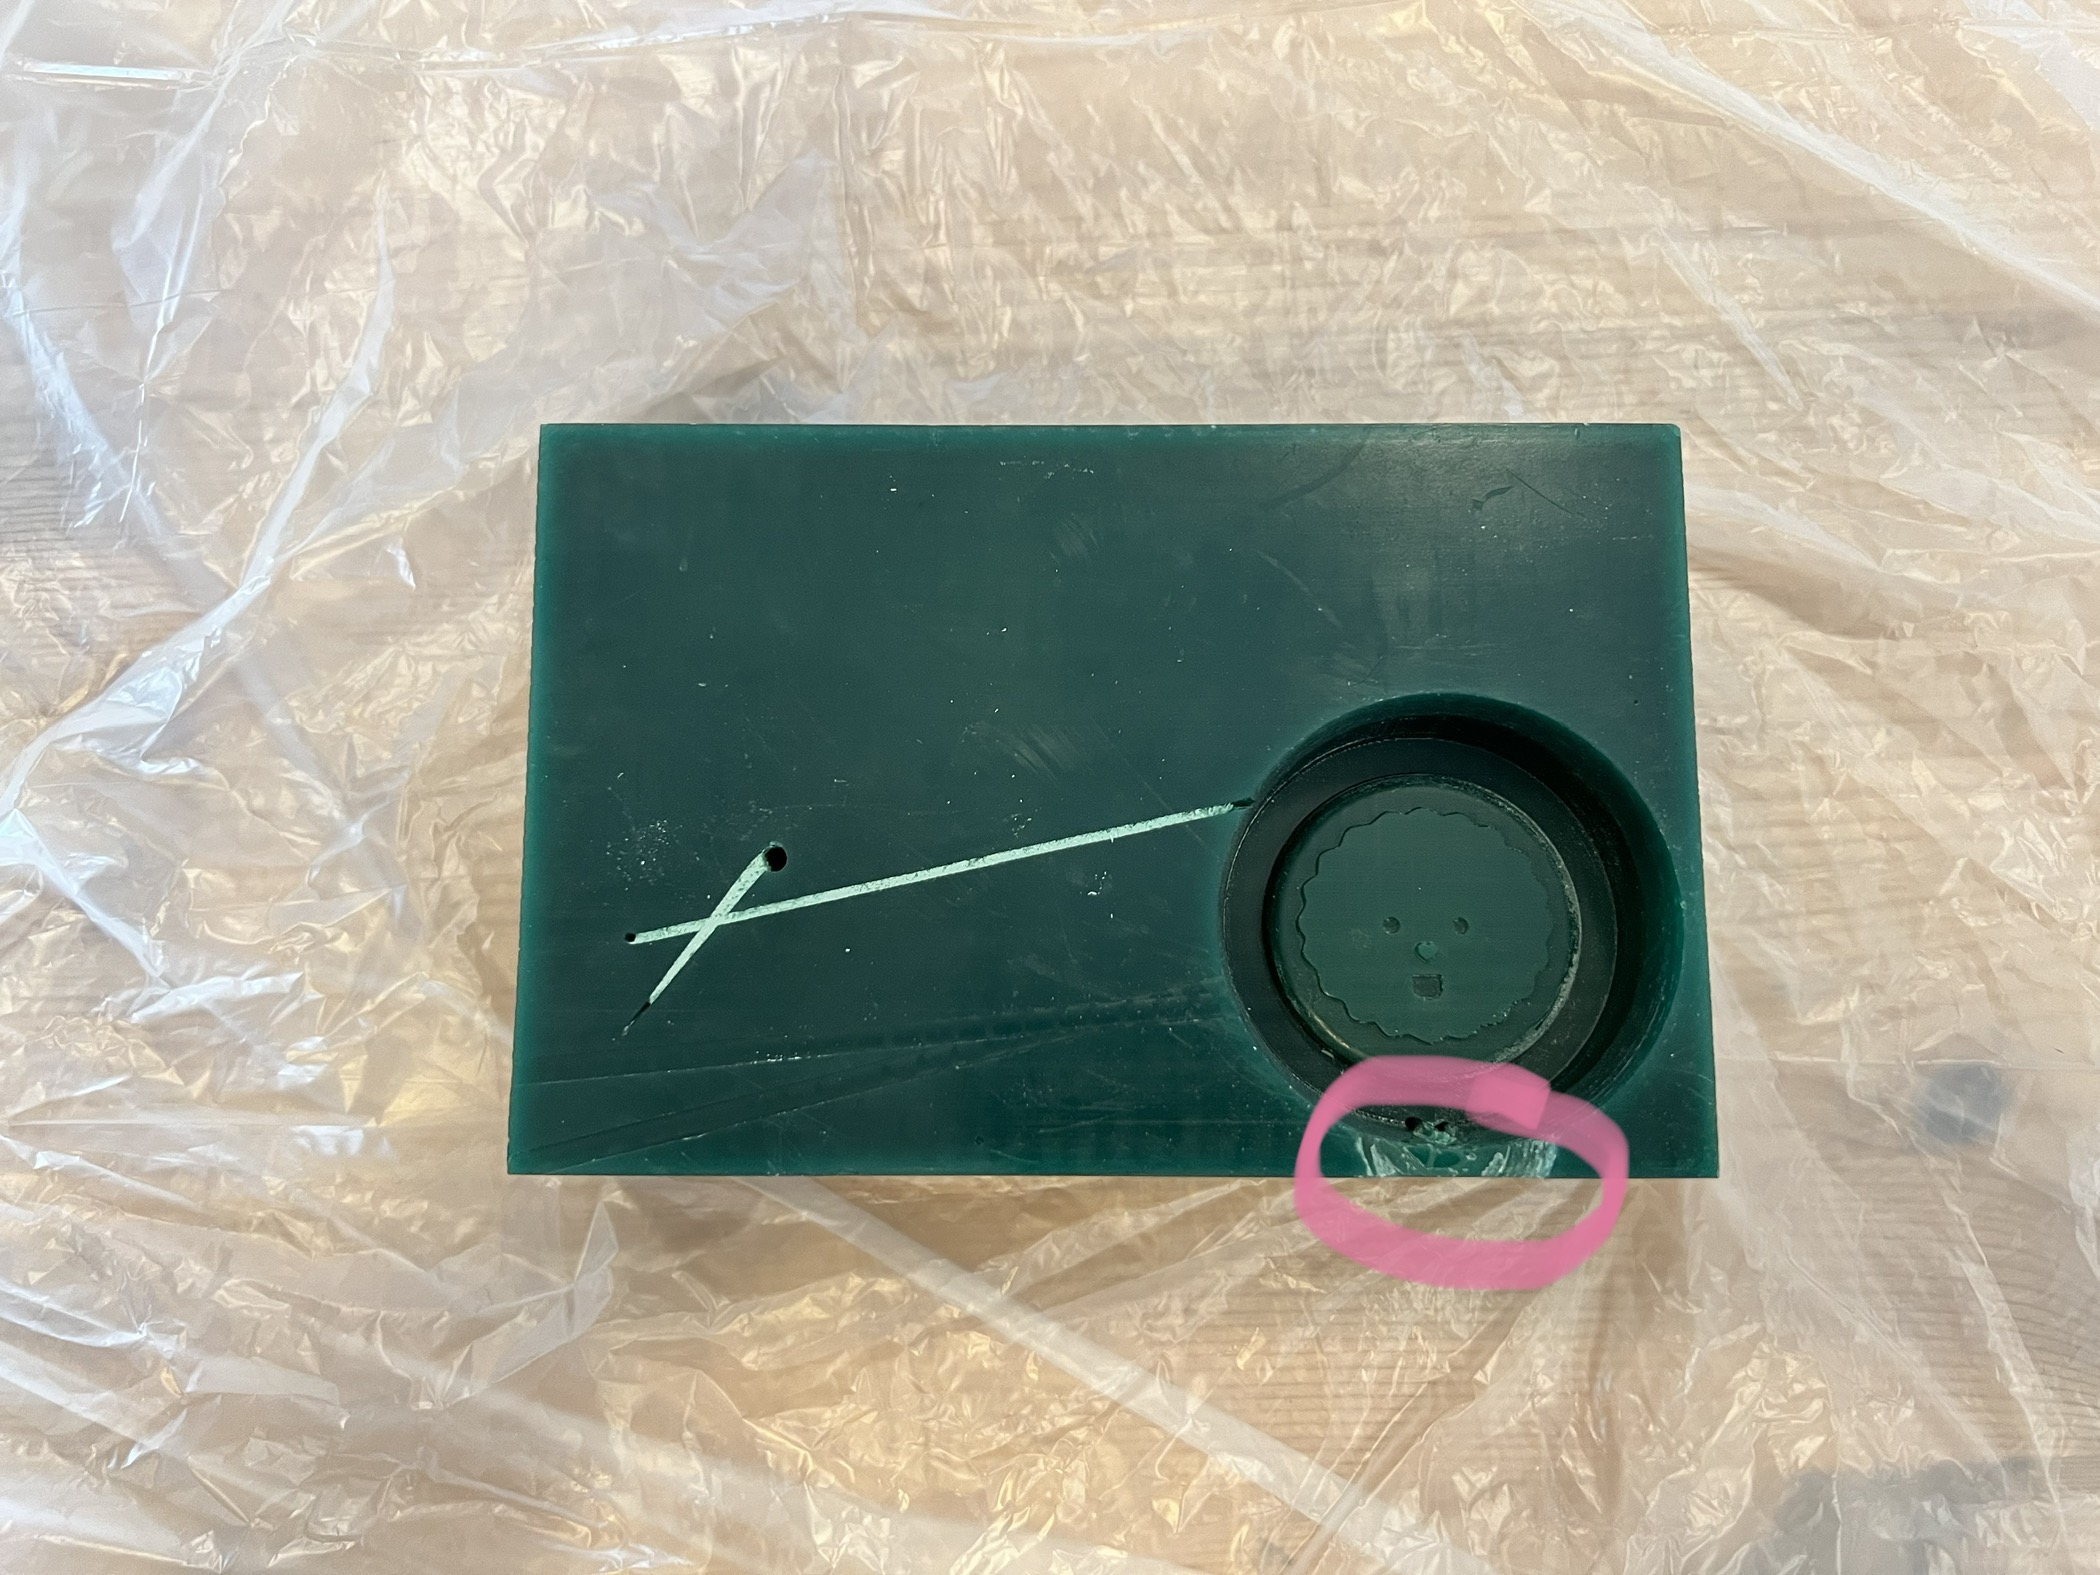
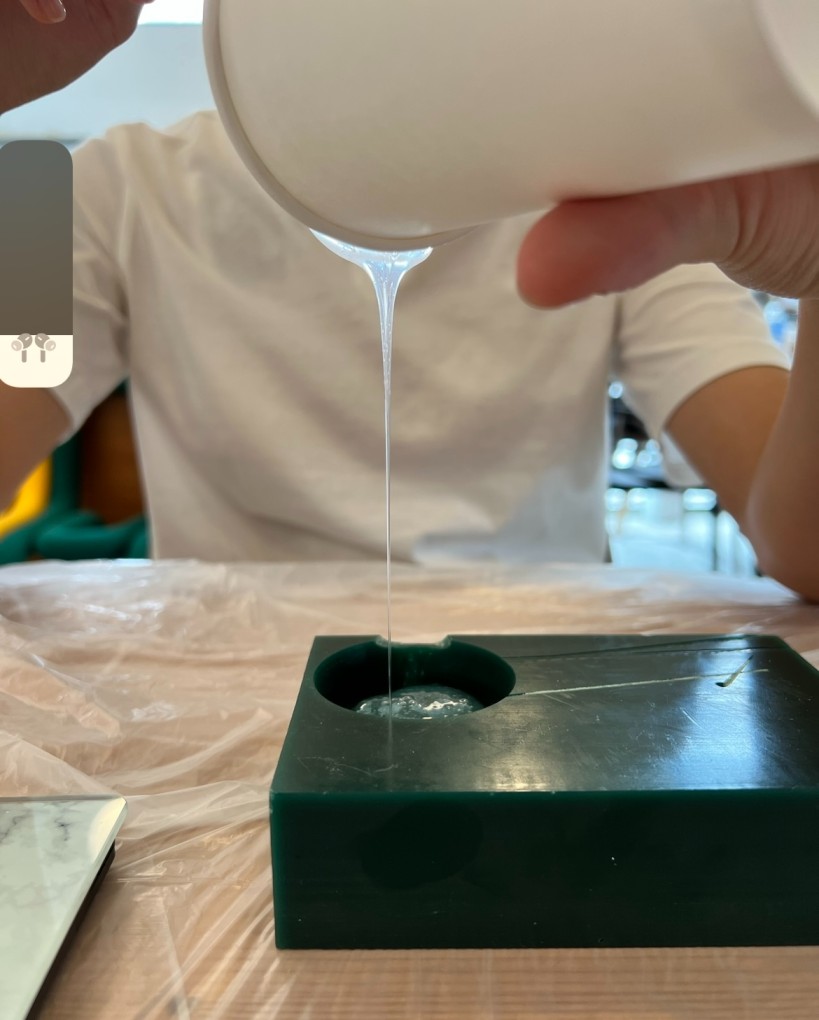
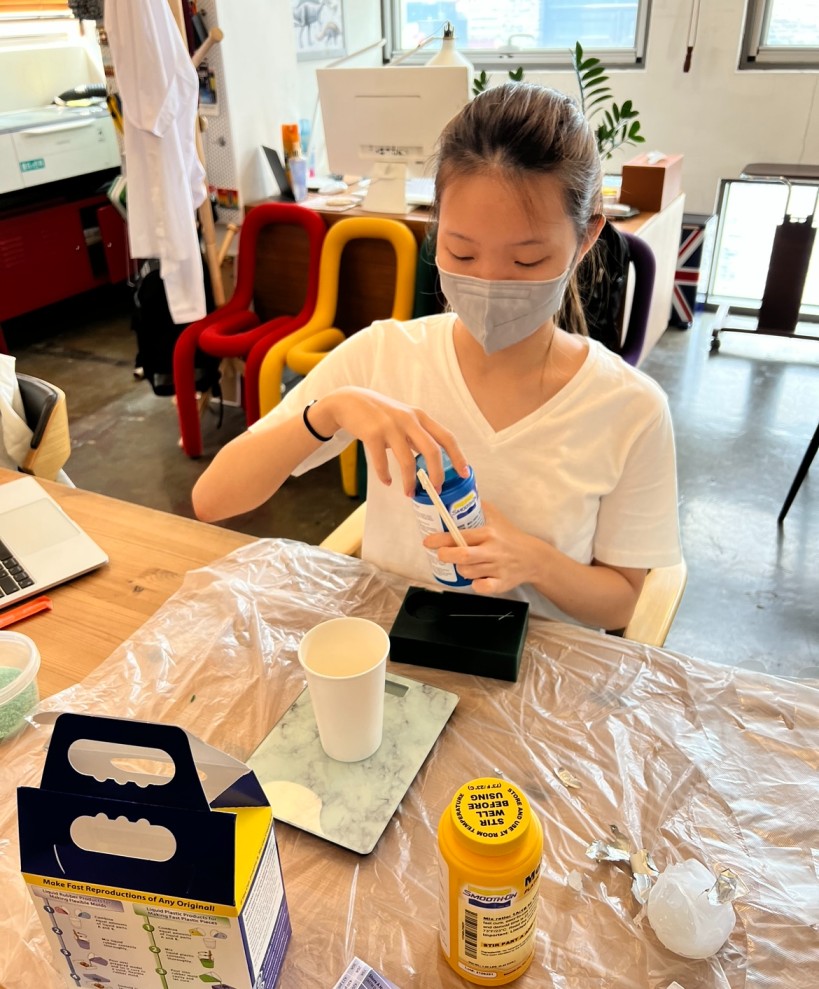
Then, I mixed the Mold Star materials based on the 1:1 ratio for parts A and B. I mixed slowly to avoid creating bubbles. Immediately after creating the mixture, poured it into the wax. Once the mixture hardened, I obtained a silicon mold of a coin with my dog on it!
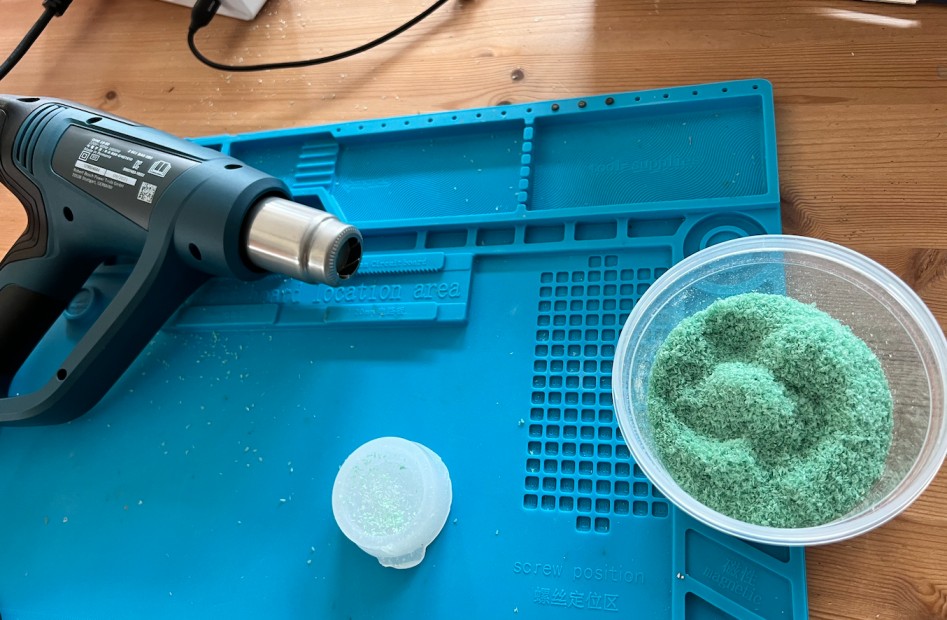
To test, I tried to freeze water, which did not work because the freezer was not as cold as I expected it to be, unfortunately. Therefore, I used resin by mixing components in a ration of 3:1 and mixing iridescent glitter for aesthetics. I poured it in and left to harden overnight. Meanwhile, I also used the wax that had been released while the wax box was being milled in the beginning of molding and casting. I used a heat gun to melt the wax and then poured it in the mold.

Here is the final product!
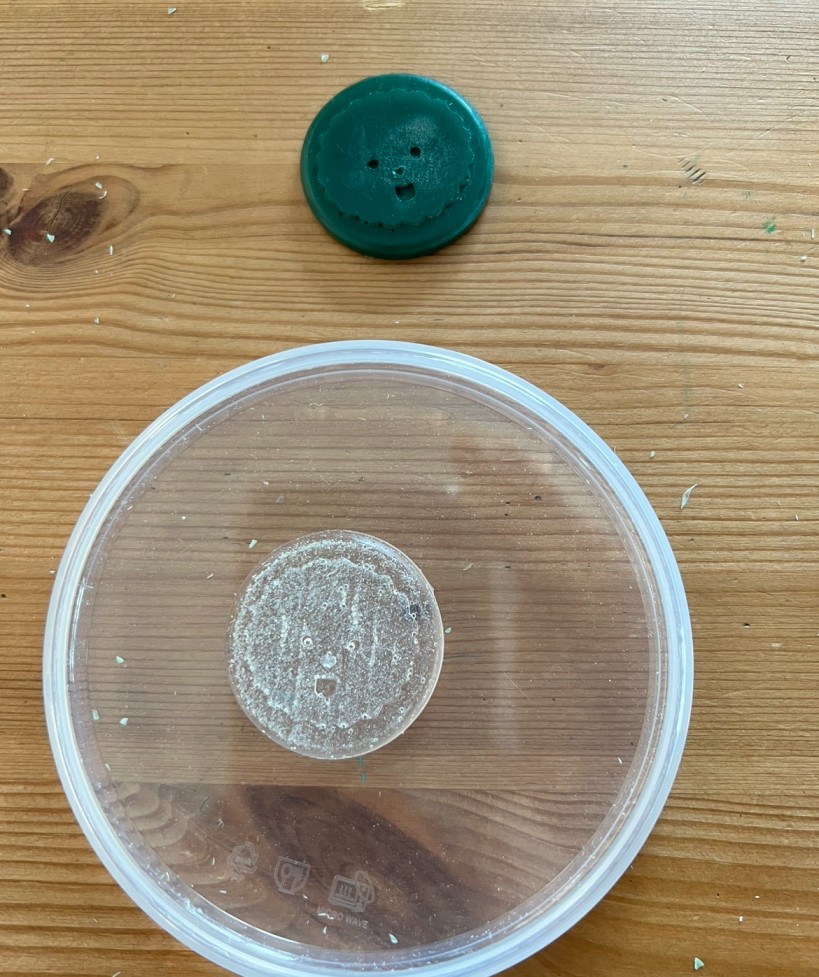
Problems
A problem that I encountered while casting from my mould was that the resin did not solidify even after a long period of time, likely due to the thickness/puddle of resin inside the mould (silicon) and the humid air. Therefore, while using the heat gun to melt the wax, I cured the resin by using the heat gun on the resin. Also, another problem I encountered while designing on Fusion 360 was creating a small dent on the side of the circle in order to ensure that materials such as resin or others could easily be taken out of the mould. Because I had initially not added a dent/hole, I had to design a small crease using fillet and hole.