11. Output Devices
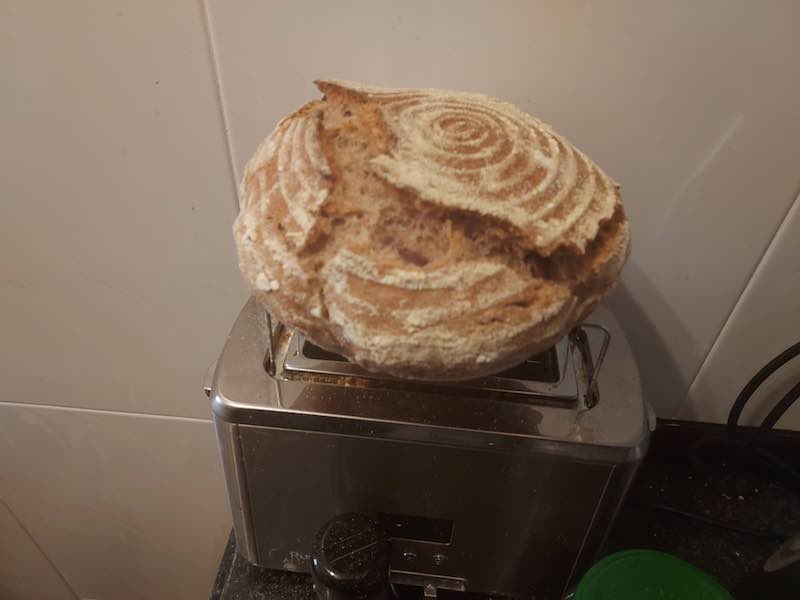
This Week’s Loaf
Sourdough 85%, white 10%, Rye 5%
Making bread - just three ingredients: Water. Flour, Salt. Yeast is captured in the wild of my kitchen and cultured through a starter made of just flour and water. So simple. But infinite learning with just three elements: Water, Flour. Salt.
More than 300 loaves in the last couple of years, each one the same, each one so different, 300 lessons in Water, Salt, Flour.
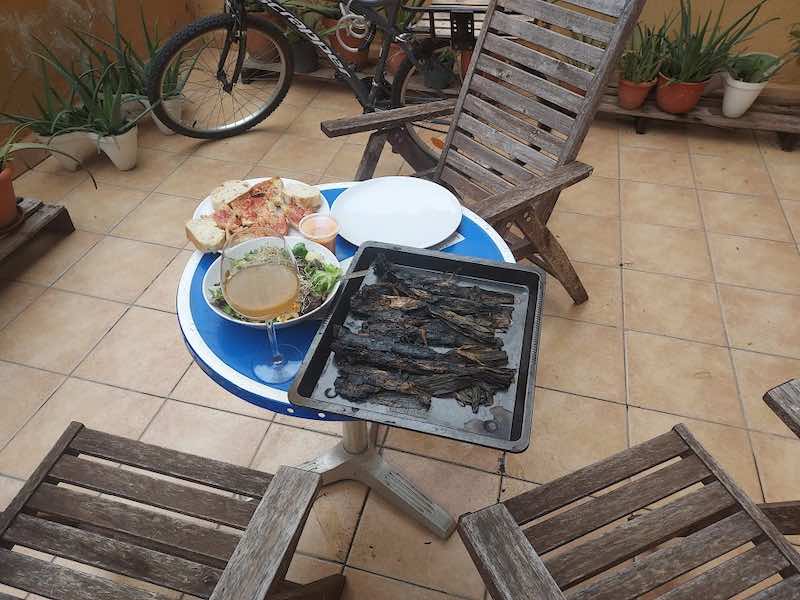
Long winter of ferments, 12-20 hours.
Surprise! Perhaps proofing too long at room temp before going in the fridge for the long ferment? Will it still be bread?

So forgiving, so delicious.
Farina, aigia, sal, oli.
Pa amb tomaquet tomorrow....
Keep Calm and Bake Bread
Assignments
Group assignment:
    Measure the power consumption of an output device
    Document your work to the group work page and reflect on your individual page what you learned

Individual assignment:
    Add an output device to a microcontroller board you've designed and program it to do something
Assessment Criteria:
Linked to the group assignment page
Documented how you determined power consumption of an output device with your group
Documented what you learned from interfacing output device(s) to microcontroller and controlling the device(s)
Described your design and fabrication process or linked to previous examples.
Explained the programming process/es you used.
Outlined problems and how you fixed them
Included original design files and code
Included a ‘hero shot/video’ of your boards
Overview
I have been eagerly anticipating this week as well as the input device week - this is where bits touch atoms, sensing and effecting things in the real world. Where physical entropy meets information entropy.
I decided to work on a board that can be used in my final project, converting a toaster oven to run on solar energy. I call it a Sunduino.
Here are the inputs and outputs to the control system:
Inputs
- PV volts in (through a voltage divider)
- PV Amps in (mv from a shunt)
- On/Off switch
Outputs
- Oven heater elements 1, 2, and 3
- Led indicator lights for on/off status and oven heater element status
- A display
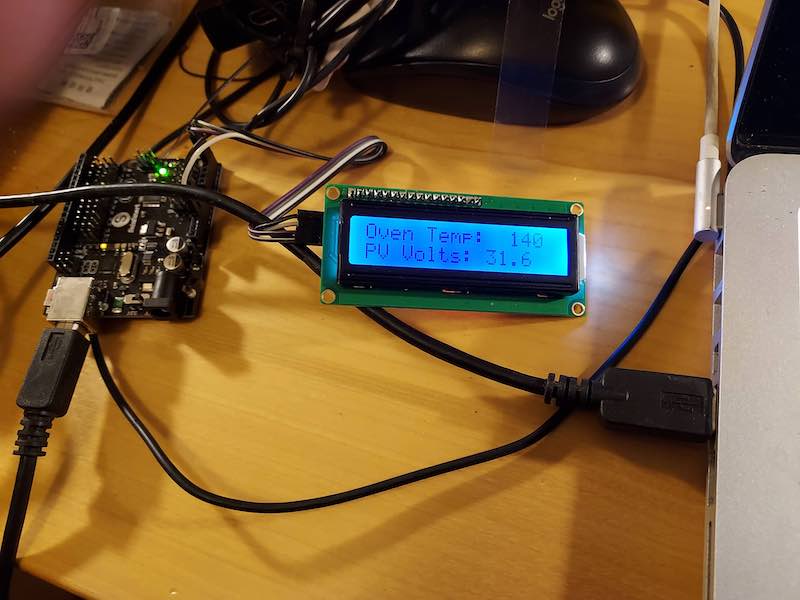
Individual Assignment
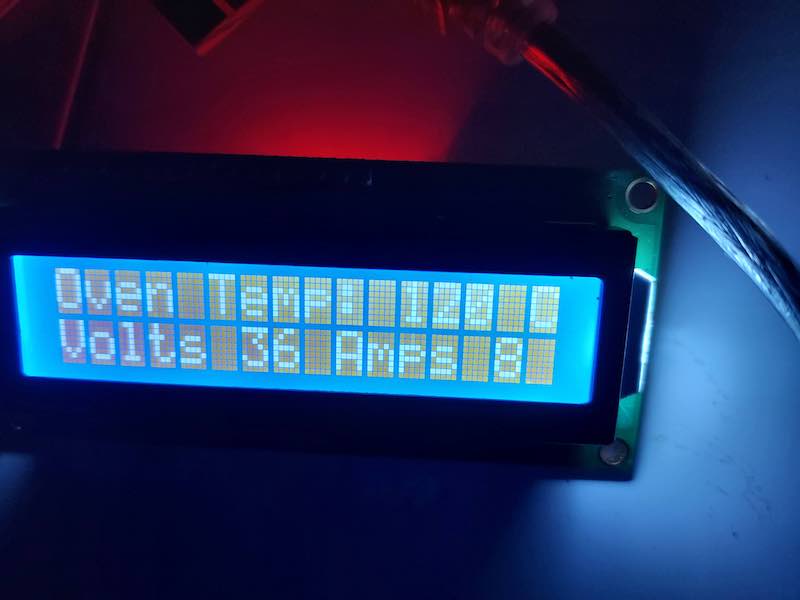
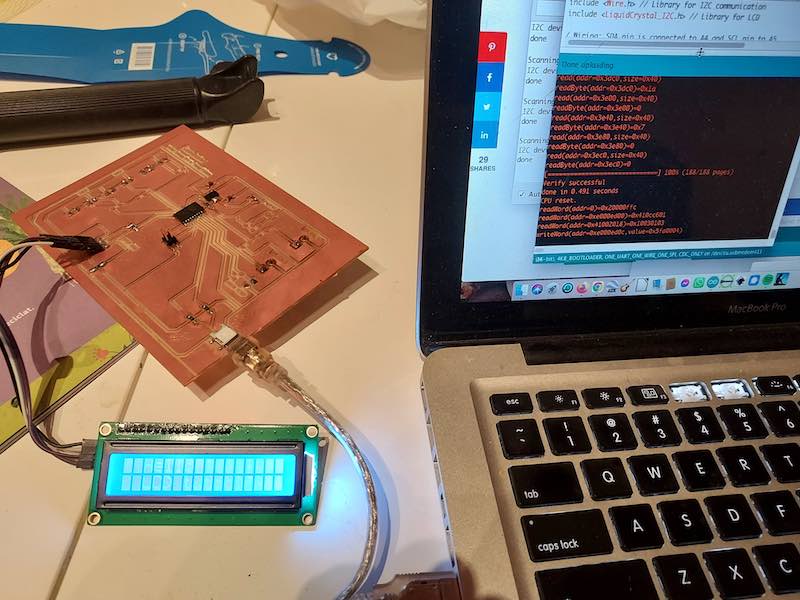
For this week’s assignment, I am trying to get a 16x2 i2c LCD attached to a SAMD controller to work. If I have time, I will also turn on a heater element through a relay or mosfet.
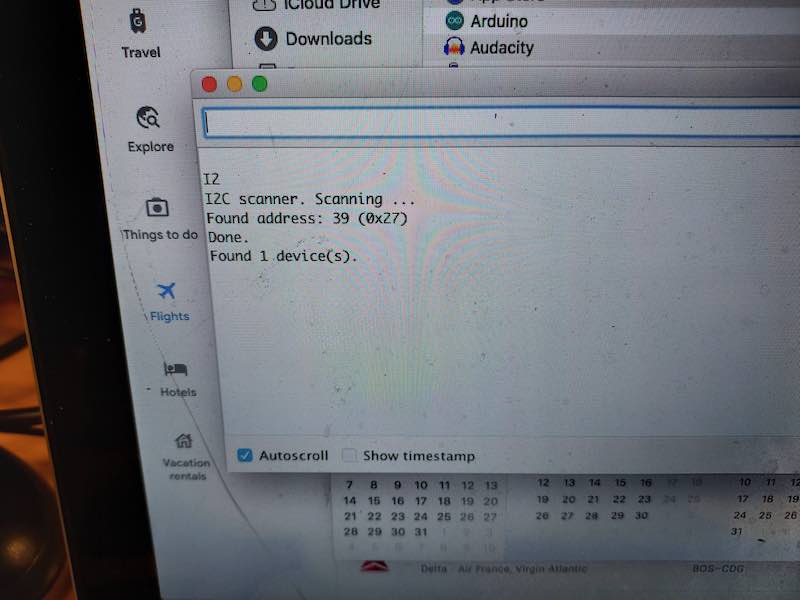
I had plenty of issues getting my board designed and milled, so I used an arduino to eliminate the uncertainties with my board and was able to get a 2x16 lcd running on ic2. Lots of learning here as I tried to get the Arduino IDE working on a raspberry PI 3. Couldn’t get Arduino IDE to wok on raspberry pi with SAMD boards - says Bossoc is not available for this operating system. Tried numerous methods to get bossoc on the pi but in the end none worked, even those recommended on Mattermost. Ended up going back to my mac and having to find the library for i2c LEDs.
Spent about 20 frustrating hours “learning”.
I learned how to find the address of a i2c device
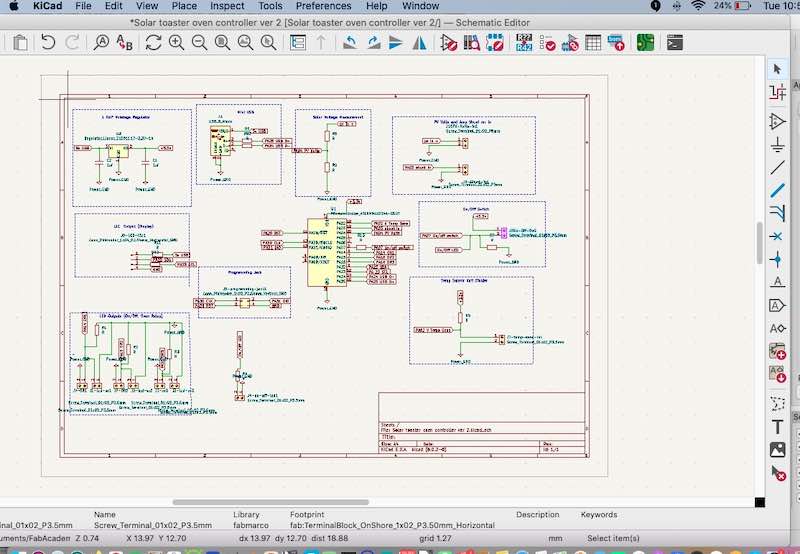
Here are the first drafts of my designs based on the SAMD21:
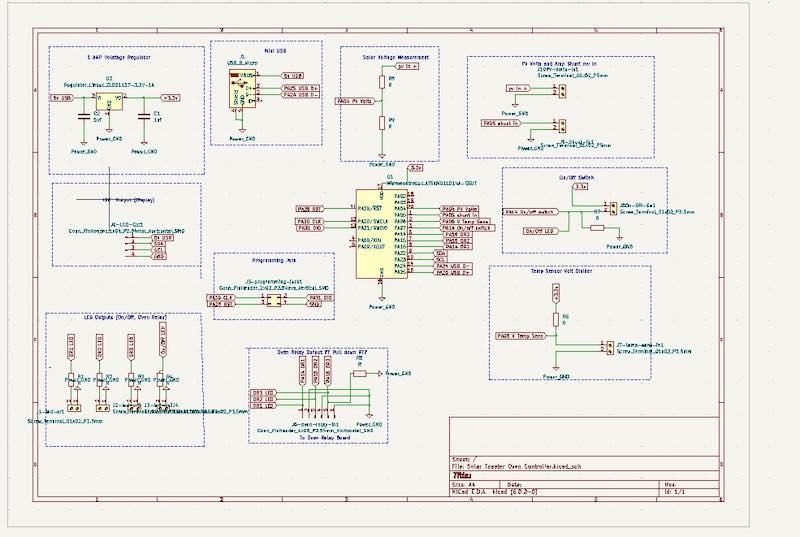
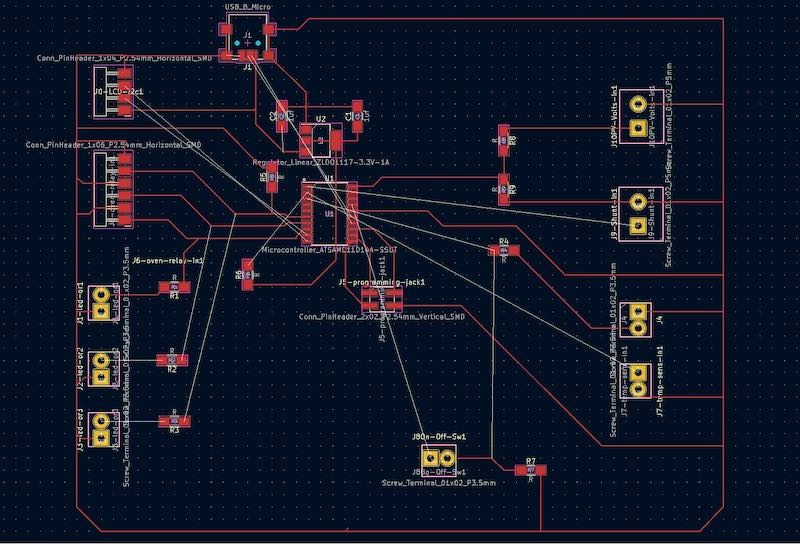
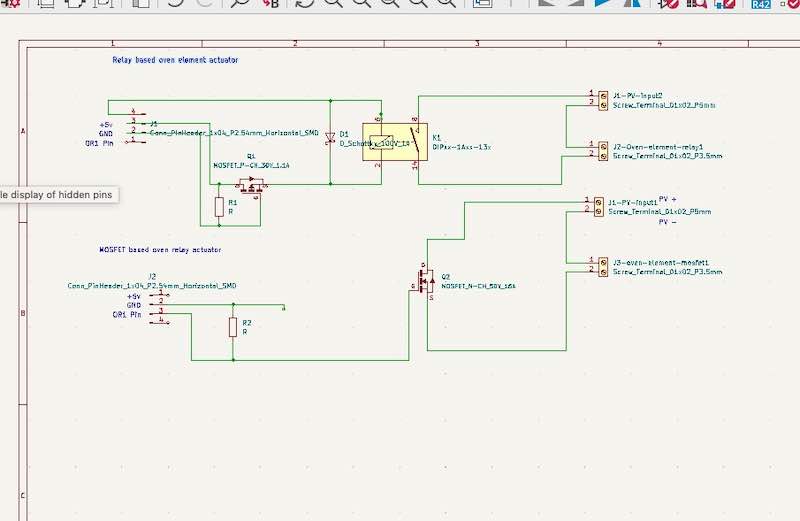
I put the oven relays on a separate board because the may be powered by 150-200 volts, and for safety reasons I wanted the higher voltage stuff on a separate board from the lower voltage stuff.

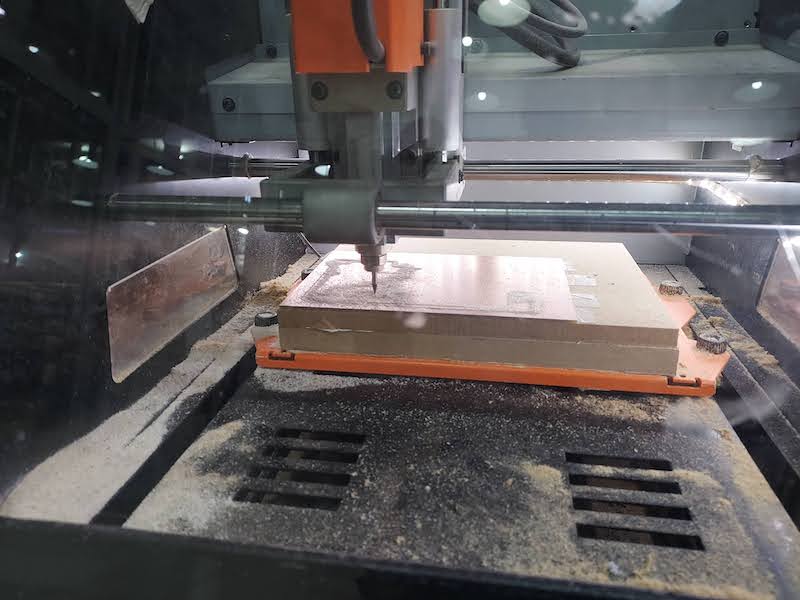
Lots of issues going from kicad to inkscape to mods, then issues because the board was almost as large a the milling stock and the mill wouldn’t start at the origin - there was always an offset. Mods not working in Firefox but works in Chrome. Still working on it.
Solved these issues eventually and got the board milled with the help of Josep.
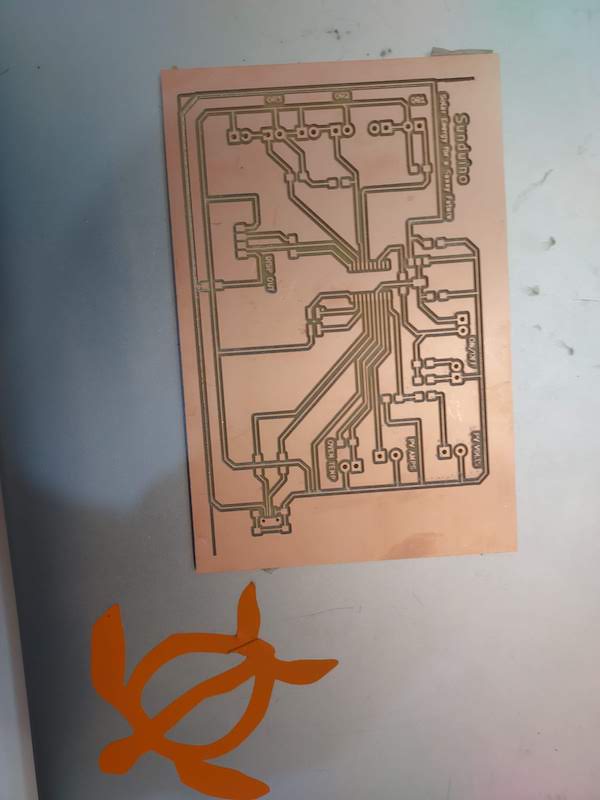
Milled Board
Finished board
Stuffed board
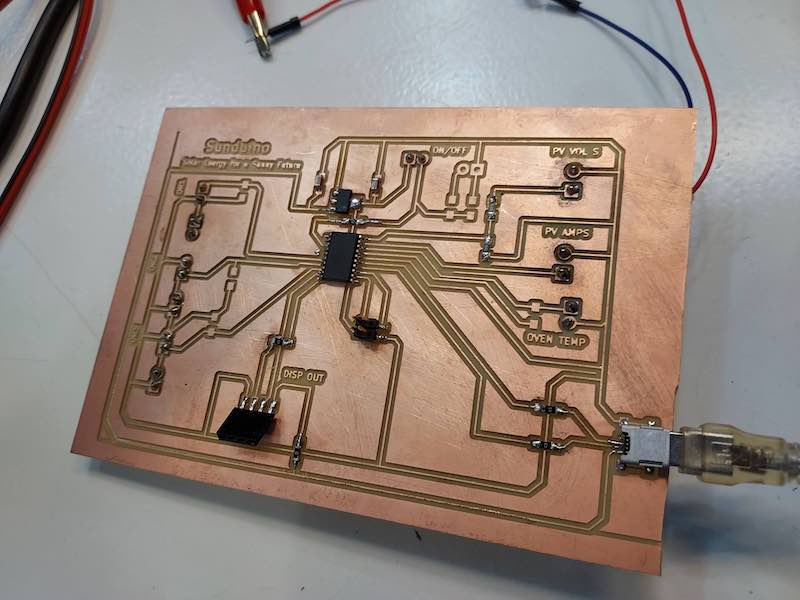
Here’s the final Sunduino board running the display. I used the Arduino IDE to program the Sunduino to run the display.
Design Files
Sunduino
Oven Relay Board
Oven Relay Board Kicad Schematic
Arduino Sketch Files
Group Assignment
The group assignment is linked [here][https://fabacademy.org/2022/labs/barcelona/students/barcelona-group-assignment/assignments/week10-output/output-devices/]
We measured the power consumption of several output devices, including a motor. Power is not easy to measure directly. We measured power consumption by measuring voltage and current. Power is simply voltage multiplied by current.
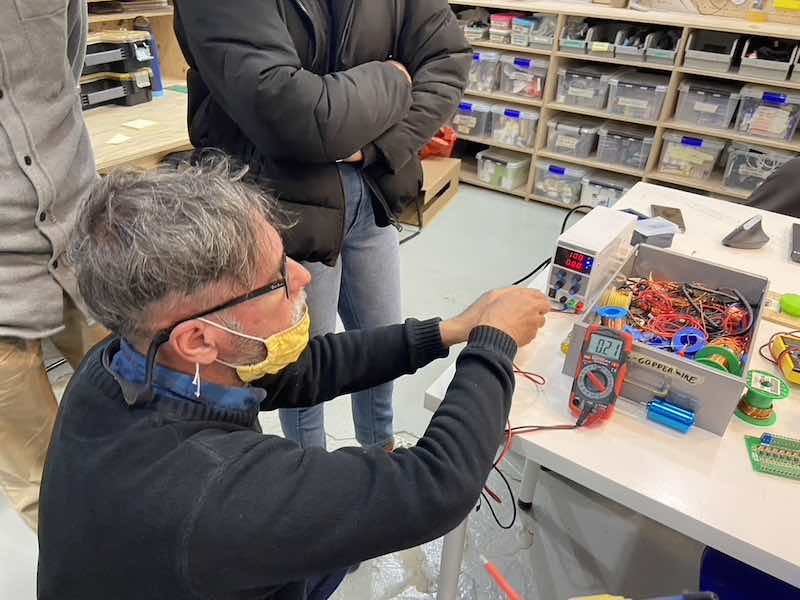
We watched the power consumption change as we varied the torque produced by the motor by gripping the shaft as it turned.
To measure current, generally you need to break the circuit and insert a current measuring device. Often currents are measured by measuring the voltage produced across a small resistor (I =V/R).