15. Application Programming

This week’s long ferment sourdough molding and casting experiment
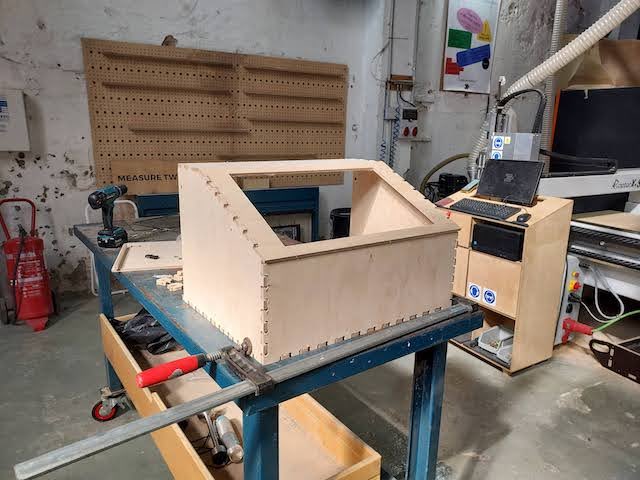
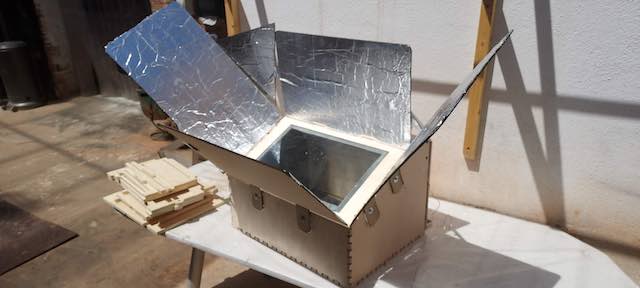
Worked on my latest solar oven prototype this week.
Assignments
Individual assignment:
write an application that interfaces a user with an
input &/or output device that you made
group assignment:
compare as many tool options as possible
Individual Assignment
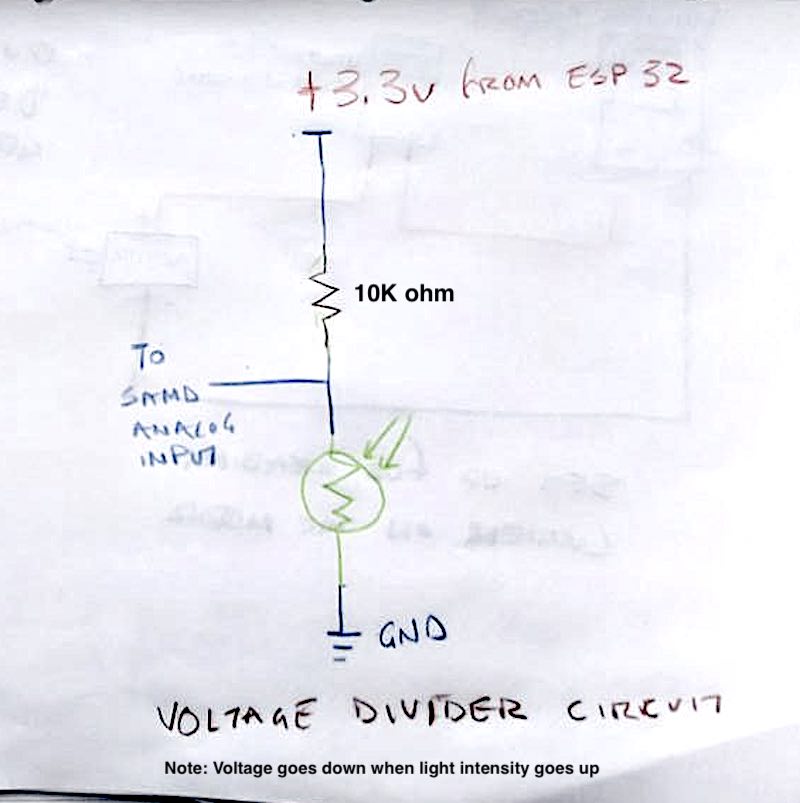
For my individual assignment I used P5.js to read the varying voltage produced by voltage divider that includes a light sensitive resistor.
I used the Sunduino board that I made for my final project (Solar Toaster Oven) for this week’s assignment. I used an input that will eventually read a voltage proportional to the current through the oven.
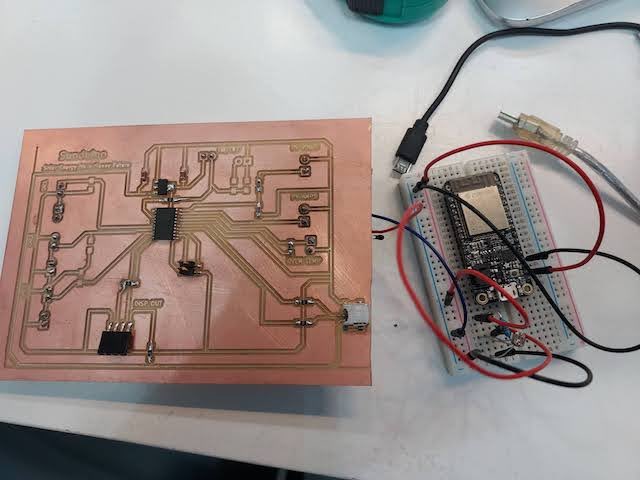
I am using the ESP board as a power supply for the voltage divider that includes the voltage sensitive resistor.
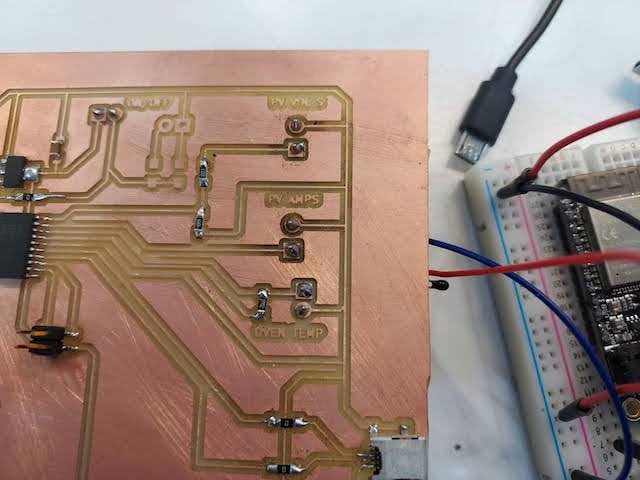
Here you can see the light sensitive resistor voltage divider on the protoboard going into the sunduino current input.
I used the ESP as a power supply because the Sunduino was not designed to allow easy access to 3.3 volts.
The underside of the Sunduino board has a screw terminal input that goes directly to an analog pin on the SAMD. The ESP is on a protoboard so it was easy to build the photoresistor voltage divider on the protoboard,
I used the Sunduino microcontroller to read the voltage and used the ESP proto board to provide voltage to the light sensitive resistor based voltage divider. The SAMD then reads the varying voltage across the light sensitive resistor.
Here is a video showing everything working:
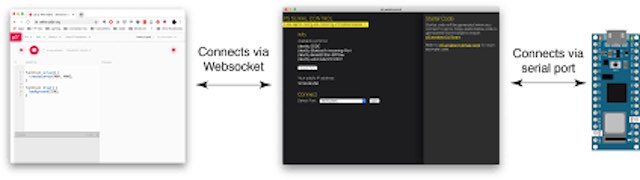
Here are some screenshots of the p5, p5 serial, and arduino setups.
Arduino Code
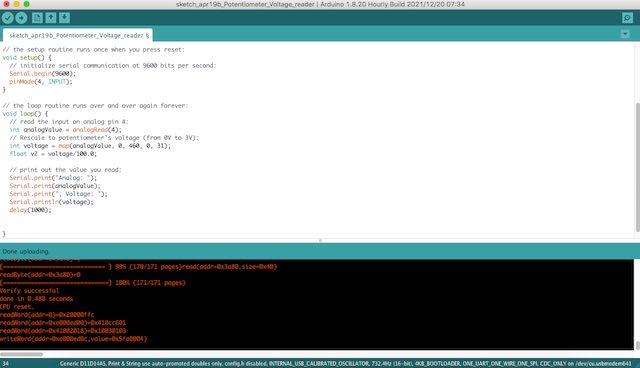
The sketch reads an analog input on pin 4. It then maps the 0-460 range coming in on pin 4 to 0-31 to match 0-31 voltage range of the voltage divider.
It then divides the 0-31 number by 100 so that it gives a voltage from 0 to 3.1.
Finally it writes the word Analog, then the 0-3.1 value read from pin 4, then the word volts. It waits 1 second then does everything above all over again forever
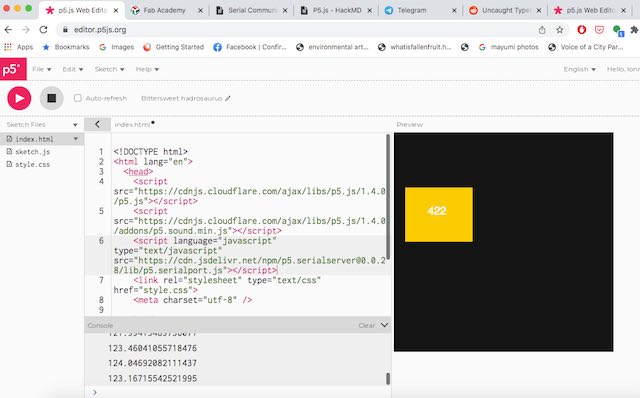
p5 code
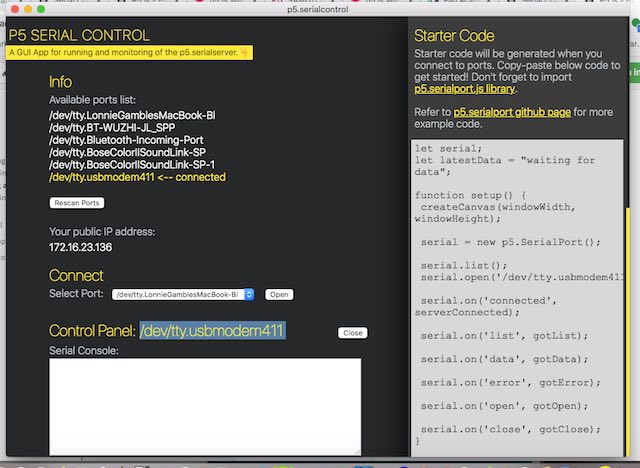
This screenshot shows the serial control parameters for p% to read information put on the serial port by Arduino
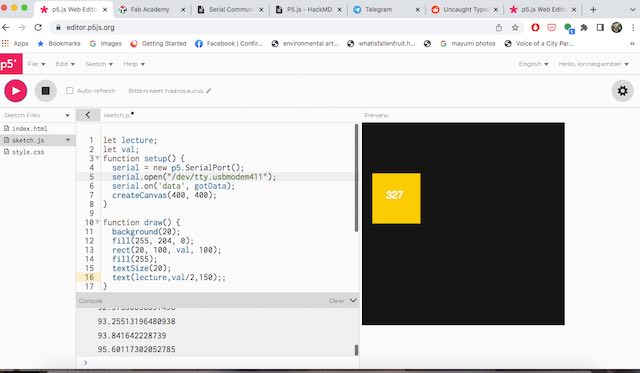
p5 reads a value fromm the serial port, then makes a yellow colored box proportional to the value on a black rectangular background
Here’s p5 reading a high value of light
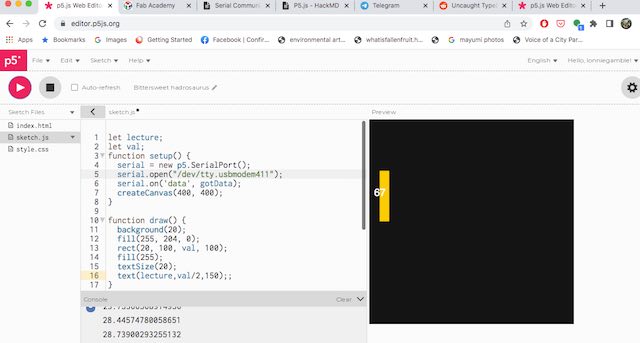
Here’s p5 reading a low value of light
Group Assignment
Compare as many tool options as possible
Group assignment is here