8. Computer Controlled Machining
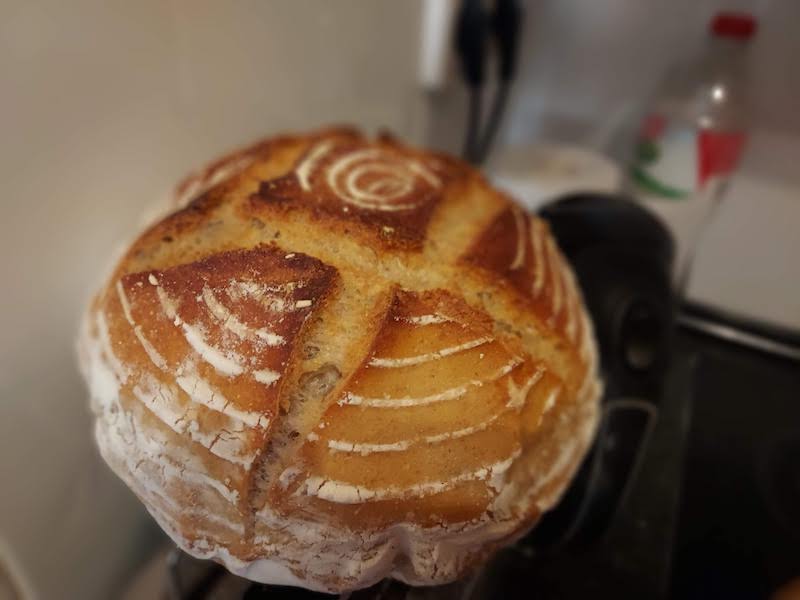
This Week’s Bread
Assignments
Group Assignment
do your lab’s safety training
test runout, alignment, speeds, feeds, materials, and toolpaths for your machine
Individual Assignment
make (design+mill+assemble) something big (~meter-scale)
extra credit: don’t use fasteners or glue
extra credit: include curved surfaces
Quote of the Week
General notes
This week we explored use of the CNC machine. The assignment was to build something big. My first idea was to build a case for the toaster oven I am using in final project (solar toaster oven). This proved too lengthy and complex for this week so I pivoted to a cajon drum themed for Fabacademy BCN.
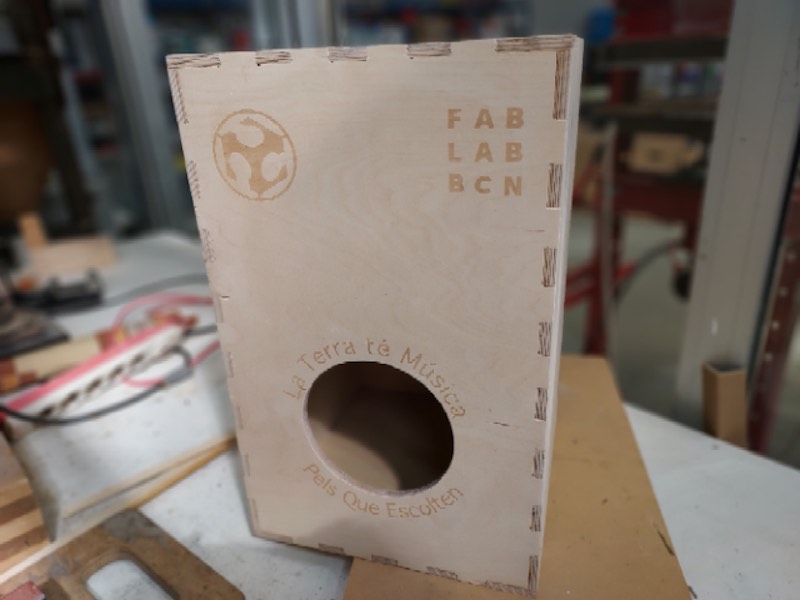
 I plan to leave it here for future students to make music with.
Carlos Uke
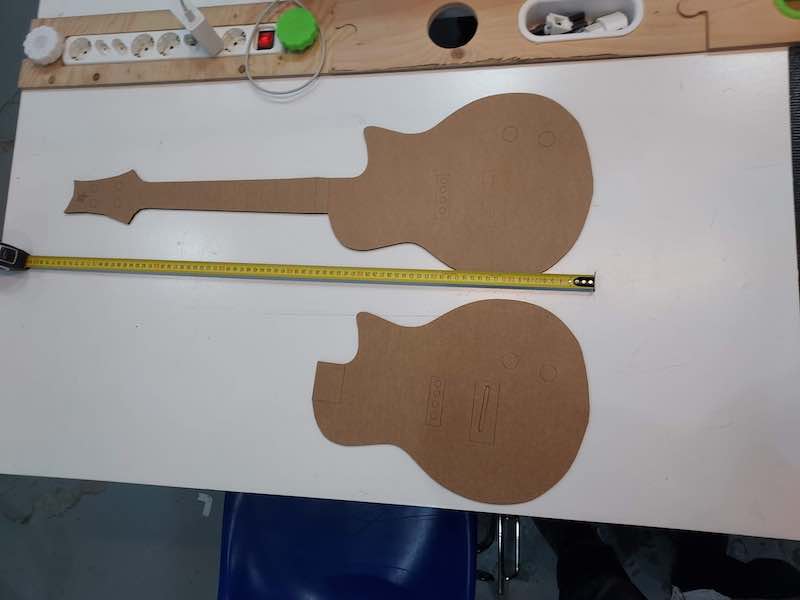
I also designed and laser cut in cardboard an electric ukulele inspired by Carlos Santana that I plan to cut on the cnc later.
I found pictures of guitar shapes close to what I liked, scaled them up then traced around the outline in Inkscape. I experimented with various headstock shapes - the body and headstock are most of what give a guitar a distinctive visual identity.
I modified the outline in Inkscape until I got a shape I liked - it is inspired by guitars used by Carlos Santana. I added frets to the neck and cut the outline in cardboard to see how I liked it.
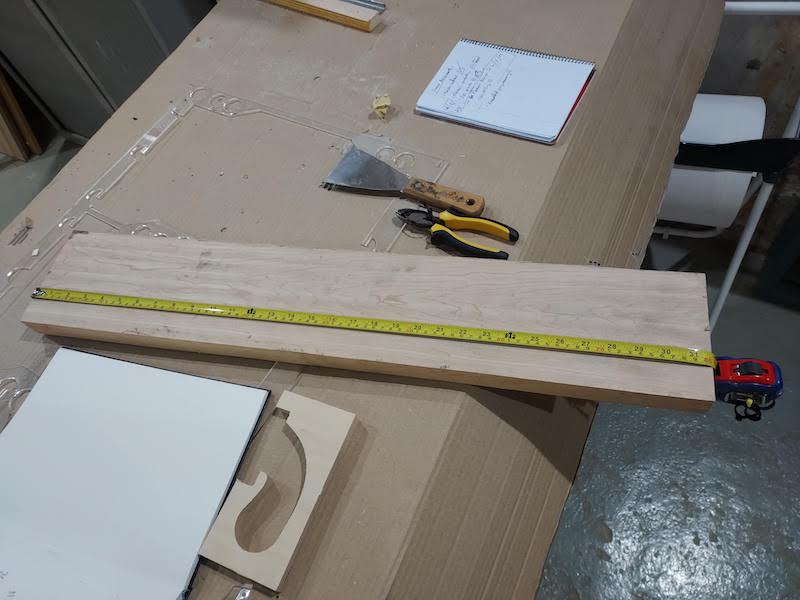
I imported the file into Rhino (I have switched from Fusion to Rhino, a horrendously frustrating experience) and then extruded the 2 d outline into a 3D shape. Need to add cutouts for where the electronics will go nd continue to refine the design. Will try to cut it first in foam and then in wood.
I found some scrap wood that will work for the body, neck, and headstock that was cut at Valduara.
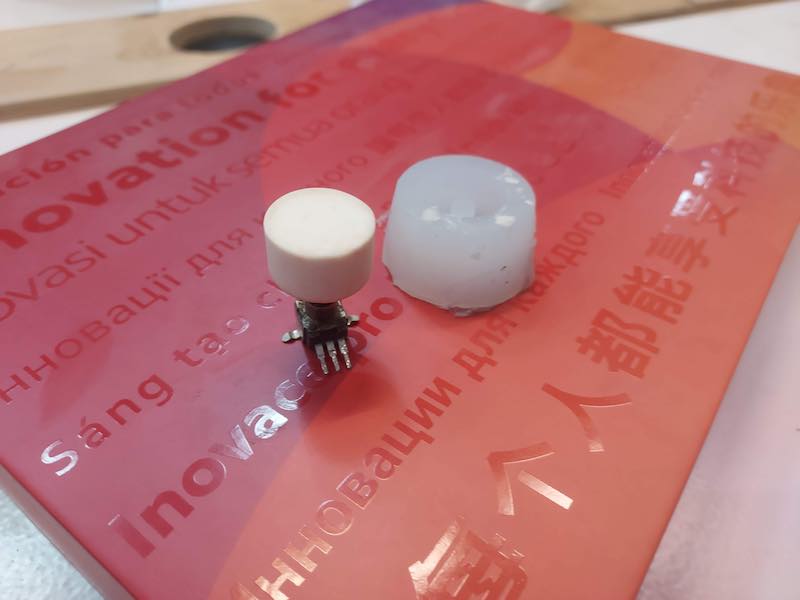
I made knobs for the control potentiometers in Molding and Casting week.
Issues and Process
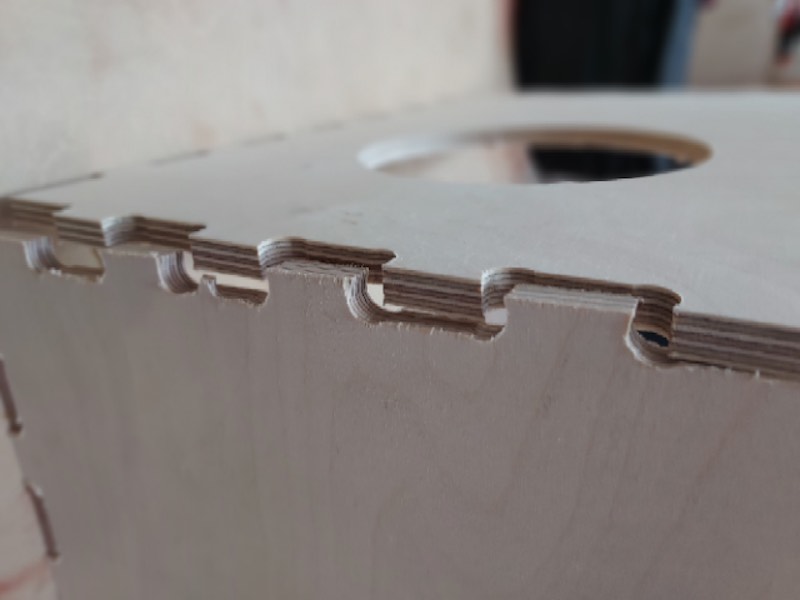
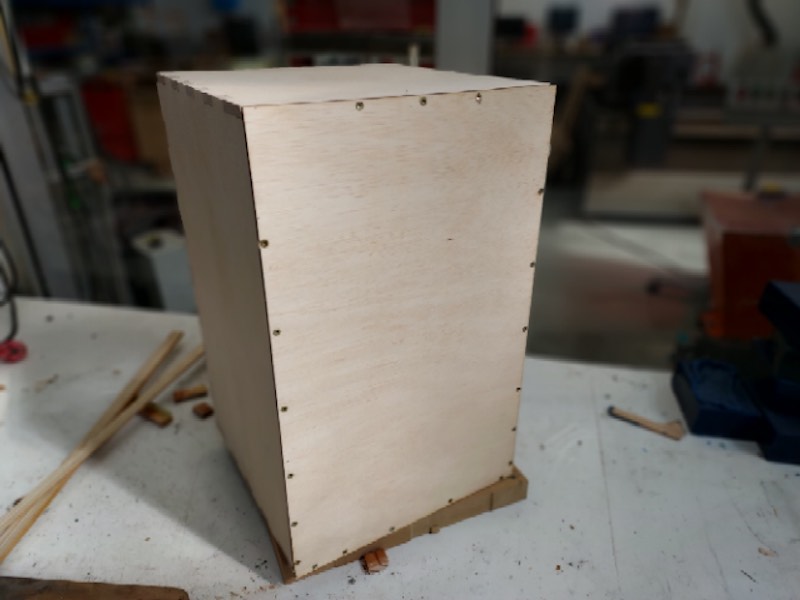
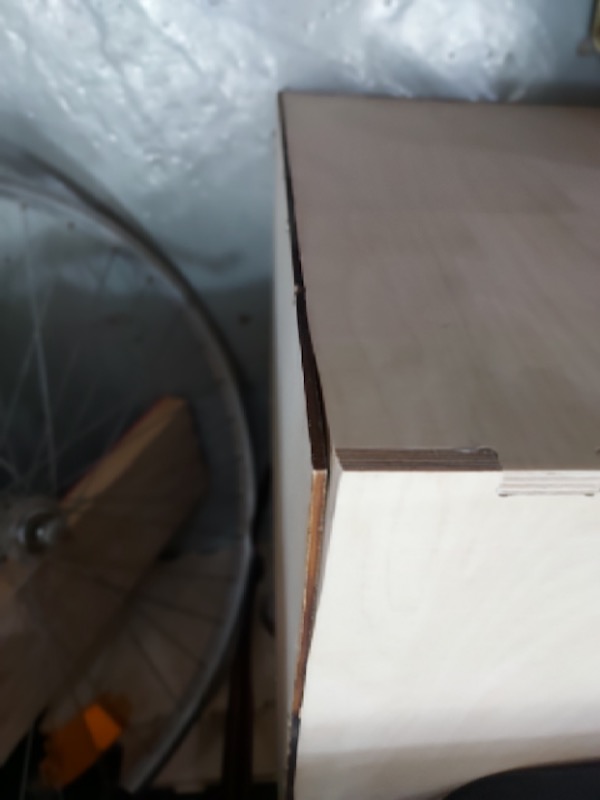
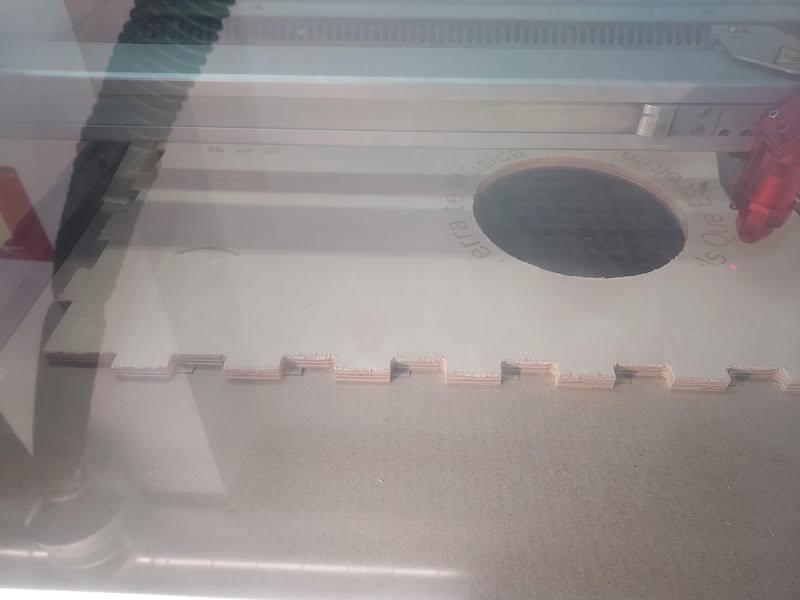
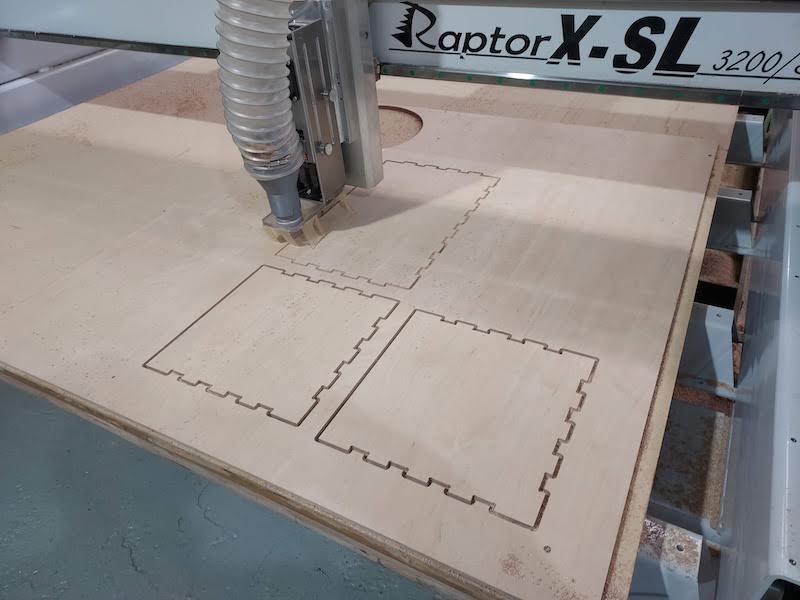
Issues included cutting to the line on the first cut instead of cutting to the outside of the line. The joints were very sloppy. The tabs were way too narrow because I told the machine to cut to the line rather than to the outside. I changed the parameter in Easel to outside cuts (except for the hole in the back of the cajon, I used inside cut to keep it the same diameter as I designed it).
This resulted in perfect, although a little tight, fit. I had to put the box together with a mallet. It would stay together without glue but I glued it anyway as cajons are knocked around quite a bit.
Below you can see that I sanded the top corners of the front face of the cajon to make a space between the front (where you strike the cajon) and the body of the cajon. The corners will make a slapping sound when they are struck hard.
I tried a couple of different box making programs for CNC - Boxes.py, Makercase, and the box plug in for Easel. Easel also has a dogbones plug in. In the end I could do everything I needed in Easel, except the gaphics on the back of the cajon. I ended up designing the box in Rhino and importing it into Easel. I also designed the box in Easel and with Makercase.
Adding Graphics
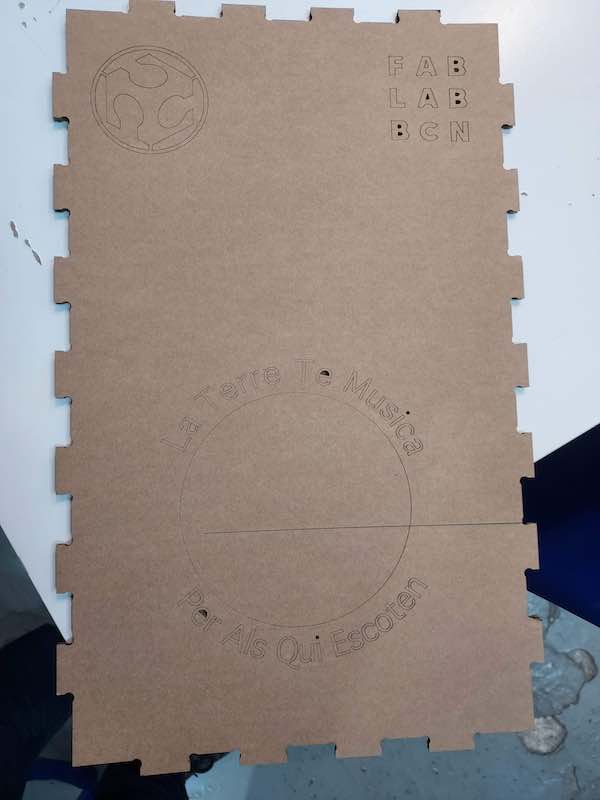
I etched the graphics into the back of the cajon using the laser cutter.
I cut the back out of cardboard to see how the graphics would look. I tried both raster and etching. Raster looked a lot better.
It was a bit of a challenge to get the CNC cut back to line up with the for laser rastering the garphics. I ended up cutting and rastering the back in cardboard and leaving the cardbord in the laser. Then I carefully layed the plywood back on top of the cardboard and lined up the hole. I refocused the machine and it rastered perfectly. The words are Catalan for “The Earth has music for those who listen”, a quote from Goethe.
)
Process for cutting on the CNC:
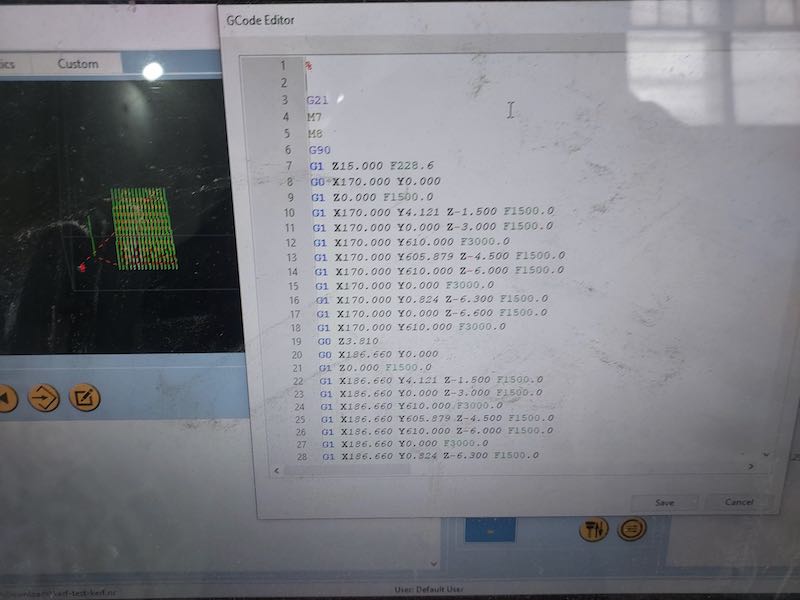
First create a design with CAD software, then turn that design into that G-code file that your machine can use. Some software can do both. I used Rhino for design and Easel for making gcode. I am still struggling to get fluid with CAD software. Really struggling - everything needs CAD in this program, so getting behind on using cad tools puts me behind in everything else.
- Prepare file using CAD software.
- Export file in a format that something like Easel can use. Easel doesn’t work with firefox on my mac 2010 running Catalina.
- Set the cutting parameters (bit size and type, feeds and speeds) and tabs
Feed and Speeds
Chip load = fm / flutes (rpm) = value - is always in inches per minute. - fm = feedrate - flutes = number of flutes - rpm = rotation - chip load = how fast should your endmill move horizontally
Equation works if you cut using - Cut depth = tool diameter / 2 (Use an online calculator)
- Export the Gcode
- Import the Gcode into the CNC machine. Make adjustments to the code based on what yor gcode generator leaves out.
-
Load the endmill. I used a 6mm downcut, 1 flute endmill.
-
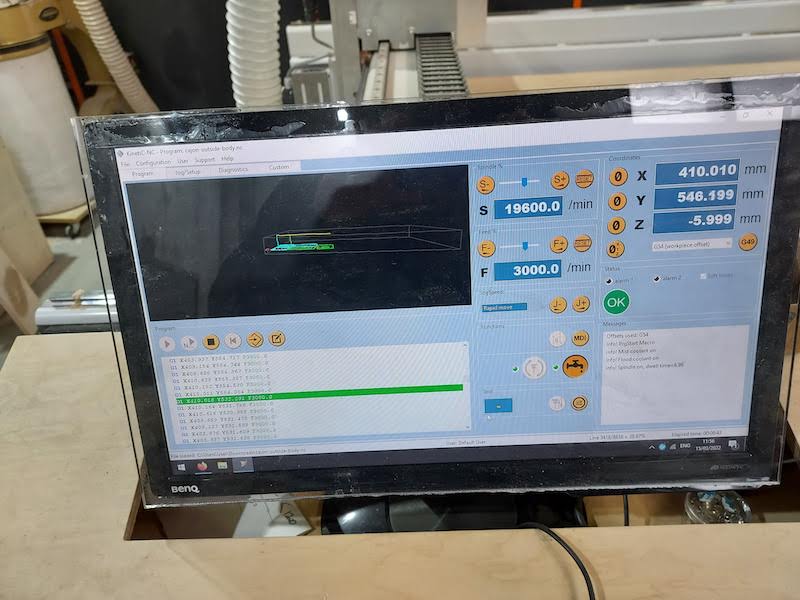
Set up the machine - set material on to the bed, set the xy origin, set the z origin with the puck, check feeds and speeds.
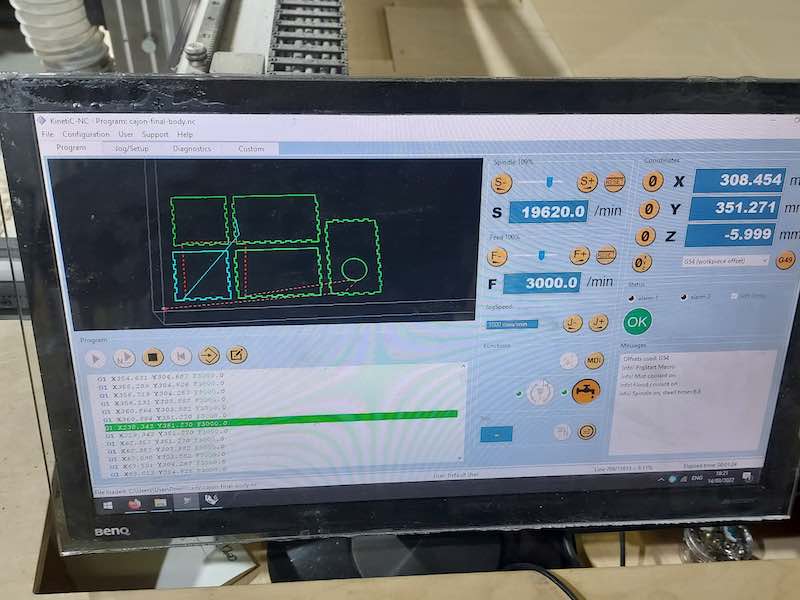
 Gcode is loaded, setting feeds and speeds
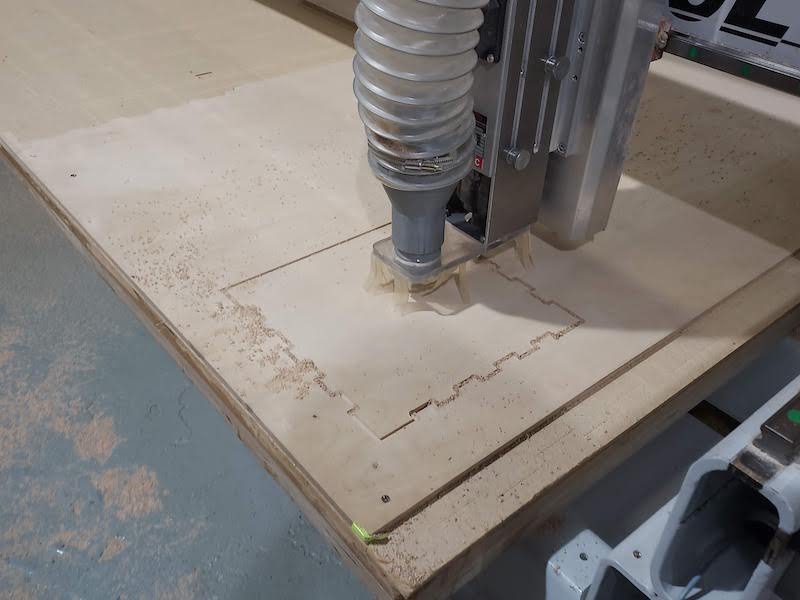
 Checking side view to see if there are any unwanted artifacts
- Put on eye protection and ear protection
- Run the machine to put in screw holes for locking down the material. Install screws in holes.
- Start the cut and listen to sound to verify right speed and feed
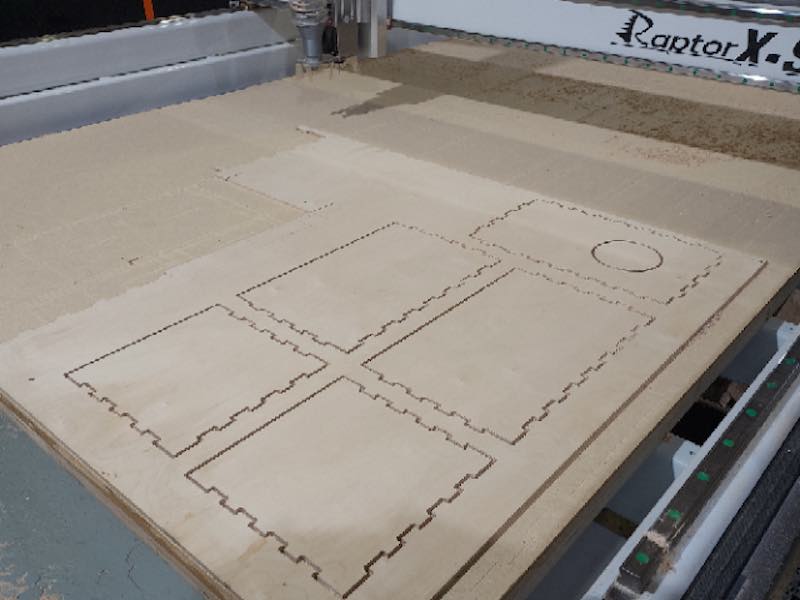
Cutting the Cajon

First assembly was a little tight but it fit!
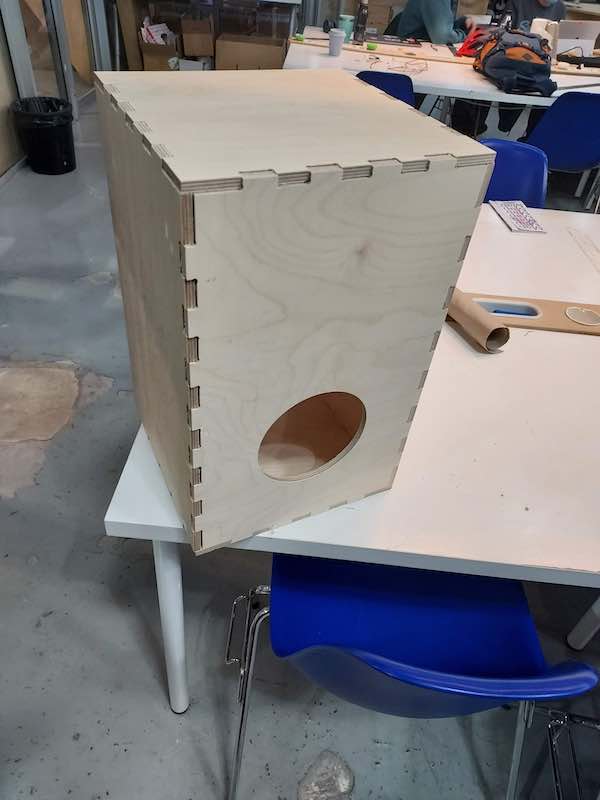
Finished cajon
CLick here to see what the cajon sounds like
Group Project
You can find the group project here
Files
Cajon Rhino File -
File is 3.4 mb so hosted off repository
Carlos Uke DXF file - File is 1.8 mb so hosted off repository