16. Wildcard Week
When I went to get my bike from the rack on Thursday I caught two faculty members at IAAC experimenting with bio-electricity in the back outdoor experiment area. They explained to me that there are microbes in the soil around the roots of plants, and under the right conditions they can generate small amount of voltage and current (millivolts and milli or micro amps).
They used two carbon fiber cloth electrodes connected to a bolt that led out through the side of the container, one near the top of the container and one near the bottom. They hope to generate enough electricity to run sensors and microcontrollers.
I have experimented with natural sources of voltage and current, like the earth’s electric field, listening to the sounds of natural electrical phenomena on the earth, batteries made from lemons and potatoes and two different electrodes, the thermoelectric effect and the piezoelectric effect.
There are thousands of flows of energy all around us all the time, and I enjoy trying to make then visible. We make use of only a few of these energy pathways as they make there way from higher ordered/lower entropy sources to low order/higher entropy sinks.
Assignments
Design and produce something with a digital fabrication process (incorporating computer-aided design and manufacturing) not covered in another assignment, documenting the requirements that your assignment meets, and including everything necessary to reproduce it.
I explored a number of things - 3d printing with clay. molding and casting tempeh, bamboo and digital fabrication, working with cutting fabric on the laser cutter, and composites and precious plastics with MDEF.
3d Printing with Clay
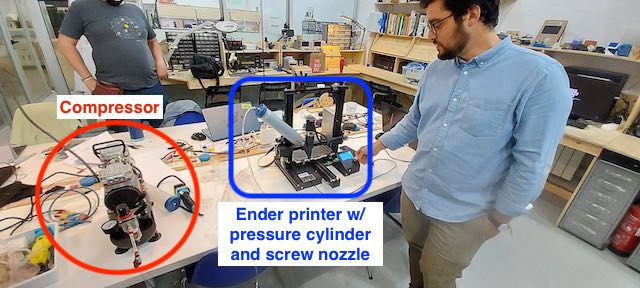
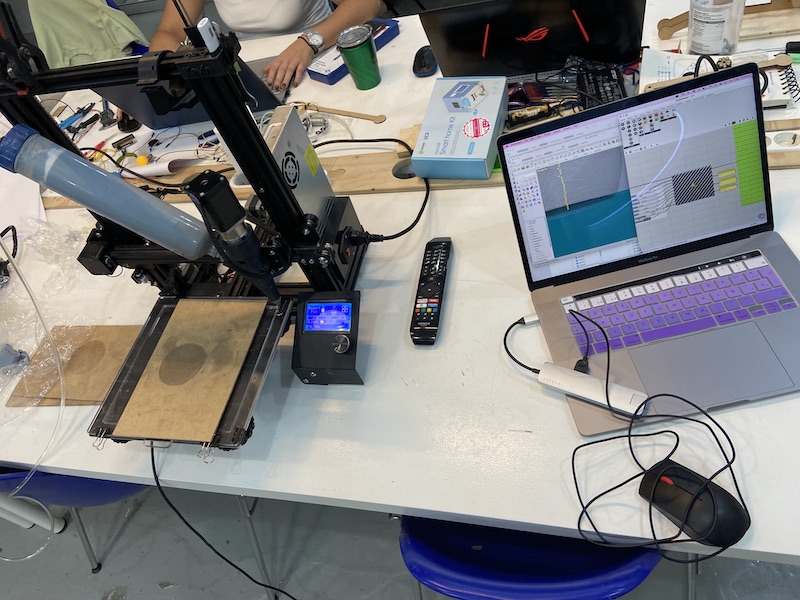
To complete the assignment, I used a modified 3d printer to print with clay. IAAC and Eduardo have extensive experience in 3D printing paste materials like clay.
A Crealty Ender Pro printer was modified to print clay. it was fitted with an industrial pressure tube filled with clay pressurized to about 3 bar with air. The exact pressure needs to be adjusted each time clay is added to the pressure tube. You can print anything that can be made into a paste with this tube. The tube pushes material into a feed screw nozzle that pushes out a 4 mm line of clay at a rate the depends on how fast the screw turns.
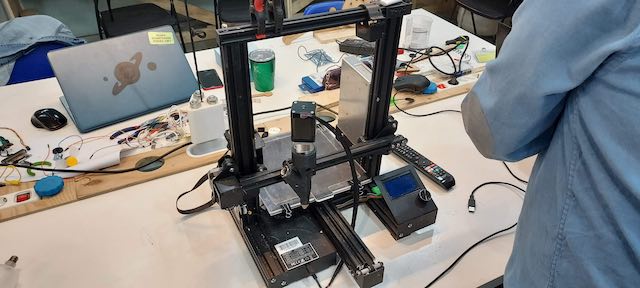
Overview of clay printing set up
Close up showing industrial pressure tube and nozzle instead of print head
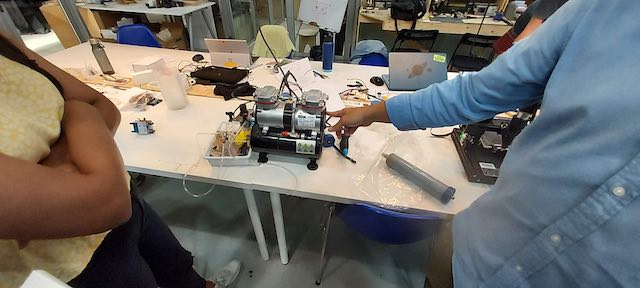
Compressor provides air pressure to the pressure tube
Clay Design and Printing process
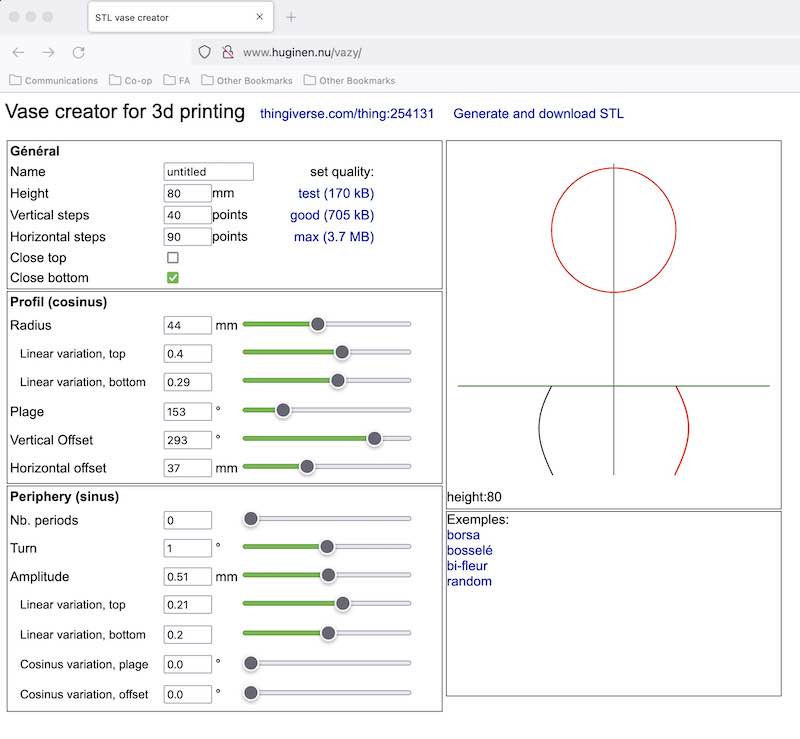
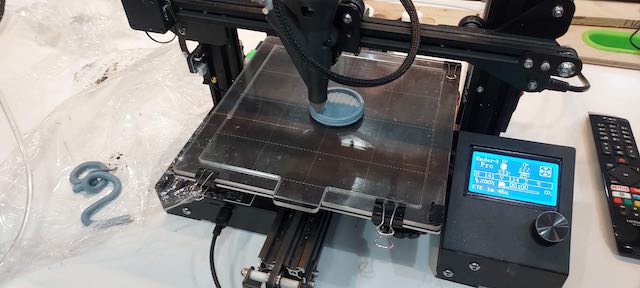
I used a vase creator program from thingaverse to design the cup and create an STL file
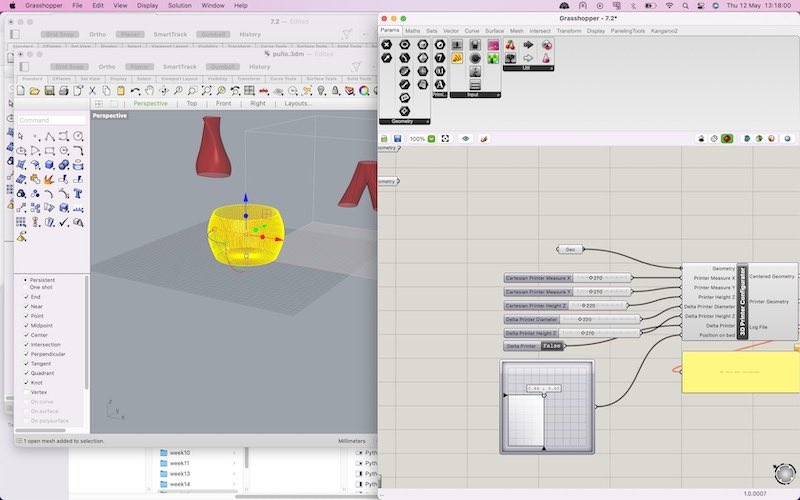
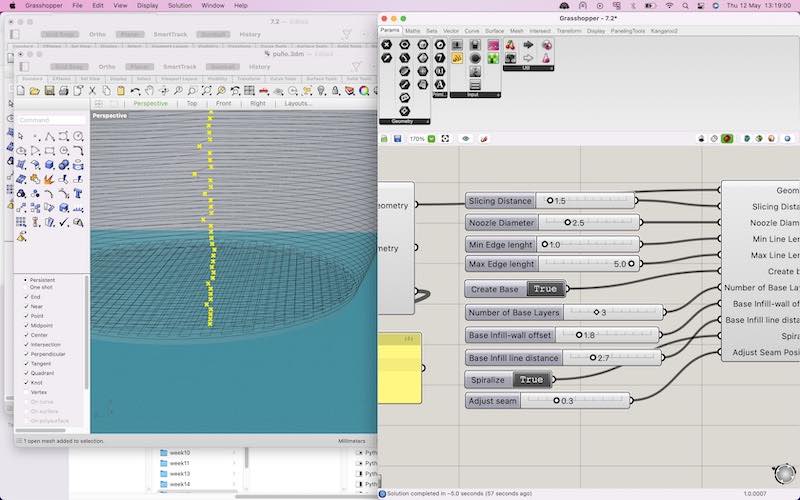
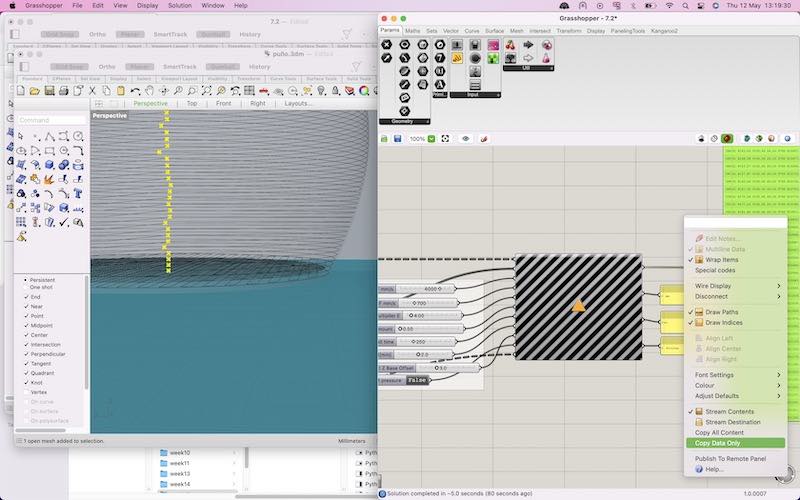
The STL file is then fed into a Grasshopper script that Eduardo wrote that slices and creates Gcode
The gcode from Rhino is copied and loaded into Repetier, which connects to and controls the printer
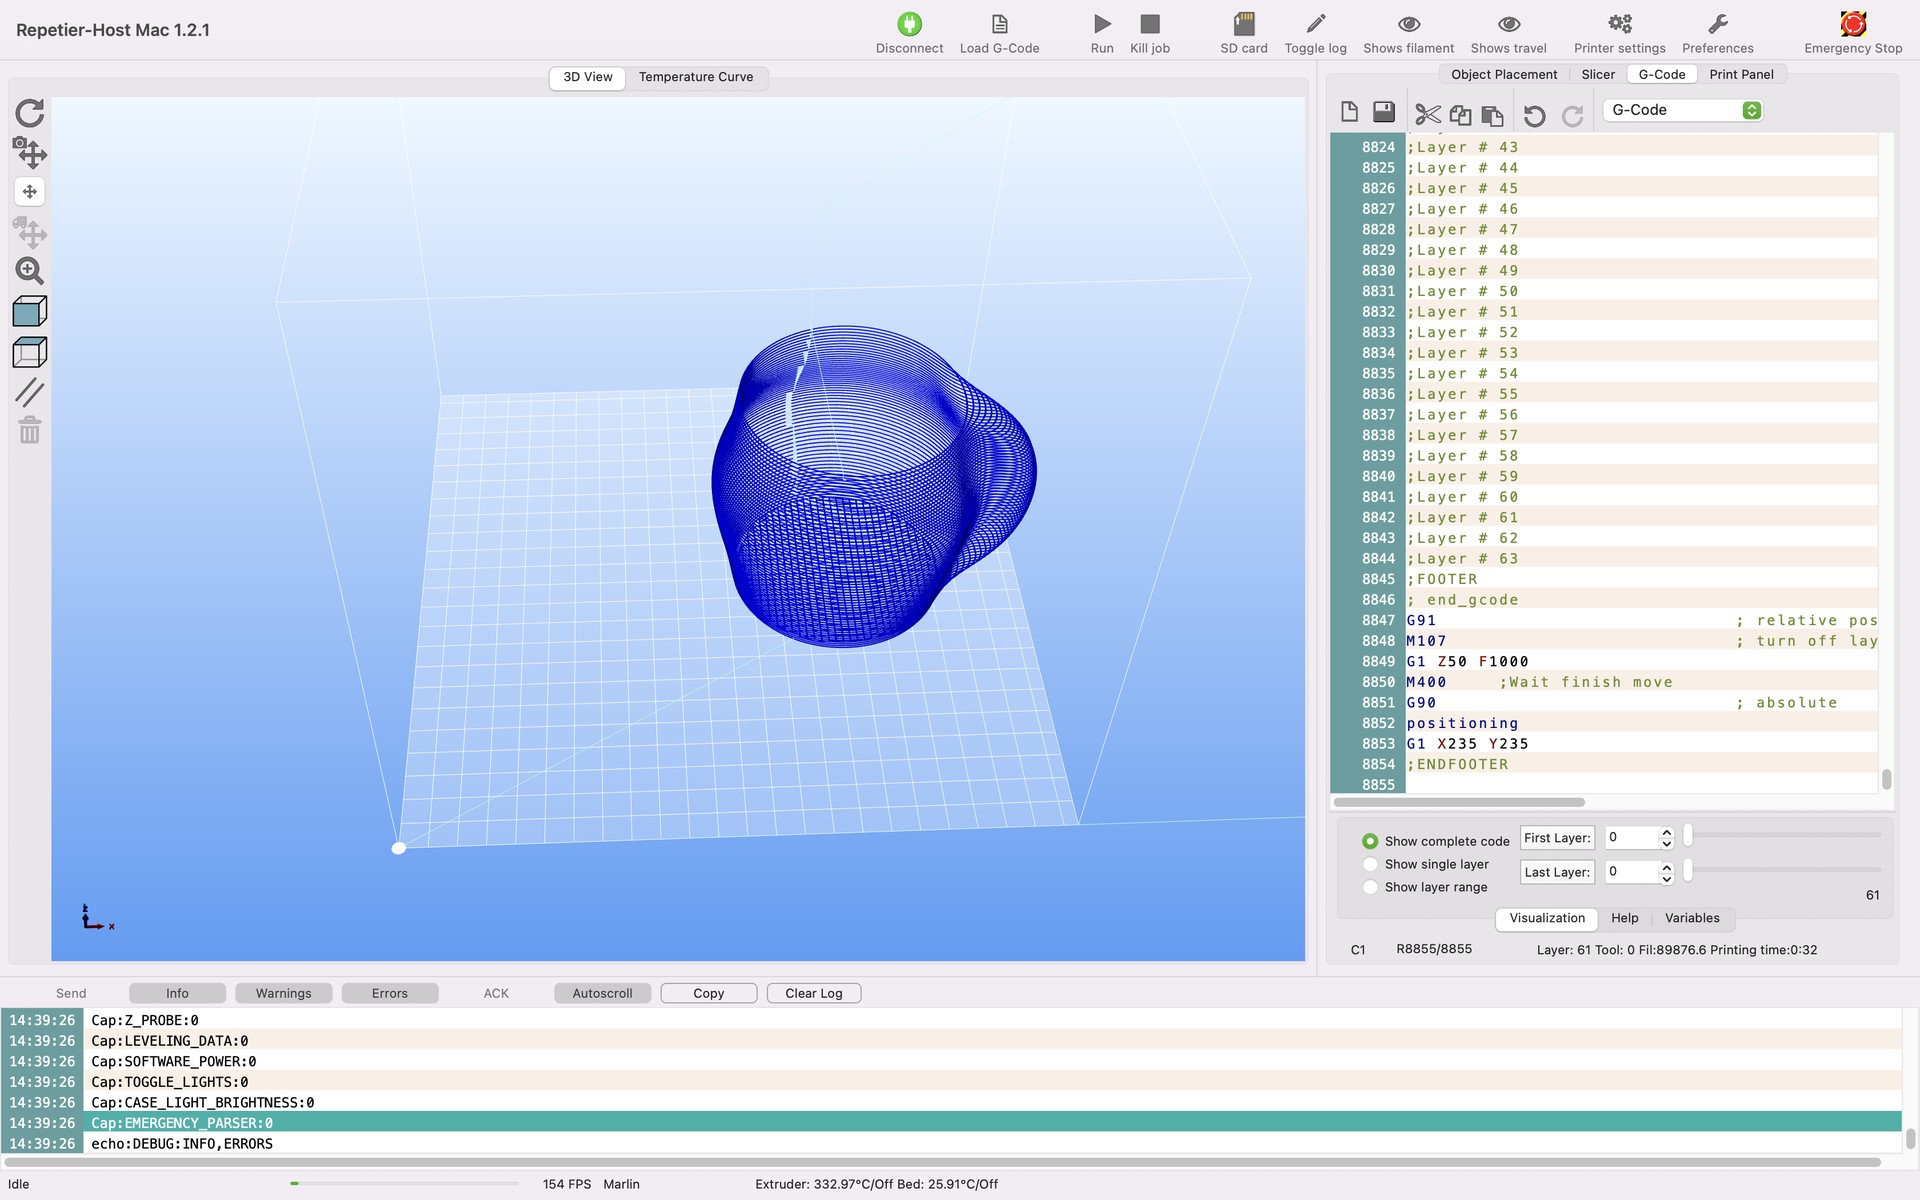
The air pressure and nozzle speed need to be adjusted for each batch of clay
The computer needs to stay connected to the printer for the entire process
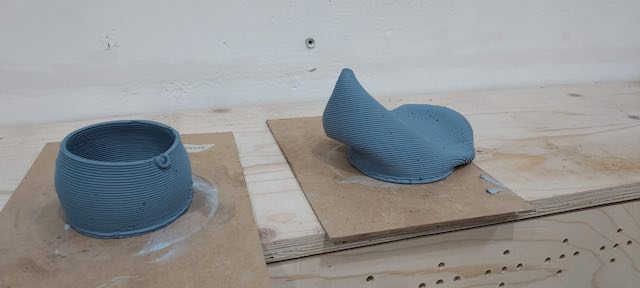
The start of printing my cup
Cup almost complete
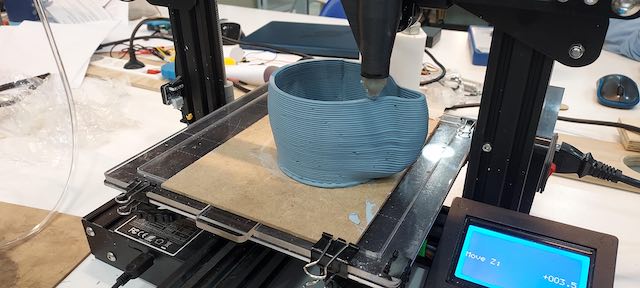
Cup collapsed after I removed it from the printer - a common occurrence for others as well.
Molding and casting with soybeans (making tempeh)
This week I also experimented with making tempeh using advice from Barcelona based Domingo Club open source tempeh making company. Maude from Domingo Club is working with MDEF students on a number fo projects and I ran into her at IAAC. This is one of the things I love about IAAC.
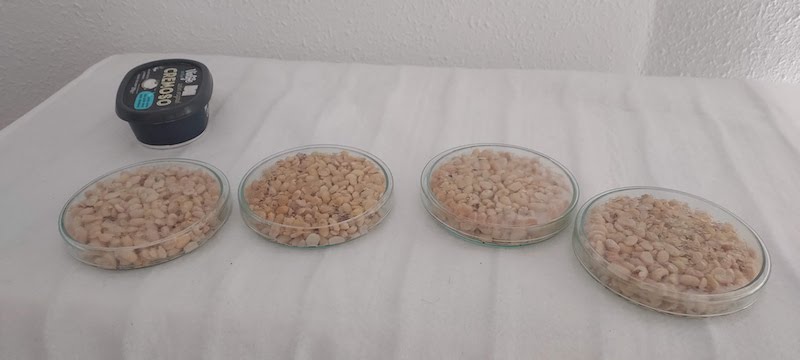
Tempeh making is a process of molding and casting. Cooked soybeans are inoculated with a microbe then placed in molds. Over 36 hours the microbes create a mycellium-like mat that binds the soybeans together into a unit in the mold and makes them more digestible.
Maude’s company Domingoclub has several open source designs for 3D printing tempeh molds and incubators. They are on the Domingo Club website here
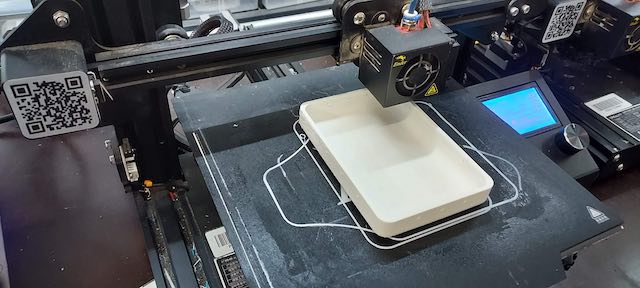
I 3D printed a mold for tempeh
Maude sells petri dishes for tempeh molds and I tried some of these
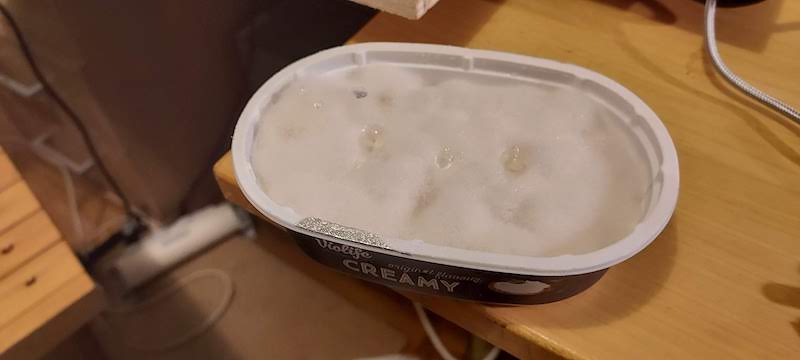
I had the best luck with a covered cream cheese container with holes poked in it.
Partially Fermented
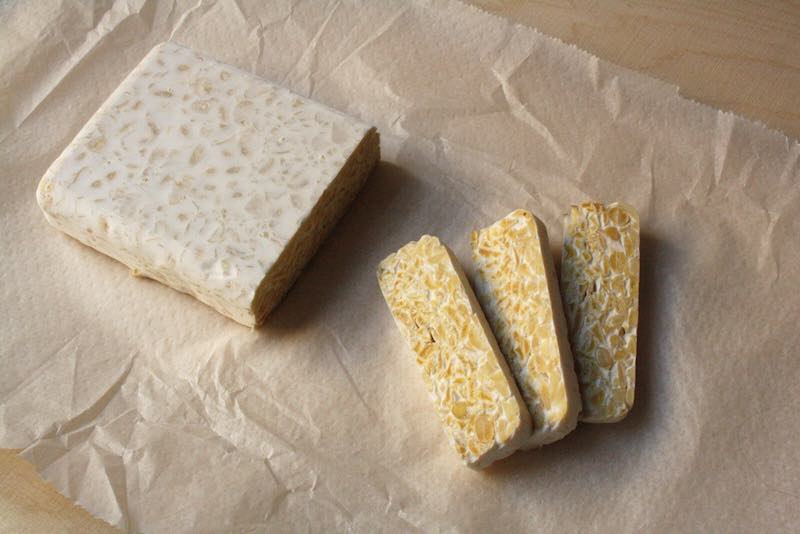
Success!!
I left my thermometer at IAAC over the weekend, so it was difficult to know if we had the proper temperatures. Some petri dishes worked and some did not even after several days of fermentation.
We incubated the tempeh in the oven. We left the light on to provide heat.

 After some time in the oven, the ferment process creates it’s own heat and the light can be shut off
Partially fermented tempeh
Bamboo and Digital Fabrication
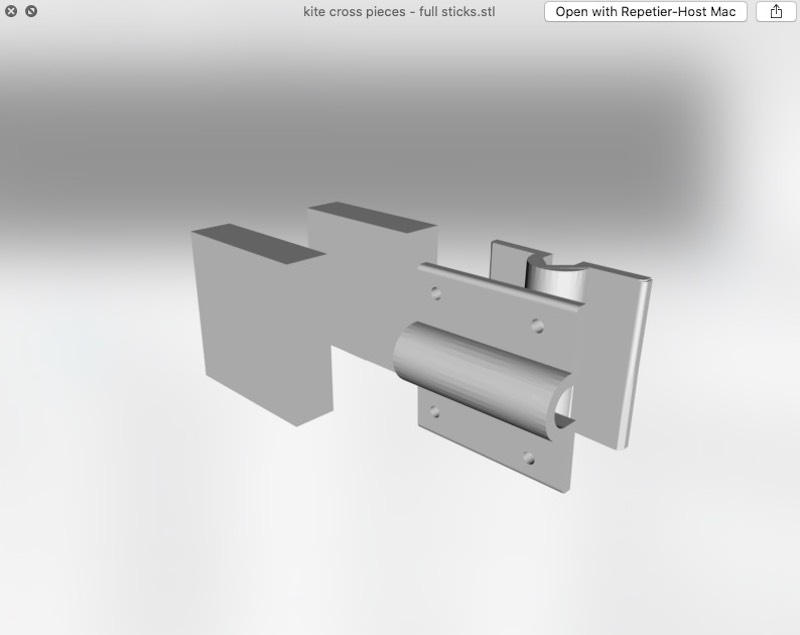
I also experimented with bamboo and digital fabrication by making connectors for bamboo to be used in various projects
3d Printing connectors for bamboo
Square stick cross connector for bamboo kite
Round stick cross connector for bamboo kite
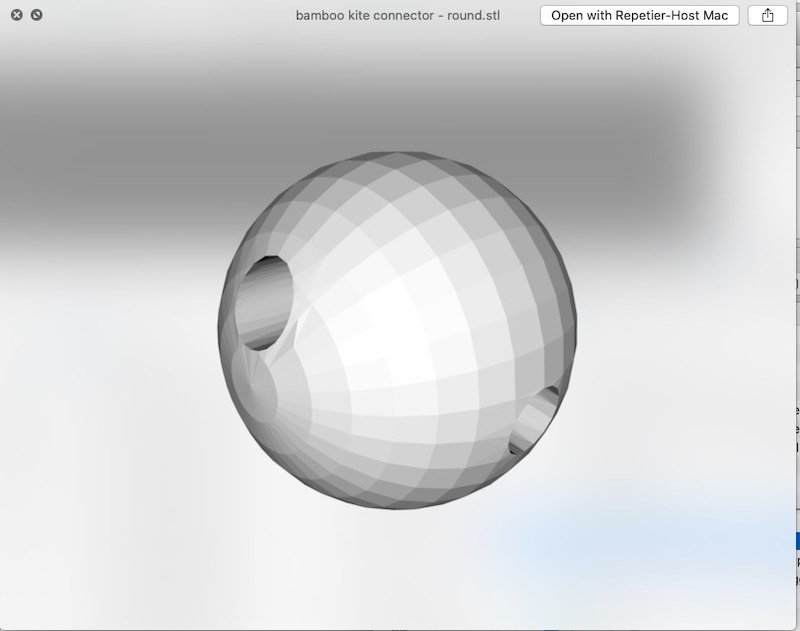
Note connector where the two sticks cross
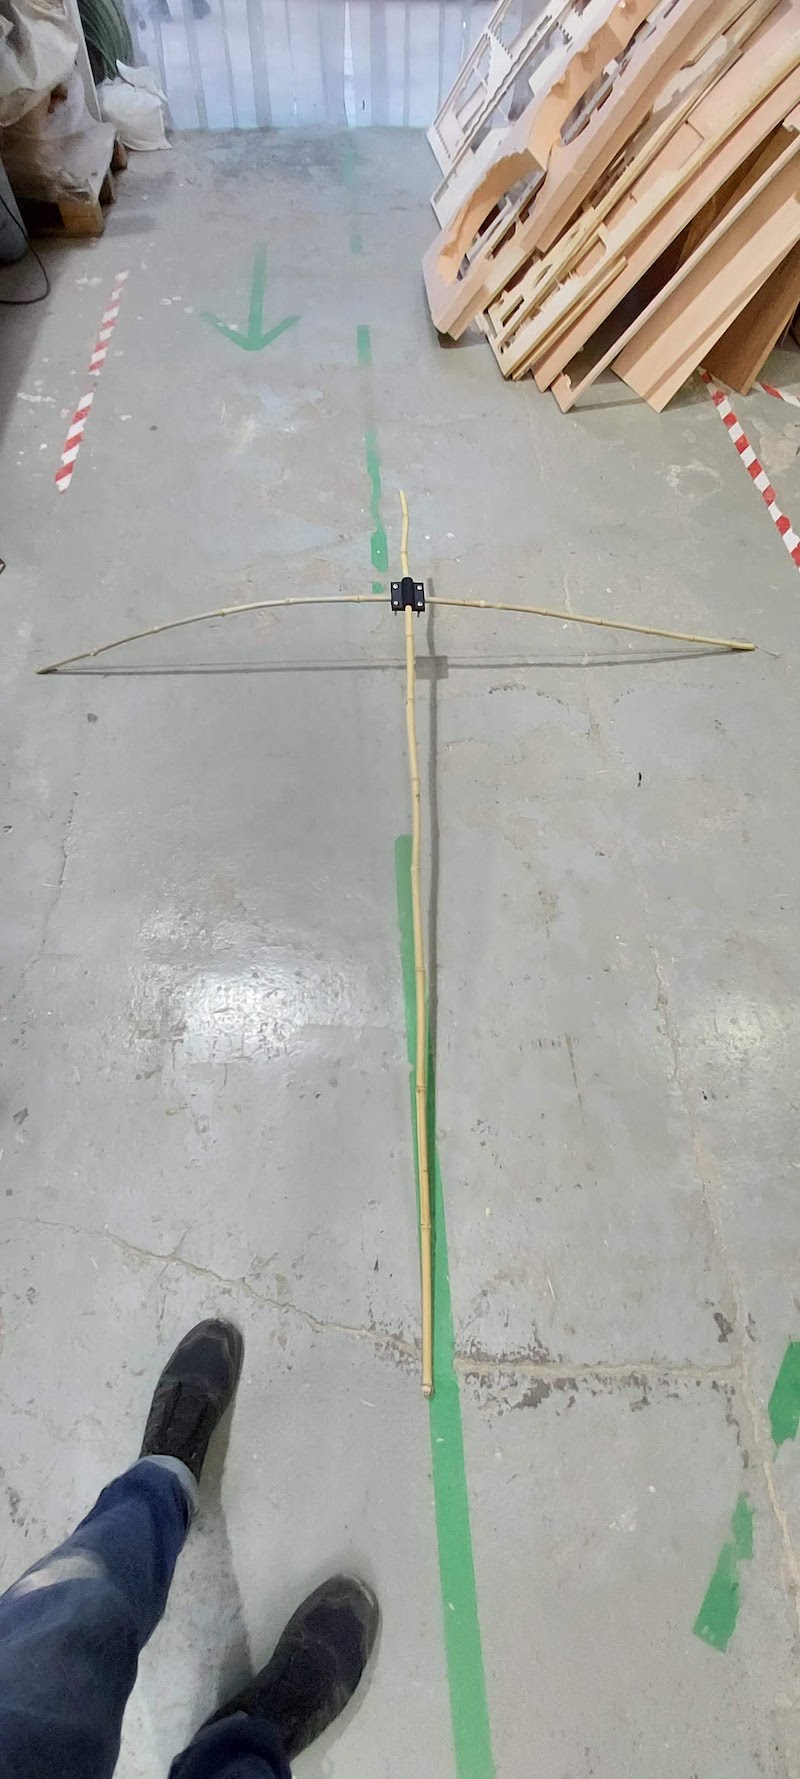
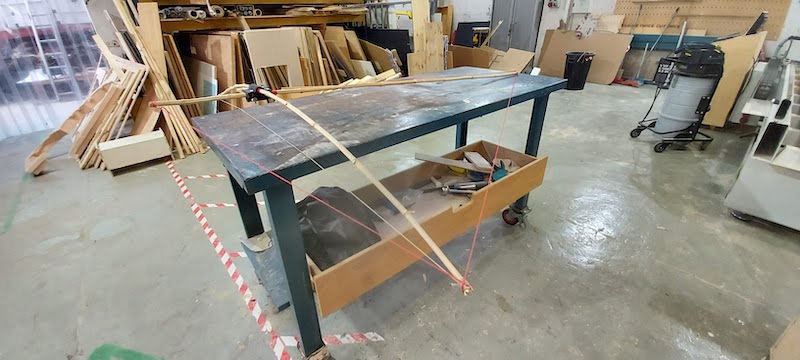
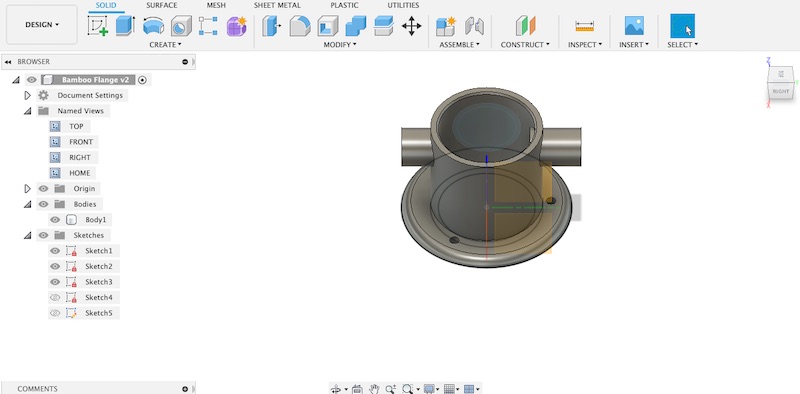
Made another flange for using bamboo as a table leg
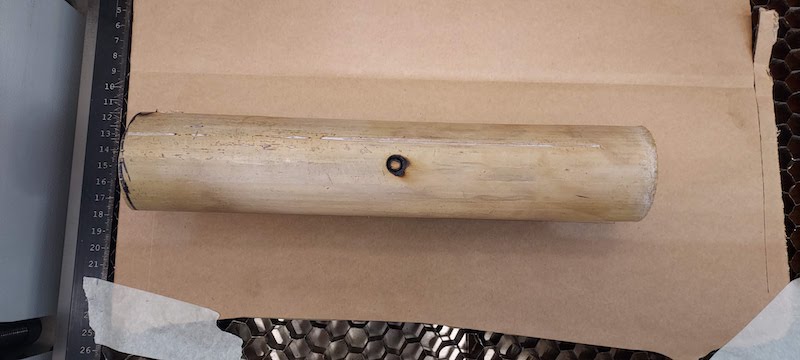
Laser cutting Bamboo
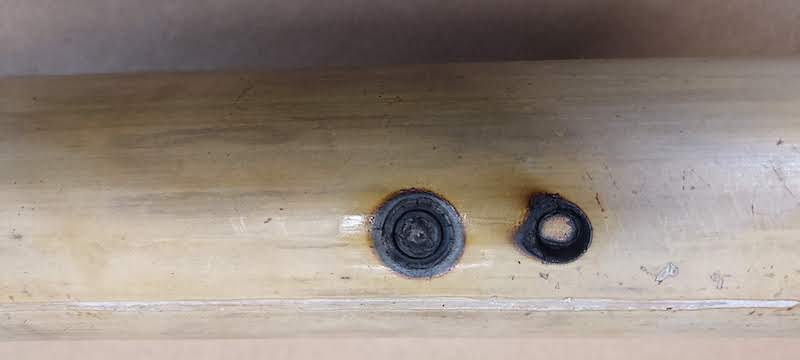
I experimented with using the laser to cut holes and slots in round bamboo. Surprisingly there isn’t much online about cutting round bamboo with a laser cutter.
There is a lot of information on cutting bamboo plywood like that used for cutting boards. So I decided o give it a try.
Setting the zed
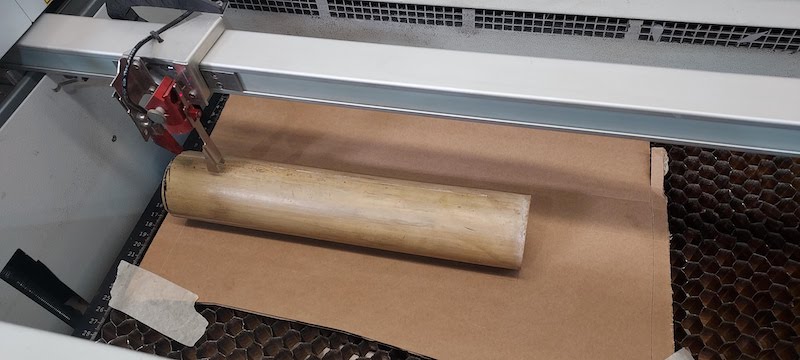
Tried a wide variety of speeds and power.
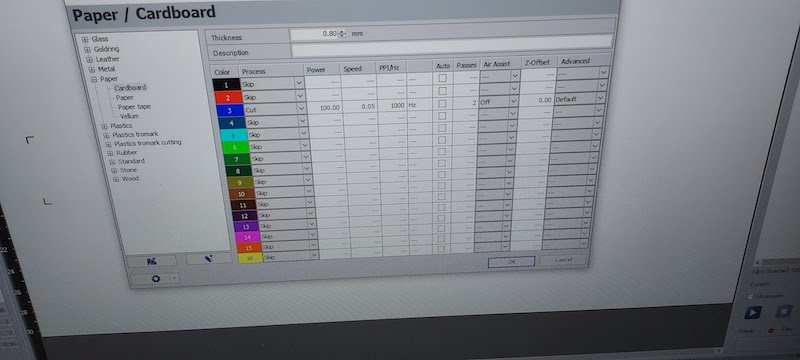
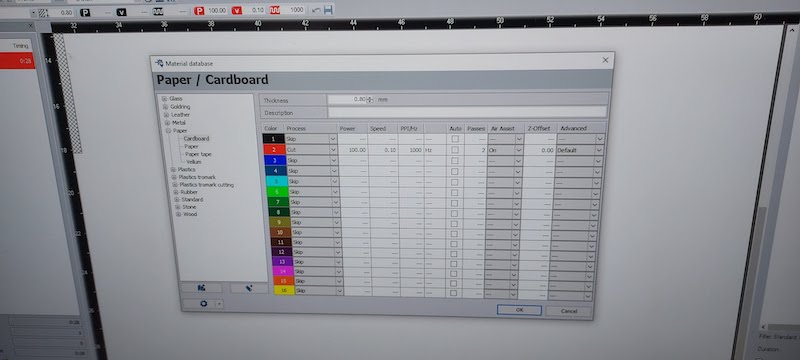
At full power with 3 or 4 passes I could cut a 5 mm hole but there was a lot of burning and charring around the hole. The bamboo is pretty thick, 8 mm.
Video of process of laser cutting holes in round bamboo video of laser cutting bamboo
Working With Fabric
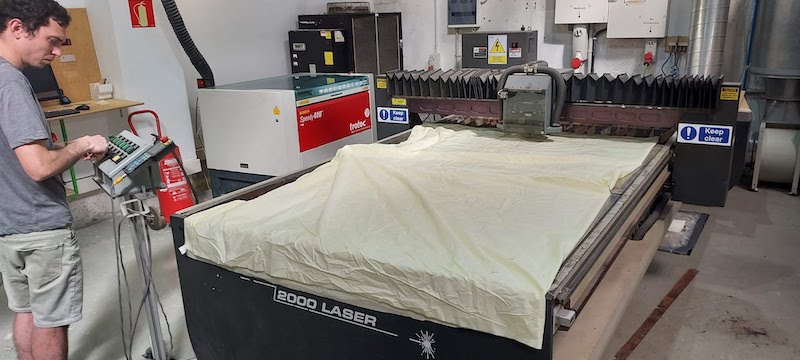
I worked with the older large format laser and cut fabric for a large (1.8 meter x 1.8 meter) eddy kite. I found a cotton based fabric in the dumpster to use as a cover for the kite. We used a power of 150 and a speed of 600 mm/min.
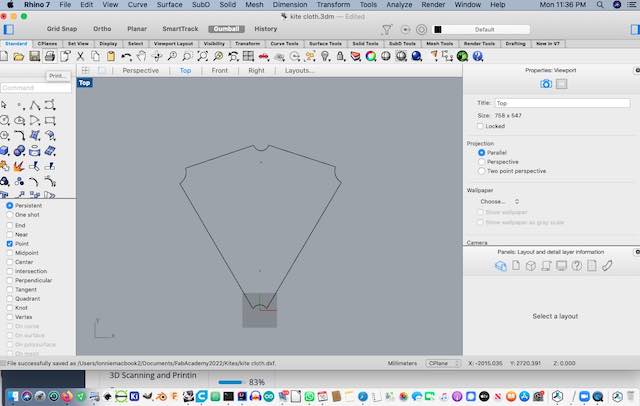
The design wouldn’t fit on the laser cutter. Josep had the idea to fold it in half to make it fit. The laser can easily cut two layers of fabric.
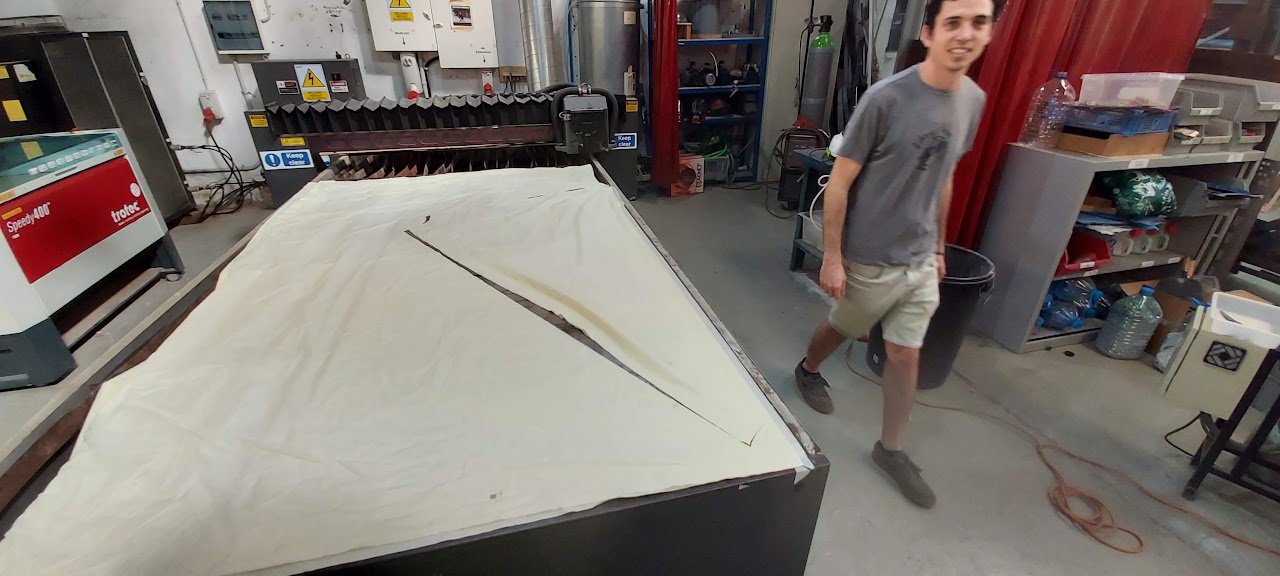
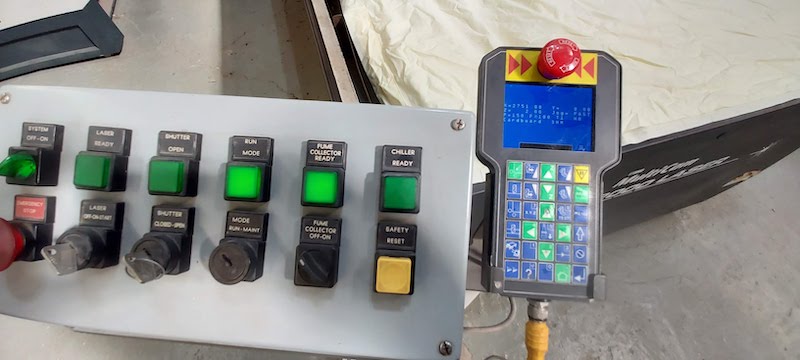
Cutting fabric with a laser
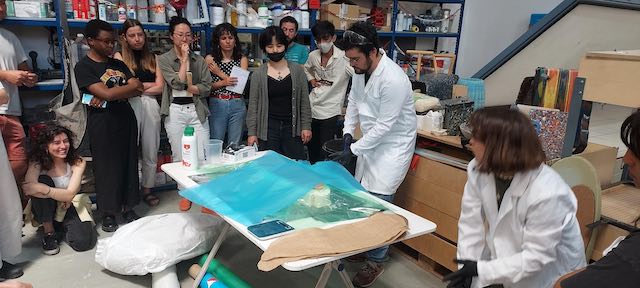
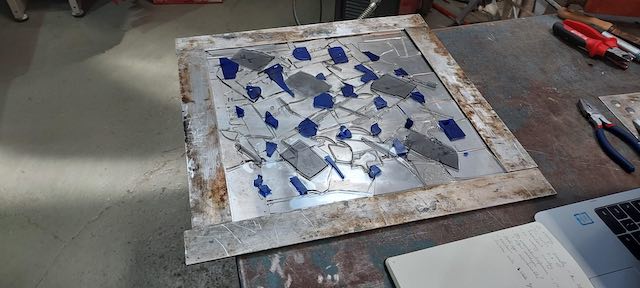
Composites
Precious Plastics
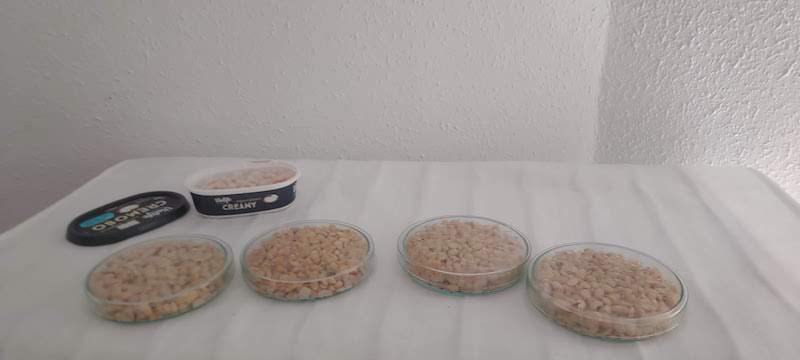
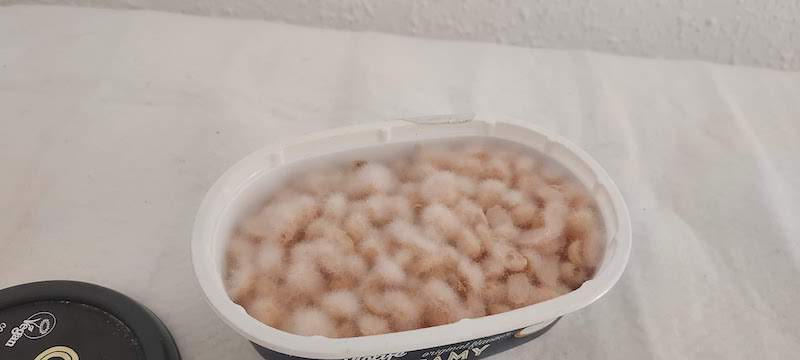
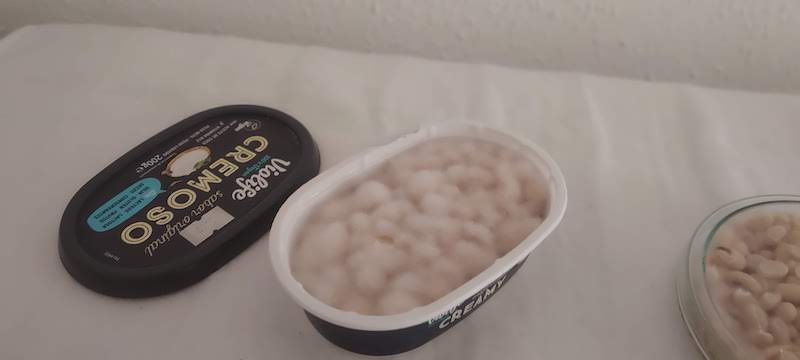
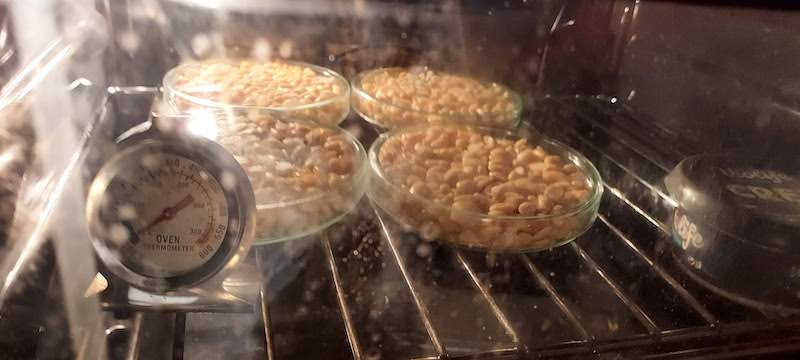
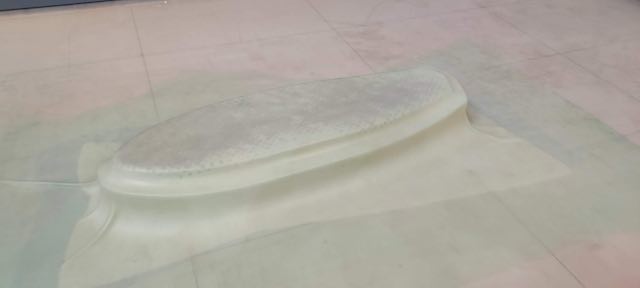
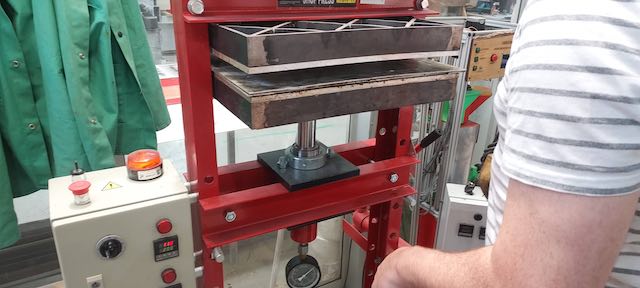
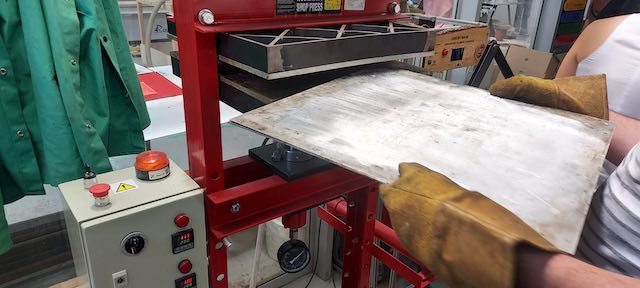
Spent some time with someone from MDEF who was making flat plastic panels from ground plastic waste using Precious Plastics equipment design and processes.
Waste plastic is ground into 5-10mm pieces then heated and compressed into a flat sheet
Files
Kite cross stick connector - round stl
Kite cross stick connector flat stl