10. Molding and casting
Design.
This week was in Ramadan and I am trying to get back on track after I stopped working due to my 5 weeks of isolation after contacting with a covid-19 positive and getting infected with Covid 19. I missed a lot and here I’m trying to catch up.
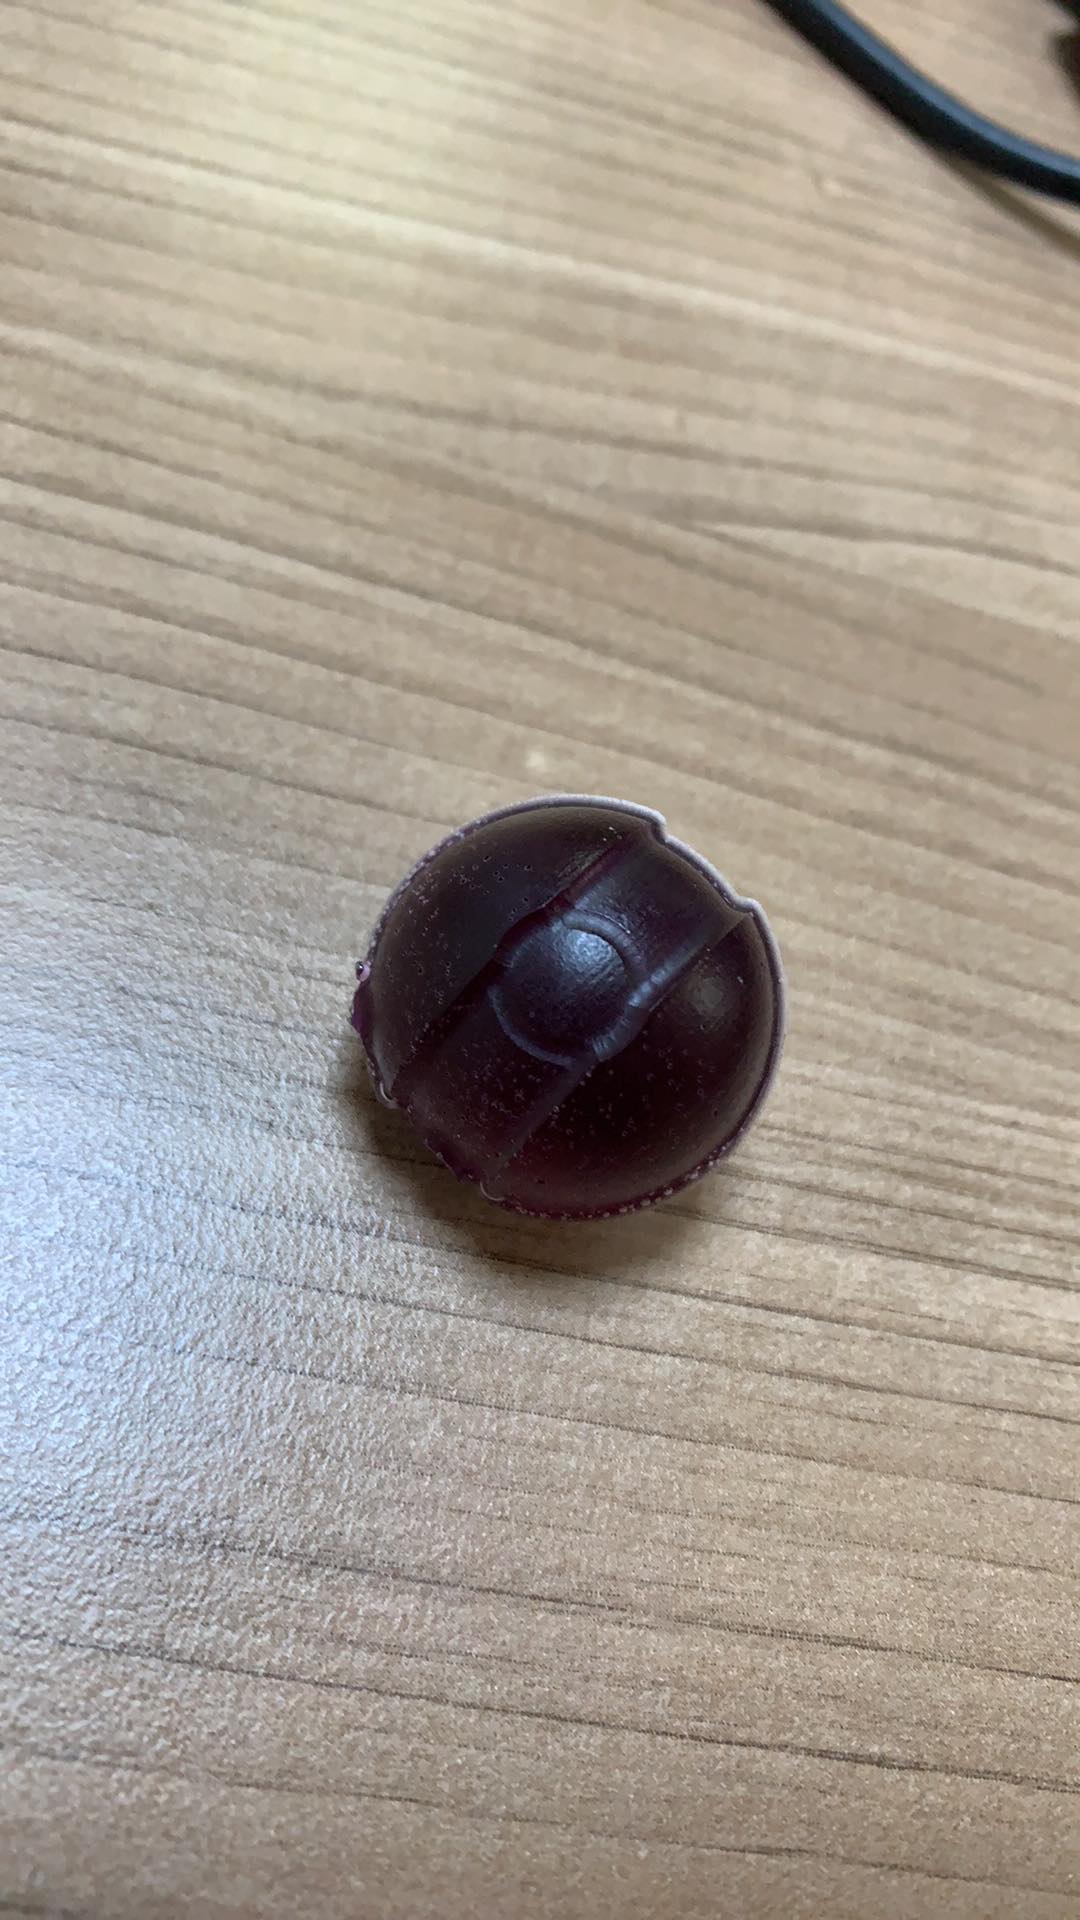
For this week assignment I decided to design a pokeball and prepare it for molding. First I designed the 3d design with fusion 360 for the pokeball and cut it into half as you can see below.

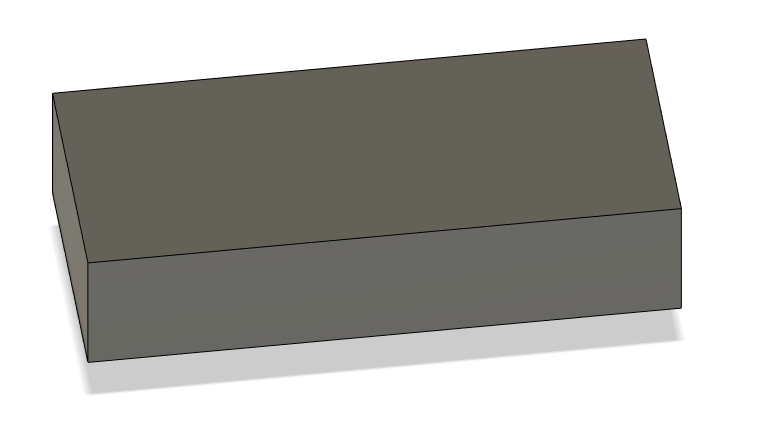
Then I took dimension a for the wax box that I was giving by Eng. Hashim to use for a stock for the mold. then I designed the box on fusion and the dimensions were:
- Width= 152 mm.
- Lenght= 73.5 mm.
- Height= 38 mm.
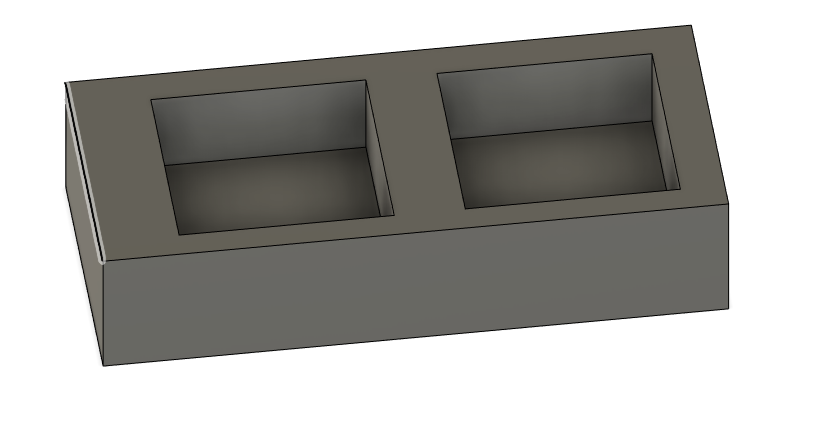
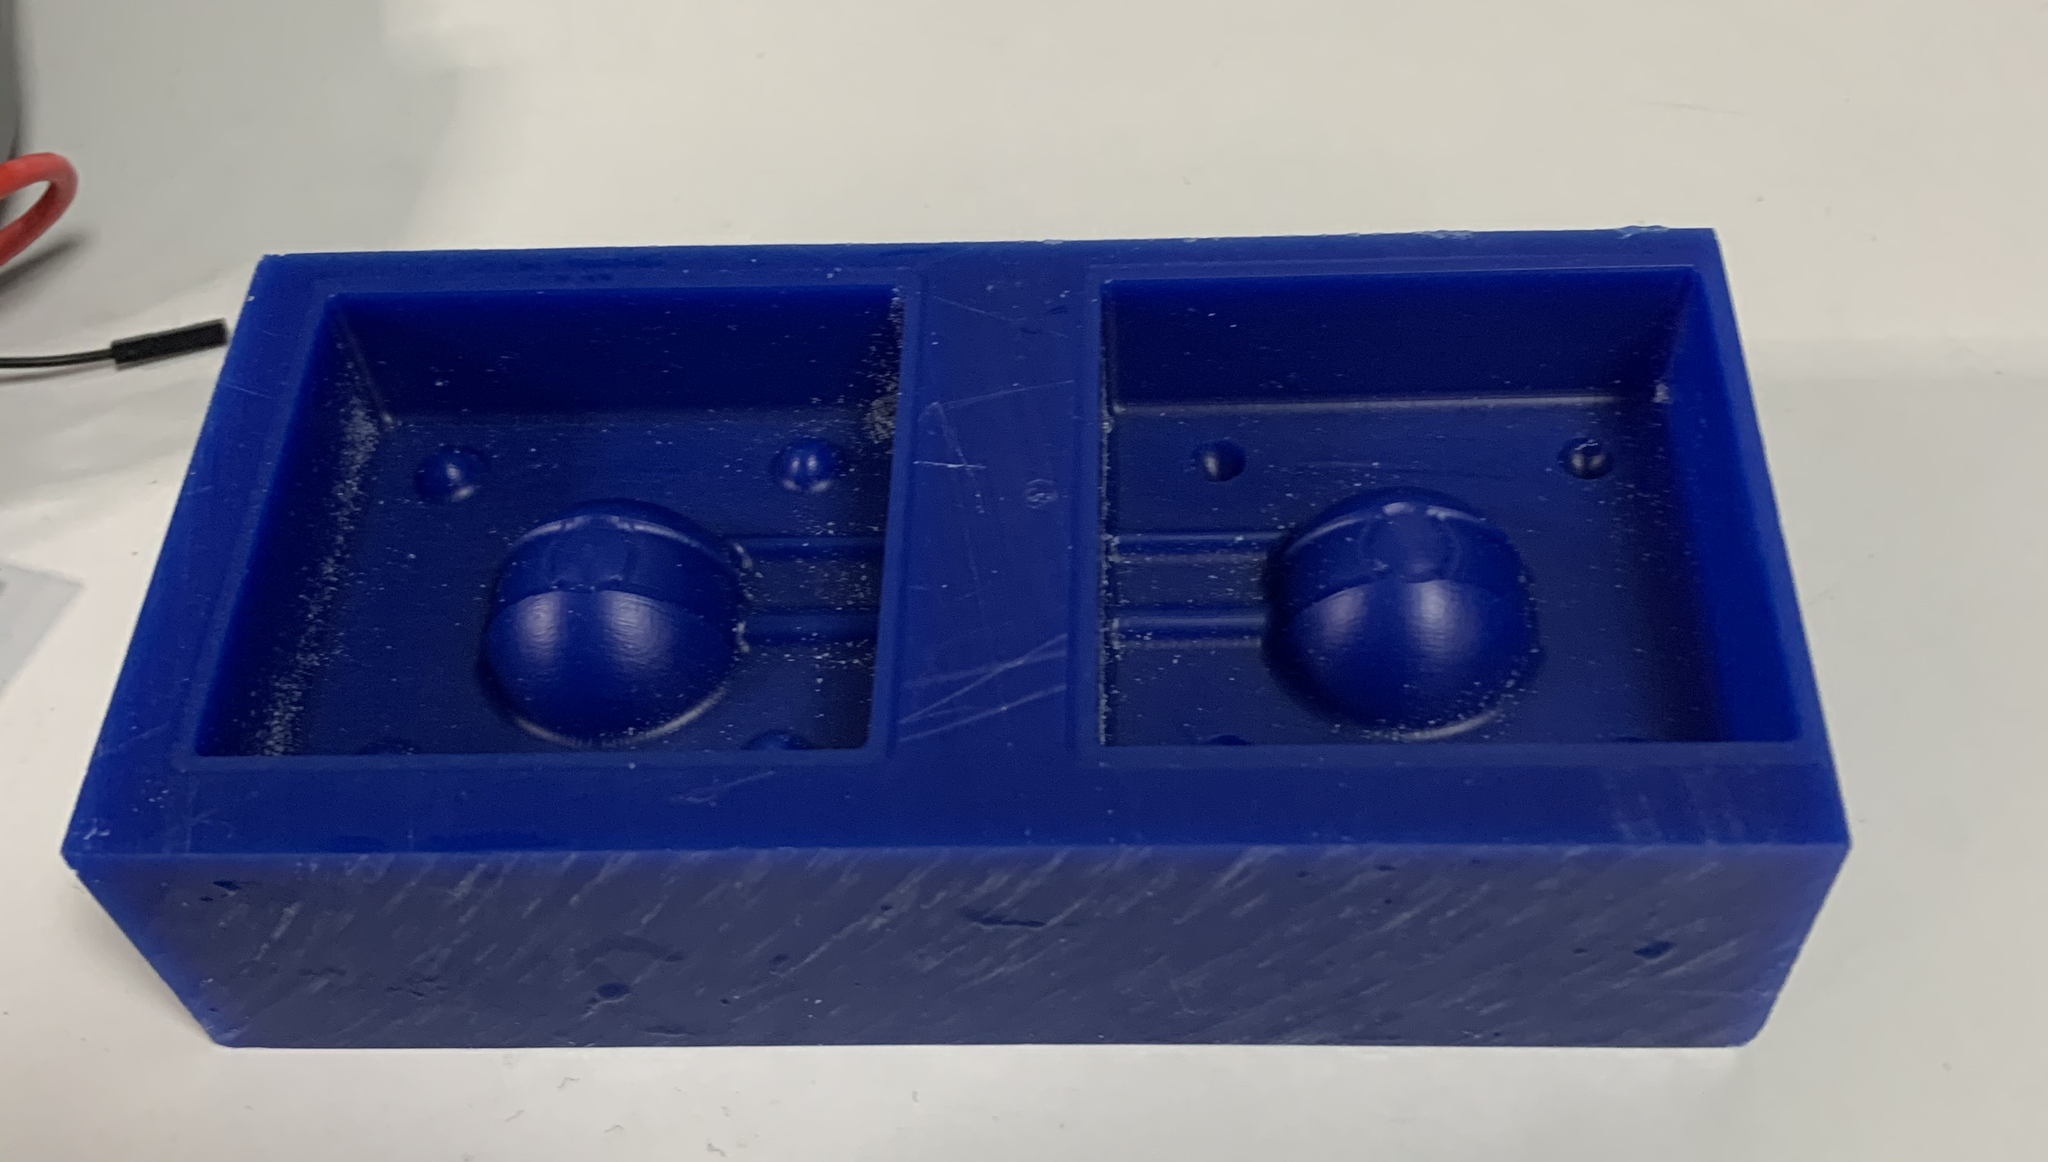
After that I added two box holes with depth of 29 mm and with clearance of the sides of more than 5 mm so that drill doesn’t break through.
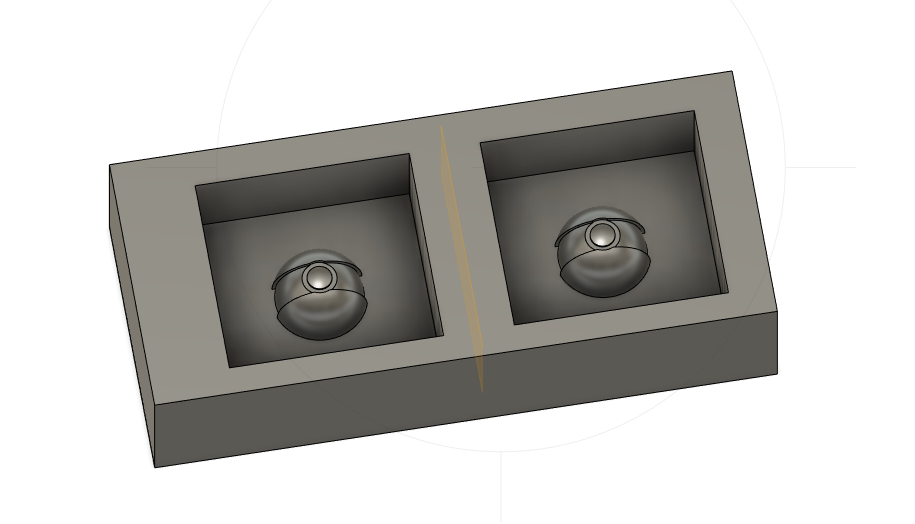
After this I added the pokeball and mirrored it.
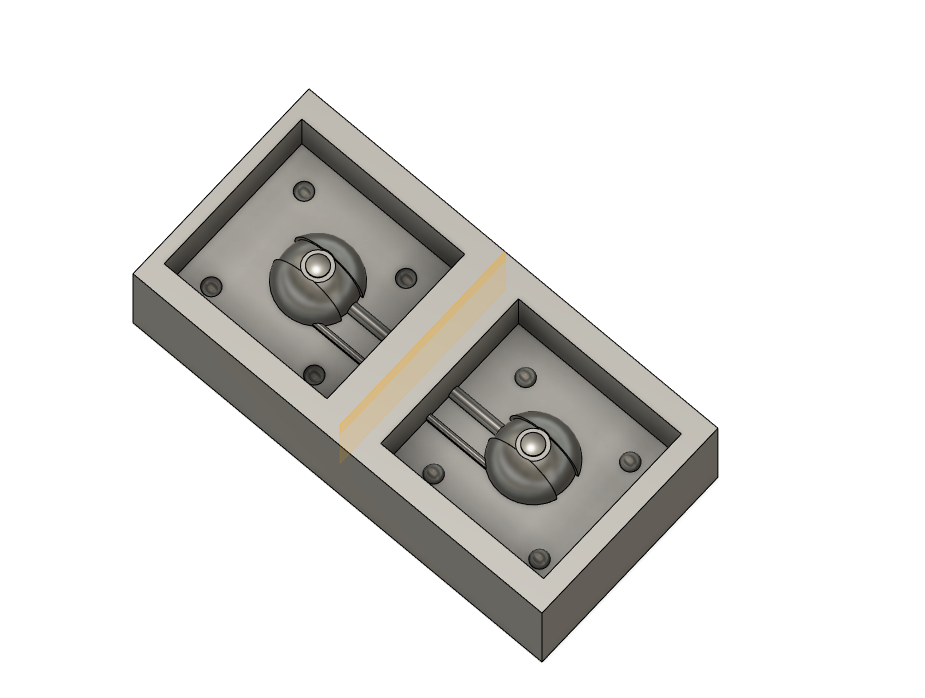
After that I added 4 sphere holes in one box and 4 sphere balls on the other side to make sure when I do casting the two boxes with fit together and don’t move. Also, I added two columns on each side to be able to put the casting material through one whole and the other hole for air to leave the cast.
CAM.
Once the dimensions were check and the design was confirmed to be makeable. I moved to the Manufacturing part of Fusion 360 to prepare the CAM. To perform the task I needed to generate a toolpath with Fusion 360 as in the following steps:
1-Setup.
In this step I used setup to specify the origin point on the z-axis and on x-axis on the designed model. Also I set the offset to zero to make sure the measurements are correct and accurate for cutting.
2- Tools.
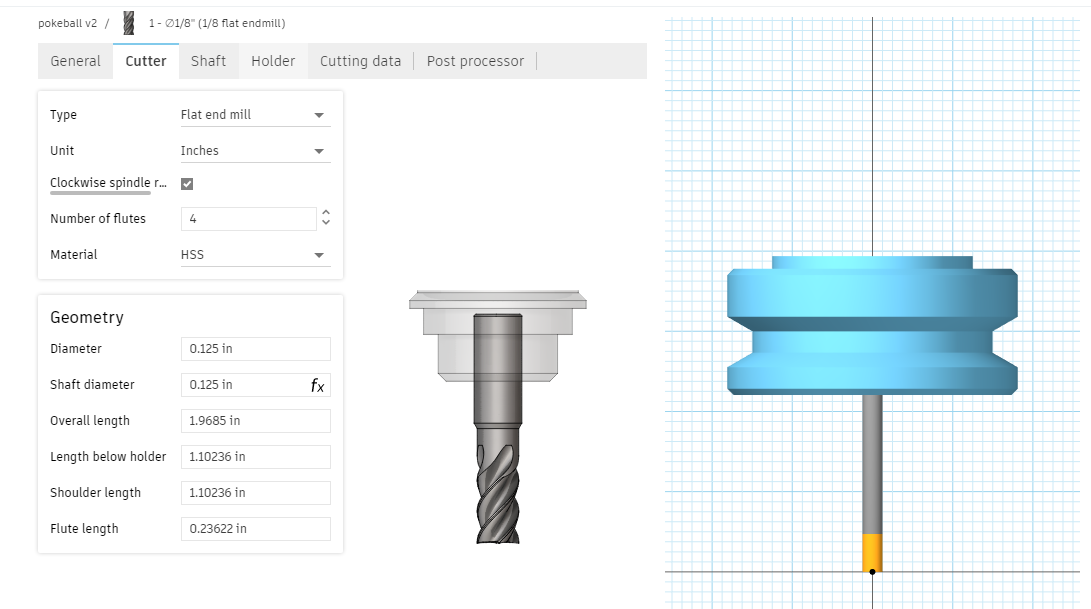
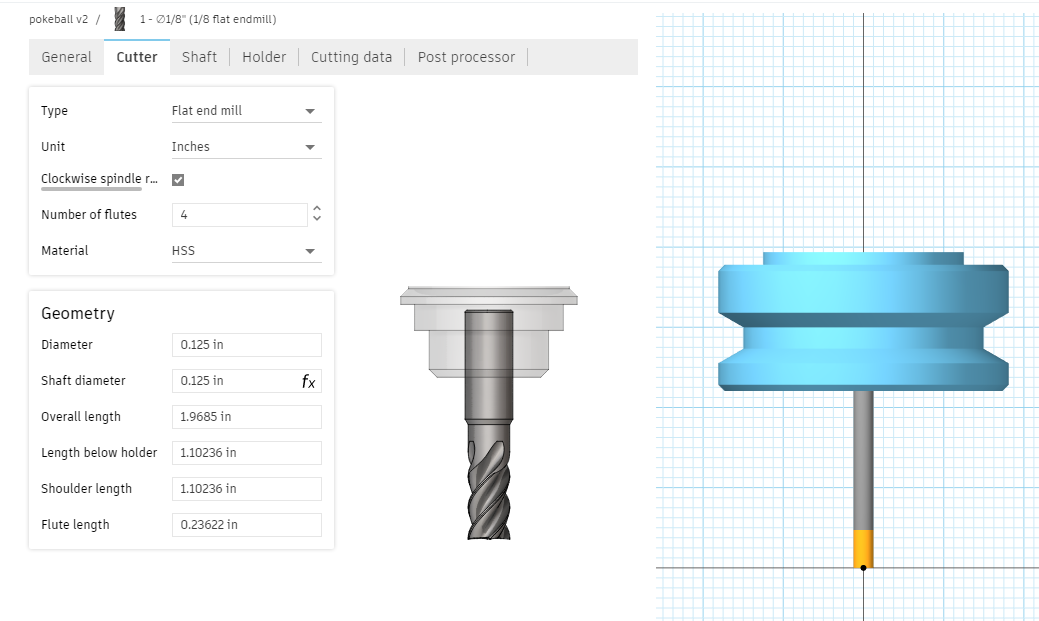
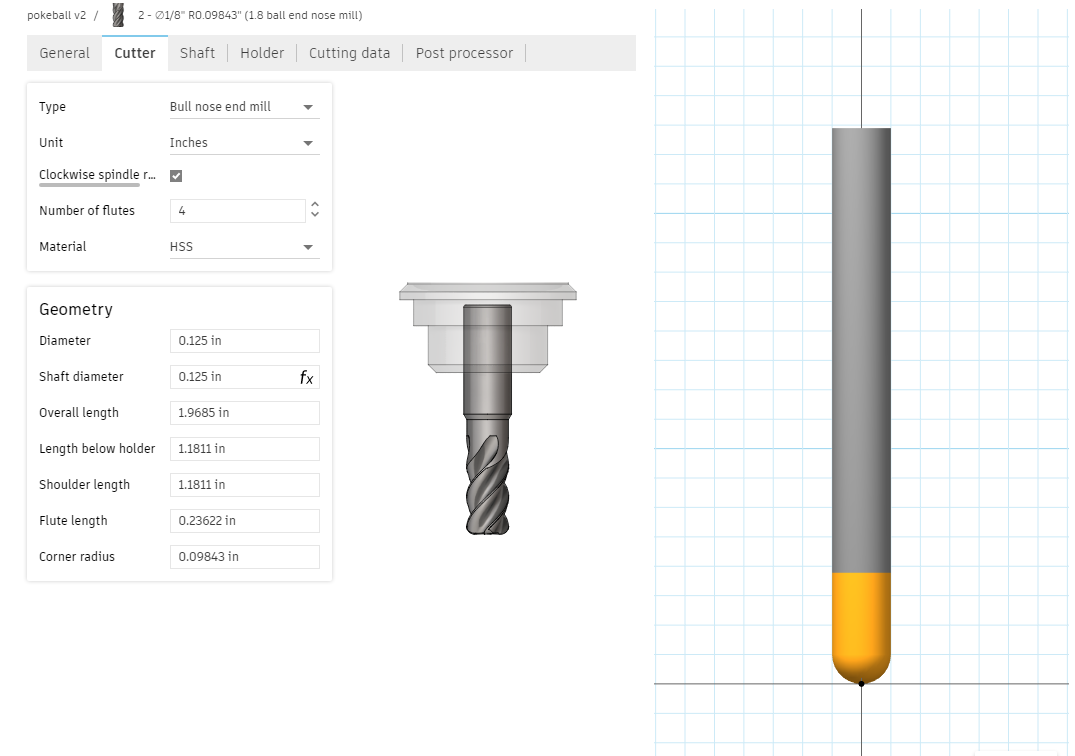
In this step I added two tools, the 1/8 inch flat end mill and the 1/8 inch bull nose end mill.
the settings were as folllowing:
- Number for Flutes = 4.
- Diameter = 0.125 in.
- Shaft Diameter = 0.125 in.
- Overall Length = 1.9685 in.
- Length below holder = 1.10236 in.
- Shoulder Length = 1.10236 in.
- Flute Length = 0.23622 in.
1/8 inch flat end mill
inch bull nose end mill.
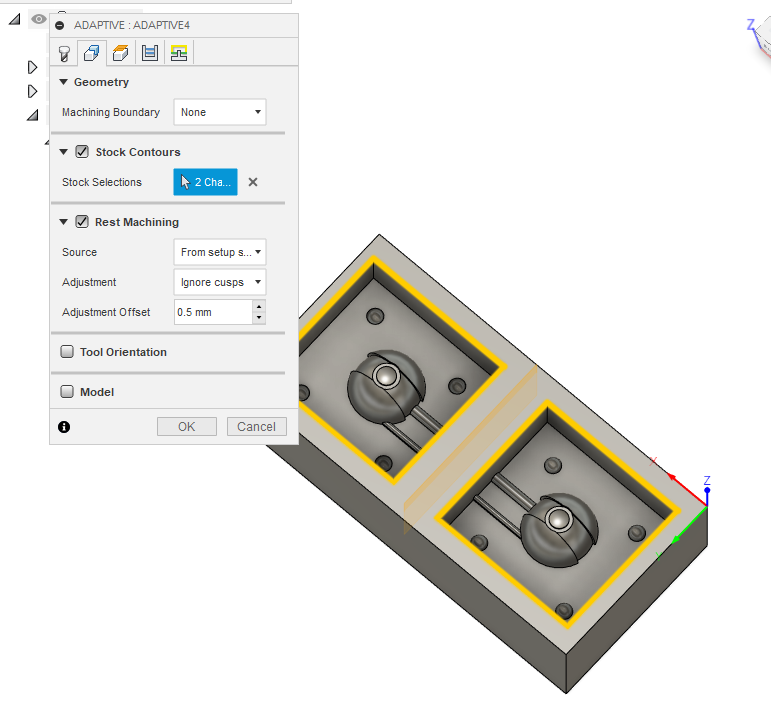
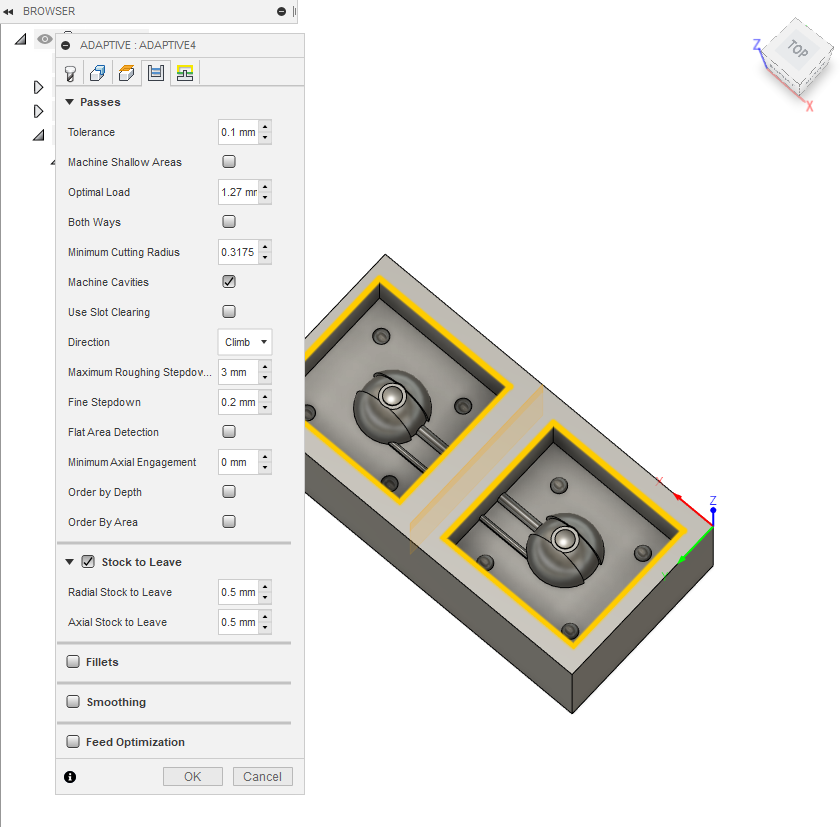
3- Drafting/Cleaning.
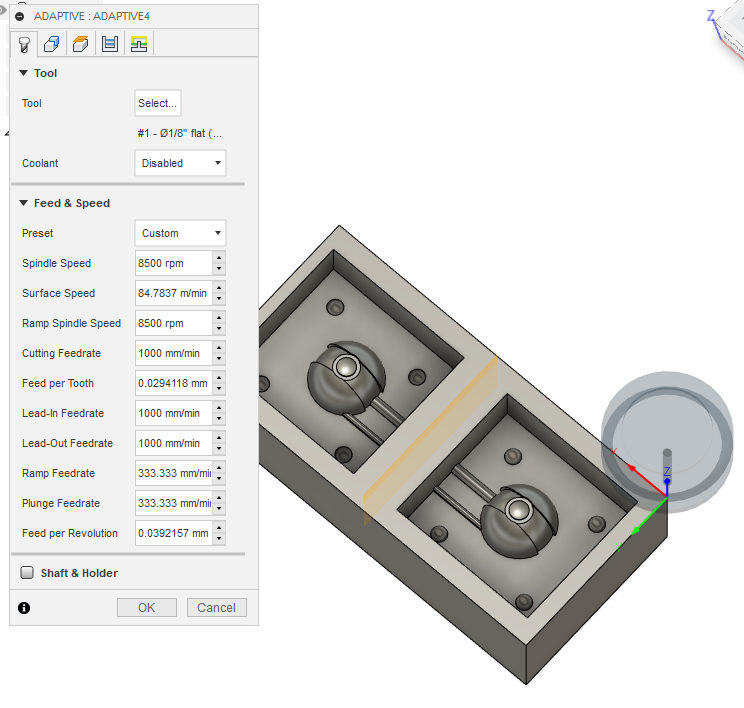
in this step I prepared my design to be a draft design where the extra parts are removed before smoothing. I used the Adapted Clearing from the 3D option in the milling.
the settings were like following:
- selecting the tool as 1/8 inch flat end mill.
- Disabling the coolant.
- spindle speed = 8500 rpm.
- choosing the Stock Contours.
- maximum roughing stepdown= 3 mm.
- fine stepdown = 0.2 mm.
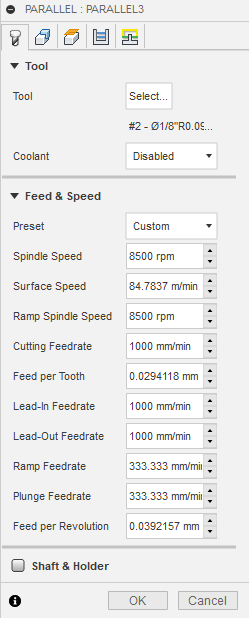
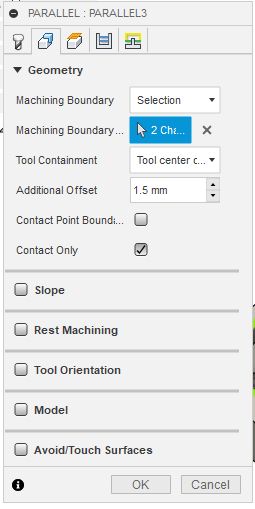
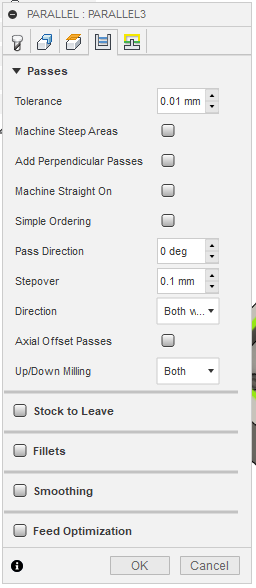
4- Finishing/Smoothing. in this step I prepared my design for smoothing which is the last step in this part. I used tused an option called parappel from the 3D milling. the settings were like following:
- selecting the tool as 1/8 inch bull nose end mill.
- Disabling the coolant.
- spindle speed = 8500 rpm.
- choosing machine boundary.
- stepover = 0.1 mm.
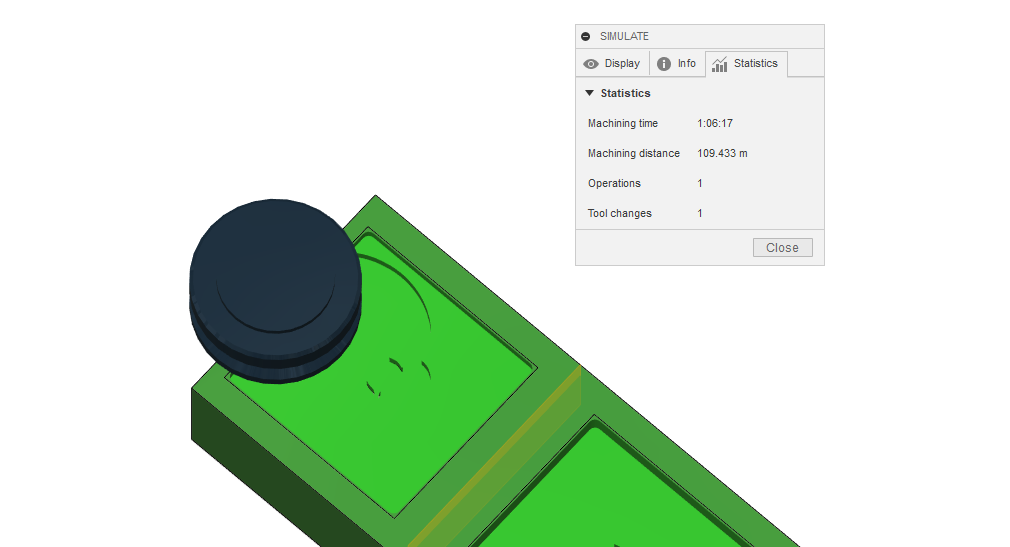
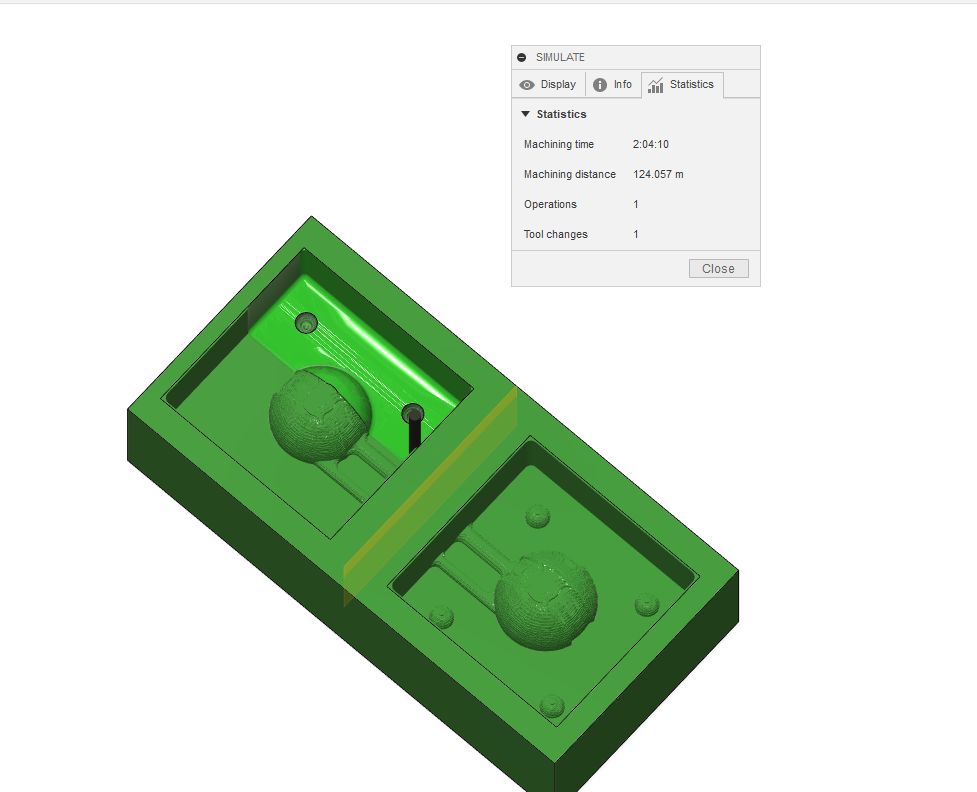
5- Generating and simulation.
in this step I generated both the adapted clearing and parallel to check for errors then I simulated both to check the final results how will look like. For the adapted clearing it will take the cnc 1:06 hours to mill it. and the Parallel it will take 2:04 hours to smooth it.
Cleaning
Finishing
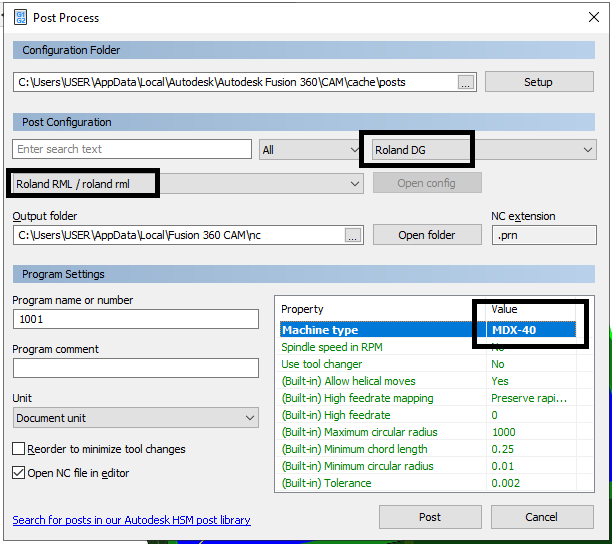
6- exporting file for milling.
for exporting the file I had to choose post process option then choose the machine type and name like in the picture below:
7- milling.
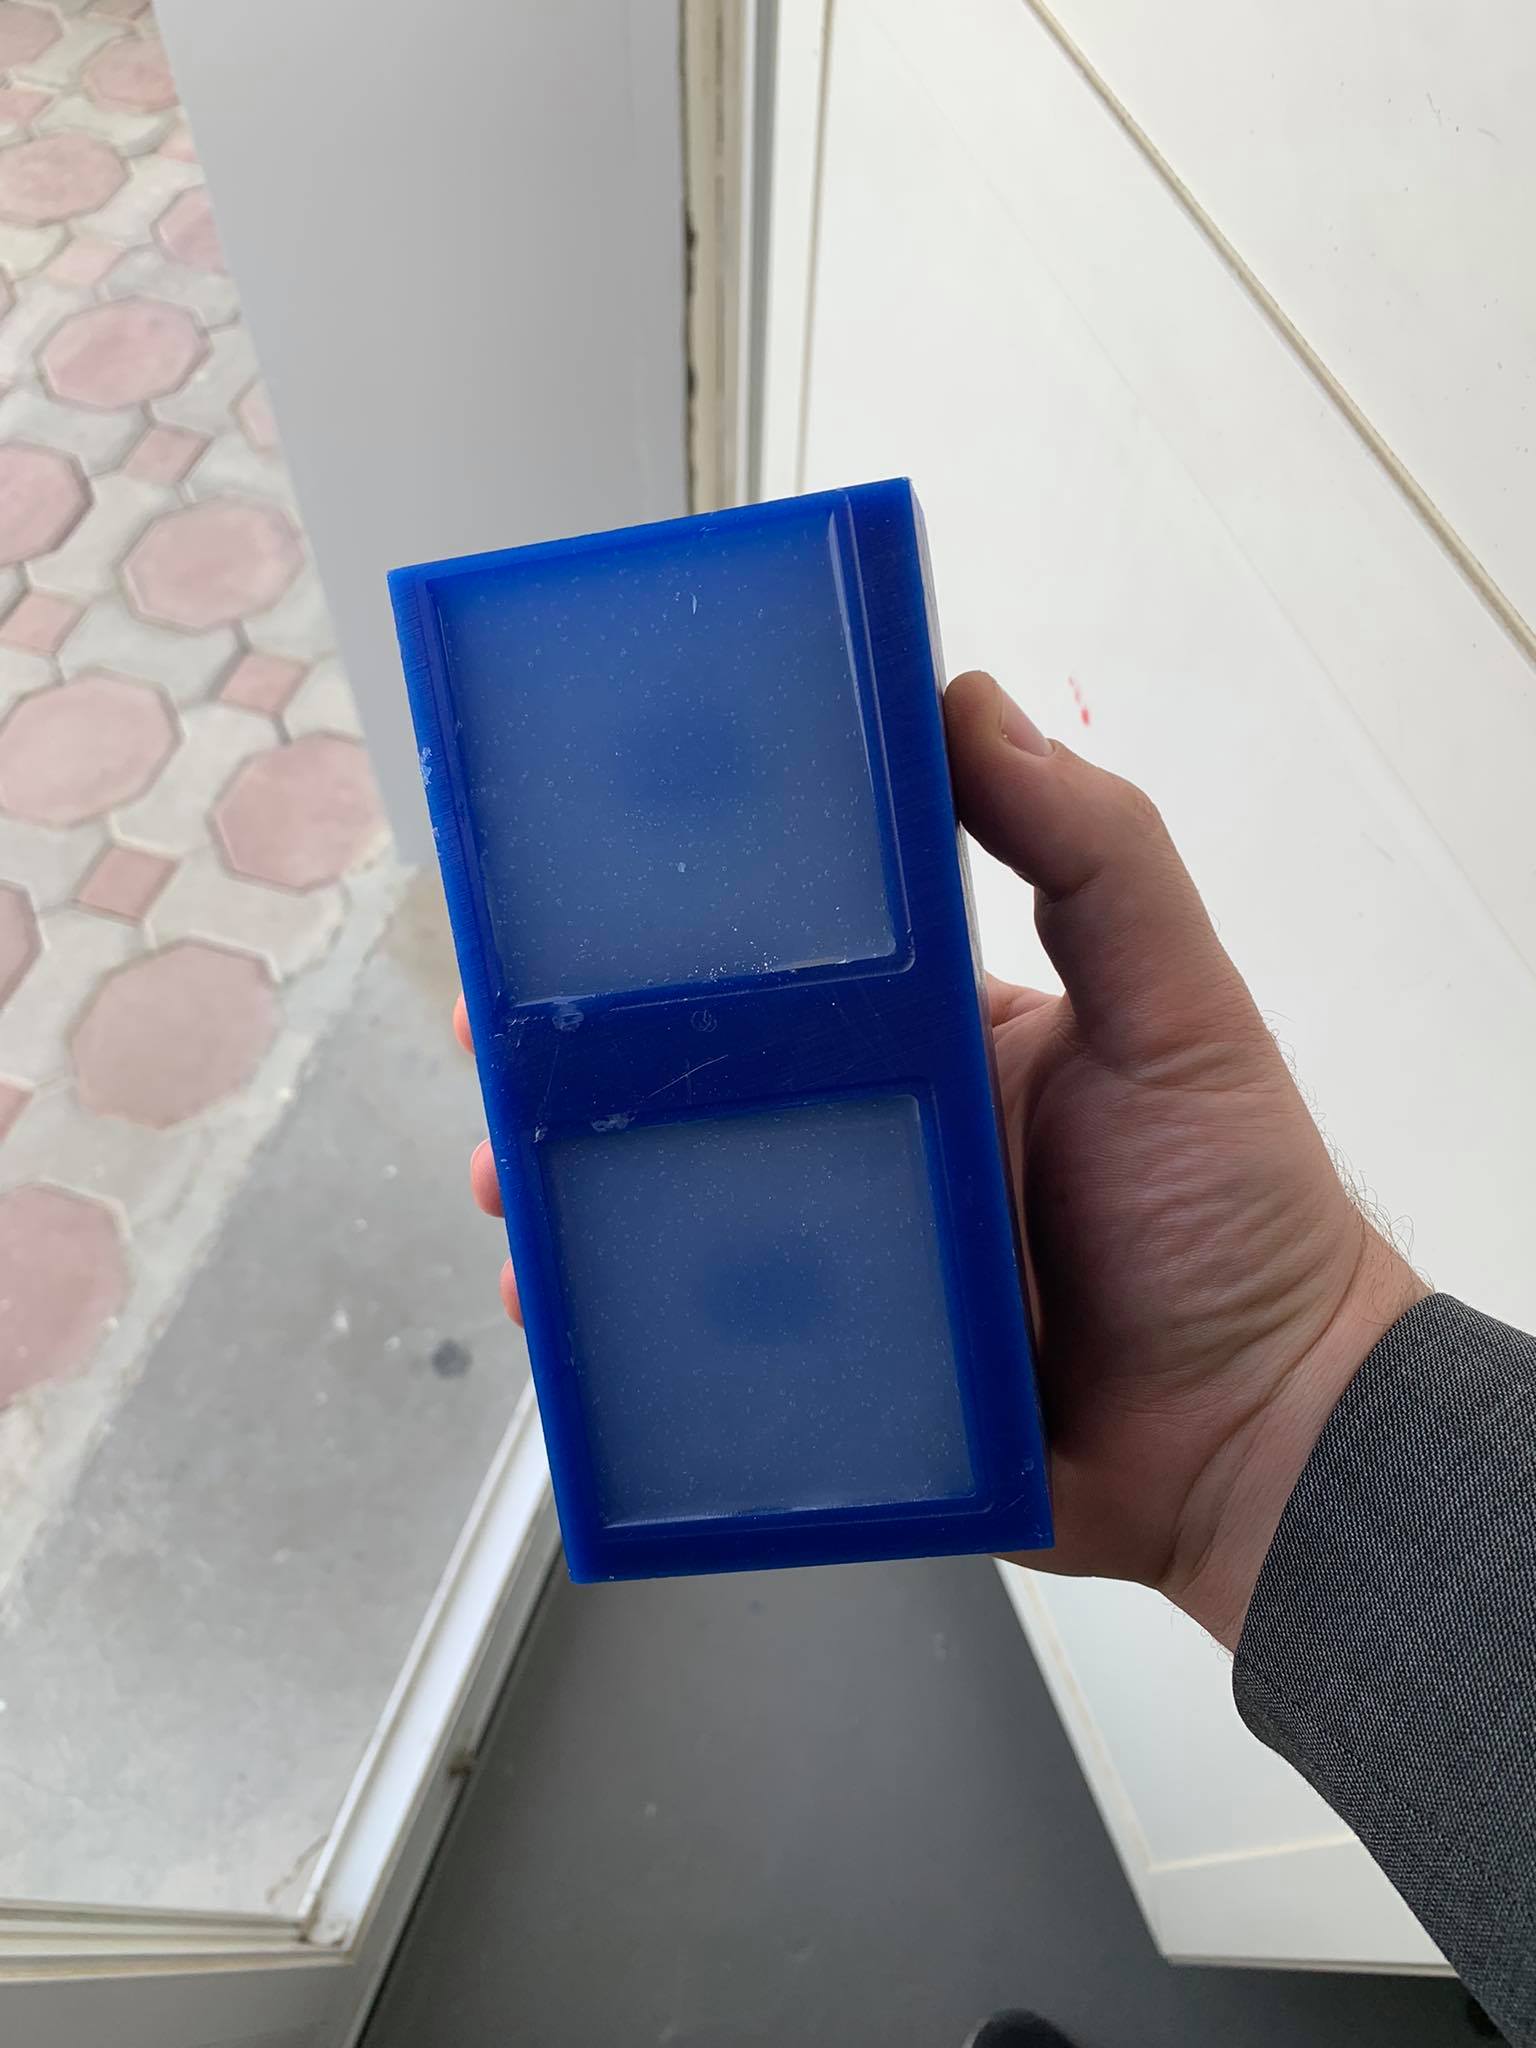
For this I used Roland SRM_20 CNC machine to mill first the adaptive cleaning then the finishing. the mold looked rough after the first process then it became smooth after the second.
7- Molding and Casting.
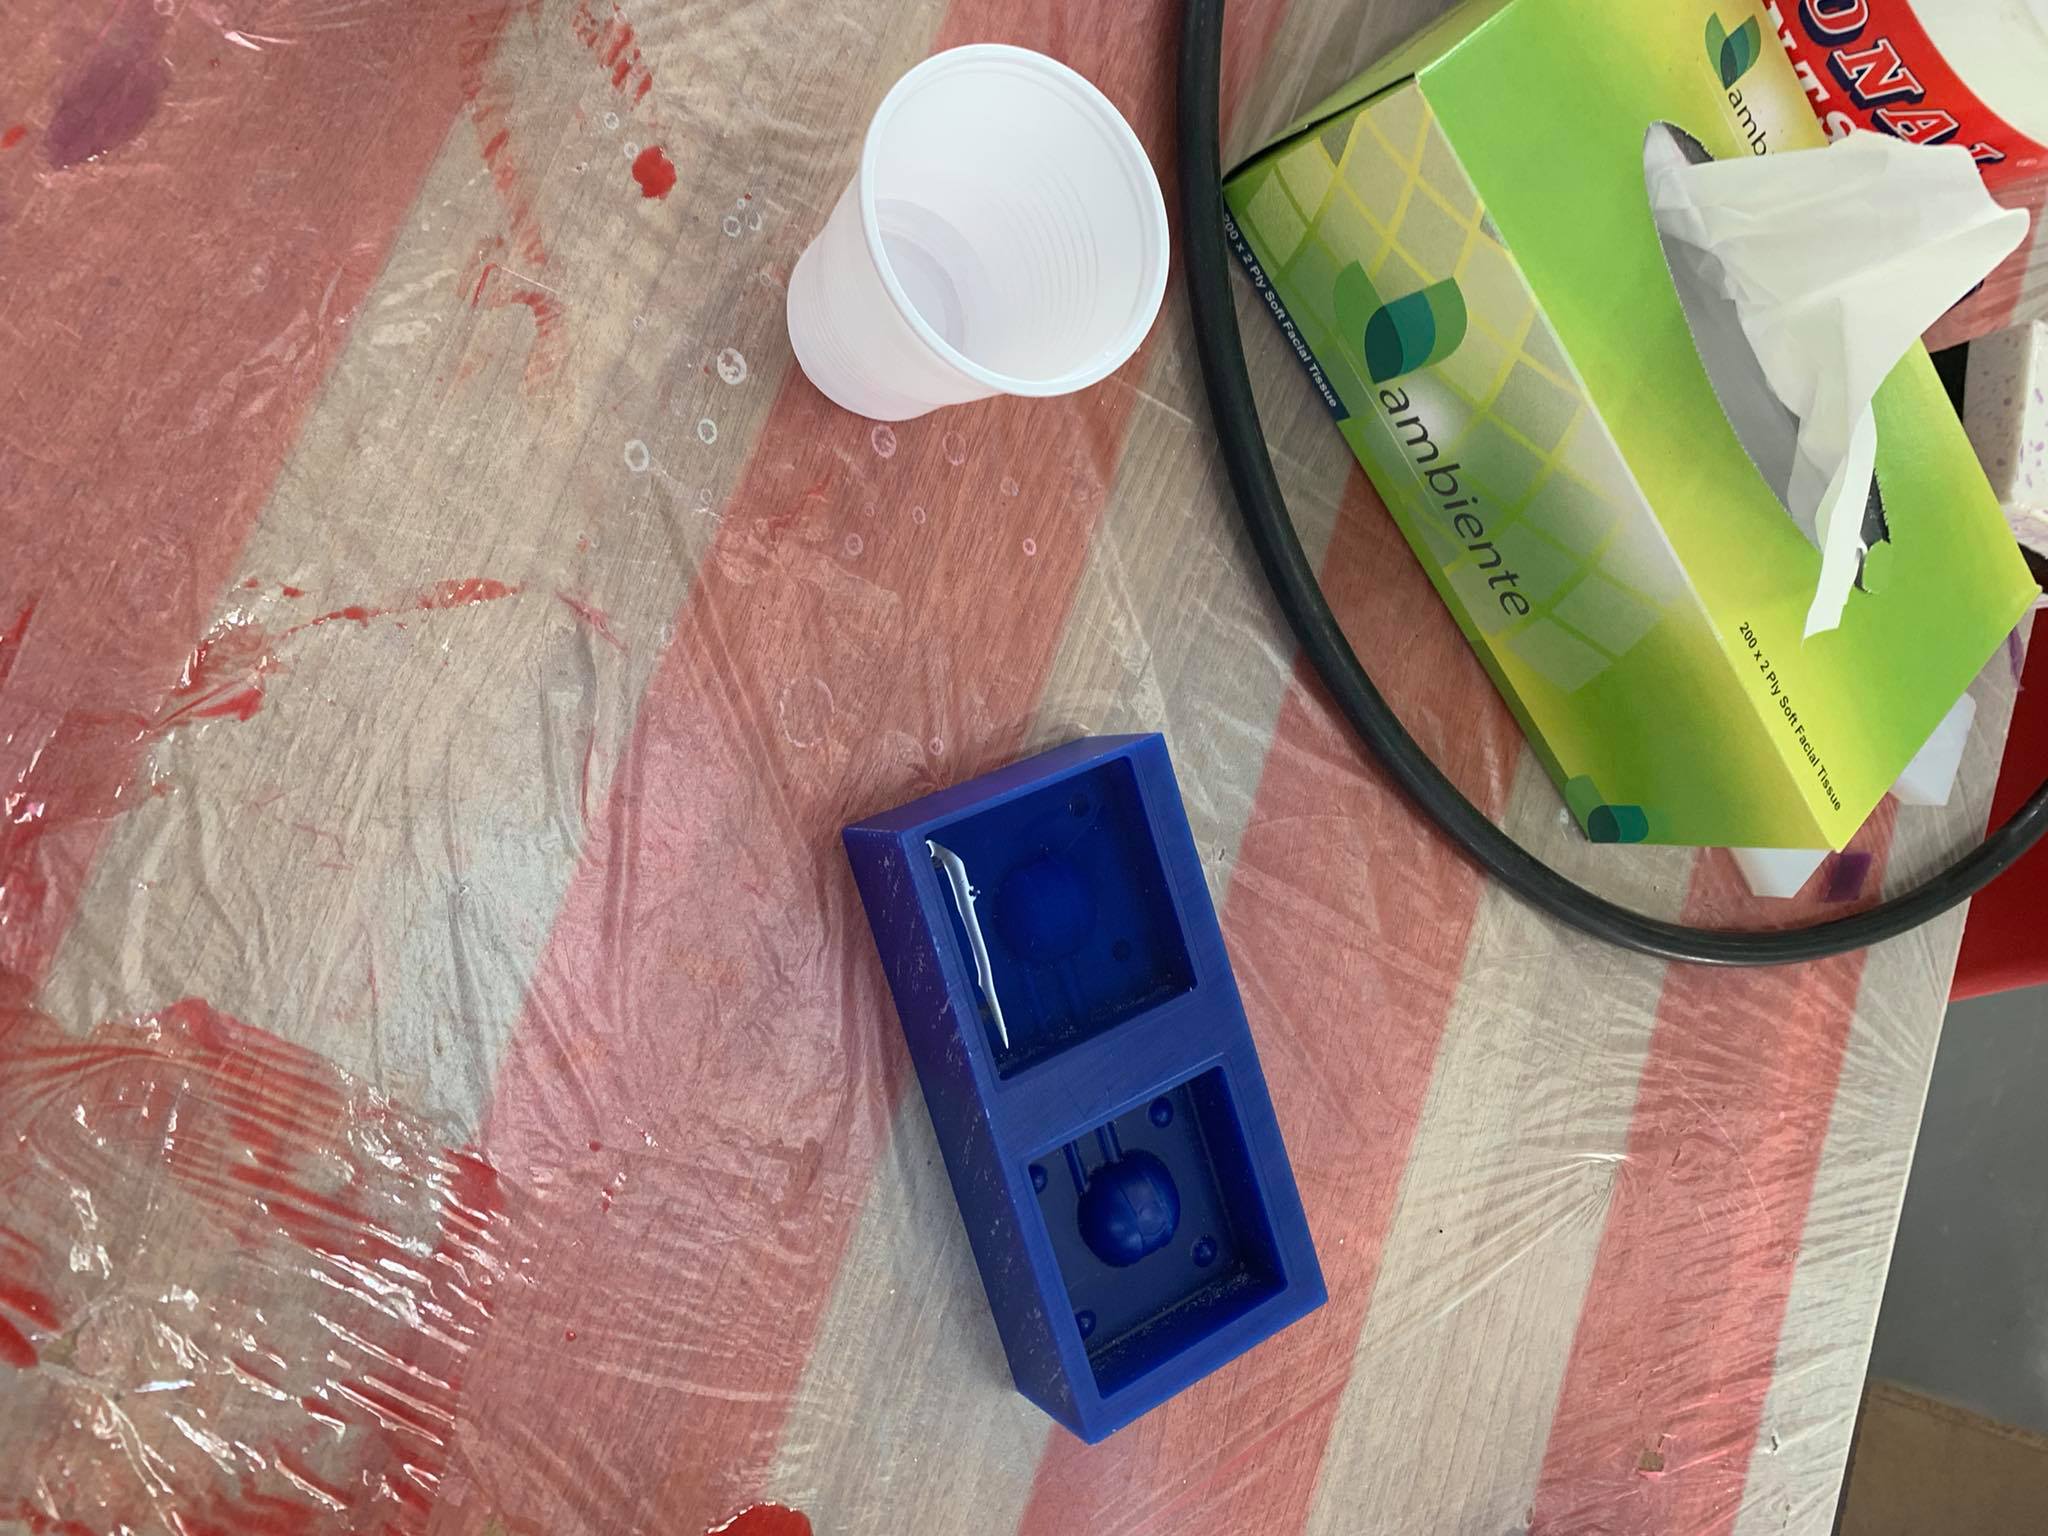
To make the mold I used the Dragon Skin 30 from Smooth-ON, which consist of two parts A & B.
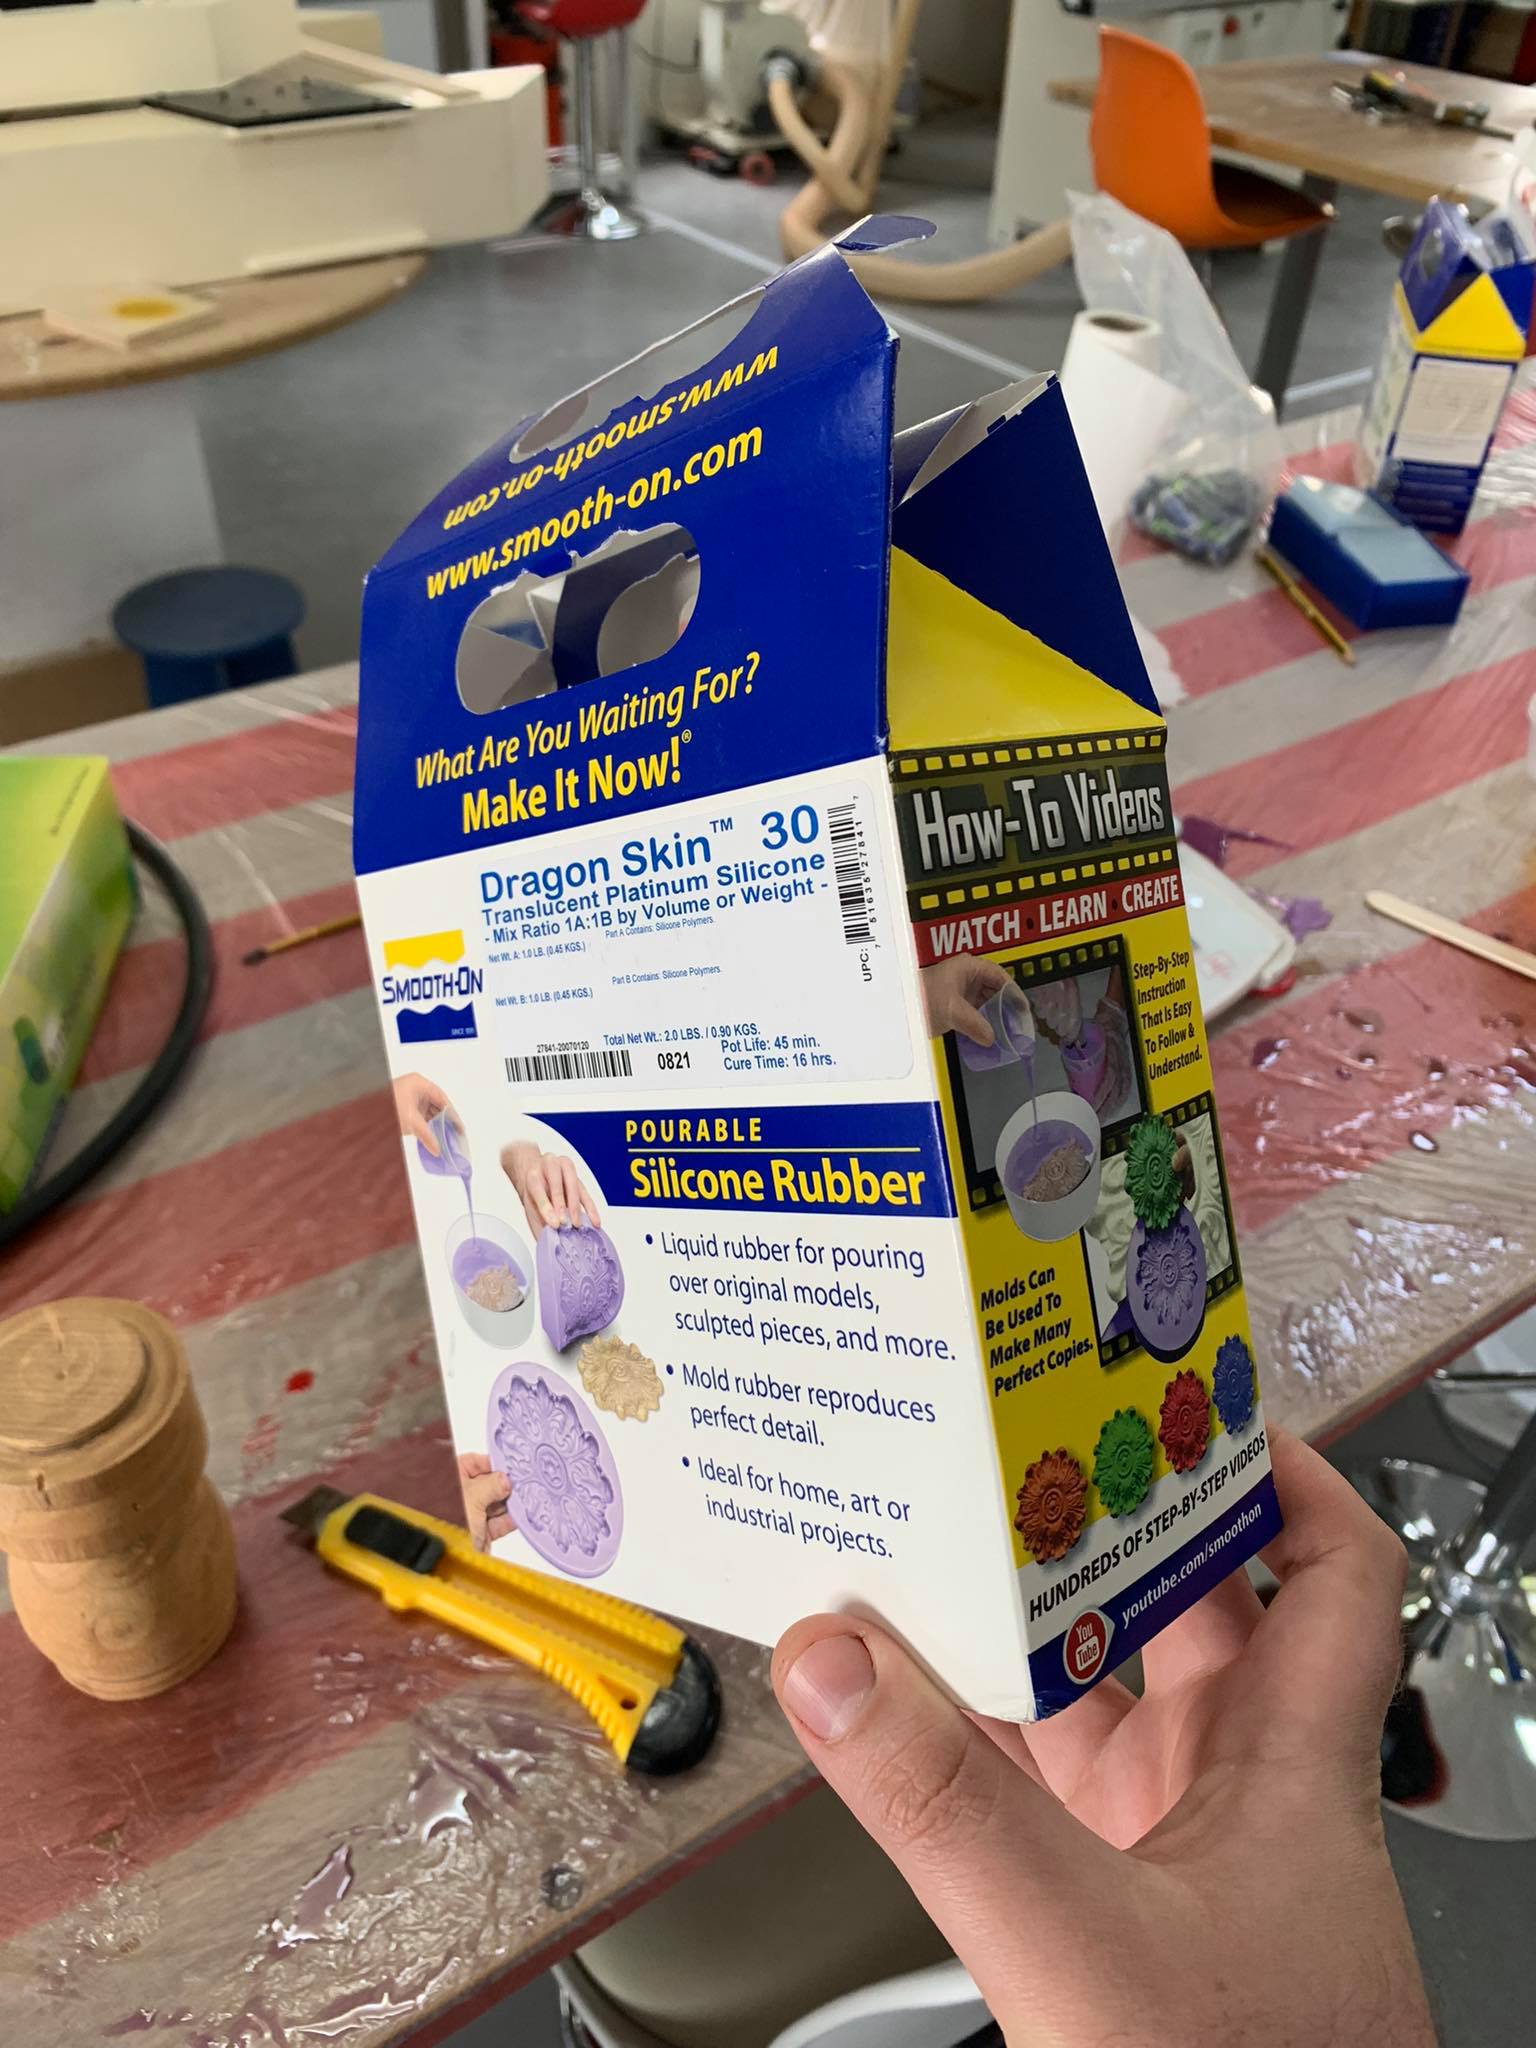
before starting with the process I went through the safety measures written in the datasheet attached with the product also making sure to follow the steps to make the mold.
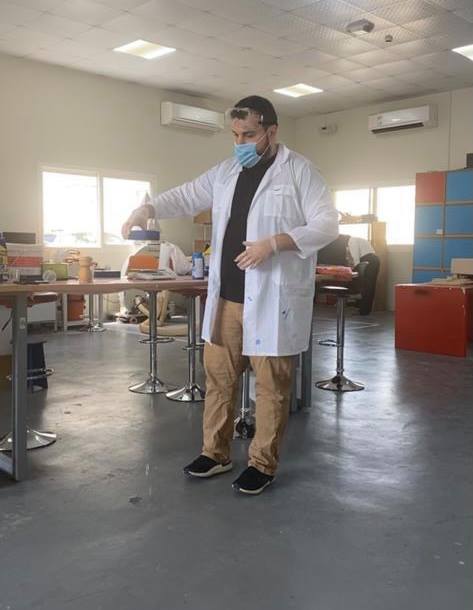
and because silicon runner is considered hazarduos material , I followed the safety instruction protocol, wearing gloves and a mask.
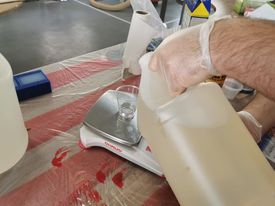
to make the mold I have to mix both parts A and B with same ratio 50% each, to do so I have to use digital scale to measure the weight for each liquid and make sure they are equally in weight,
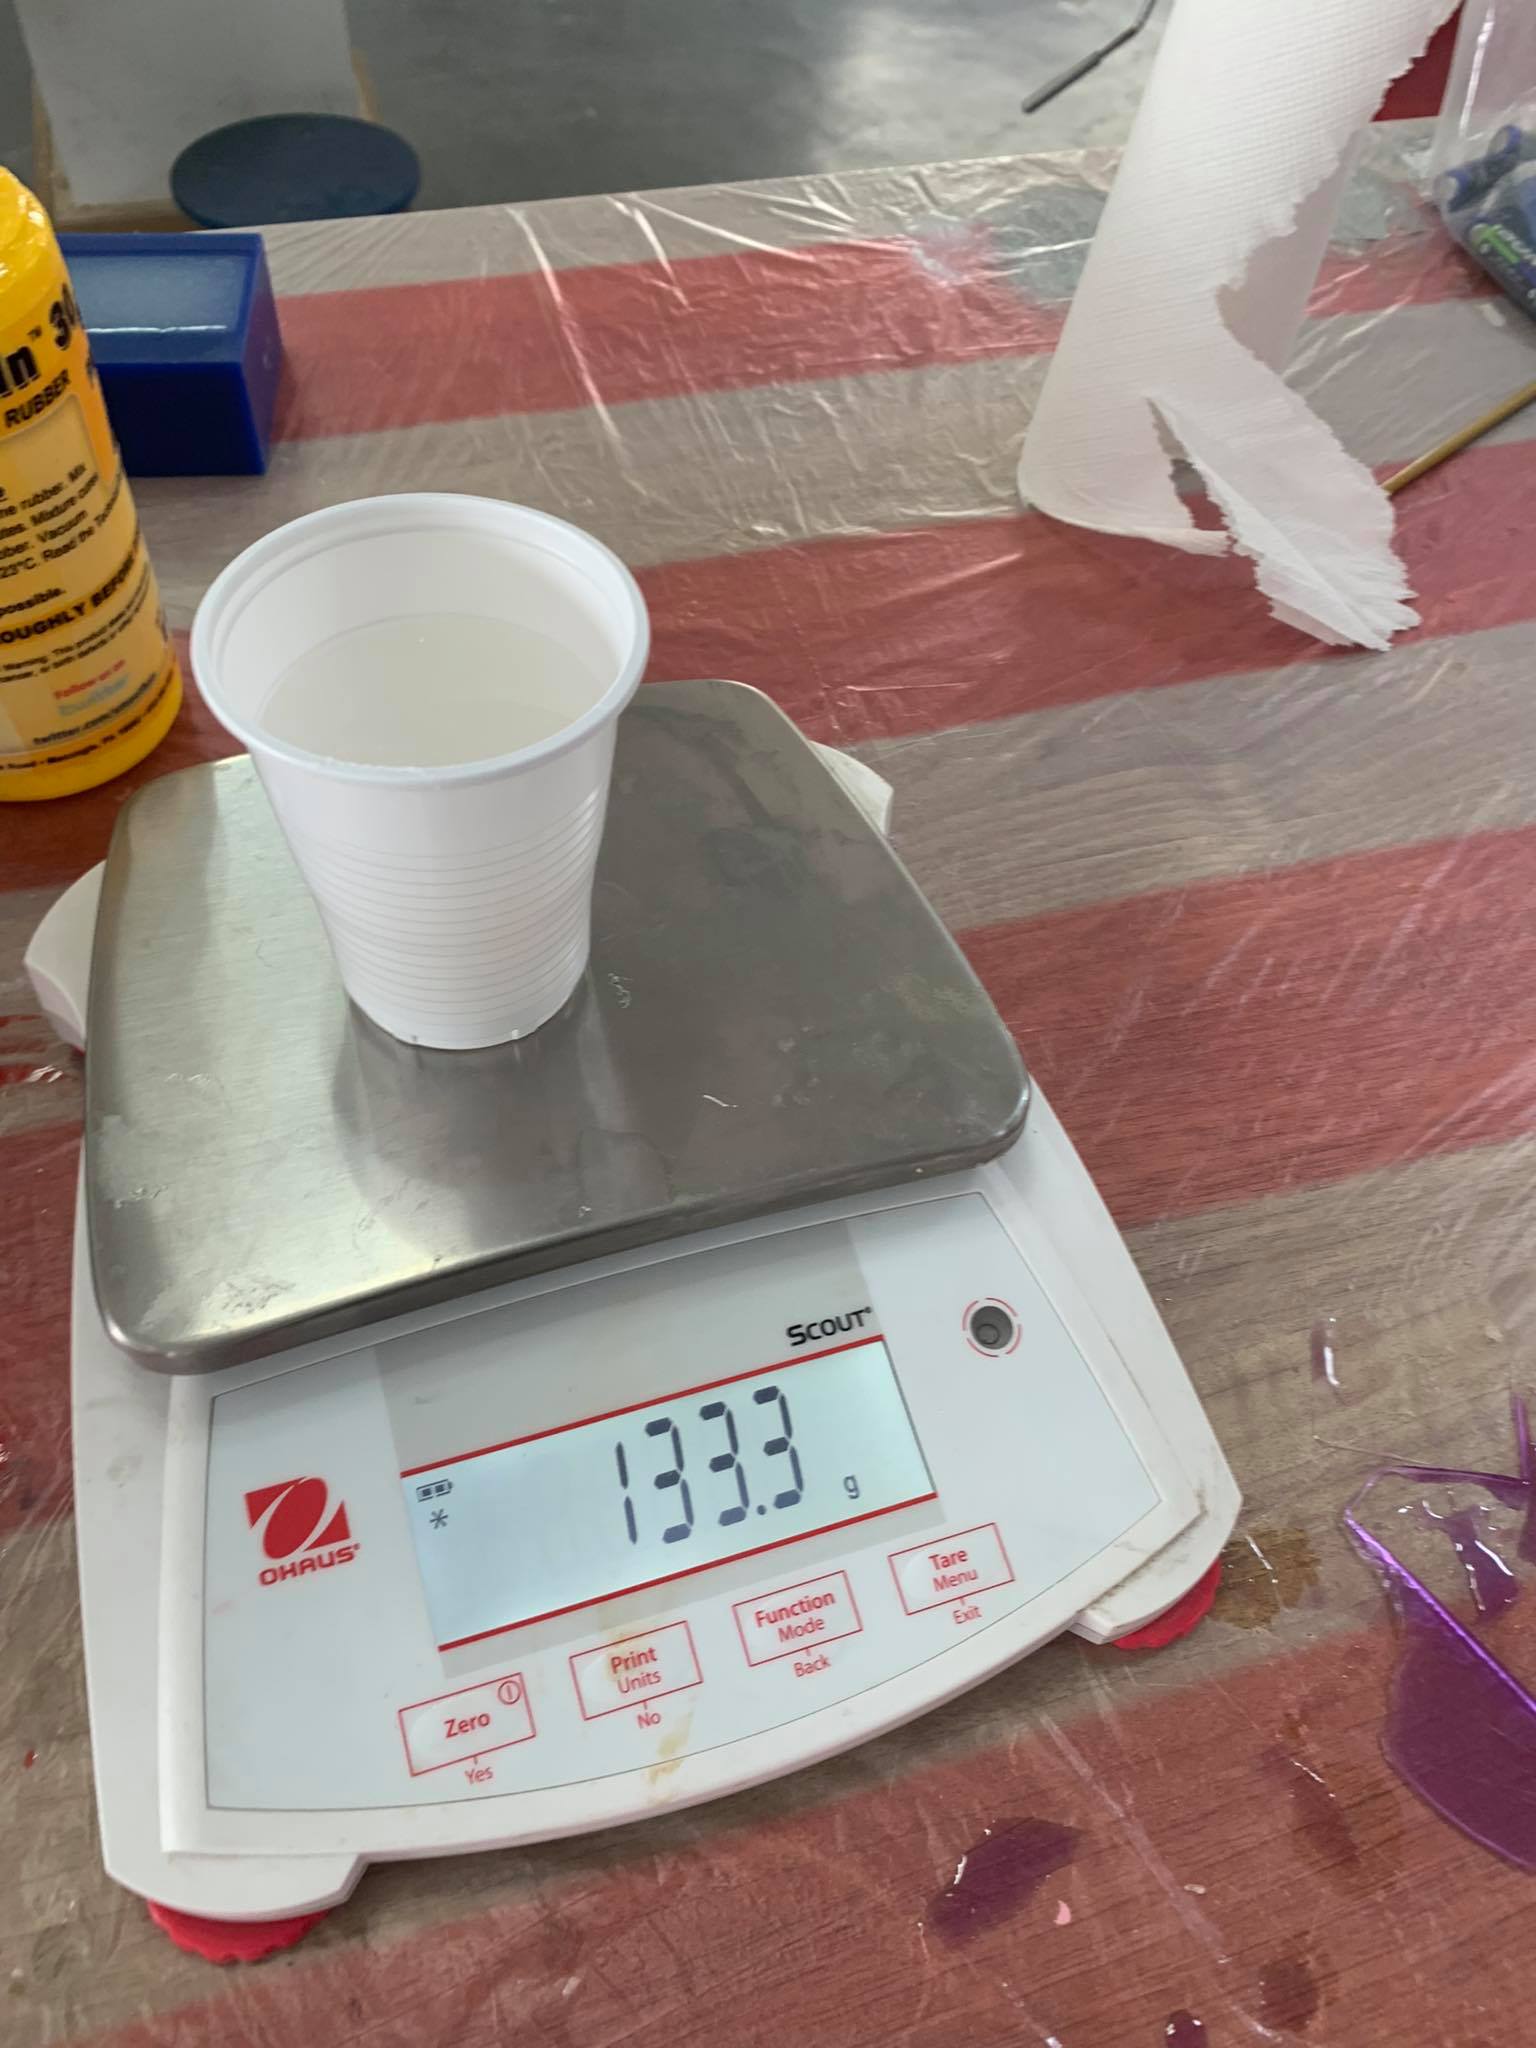
then dispense the required amount of part A and B into mixing container and mix them for 3 minutes then pouring the mixed liquid to cure for at least 16 hours.
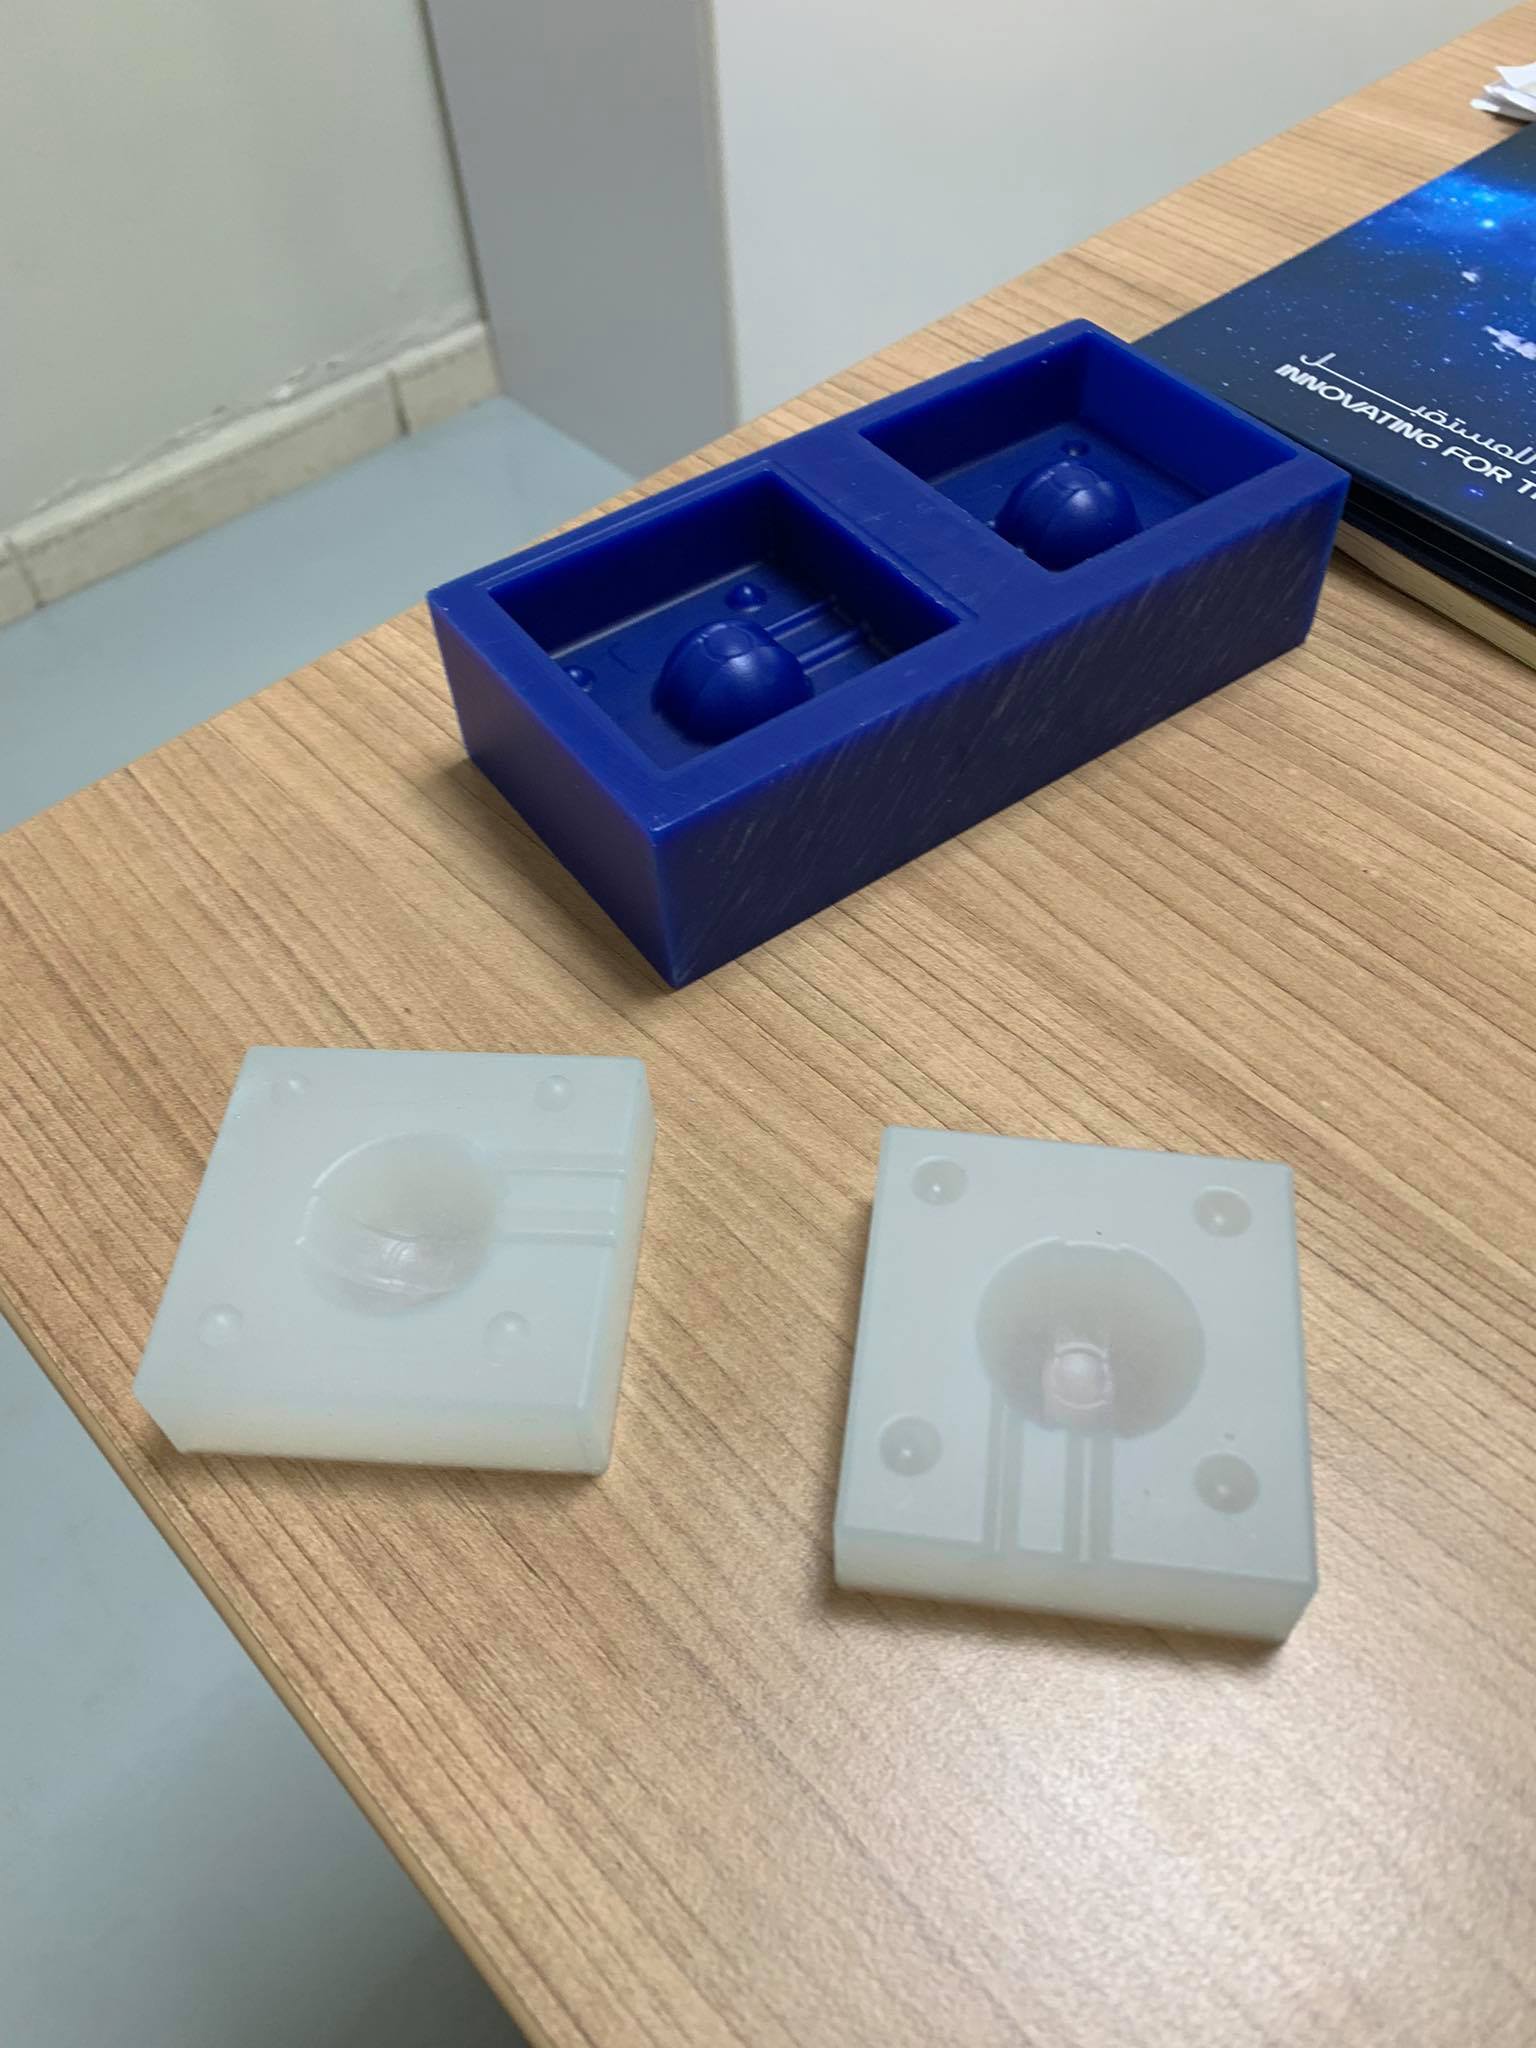
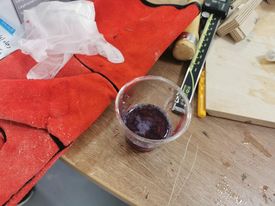
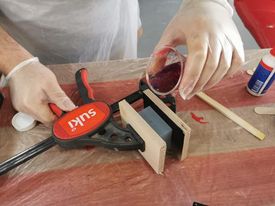
Then I used (ART RESIN)[https://www.artresin.com/] which also consist of two parts A & B, then I followed the same procedures mixing 50% of each piquid part A and part B to prepare the cast, mixing both parts and using a cone to pure it inside my mold and I waited for the next day.
Group assignment.
Safety:
Since all of us were sharing the same working table (large decent one for safety!), while working on different materials, we took the same safety precautions even if some of the martials were labeled as safer than some others, to reduce the risk of serious contamination.
We read the safety precautions in the datasheet and followed it to ensure everyone is safe while working and handling the material. We wore 2 vinyl gloves on top of each other, and tied any loose clothing with scotch tape, wore plastic aprons, a set of goggles, and an industrial mask on top of our existing masks.
Molding:
The following table is a comparison between the kinds of materials that we used to create the molds in this week’s assignment:
| Student | Design | Mold Type | Ratio | measurements | Curing Time |
|---|---|---|---|---|---|
| Abdallah Alsafadi | PokeBall | Dragon Skin 30 | 1:1 | 133 g | 16 H |
Casting:
| Student | Material | Ratio | measurements | Curing Time |
|---|---|---|---|---|
| Abdallah Alsafadi | Epoxy resin ( Art Resin) | 1:1 | 30 g | 16 H |