6. 3D Scanning and printing
In this week task I had to reach the following:
-
Test the design rules for our printers.
-
Design and 3D print an object (small, few cm3, limited by printer time) that could not be easily made subtractively.
-
3D scan an object.
3D Design/Printing.
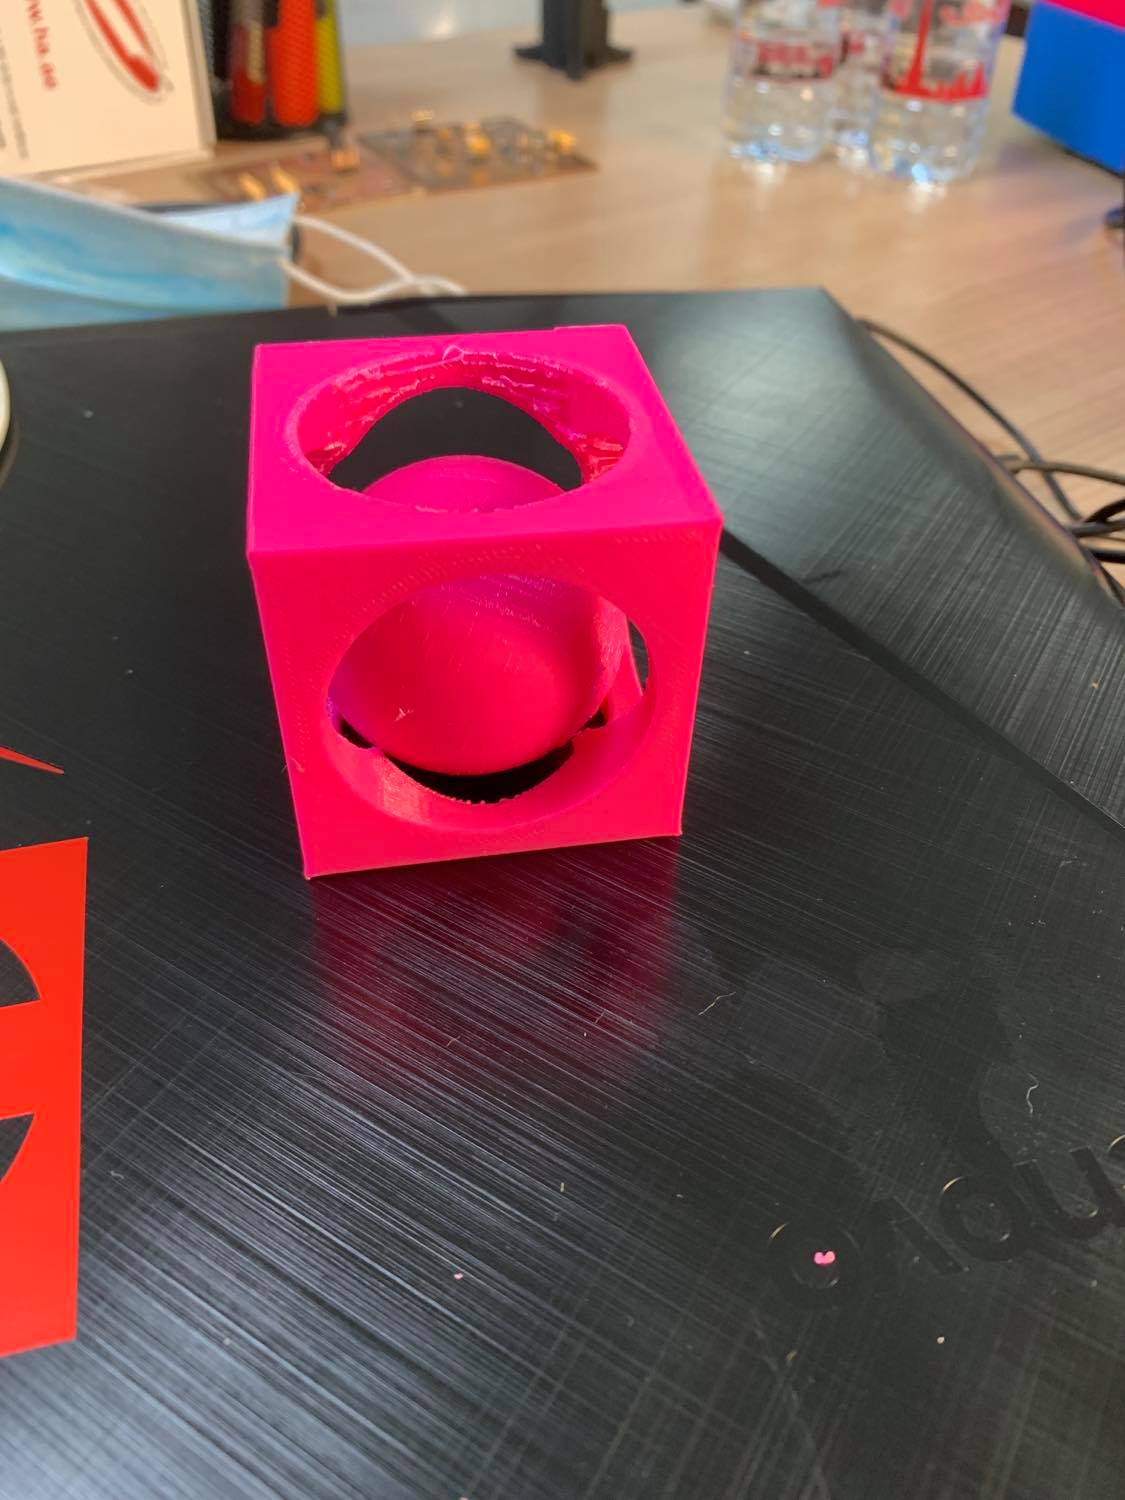
For the 3D design, I had to Design something that cannot be easily subtractively. So I thought of making a cube with a sphere inside of it that cannot be taken out.
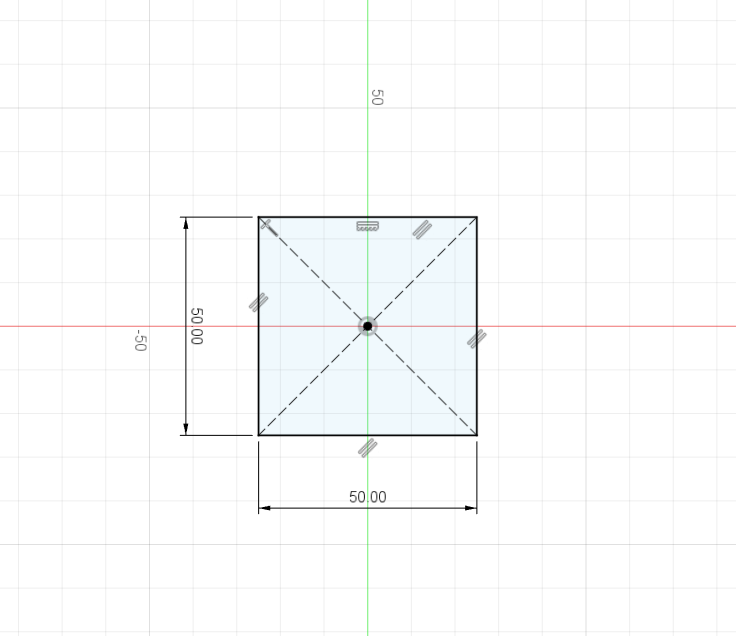
First I started with designing it on fusion 360, I started with a 2D design of a rectangle with 50 mm sides.
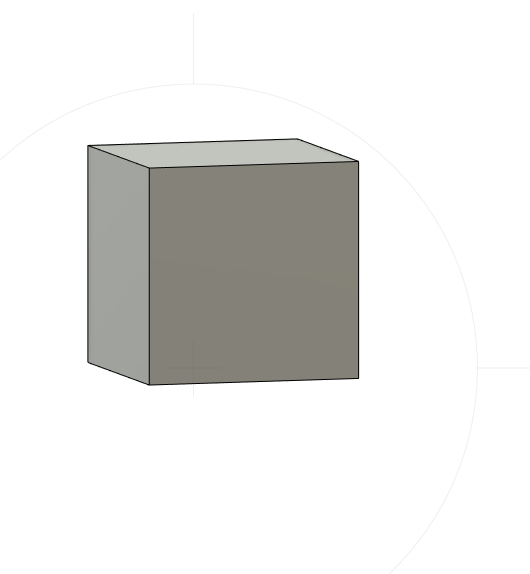
Then I extruded the rectangle with 50mm height to form a cube.
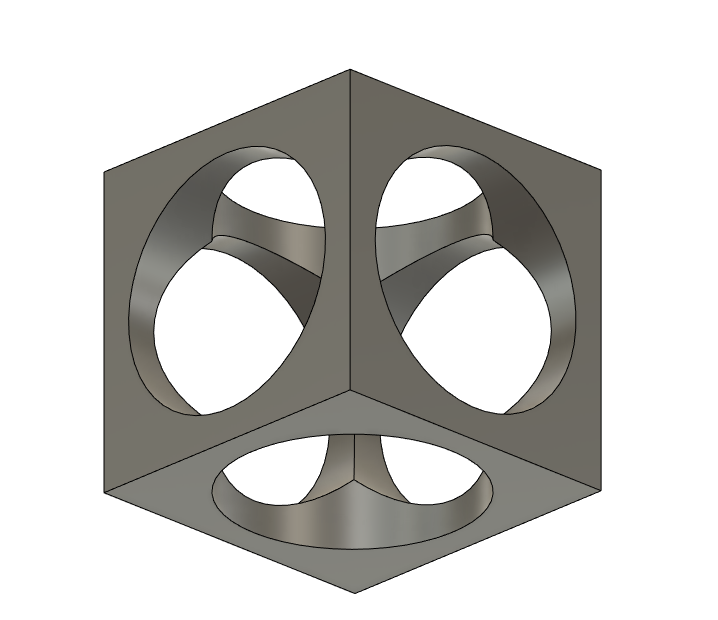
Then using the hole function, I created the cylindrical holes through the 6 faces of the cube.
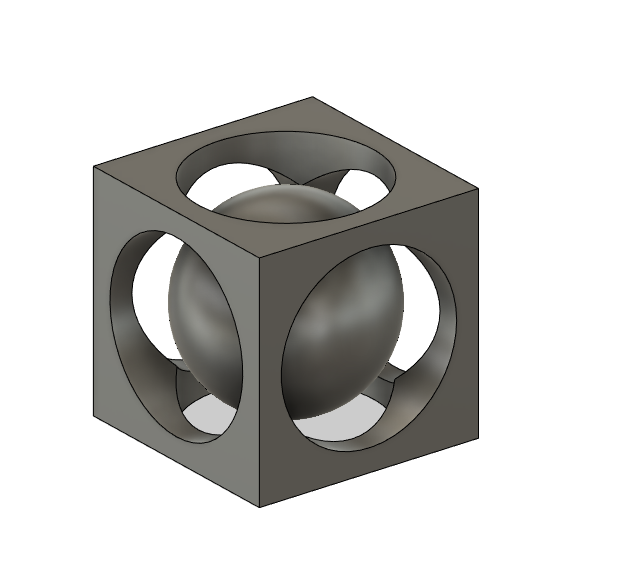
Lastly, I created the sphere inside the cube with 43mm diameter.
Then I was done with the design part, I exported the file as stl then prepared the model for printing by using cura software.
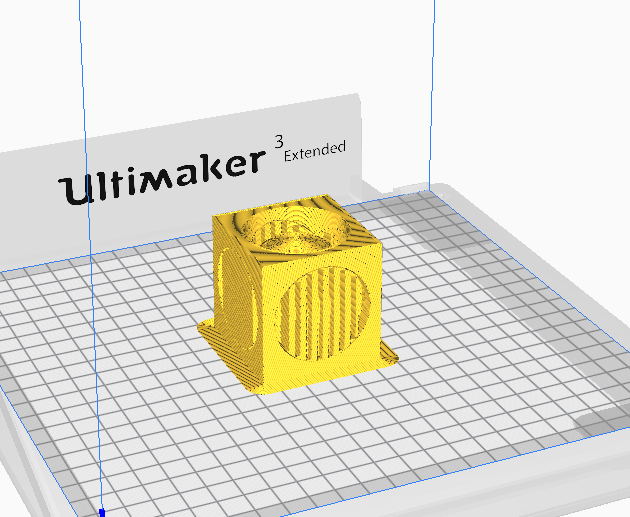
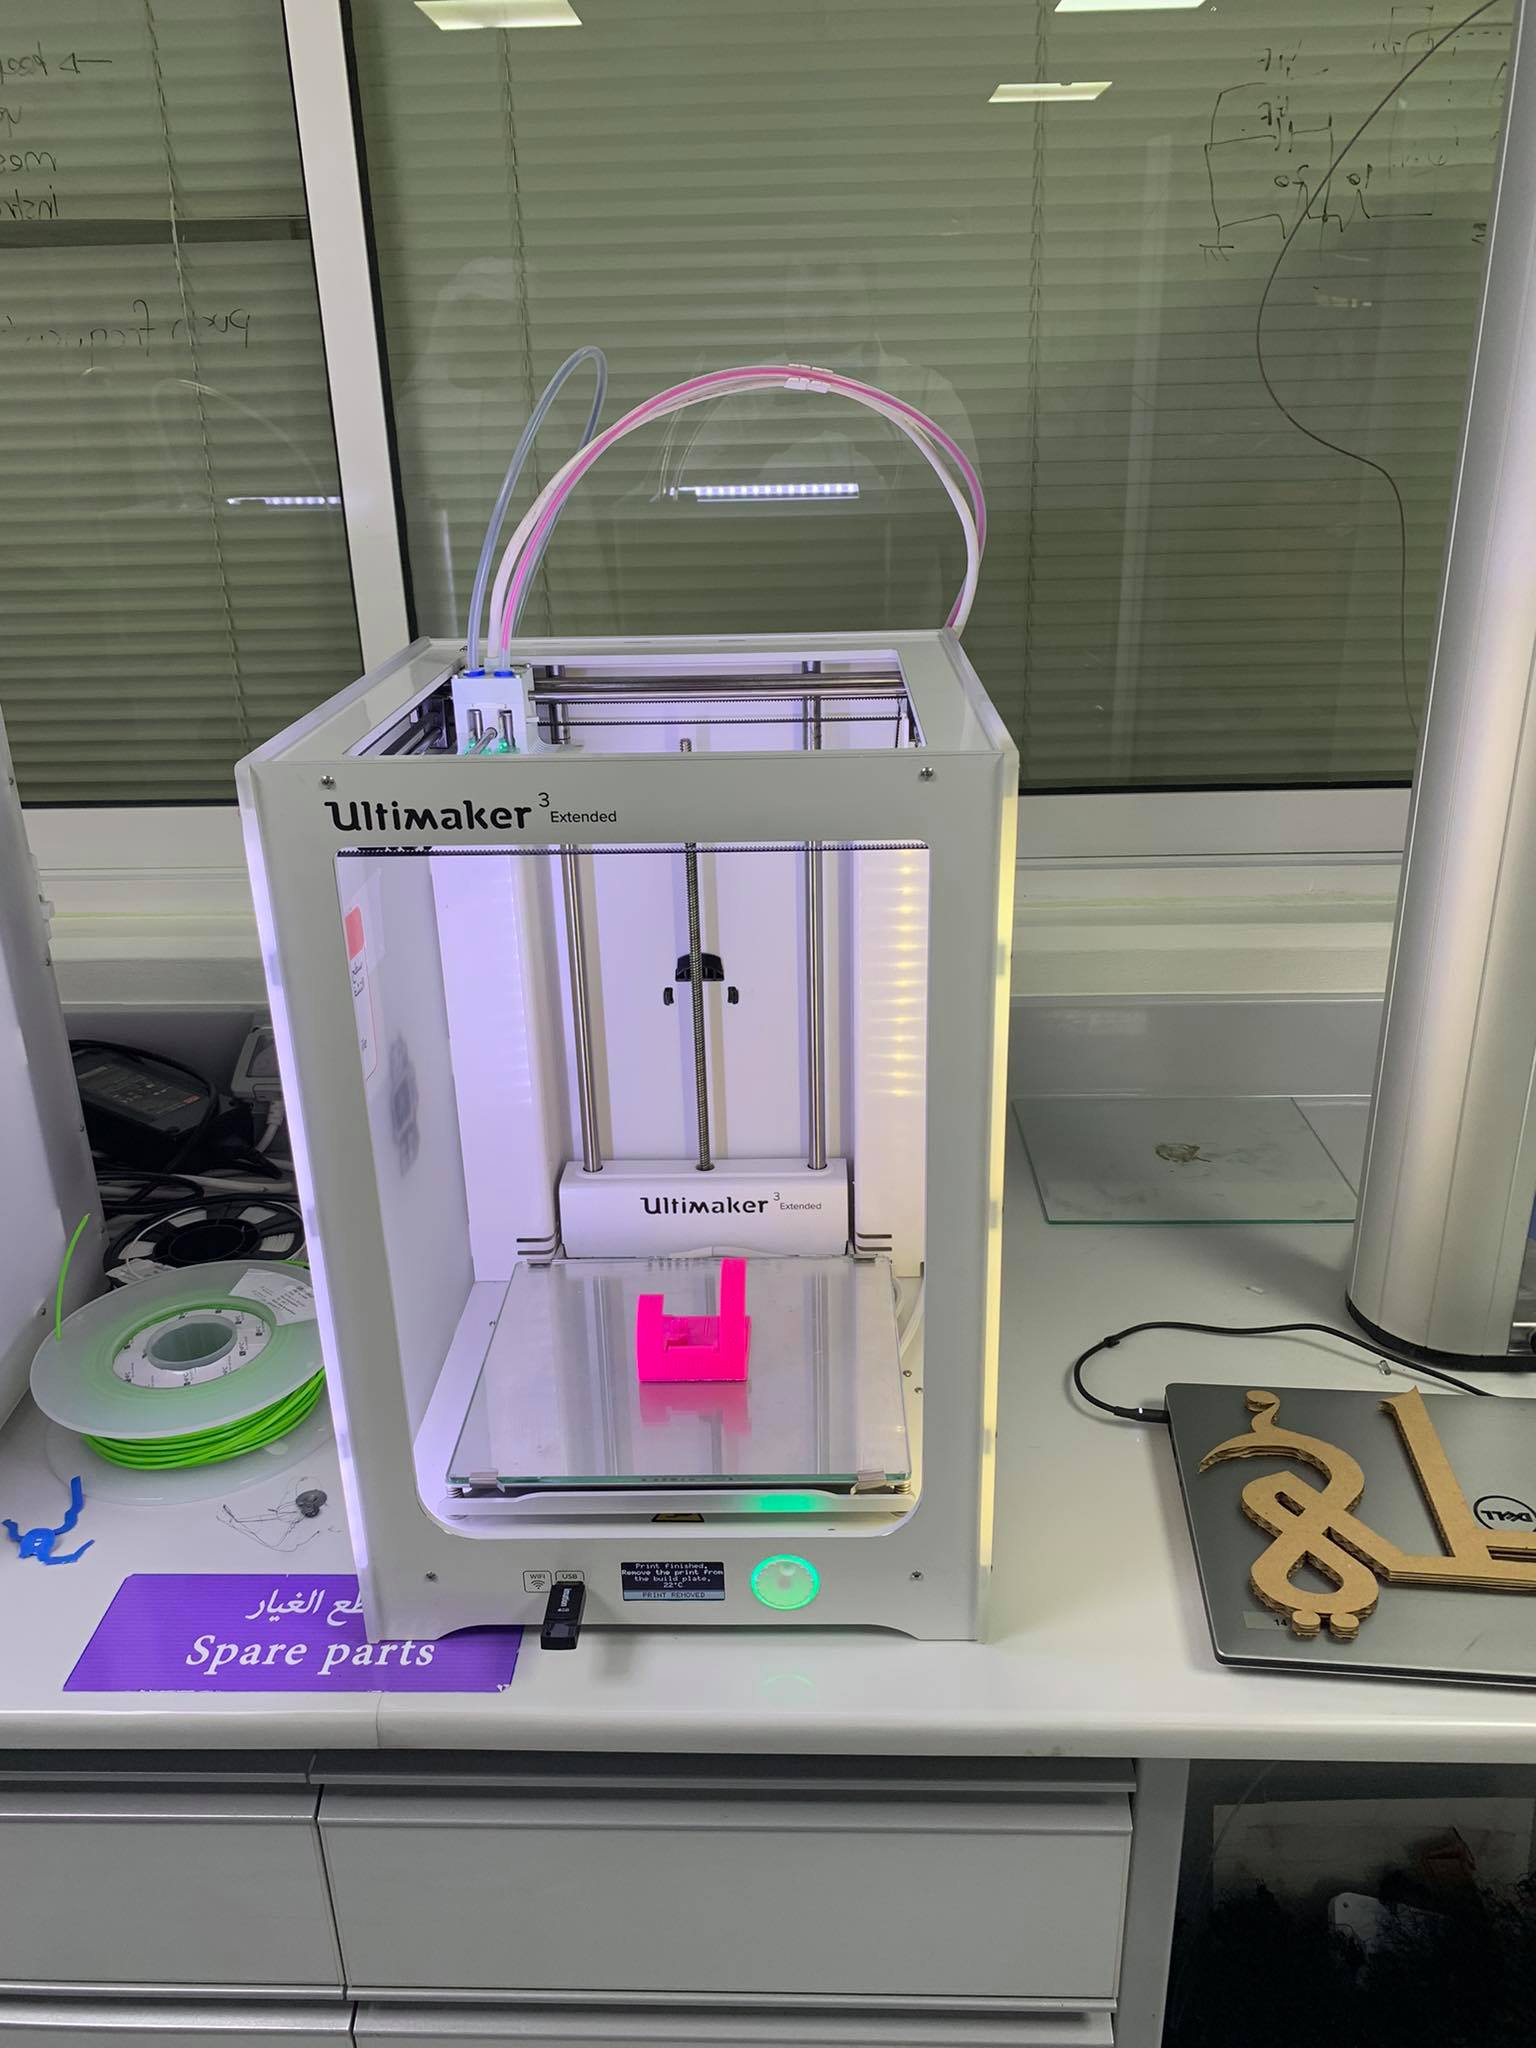
I chose ultimaker 3 extended as my printer, using support from the same Nozzle (PLA) because I have over hanged parts , and the brim to help in bed adhesion and to prevent warping and stabilize the model while printing, also I chose 0.4 nozzle, and because the model does not have fine details and the print is only for test experimental purposes and the strength of the model is not a big concern I chose 20% infill to reduce material consumption and time with 0.2 layers height.
 the job took almost 3 hours the model to be printed and it looked like this:
3D scanning
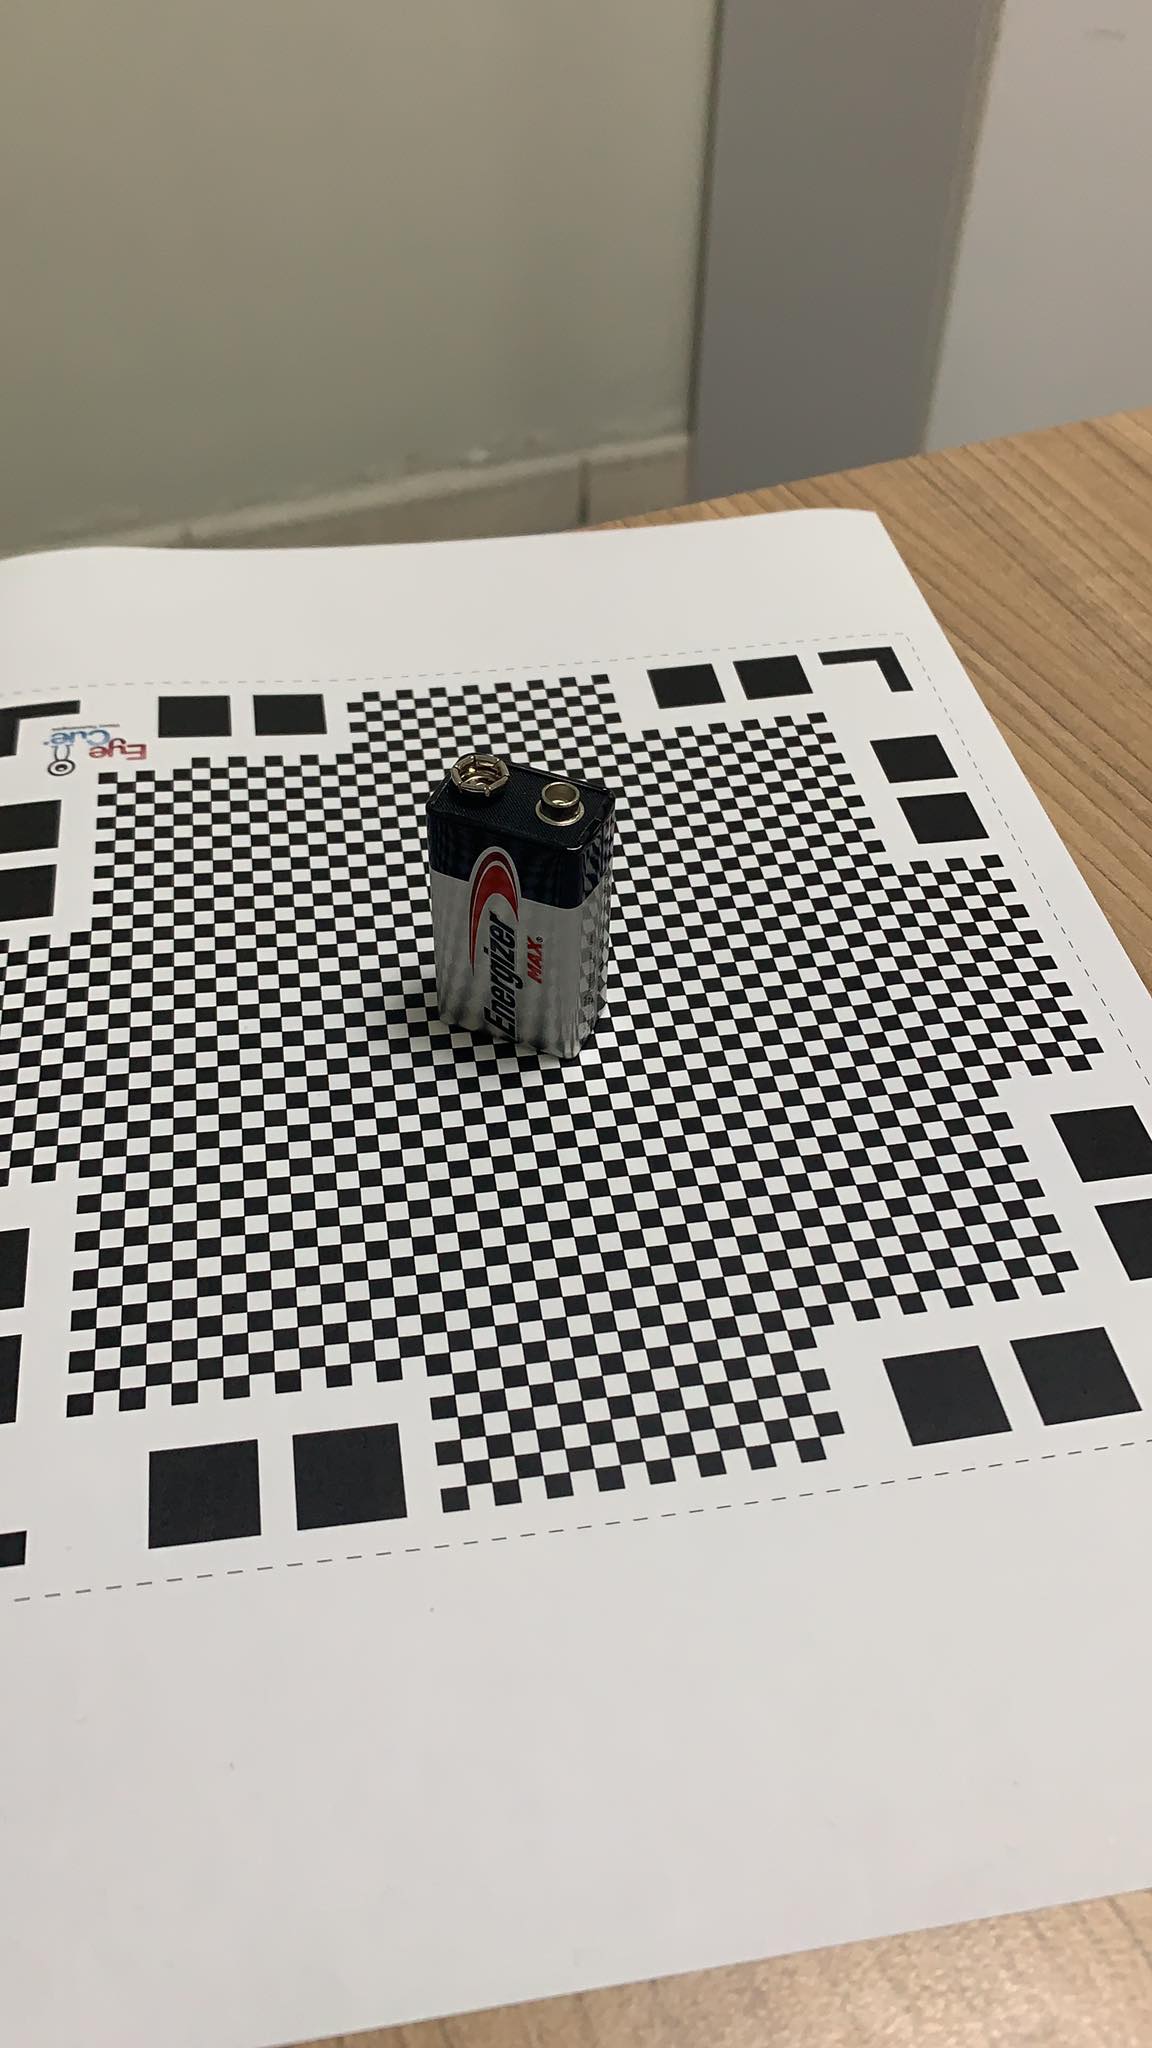
For the 3D scanning part, I chose and Iphone App called Qlone, that required an AR mat to be placed underneath the object to be scanned. The mat with the black and white chalkboard pattern serves as a tracking marker for the software. I chose my 9V battery to scan.
At the point when the object is set on the mat and the application is at use, An AR arch is set on the middle. The vault here means that the catching system. The article filtered necessities to squeeze into the arch.
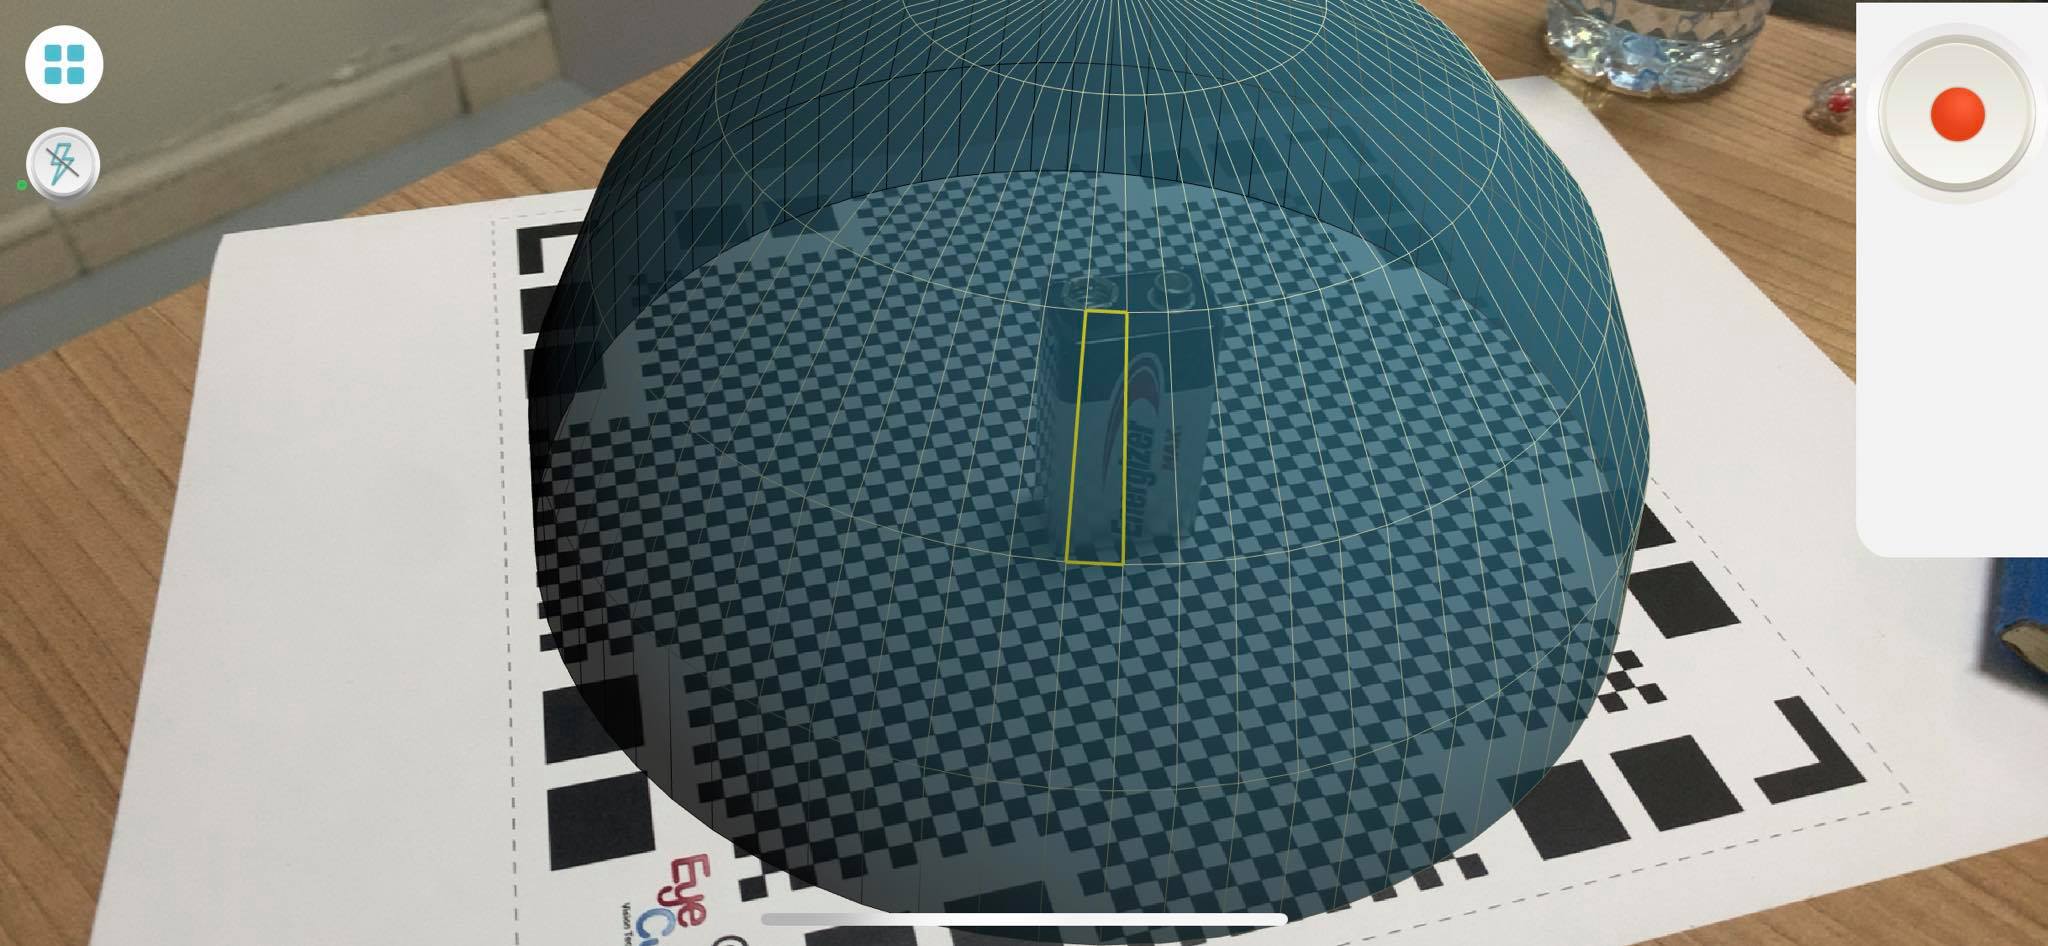
and the result was like this:
Files:
group assignment.
PART 1:
I wanted to test the accuracy of the 3d printer.
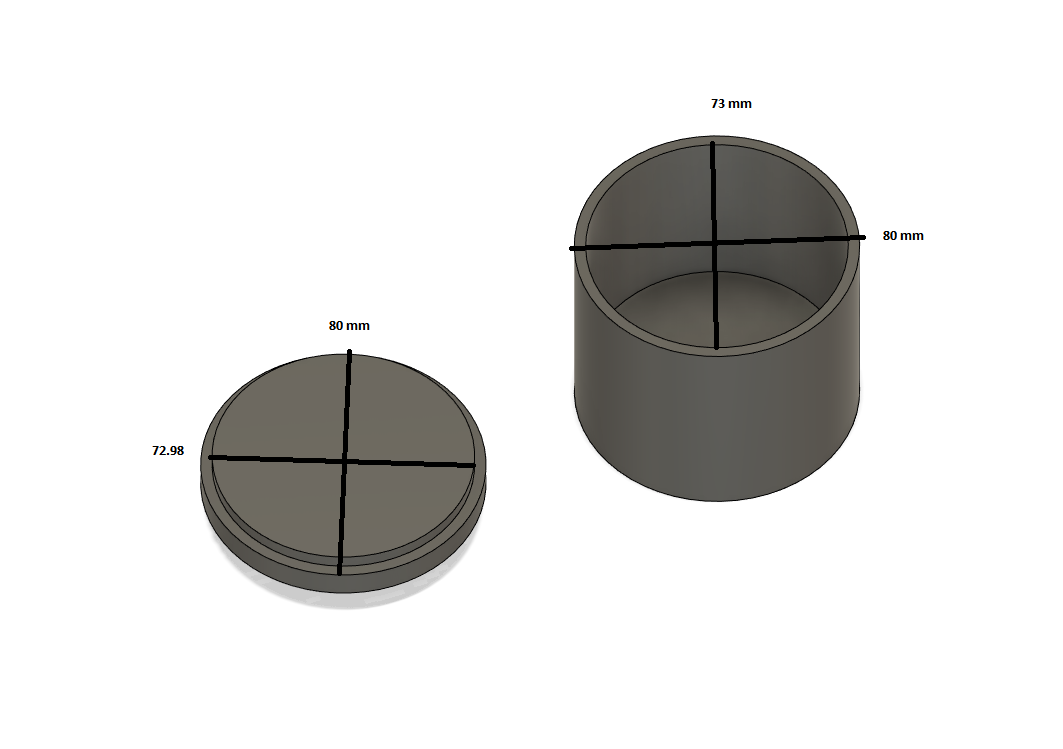
so I designed a jar with lid.
and I printed it to see if the dimensions are right and the lid will fit the jar.
the jar outer D was 80 and the inner was 73.
the lid outer was 80 and the inner was 72.98
then on CURA I put layer height 0.1 mm and infill to 20% and I printed both the lid and jar.
the result was like this.
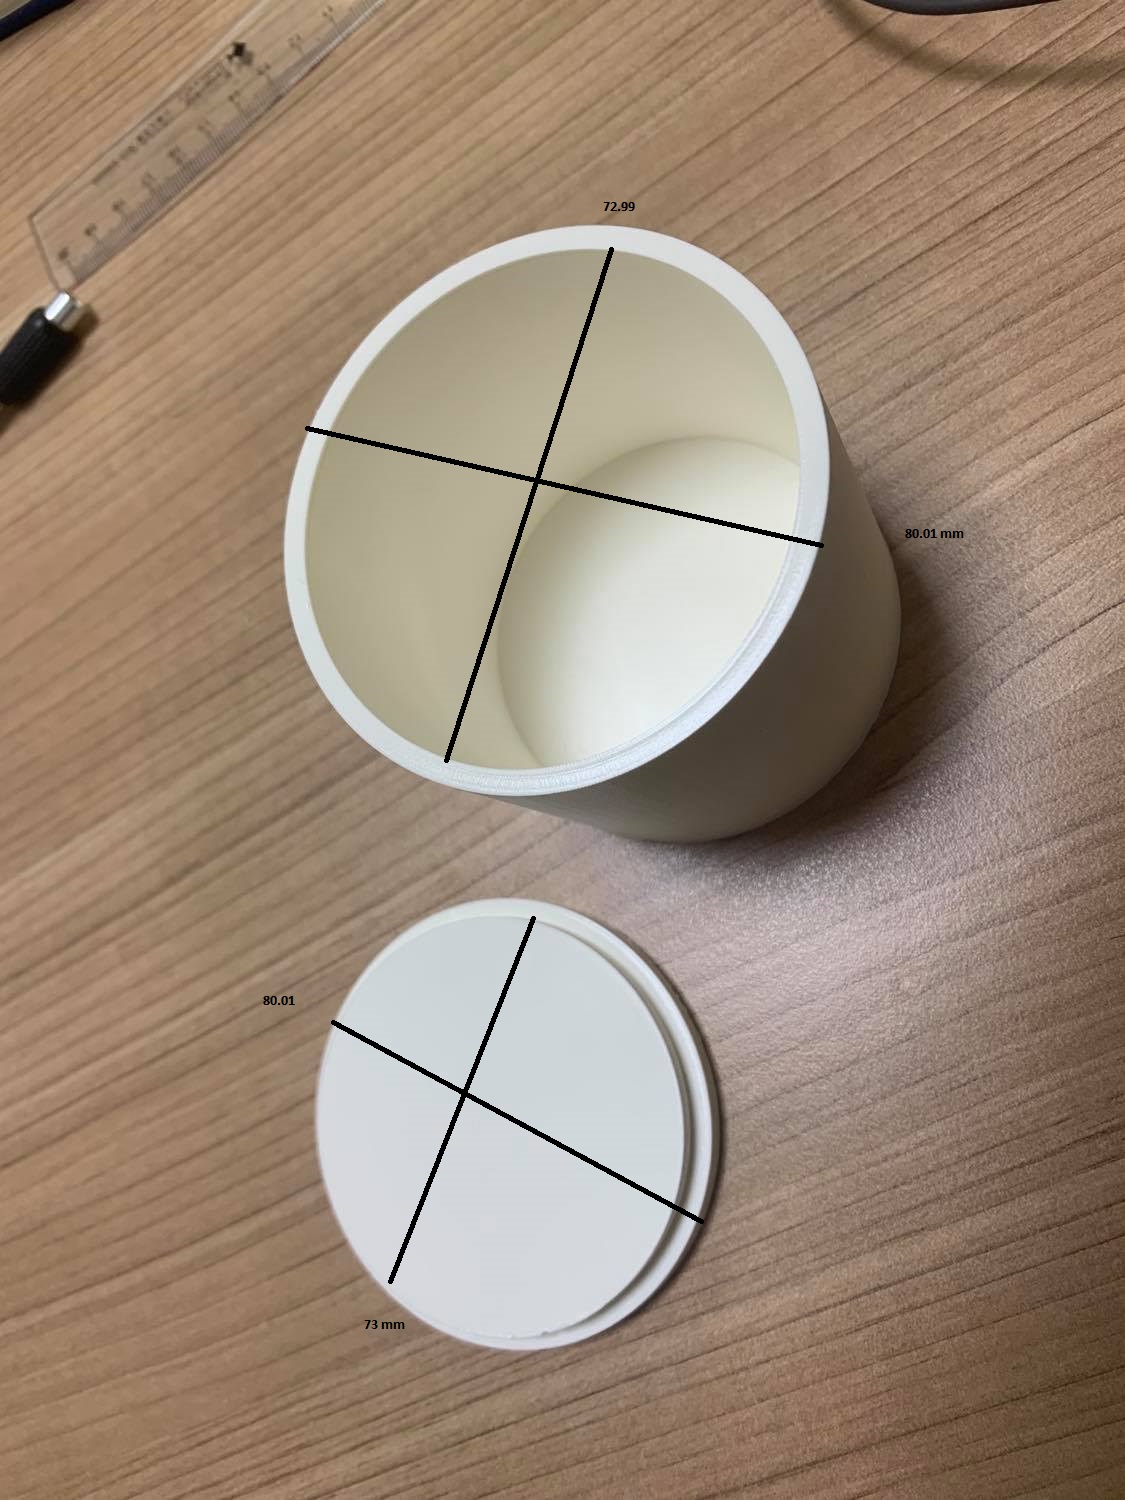
this means is increasing the thickness of any printed piece between 0.01 mm and 0.02 mm.
PART 2:
I printed this test 3d design from thingiverse all in one
I used the following setting while printing.
Material: PLA. Printing Temp: 195. Build plate temp: 65. infill: 100%. support: no. rafts: no. wall thickness: 1mm. retraction: 6.5. briming: on.
result print:
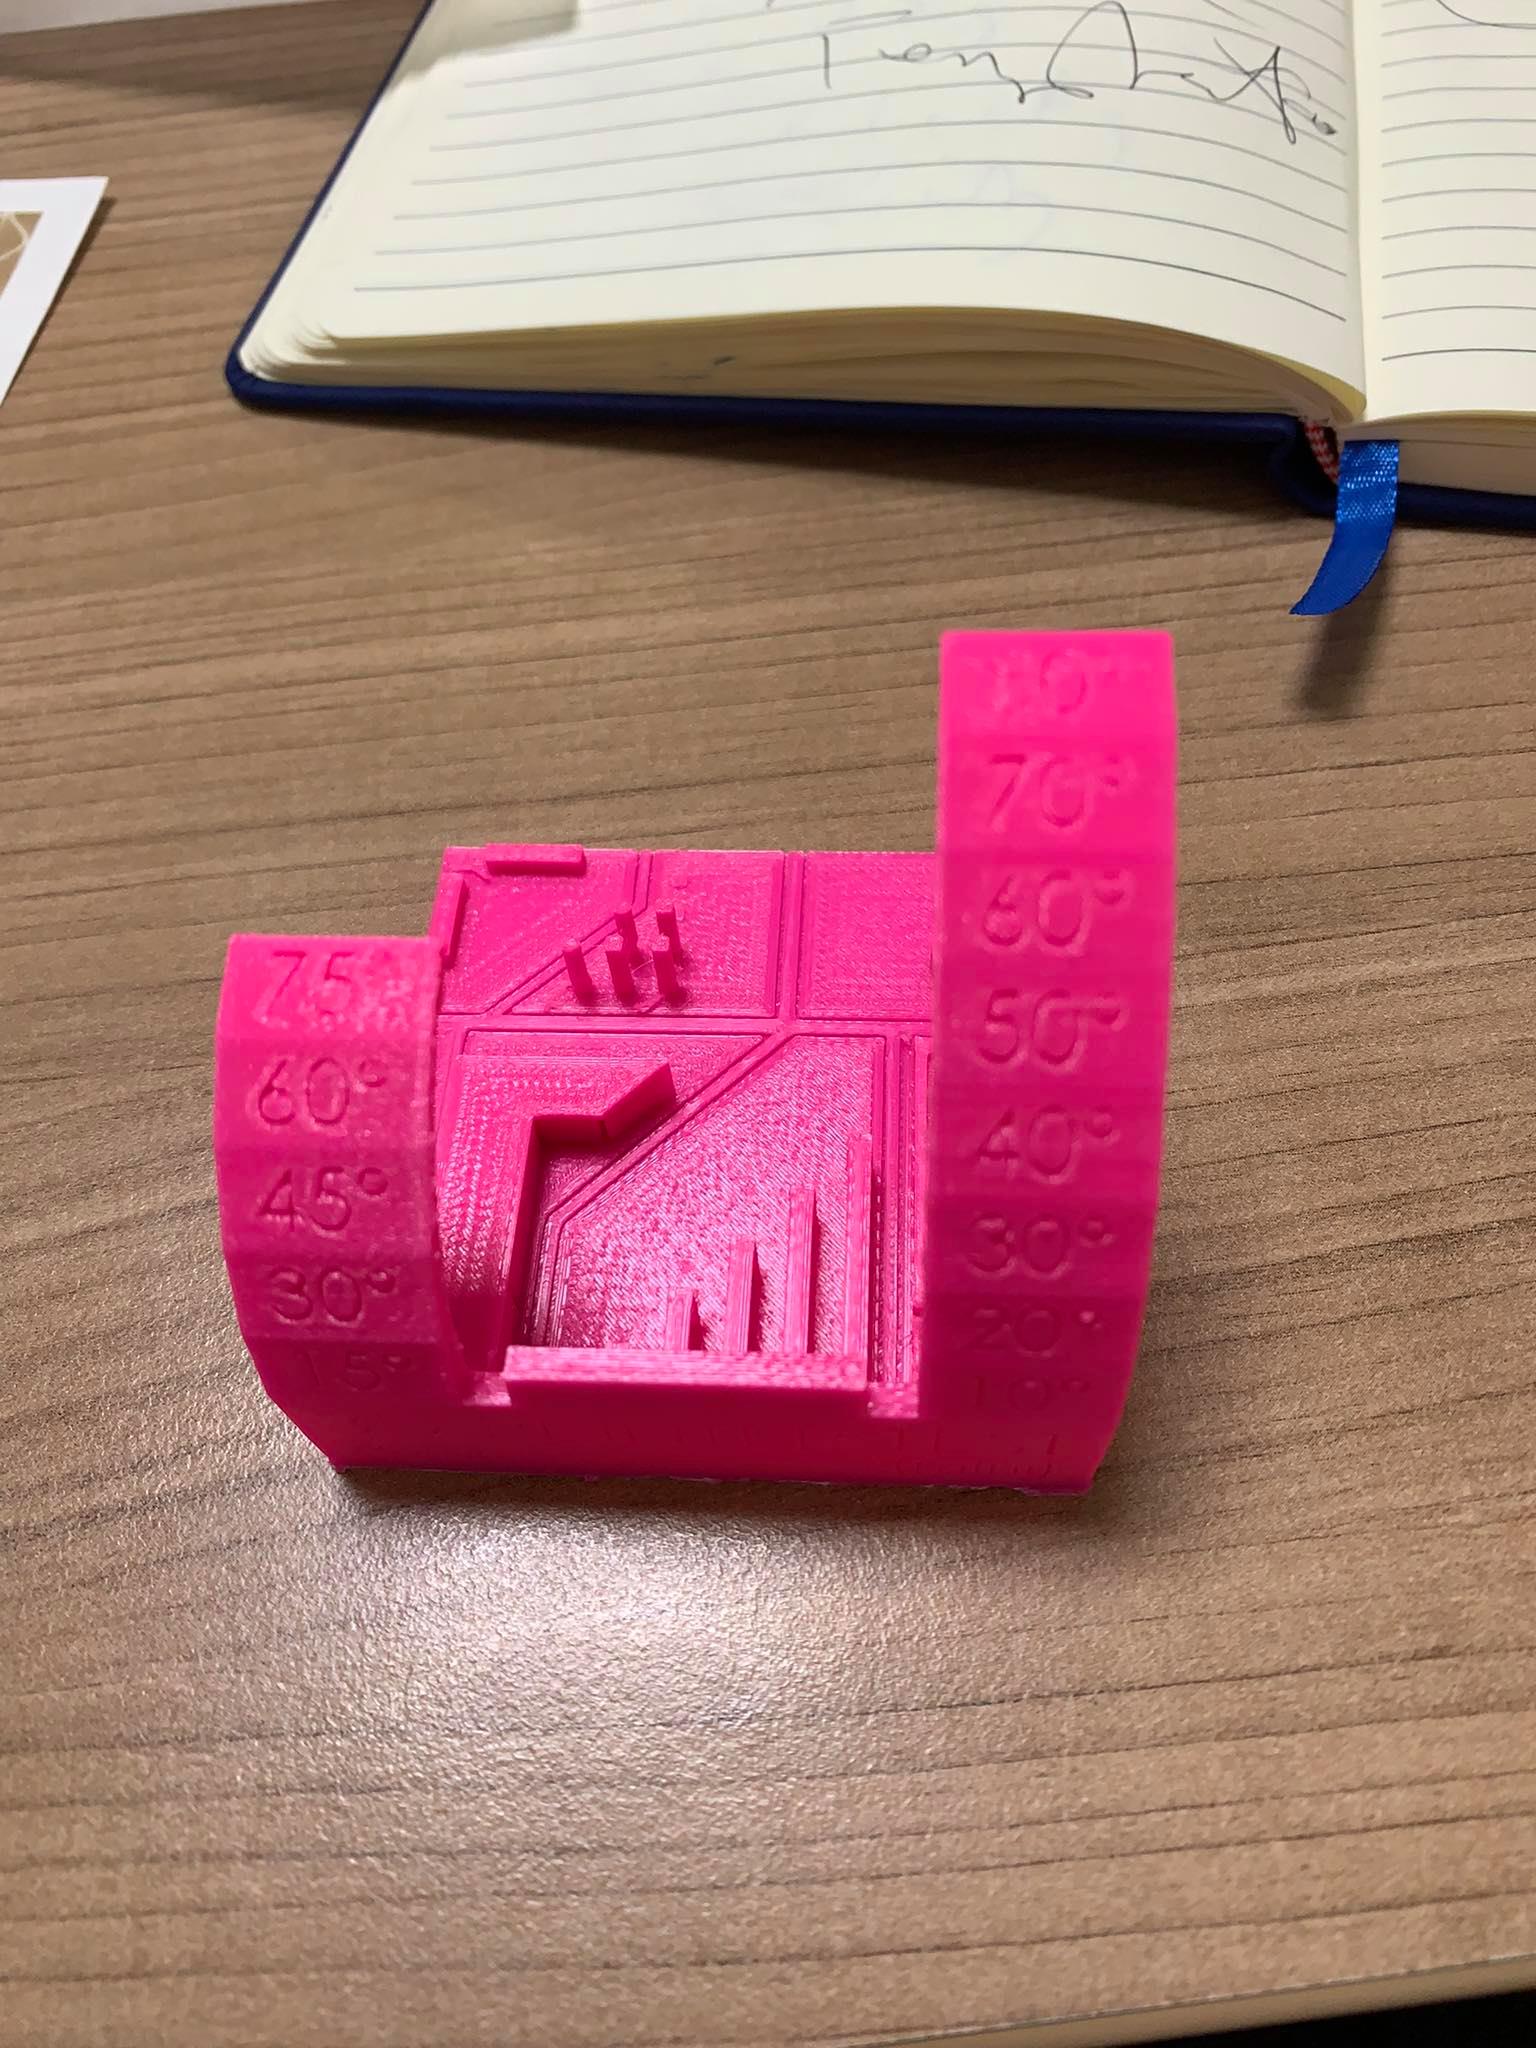
Findings:
1- 195 is a suitable temp to avoid over or under extrusion.
2- I can print upto 25 mm bridge without a problem.
3- I can print with an angle increment of 10 and 15 degrees without causing a failure.
4- setting the right retraction amount and briming reduce the stringing.