10. Molding and casting
INTRODUCTION
This week I had to do molding and casting with 3 steps - mill the model (from wax), make a mold on the model, then cast the object using the mold. Actually, I was able to finish only the 1st step, I didn’t have time to wait until the mold will be cured. Next week I will continue and finish this week’s assignment.
MAKING THE MODEL
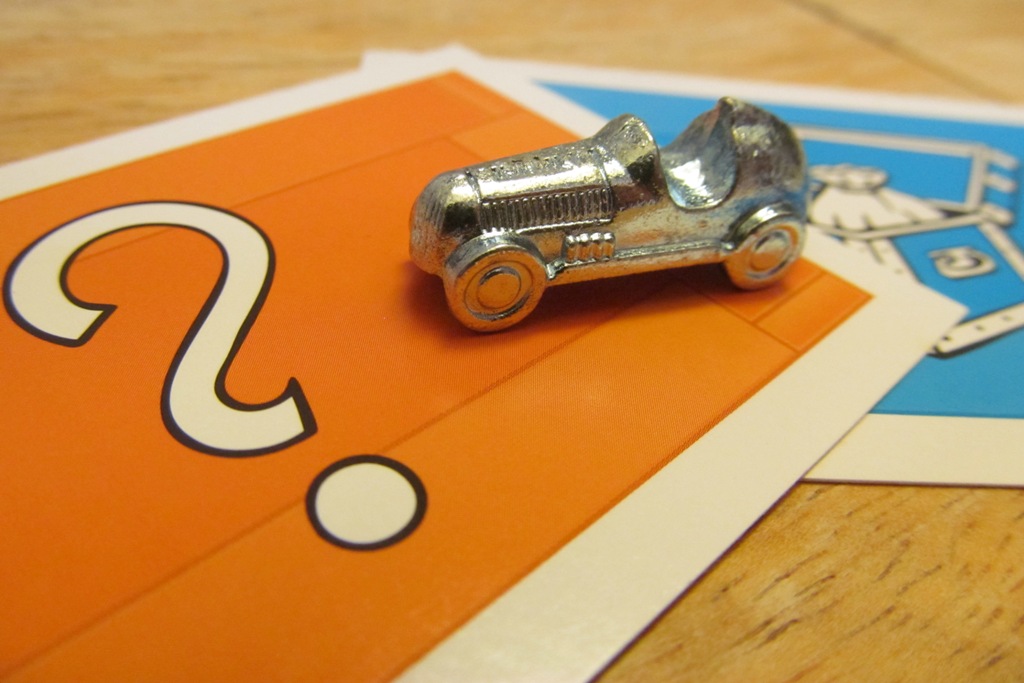
I decided to use Fusion 360 for this week’s assignment. After some research, I decided to make a small car that is used in a monopoly game out of babbitt.
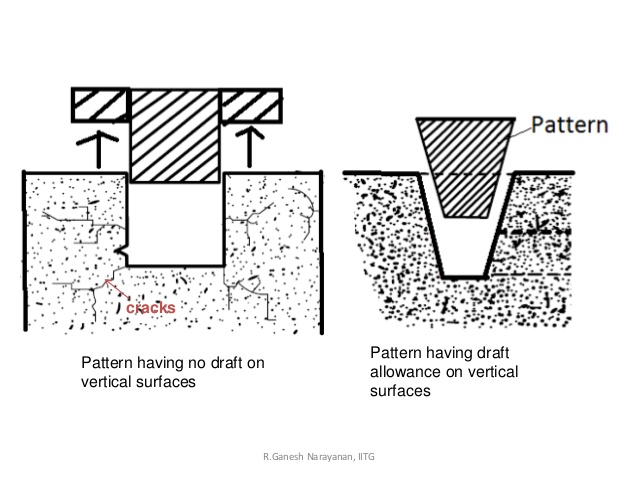
As I had to fill silicon inside of the wax and then remove it from there, I had to make the model with at least 1 or 2 degrees angle. Otherwise, it will be impossible/very hard to remove silicon from the wax and then the detail from the silicon mold.
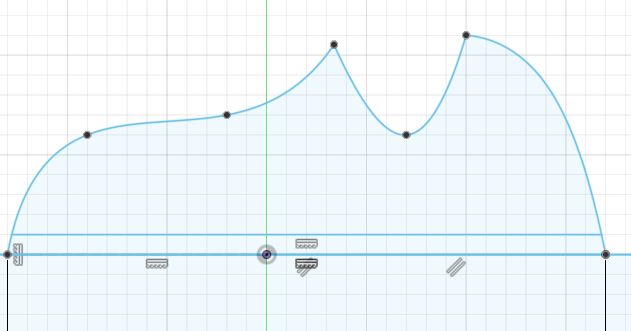
So at first I went ahead and made a sketch for the car.
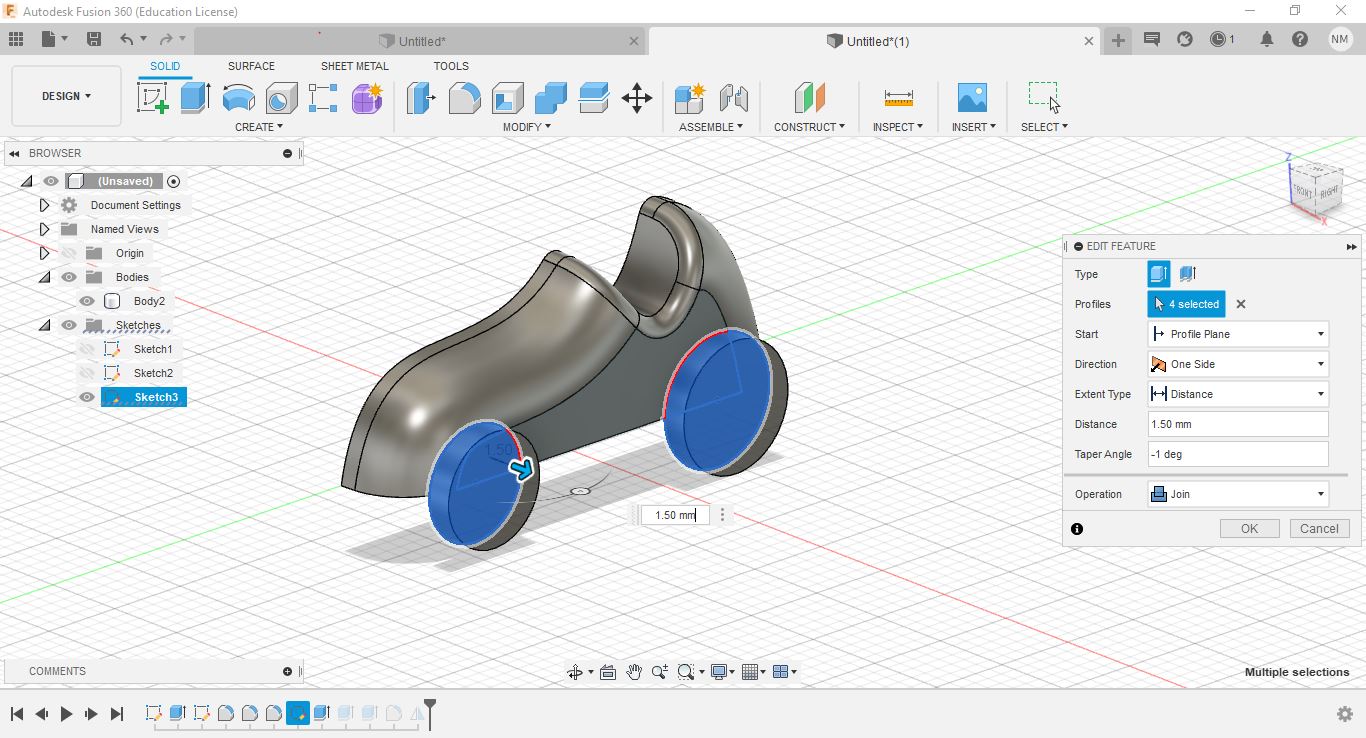
To make extrusion at an angle, you just need to set the taper angle for example -2.

Then I added fillets on the car and added wheels with and taper angel as well
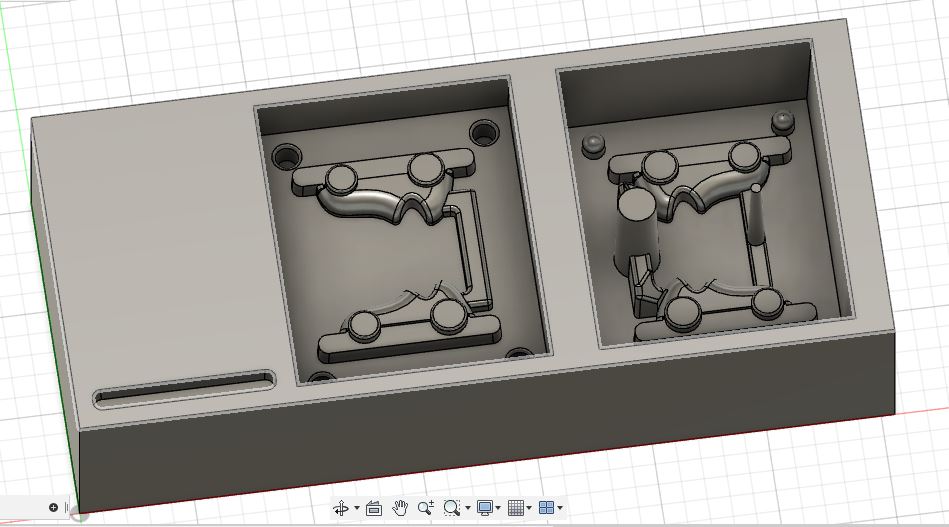
Then I made a block with sizes of the wax that I decided to use. The size was 77x39x178mm.
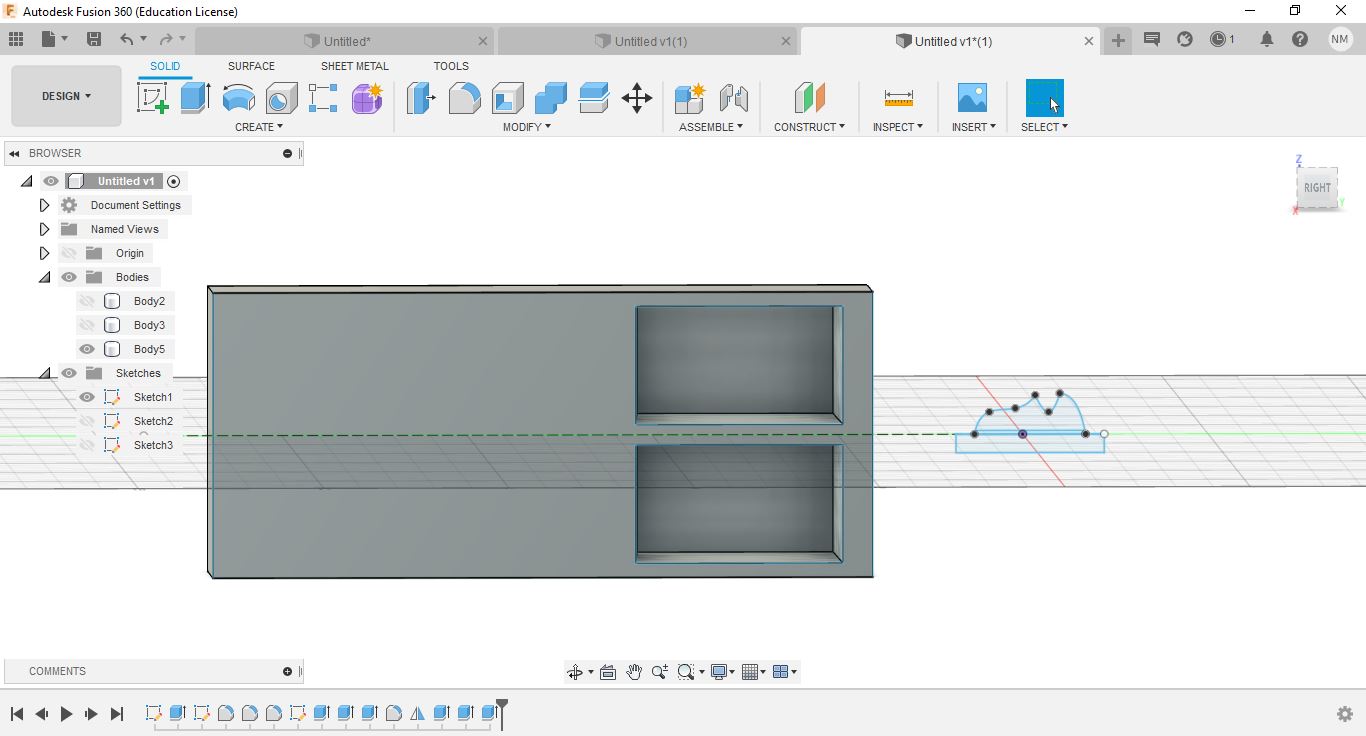
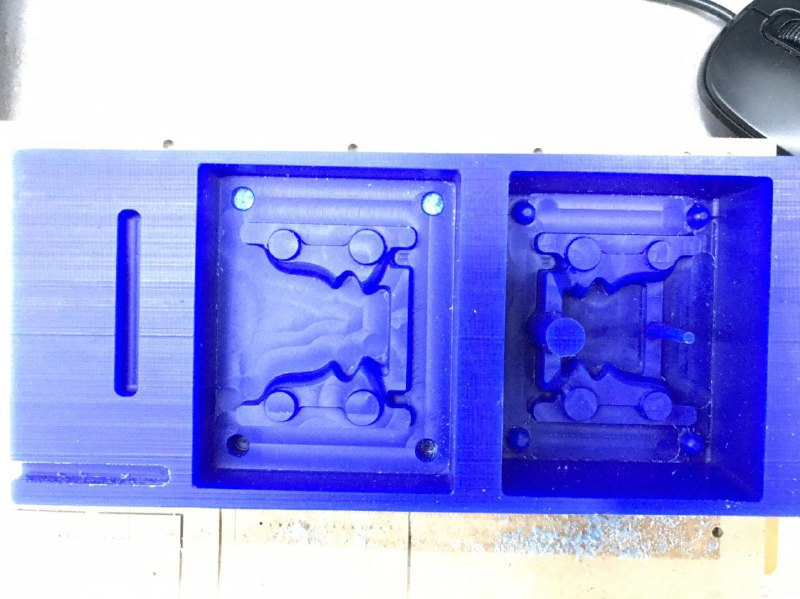
As the wax was quite big and my car is very small, I decided to make 2 cars with one mold. So I placed the car inside of the block and removed the wall between the cars.
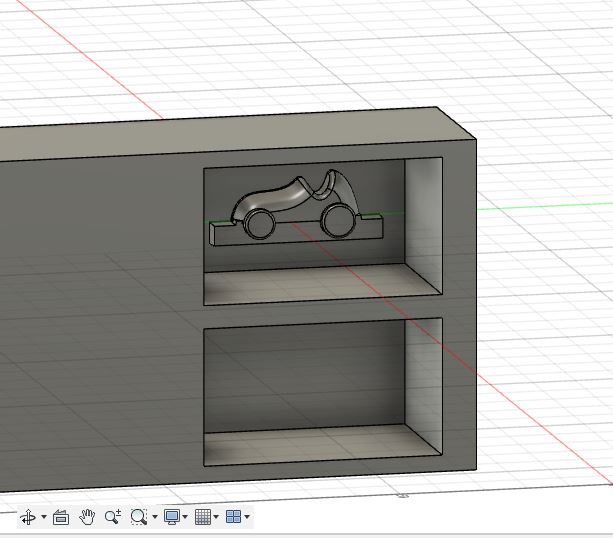
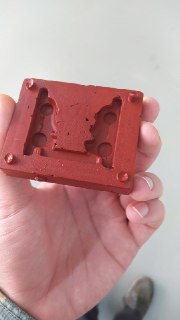
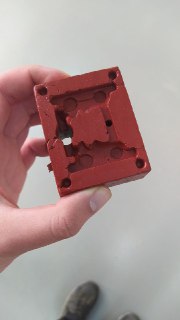
As I wanted the wheels to be separated from each other, I had to make 3 pieces mold. The 3rd piece is going to be placed in between the wheels, and there will be a gap between the wheels. You can see that in the design above. After that, I mirrored that to the bottom and mirrored all of that to the left. This way I can make 2 cars at once. Then I added a hole for filling in the meta (babbitt in this case) and a hole for air to go out.
As you can see I also added 4 pins o/n one side and 4 holes on the other side. This will help the mold to stay in the right places while filling in the melted metal.
With all of this and the following steps, my instructor Ashot helped me a lot. He is a master in this field.
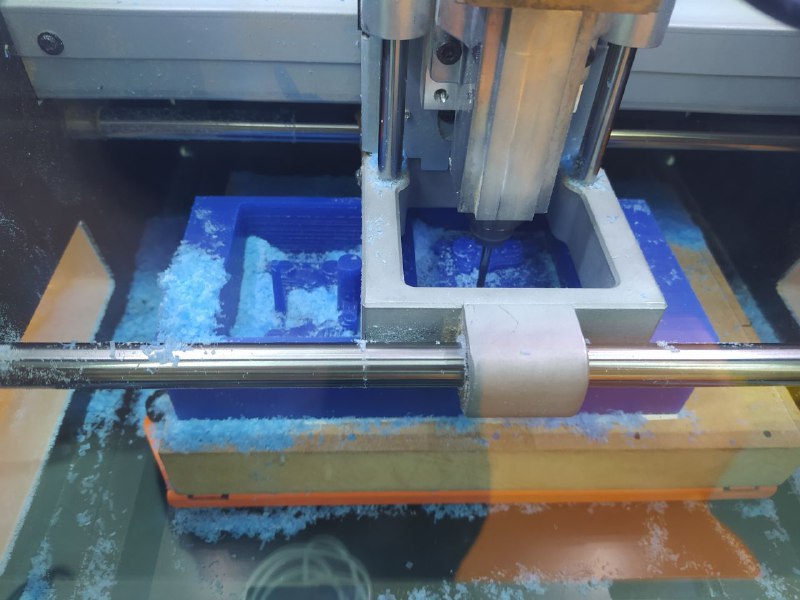
MILLING
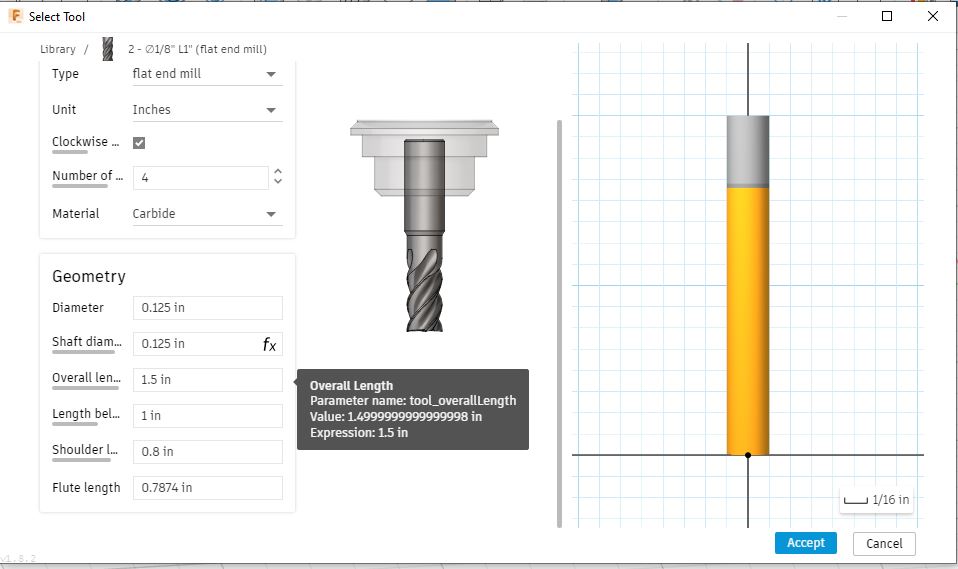
After making the 3D model, I needed to make the toolpath for CNC milling. Ashot advised me to do that in Fusion360. For milling, I used the Roland SRM machine. I milled the wax with 3 different end mills. For the first very rough pass I used a 6mm flathead end mill. Then I inserted a 1/8inch flathead end mill. And for the final clearing, I used a 1/8inch ball end mill.
To generate the toolpaths, I needed to choose 3D pocket and 3D contour. I set the end mill sizes (just measure the end mill sizes as shown in Fusion360, and fill the zones).
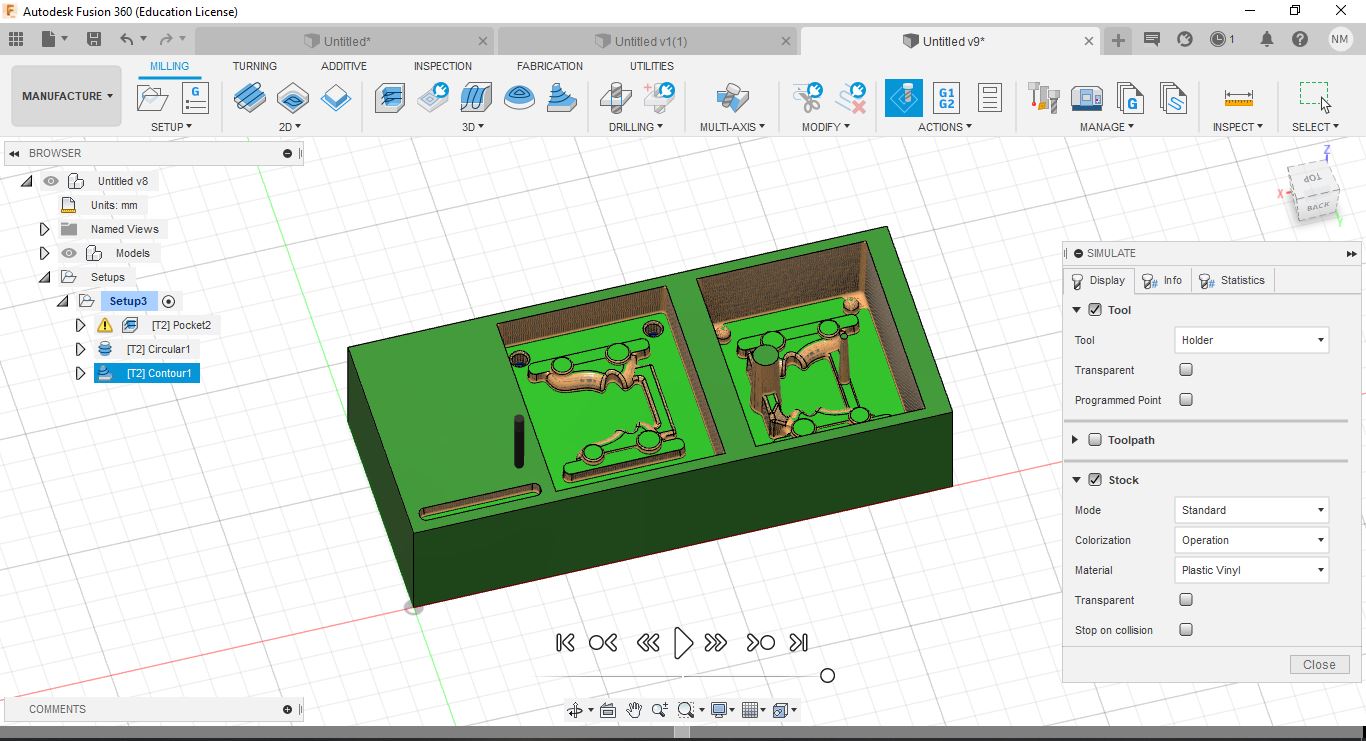
So the path was generated, I watched the simulation and everything looked fine, so I started milling
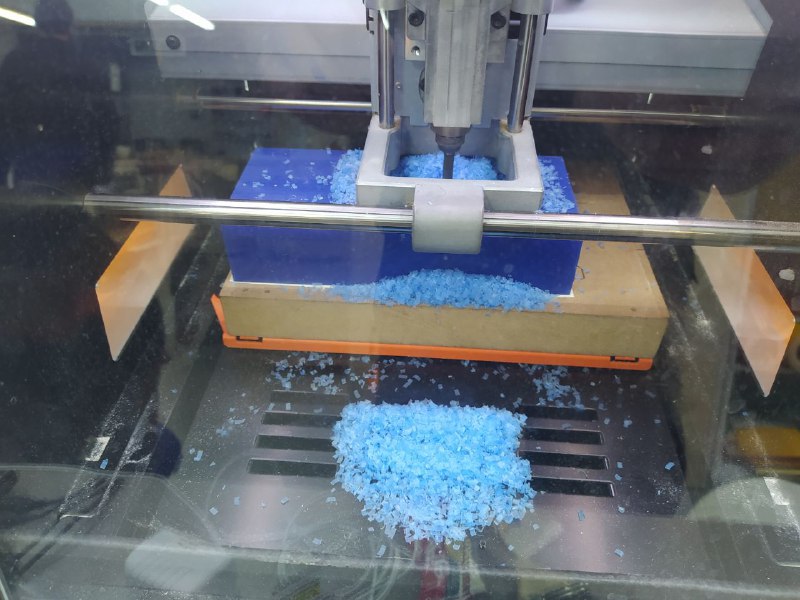

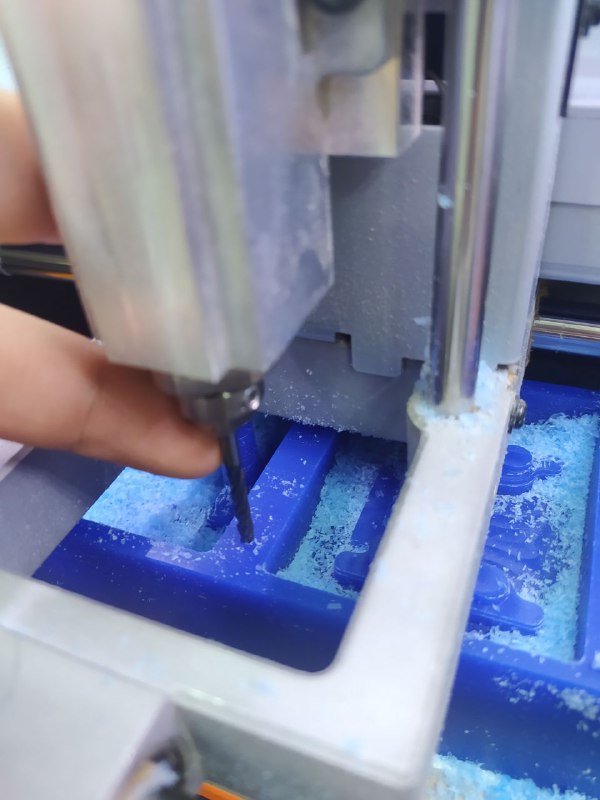
 Then I changed the end mill to ball head end mill for finishing.
Making the mold
Here is our group page, where you can find about the materials for making molds. I used Mold Max 60, because of its heat resistance. It was the only material in the lab that I could use for casting babbitt in it.
At first I measured volume inside of the by filling it with water. After that I calculated how much the silicone will weigh, with the same volume (it depends on density of the material you are using, usually you can find material_density/water_density ratio in material’s documentation).
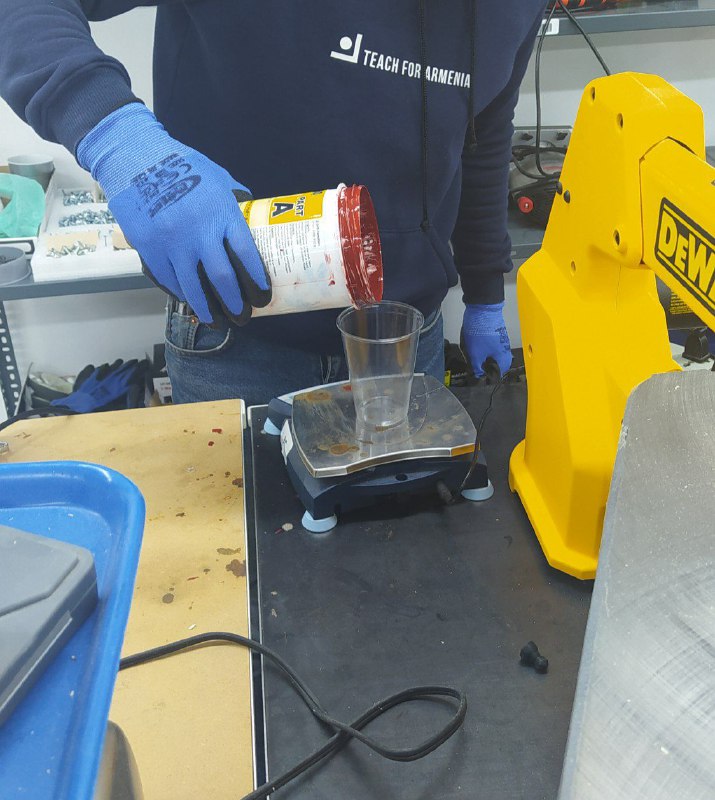

Then you can find what is the ratio between two components for making the molding material, in my case it was 100:3. After pouring both components, you have to mix them carefully, so the air bubbles don’t get into the mixture. The first time I made it, there were air bubbles trapped inside, and the mold came out not that good.
So I had to make one more.
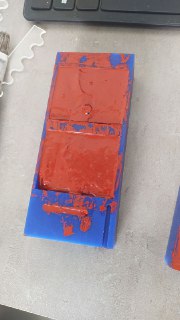
This time it turned out better.

CASTING
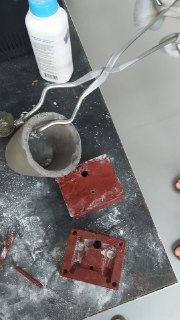
I wanted to cast babbitt, which melts at about 400 degrees celsius. So I heated the oven and put the babbitt inside.
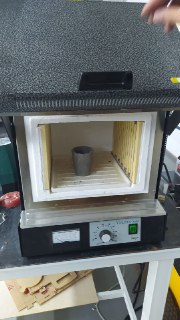
After some time it melted. I took it and tried to pour in the mold.
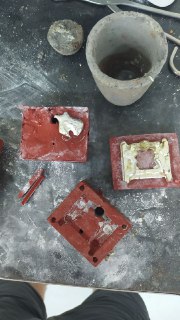
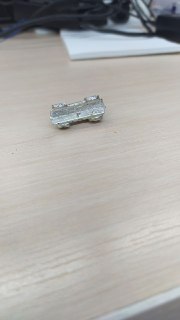
As you can see, I forgot to put the small parts of the mold - the 3rd piece inside the mold, so there was no gap between the wheels. Then I put the cast inside of the cup and in the oven one more time. This time I got what I wanted.


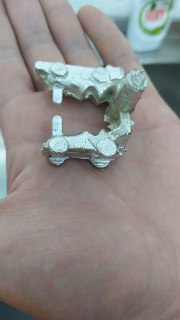
As I had only 1 piece of the 3rd part of the mold, one of the cars turned out as needed, the other one didn’t have a gap between the wheels.
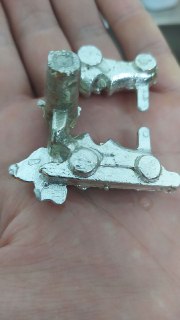
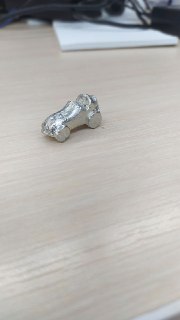
After cutting the car from unnecessary part and some polishing I got the final results.