6. 3D Scanning and printing
INTRODUCTION
This week I had to model and 3D print something that can not be made by subtractive manufacturing. You can learn the difference between additive and subtractive manufacturing here. Also I had to download and test a 3D scanner software.
3D PRINTING
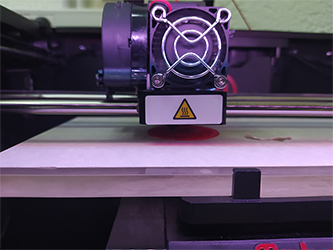
In Dilijan Fab Lab we have MakerBot Replicator 2 3D printer. At first we turned it on, calibrated, loaded the PLA as was shown in the user manual.
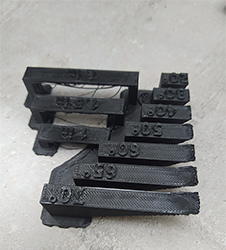
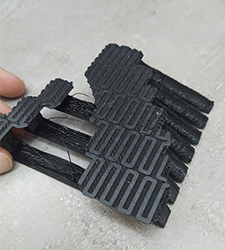
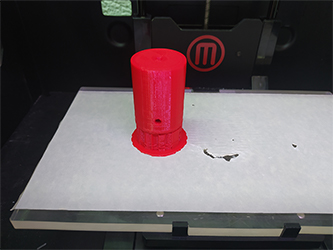
Then we had to do a test to figure out the limits of the printer. We did an overhang and bridge test on one of the lab’s printers, and here is the result.
If the printing has some problems, we can check the reasons here.
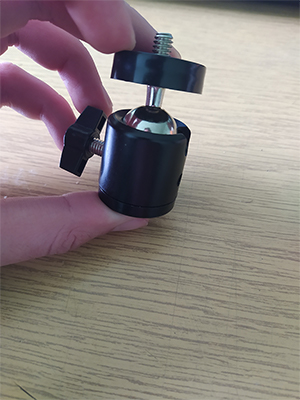
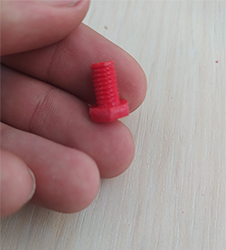
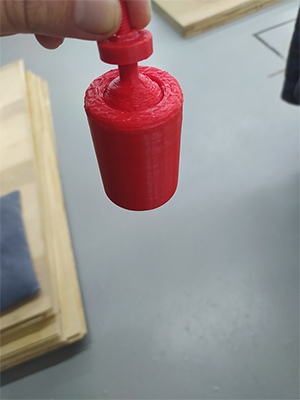
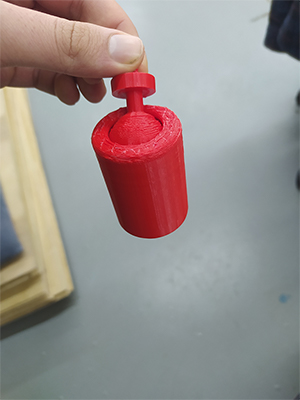
After the test I started to work on a model. I decided to make a simple version of a tripod adapter for cameras, with a moving head (similar to a one shown below).
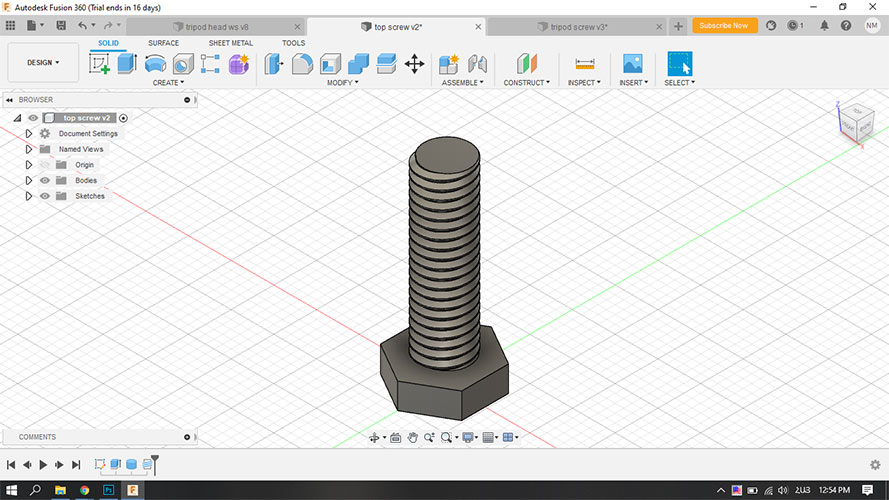
This time I decided to use Fusion 360 (before this I was using only FeeCad). At first I watched some tutorials. After a few videos I started making the model of the adapter. I modeled the screw first, to test how precise the printer prints and whether or not it works as a screw.
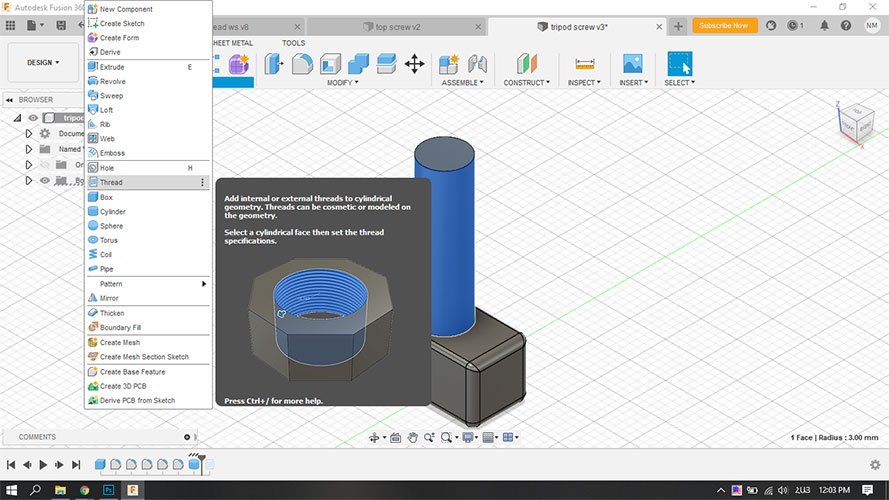
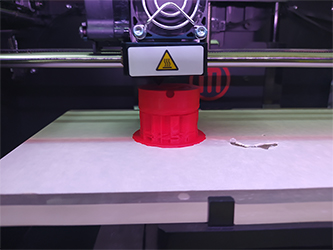
Standard size for tripod adapters for camera screws is M6, so I chose the option M6x1 and printed it. It turned out pretty good. I also tried to print the M4 size screw, and it didn’t work properly.
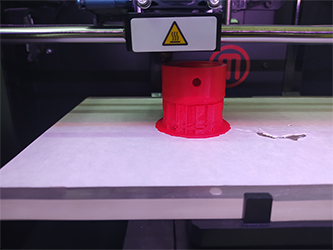
After this I modeled and printed a bolt for placing on top of the adapter, for connecting with the camera.
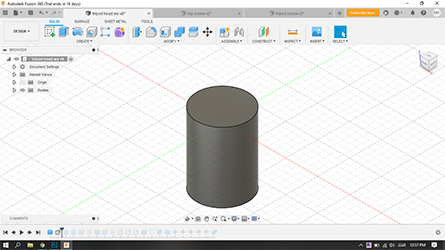
Then I started modeling the adapter itself, with a spot on top to connect the screw that I printed earlier.
At first I made a cylinder
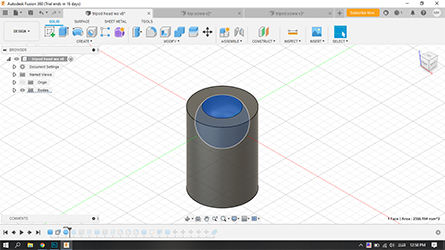
Then I cuted a sphere out of it, and made 1.5 milimeters smaller sphere inside that cut.
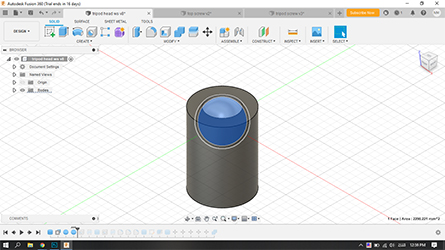
Then I added a head part to it, to be able to print it upside down, as well as a screw hole on the side of it, to be able to tighten the ball later on using the screw. Then I made a spot on the top so that I super glue the bolt that I printed earlier.
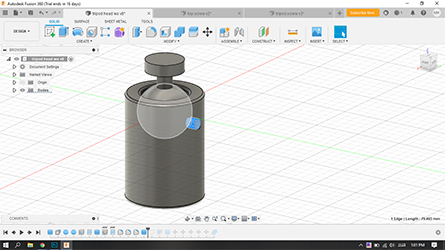
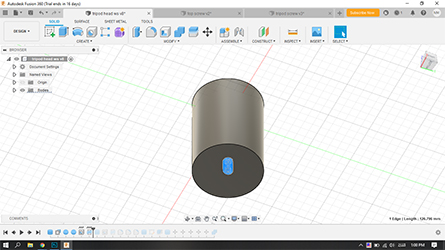
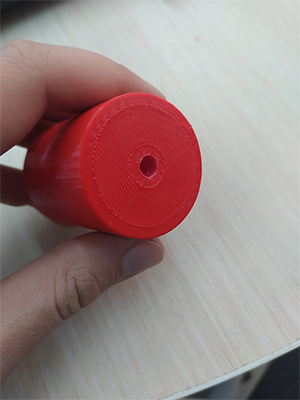
And finally I made a hole under the body, to be able to screw it on top of tripod.
Then I exported this model as .stl file, opened it with MakerBot software.
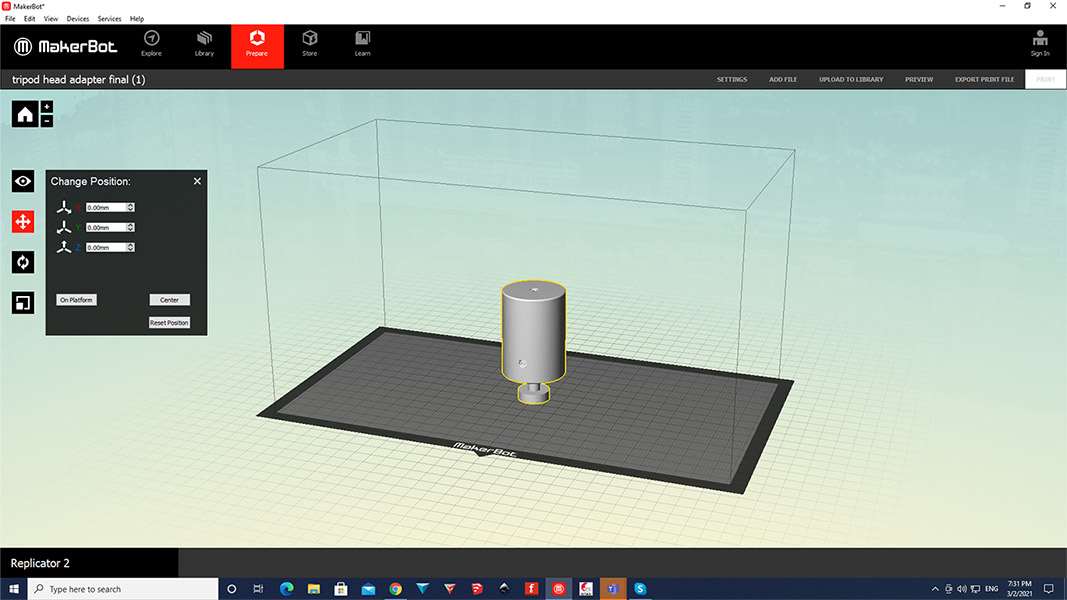
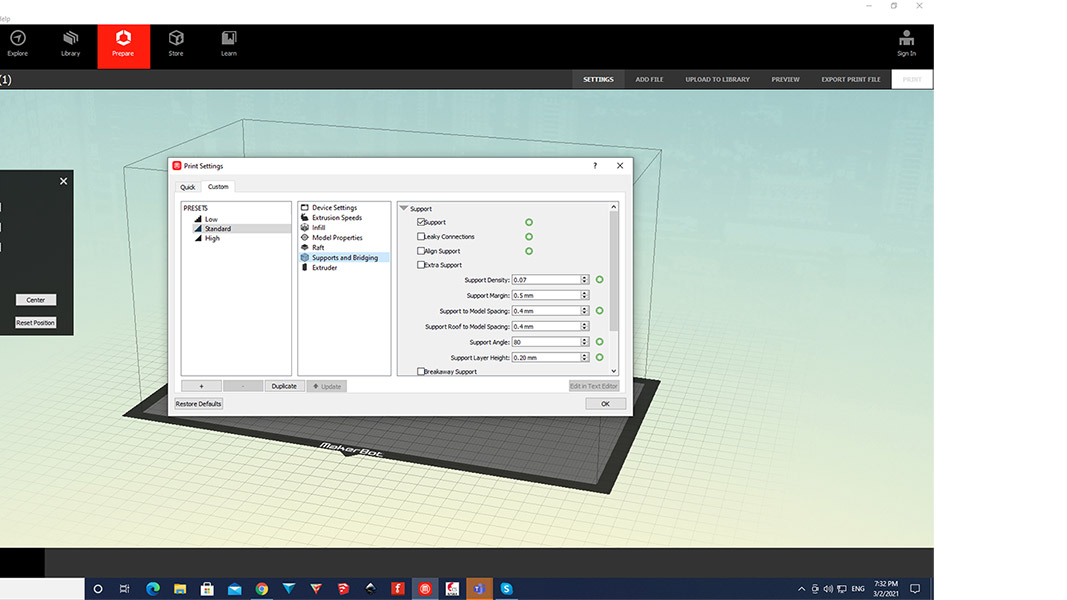
I put the model upside down, to be able to print the whole detail without and support inside it. This way I put the supports under the sphere, and the ball was supported by the tip of it. Then I seted the settings.
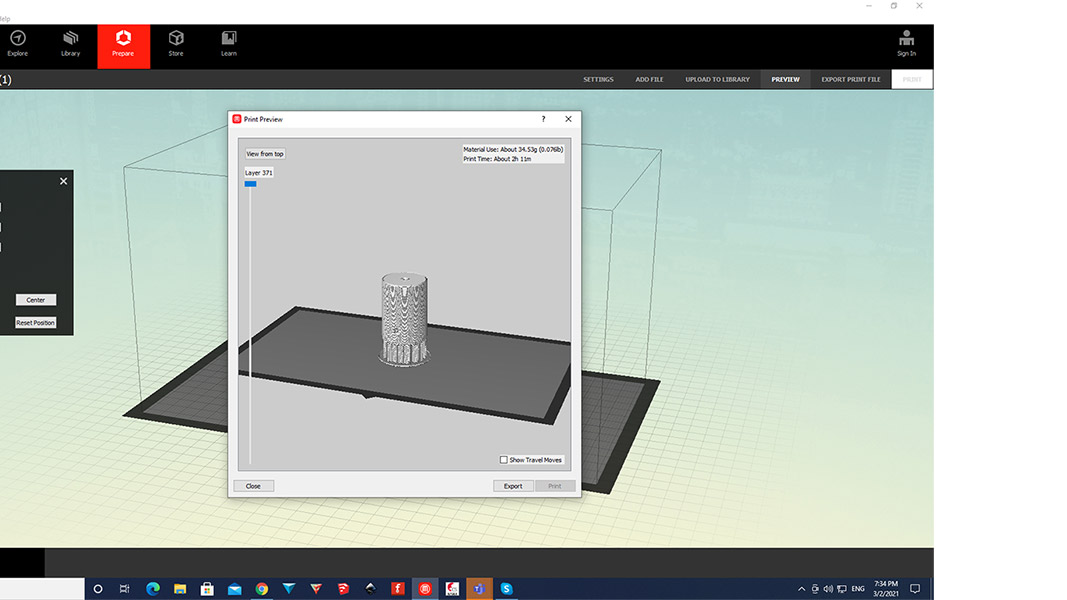
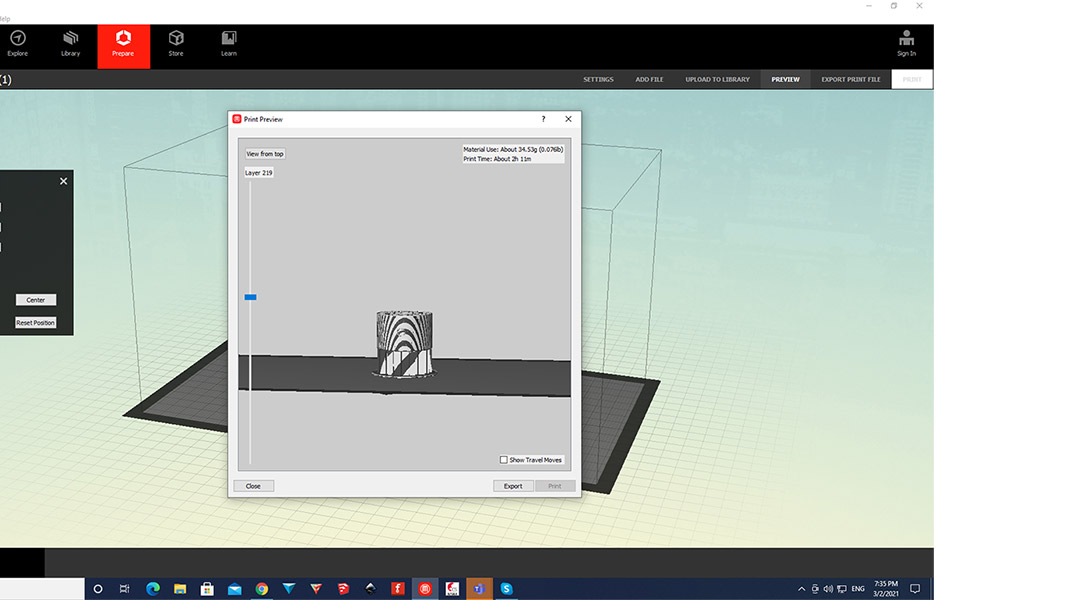
Then I clicked the preview button, and this is what I got.
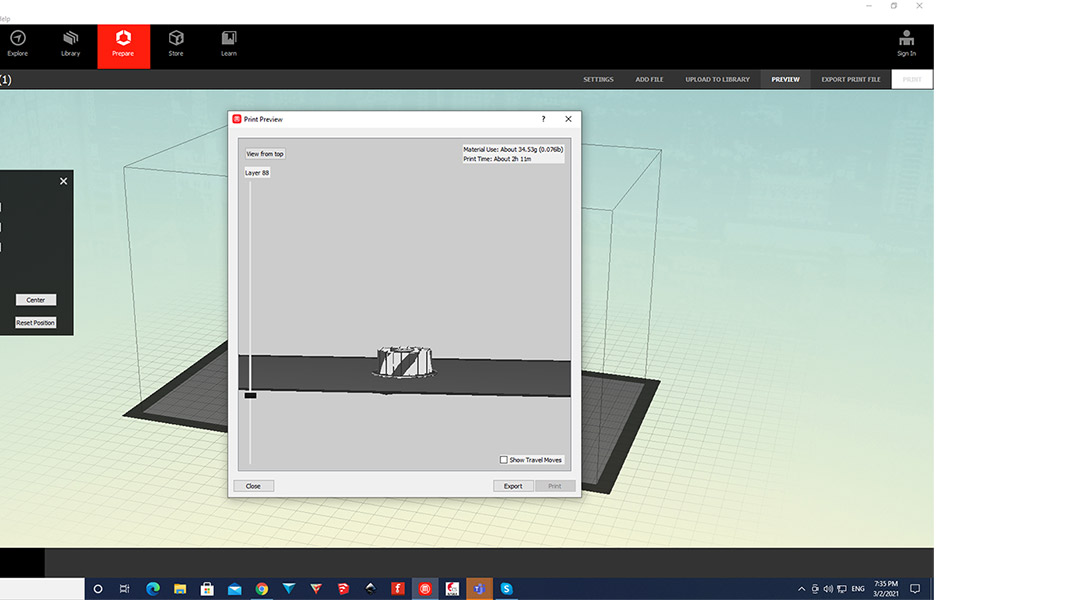
Then I clicked print, and that’s it.
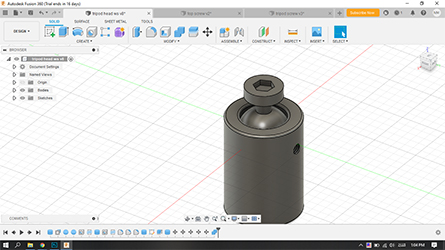
After removing the supports and super gluing the bolt on top I was left with this.
3D SCANNING
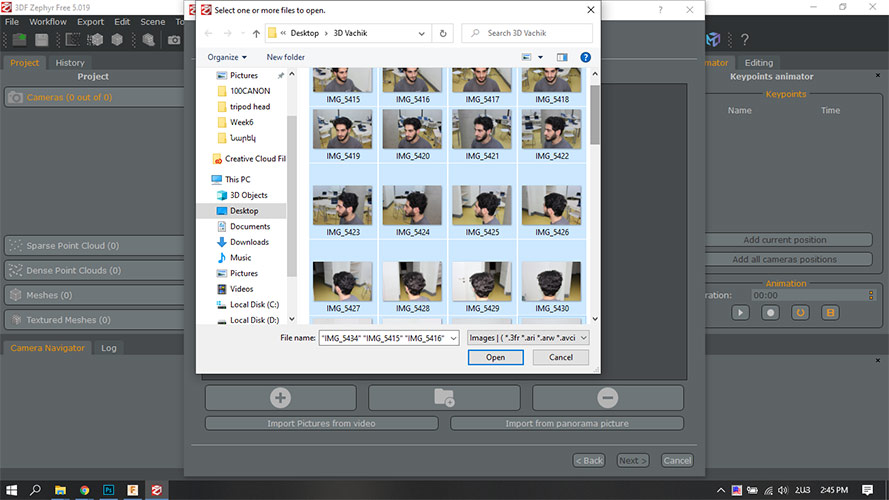
For 3D scanning I used 3DF Zephyr software, which is a free soft but works only on windows. After installing the software, I watched a few tutorials, which were very helpful. Then I took pictures of Maro, but the lighting was bad and the software didn’t approve most of my photos. After that I took pictures of Vachik with better lighting and 34/50 of the photos were approved. I created new project in Zephyr
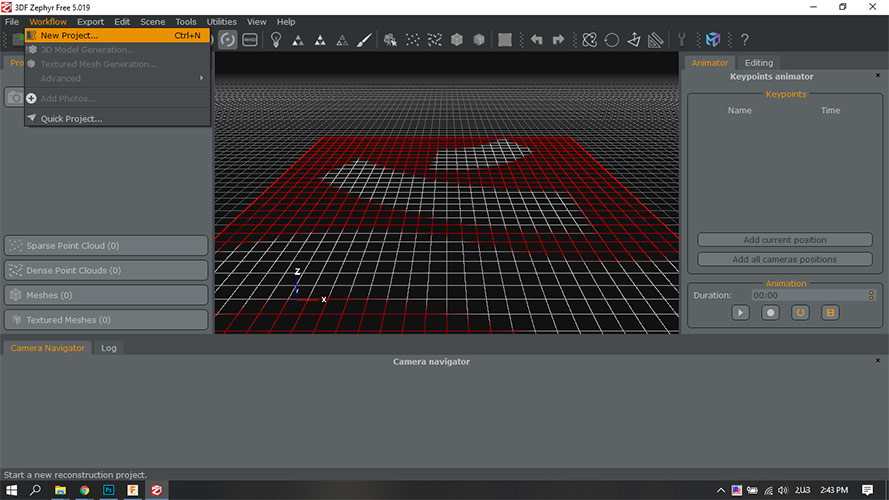
Then added photos
It took quite a long time to process photos to get the 3D model.
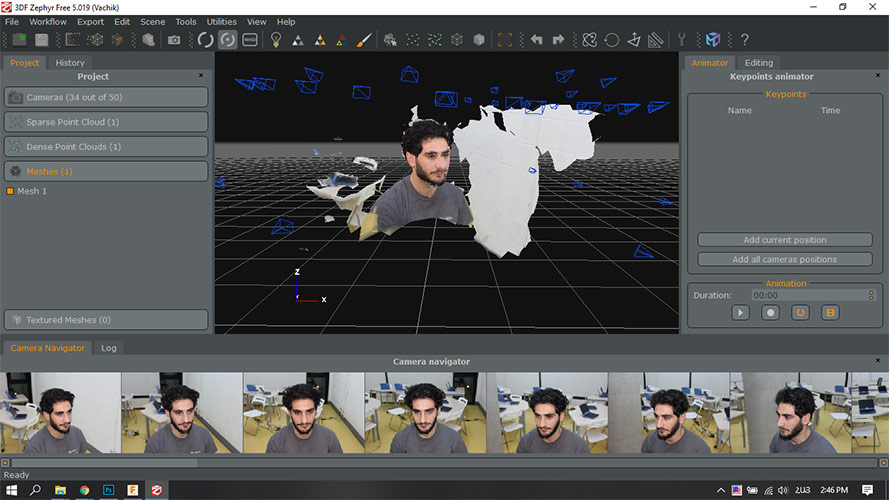
This is not what I really expected, but the reason for that was lack of good pictures, so next time I want to scan something, I will take much more pictures with better quality.