4. Computer controlled cutting
INTRODUCTION
This week I had to play with the vinyl cutter, laser cutter, learn how to use them, cut some things and figure out the best settings for the materials that I use.
VINYL CUTTING
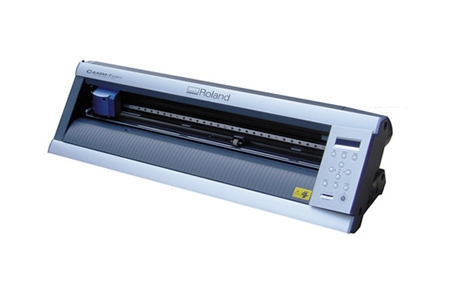
At first, of course, I had to read the manual. In Dilijan Fab Lab there is the Roland GX-24 vinyl cutting machine.

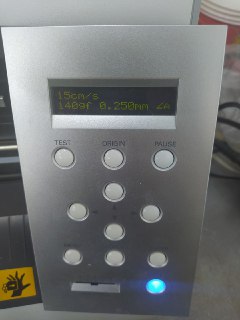
At first I had to plug in, turn on the machine, install the material, check settings and perform test cutting. After cutting with force 50gf, I gradually increased the force to 140gf, which turned out pretty good for given material.
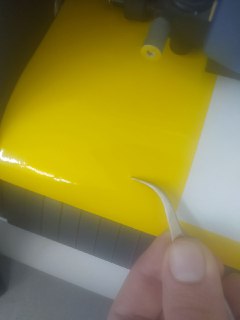
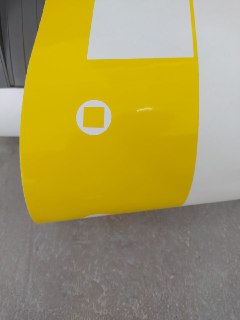
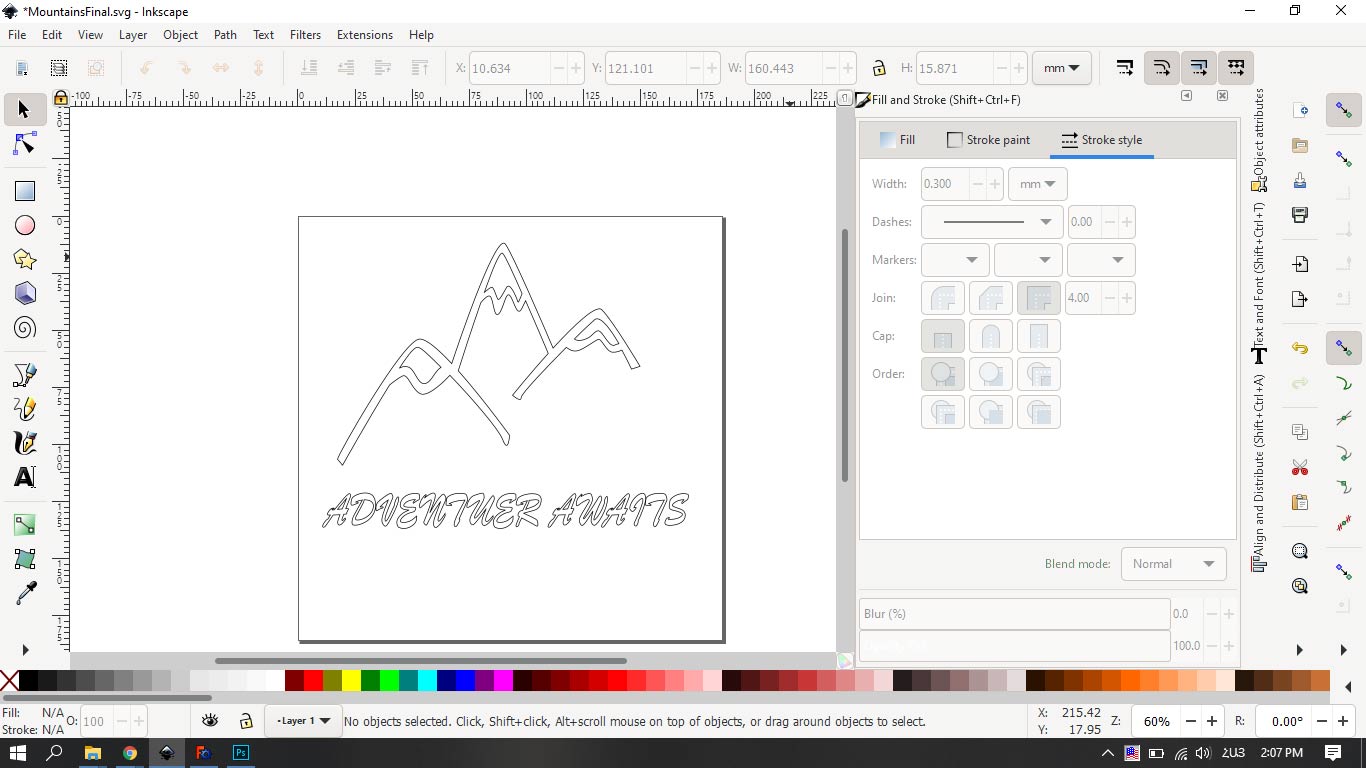
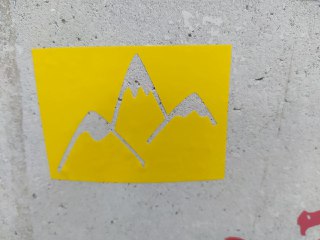
After finding the best setting, I started drawing mountains using Inkscape. In Dilijan Fab Lab there is a computer connected to the vinyl cutter, with driver and software installed on it. So after drawing My future sticker (.svg), I transferred the .svg file to that computer connected to the cutter, and started cutting.
LASER CUTTING
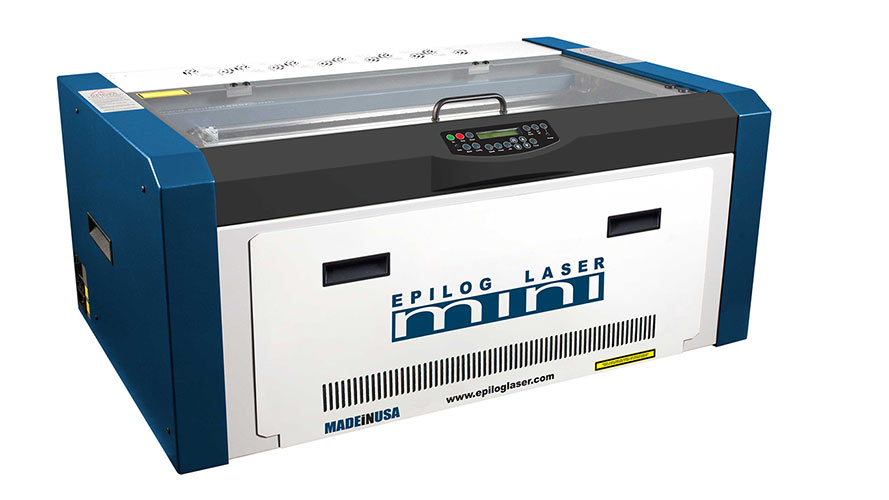
In the Dilijan’s Fab Lab there is a Epilog Mini 8000 laser cutter. And here is it’s manual.
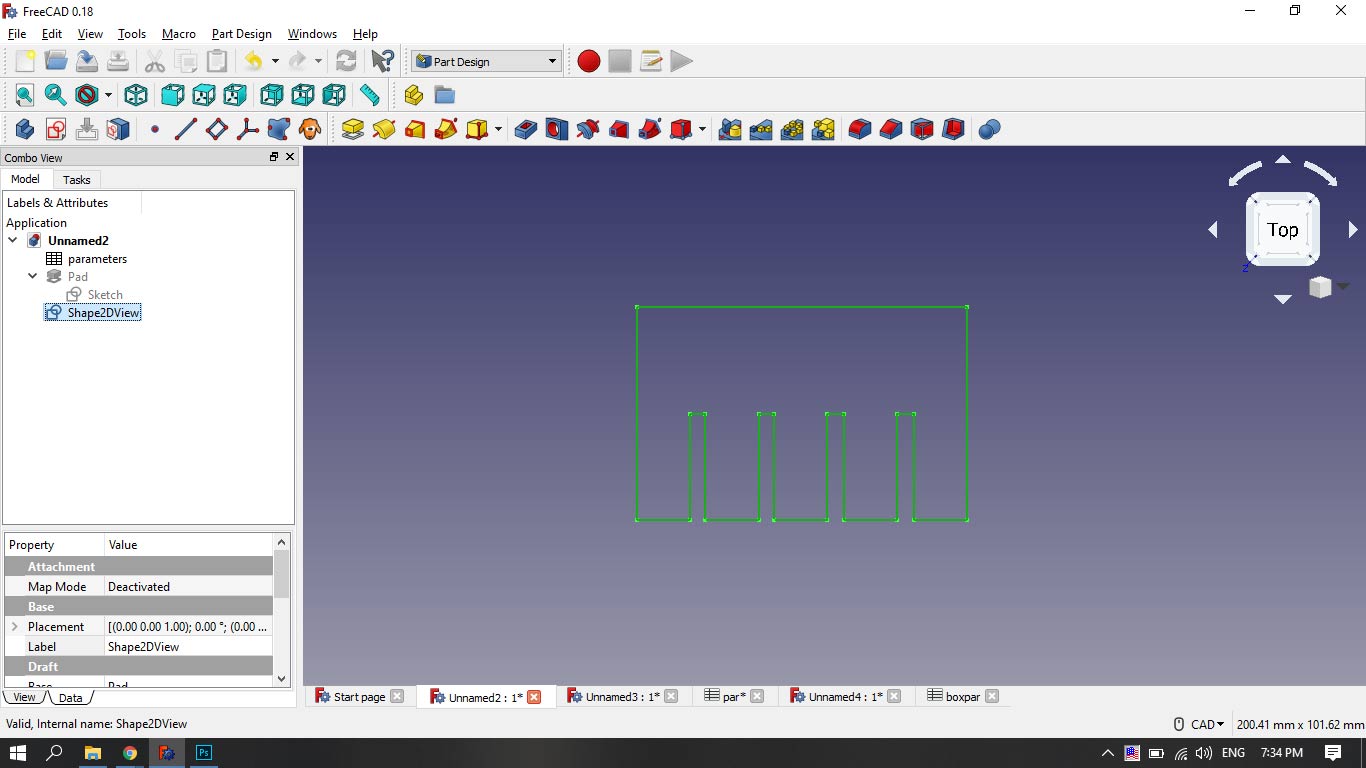
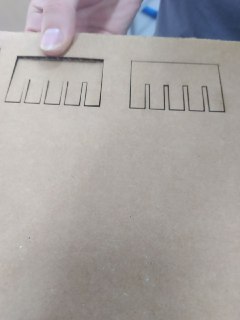
I used cardboard with 4mm thickness for laser cutting. At first I had to draw a figure with different size cuts to test which works best for joining two pieces together.
I decided to try 3.8, 3.9, 4 and 4.1mm cuts. So I drew this
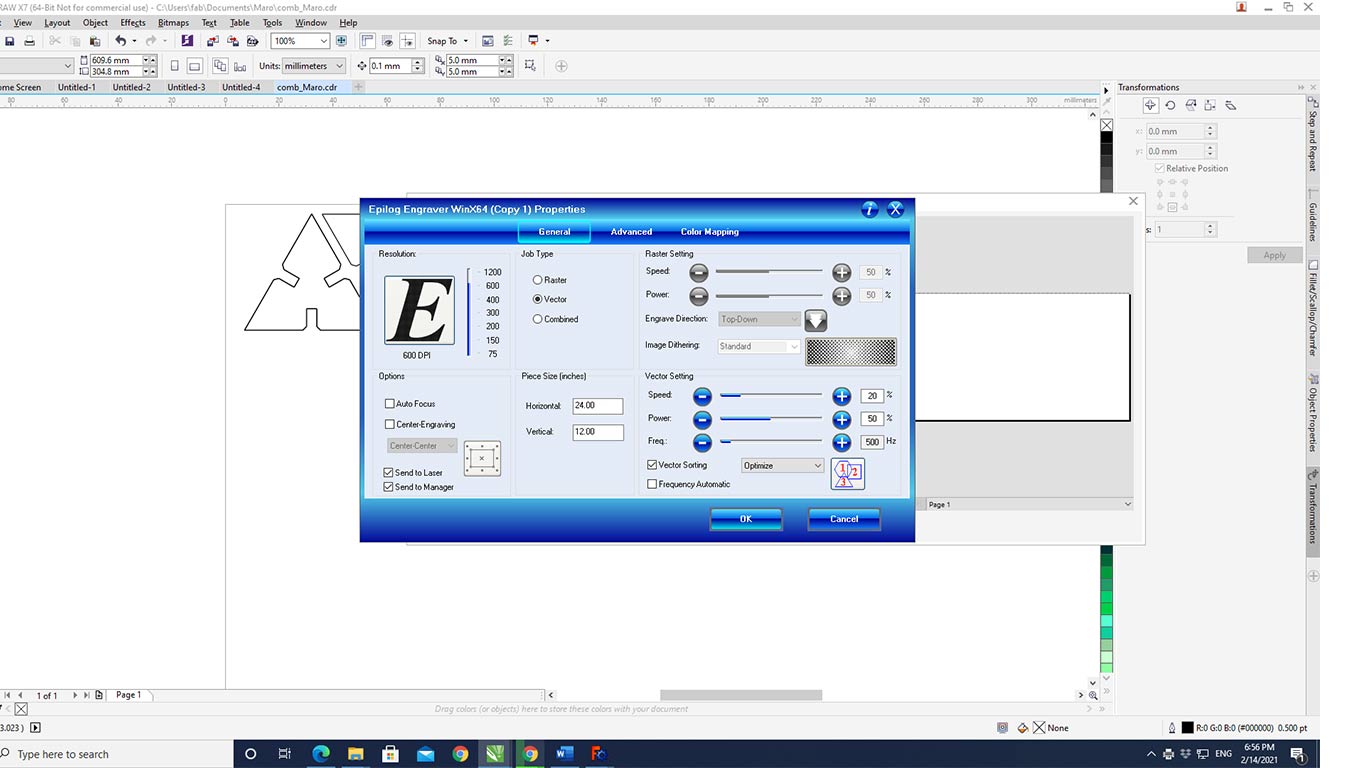
I didn’t know how to export the proper file for laser cutting, and I found this very helpful video. And then when I had the test file (.svg), I opened it with Corel Draw, went to Print page, and started playing with the parameters of the machine. From last year’s student documentations I learned that the settings for the cardboard should be something like this – Speed - 20, Power - 50, Frequency - 500. In the end I ended up increasing power to 87 and speed to 25.
Before performing the cutting, we had to clean the lens of the laser, insert the cardboard and find the focus distance for the laser. How to do all of that I could find in the manual.
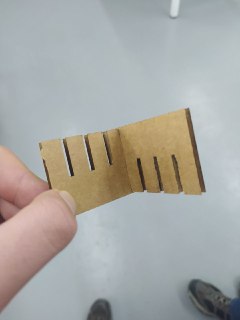
So after cutting I got this
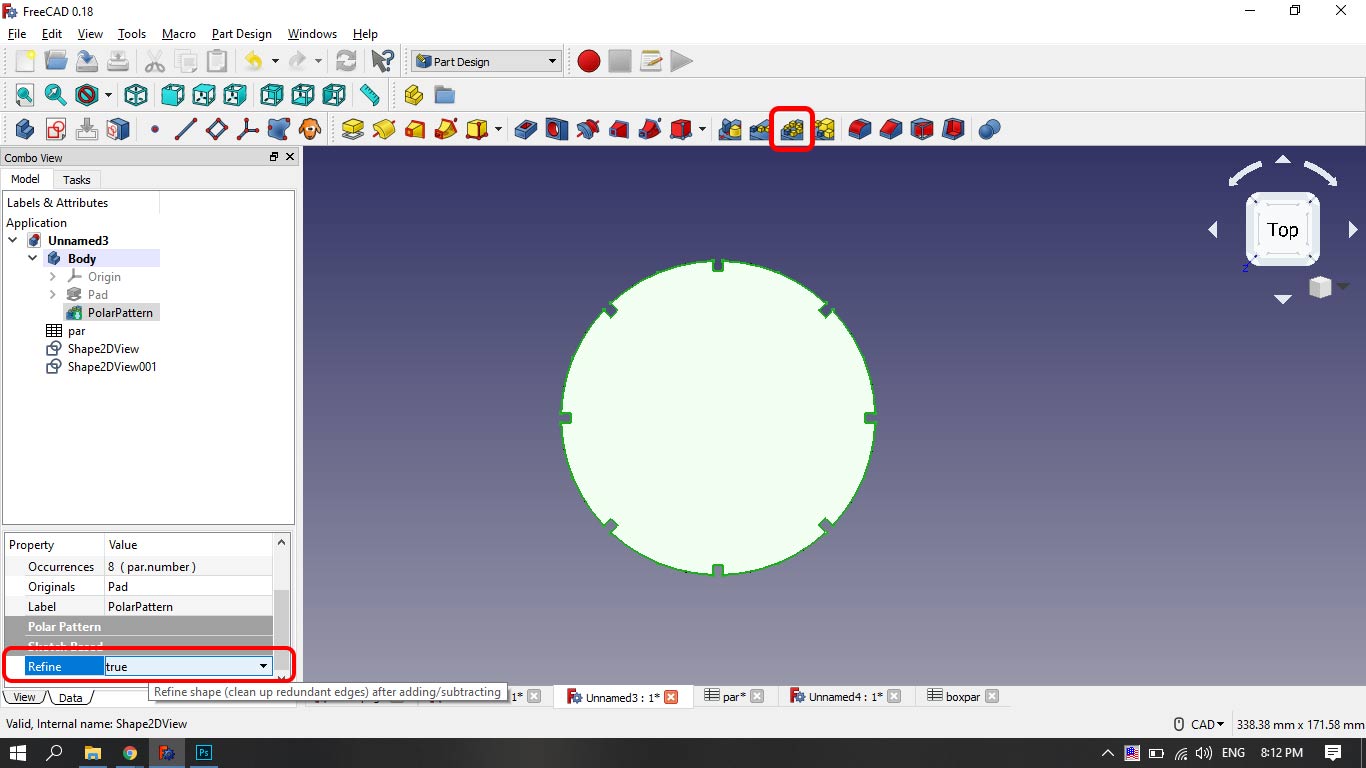
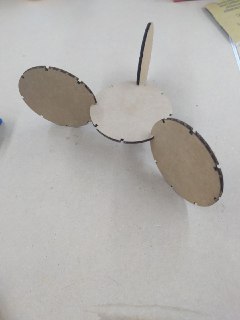
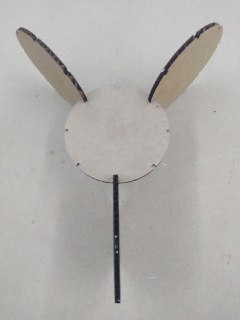
After figuring out the size that I need to make a joint, I started drawing a circle with joint places. I drew a sketch of a one segment of the circle, the angle of which I set as a parametric value depending on the number of sectors that the circle is going to have. Then I padded that sketch, and used the Polarn Pattern tool to make it full circle. Then I changed the Refine value from false to true and here is what I got
Then I cutted few of these cirles (.svg), but didn’t have enough time to make something out of it, I had to go back to my city.