8. Computer controlled machining
INTRODUCTION
This week I had to make (design+mill+assemble) something big using ShopBot CNC Machine (manual).
DESIGN
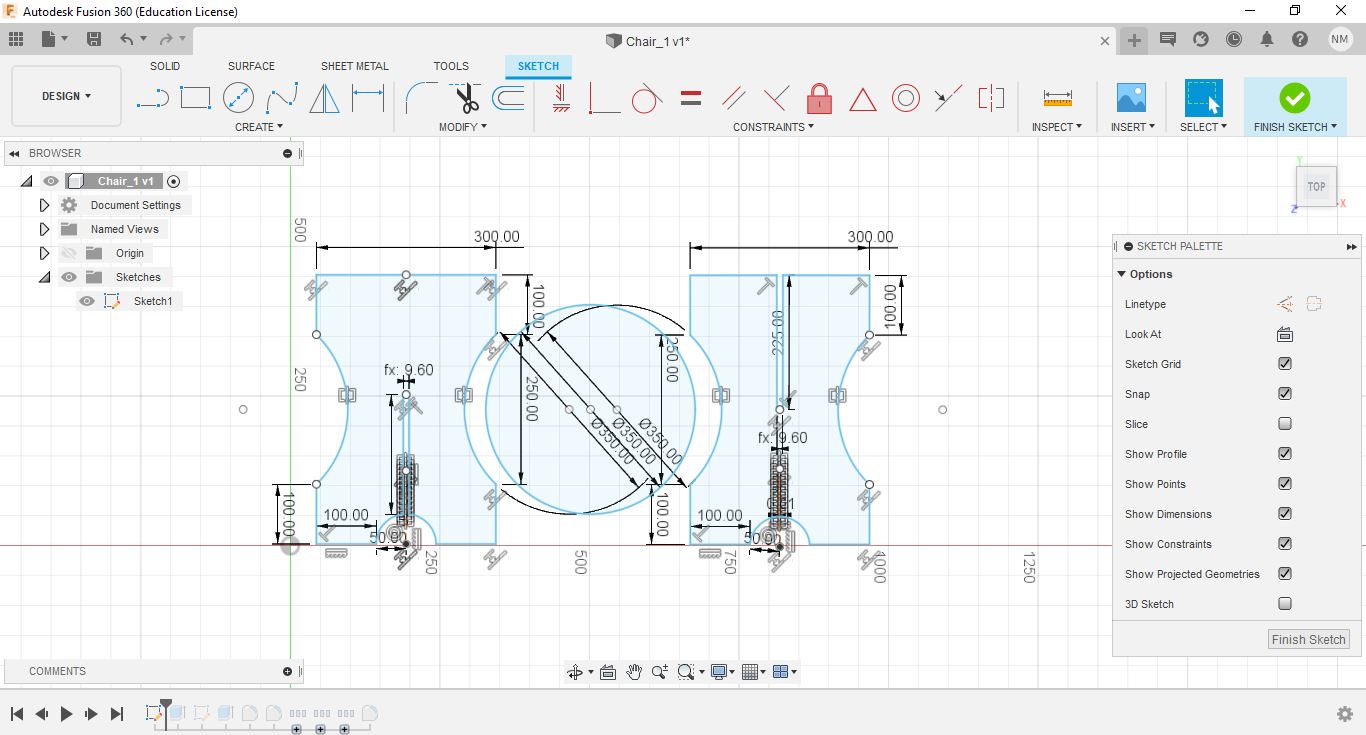
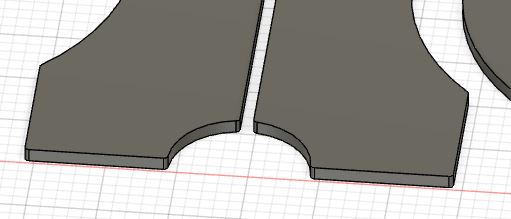
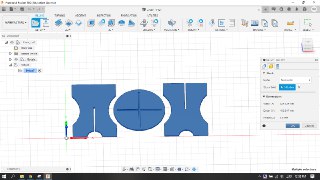
I decided to make a simple chair using Fusion 360. AT first I made this sketch
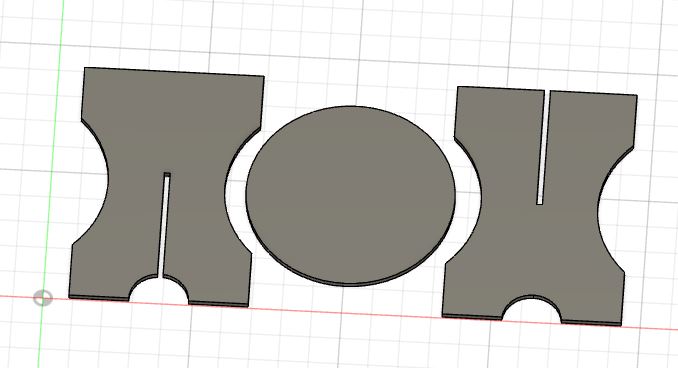
Then I extruded them and got the bodies.
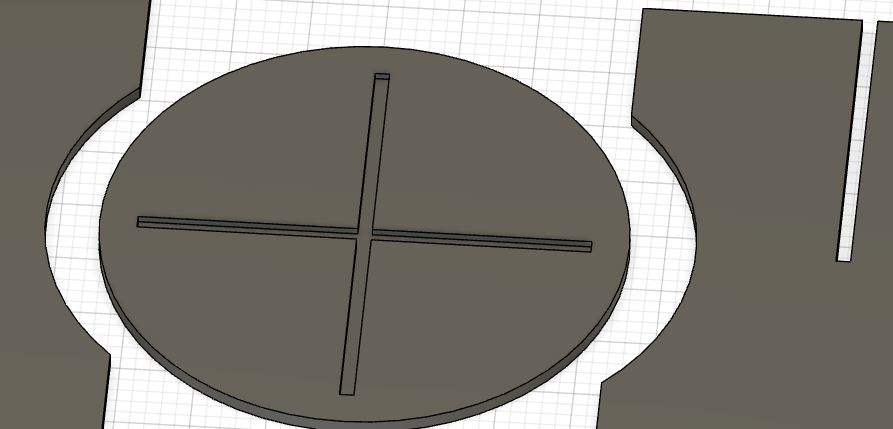
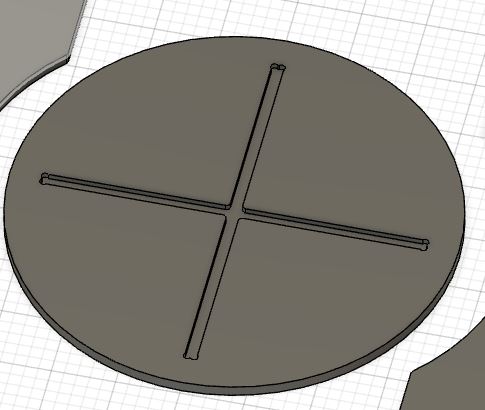
Then I made a sketch on the seat part like this. This is for connecing legs to the seat.
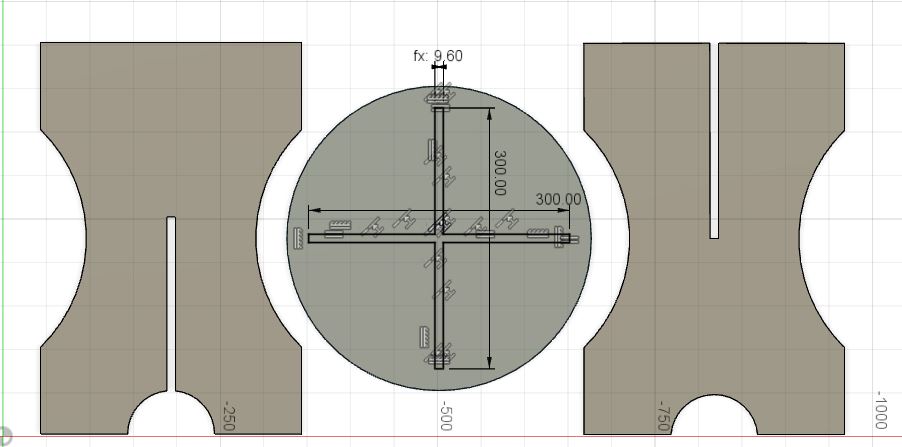
Then I made it pocket with depth thickness/2
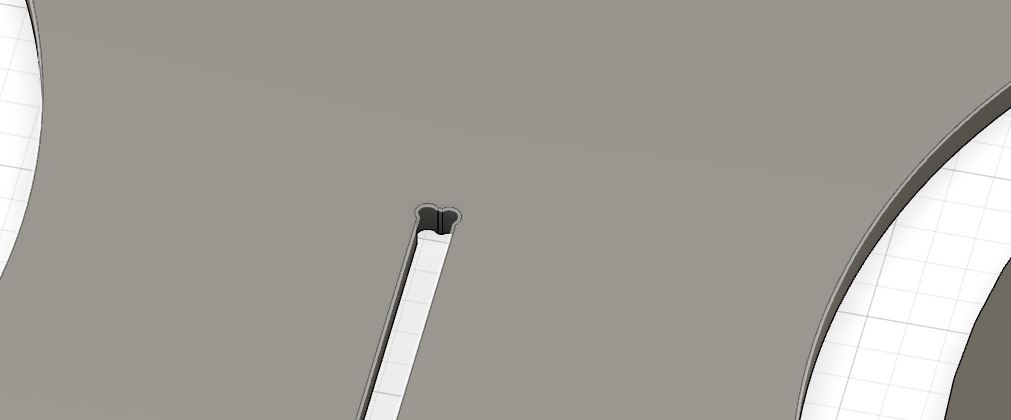
DOGBONE
Then I had to add dogbones for better fit. There is an add-in for fusion to add dogbones automatically. I found all the necessary instructions here dogbone add-in.
I added dodbone everywhere that is going to be joint.
Then I added fillets on every sharp side, for better fitting as well as sharp edges can break easier.
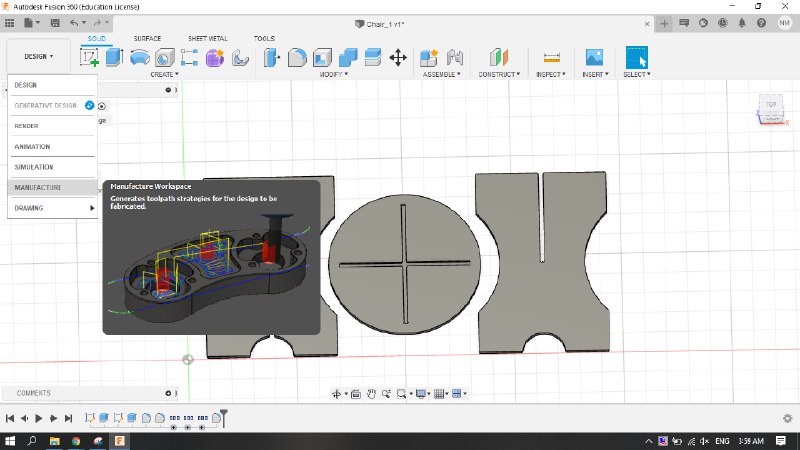
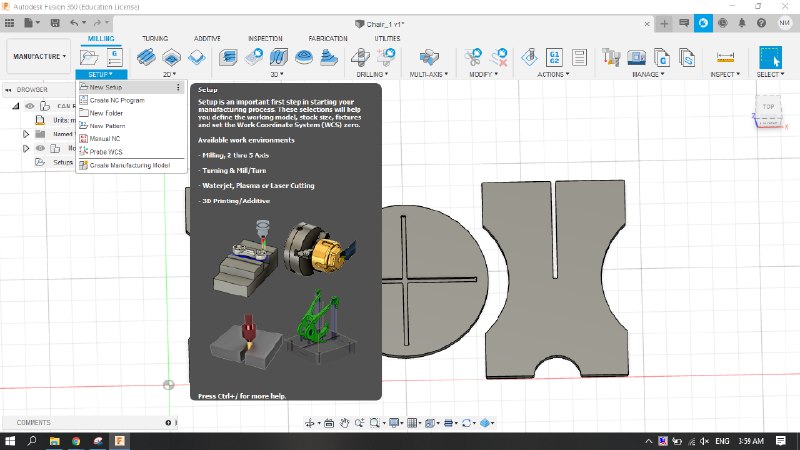
SETTINGS FOR CNC
After having design, I started preparing the file for the cnc machine. These are the steps.
Then you select bodies and set the origin point.
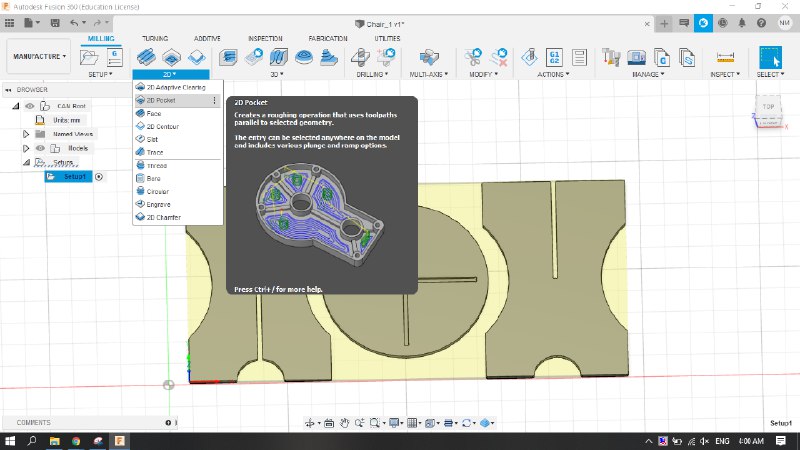
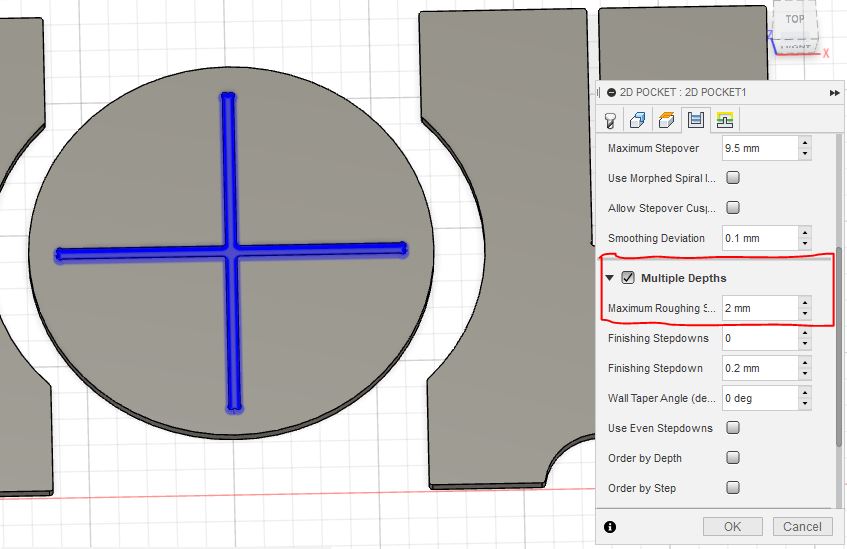
To make a slot on the seat I had to choose 2Dpocket.
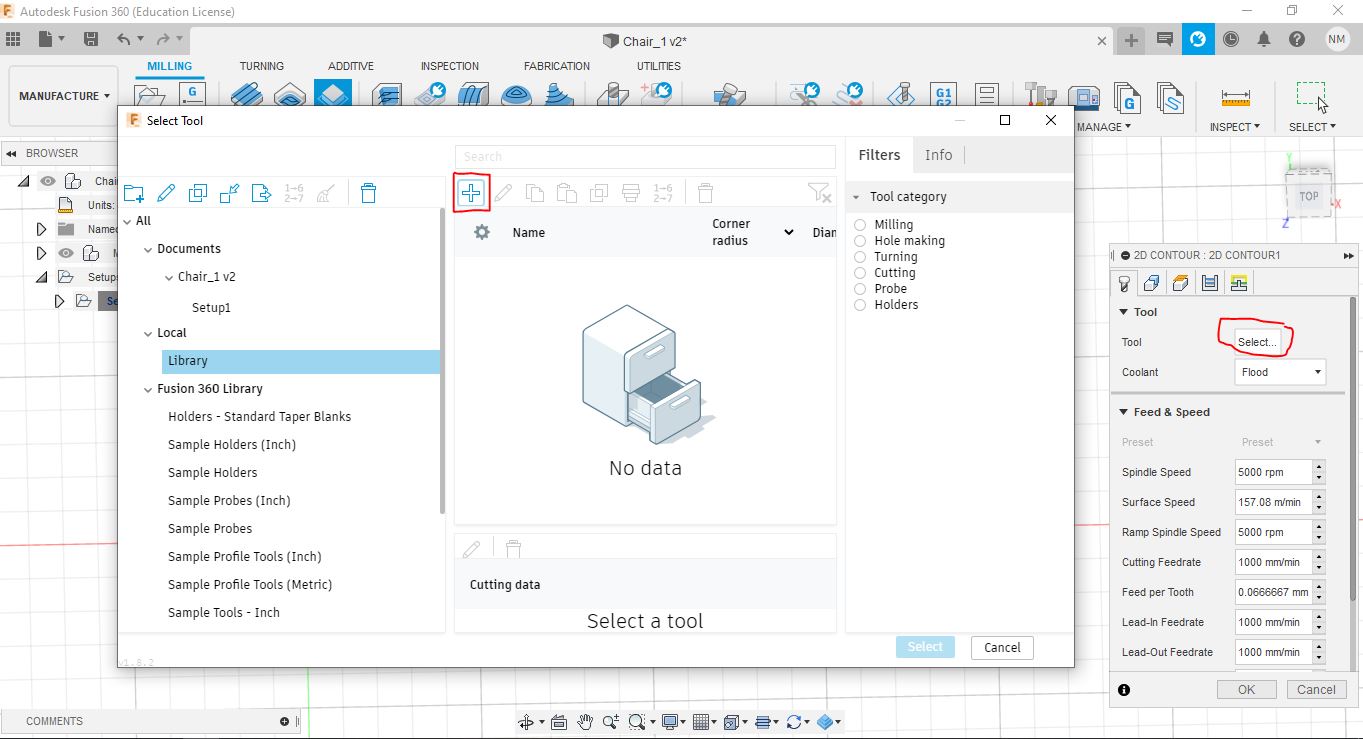
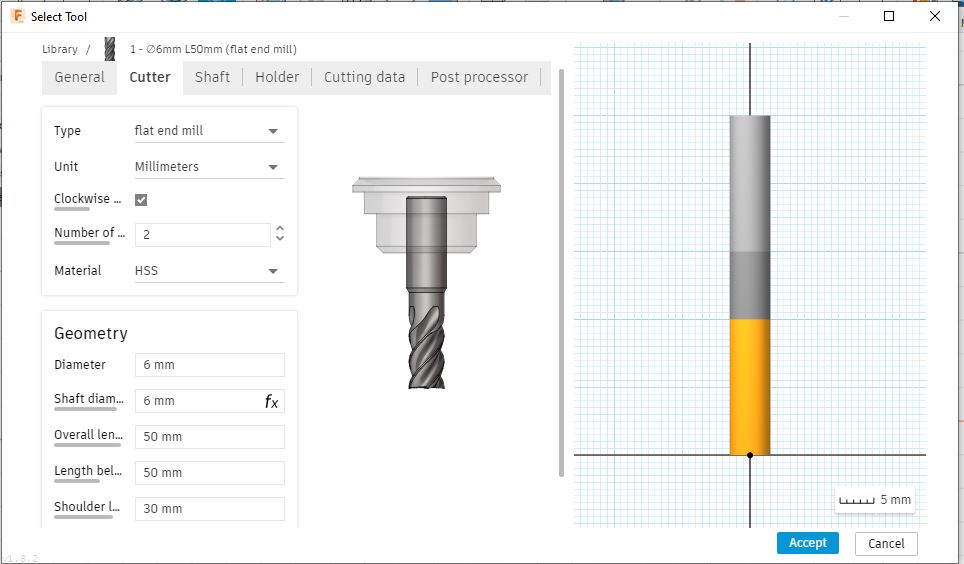
Then you choose the tool. We use a 6mm end mill with a flat head, 2 flutes and straight cut.
When you use an end mill and want to cut something, you can’t just cut with maximum depth that you need if it’s too deep. If the end mill goes too deep, there is a good chance that it will break because of a huge load on it. So in my case I used a 6mm end mill and set the depth of the cut 1.5mm. This way you sacrifice time, because it will do several passes and that will make the job much slower, but you save the end mill from breaking and overheating and it can serve much longer time.
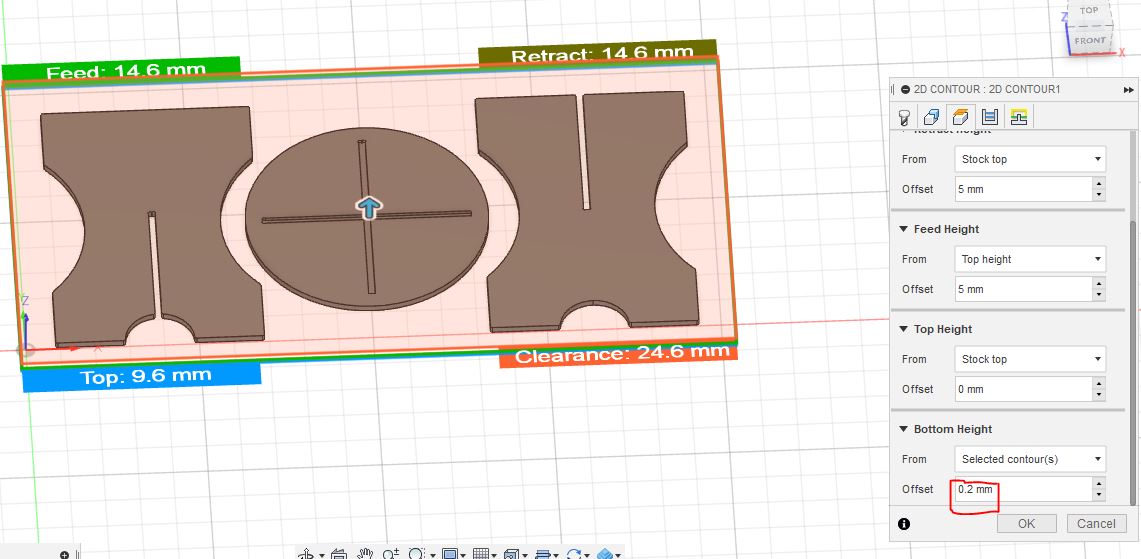
For cutting the outer lines you need to choose 2D contour
Then choose the line through which you want the end mill to pass, and set up all the settings that you need.
When you are cutting the outline, you want the end mill to go a little deeper, pass through your material and go a little bit inside of the sacrificial layer. That way you are sure that your part will come out clean without problems.
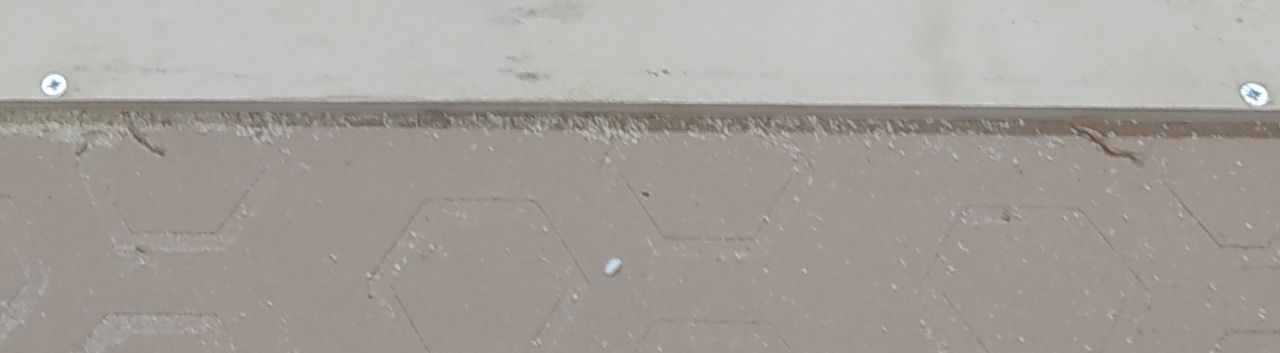
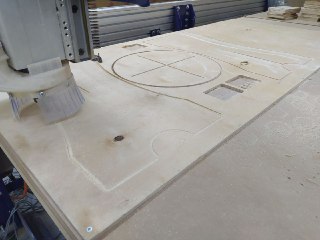
Before cutting anything, you place the material on the sacrificial layer and use screws to hold it in place.
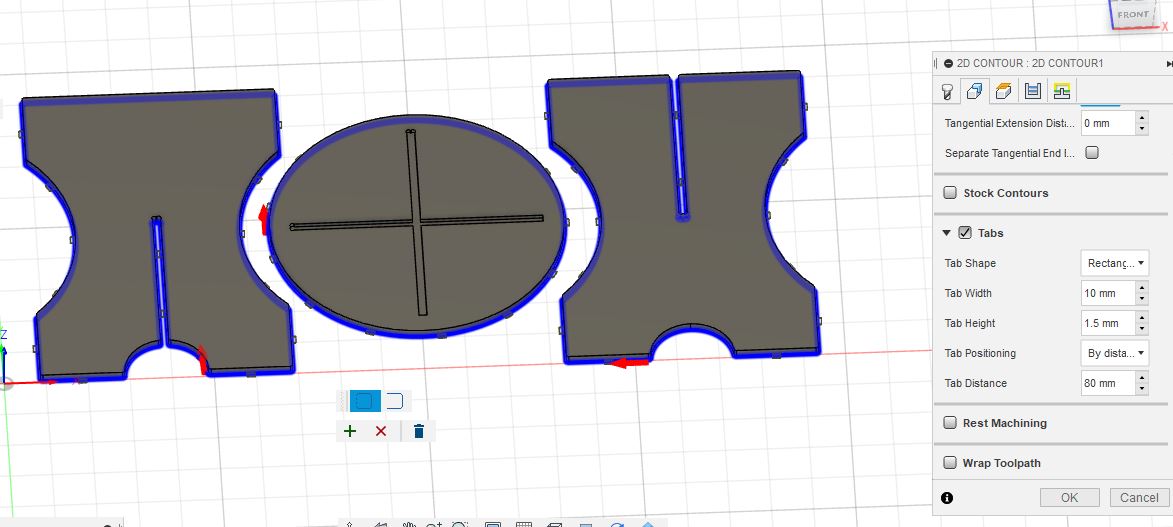
While cutting the last layer of the contour, the part can move, because it’s no longer attached to anything. There are 2 ways to solve that problem. You can pause the cutting process before cutting the last layer and use screws to hold you part in place, or you can use tabs, which I think is a better option. You just need to experiment and find the right size for tabs. Here is an example of tabs and how to set them in Fusion360.
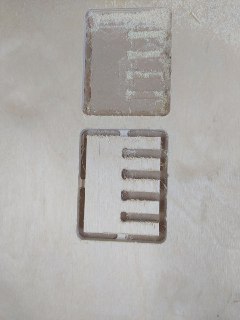
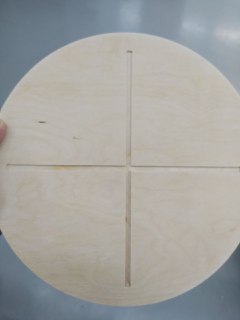
When you want to cut some parts and then connect them with pre-drawn joints, you need to experiment and find the right size of the joint depending on the thickness of the material. The test is the same as the test for laser cutting cardobor, about which you can find in Computer controlled cutting (week 4).
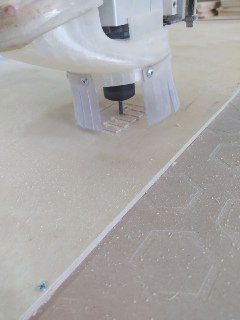
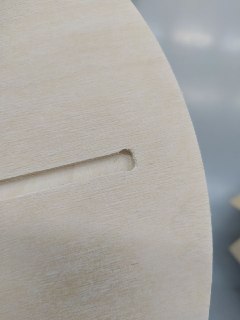
After screwing the material to the sacrificial layer on the machine as shown below, I cutted the test and found what size of joint worked for me.
After finding the joint size, I changed my original design and inserted that value for joints and then exported and cutted. The ShopBot CNC machine in FabLab Dilijan works better with .sbp files than with .nc file, so I used that format and I will put it in here.
Test(.sbp) Pocket(.sbp) Contour(.sbp)
CUTTING
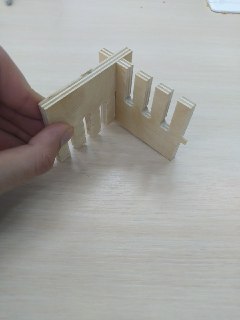
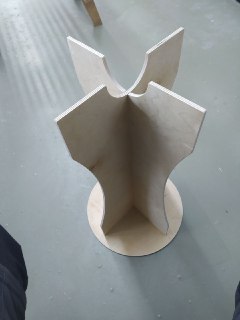
After removing parts from the plywood sheet and after some sanding it was easy to connect parts together with a bit of hammering, it worked very well.
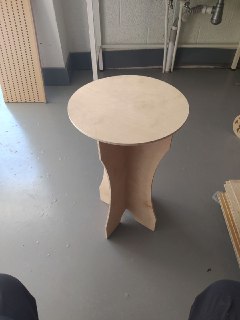
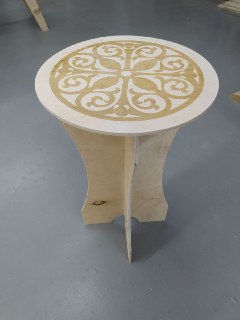
The chair was too high and the material was too thin, so the chair is a little bit flexible.
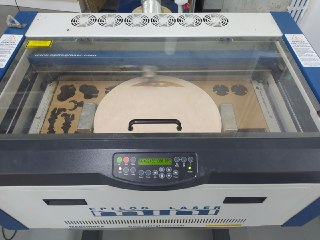
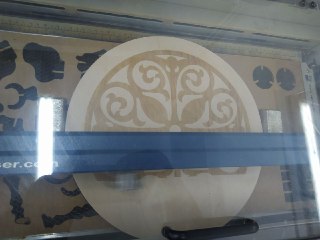
Then I decided to add an Armenian ornament on top of the seat using the laser engraver. I found this link, downloaded an ornament vector file, made some changes and engraved on top of the seat.
And here is the final outlook of the chair.
CONCLUSION
This week I learned how to use a CNC machine, this was my first experience with large size CNC cutting. I learned some new things about kinds of end mills. This was a fun week, I love wooden furniture and I was excited to make something that works without screws and nails.
My instructors Ashot and Babken helped me a lot, and I wouldn’t be able to do this week’s assignment without them.