Wildcard Week
ASSIGNMENT
Design and produce something with a digital fabrication process (incorporating computer-aided design and manufacturing) not covered in another assignment, documenting the requirements that your assignment meets, and including everything necessary to reproduce it.
INTRODUCTION
For some years now I have been passionate about an American sport: skateboarding.
Skateboarding has Californian origins: the surfers of this U.S. state, in the absence of waves, applied to the underside of the surfboards of the wheels to allow you to continue to train.
Of course, the evolution of shape and weight, as well as technology, has determined the transformations that have led to the types in use today.
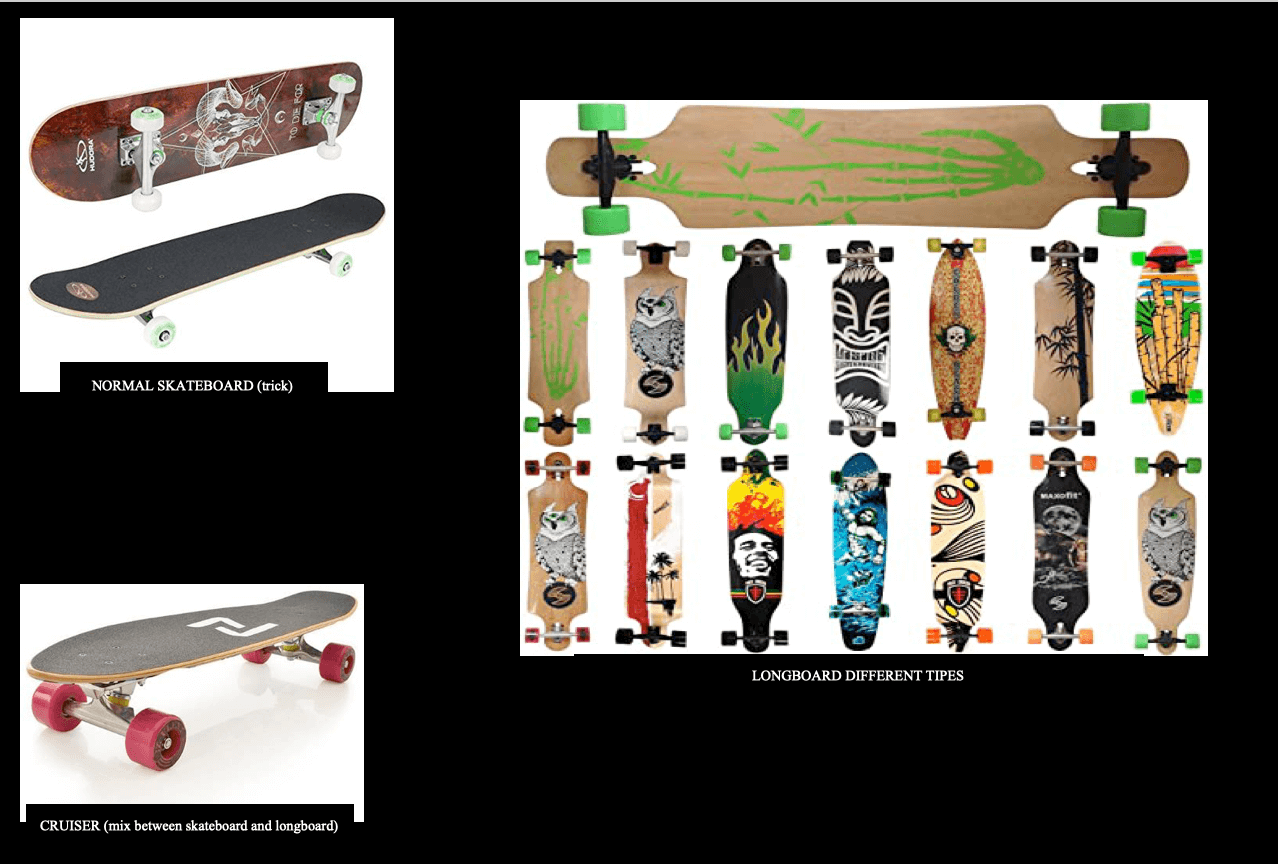
Nowadays skateboards have this classification: the "tricks" (the classic ones), the "longboards" (longer skateboards, with different shapes, structured to go faster and make longer routes), the "pennies" (smaller with only one wing) and the "cruisers" that are a mixture between longboards and classic skateboards.
REALIZATION SKATEBOARD
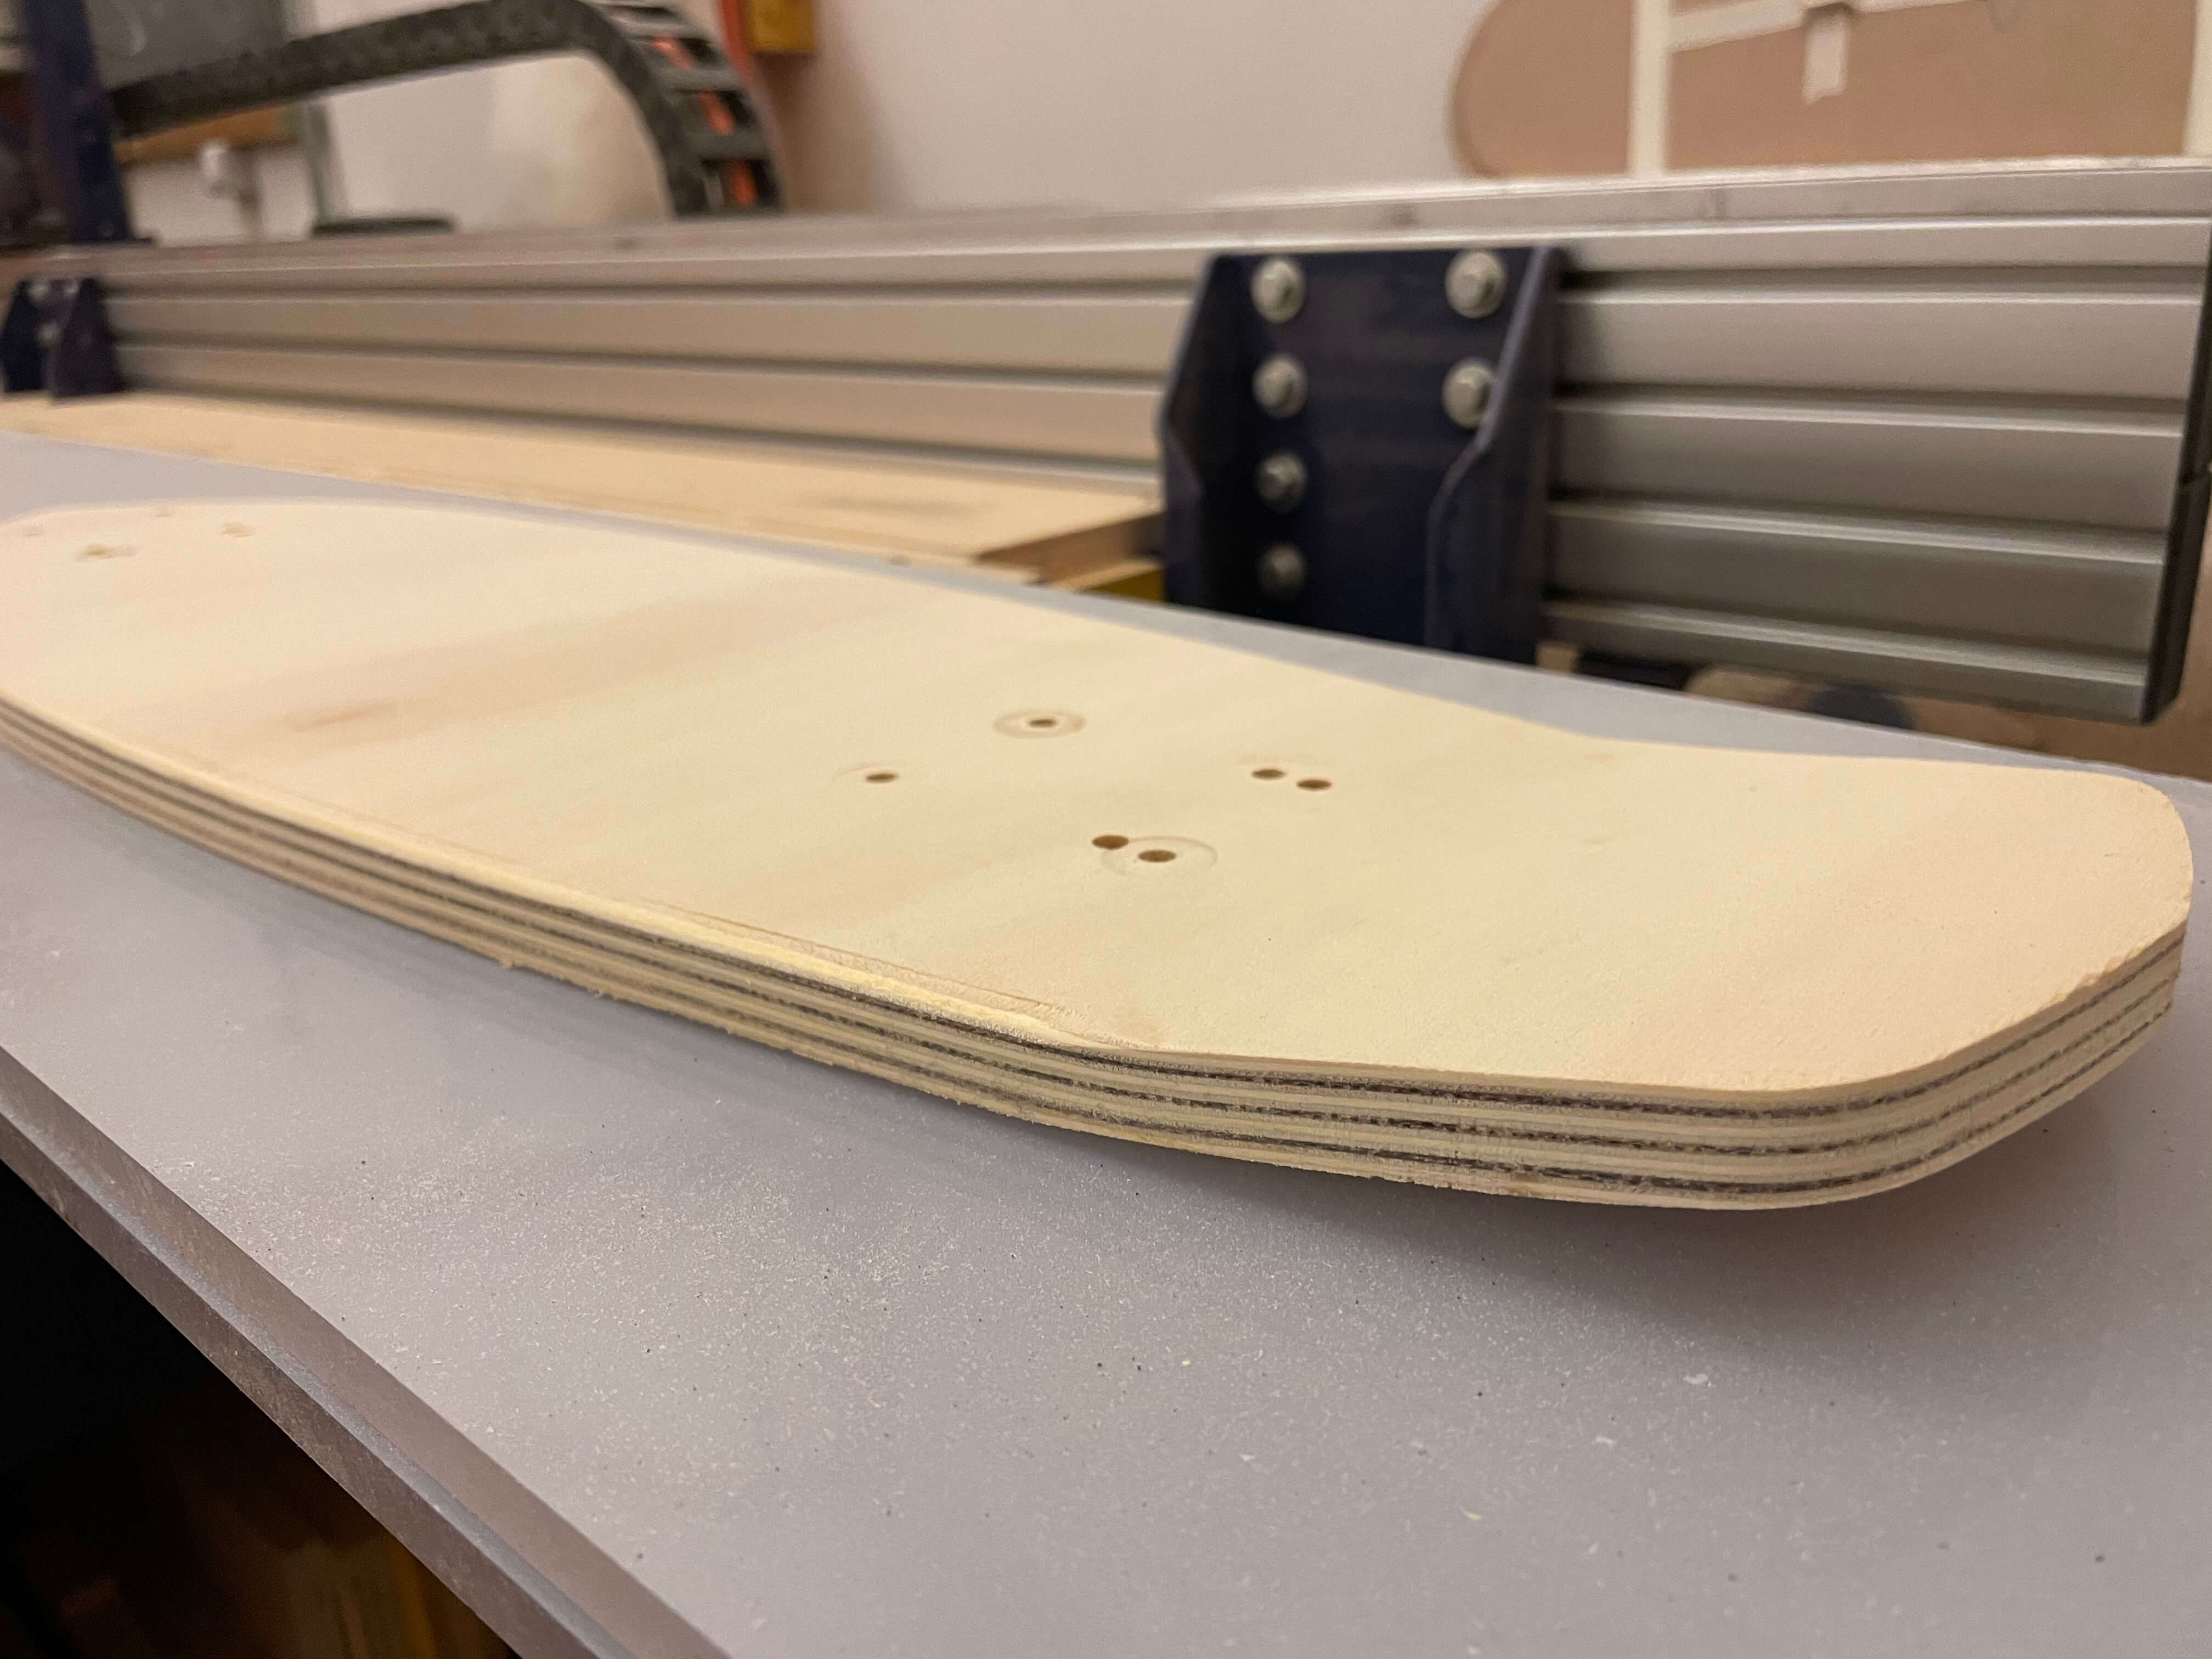
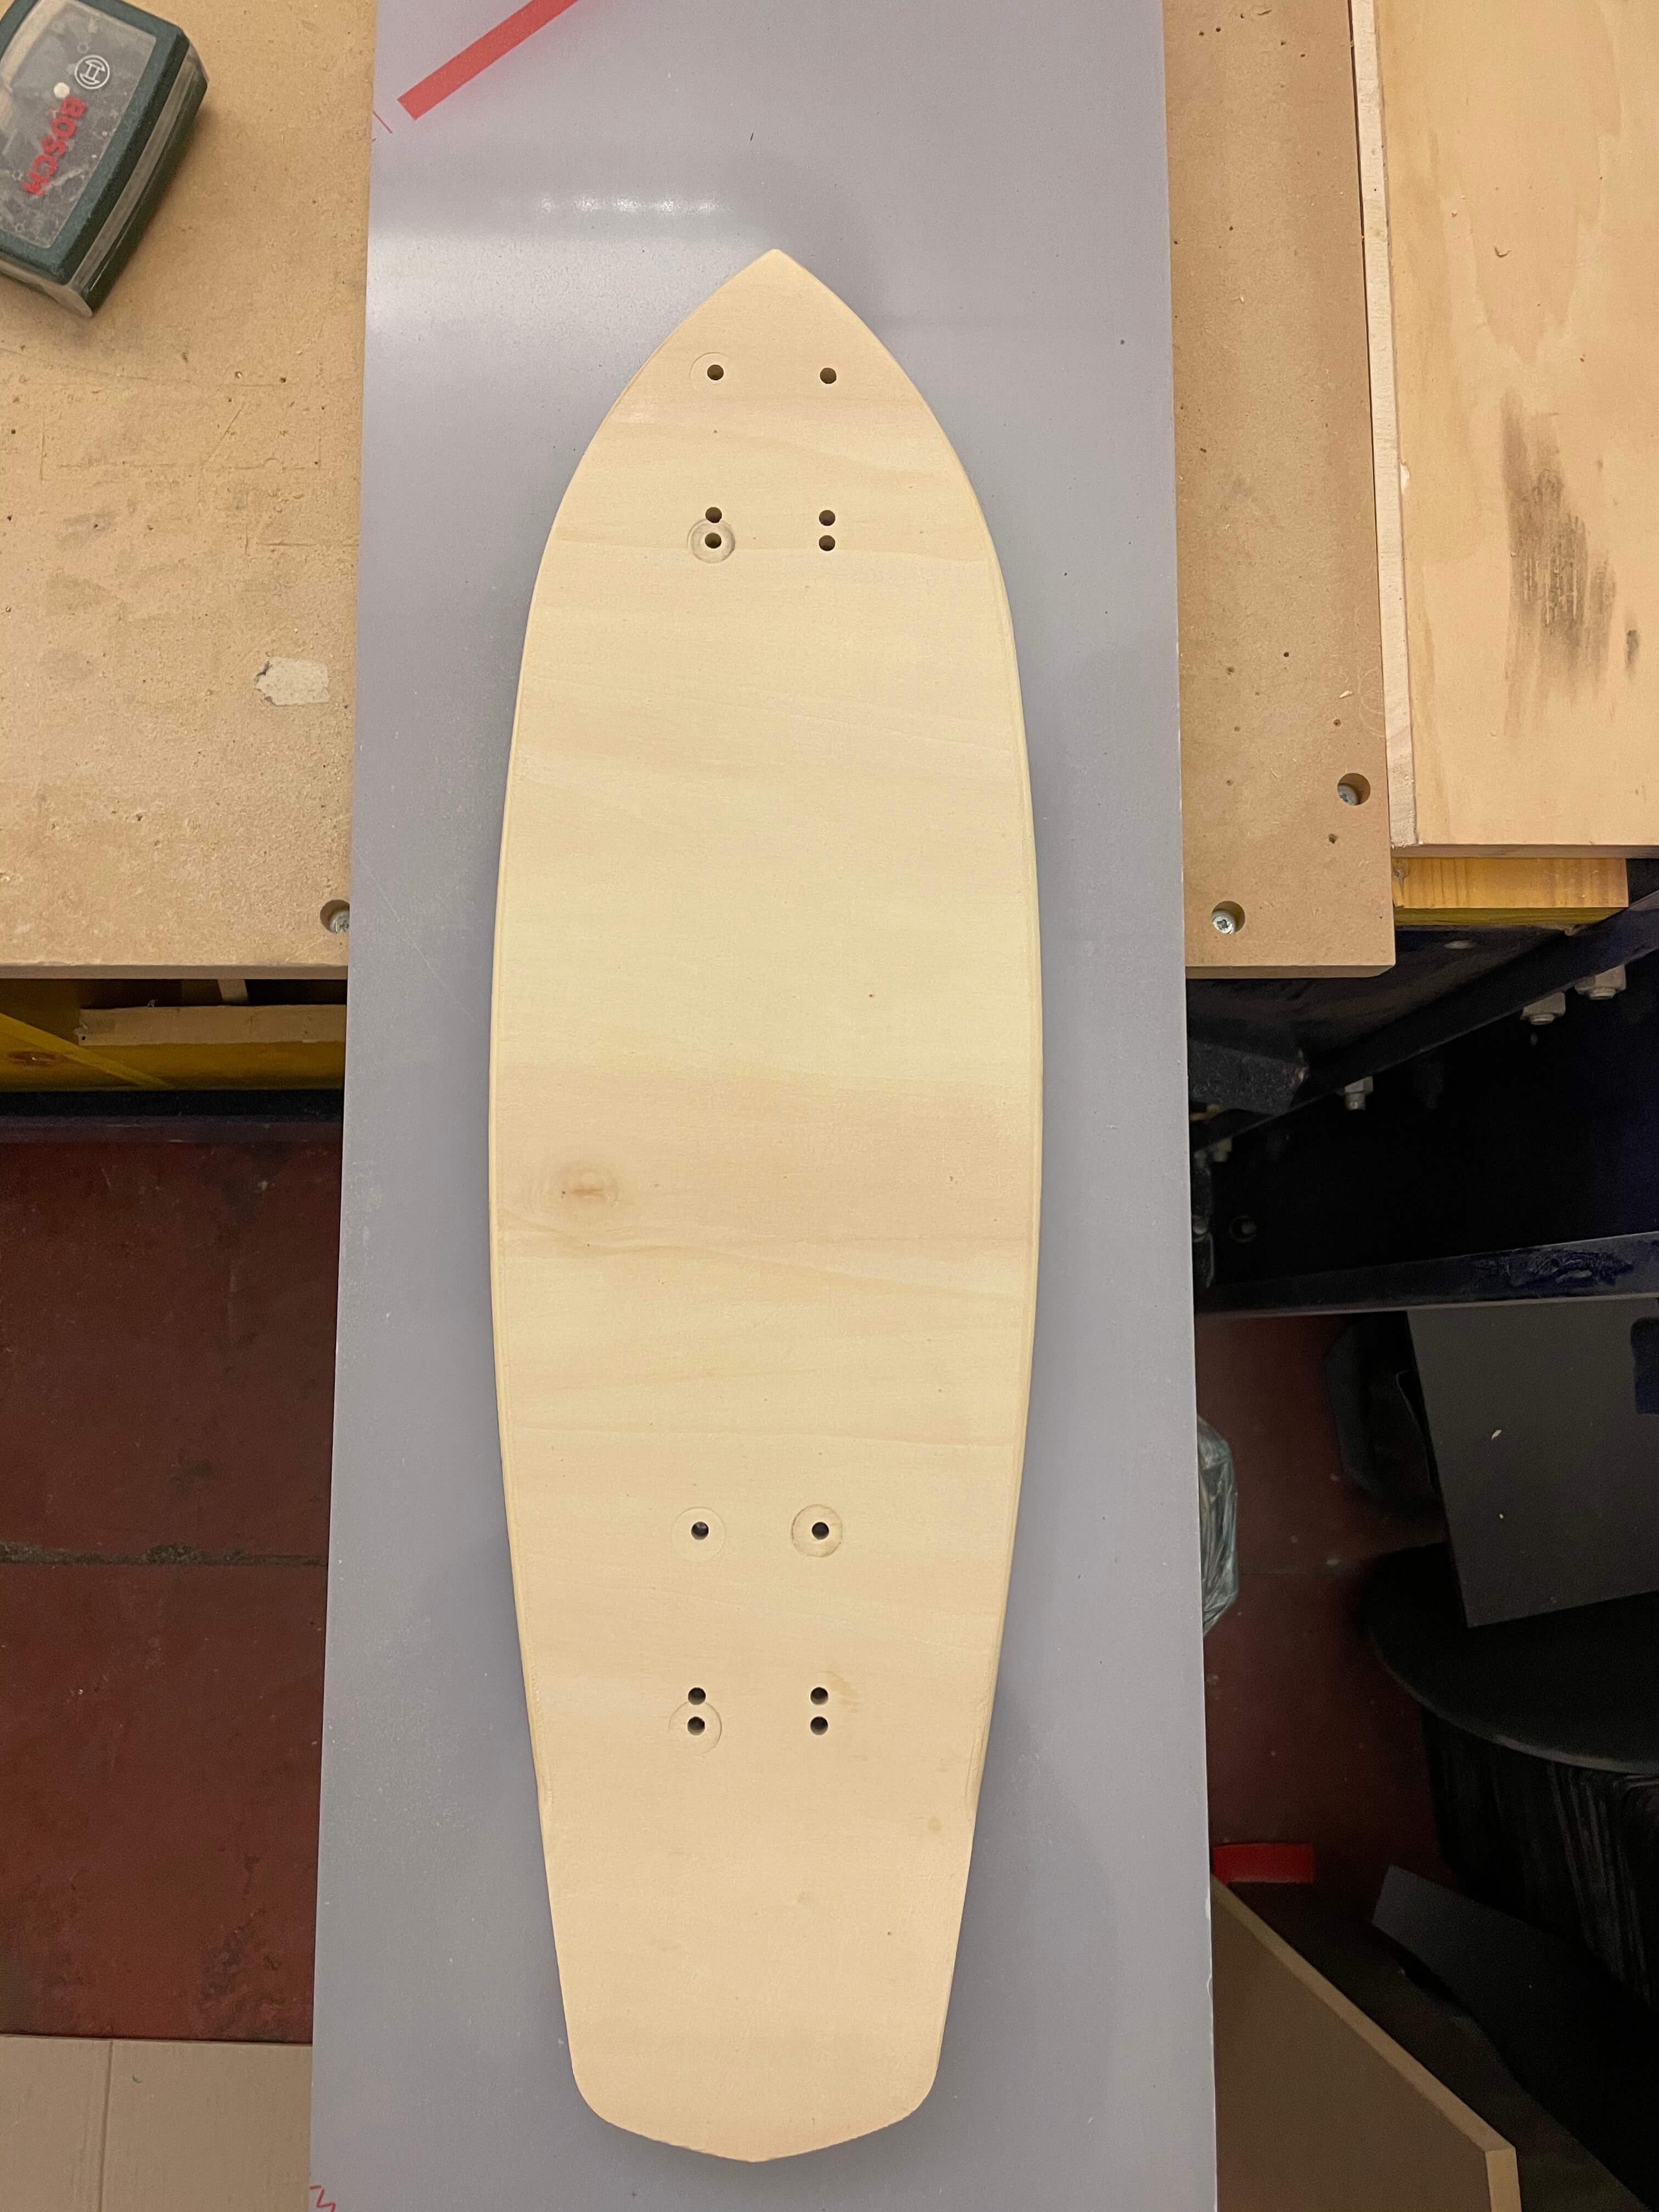
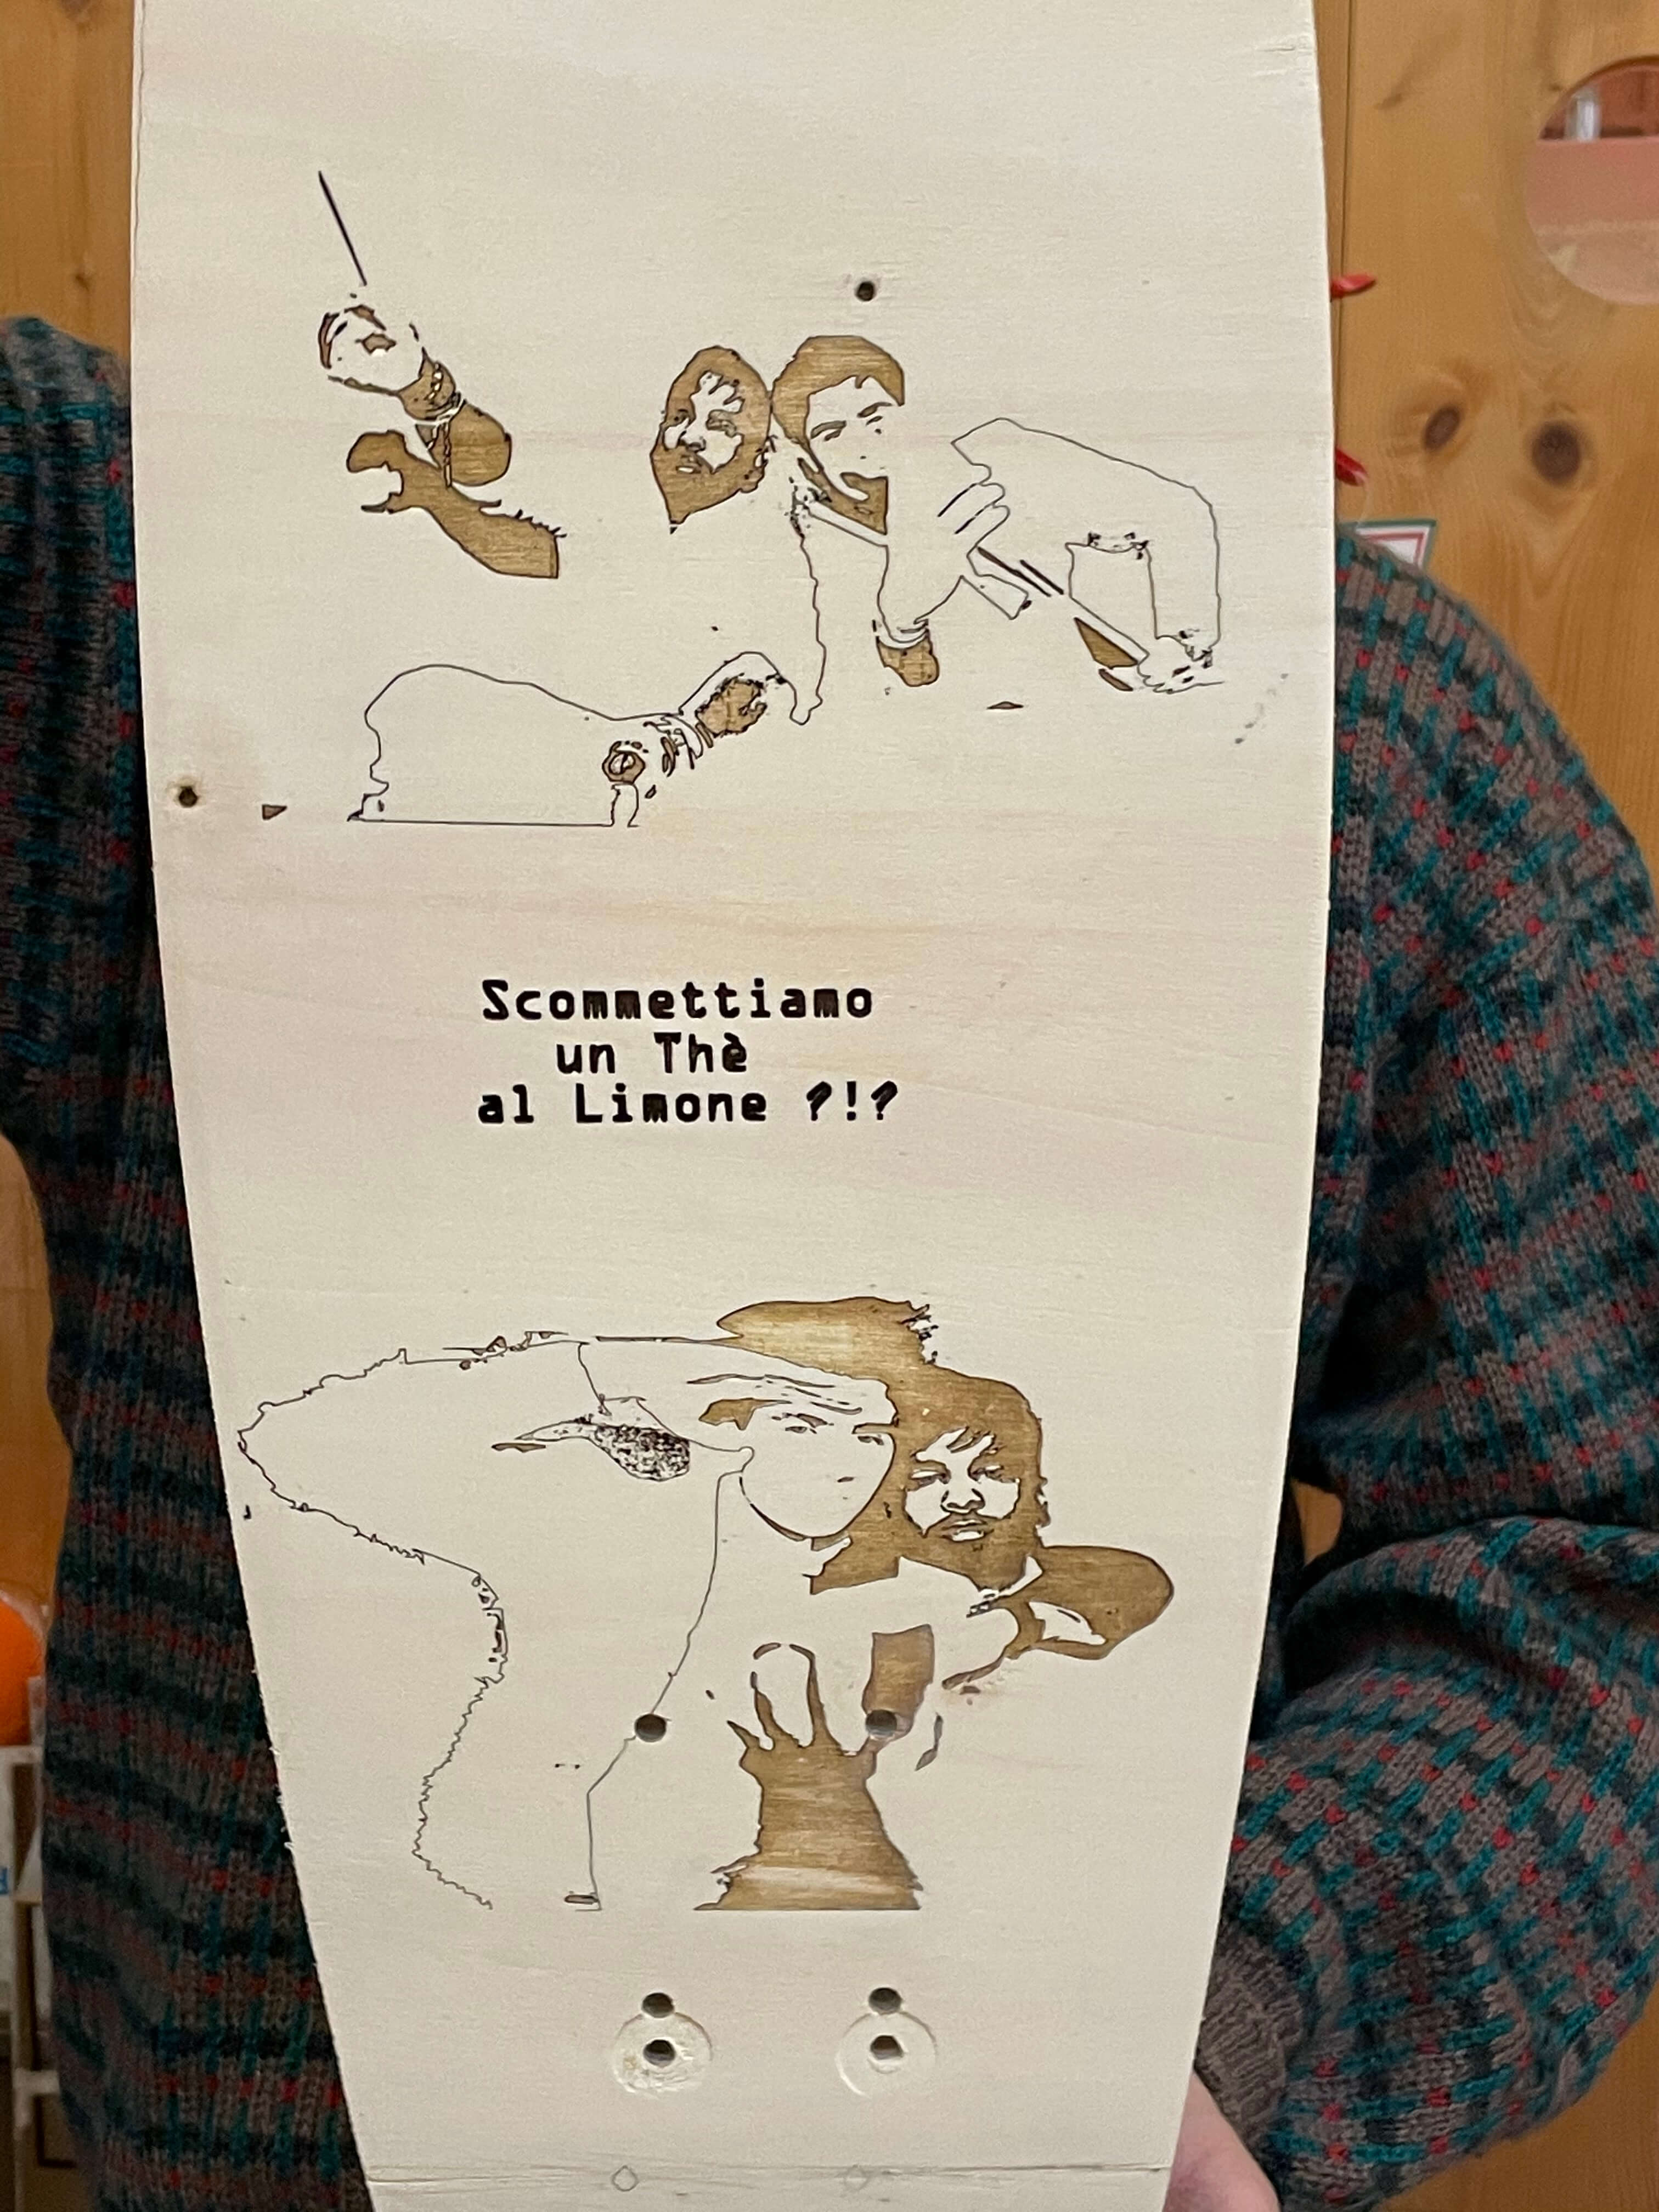
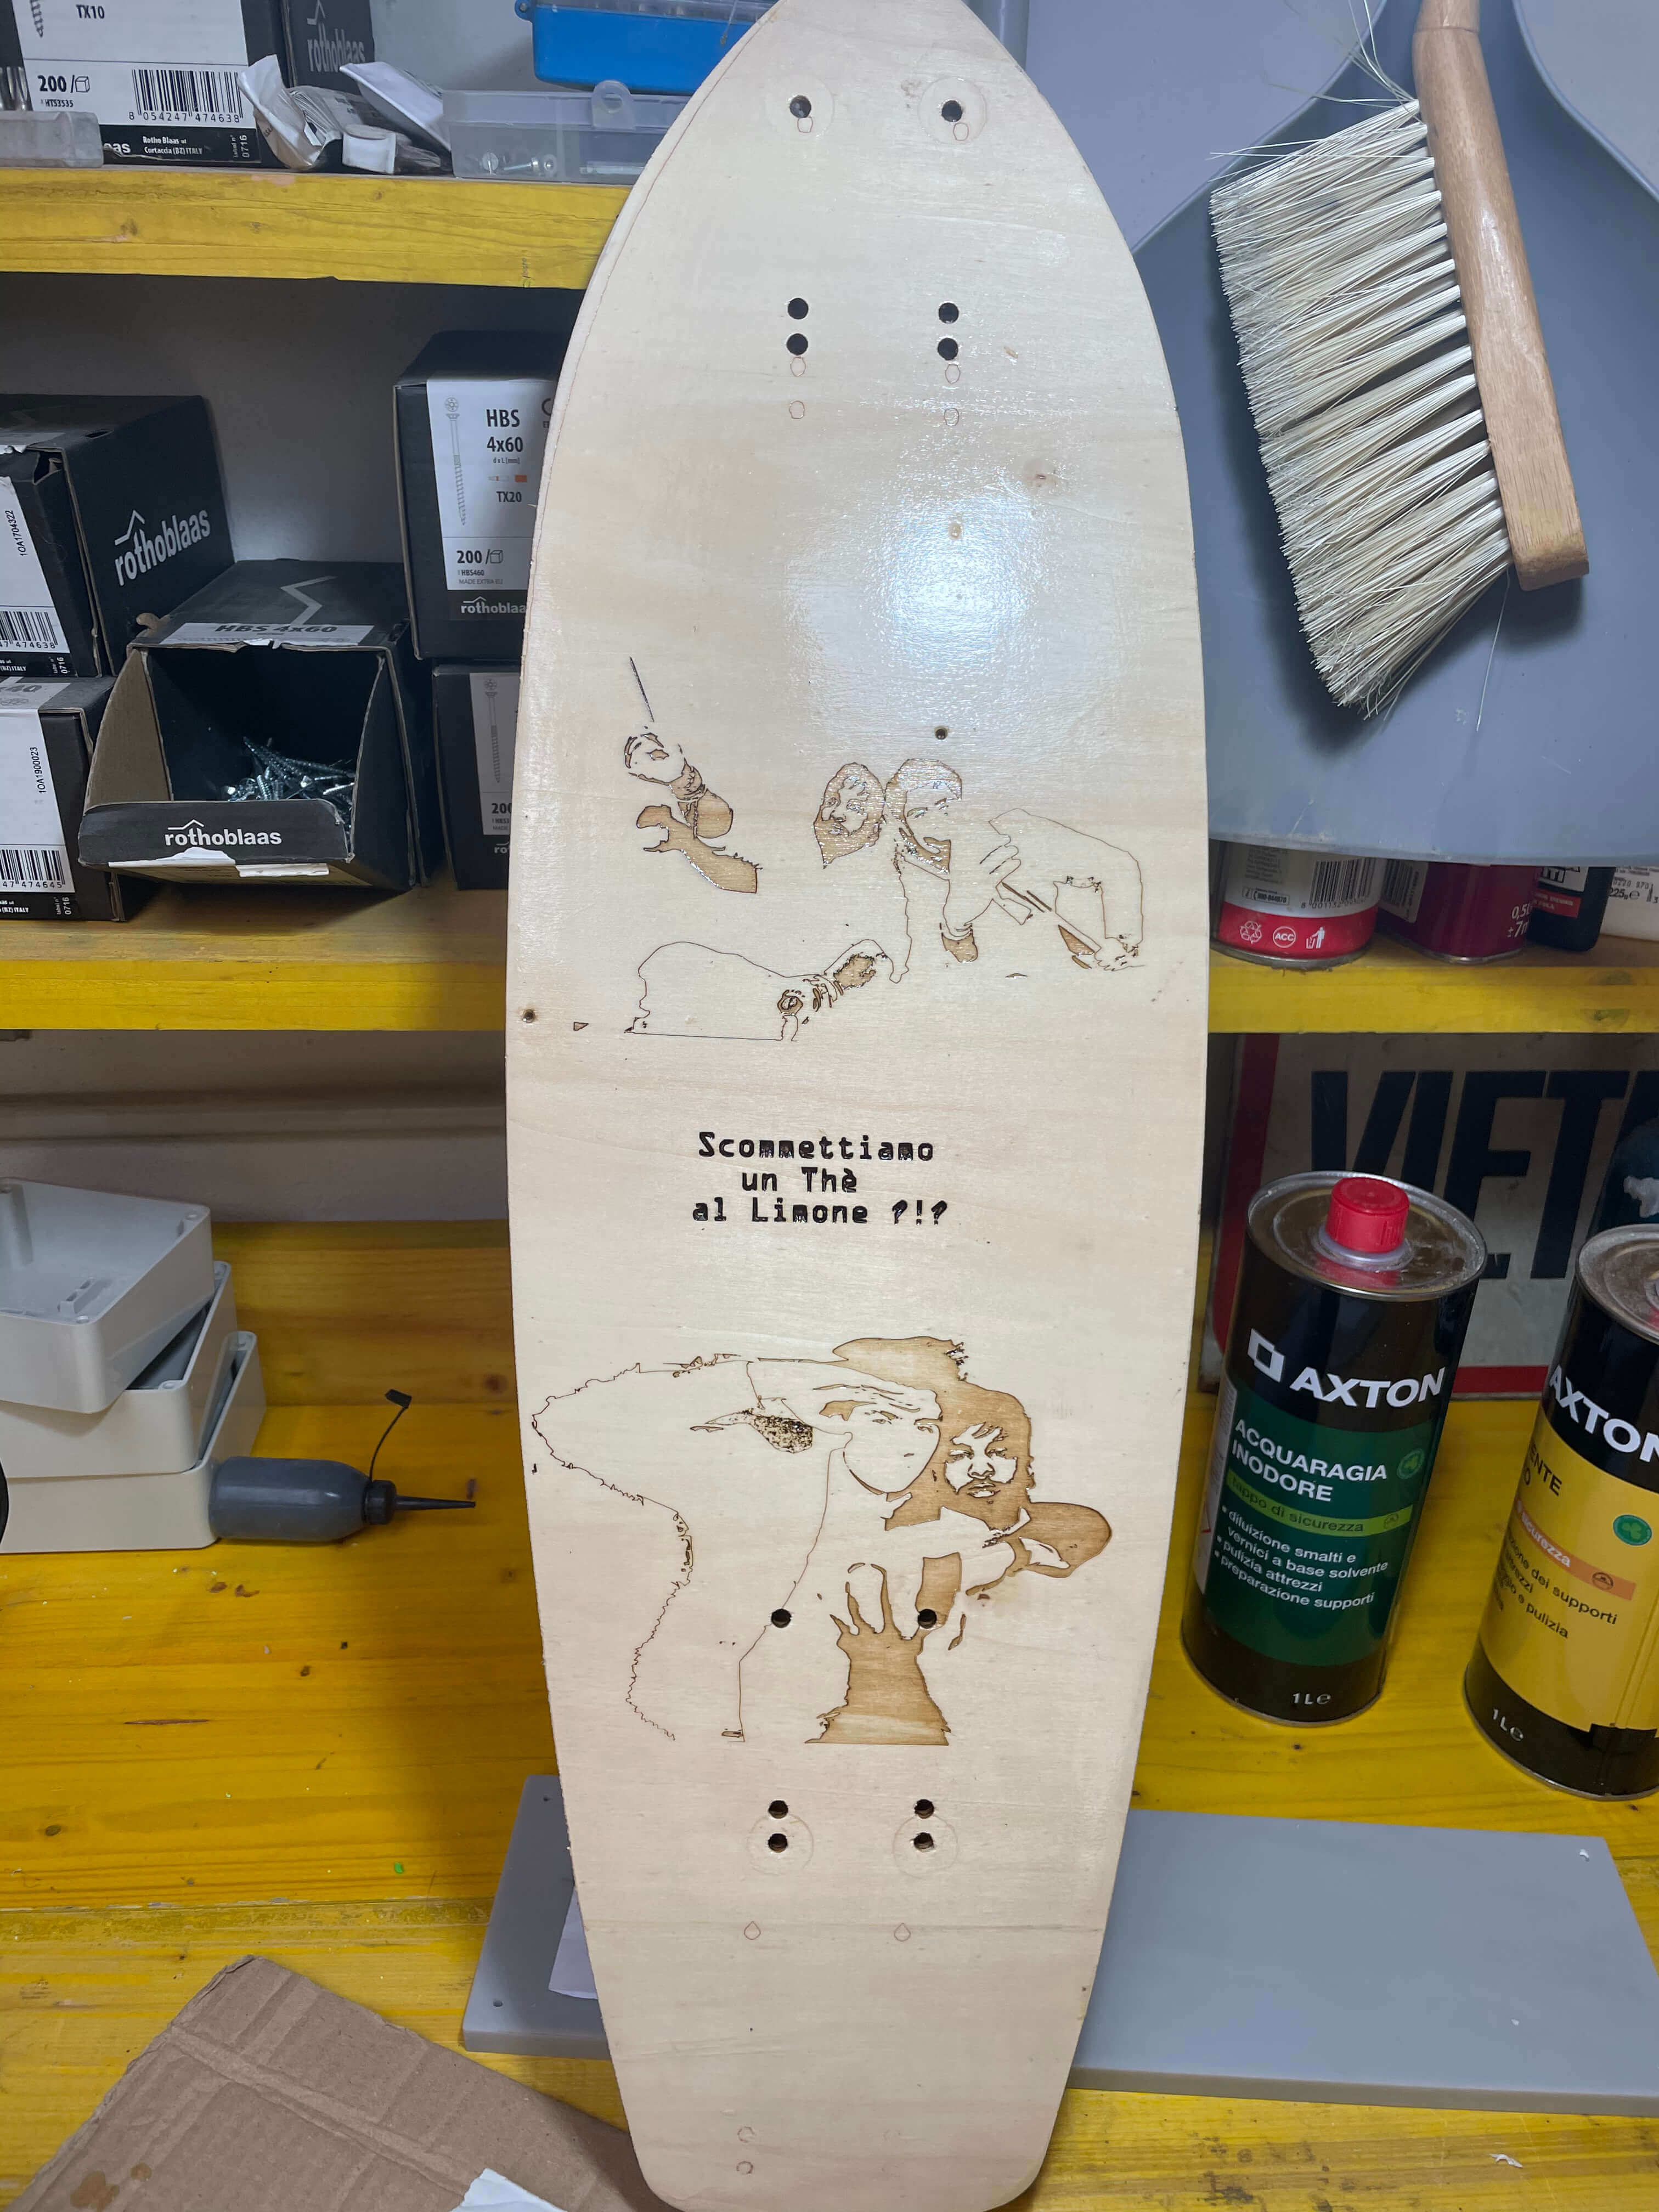
Drawing on Fusion 360 from a found image plus the holes where the trucks will be attached;
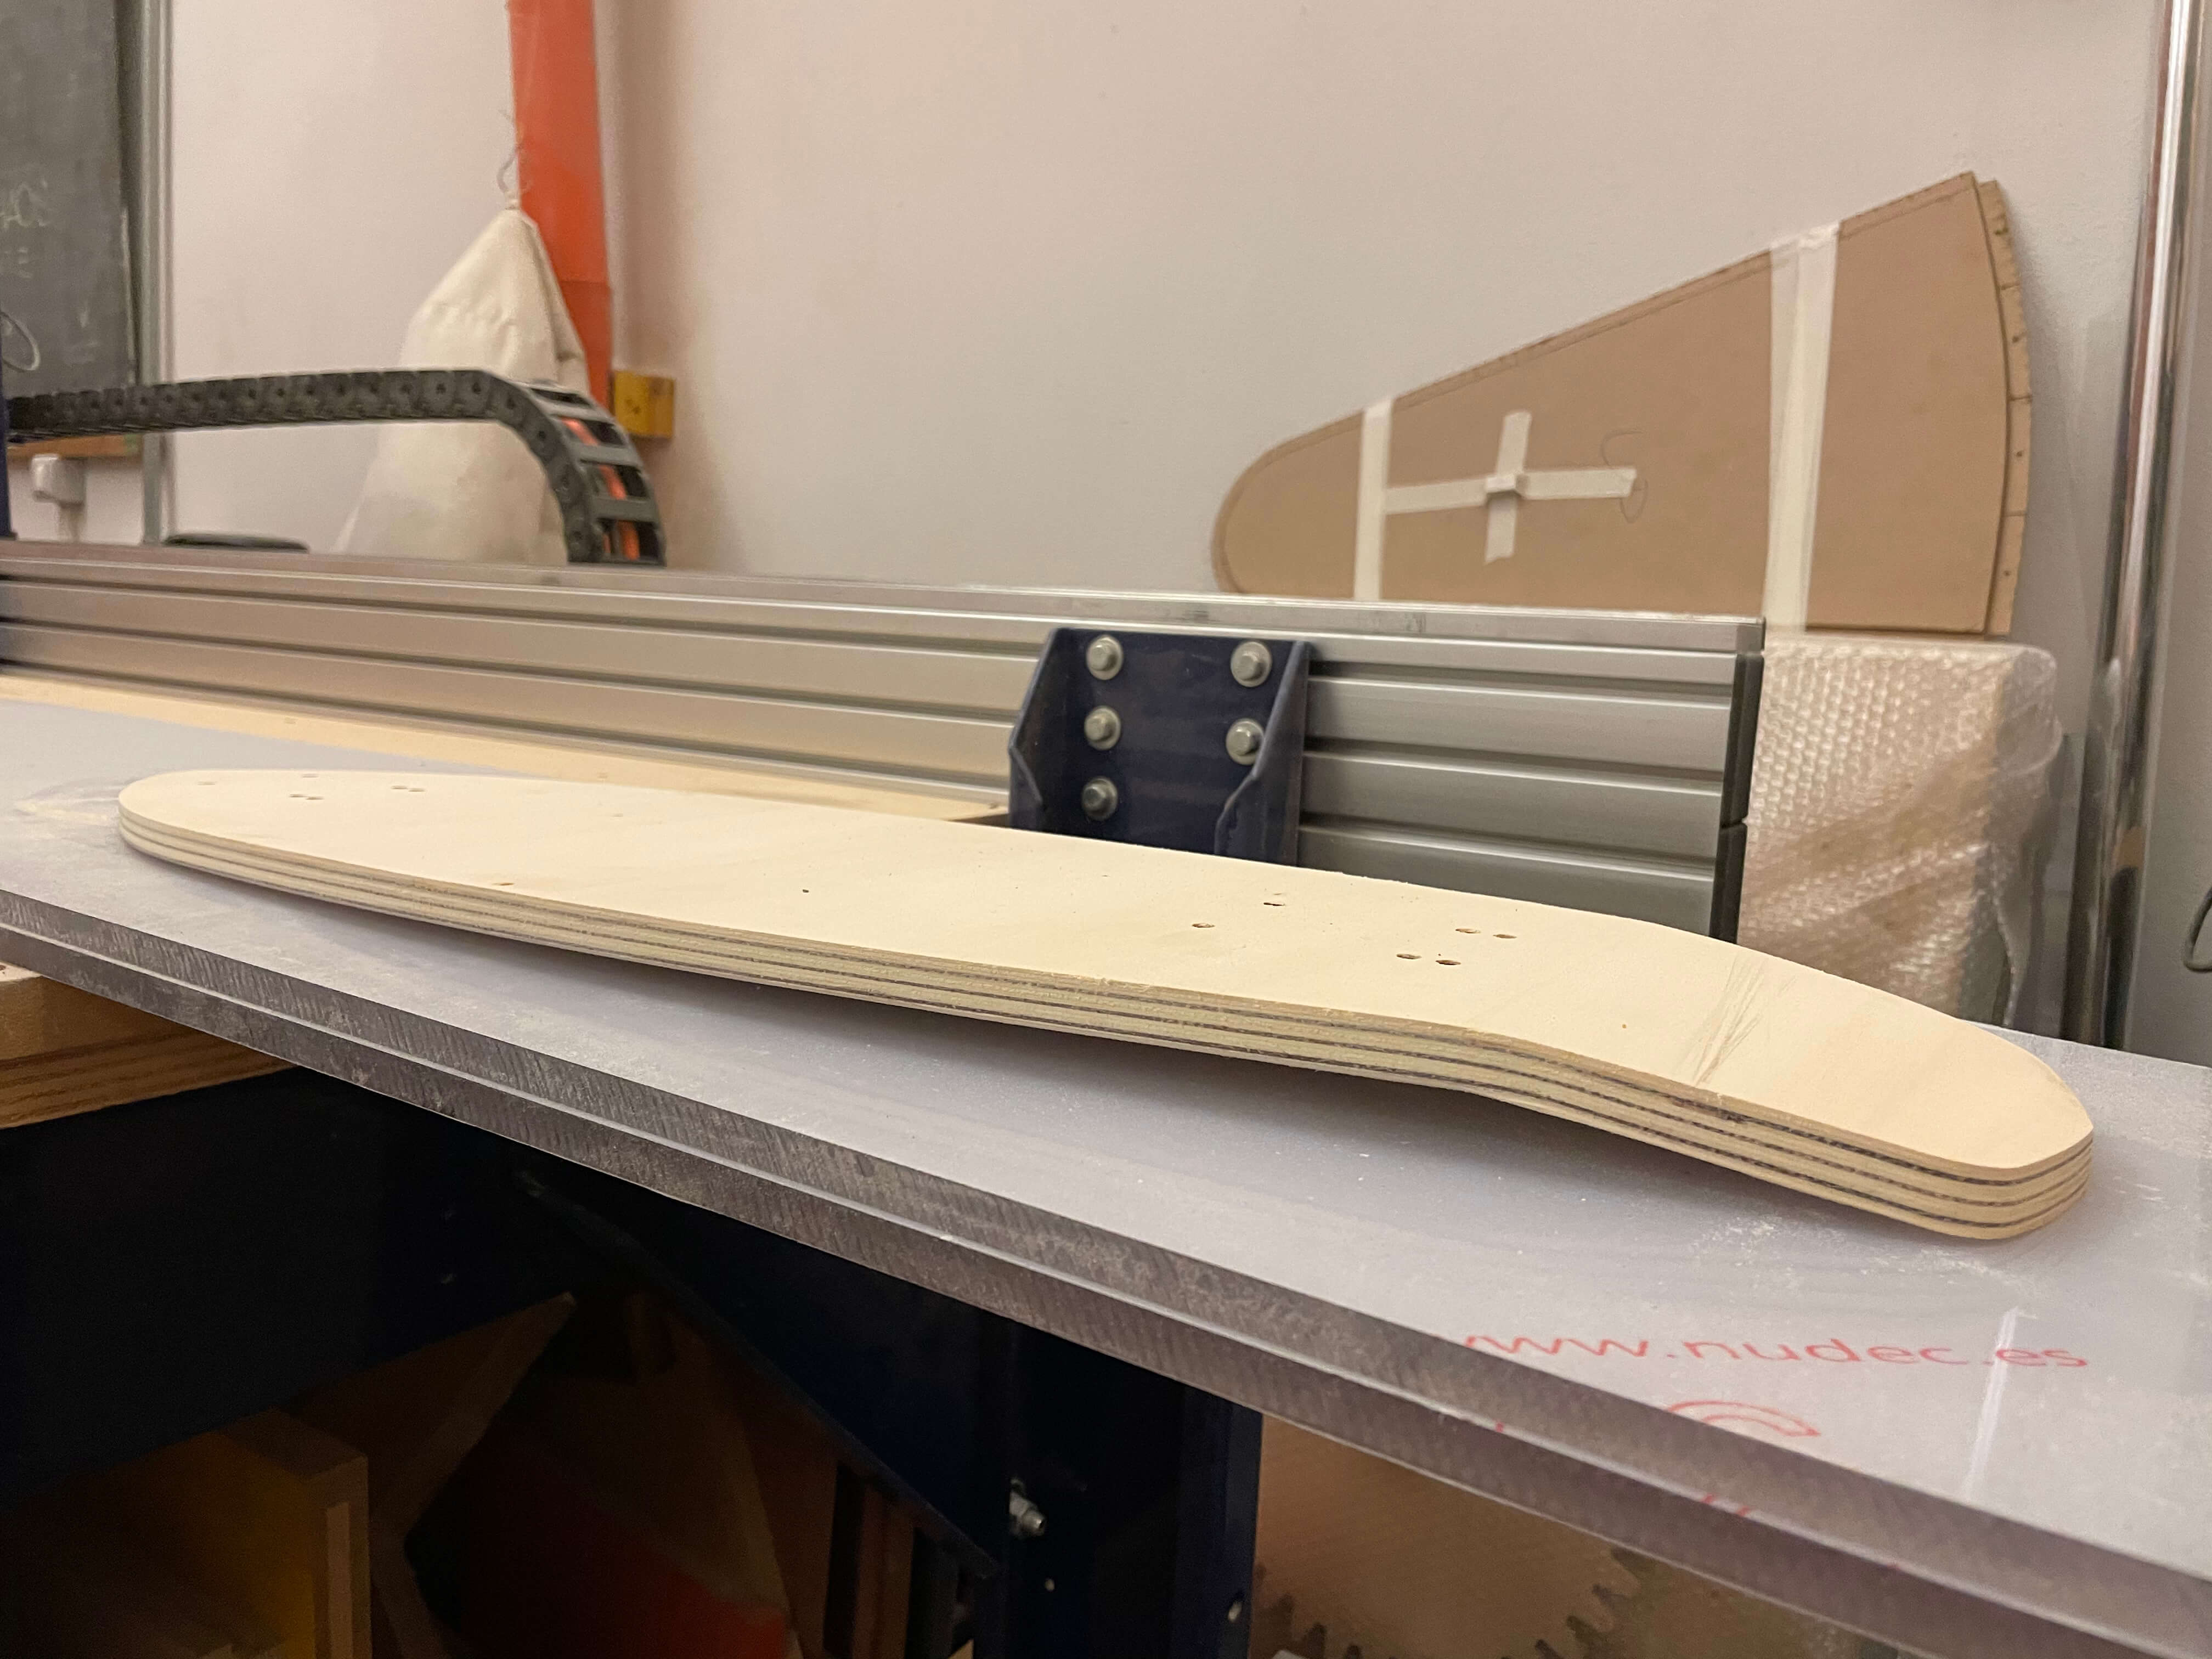
The length of the board is limited by the poplar wood boards in the workshop (70cm).
Once the dimensions of my board have been established, it is first necessary to create the mould to shape the board.
The mould is created with 2 thick boards (min 2cm) where in one I add an angled piece that will give the curvature of the raised tail, while the other board will have a cut piece.
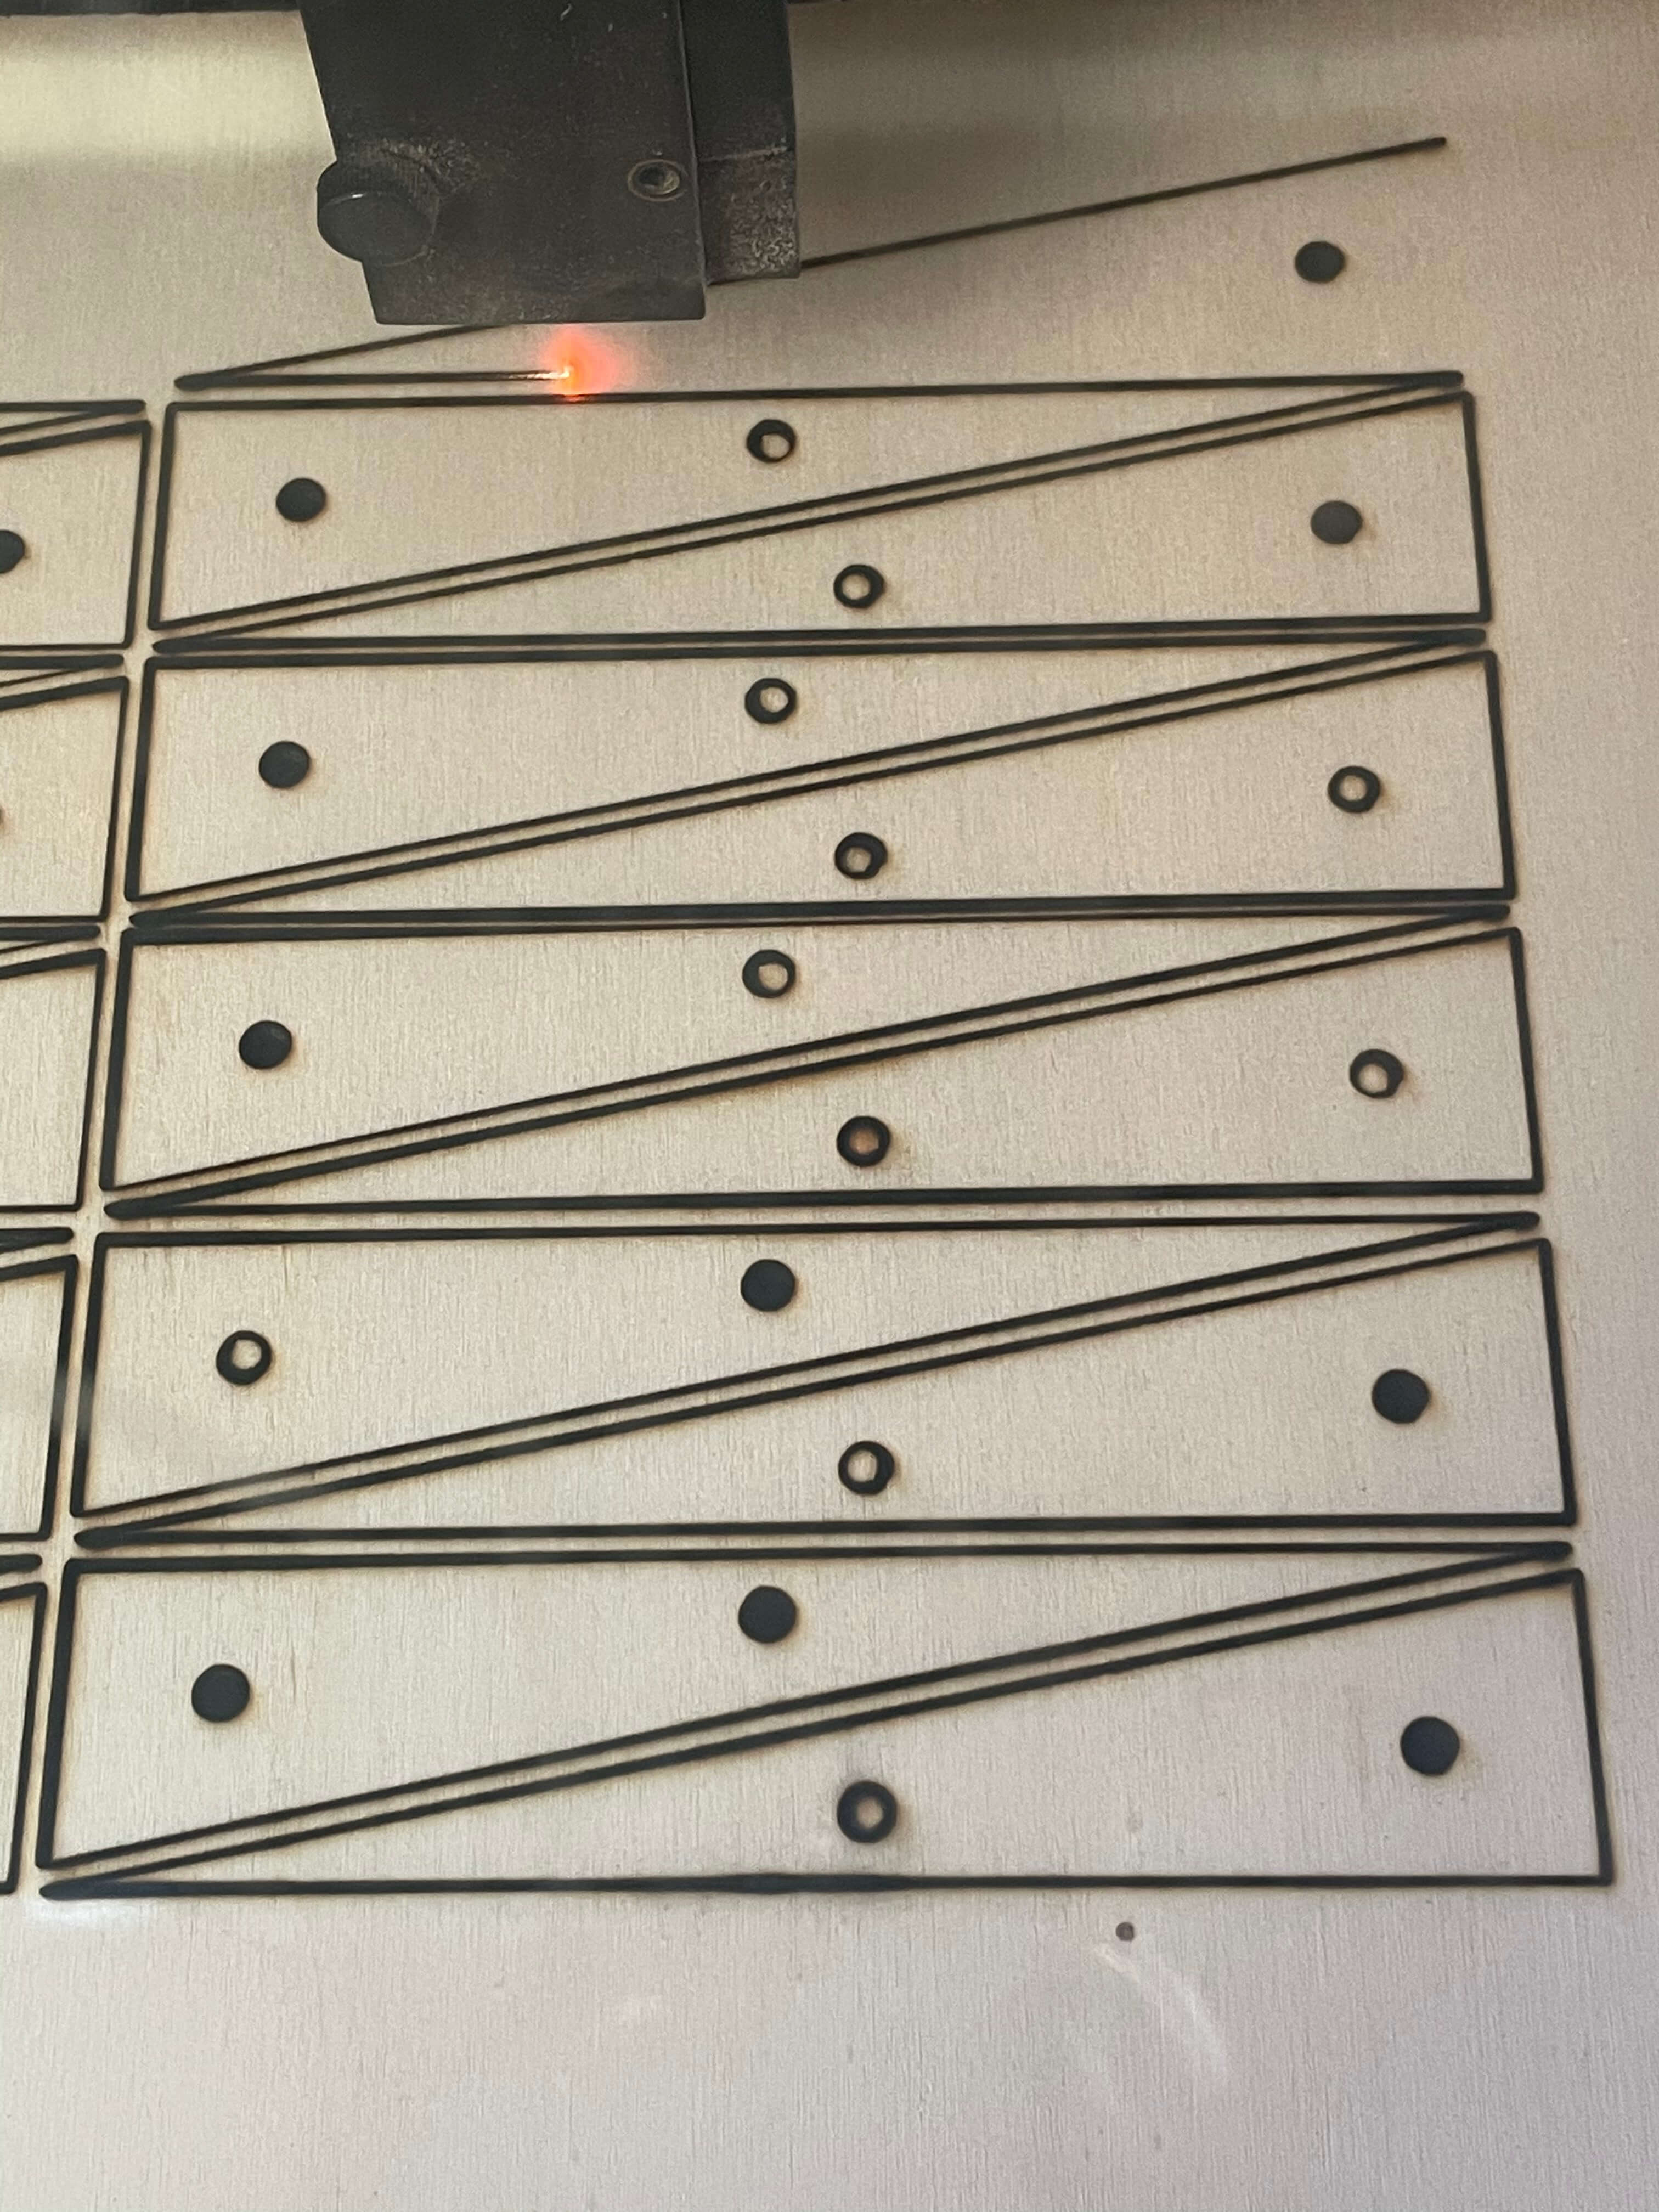
For the first one, I made some rectangular triangles in Rhino with an angle of about 20° and inside them I drew 2 holes (in my case with a diameter of 3mm) where I will insert some rods that I will put in the middle (skewer style) which will allow me to keep them firm and in the same position when I will glue them together to create the mould of the tail of my skateboard.
The second mould, on the other hand, will have a separate part. From the board I cut a piece (about 11cm in my case) which I will then press separately to form the tail of my skateboard.
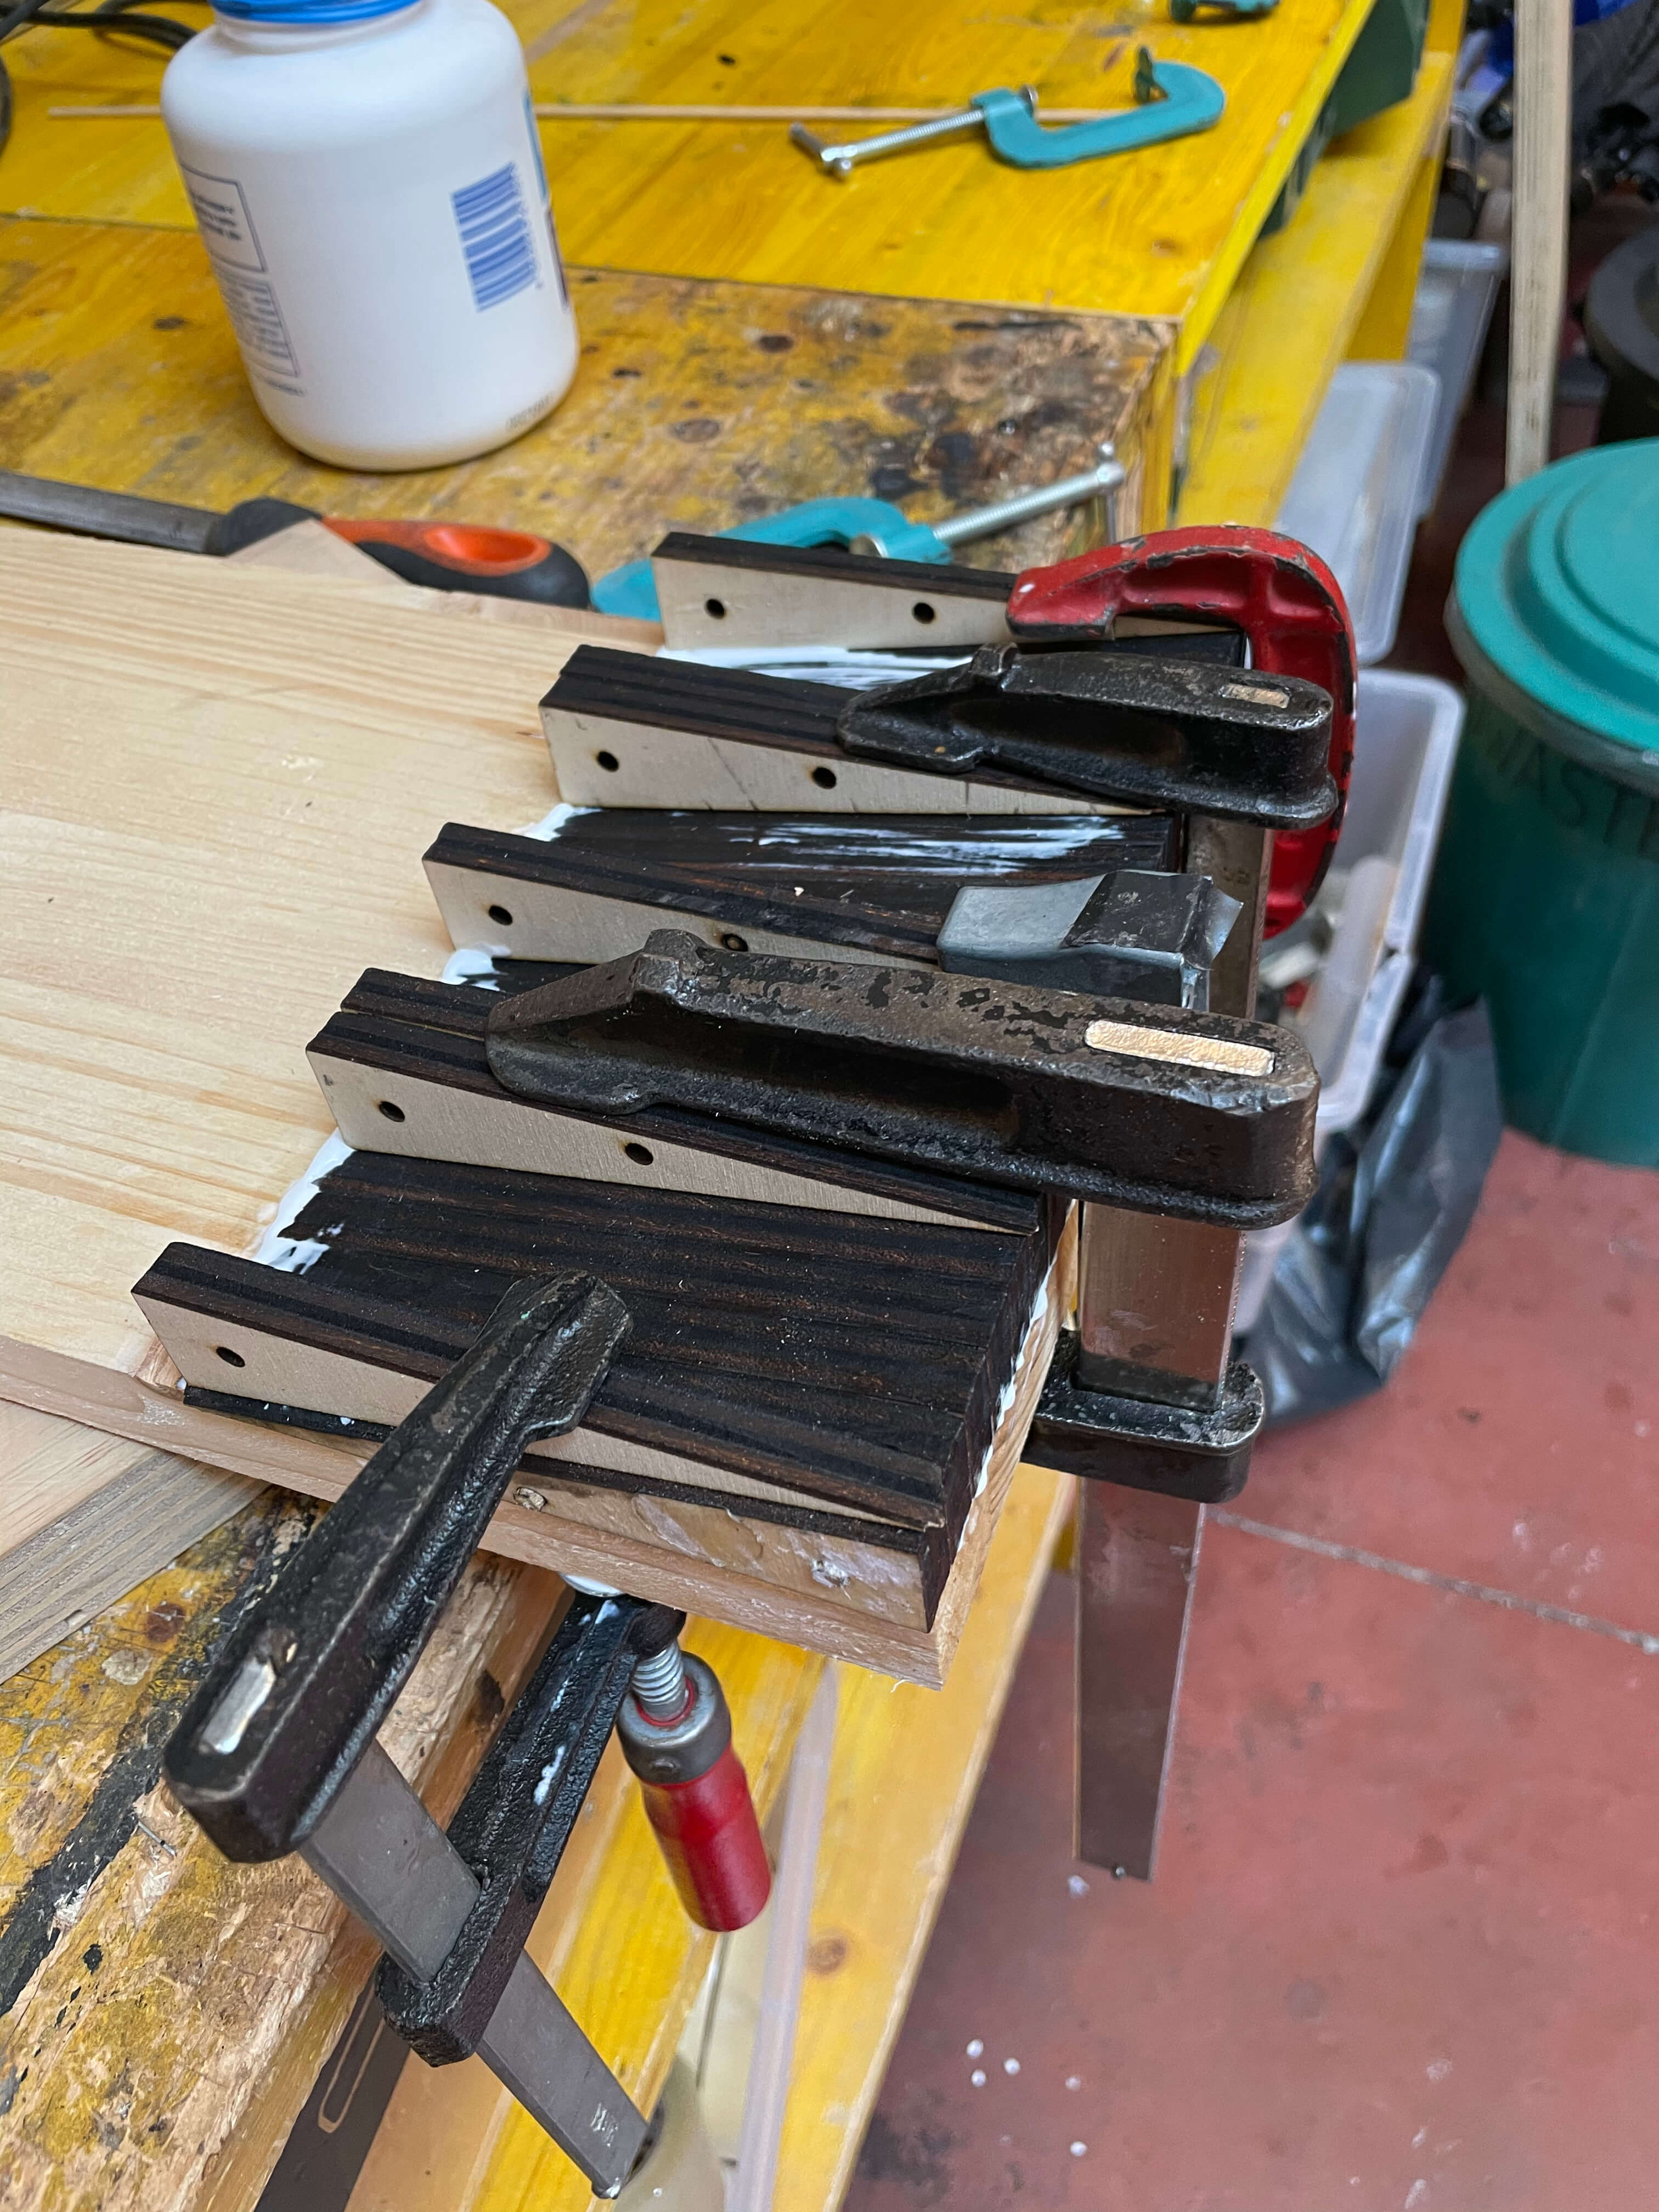
Assembled and glued together my triangles with the rods in between.
Once the glue has dried I glue the whole block onto the board.
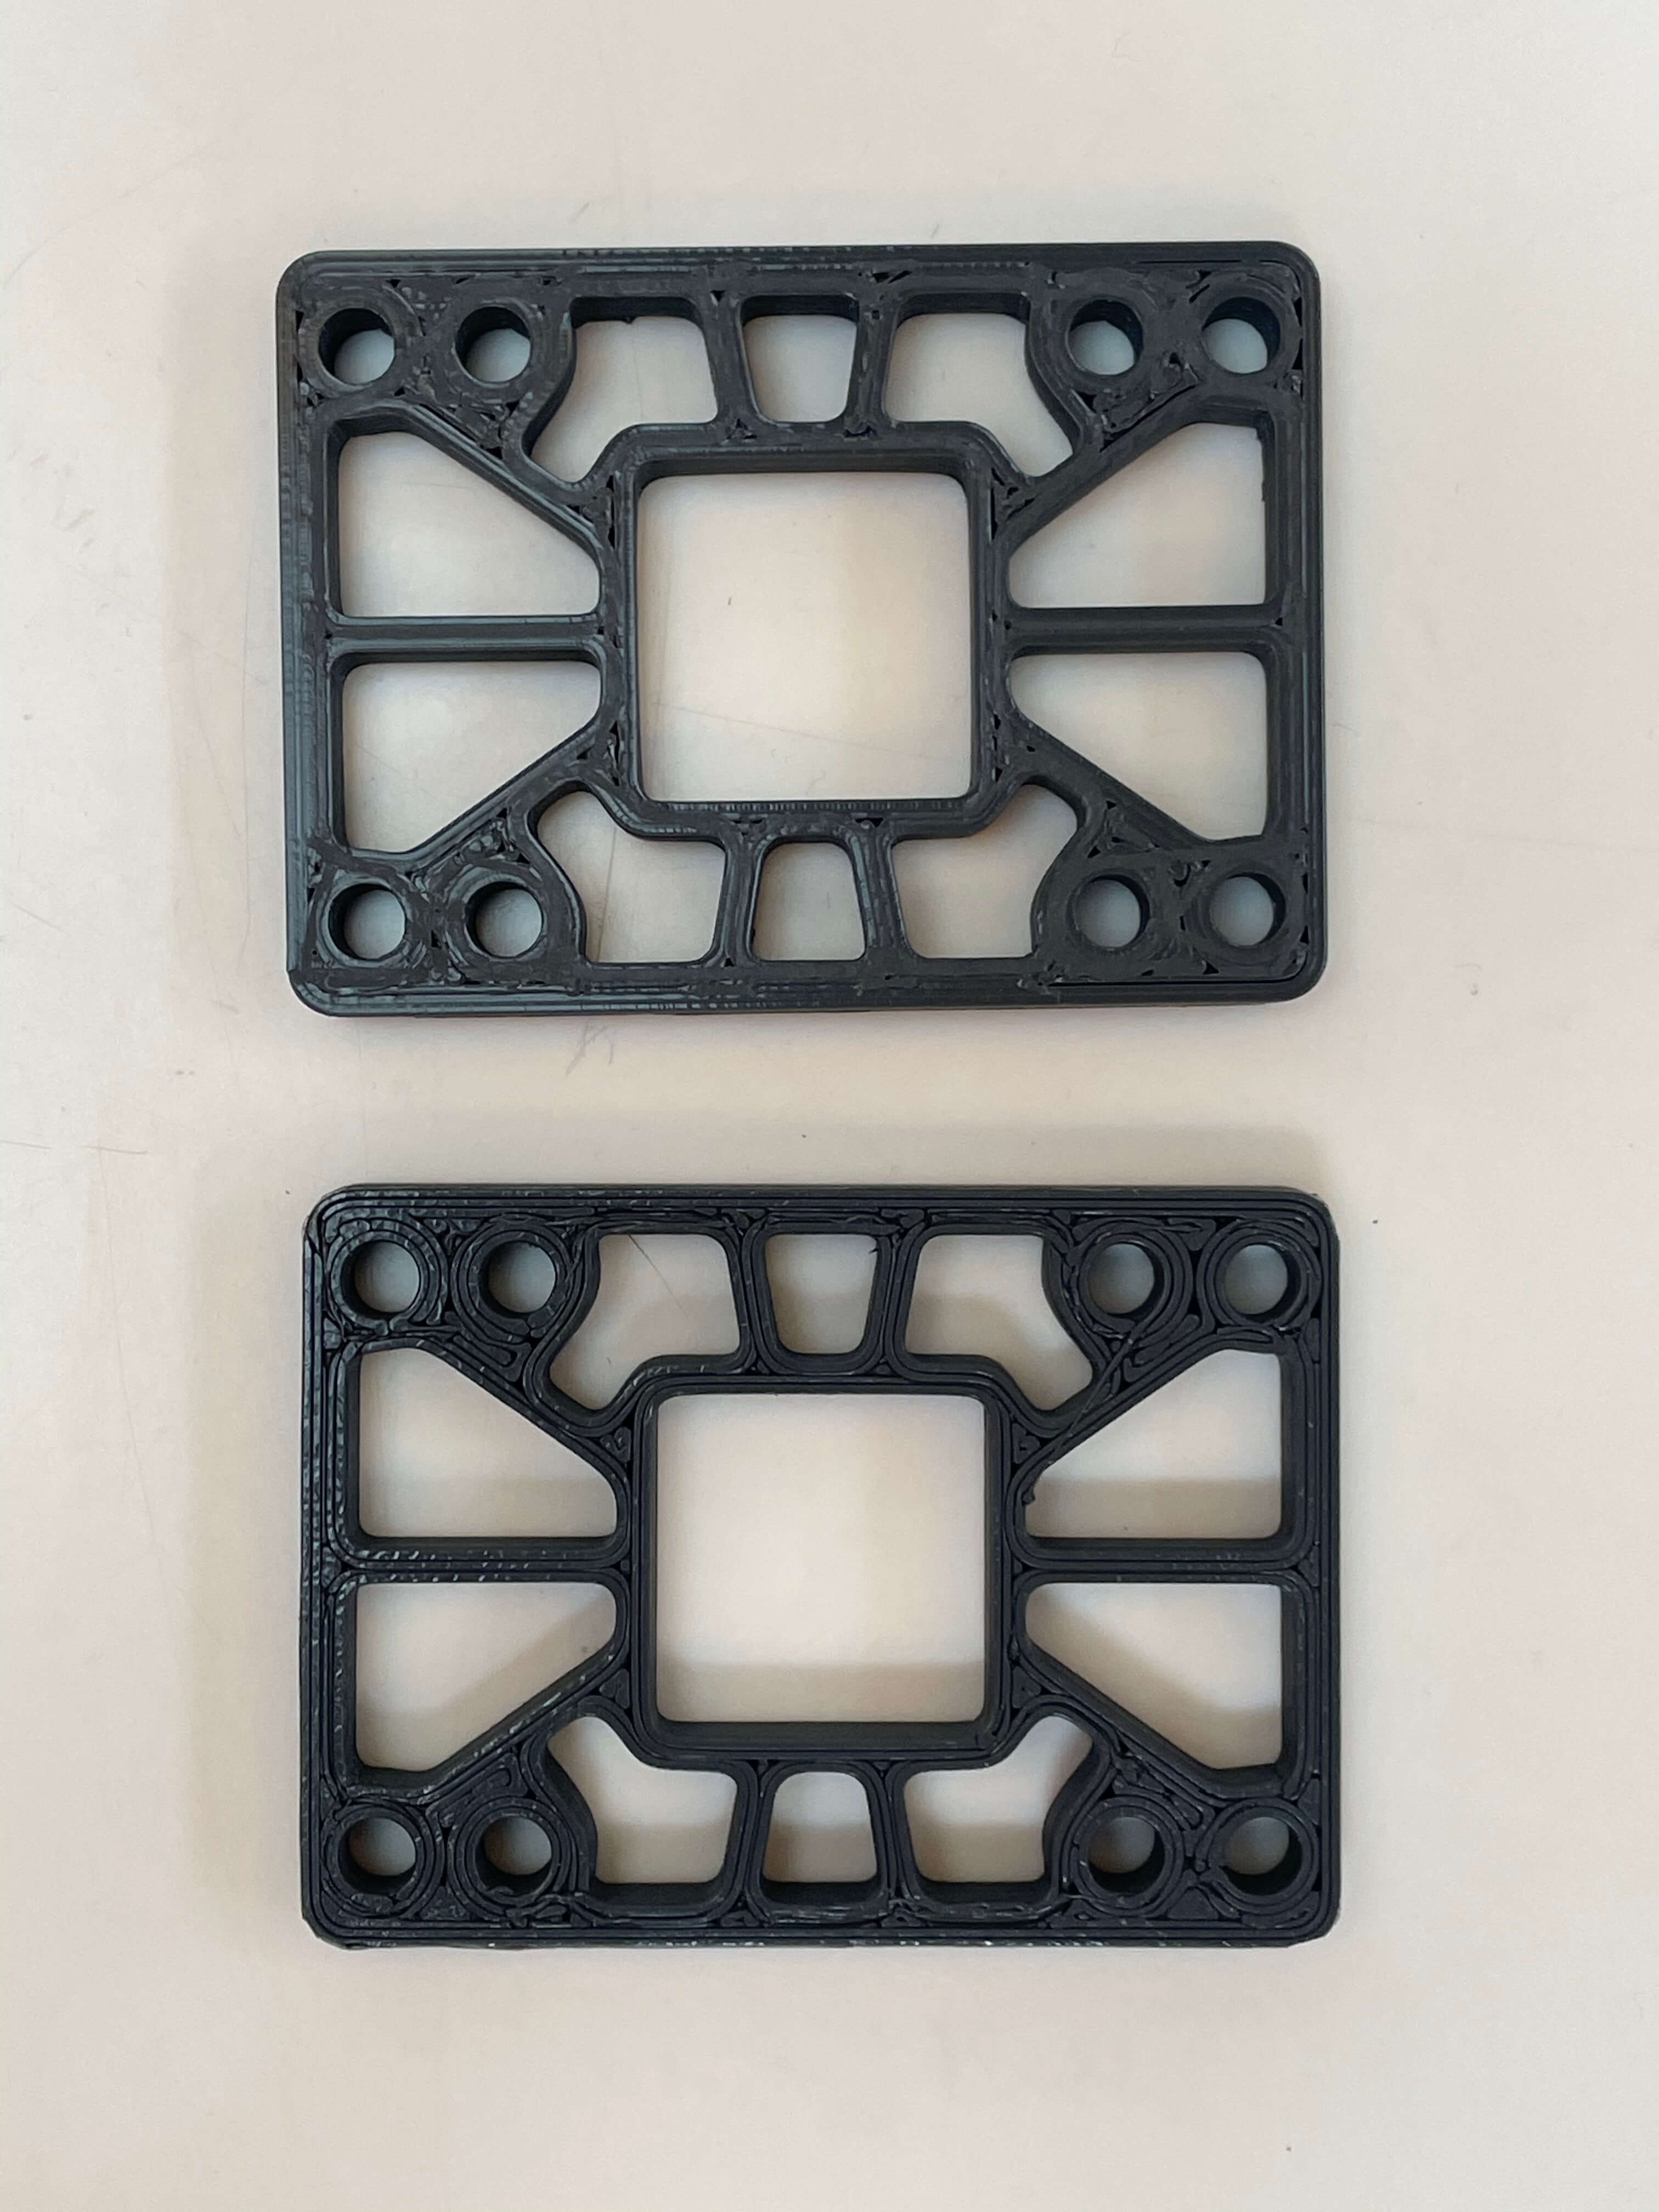
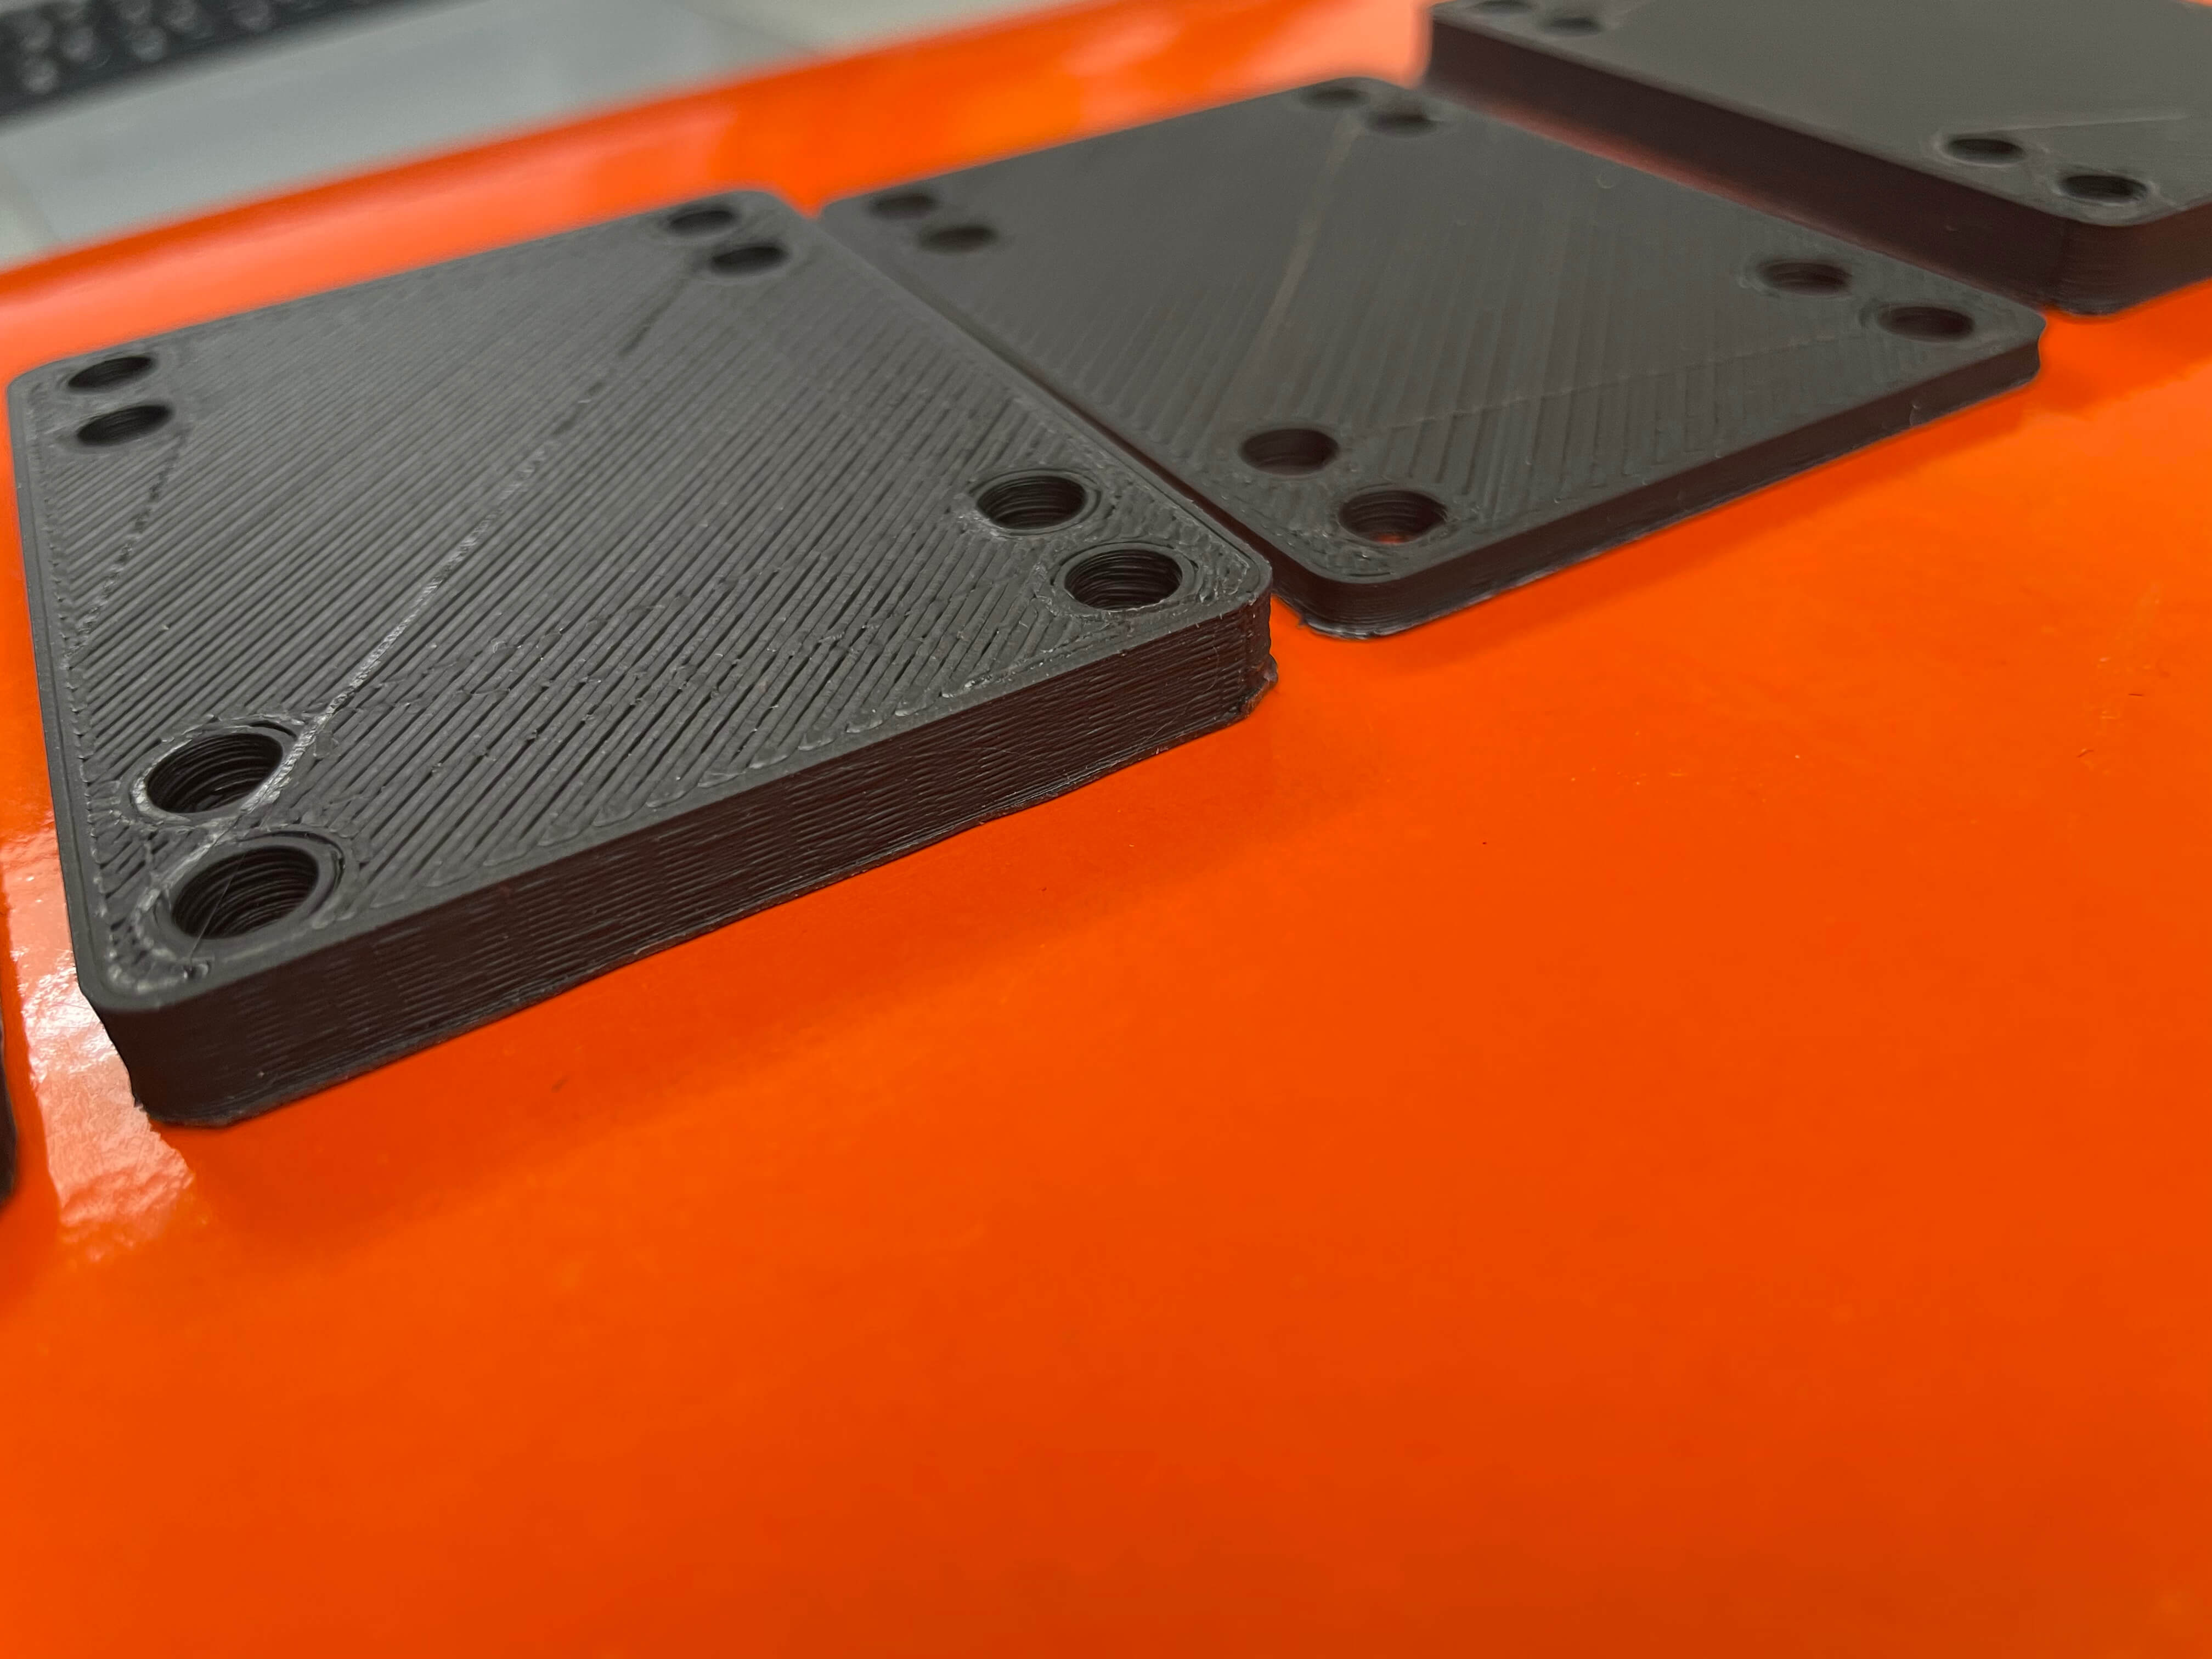
In the meantime with the 3D printer I print the supports for the trucks and the spacers that will be used to attach the trucks to the board.
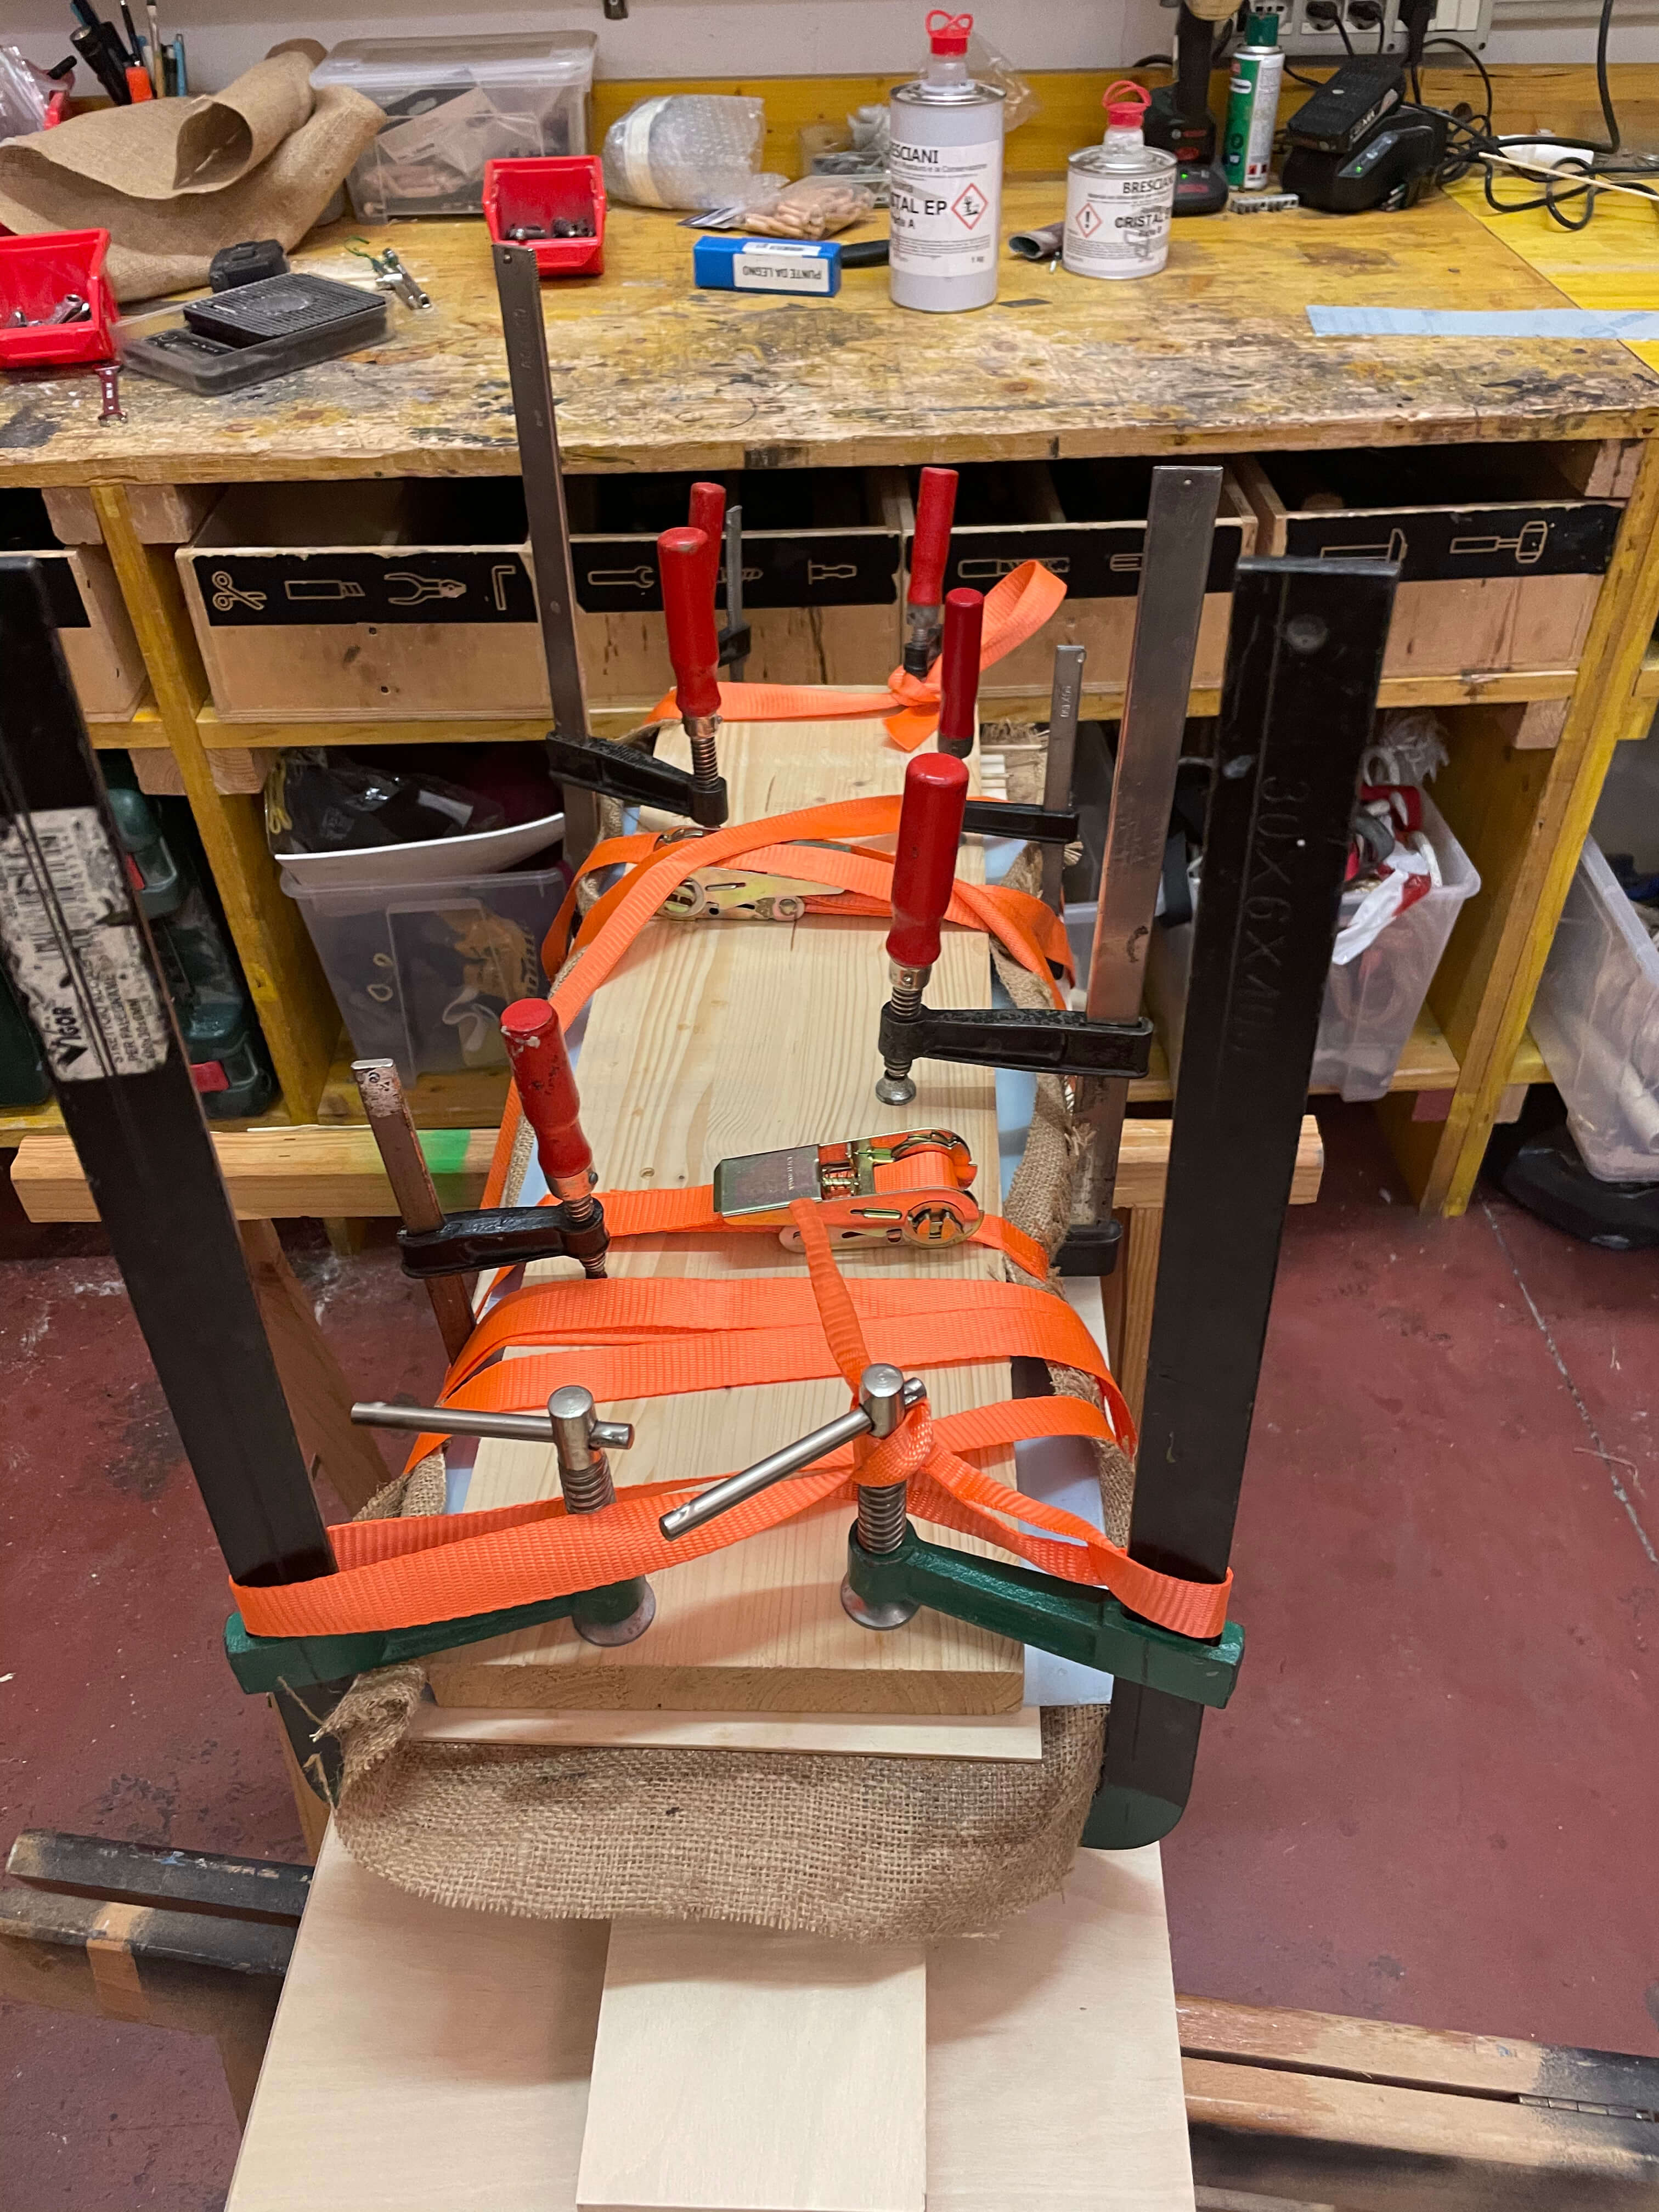
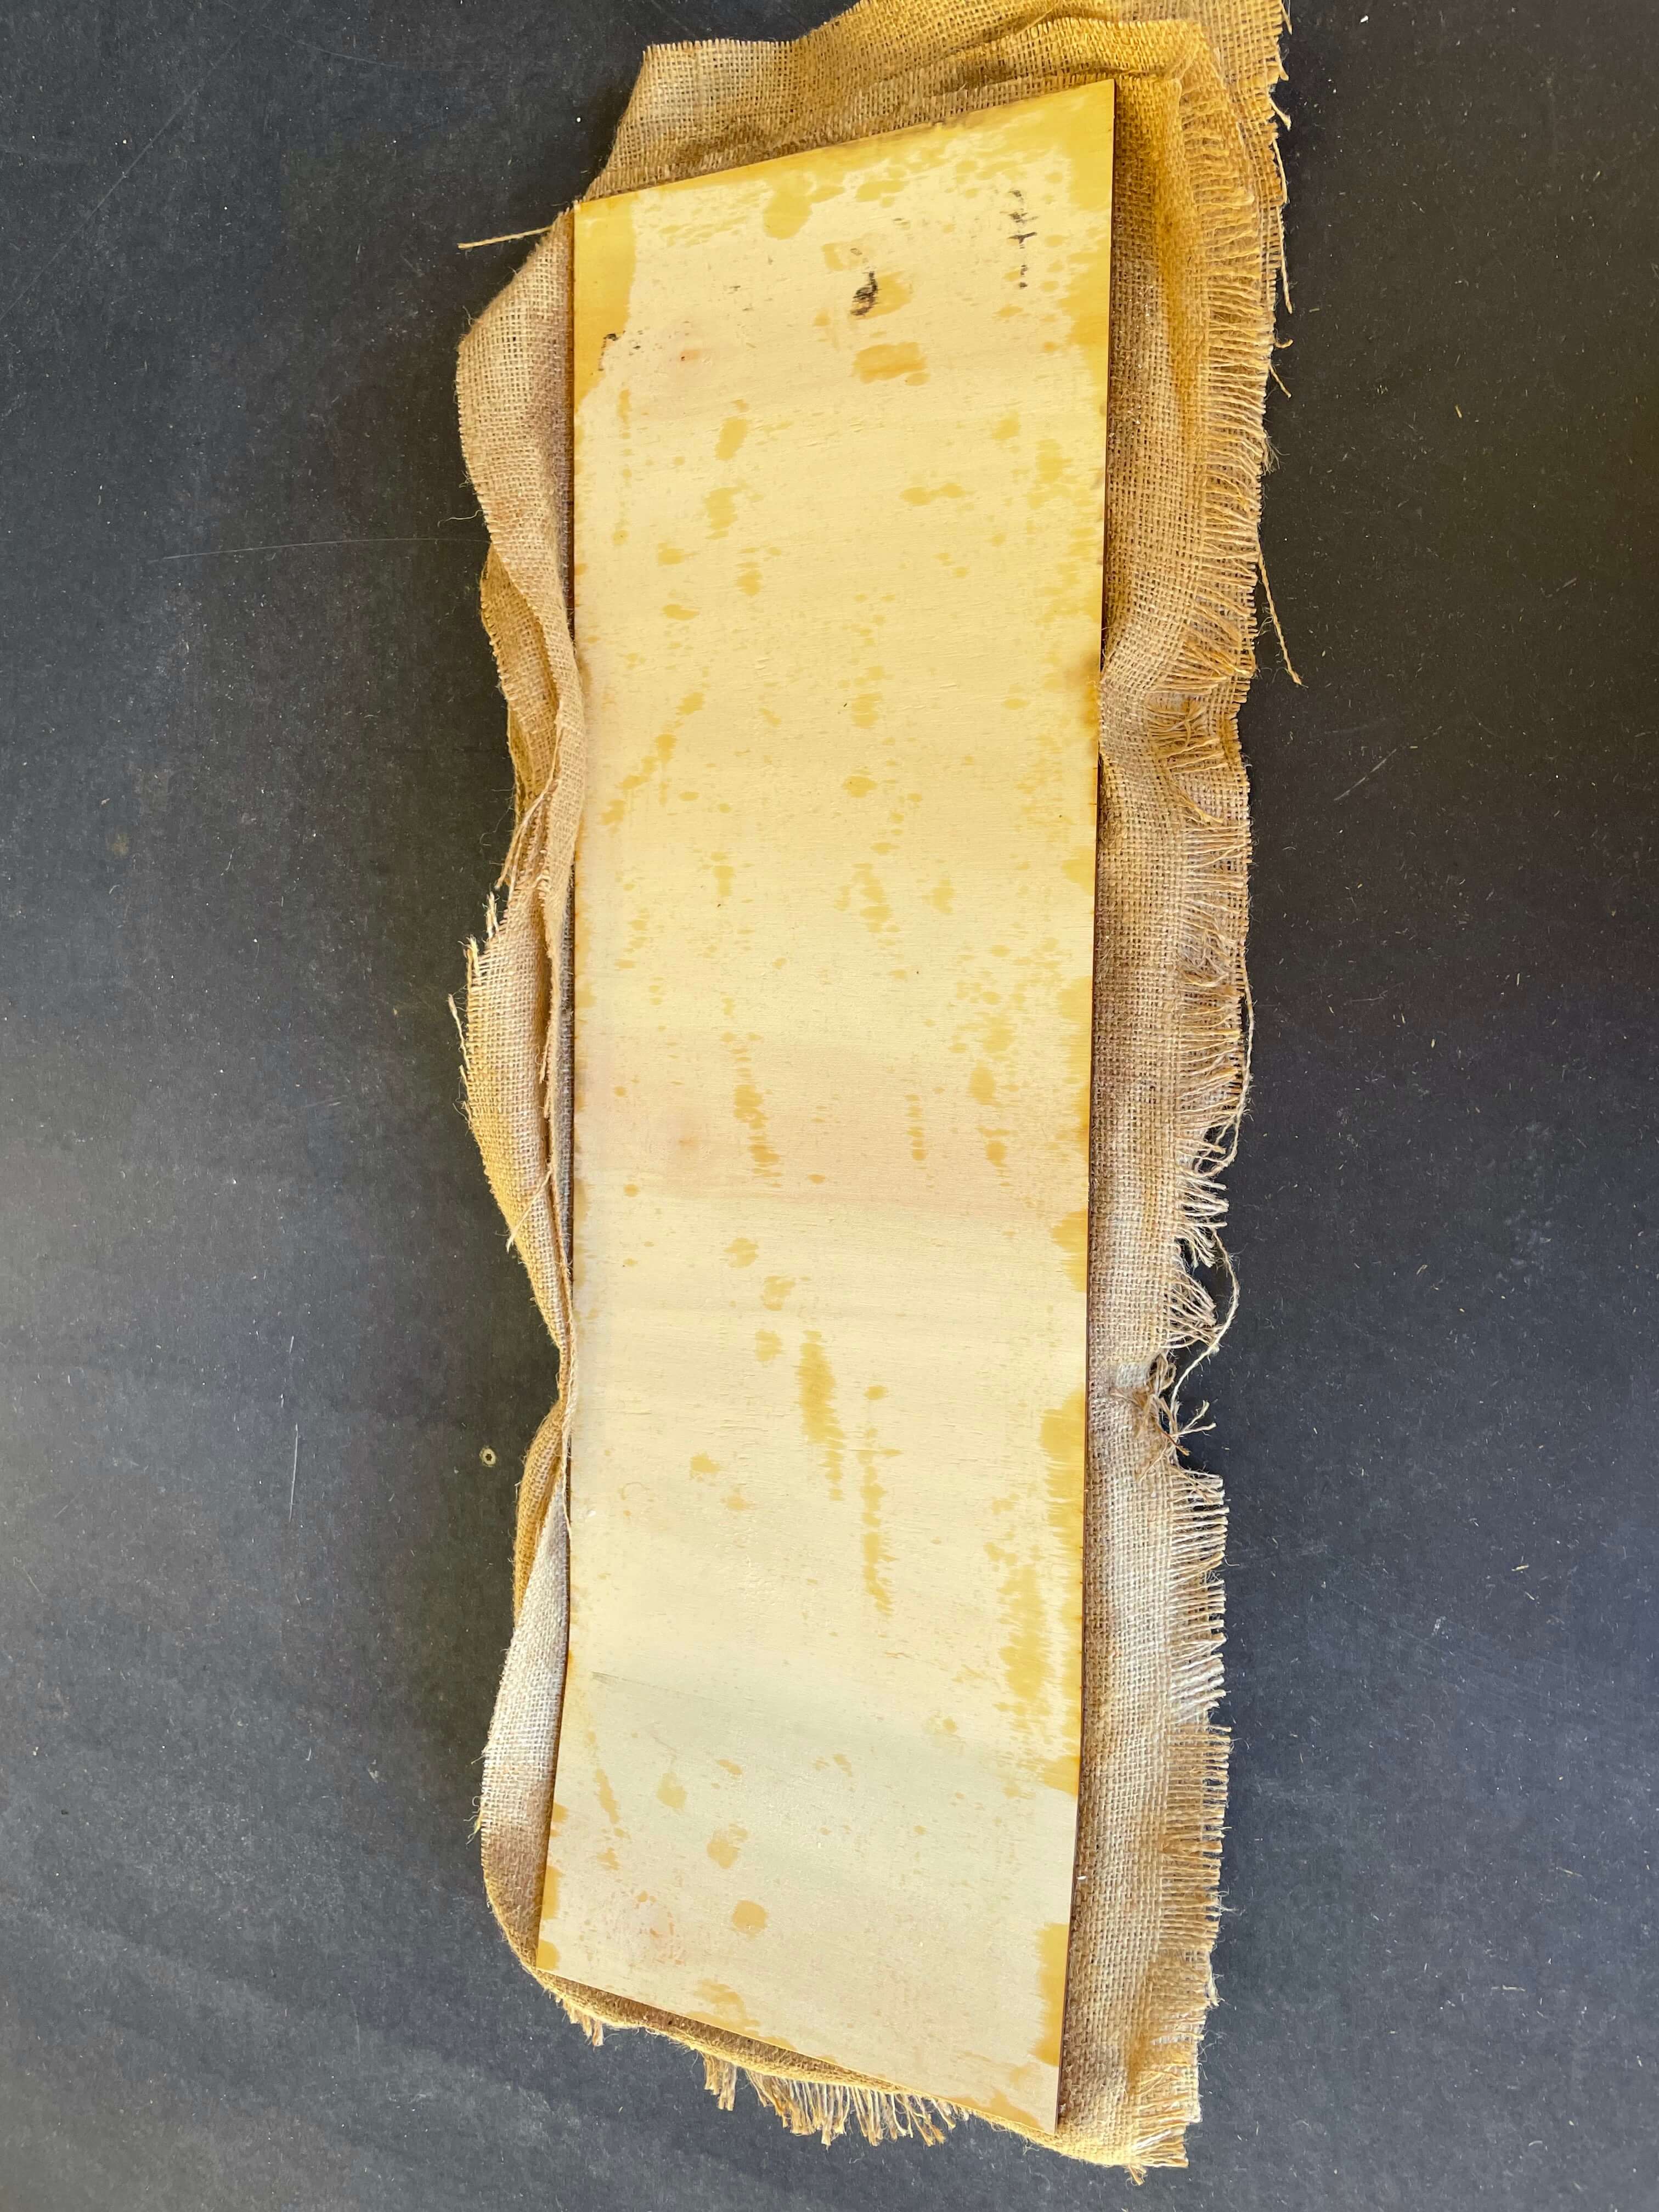
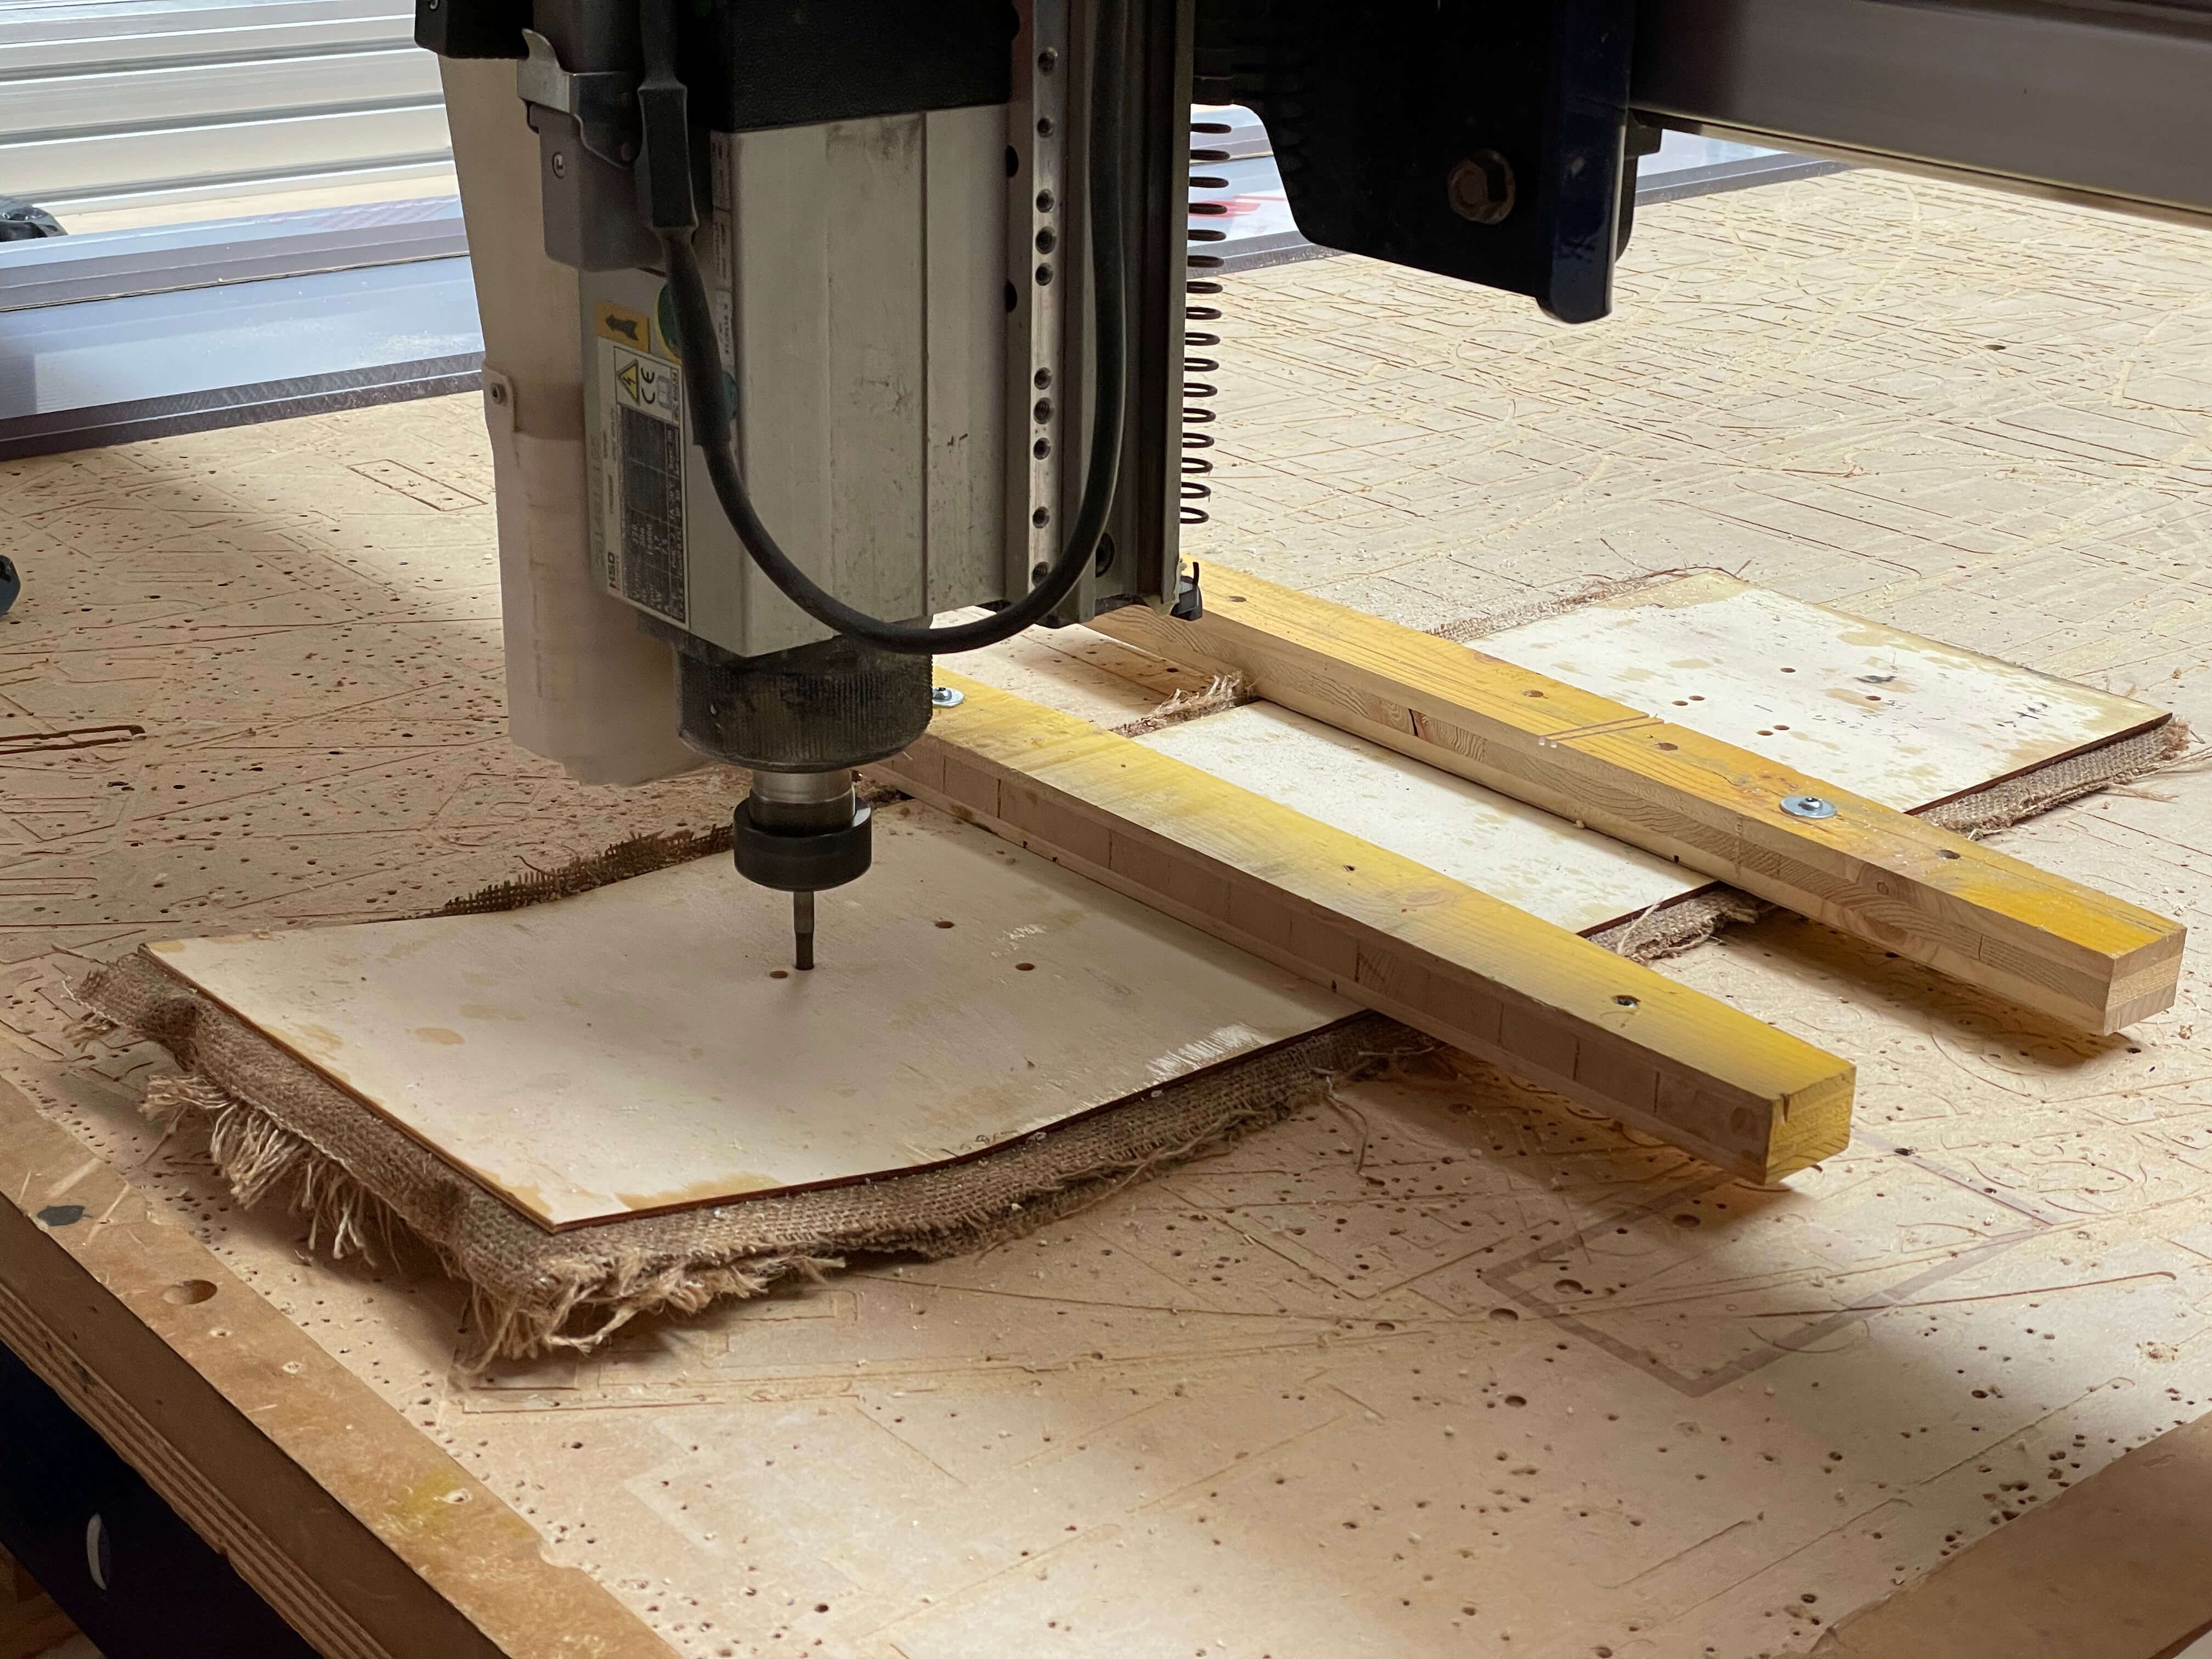
After the mold is created I take the pieces of jute and cut them to the size of my mold so that they are generous and then I proceed with fixing them with epoxy glue.
I then proceed to glue the pieces of poplar alternating with epoxy resin and jute following this pattern repeated 4 times:
- wood
- resin
- vjute
- resin
- wood
Once the "sandwich" is made, I press everything together so that they take their shape. I add dividers to the "sandwich" so that my piece doesn't stick to the mould.
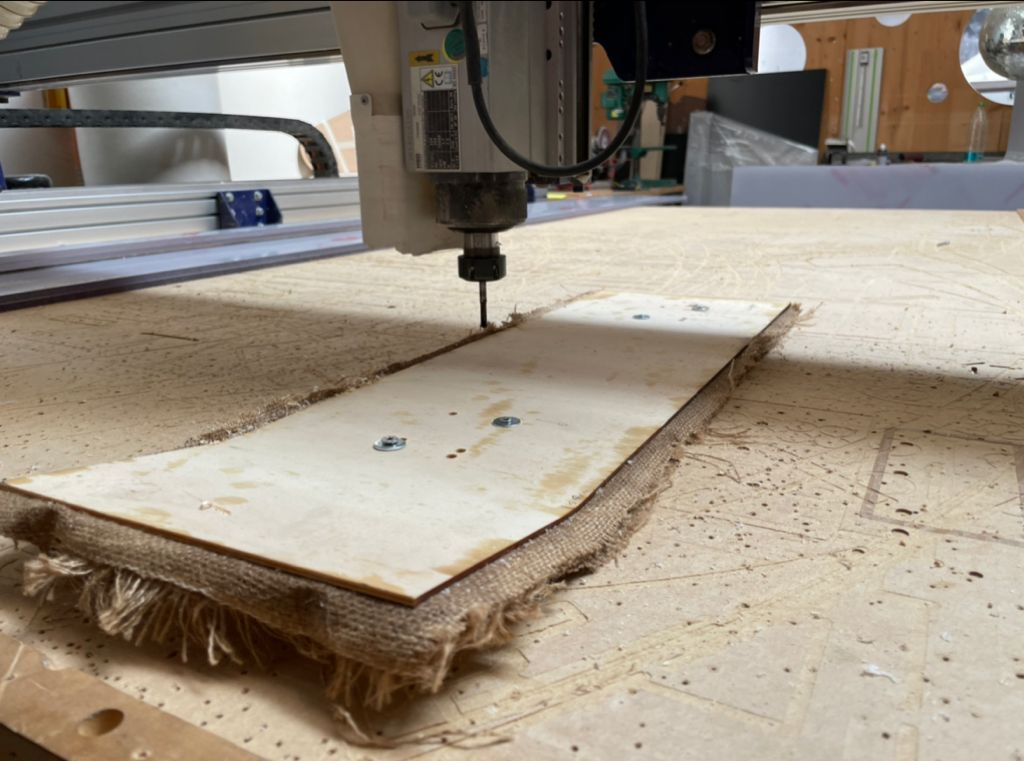
After waiting about 3 days I detached both the straps and the clamps and the shape I wanted to achieve came out.
The next step was to draw the position of the trucks and to do that I went to see the distance of the trucks suitable for a cruiser and what would be the difference between the "old style" and the "new style" ones
Now all the material has to be prepared and I need:
- 4 panels of 3mm
- epoxy resin
- jute fibre
- clamps and straps
First thing to do is to measure how much compound A and how much compound B to put (as in Week_9). After having prepared enough resin for all the panels, I proceed to glue them together according to the following scheme and then repeat it until I have completed the "sandwich":
- wooden panel
- epoxy resin
- jute fibre
- epoxy resin

|
|
|
To do this, I use two blocks of wood to hold it firmly in place with screws.

|
|
|
|
|
|
|
|
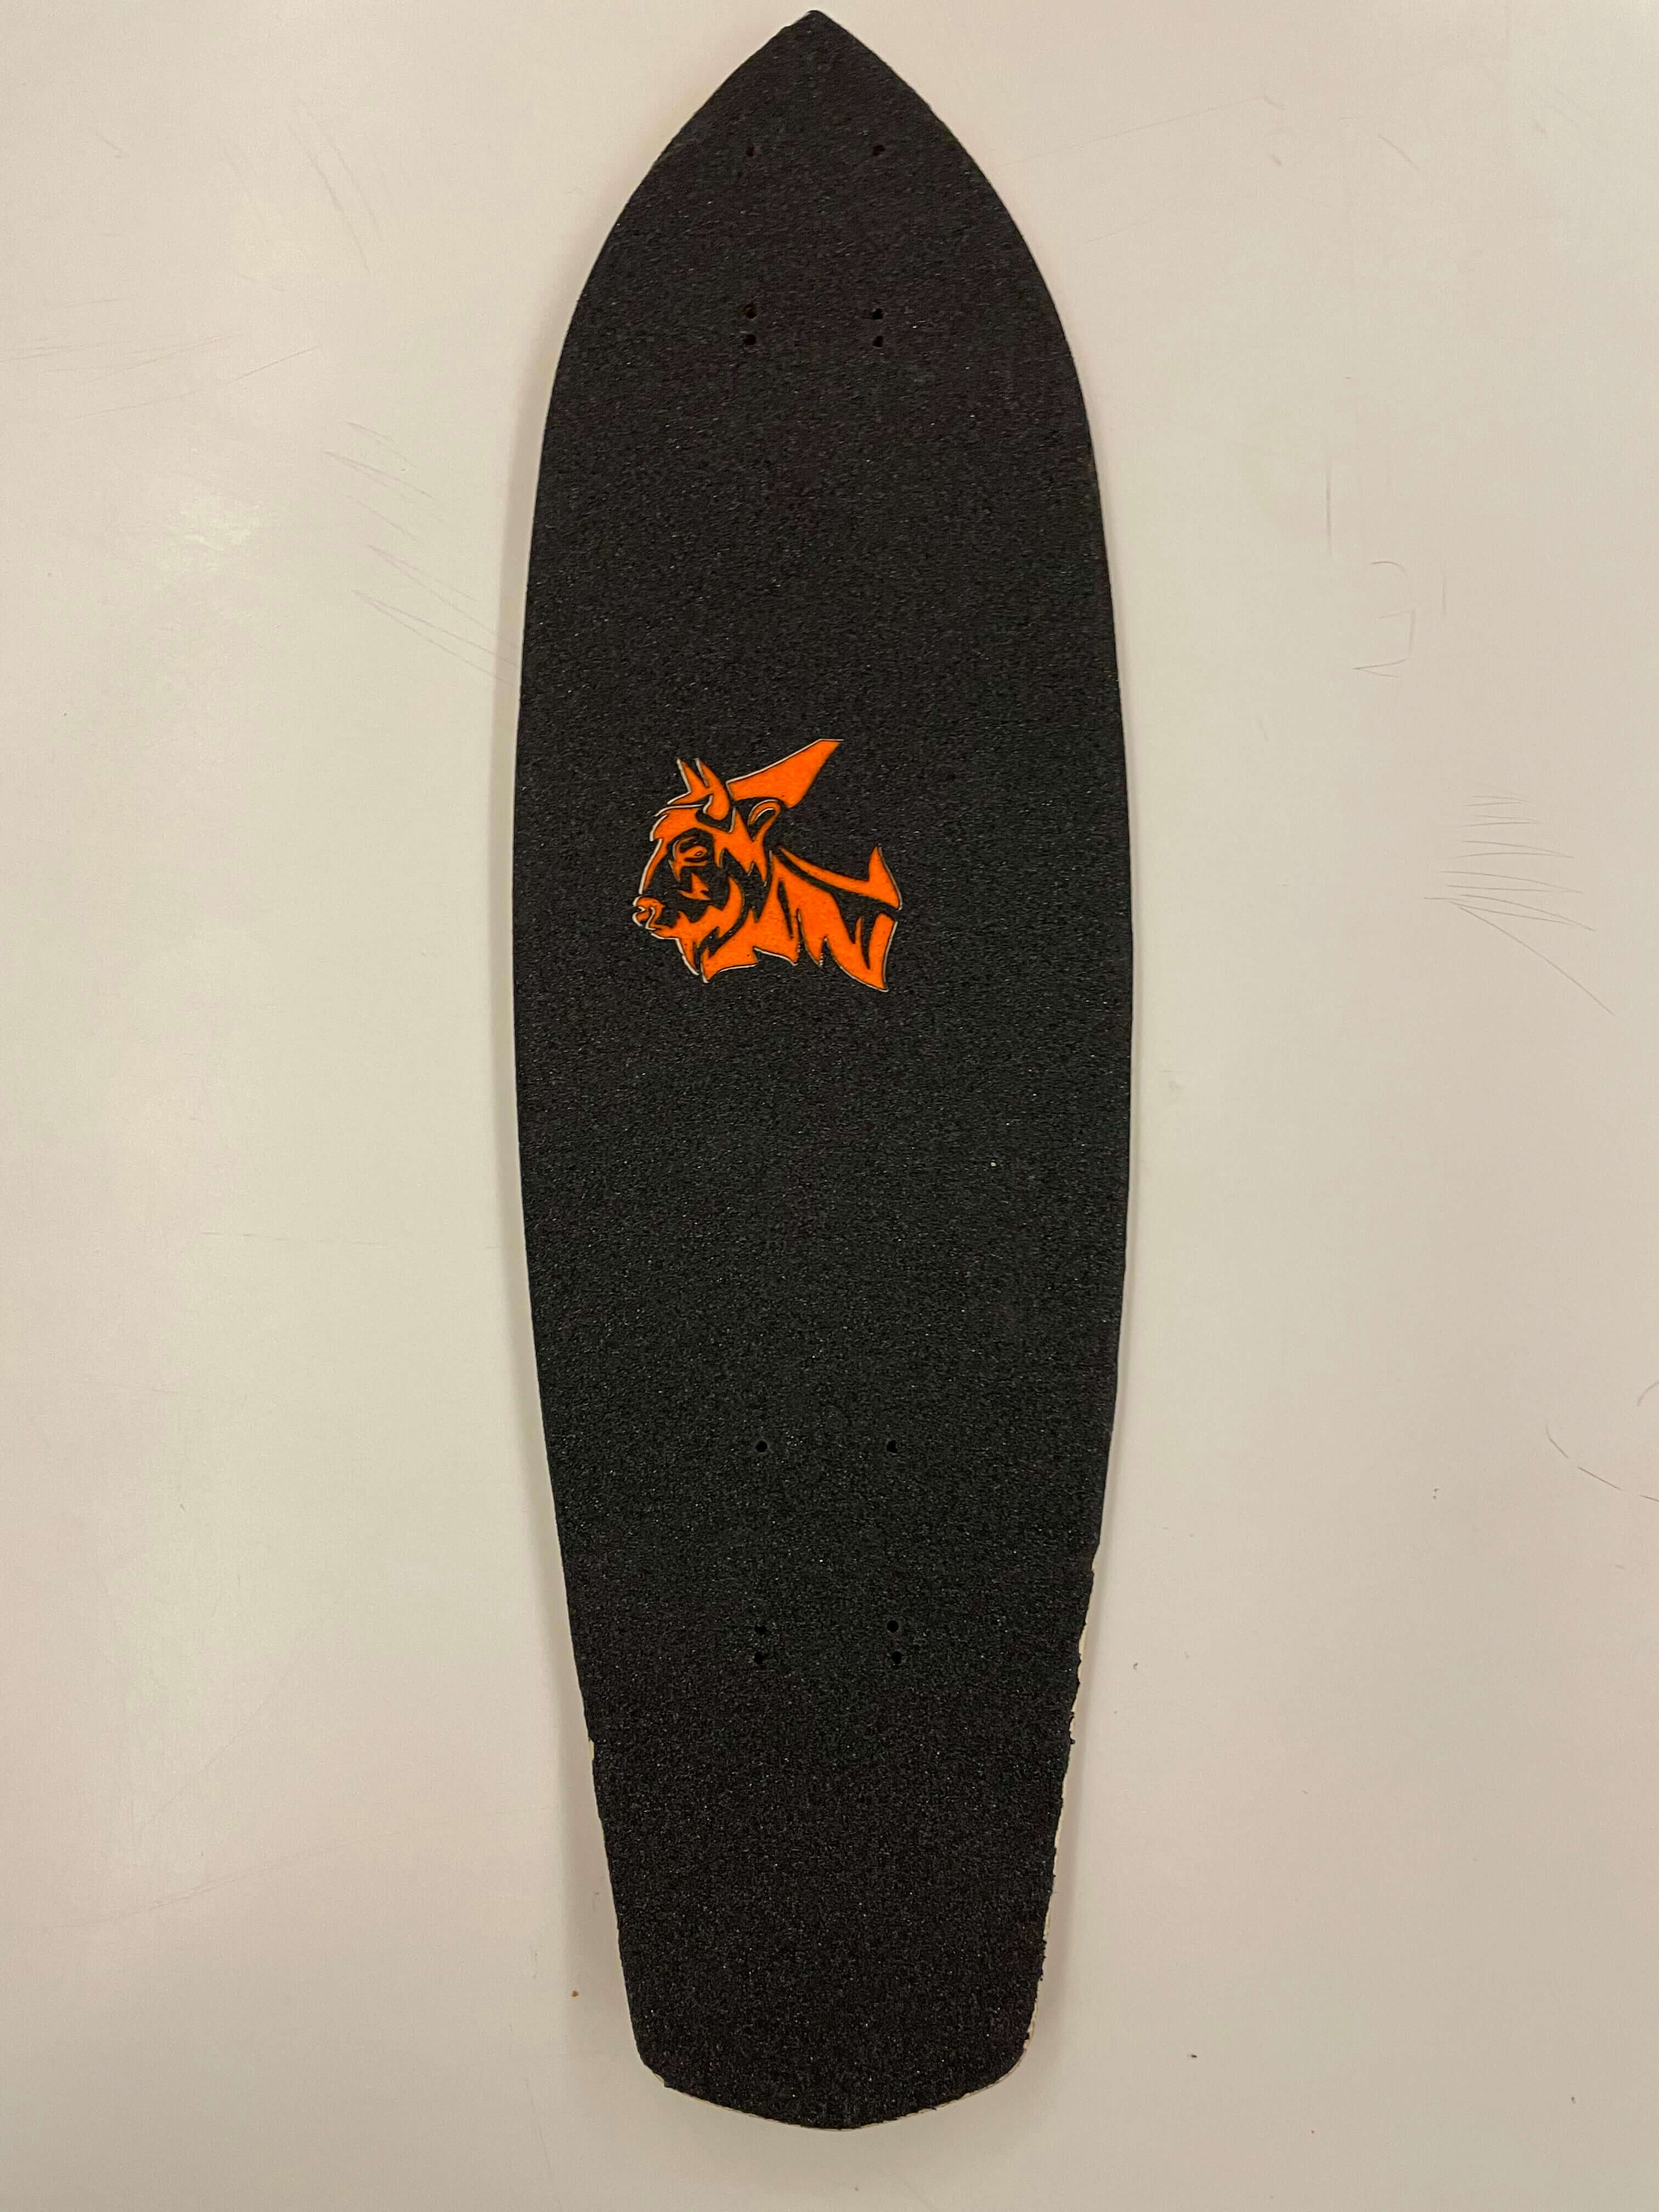
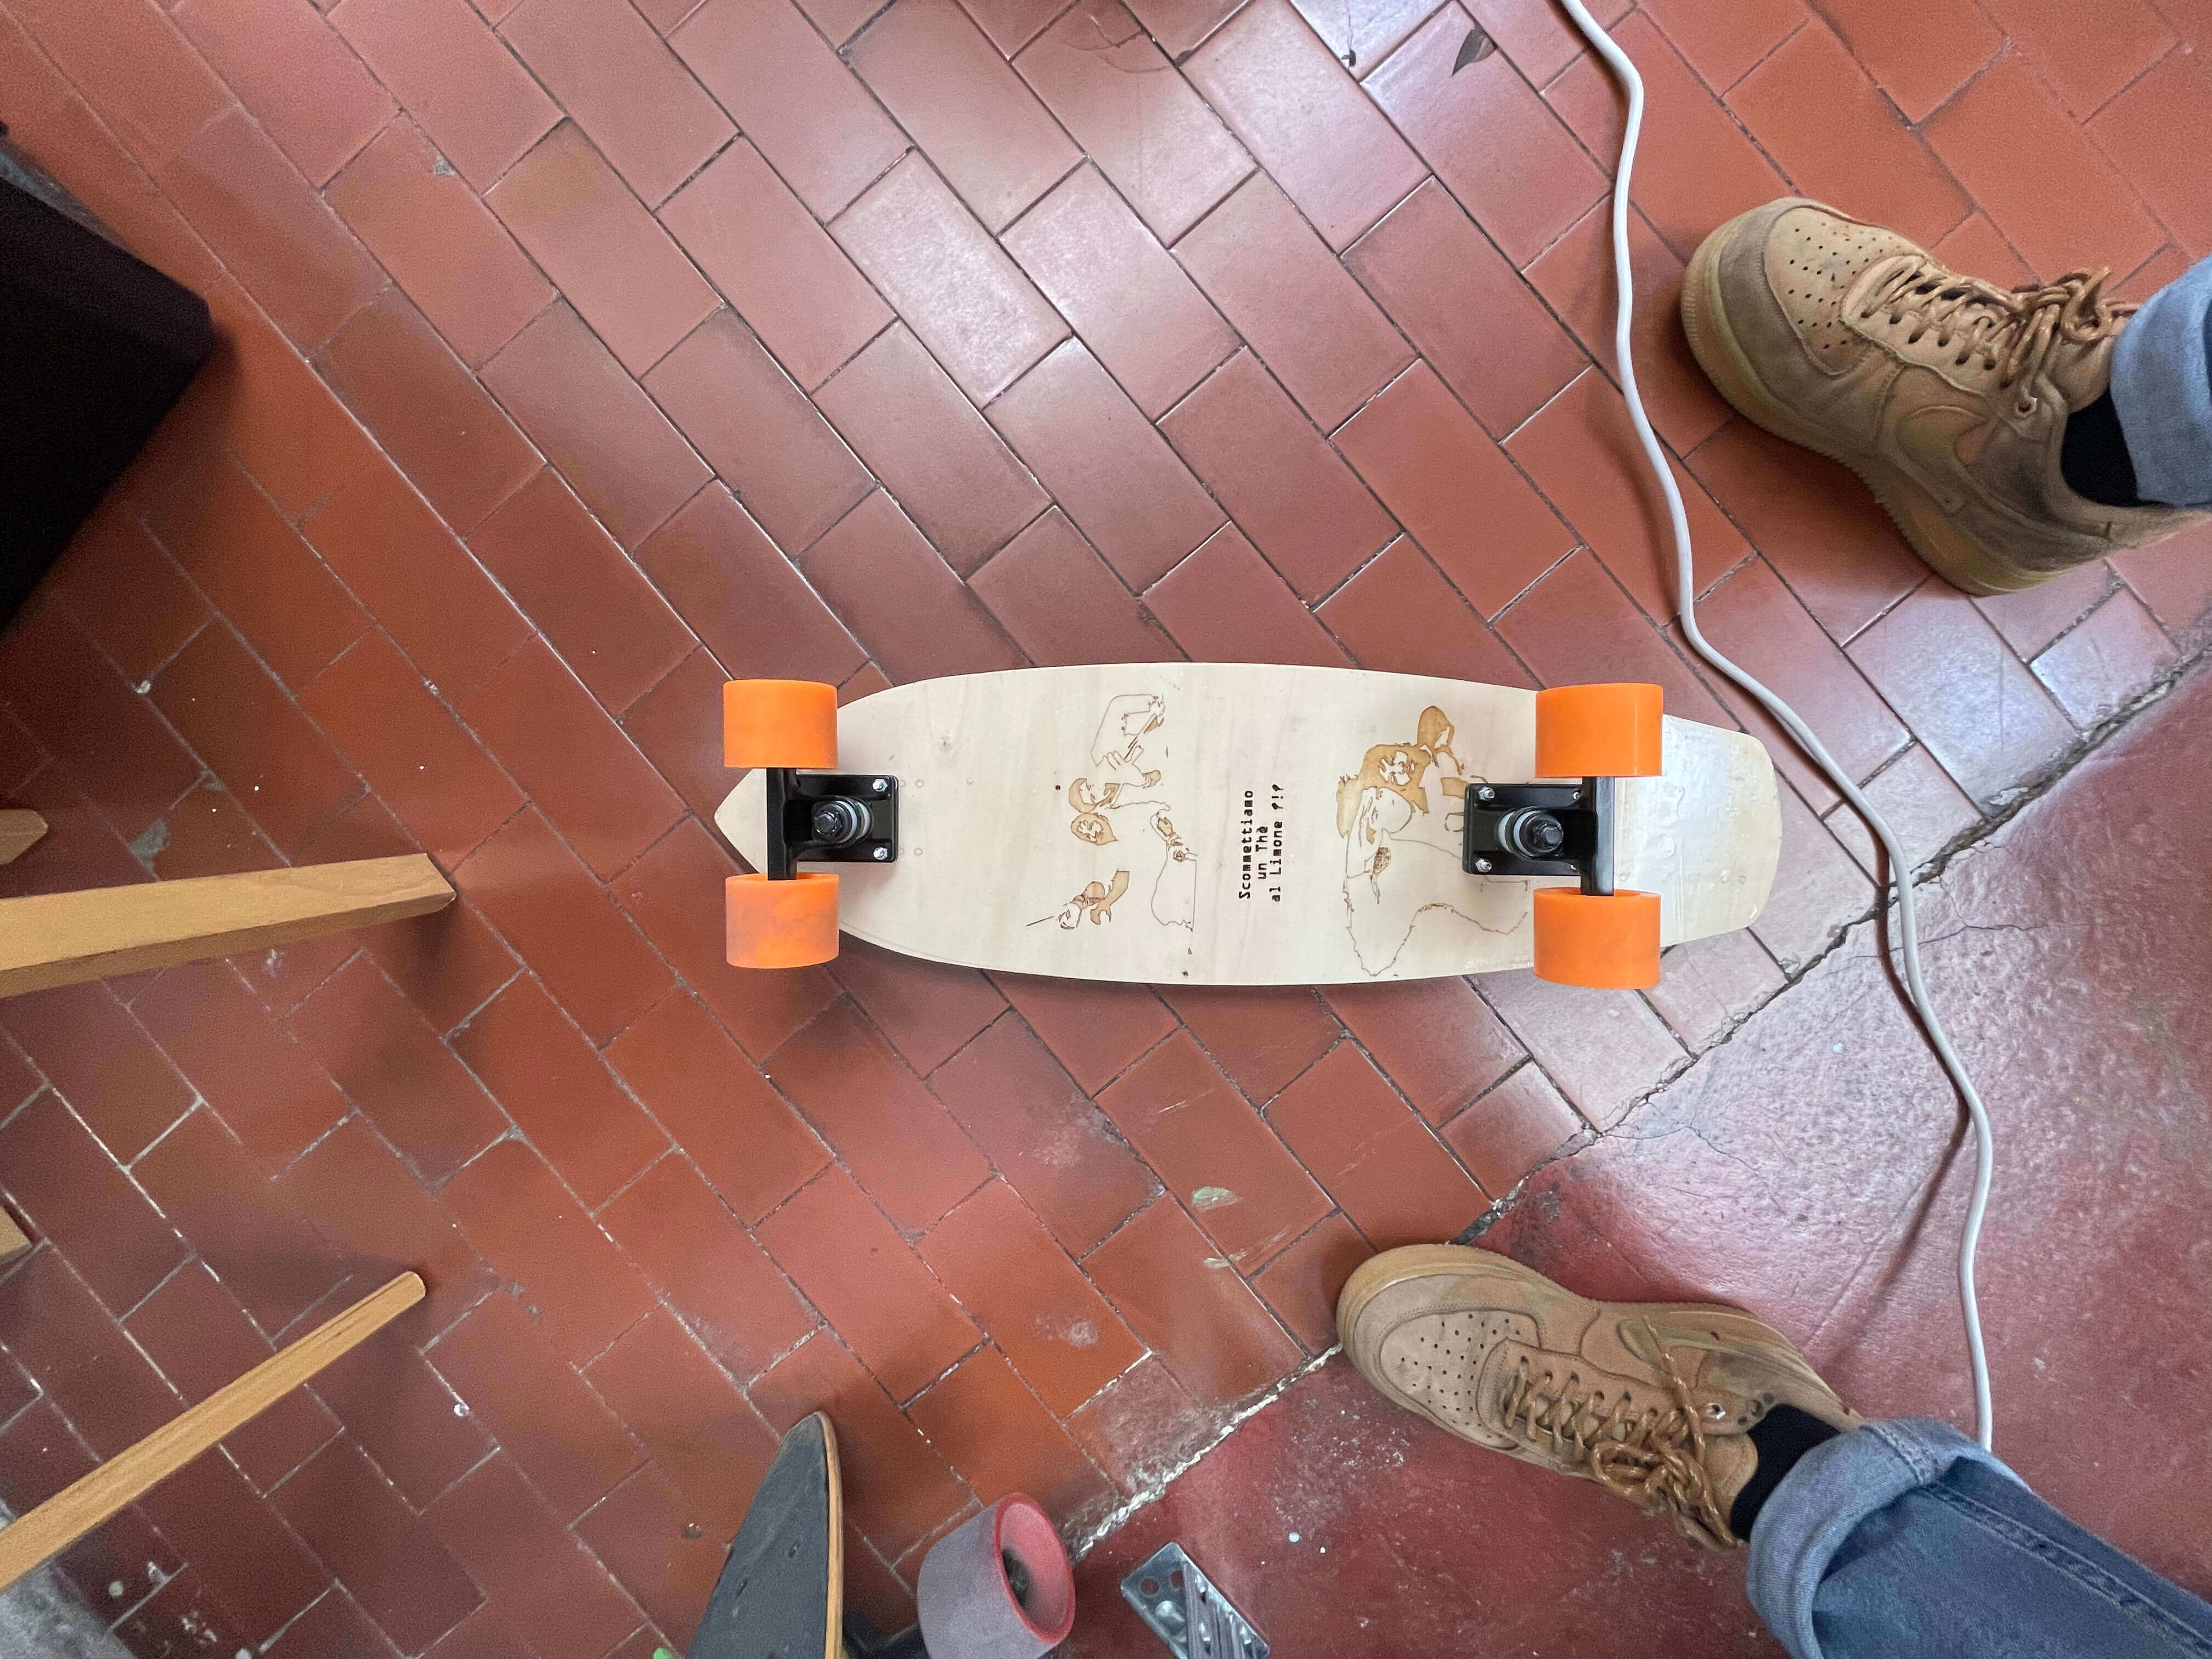
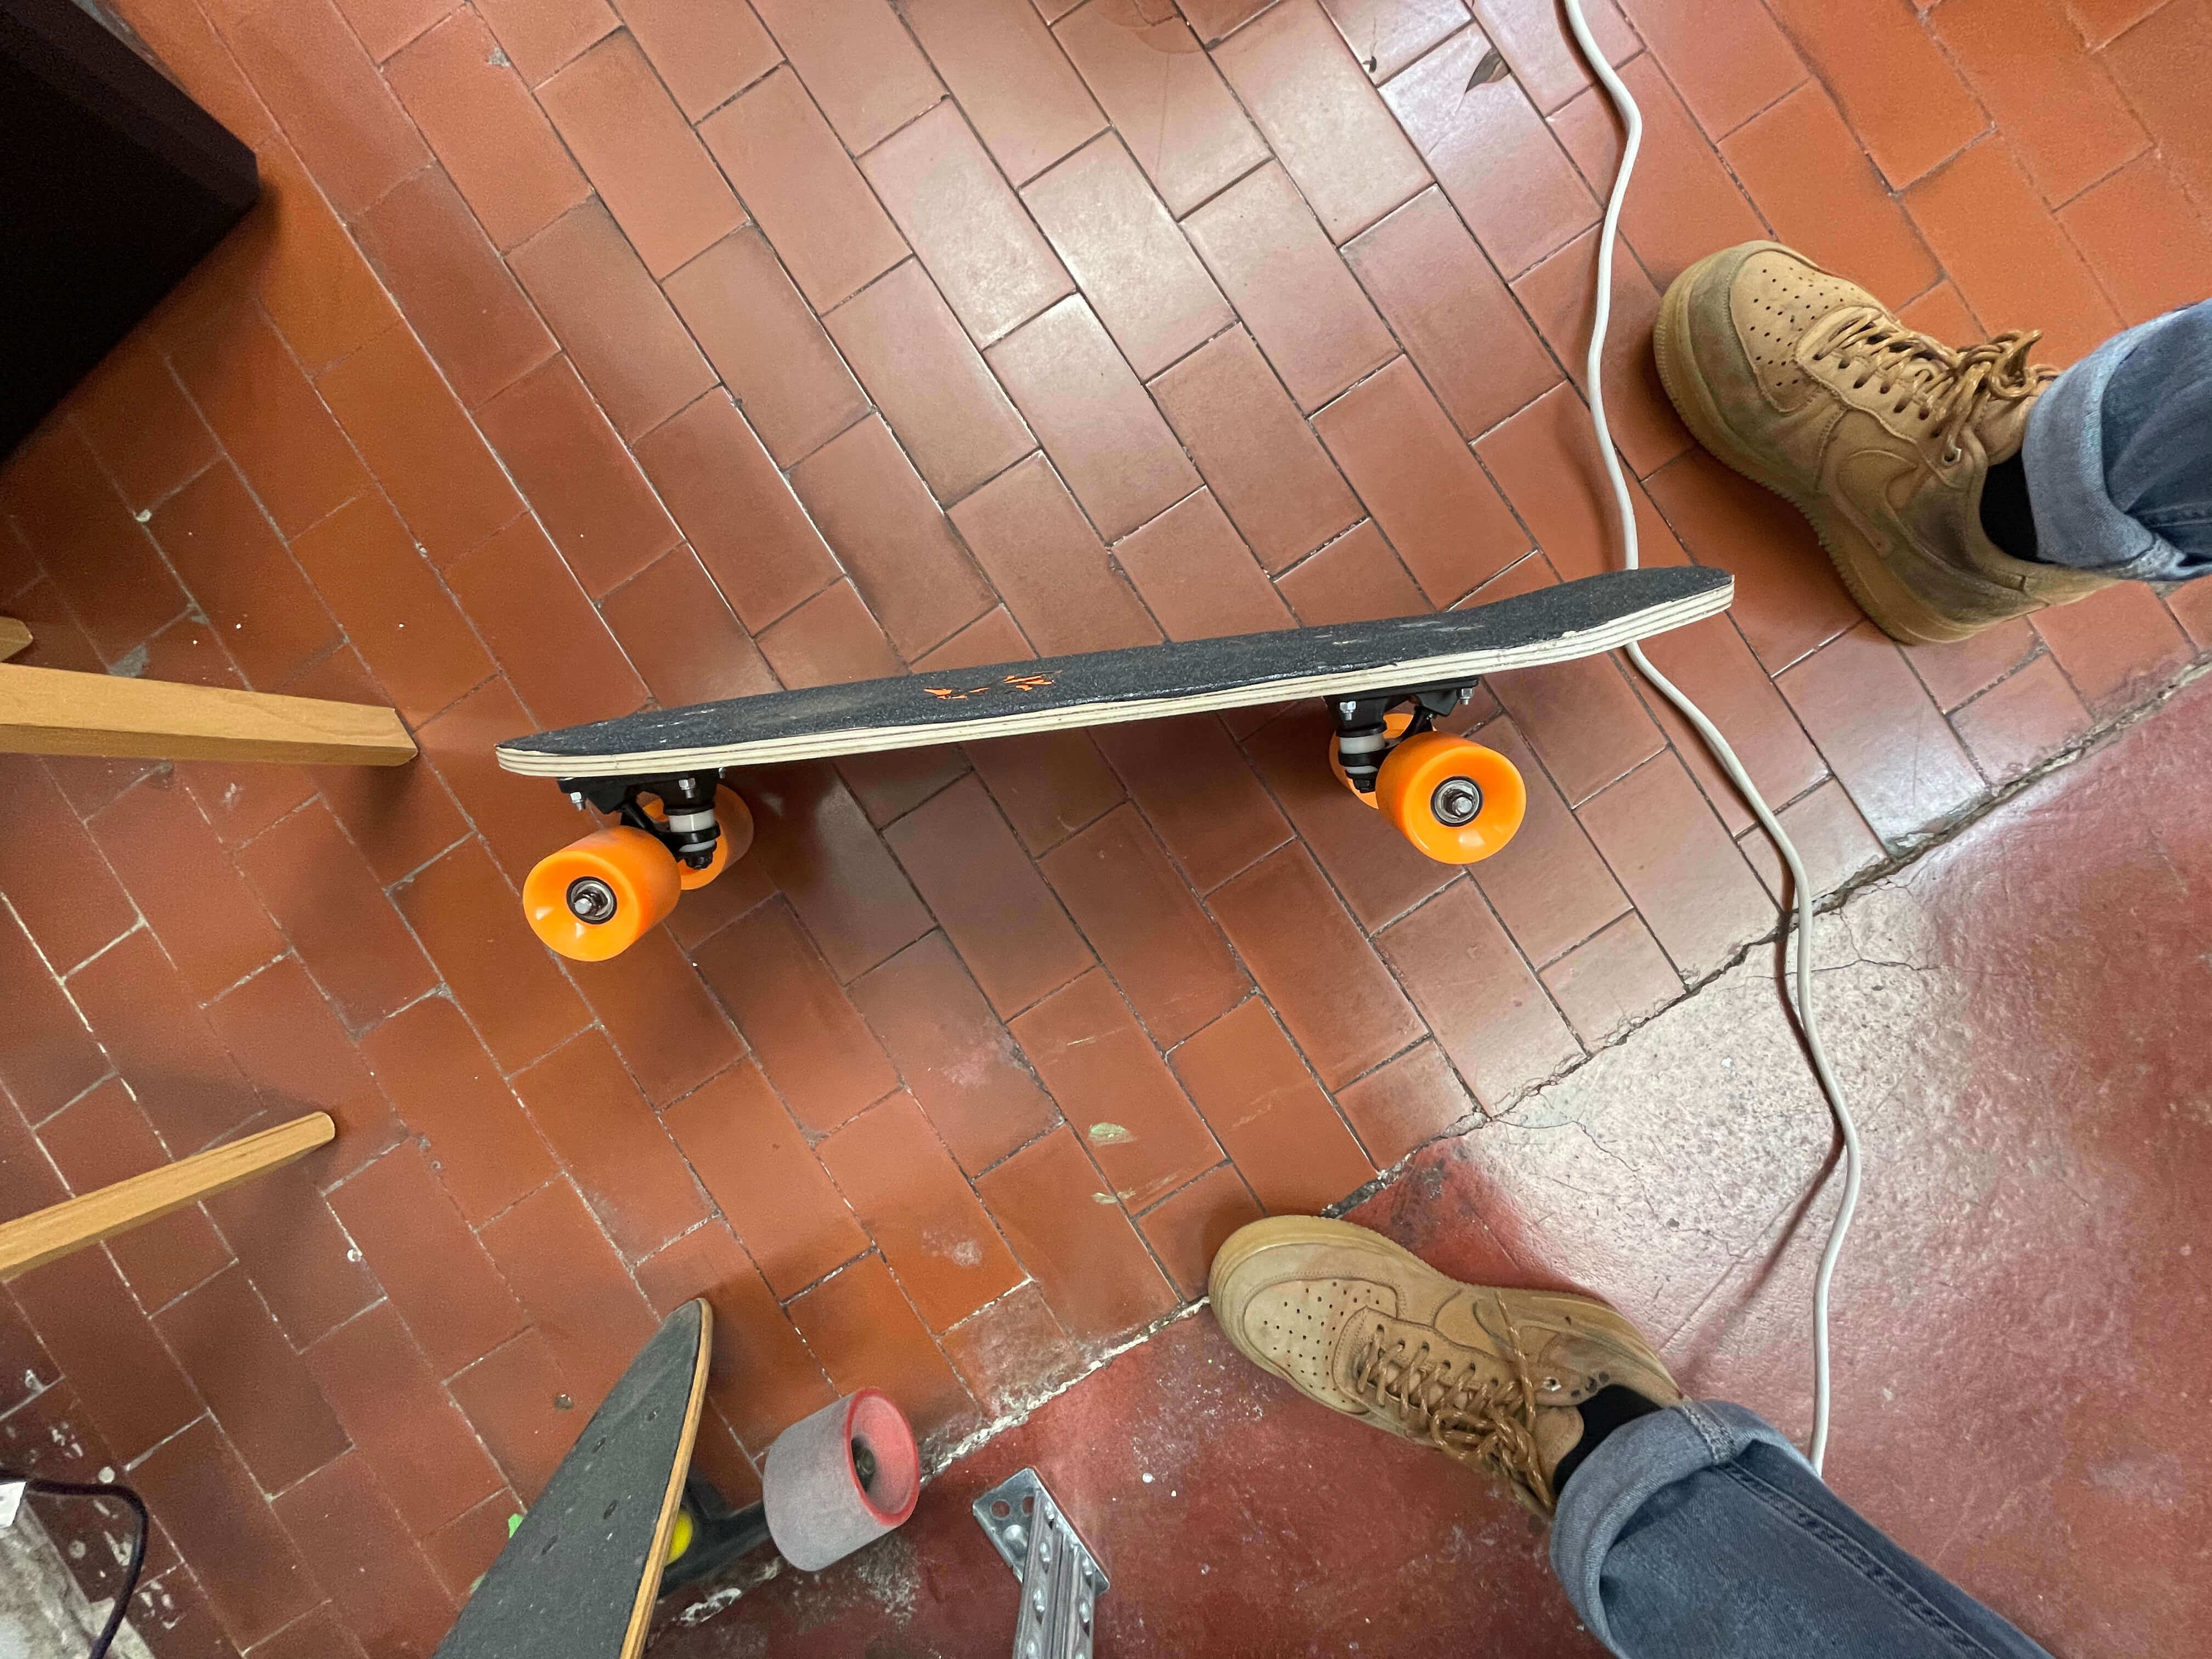
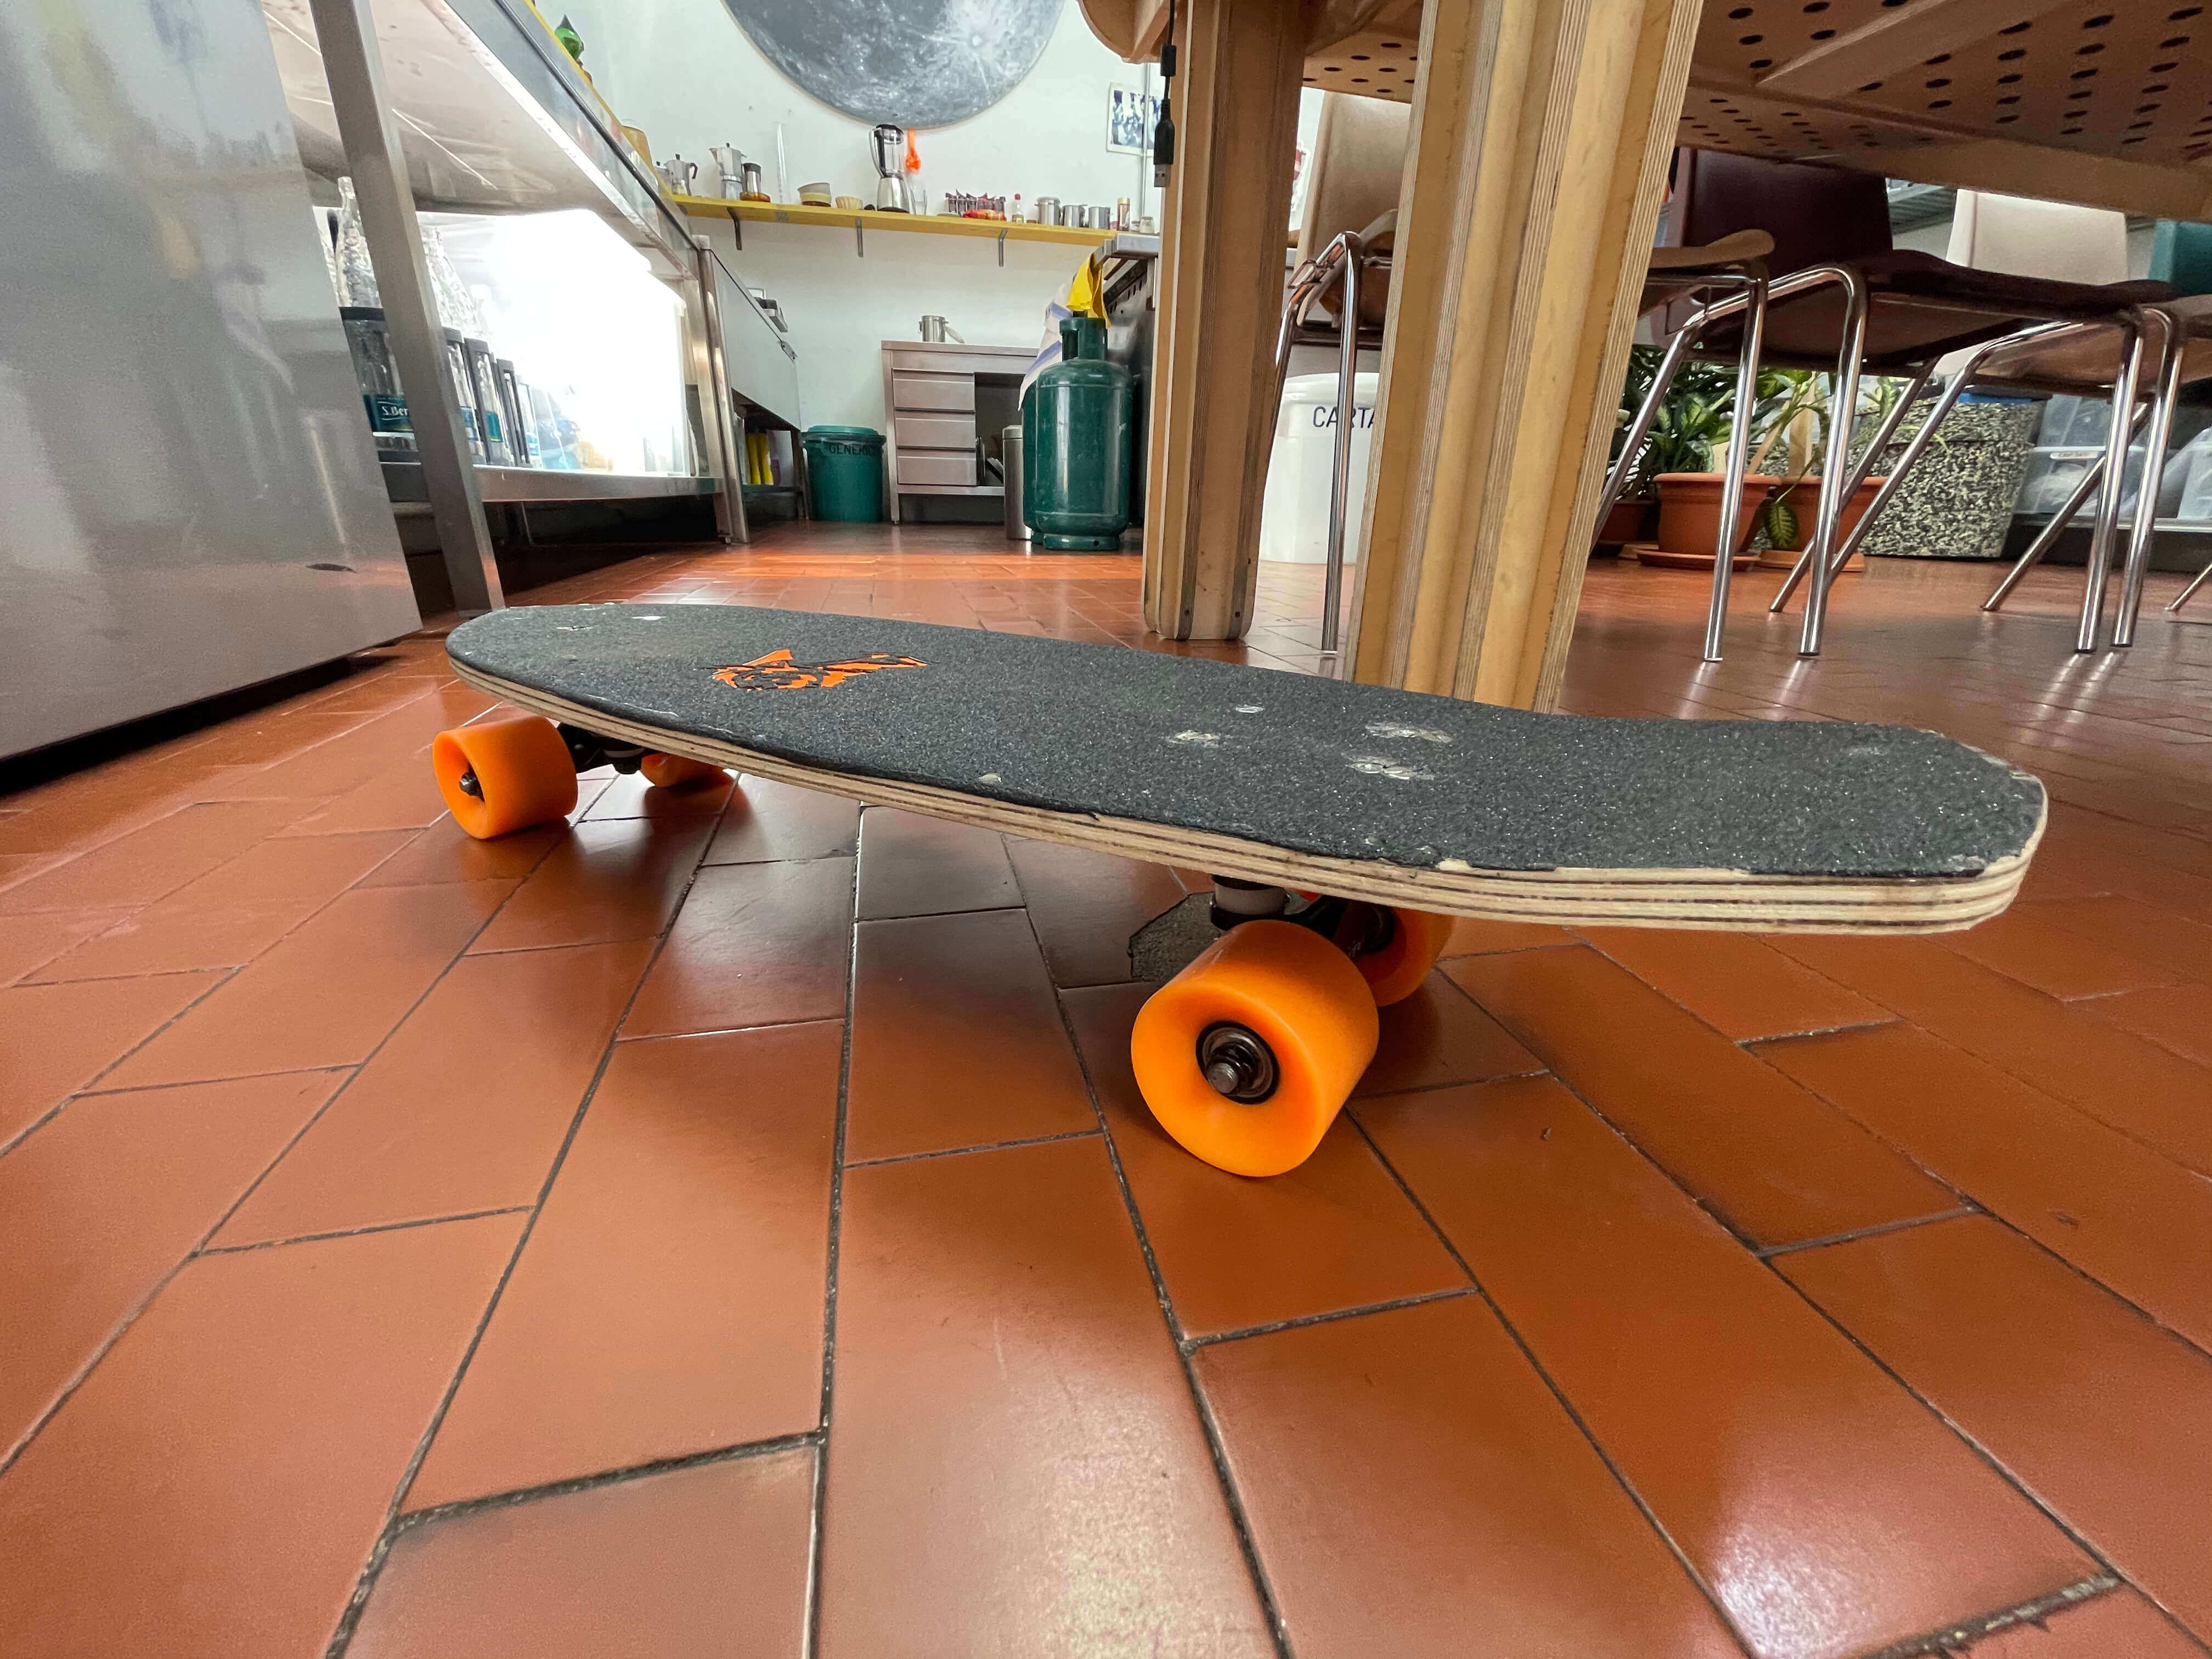
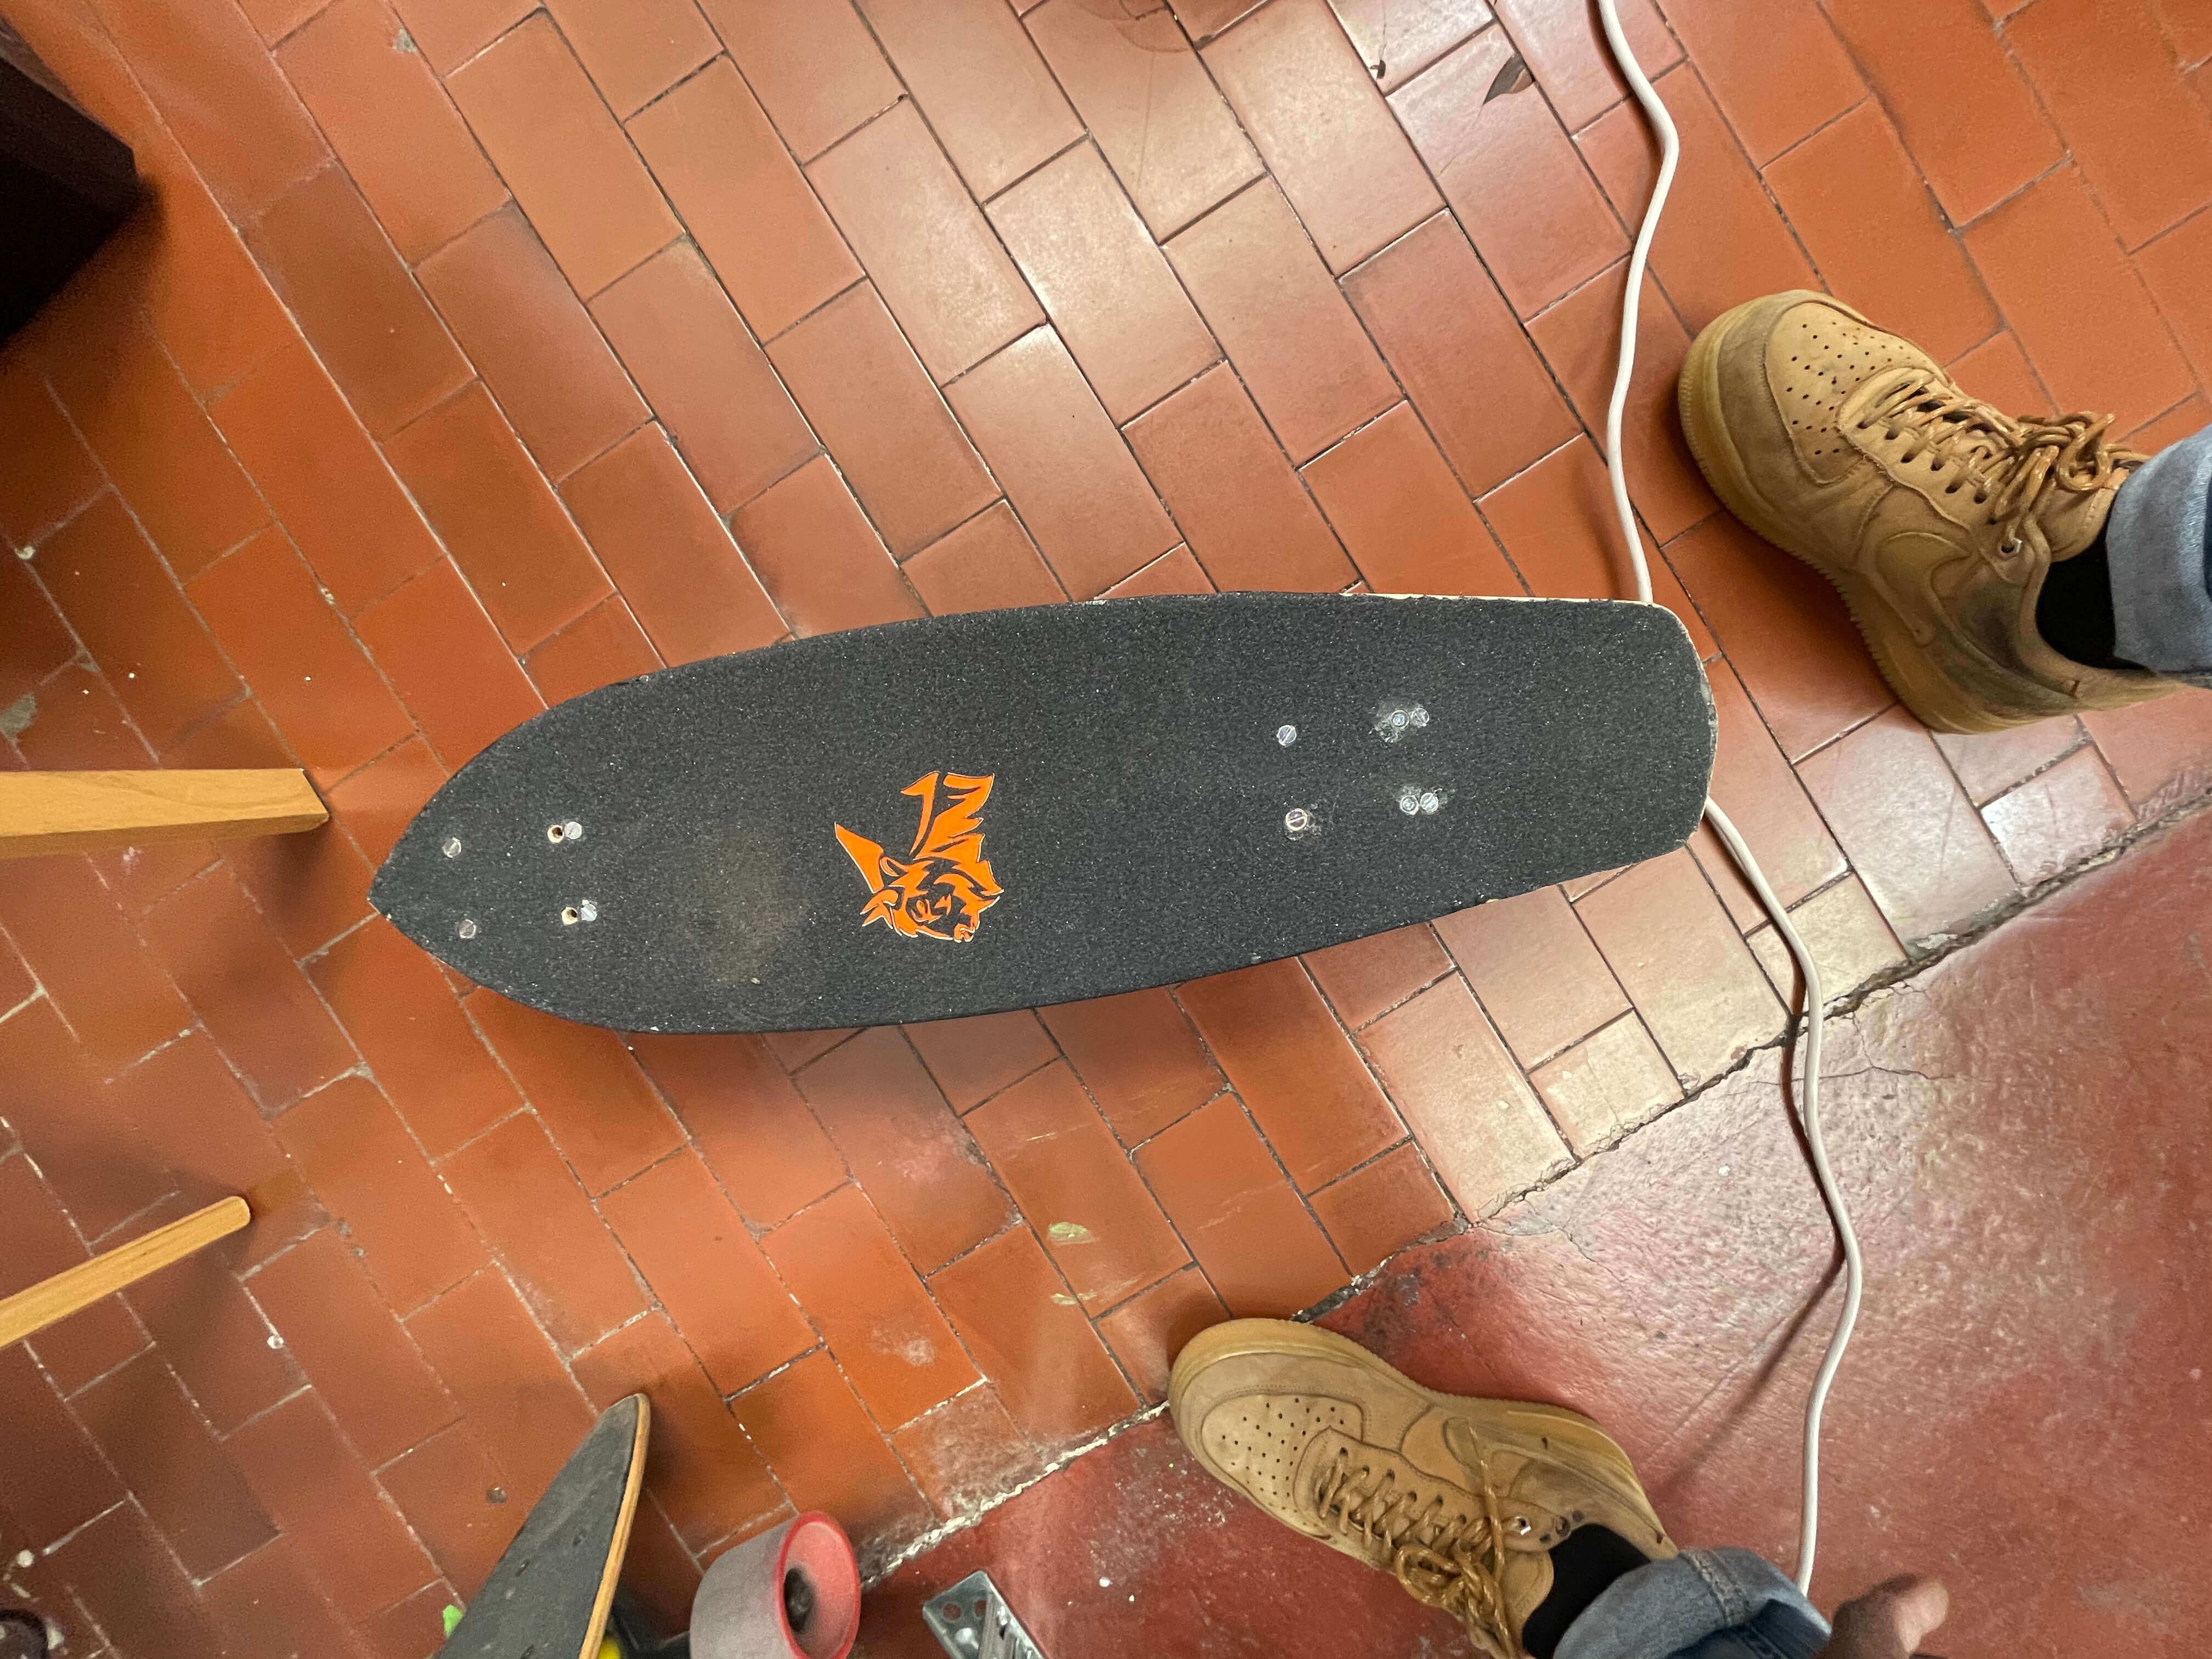
RESULT
Once that's done, all I have to do is attach the trucks and wheels and ... let's go !.
|
|
|
|
FILE
- SKATEBOARD_V2
- SKATEBOARD stl
- SKATEBOARDdxf