
Week Nine: Molding and Casting
Goal
design a 3D mold, machine it, and cast parts from it
Week Nine: Molding and Casting Objectives
- Design an Object
- Create a Master Mold/Pattern
- Machine using Shopbot or Modela
- Make Mold
- Make Casting
Design an Object
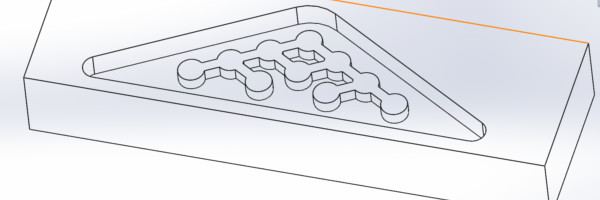
The pattern I made was a modified Sierpinski's triangle, more like a node diagram in Solidworks. When the nodes collide they do not have any more children. I have been using other cad packages as of late. I found when I modeled the part in SW I felt constrained in some realm. I experienced a sense of constraint to the process rather than organic. For example, when I modeled the fractal I could not copy directly. I needed to array it, which felt less organic. I do not know if it was my limitations or the software. I did get it to work.
Creating a Master Pattern
I chose to complete this step with the shopbot due to the slow cutting time on the modela. Plus it is a larger machine, which has a fear factor.
First attempt, I imported an STL file from Solidworks into fab modules. I converted the STL file to PNG file. I ]created a path for a rough cut, however I wanted to use a larger end mill for this step. Furthermore, it did not seem I can control the depth of the top face of the Serpenski's Triangle.
Second attempt, I imported the STL file into Partworks 3D by Shopbot. I went through the motions outlined.
- Origin
- Rough Cut
- Finnish cut
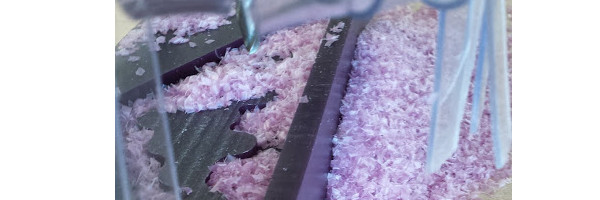
I completed the rough cuts on the mill and prepared for finish cut. As soon as the finish cut started the tool made a nice pass though the side of the wax. This was of course unintended and ruined the part. In Partworks 3D on the first part XXX make sure to set the origin correctly. Due to time and the goal of the project I decided to not use the finish cut and mold/cast the rough cut.
Found out later another way to hold the workpieces is to use a glue gun.
Make Mold
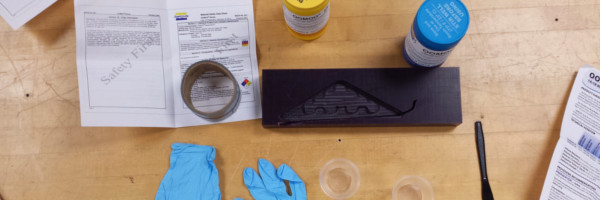
Below are the items I used for the molding process. You can see the MSDS, which I actually read.
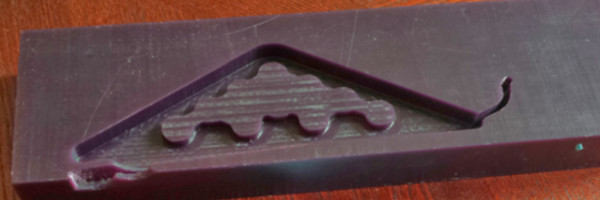
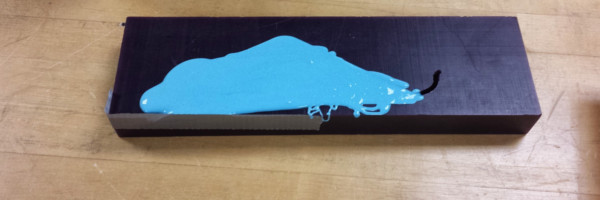
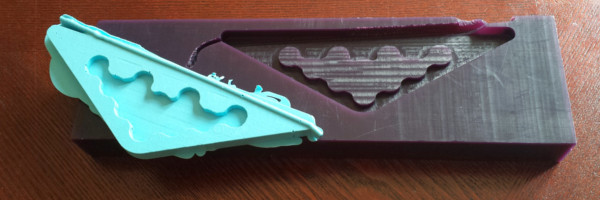
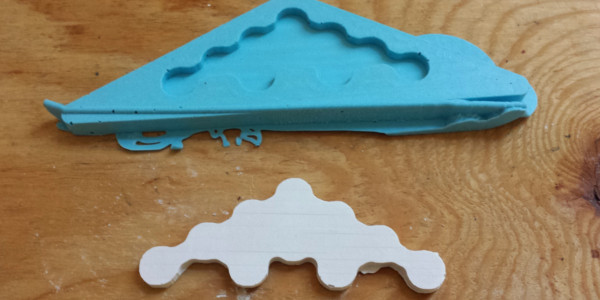
Making the mold was easier than I thought. However, I realized making a good mold is tough. I used the Oomoo 25 and poured the mixture into the pattern. I wish I watch the video on the mold making process beforehand and not after.
Make Casting
Below is the steps to cast.
- Place a cup on the scale.
- Tare the scale
- Use a popsicle stick to transfer the Dry Stone to cup
- Measure 100 grams on a scale
- Pour 20 grams of water into the cup, which totaled 120 grams on scale. (100/20 potion)
- Stir ingredients with popsicle stick using a side to side motion.
- Tap the cup on the bench to get the bubbles.
- Stir some more.
- Pour the ingredients into the popsicle stick allowing the ingredients to
Notes: For an open casting make sure the mold is level.
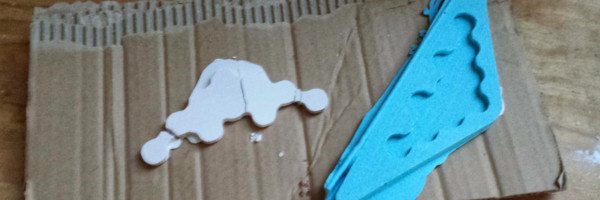
Mold broke in multiple pieces. I left it in for about 45 minutes and got excited to take the casting out and it broke. That's what I get for being impatient.
So, back to the drawing board for casting. The second time went more smoothly and I recruited a little help from my daughter. She is learning about measuring in school, so this is real good application.
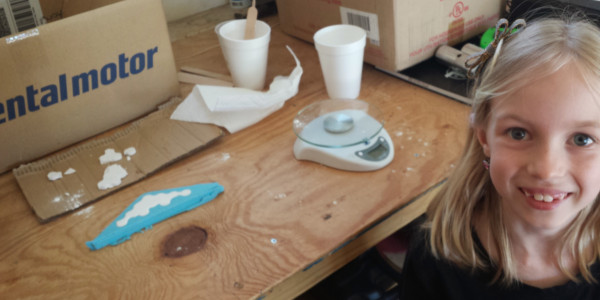
An image of the final casting is below.
Resources:
Design an Object
- Mechanical Invention through Computation - http://courses.csail.mit.edu/6.S080/lectures/01_Intro.pdf
- Used SW for Design - http://fab.cba.mit.edu/classes/863.12/people/adina/casting.html
Mold Making
- https://www.youtube.com/watch?v=FQ1A7ZjTsx8
- https://www.youtube.com/watch?v=VajEOl6uZsY