
Week Eleven: Composites
Goal
design and make a 3D mold (~ft2), and produce a fiber composite part in it
Week Eleven: Composites Objectives
- Design Something.
- Create Core
- Create Composite Part
- Post Processing
- Back to the drawing board
- Design Mold and Piece
- Make Mold and Piece
- Make Composite
Design Something
Ah! What to design?
A Bow for a bow and arrow or a bowl to put the keys in.
A bowl (tray), my wife would rather I do the practical thing. Me not so much, I am going for the cool affect and building a bow. Instead of designing the bow on the computer I am going to design it more like an artist sculpture. I have not built something since I was a child with out a drawing. I was very excited to tinker around.
BOM
- Jean material (GoodWill here I come)? Used burlap inststead.
- wood (poplar) strip
- Resin
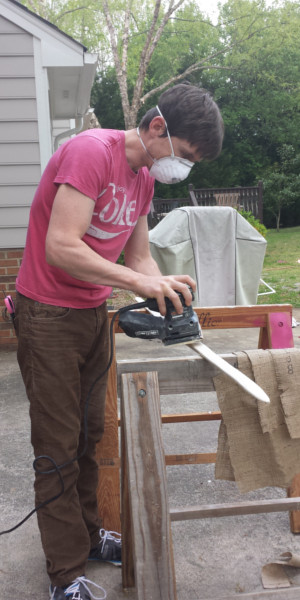
To create a bow and arrow I would shape the poplar wood. First, I used a vertical band saw to get a really rough cut of the bow. Second, I used a electric sander to fine tune the shape. I felt like an artist, however, I think I would rather mill the bow out next time.
Well, As usually my wife was correct. See below for second attempt.
Create a Core
Picture of wood piece before sanding
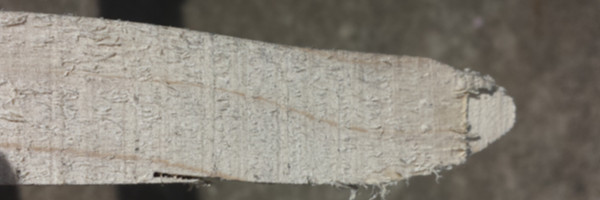
I first thought of using foam for the inside core, however, I thought the core would be to thin. So I decided to use the poplar wood find at Lowes. The strip of wood I started was 1in x 2 in x 96 in. After I cut the wood on the bandsaw. I sanded (60 grit)and shaped the entire bow using a wood file and an electric sander. I did this outside at my house, because it was such a beautiful day out.
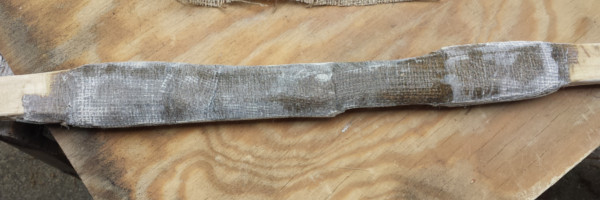
Picture of wood after sanding

The initial thought was to sand and then wrap the intire bow in After sanding I realized the bow is almost perfect for string, however the handle needed more structural support.
Create a Composite Part
Burlap fiber
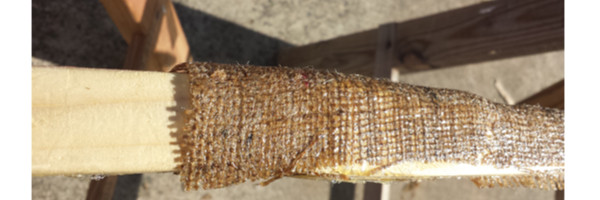
Fiberglass resin
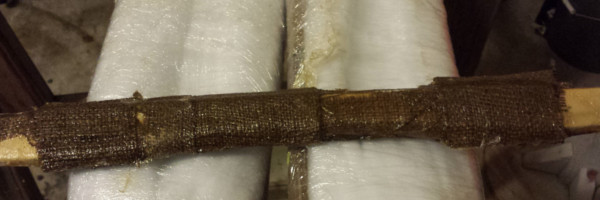
The first part was difficult with two people. I was not prepared for the burlap not to stick to the wood. The second time was easier with two 2 x 6 in boards with raft and cellofane.
Below is the set up to compress the bow handle.
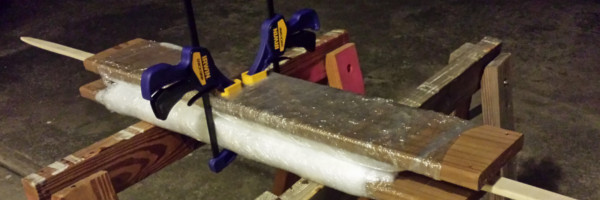
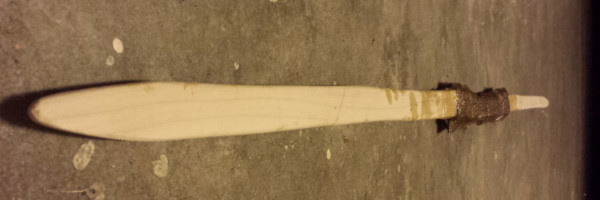
The third and fourth time were exetremely easy. Below is the final product before sanding.
Post Processing
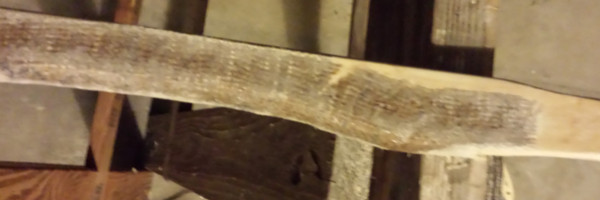
Sanding girt paper was 60 for rough cuts. I sanded and sanded and sanded the wood and the burlap fiber.
Semi-Final Product
Looking back on it, a bowl would have been soooo much easier.
BELOW THIS LINE WAS ONE WEEK AFTER WEEK 11 Ended
Ok, well during class this week my name was picked. Neil looked at the bow and arrow and proceeded to tell me this was not what was suppose to be done this was. We had to design and build tooling for the composite. For some reason I missed the boat, that sailed without me. So back to the drawing board.
Design
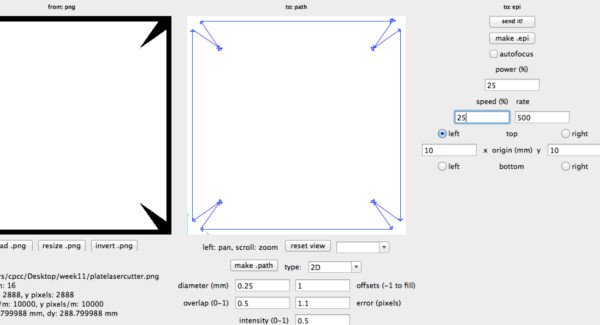
This time I decided to use kokopelli to create a mold to be created on the Shopbot and a layout for the laser cutter. The mold will be made from foam and the composite will be made from burlap cut out on the laser cutter. There are two layers of Burlap offset by 45 degrees.
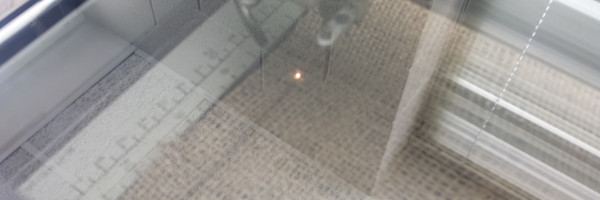
Cutting burlap was a little tricky. It kept wanting to fold up, therefore the laser was not focused on the surface cut. So I needed to cut twice. The edi settings are shown below:
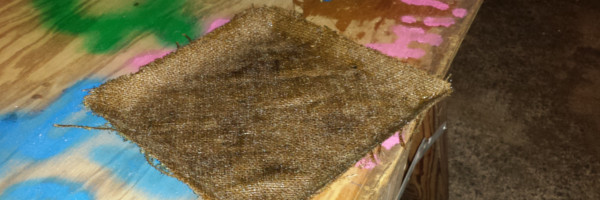
The picture below is of the burlap after laser cut.
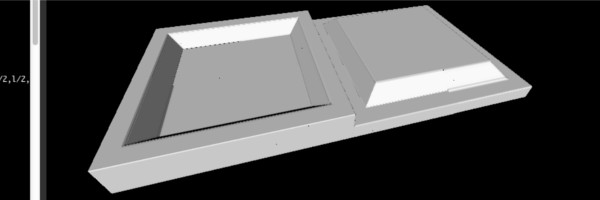
STL files in kokopelli was huge 77M. Therefore, I created the mold in Soidworks where the stl file was more reasonable at 2M.
Make Mold and Piece
Lasercut:
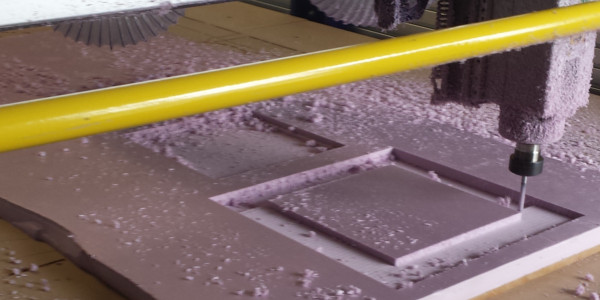
Shopbot:
While talking to Francisco about the composite he asked me about the edges of the tray. He suggest to connect the edges somehow. I quickly drew the geometry I wanted in kokopelli and cut it on the connectors on the laser cutter. What is cool about kokopelli the mold, the piece, and the connectors are all on the same file. NEAT OH!

Make Composite
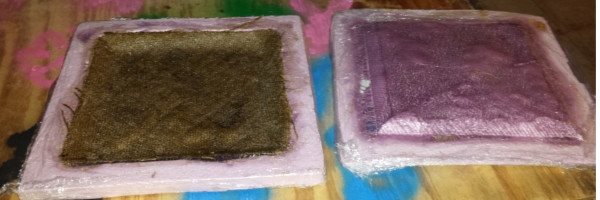
Making the composite was a heck of a lot easier this time around and I spent a lot less time on it. This is what I call efficiency. I wrapped the foam in cellophane to keep the resine from destroying the mold. I used 4.0 ounces of resin with 40 drops of hardener. I thought I would have a lot left over, however, I did not have any. If I was to do it again, I would use 5.0 ounces. Furthermore, the resine ate the plastic cup. I should have known since the last time it did the same. You can see the connectors on the top of the picture below on the positive mold.

Taking out the cast was the easy part, however, I noticed even with the cellophane wrapped around the foam the resine ate through the foam. The negative mold was eaten all the way through and looks like a picture frame. I guess I wouldn't be using that mold again.
The finally product looks pretty good. It is nice and hard. I did as Neil likes and knocked on the composite to make a thud.
Lessoned learned: Listen to my wife. After 10 years of marriage you think I should have learned this one already.
Resources:
Idea Inspiration
- IRIS - uses recylced jeans - http://www.iris-industries.com/recycled-denim/
- http://www.wikihow.com/Make-a-Composite-Longbow
- http://georgeandjoni.home.comcast.net/~georgeandjoni/boards.html
- Bowl - http://fab.cba.mit.edu/classes/863.13/people/toksfifo/composites.html
Tutorials
- http://fab.cba.mit.edu/classes/863.13/tutorials/Composite_Tutorial_863.13_2.pdf
- http://bondo.com/featured/bondo-fiberglass-resin-20122.html